When you click on links to various merchants on this site and make a purchase, this can result in this site earning a commission. Affiliate programs and affiliations include, but are not limited to, the eBay Partner Network.
Been wanting to put one of these together mostly for myself to document my build that I've been working on for a few years now. It started off as a fun daily that needed a lot of work to keep stuff from breaking on me and has slowly turned into a fun street car that I take to autocross (and hopefully some track days in the future) every now and then. Warning photo dump ahead:
I bought the car in July 2016 as my first car that wasn't a hand-me-down. The guy selling it had it as a shop car at some boat repair shop, and as I understand it they got it up and running then let it sit before selling it. I paid $1500 for it, which I feel was decent cause it was pretty clean overall, but it definitely needed some love. Immediately after buying it and pulling out of the parking lot the car died due to the battery terminal breaking off and the car stalling due to old gas. I was able to get someone to rescue me and bring me a terminal, and about halfway home, the lower radiator hose cracked and it started puking coolant. Luckily I was able to limp it home before it started overheating.
I didn't even have the car 24 hours before I had to fix **** on it.
And I gave it its first bath. The paint was pretty nice on it when I first got it. I think the owner before the previous owner had it repainted not long before I got it.
Spent the first year with it mostly fixing all of the neglected and hack job **** that had been done to the car. I ran a carfax report and found out that I'm the EIGHTH owner of this car, so can't really be surprised about some of the **** I found. This was me replacing the main fuse that someone had bent together after it had popped.
Last edited by tshea113; Jan 19, 2022 at 12:48 PM.
Reason: Fixing images
After 6ish months I got a new exhaust as my first mod for the car. I ended up going with a Yonaka catback exhaust since it was only like $200 and didn't sound awful in the Youtube clips I saw. I've been really impressed with it. It's got a nice deep sound to it without any rasp, and it's not ridiculously loud. I've had it on the car for 5 years now and has it's held up great.
Ended up putting the top down in cold weather and split the rear window. I was so pissed because the top was in pretty good shape, and I only had broke college student money to get a new one. I tried to do it alone and it was a total bitch to put on.
One major problem with the car that I found out shortly after buying it, was that it burned a TON of oil. It was going through a quart every 200 miles, closer to 100 miles if it was a lot of highway driving. My trunk was filled with this for most of the early years of owning the car.
It was getting to the point where I was buying a jug of oil almost every week, so I started to put my pennies together to try to swap in a new motor. I had really wanted to do a 1.8 swap on the car, but didn't really have the time nor the money to try to piece together everything needed for that. I was working a summer job while I was off from college and needed the car finished before I had to go back up for school, so I opted to just swap in a low miles 1.6 motor. The car had around 180k miles on it, and I was able to get a motor from Treasure Coast Miatas with only 80k miles on it.
This project was probably one of my favorites that I've done to the car so far. Before doing this the most I had ever done to the car was swapping out parts here and there, so this was my first major project. Spent a lot of time planning everything and making sure I ordered all new seals, gaskets, etc. It was a super satisfying project to be able to completely "refresh" everything and spend a little time each night after work going through everything.
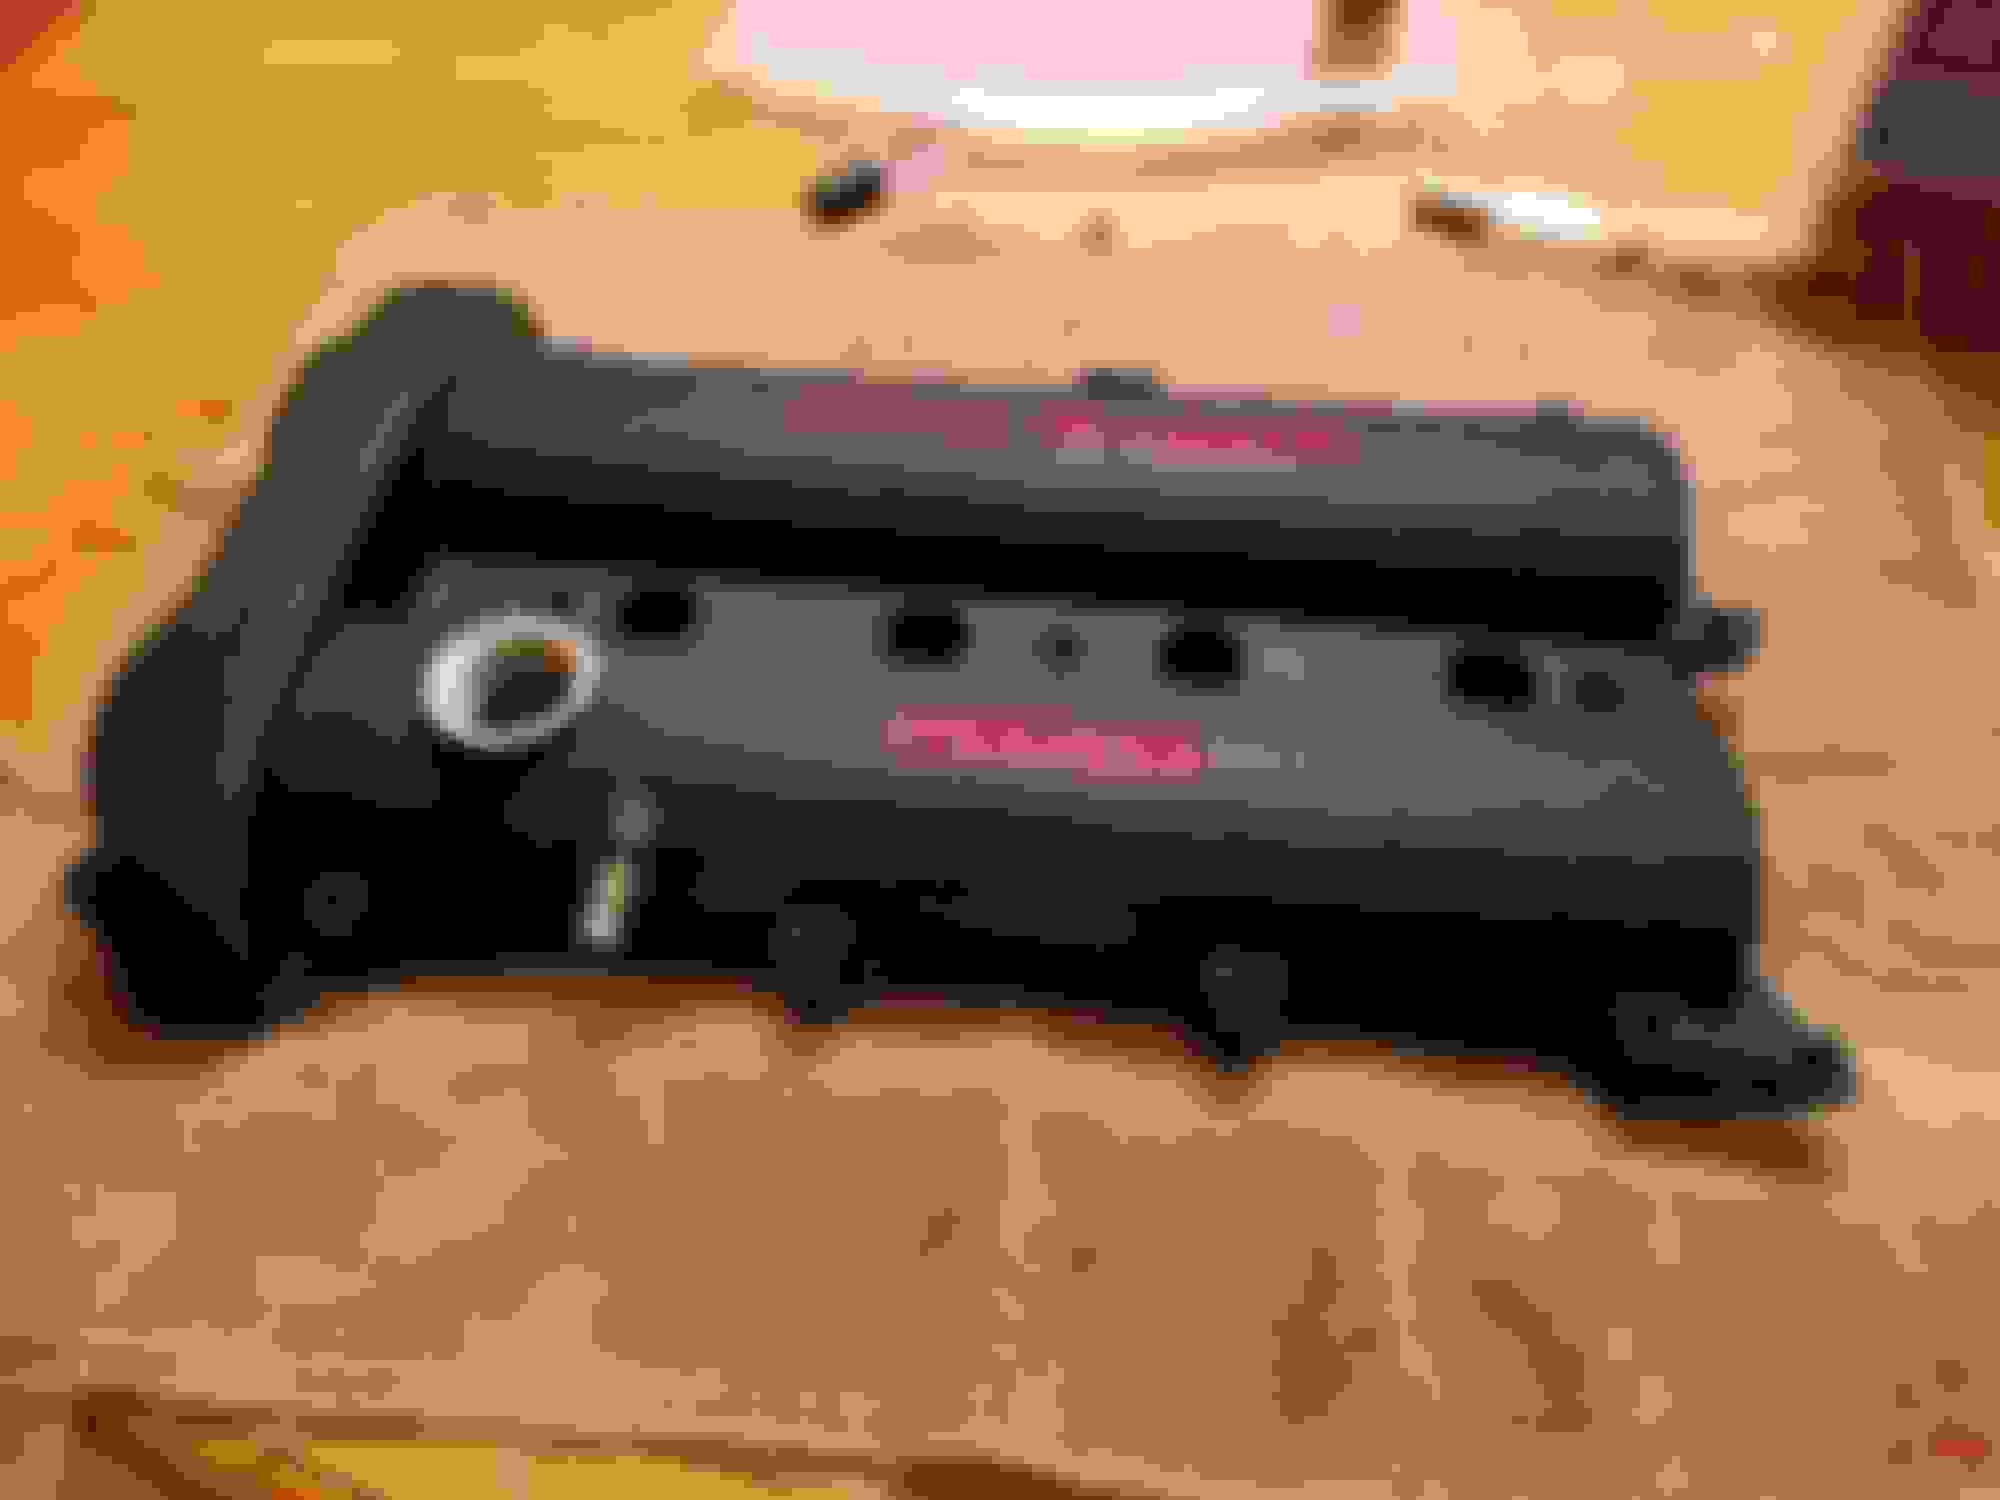
This was the old engine after I had picked everything off of it. The pallet that the engine came on made a nice work bench.
While I had the valve cover off, I gave it a nice clean paint job with some wrinkle black paint and red lettering. Wish I had a photo of all the new stuff in the engine bay :(
Last edited by tshea113; Jan 20, 2022 at 04:04 PM.
Reason: Fix images
I was having some trouble getting my posts to work, but here's everything about the car as it sits today:
CHASSIS & BODY
The car when I bought it had about 176k miles on it, and today it's sitting at around 210k.
Hard Dog M1 Hard Core roll bar with harness bar
V8roadsters frame rails
Shitty DIY battery box because the floor below the battery rusted out. Fiberglassed the hole and mounted it to the remaining good metal.
R package front lip
Rear bumper cut
DRIVETRAIN
Engine that came with the car was burning tons of oil, so I swapped in another 1.6 (Wish I did a 1.8 swap, but oh well) with 100k less than the chassis.
MS3x Ecu
Junkyard Toyota COPs
GT500 injectors
SpeedyEFI vTPS (I believe it's an e36 tps? Can't remember.)
AEM Wideband
M-tuned coolant reroute
Supermiata 1.8 sport clutch and flywheel
4.1 Torsen LSD with poly bushings
Yonaka 2.5" exhaust
INTERIOR
Not a whole lot going on here. Most of my work on the interior has been replacing the worn out stuff.
NB Nardi steering wheel
LRB door cards
DDM works radio gauge mount
Auber gauge (Currently measuring coolant temp)
Rev limiter gauge panel
Rev limiter A/C panel
Rusty floor pan that needs patching :(
WHEELS AND SUSPENSION
Pretty happy with how the current setup has been, but want to make some changes.
Konig Hypergram 15x7.5 wheels
Dunlop Direzza DZ102 205/50R15 tires (These are almost on the wear bars, so need to be replaced soon. Want to get a set of RS4s in 225/45R15 once I get my bonus.)
Powertrix SS coilovers 9k/7k
Stock sway bars
Stock front brakes with Hawk HPS pads (Have a pair of 1.8 brackets, but can't decide whether I want to use those or just get the wilwoods.)
1.8 rear brakes with Hawk HP+ pads (I just put these on the other day and I really like them over the HPS pads I used to have.)
Some pics of the car today:
I don't have any good pics of the interior right now, but I'll probably take some when I get all of the center console stuff back together. Instead, here is a pic of when I was replacing the carpet and found out the floor pans were crustier than I thought :( I was able to wire wheel off all of the crust and spray rust converter on what was left. Hoping to get the holes patched up at some point.
And that's pretty much how it sits today. I've been spending most of my time trying to figure out the Megasquirt ECU and getting the car running well enough to get back out to autocrossing. It's been a pretty big learning curve, but I feel like I'm starting to get a hang of it. The car runs decent, just a few little issues that I need to figure out. It's tough trying to drive and tune it all myself, so I've been just working on it a little here and there.
As for what's next, I just placed an order for a turbo kit from Kraken. Was trying to wait until my tax return came, but wanted to get it ordered now, since it might be a couple months before its shows up. I went with their low mount setup, Garrett 2554R, and their intercooler kit. Super excited for that, but want to get the tires sorted out before then. They are already pretty sketchy on stock power, so definitely not with 180+ hp
Pretty excited for what's to come. I bought a 2017 Civic Si last March to replace the Miata as my daily, so it's been nice to be able to just tinker on the car without stressing. It's looking like 2022 should be a fun year for the Miata.
Last edited by tshea113; Jan 19, 2022 at 12:53 PM.
Reason: Fixing images
Images are broken for me BTW. If you just paste them in it looks like it works but it only works from the computer you made the posts from. Might fix it to re upload them with the image uploader.
Installed a boost gauge today because the empty spots in the dash are starting to bug me, and it'll be one less thing that I need to do once my kraken kit comes in.
I forgot how much of a rats nest it was behind there. Made sure to try to tuck stuff up better this time before putting everything back.
One less hole in the dash. Still not ready to commit to putting the air vents back in.
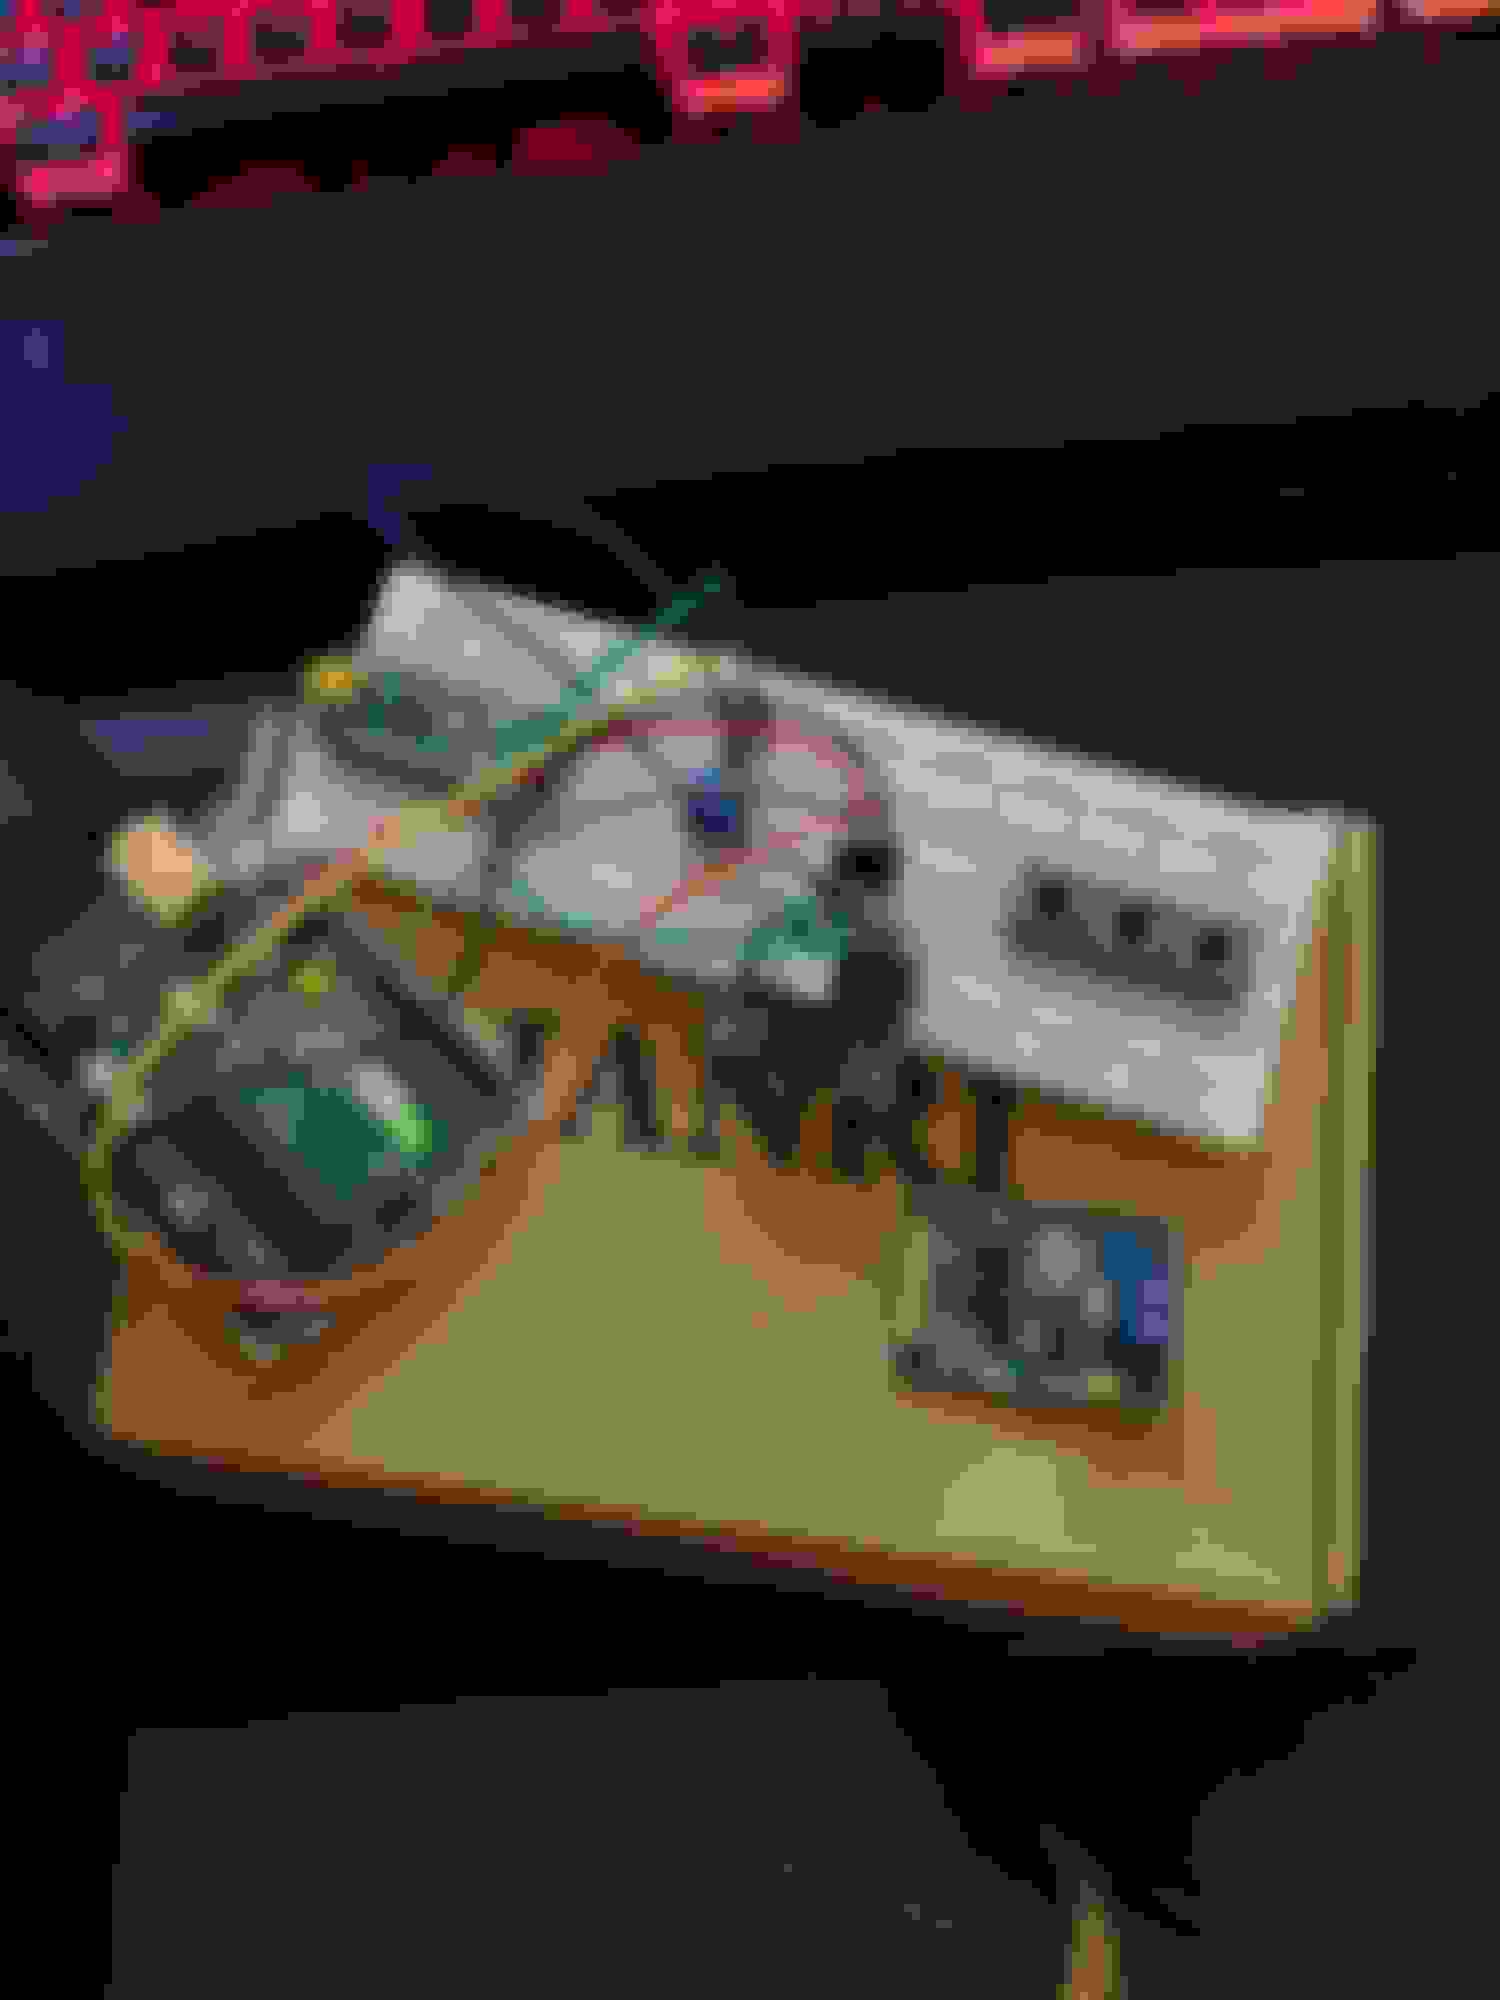
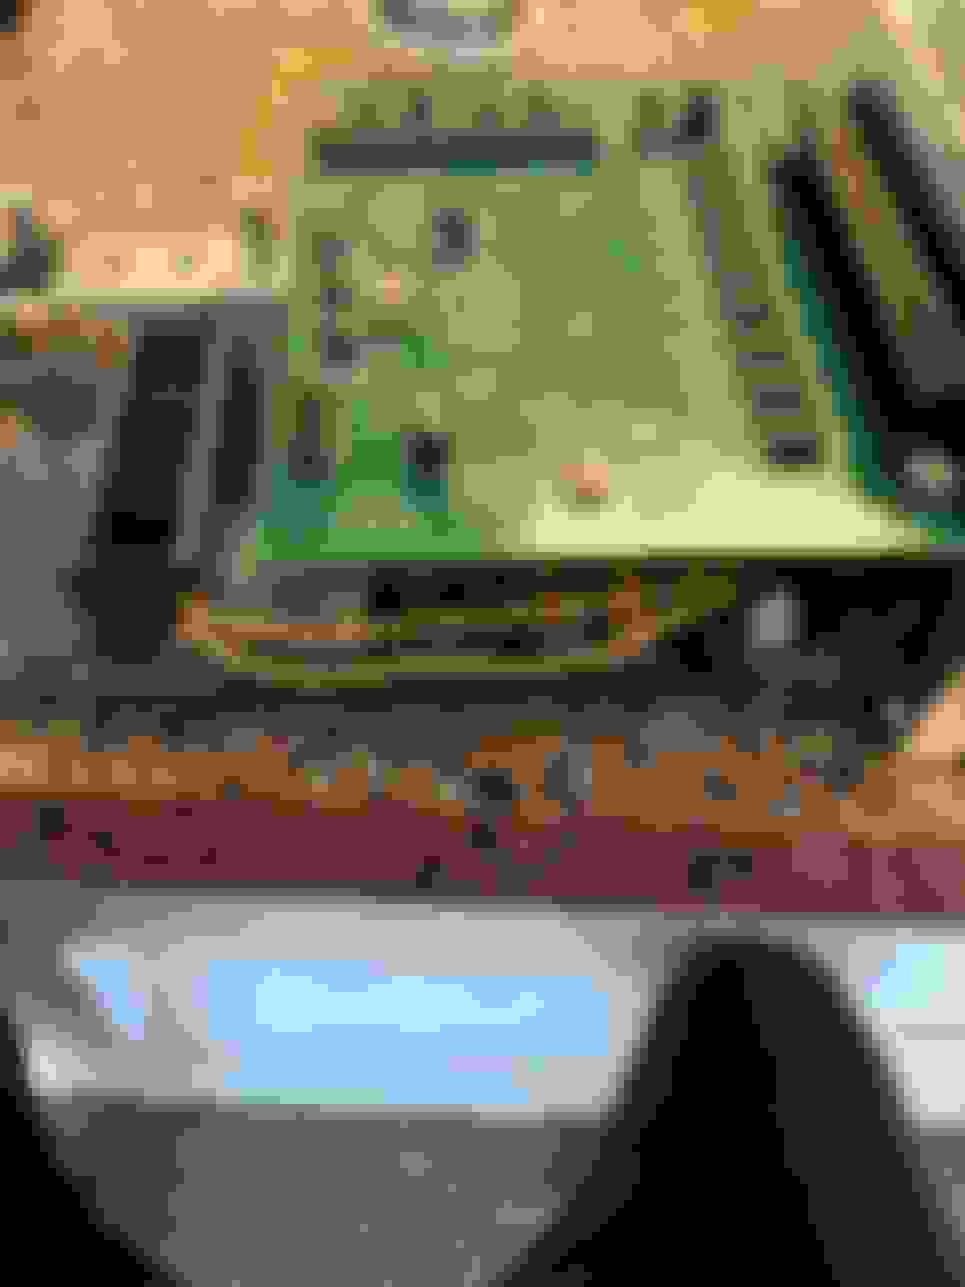
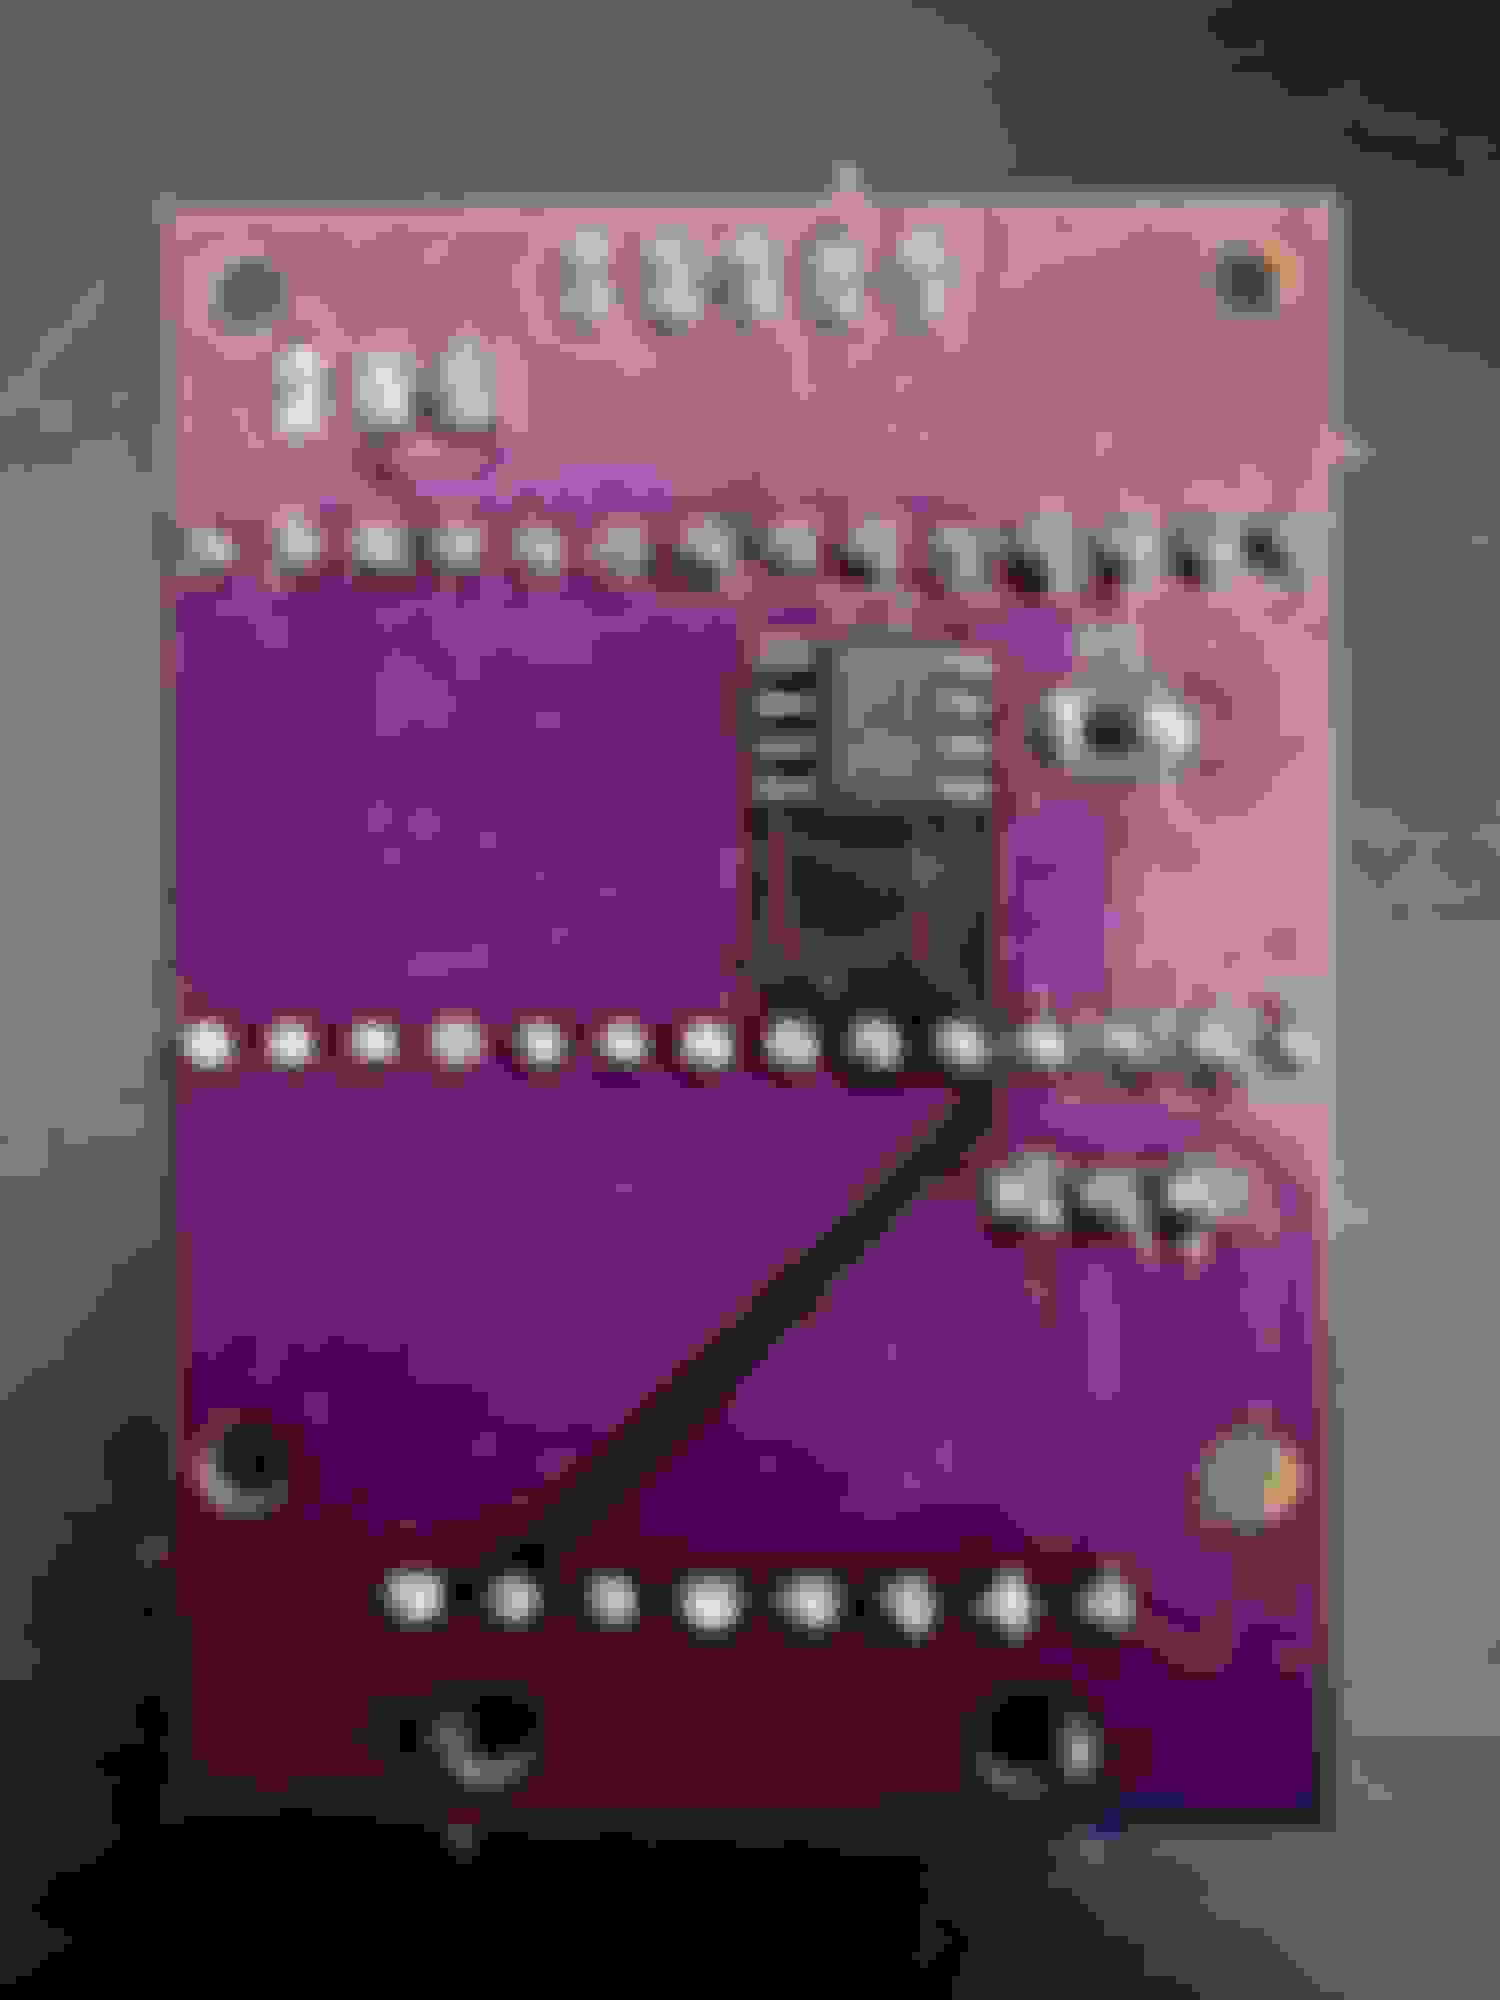
When I was doing some research on the Megasquirt CAN bus, I found some videos of people creating little CAN gauges using an arduino. I've already got a bunch of arduino parts lying around from some other projects, so I bought a few of the MCP2515 CAN controllers to try to play around with that.
Currently just playing around with the OLED screen and displaying data. The board in the bottom right is the CAN controller. If I'm motivated this weekend I'll rip out the megasquirt to get the CAN all wired up and start messing around with getting the arduino to read data from the ecu.
Been working a bit on the CAN gauge. I did some digging and found this YouTube video of someone who had already created something that was pretty much exactly what I was wanting to do, which is super convenient. I was able to trace the video back to an msextra thread with more details:
It looks like someone took this project a step further and put up a pretty much complete project up on GitHub complete with PCB design and 3d printed gauge housing:
I really like this one as a good starting point as there are a few things I'd like to change about this one. I forked the repo here's the link for anyone interested:
So far I've removed the GPS and the accelerometer. I don't really care about this data and the sensors added another $50 to the cost. I've been able to test the UI a little bit with what I've got on hand, but rather than trying to hack it to work, I've just been waiting for the parts to come in. Everything was about $60 from adafruit, and the remaining components and PCB will probably be another $40ish. My goal is to flesh out the instructions a bit more on this, so that it is more accessible to people that would like to have a more DIY option for a CAN gauge.
I spent yesterday getting the car wired up for CAN, which was just wiring a few jumpers on the Megasquirt and building out the harness. Currently waiting for some Deutsch connectors to come in so I can have a plug for the gauge and the 120ohm termination.
The parts came in last week and I was able to get everything setup with the teensy. I spent a few days banging my head against the wall trying to get the teensy to read the data over CAN with no success. I was able to verify with a little usb logic analyzer that the megasquirt was sending the right data, but for some reason couldn't get the teensy to read it. I had tried setting up the arduino to try to talk with the teensy over CAN and still couldn't get the teensy to see anything. After doing some digging, I realized I was using a newer version of the CAN library than the original code which had some changes to how the CAN connection was setup. After making a few changes, I got it to work!
Really excited to see it working. I'm pretty happy with the data views that were already created, there's the dashboard that's shown in the video with a bunch of data, single gauge screens that you can scroll through, and several histograms that plot data like in mega log viewer. I'd like to update the navigation a bit to make it easier to find specific gauges, and maybe have a bit more customization on the dashboard. That stuff will likely come later because I want to get the PCB finalized so I can get something that I can mount in the car. As I said before I removed the accelerometer and the GPS from the original gauge, so that should free up some space on the PCB to add some inputs for more analog sensors. The teensy has plenty of analog I/O, so having a few extra sensor inputs would be nice.
I'll try to get a better video of the different gauge views next time I'm fiddling with it in the car. I got so excited it was finally working I didn't think about that
Your location says Austin TX, but I recognize the location in your autocross picture a few posts back. I'm in Clermont FL and have been autocrossing with MSCC and CFRSolo for ~7 years now. I've got the LO MSM with the Turbo Kitty sticker on the back.
Yup, I just moved to Austin at the end of 2020, but before that I used to bounce between Sanford and Gainesville FL. I'd autocrossed with FAST and the corvette club several times when they were still doing events in Brookesville. I think that event was my first time with MSCC (or maybe the Porsche club I can't remember), and I had done another at the FIRM before moving, so we may have been at the same event! Really missing having so many autocross opportunities, it seems like there's an event somewhere in central FL every weekend.
I was able to solder up the 1.3" screen that will be going in the gauge to replace the 0.96" screen I already had. It made more of a difference than I expected. I had the gauge on the passenger floor because my CAN wires were too short, and it was still pretty easily viewable. Anyways here's a video for those that are interested:
There are still a few bugs in the single gauges that need to be addressed, but overall it pretty much is plug and play. I was able to get the PCB finalized and ordered along with all of the components for it. I stripped it down to the bare essentials for V1, so I can have a working gauge in the car while I work on other features. Everything should arrive in a week or two. Once I have the gauge mounted I'll be able to determine which gauge screens work best for the placement and what menus make sense in the car. Right now it's kind of annoying to look for the gauges you want, and there isn't much customization as to what is displayed on the screen.
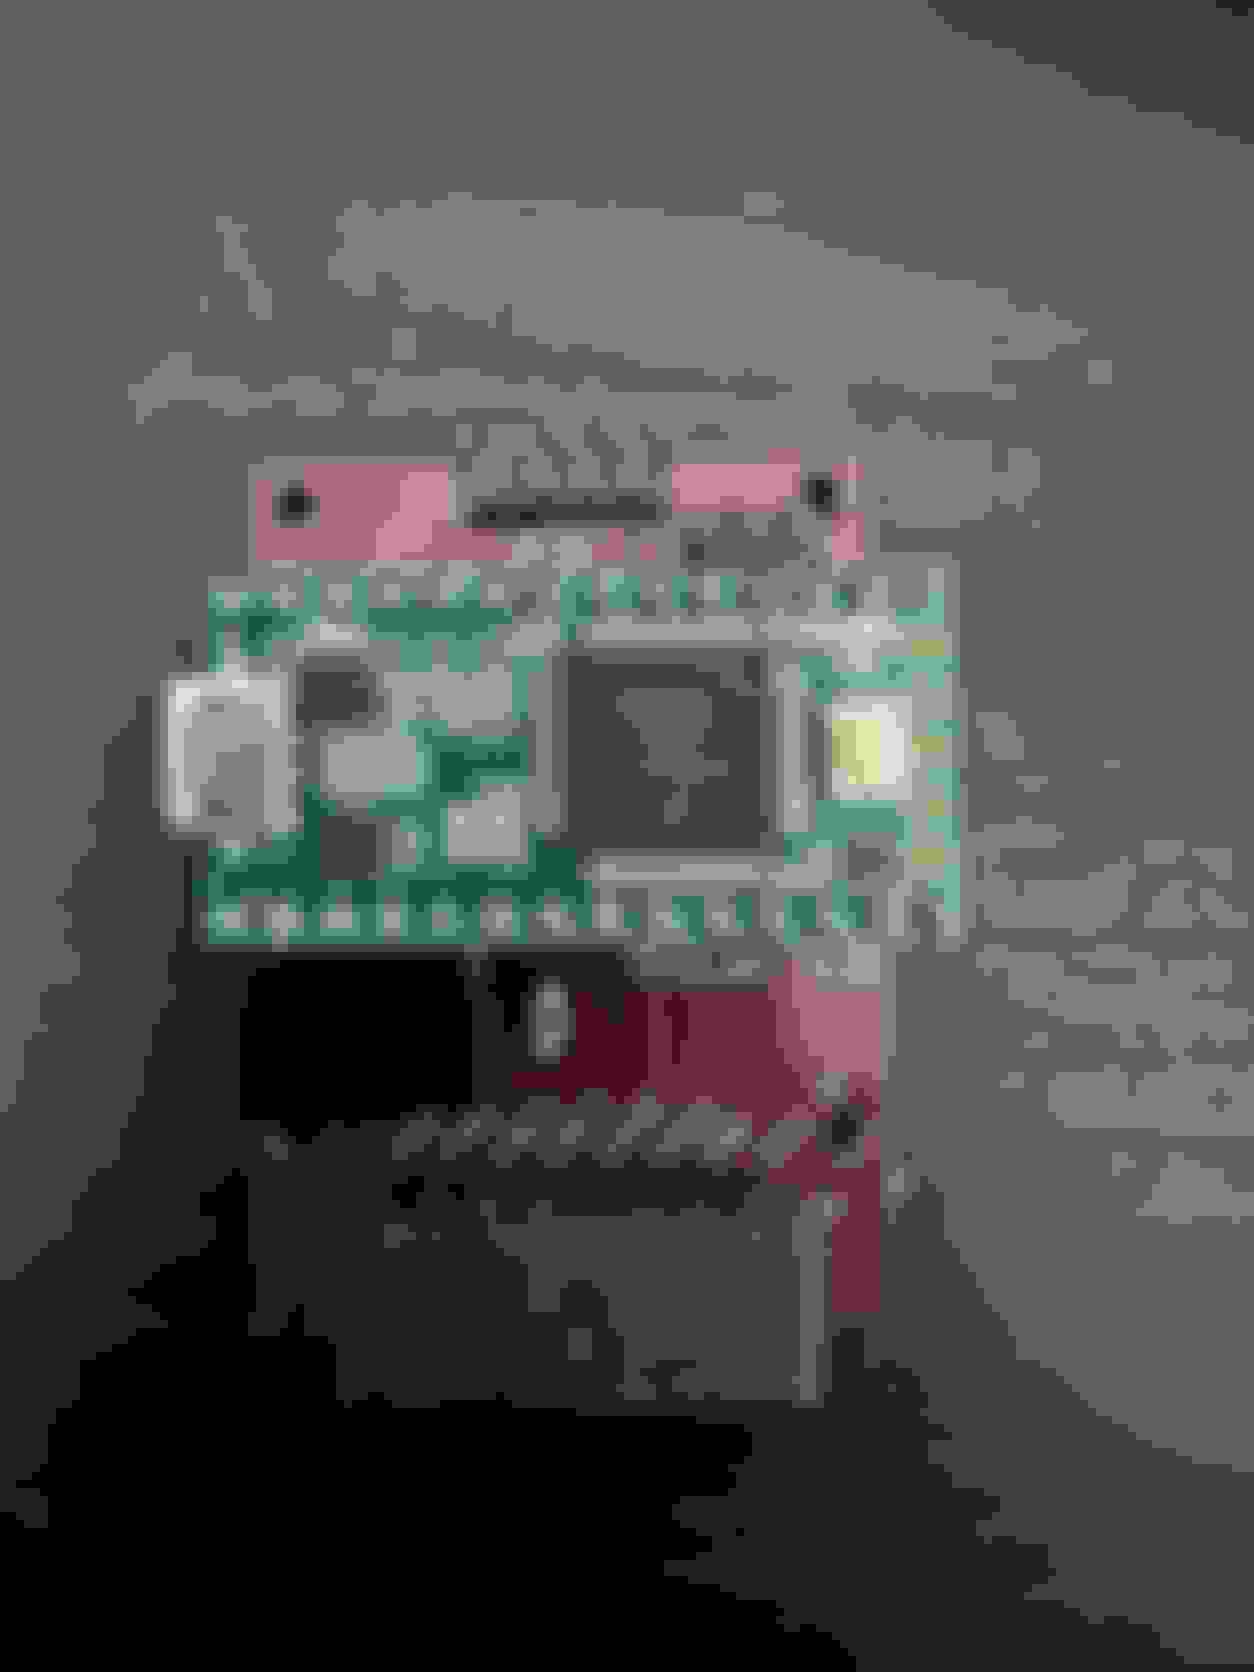
PCBs finally came in! Pretty happy with how everything turned out. Soldering the smaller stuff was surprisingly easier than I figured and didn't mess anything up too bad
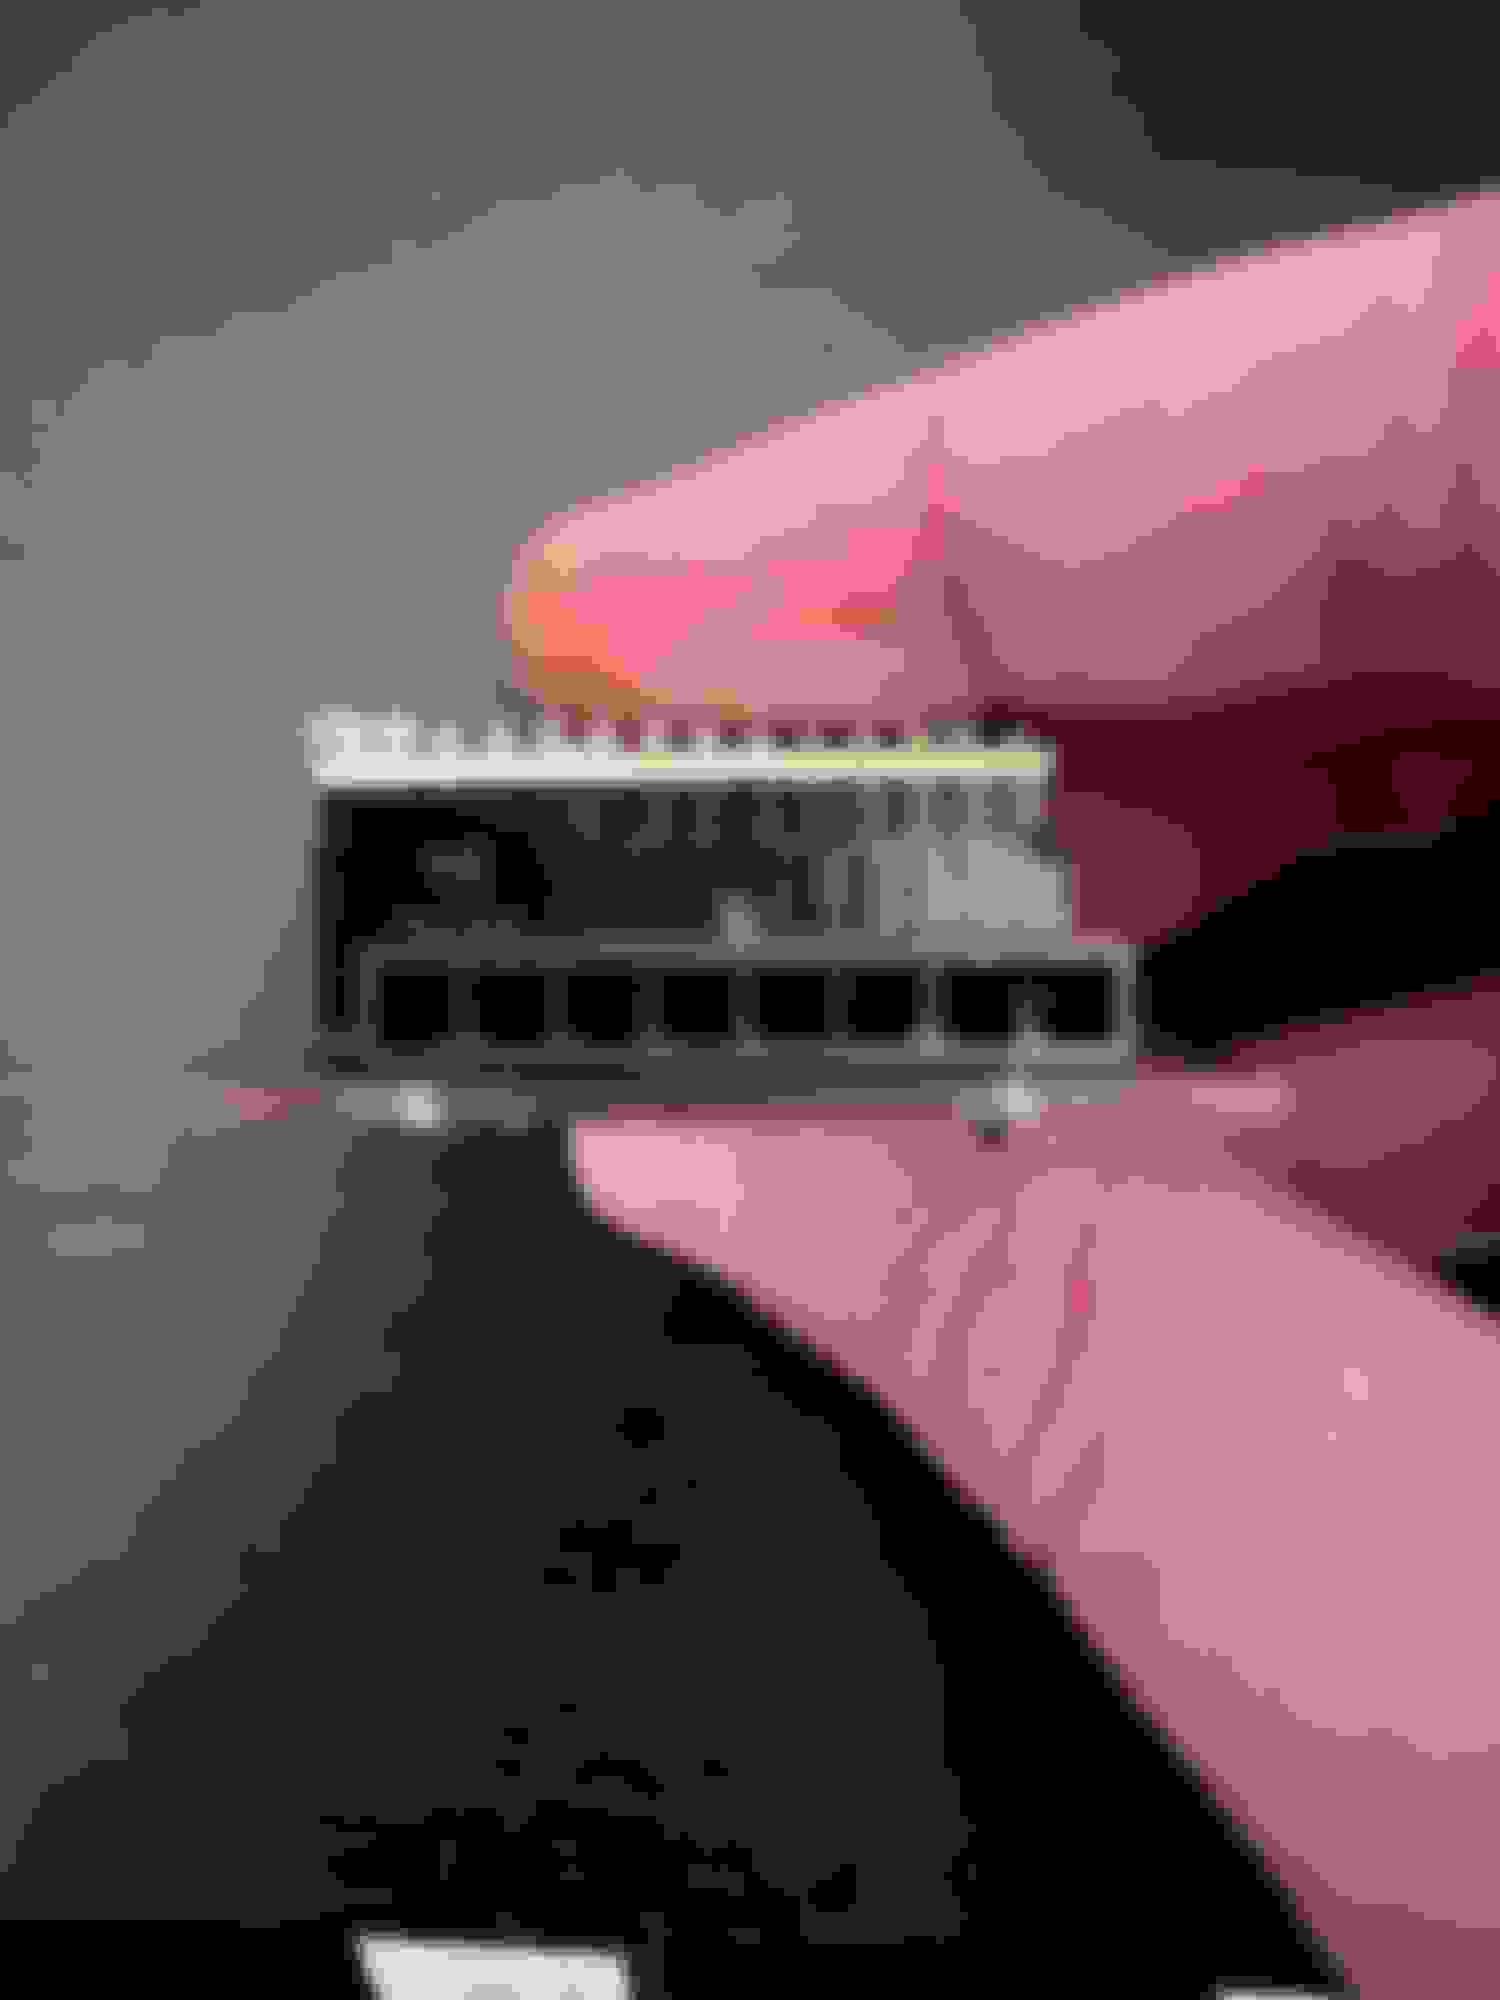
The gauge will connect to the car with this nice molex connector. I'm going to put some deutsch connectors between the molex and the car, so that moving the gauge doesn't require cutting into the car's harness, I'll just be able to remake the sub-harness. I was short a connector, so I will have to wait until that comes in before I can test it in the car.
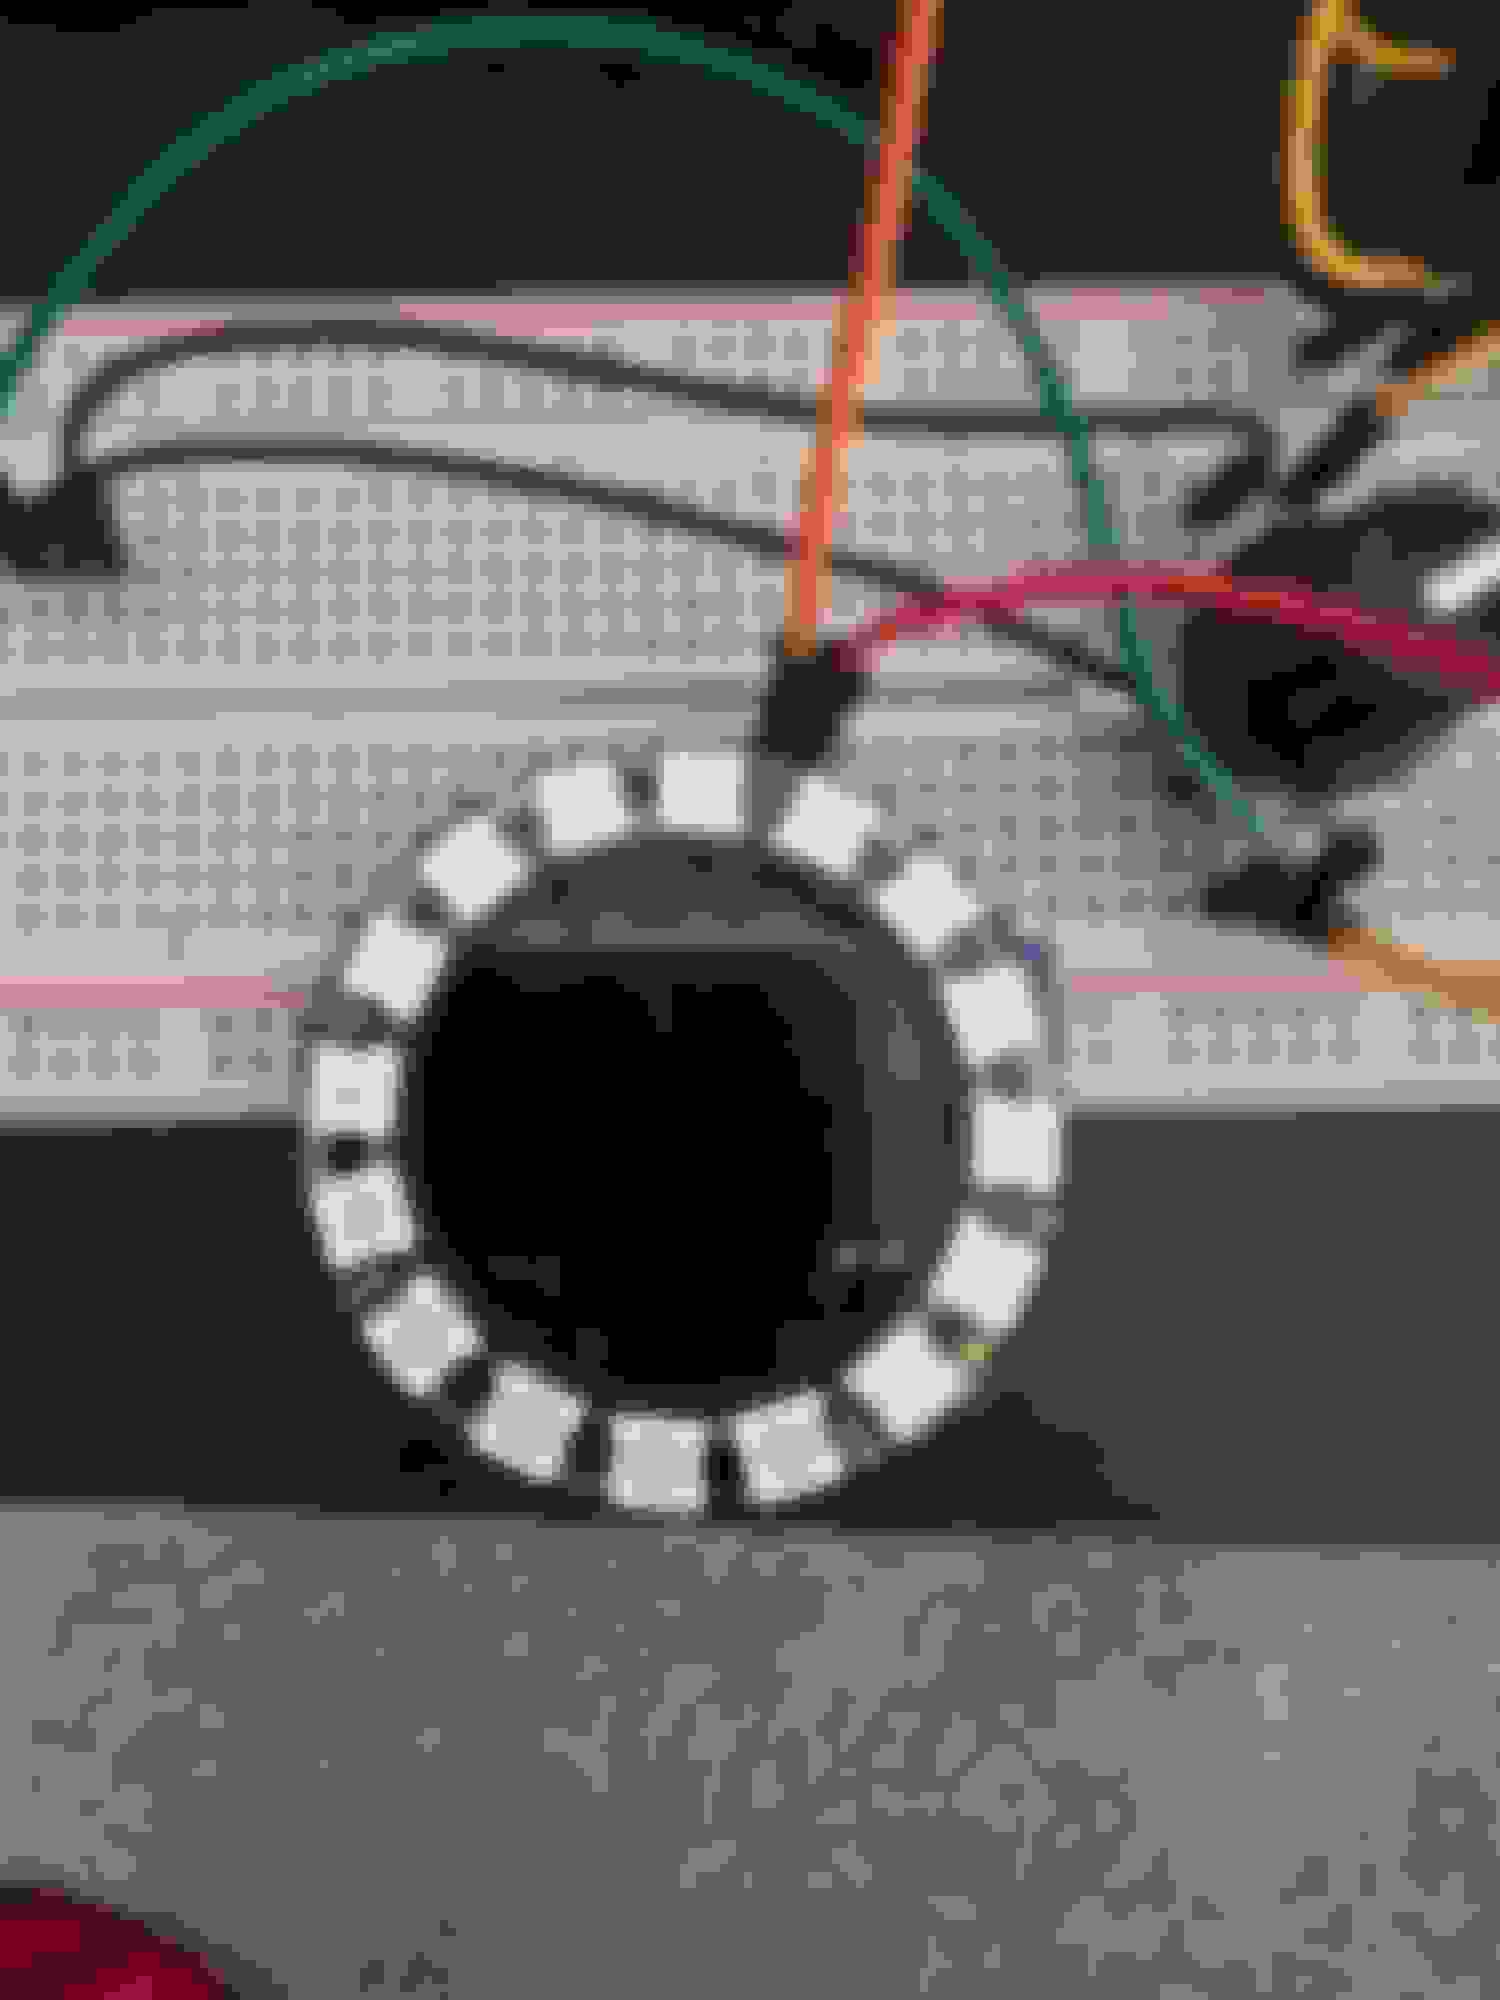
I still need to finish up the design for the gauge housing, but here is an idea of how the screen and LED ring will look together. The ring just barely covers some of the corners of the screen which is a bummer, but shouldn't take up too much screen area. So far I have a shift light for the ring that progressively lights up the ring until the set RPM where it will blink. I've also made a coolant warning that you can set that will cause the ring to blink when the temp gets too hot. I'll probably add some more once I've got it mounted and working in the car.
Here's a video of what I have for the menus right now. The main menu lets you pick which gauge type you want to see, and there is a settings menu for configuring the gauge. The settings save to flash, so they persist after the car has been turned off. You can kind of notice towards the end how the screen likes to bug out sometimes and shift everything down a row, but I'm hoping that's just from it being on a breadboard.
Quick update from some work I did today. Pulled apart the dash to get the harness for the gauge built. I was able to use the existing connector I had for my boost gauge power and ground and just slapped another deutsch connector on the CAN wires. I then built a subharness to go from those two connectors to the connector that plugs into the gauge. Everything looks to be working right.
Well, actually that's a half lie. I did notice that the power signal that I'm using causes the gauge to turn off during cranking, and that is causing the screen to not come back up once the car starts. I'd rather not have to run a new power wire, so I might try poking around at the software to see if I can make it work. I'm working with a friend of mine that is good with 3d modeling to get the gauge housing designed and printed. I should get sometime next weekend, so I'm hoping to have a working gauge in the car sometime next week. Super excited!
The gauge stuff hasn't really made much progress since my last update. The worldwide chip shortage is starting to become an issue with some of the parts I used, notably the Teensy 3.2 microcontroller and the CAN transceiver chip. Luckily there is a newer Teensy 4.0 that isn't supposed to be affected, so I was able to port everything over to that. Downside is I will need to order a new PCB as the CAN pins are different, but it's not a huge issue since the first board I made works for now. I have a few extras of the CAN transceiver chip, so I should have enough of those for now. I've been polishing up the code and finalizing the UI stuff while I wait for my friend to have some free time to help finish up the housing. Once I can get that, version 1 of the gauge should be good to put in the car. I had to mock up something out of cardboard to make testing it in the car easier.
I didn't have the LED ring attached in this setup, but the actual housing will have it. It's just barely bigger than the screen.
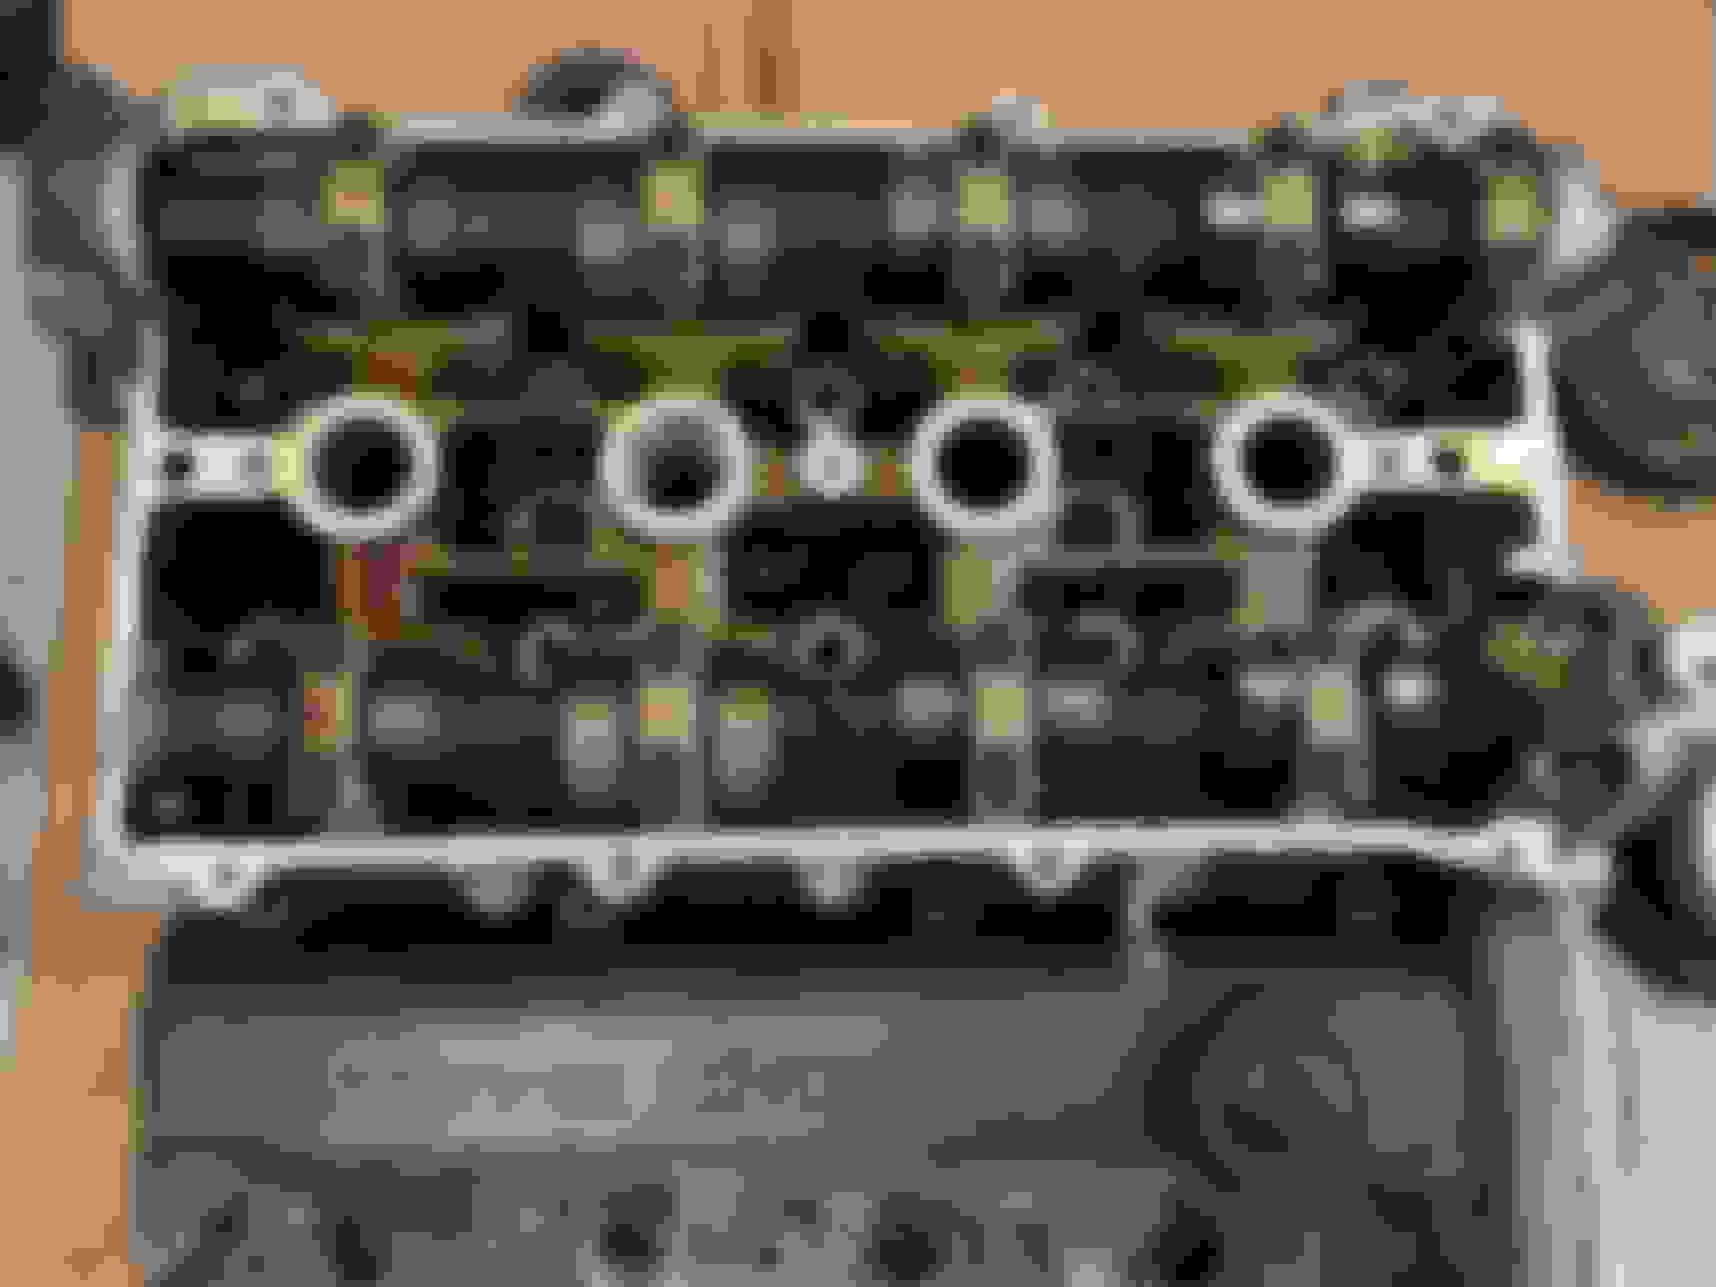
I saw on facebook that someone was selling a VVT head for $100, so I picked that up today.
It was in really good shape, so I couldn't pass it up. Guy had bought a VVT engine to put in a Lotus Seven kit car, and only needed the short block. Really cool guy. Not really sure what I wanna do with this thing, since I just bought a kraken kit for my 1.6, so I figure I'll just hang onto it and keep an eye out for a cheap 1.8 short block that I could build on the side. I really want to get the rust on the car cleaned up before I start dumping money into a built motor.
I also had a set of the M edition door sills come in the mail today. Honestly I don't really like them as much as I thought I would, so I'm a little bummed about that. They definitely need some cleaning up, so maybe I'll feel a little better after that. For now they at least cover up my crusty door sills
And a non-miata update is that I adopted a kitten this past week and wanted to show him off.
We named him Larry, and after a day he was already playing with my other cat
Haven't had much to update over the past month or so. My friend that's been helping print the housing has been running into some issues printing some of the thinner parts that sandwich onto the front, so it may need a bit of a redesign. I'm not in a rush to get that finished, so it's slowly moving along.
I signed up for an autocross at the end of May, so I'm pretty excited for that. It's been over 2 years since my last event, and my first event since moving to Austin. To get the car ready, I took a stab at doing a DIY alignment on the car since the last alignment was probably 3 or so years ago when I first put on the new suspension.
I built some blocks out of 2x4s and some of that smooth pressed wood **** that is used on cabinets. My jack stands couldn't go high enough to run the strings, so I copied the pvc mounts that I saw another user around here use. It was kinda a bitch starting out, but I feel like I was getting the hang of it towards the end. I went with the supermiata dual duty setup, here's the measurements I took with before on top and after on bottom:
There was a lot of "eh good enough" happening, but the car drives better than it did before so I'm not stressing over it. I ordered a set of RT660s off tirerack, and those are getting put on Saturday. They'll be my first set of 200tw tires, so I'm excited to see how they feel. Once those are on, the car should be ready to go.
I got the RT660s put on the weekend before last. I've just done a little bit of street driving and a trip to some twisty roads, but so far I'm really impressed with them. Both the alignment and the tires have the car feeling way more predictable in the corners; I really like how the car turns in with this setup. It's crazy how much variation in width there is between these and the DZ102s that they replaced, despite both being 205s. The Falkens are noticeably meatier.
I have an autocross event this weekend, and it's my first event since March 2020. Since then I've put in the Megasquirt and all of the supporting mods for that, so I'm pretty excited to get out and race with the new setup. I also bought an external mic and a roll bar mount for my gopro to try to upgrade my recording game a bit. I'm really bad about remembering to set it up, so the only other footage I have is from one of my first events back in 2018
Also, something big finally showed up in the mail this week.
It was almost 4 months to the day since I ordered, but its finally here. I'm really impressed with all of the stuff that this kit comes with: all of the lines and fittings, a new billet mixing manifold that retains the heater hose, blow off valve, and then all of the big stuff. The autocross is on Sunday this weekend, so I won't get to start putting this on until the weekend after. I'm registered for autocross events in both the June and July, but the June event is on June 10th. That really only gives me 2 weekends to get the turbo on and tuned, which I don't see happening at all, so I plan on just taking the Civic to that one.
I'm hoping I can get the car sorted by the event on July 17th. I originally wanted to try to tune the car myself, but I may end up just playing it safe and taking it somewhere. Would suck to try to take it racing on some half baked tune and end up breaking the car. I'm optimistic that I can get the car buttoned up in a month and a half, but we will see.
Autox event went really well, and I'm super happy with how the car is set up. The jump in the amount of grip I get with the RT660s over my last tires is crazy, and the new alignment has the car wanting to turn in harder without kicking the *** out. My gopro took a crap after my second run, so of course I only have my two slowest runs. This run was a 43.597, and my fastest was a 41.052.
I was able to setup my CAN gauge in the car by just shoving it into the radio hole. It's not pretty, but it was nice to be able to monitor MAT and coolant temps while sitting in grid.
Now I can focus on getting the turbo stuff installed. I didn't realize Memorial day was next weekend, so hopefully with the extra day I should be able to get everything put on.
The 660s are great, just beware when co-driving or taking fast back to backs as they can get real slick when hot. Also they kinda blow in the rain from what I can tell. That being said I'm totally buying another set, love them.
Your can gauge setup is way nice, It's gonna look so much cleaner than the rpi tuner studio setup I have. Love that style of display.
The 660s are great, just beware when co-driving or taking fast back to backs as they can get real slick when hot. Also they kinda blow in the rain from what I can tell. That being said I'm totally buying another set, love them.
Ah that makes sense, I saw all of the cars running doubles were spraying down their tires after each run. I'll keep that in mind for the future.
Originally Posted by soot
Your can gauge setup is way nice, It's gonna look so much cleaner than the rpi tuner studio setup I have. Love that style of display.
Thanks! It's been coming along better than I anticipated, and it was nice to finally get some use out of it. Can't fit as much info on it as a pidash, but its enough for a few vitals that you wanna keep an eye on. I bought a 3D printer that should be shipping soon so I can finally finish getting the housing made.
My 3D printer showed up yesterday, and I was surprised how easy it was to get it up and running. The thing prints really good right out of the box, so far I'm super impressed.
I'm working on printing everything I need to finish up the enclosure, so that it keeps the noise in and dust out. Once I'm finished with that, I'll take a stab at printing the gauge housing.
More importantly, today I started working on getting the turbo stuff on. I was able to strip off all the intake and exhaust stuff as well as drain the coolant and oil.
Then I tackled drilling and tapping the oil pan. Interestingly the Kraken kit comes with a 3/4 UNF to AN bung instead of NPT which I've never heard of. Doesn't really matter since it's getting JB welded in there. I was really fighting with the tap to get it to go in straight, but it eventually worked out. I couldn't find my JB weld or my mineral spirits, so I'll finish that part up tomorrow morning. Note my leaky and neglected steering rack, that'll be my next project after the turbo stuff is wrapped up.
I went to go put on the oil feed and saw this.
What the ****? This is a 1.6 out of a 1993? Where the hell are my oil and water feeds? I did some googling and found this:
Ok cool its a crate motor. I bought this engine from Treasure Coast Miata a few years back and according to them it had 80k miles on it at the time. Now I'm wondering did the car it come out of have 80k miles and this engine possibly has less? I remember when I got the engine I was surprised how clean it was. Anyways I was freaking out that I would now need to order a longer line and an adapter to tap into the oil pressure sensor, but luckily the Kraken kit comes with the fittings to do it either way.
That's where I stopped today. Had a bit of a late start because I was messing around with the printer all morning, but hoping to start a bit earlier tomorrow to beat the heat. Goal for tomorrow is to at least have the turbo on, make all of the AN lines, attach the new mixing manifold, and plumb up all of the oil and water lines. Maybe more if the heat doesn't get to me, but it's been a very hot May here in Texas.


 0
0