When you click on links to various merchants on this site and make a purchase, this can result in this site earning a commission. Affiliate programs and affiliations include, but are not limited to, the eBay Partner Network.
Needless to say, the rest of the wheels in this set are never going on track again. I'll try and reuse them for the offroadster.
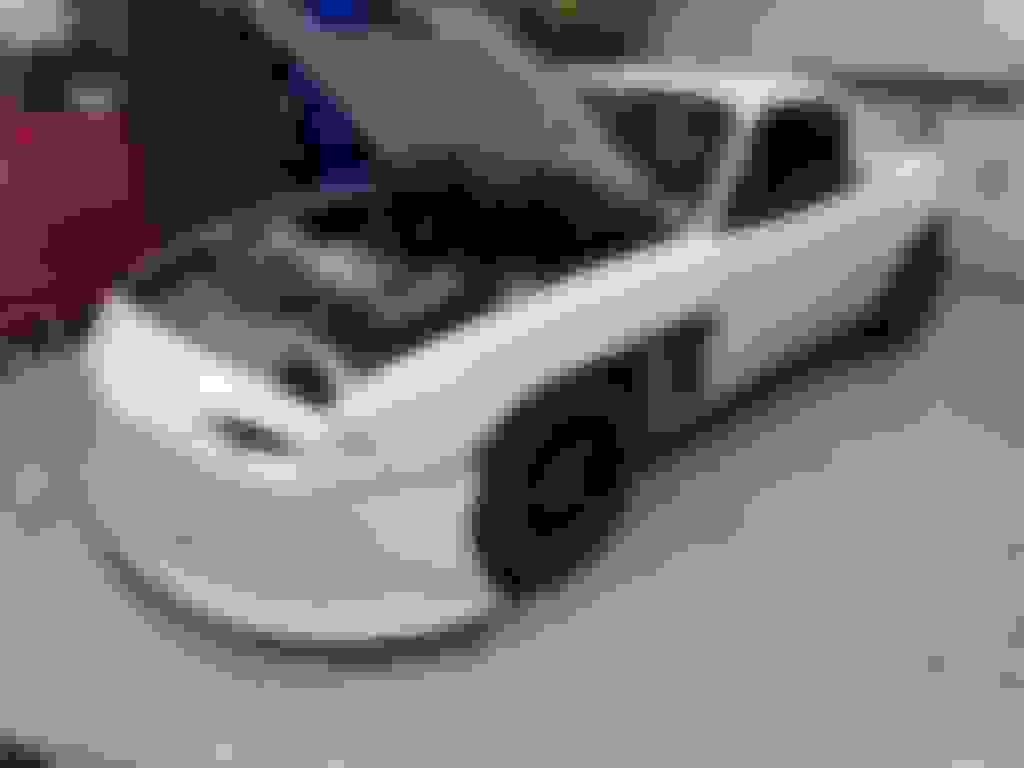
I started prep for the 2018 NASA season over the holidays.
New windshield
Removing the adhesive residue from the livery. I'm pretty sure the gunk is due to waxing the car before applying the graphics. The adhesive and wax turned in to pure evil residue.
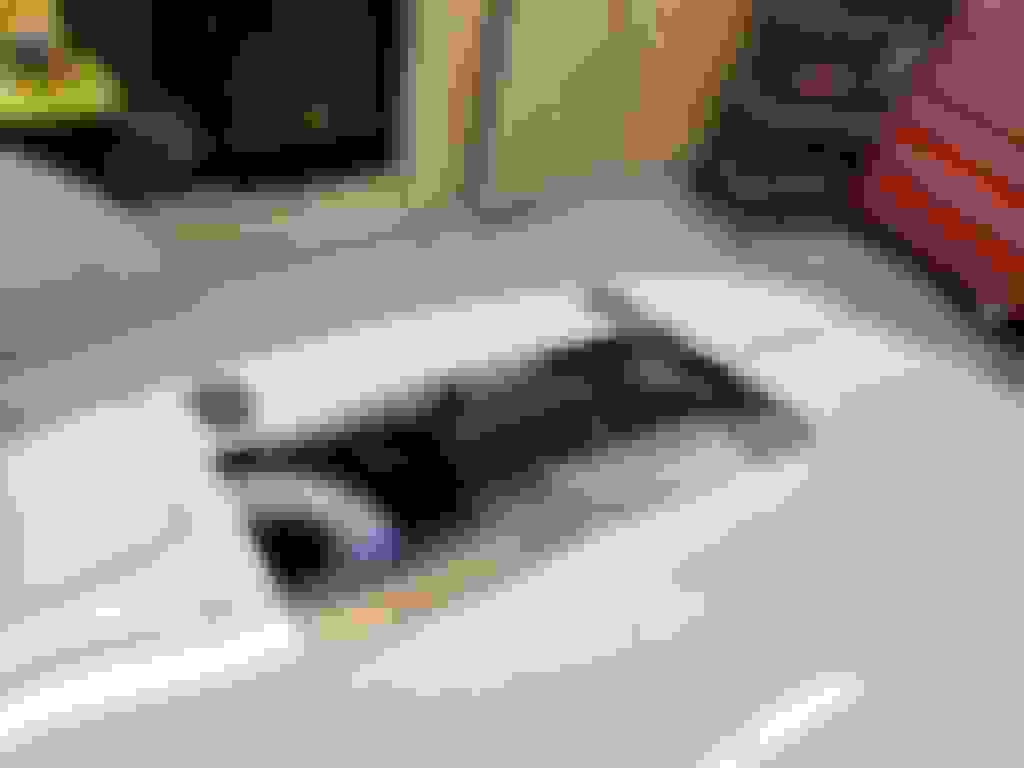
I pulled the bumper and insides off to build some splitter supports.
Before I knew it the entire core support was gone. I was stubborn and left the radiator in place, and poked a hole in it with a sawzall, and the "simple project" went downhill from there.
I built a bolt-on core support/bumper beam out of steel, and mounted the radiator further forward and at an angle to try and duct it out the hood.
I also cut my fenders because all the cool kids are doing it!
A nice Houston winter afternoon gave me the chance to TIG together a new exhaust. I used a Jones Turbine muffler and installed it about where the stock cat would be. I used pre-made mandrel bends from an Amazon kit.
Since the oil cooler and radiator are further forward, I needed to address the coolant and oil hoses.
I removed the filter relocation kit and opted for a sandwich plate instead. All new -10AN hoses to connect the accusump and cooler:
For the radiator I got a little frisky. I had been using AN to hose barb adapters to fit stuff together, but wanted to do all AN. Inline thermostat housing:
Now AN! straight cut O-ring to fit the KMiata water neck on one side.
I tapped an 1/8 NPT hole to ease bleeding. The radiator sits just a tiny bit lower than the rear.
I also took a brand new Mishimoto radiator out of the box and welded on AN fittings.
All AN'd up. I'll build some hose supports to relieve the stress, but that's another day.
I also bored out a 1/4" NPT nipple and pressed the IAT sensor in. The tip just barely sticks down into the air. This way I don't have a sensor to worry about with intake piping.
I replaced the motor mounts with stiffer rubber, and one required repair:
I'm not surprised at the cracks given the hard hits and jolts the car has seen in racing duty. David with KMiata tells me that an improved design is in the works anyway.
Some high tech splitter building:
Lots of work to do still, but 3 weeks until race day.
Dang, son! You ain't supposed to ride around on yer calipaters and roteraters. Them's what wheels is fer. Might ought to look into that.
But seriously, I'm glad you were alright. Did it wobble or wiggle before it broke?
Nope! It just let go. I had inspected pretty closely for cracks when I changed tires the previous day, so this is something that developed and failed over the course of a single track day!
And yet another splitter project starts with a frame that bolts to the bottom of my subframe. The ears on either side of the oil pan are where the splitter's frame will attach.
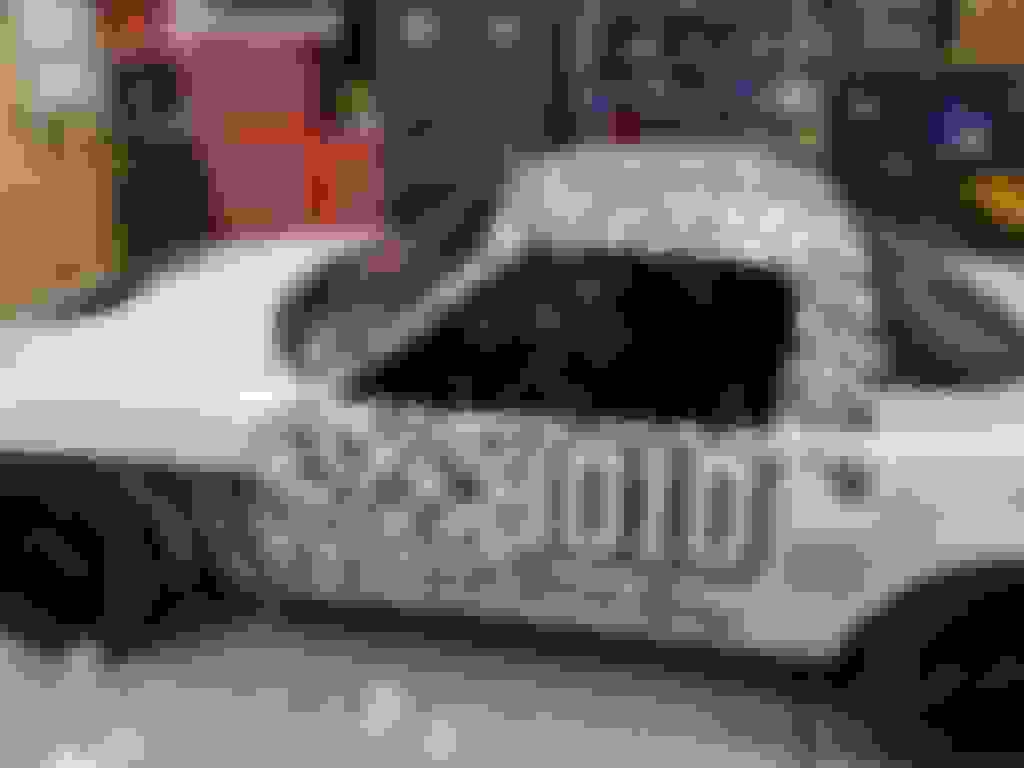
I also decided on the new livery. To the vinyl cutting room!!
I designed the pattern such that the grid of 4 like this will match up on all sides to the next. The four 2' x 2' patterns cover about this much real estate:
A second layer adds the accents on the spots.
Nice big mess.
With the proof of concept in place and a good idea of how many copies it would take, I made a bunch more:
When I put on the first set, I got to thinking "these look kind of like track maps" which gave me an idea:
All tracks I've driven, scaled relative to each other and oriented North up:
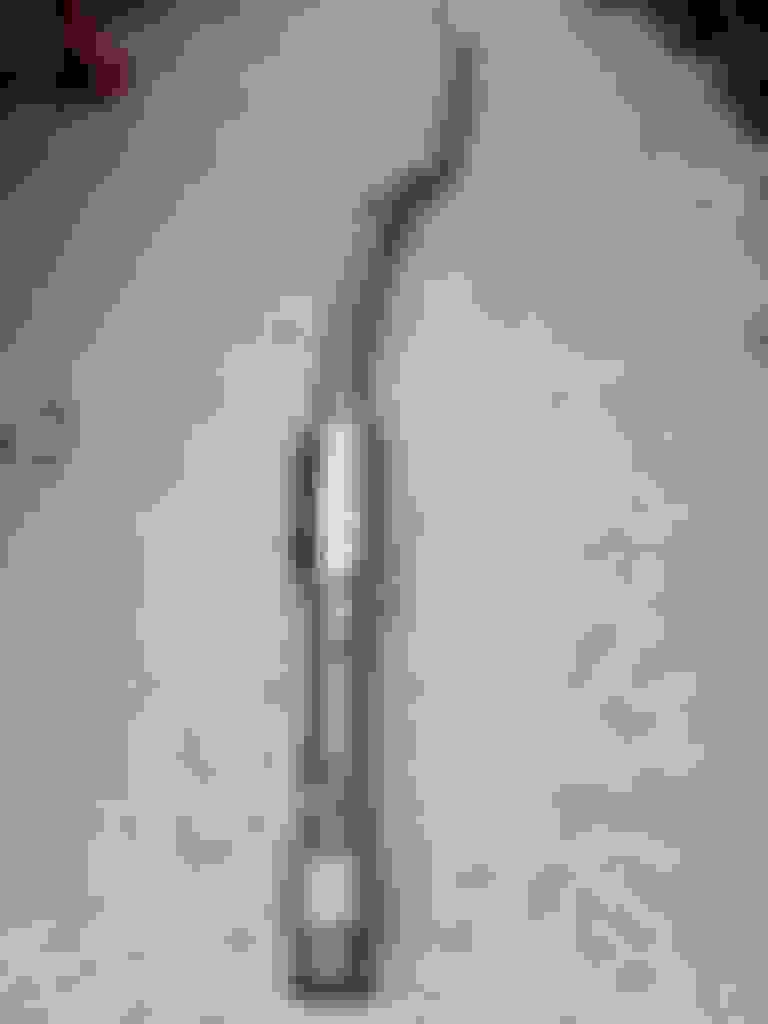
I was having issues with shifting, and finally the car wouldn't even go into gear with the engine running. I had a feeling it was TOB or pressure plate, and I wasn't wrong. When I pulled the rubber boot from around the shift fork, this fell out.
The TOB was completely free of the fork and hanging from the input shaft.
The tumbling shrapnel did a number on the flywheel too.
So I picked up KMiata's revision 2 flywheel. They had it to my door in like 2 days. Awesome.
I also bought a brand spankin' new NB 5 speed from Mazda Motorsports, which I immediately cut a chunk out of to make room for the K series starter.
While reinstalling the transmission, I noticed that the PPF was a little TOO easy to move. The diff mount cracked right down the engineered shear point. CRAP!
I patched it up with the TIG welder and added some reinforcement.
Yes my welding is terrible looking.
Fired up the car to do move it into position for corner balancing .... and it wouldn't go into gear while running. CRAP. I went back through the adjustment procedure, verified travel range, even replaced the hydraulics with no success.
New 949 Clutch, new flywheel, but the two together wouldn't disengage. At Kmiata's suggestion I used a shop press to test new clutch on old flywheel, and new flywheel:
Sure enough, the clutch disengaged with the old flywheel, but not new. We went back and forth comparing measurements, as well as verified with 949 that the disc was the right thickness. Everything was in spec, if at the edge of acceptable tolerance. The new flywheel's friction surface was something like 0.009" closer than the old worn one to the PP mount towers, a minuscule amount but that was just enough to make the difference. I used some shim washers to add 0.012" between the PP and flywheel, and tried the press again, and it worked.
Everything reassembled, the car thankfully went into gear and shifted as expected. Yay.
 01-08-2018, 12:13 PM


 1
1