When you click on links to various merchants on this site and make a purchase, this can result in this site earning a commission. Affiliate programs and affiliations include, but are not limited to, the eBay Partner Network.
Nice build, love the wire tuck and white bay. did a tuck myself but left the relays in place, where did you put them?
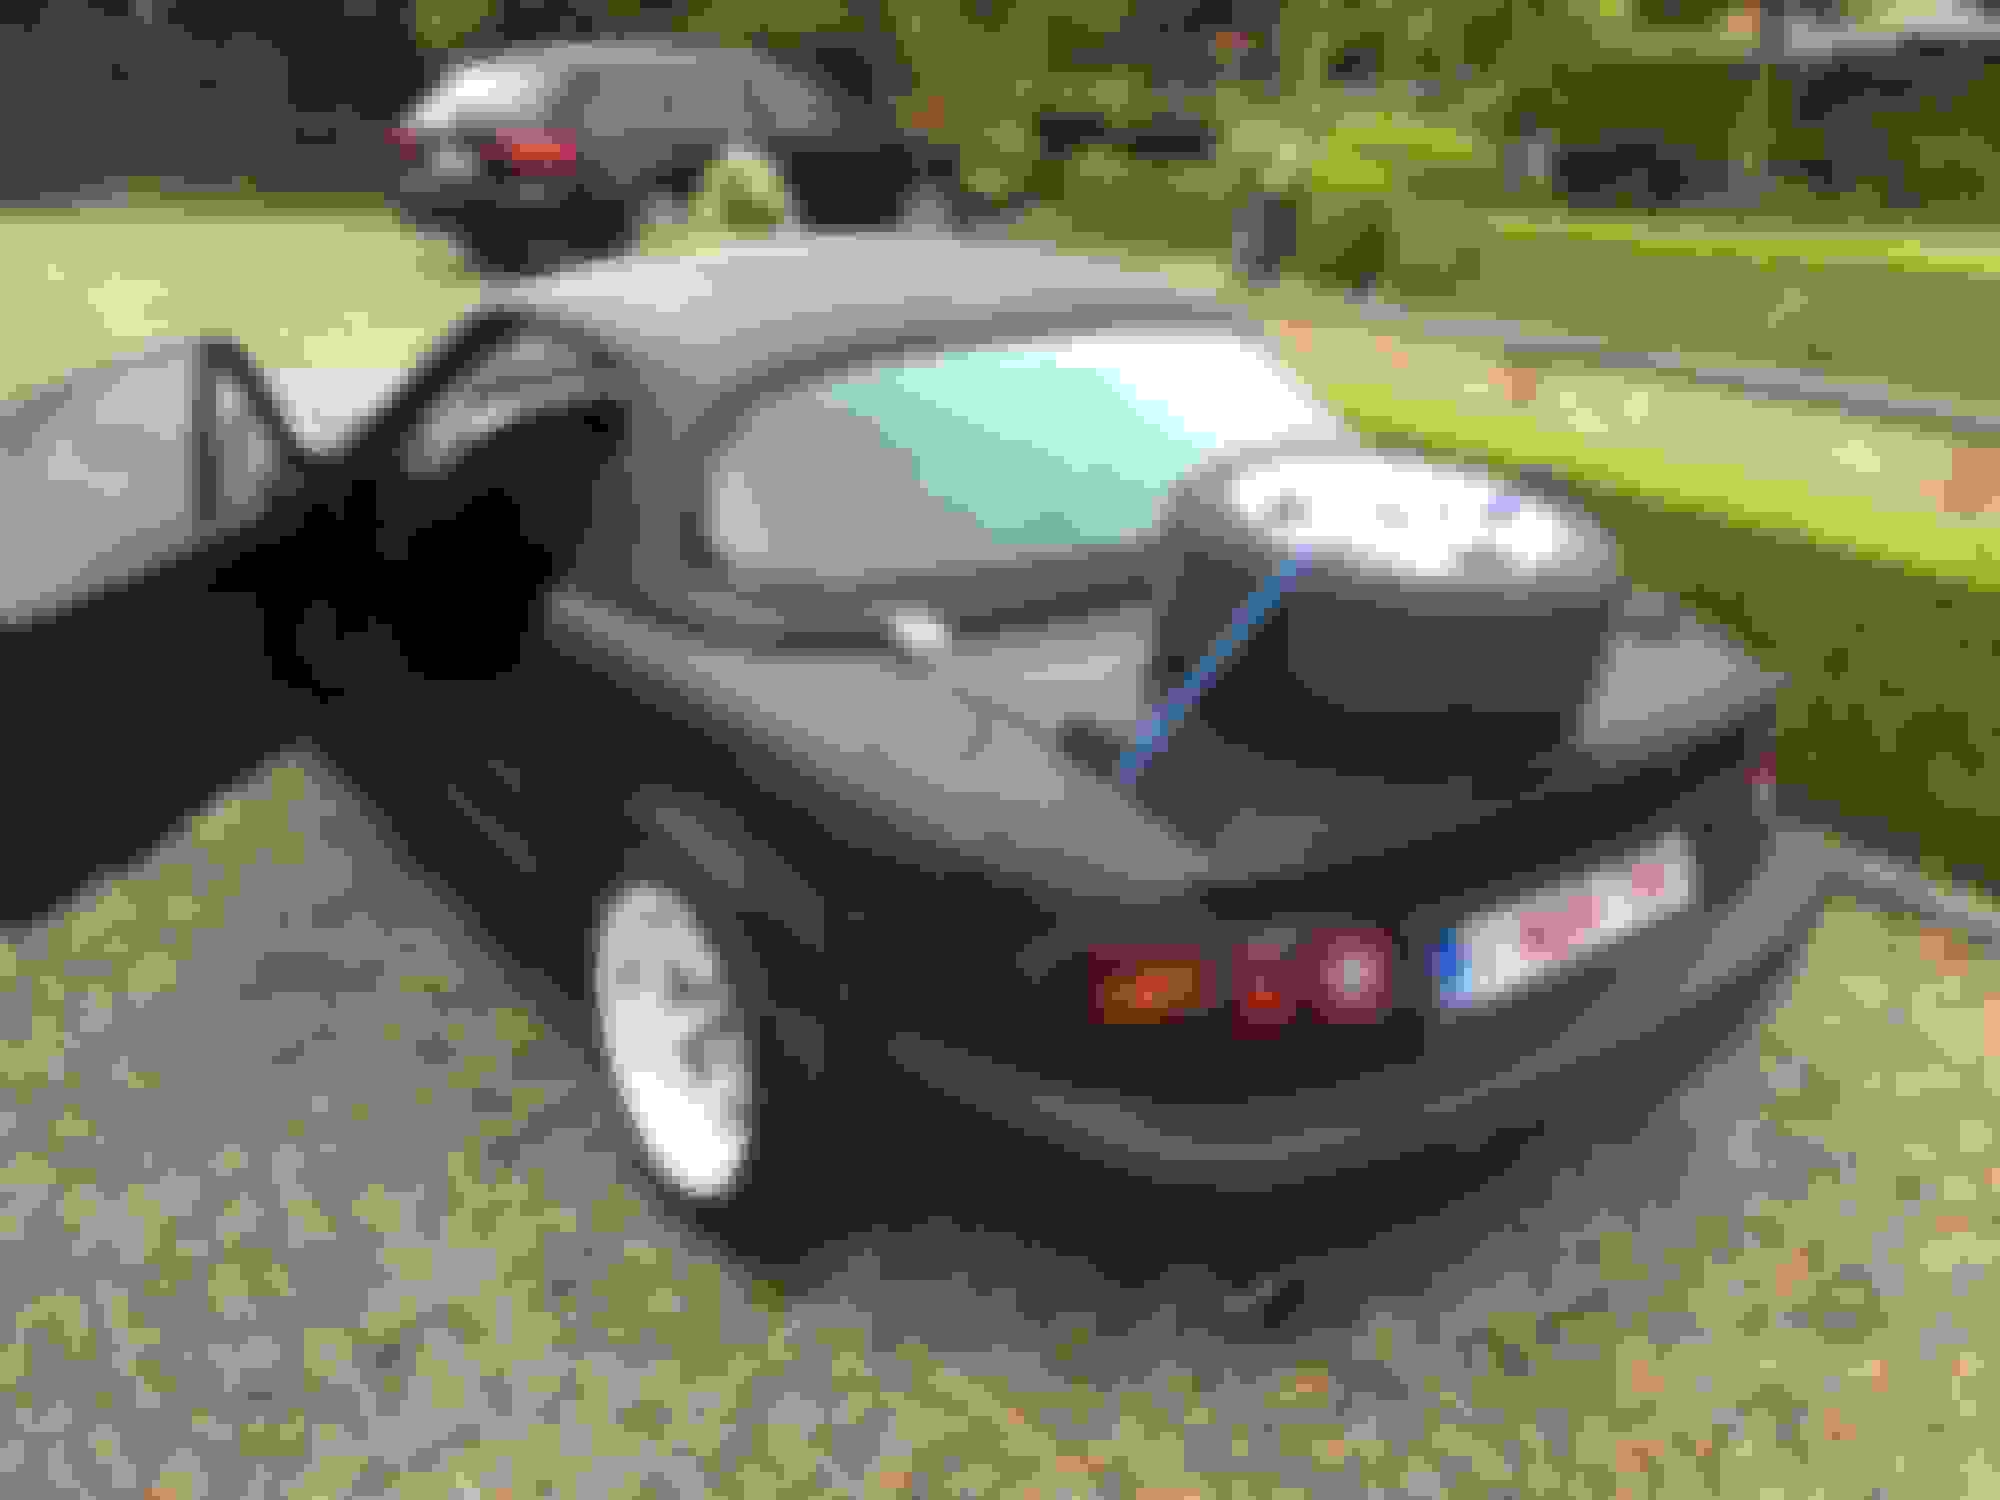
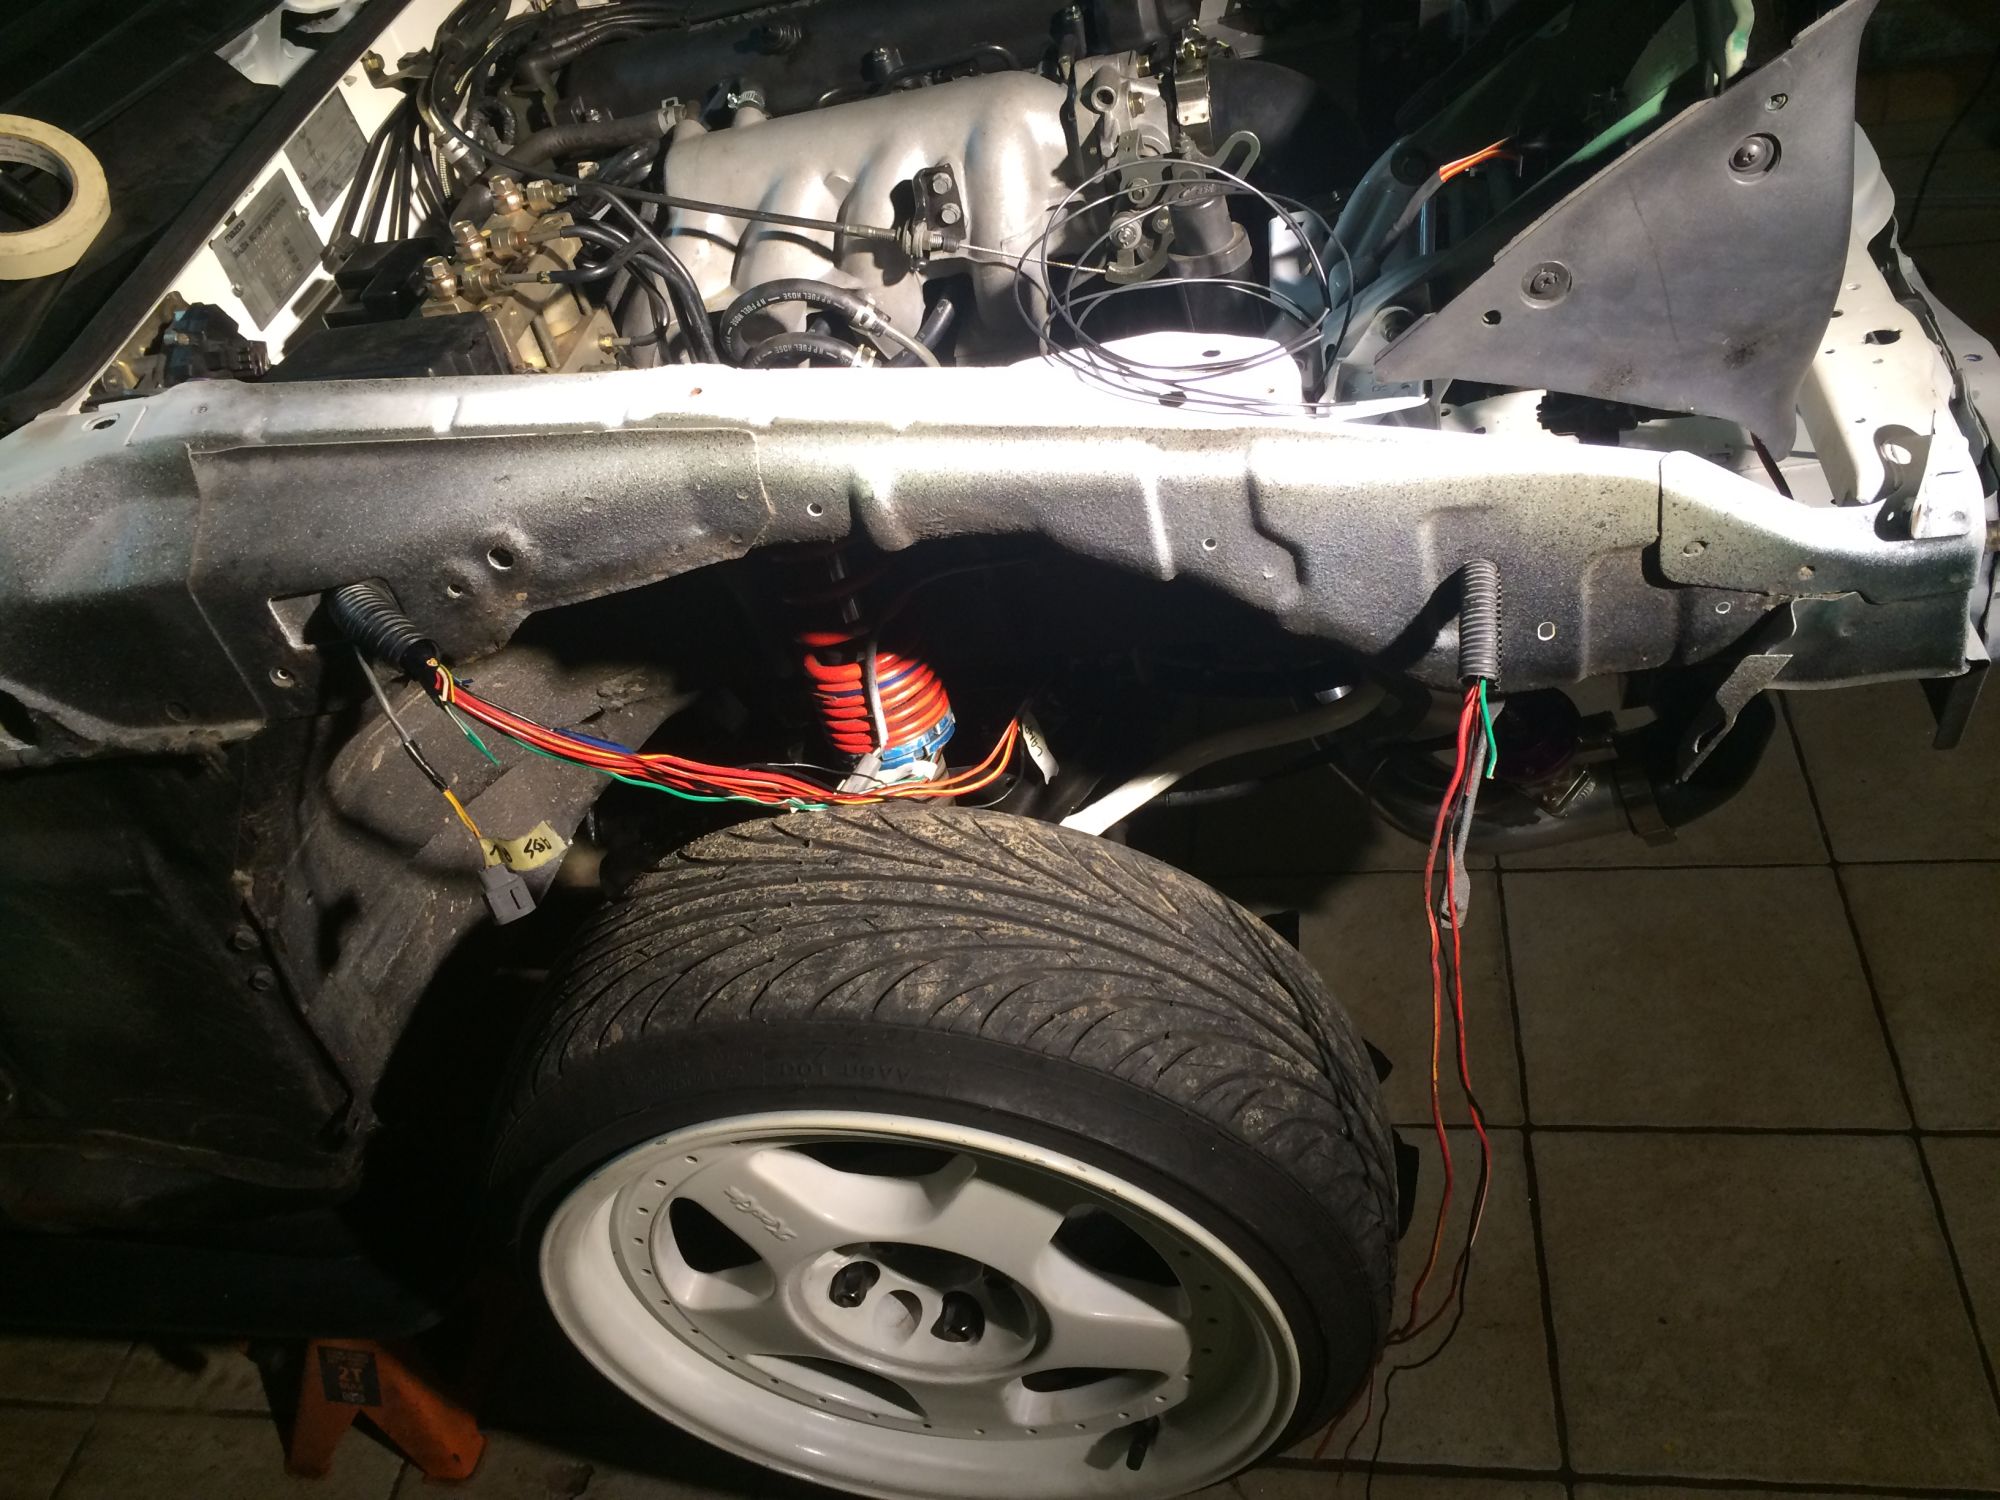
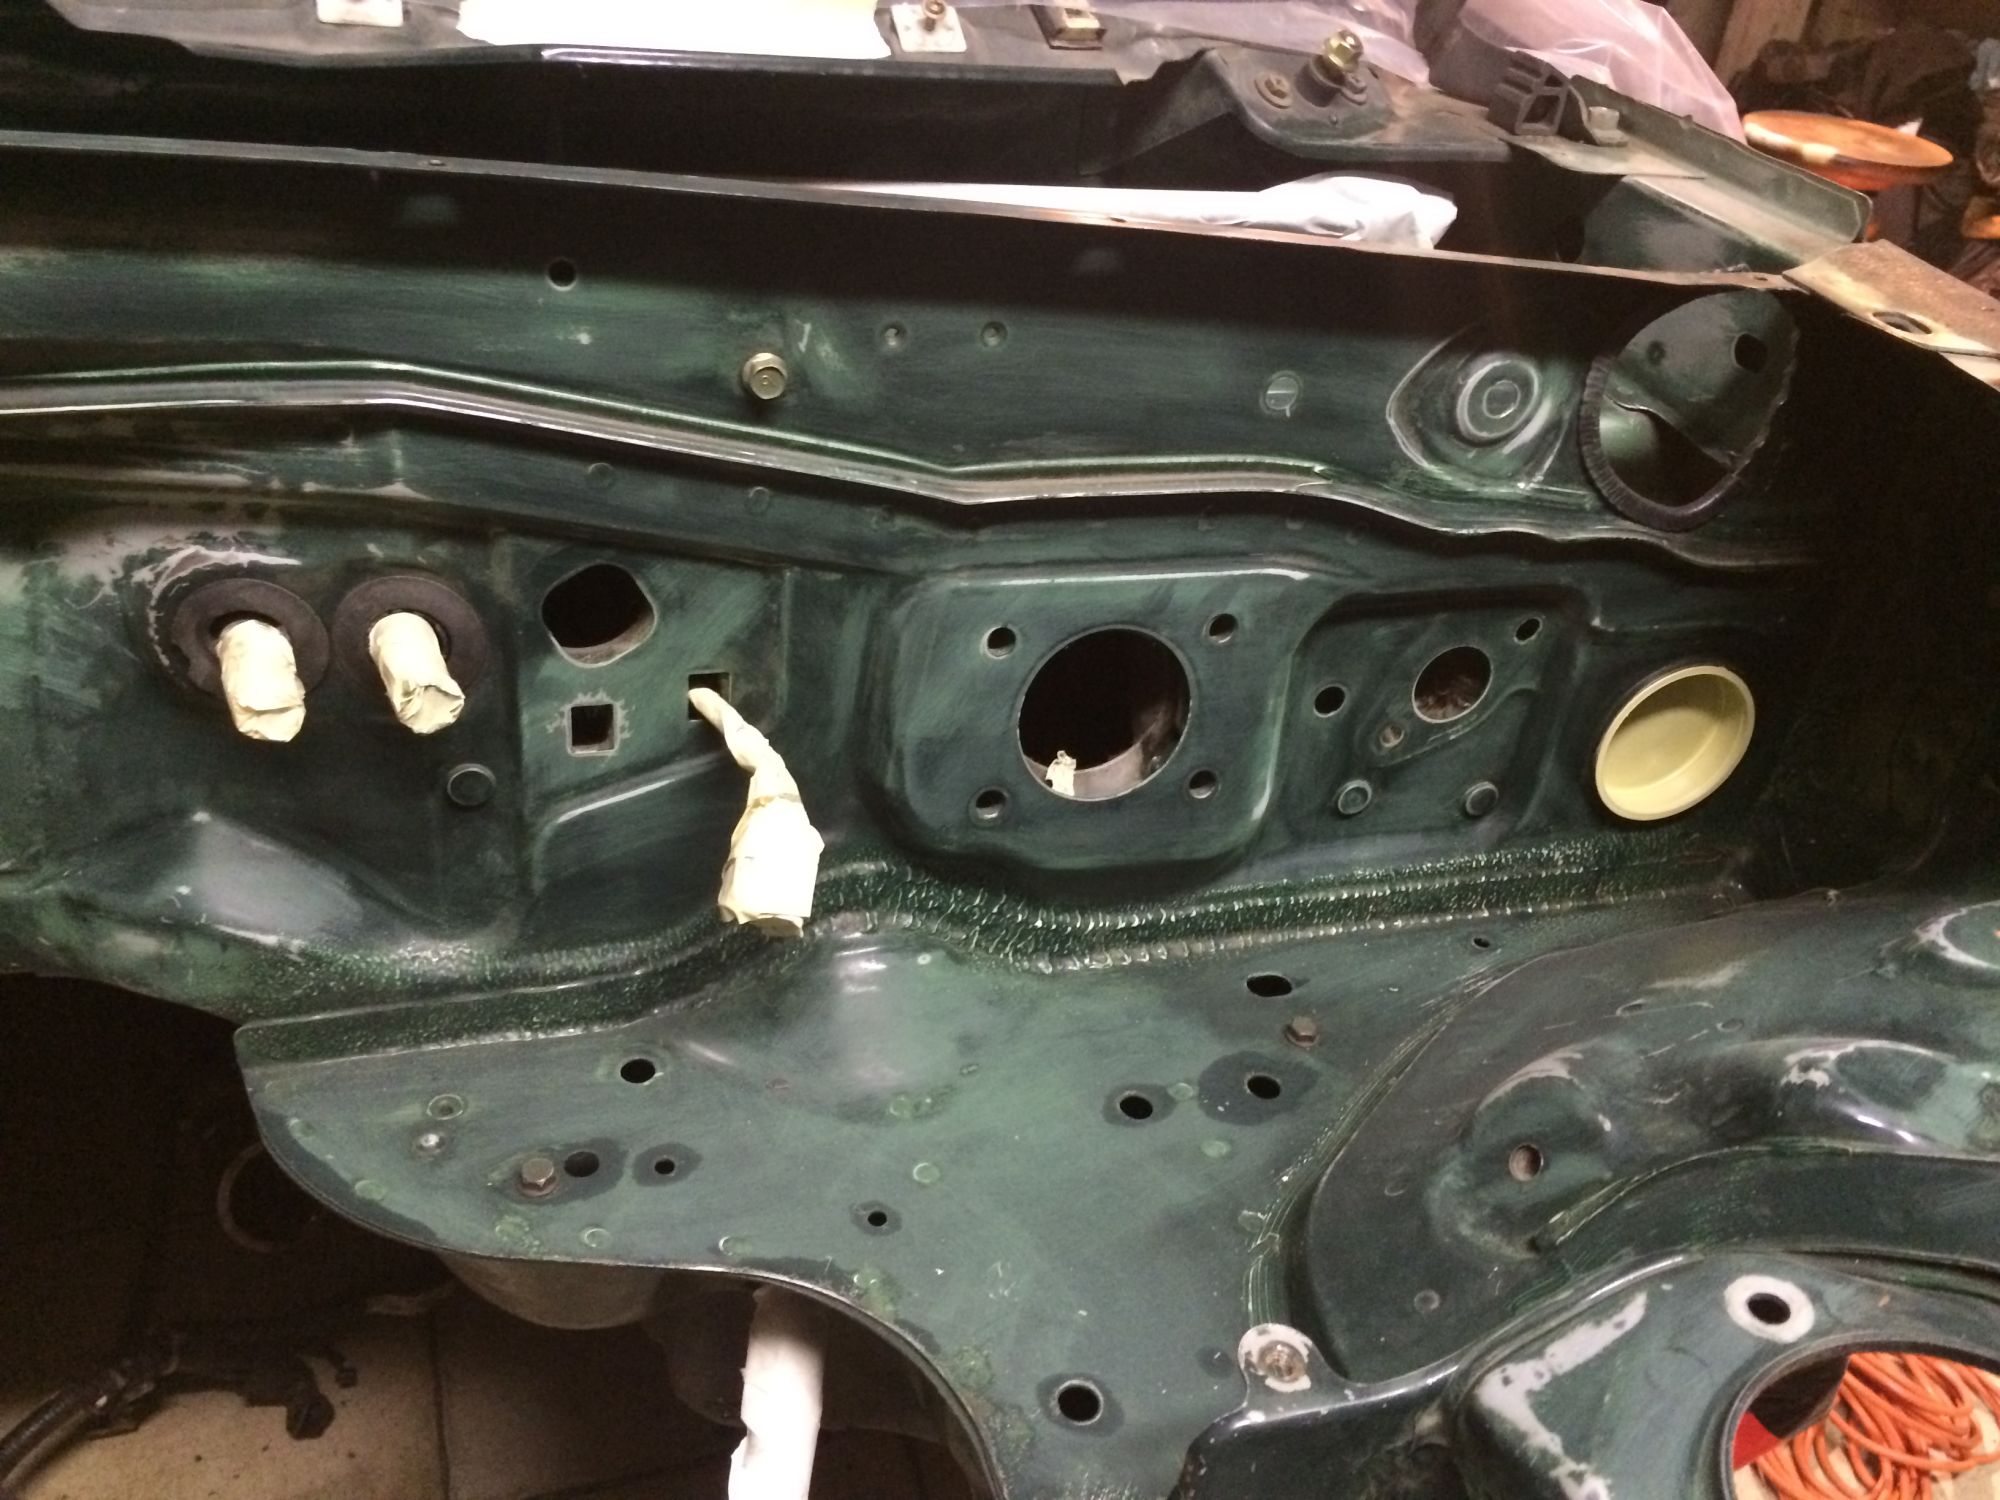
How did you route your cabbles from the cabin to the inside of the fender?
I used a cap to block the original wire hole and drilled a new hole and the chassis so the wires are thuged under the fender.
I only used the relays of my lights and the diagnose box (for if I have a problem in the future).
Drove +- 100 miles like this and found that the relays where getting wet. (battery was dead after 1 day standing) big currant leak because the water in the relays. So had to make them waterproof.
I was testing boost and popped a vacuum plug.
Was still able to run 10 psi with boost leak.
Than I had this great Idea of building an open hood exhaust for an upcoming event.
One day later. Finished product. fitment was perfect.
The day before the event I decided to change my valve seals. (had some smoke at idl and oil smelled like gas).
I used a rope to block the valves from folling in the cylinder. Worked fine for me .
Took me 2 hours to finish the valve seals swap.
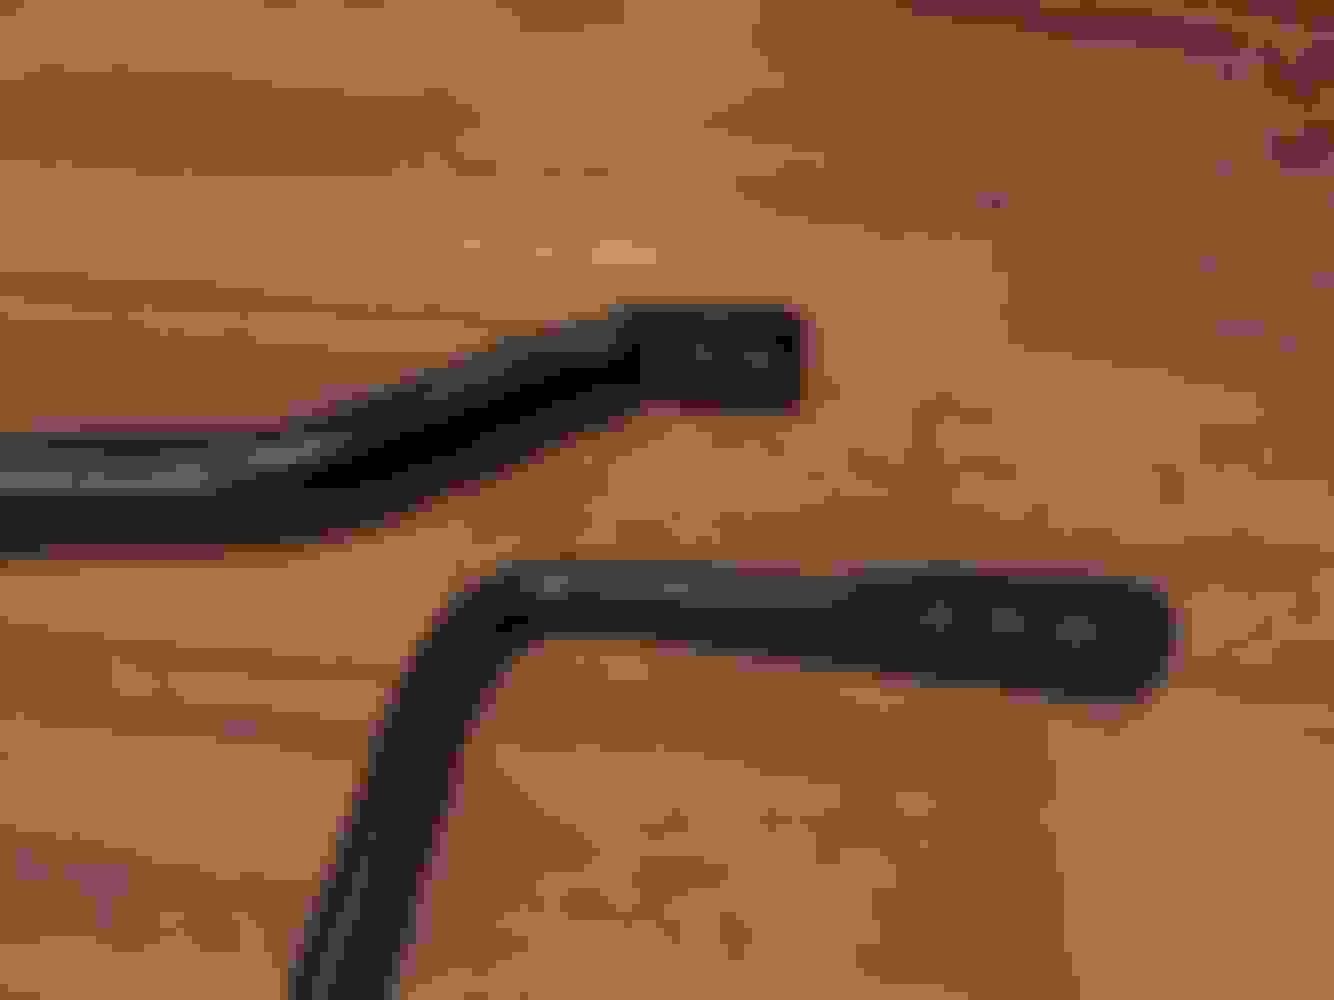
old vs new seals
And than this happened. Car was running like ****. Extreem rich.. 10's at idl. and acceleration was real bad.
Found that magasquirt was reading -20�C (-4�F) coolant temp, it is summer and hot in belgium. So my coolant temp sensor was f_cked.. I ordered one over night.
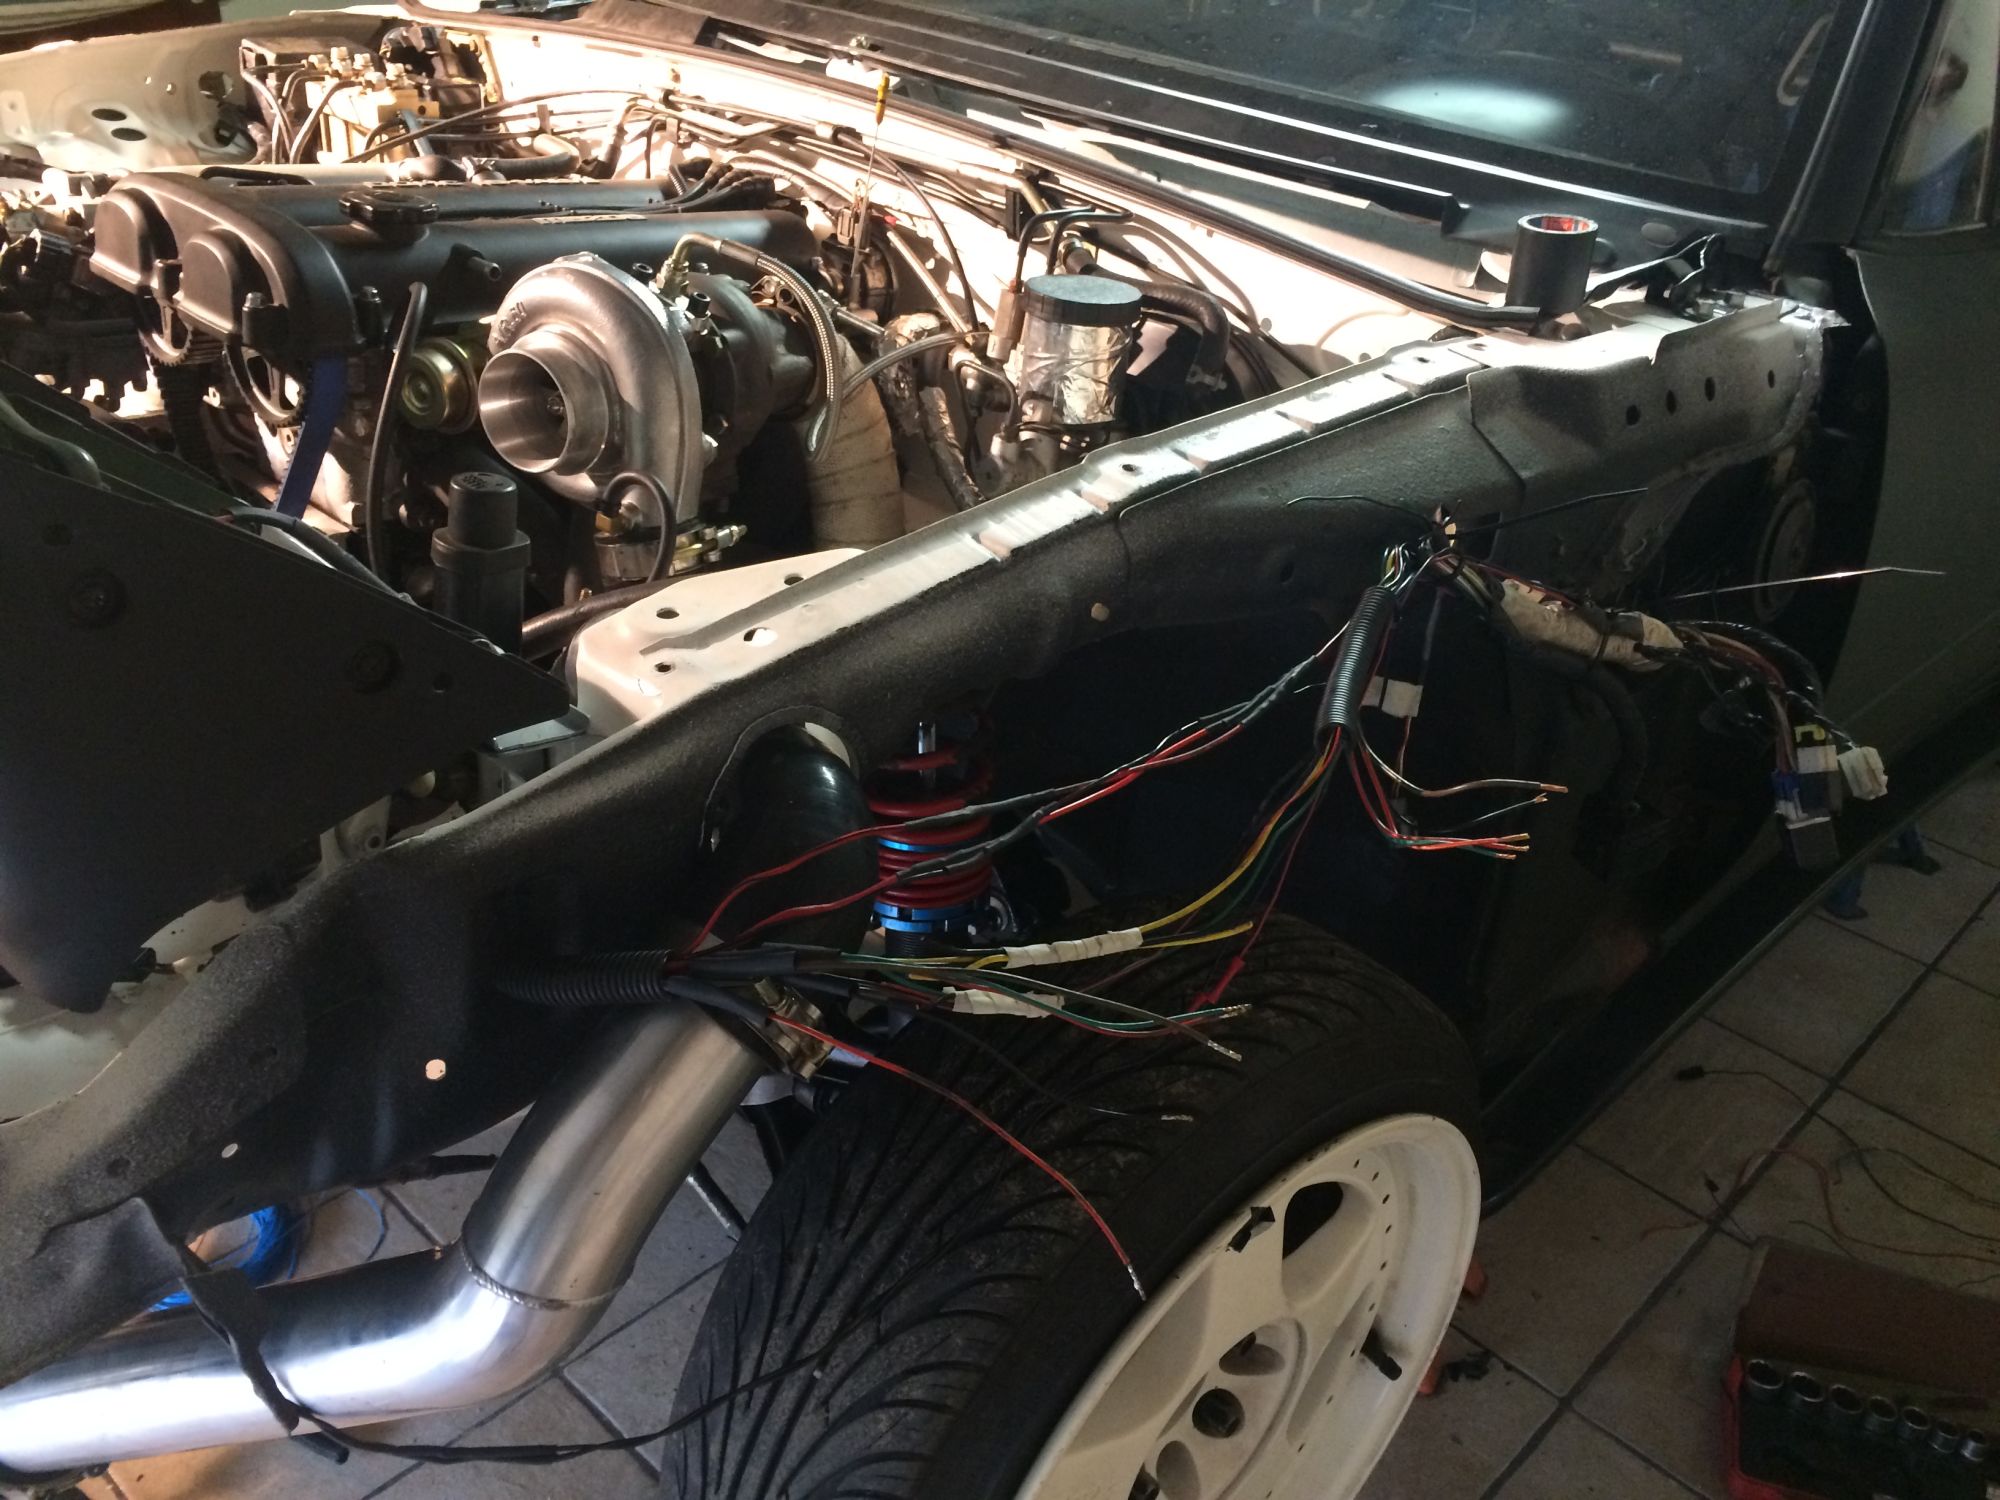
Removed the hood and installed my UP(pipe)
Time for some drag race fun !!!!
Focus RS?
Lets do this.
Waking up the next day with a view on the lovely Miata and dragstrip.
Had my first trackday last weekend. Car was running great. The bad thing was, I had no stopping power on my stock brakes. Really spongy feeling and they did not stop at all.
So time for some upgrades. Steel lines, ebc grooved disks and a set of racing pads.
Had my first drift day at my local track. (Circuit Zolder Belgium)
It was a full day with different tracks starting with easy donuts and ending with 5 turn drifts. Donuts were not a problem but curves were hugely difficult. I have no power steering and I later found out that I had my upper A arms on the front suspension switched. this made my caster really bad and heavy on the steering.
Bought a open diff from a NB and had it welded up by a buddy. Ready for some sideway action.
No place for 2 tires in the trunk. So I had to improvise.
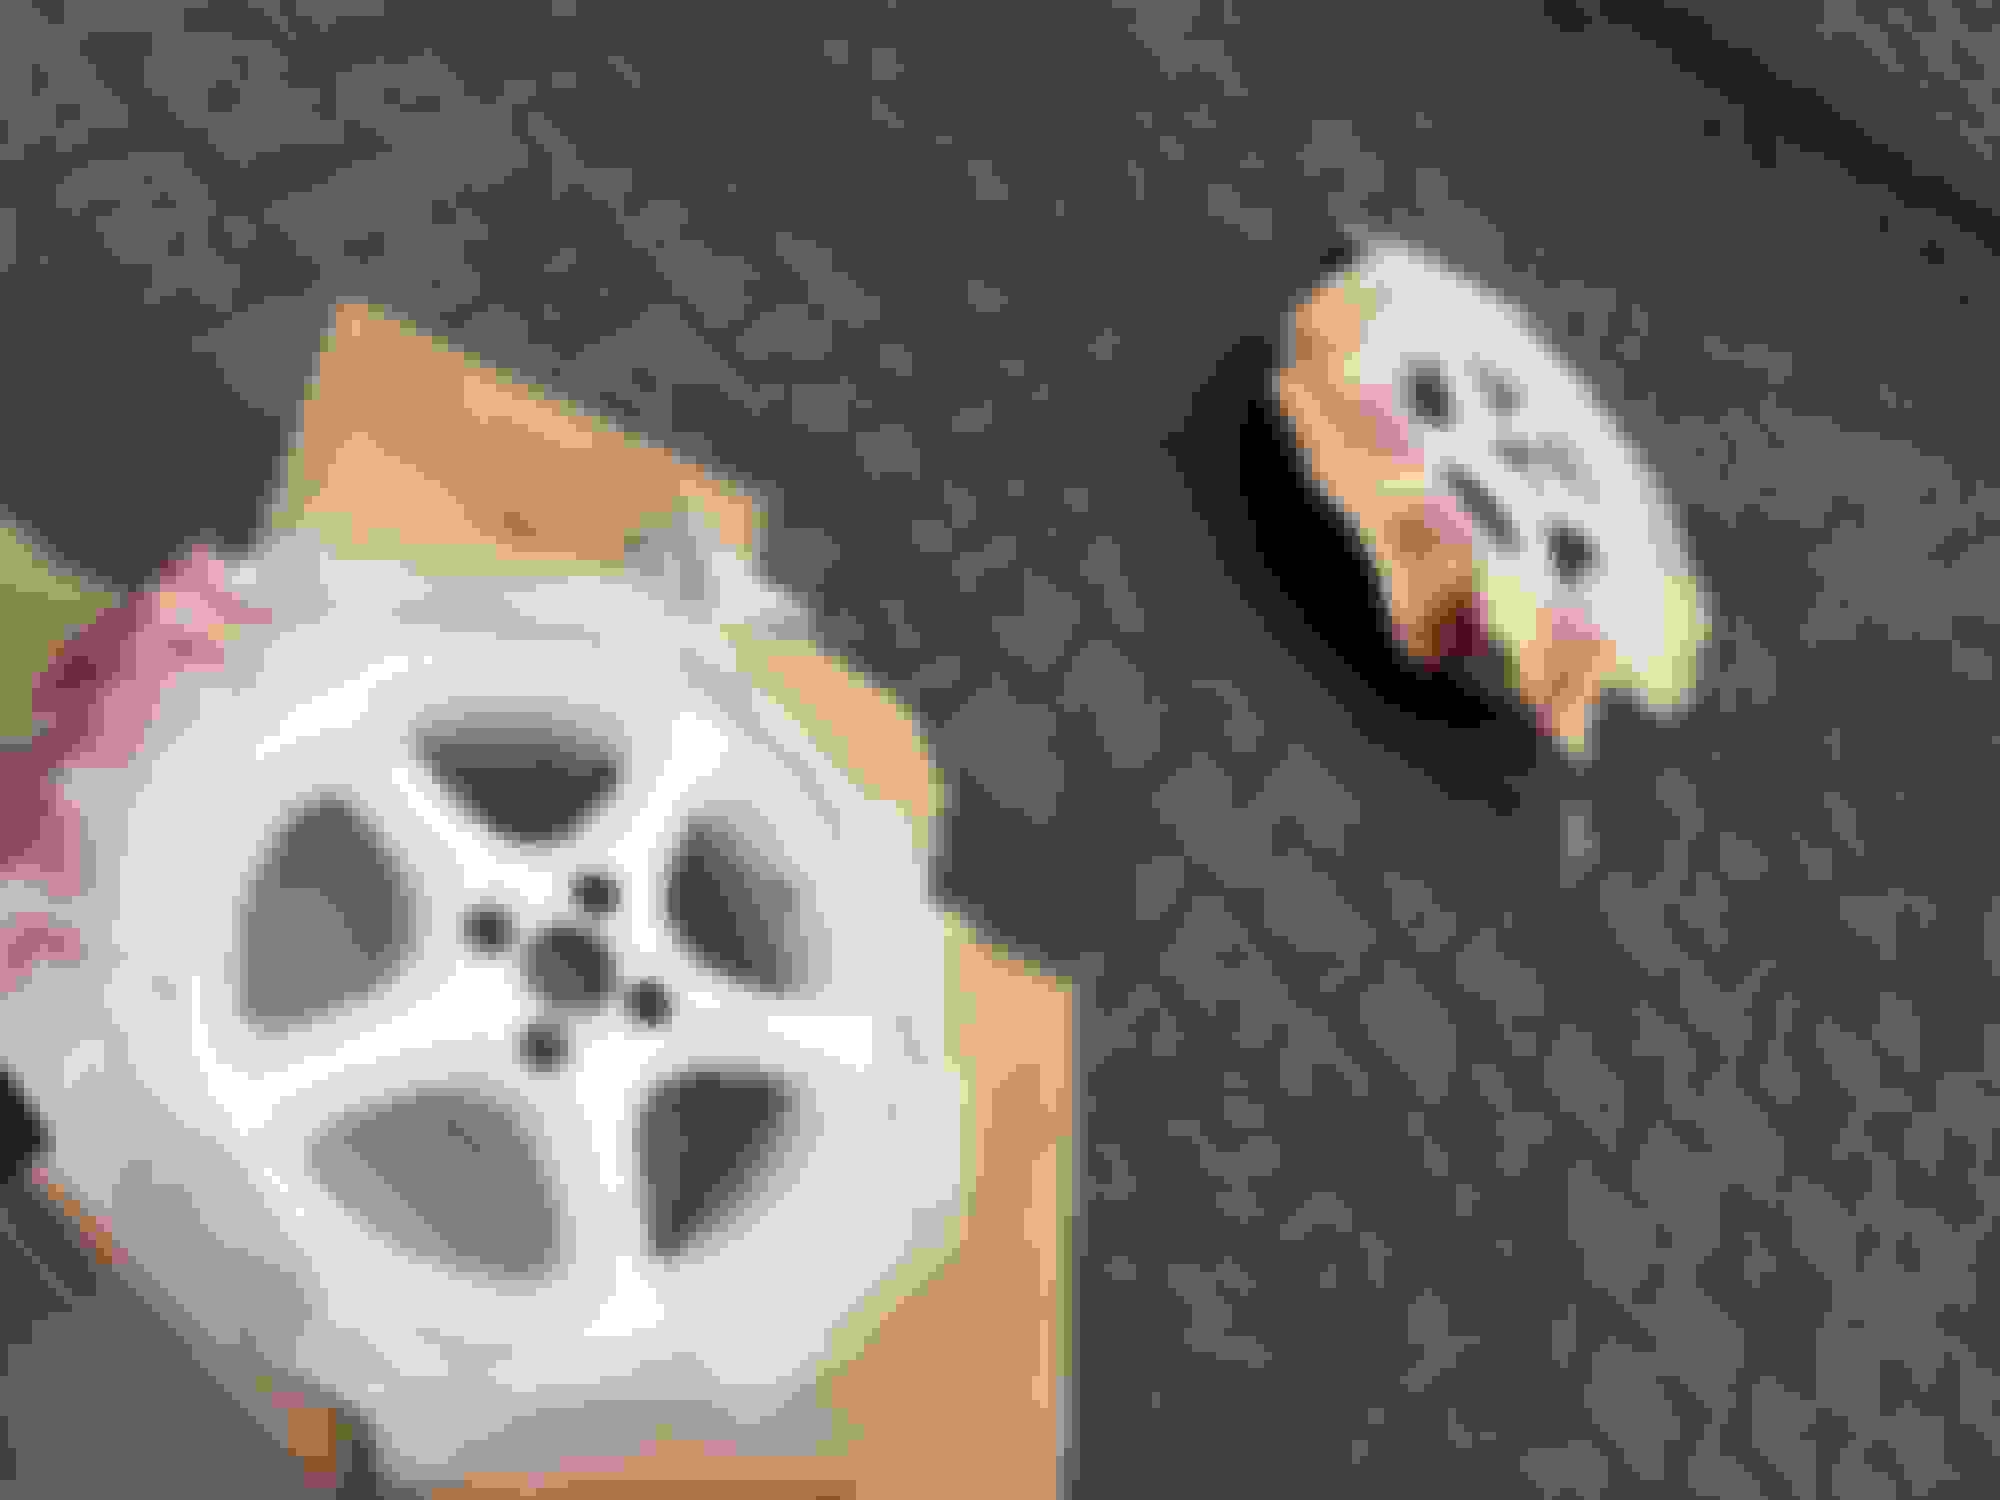
Smashed a wheel at 3:40 min. Thankfully it was one of my spare wheels. (Rota's are fine)
This was my first time drifing (trying to drift) on dry.
A friendly guy told me that I needed stiffer swaybars, it would help a lot.
So the next day I searched the web on a cheap set and bought a second hand Jackson racing Swaybar kit with polyurethane bushings.


 0
0

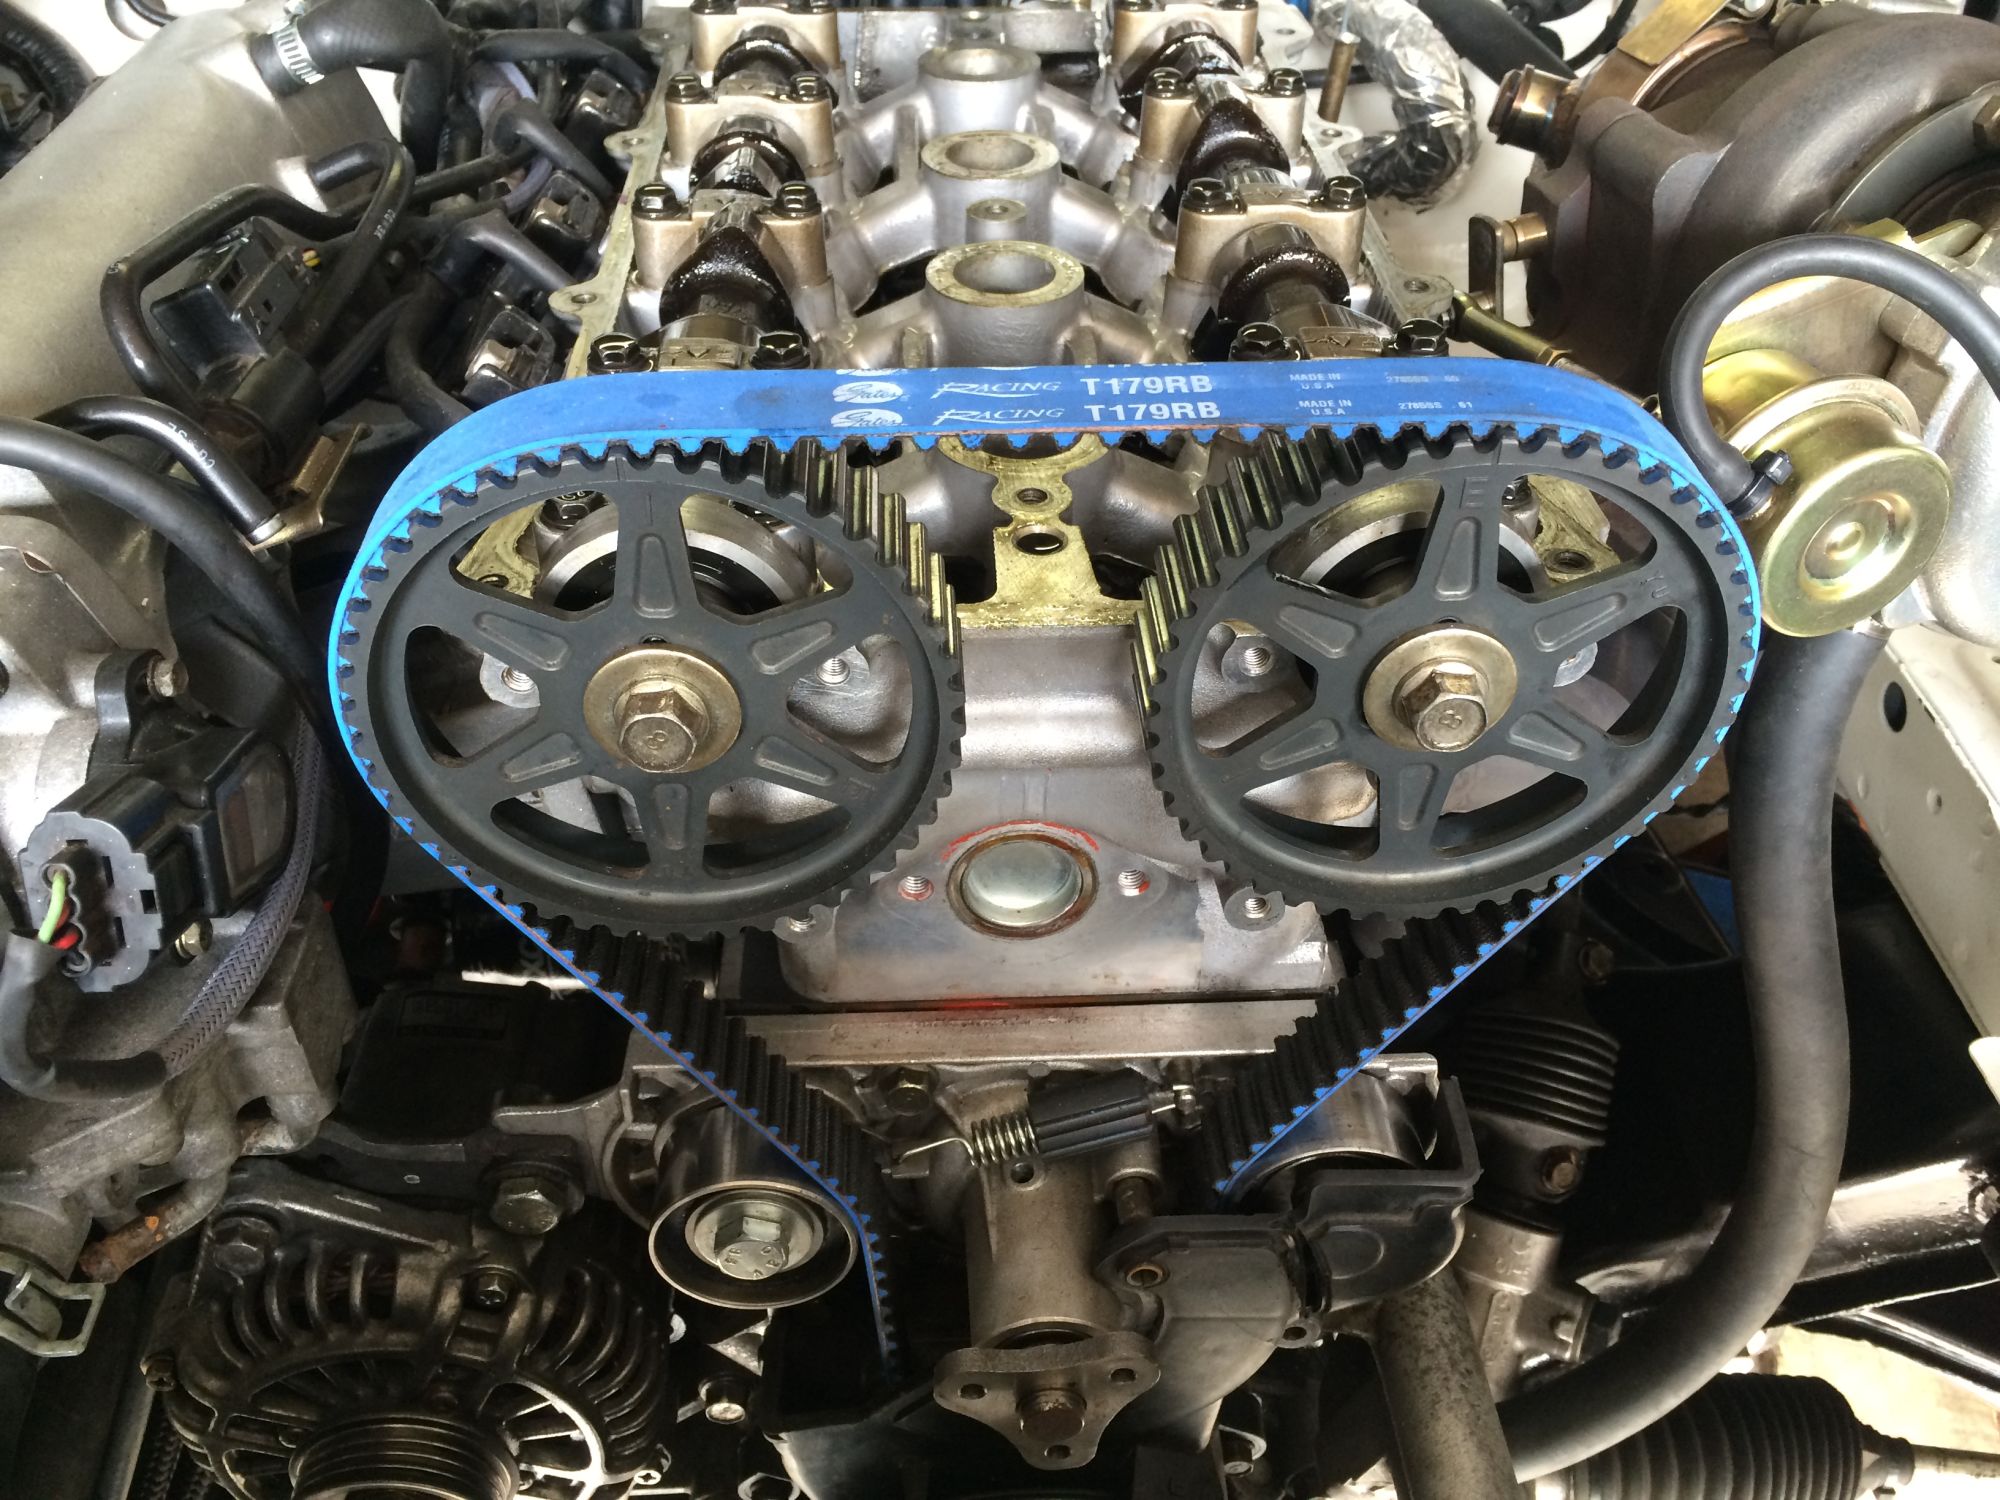
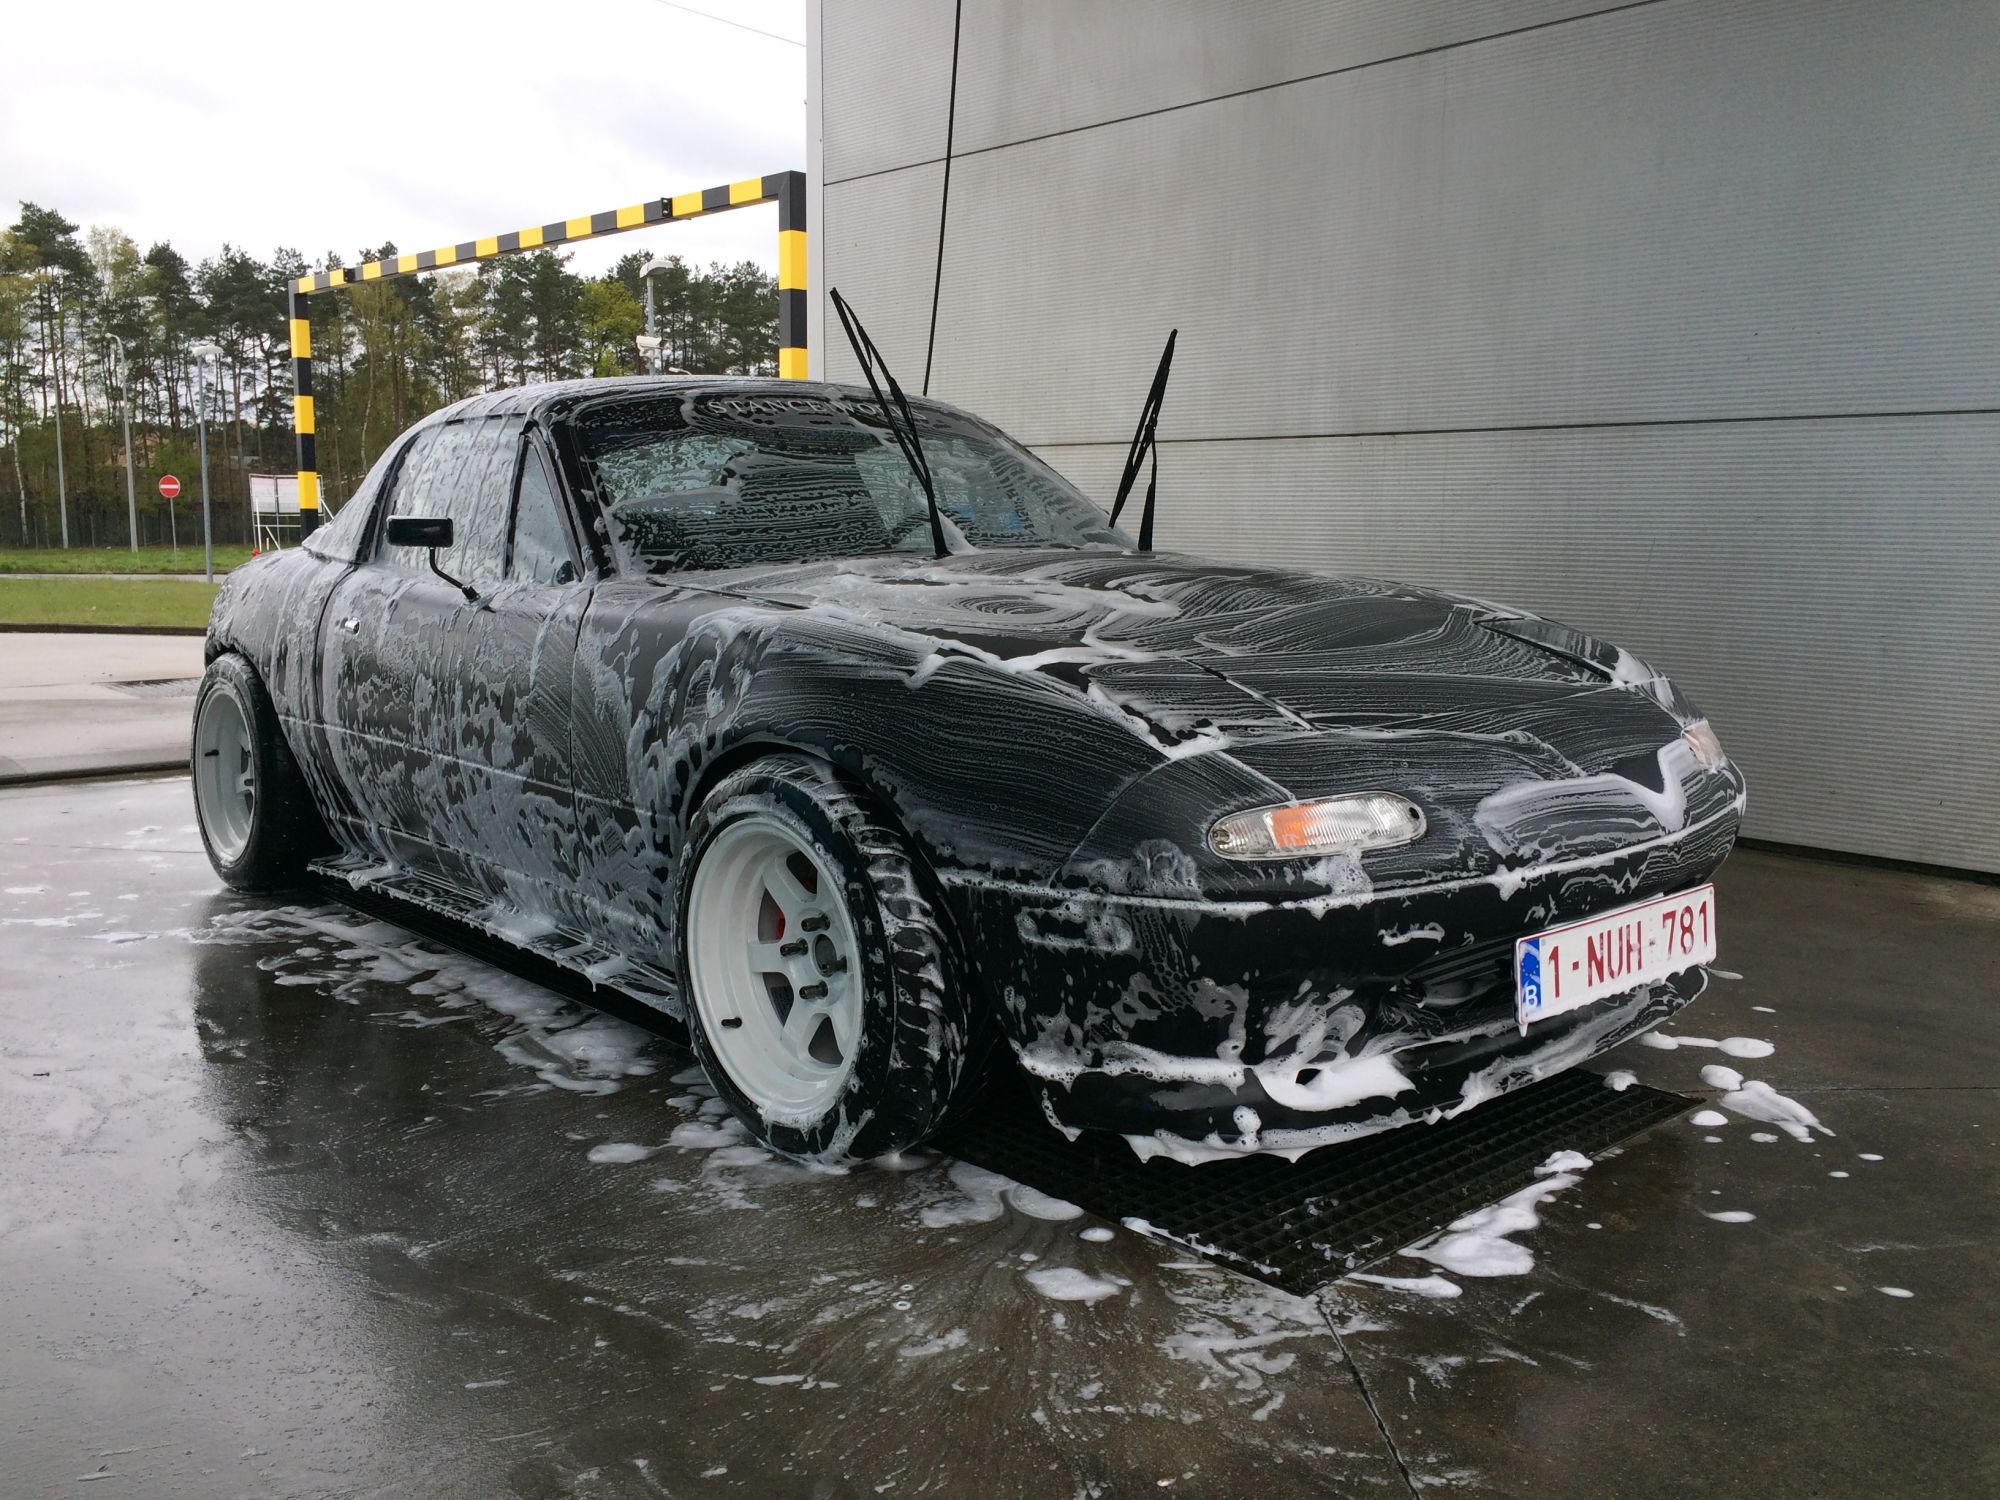
 Wire Tuck is happening !!
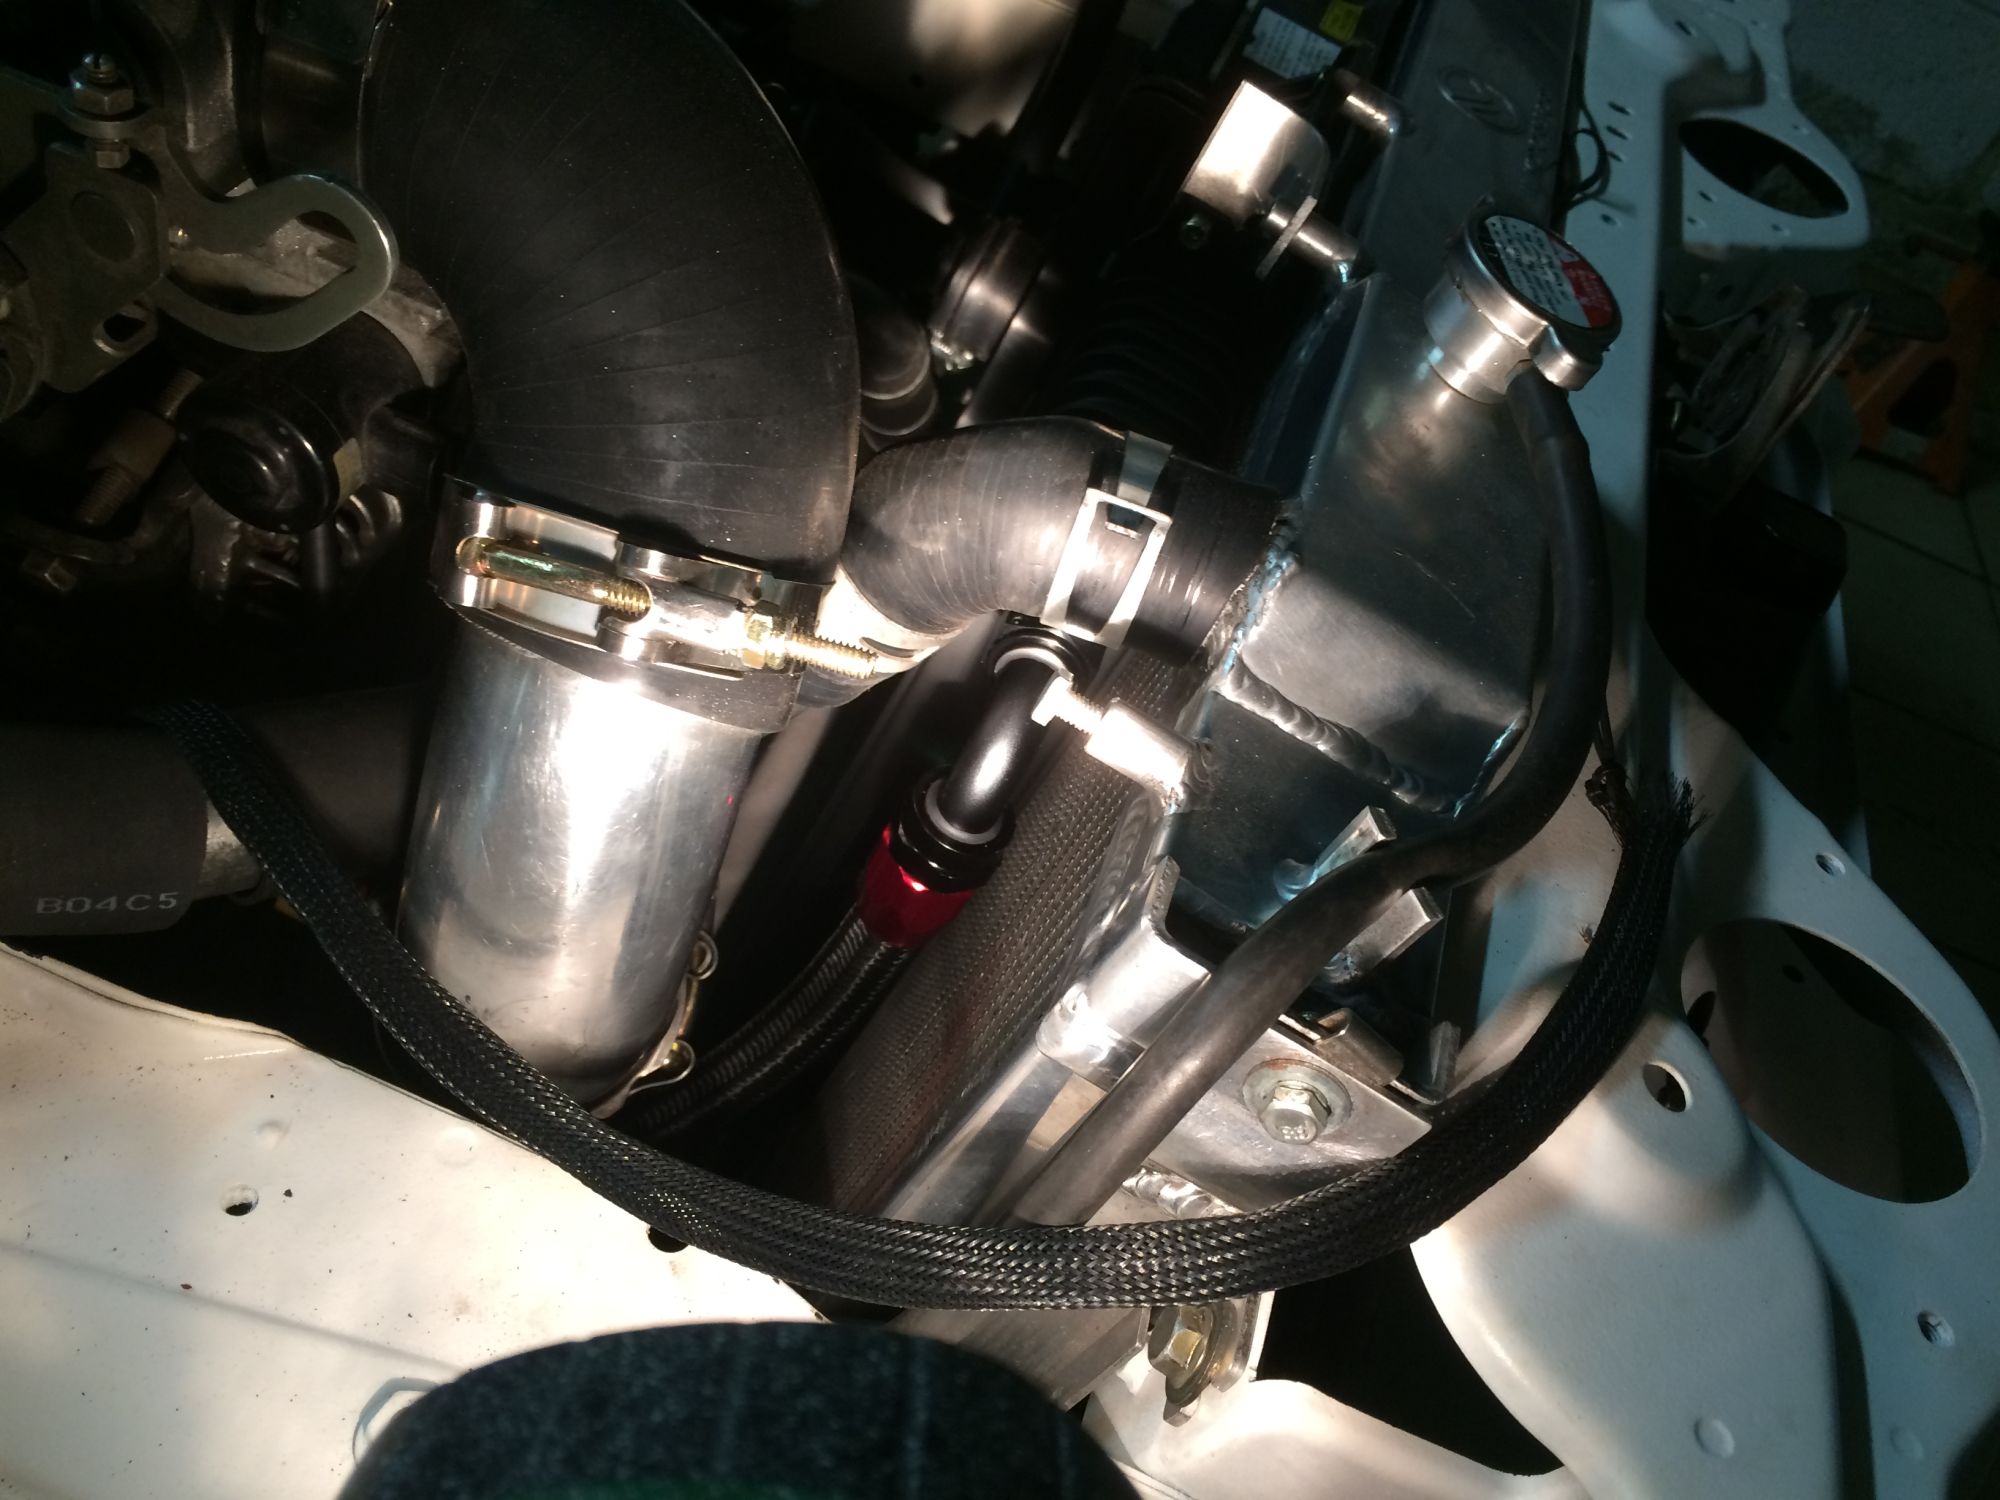
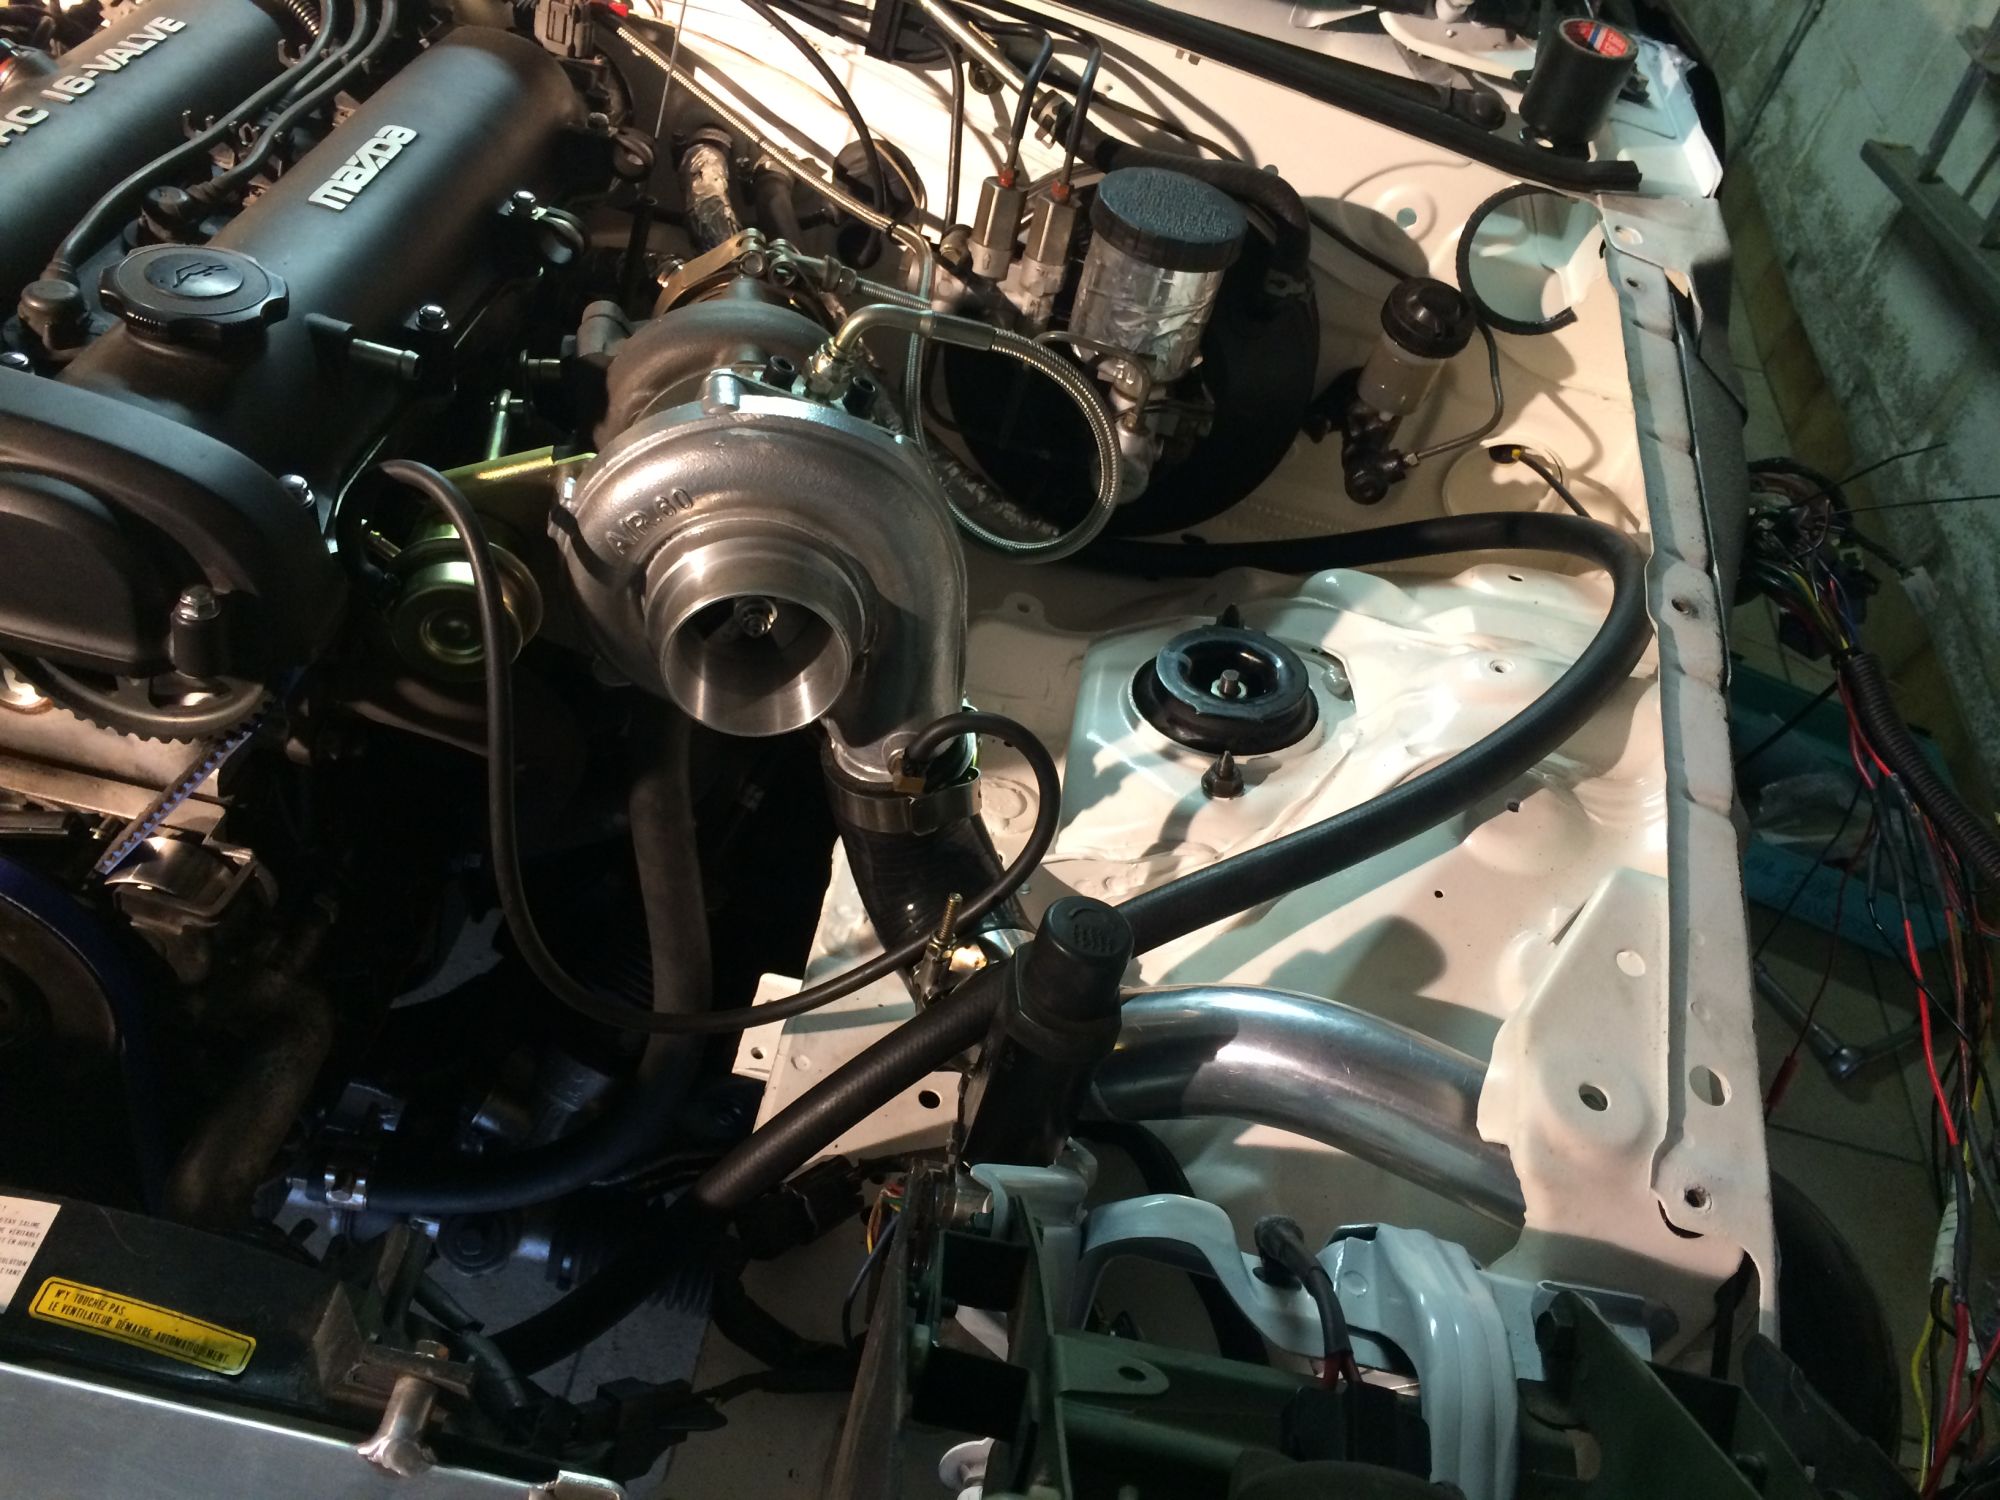 Searching for a way to relocate the coolant hose.
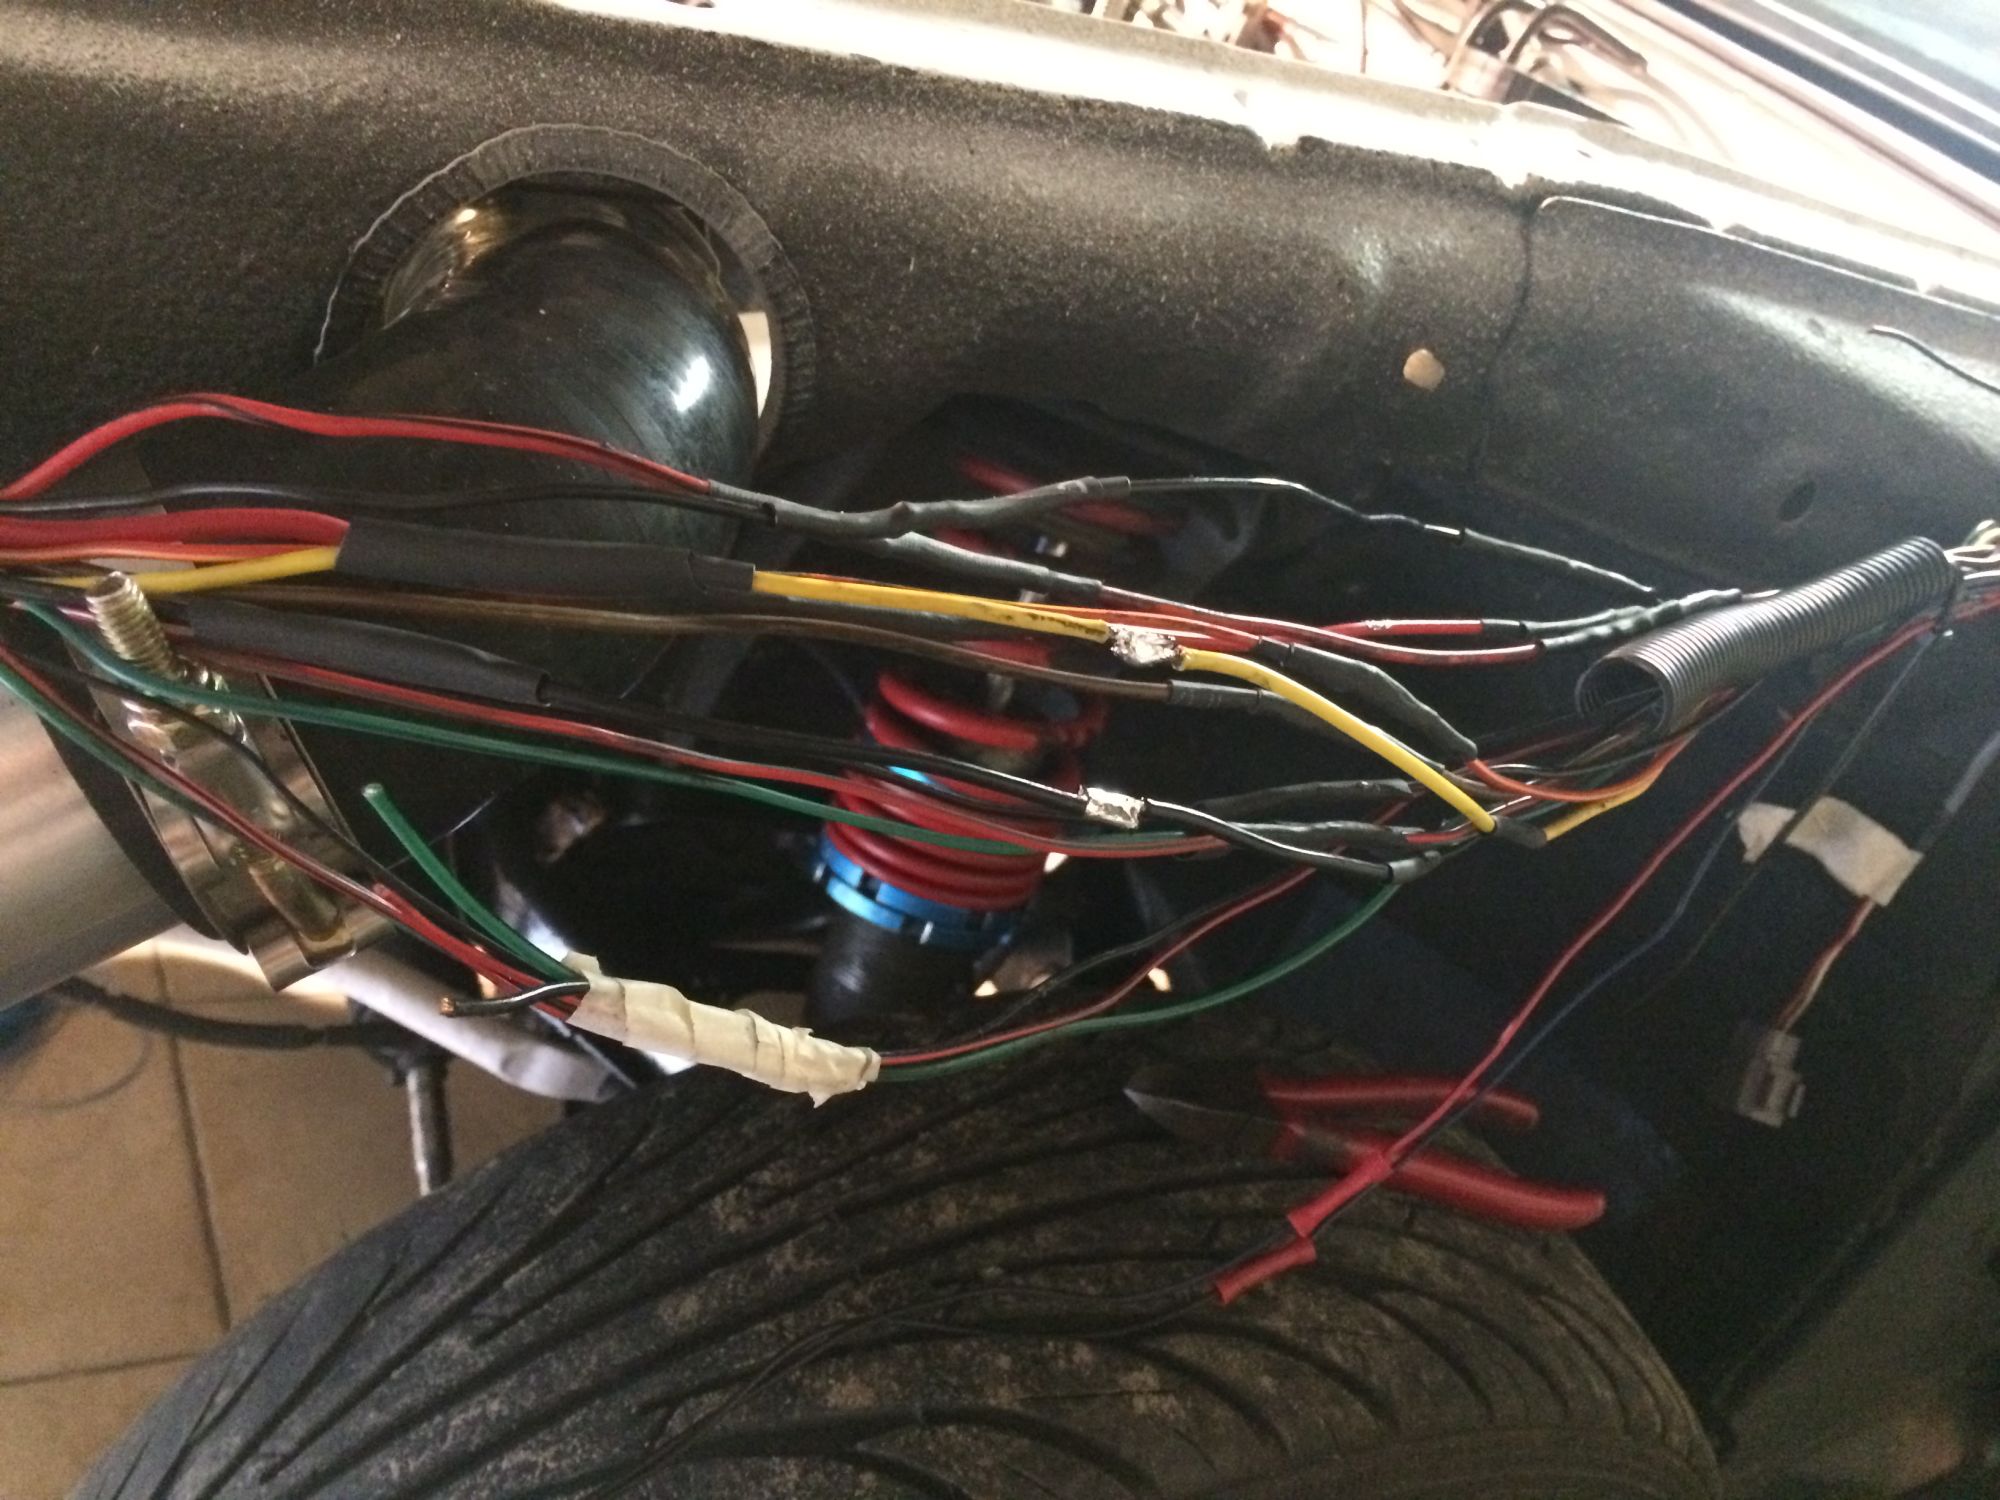
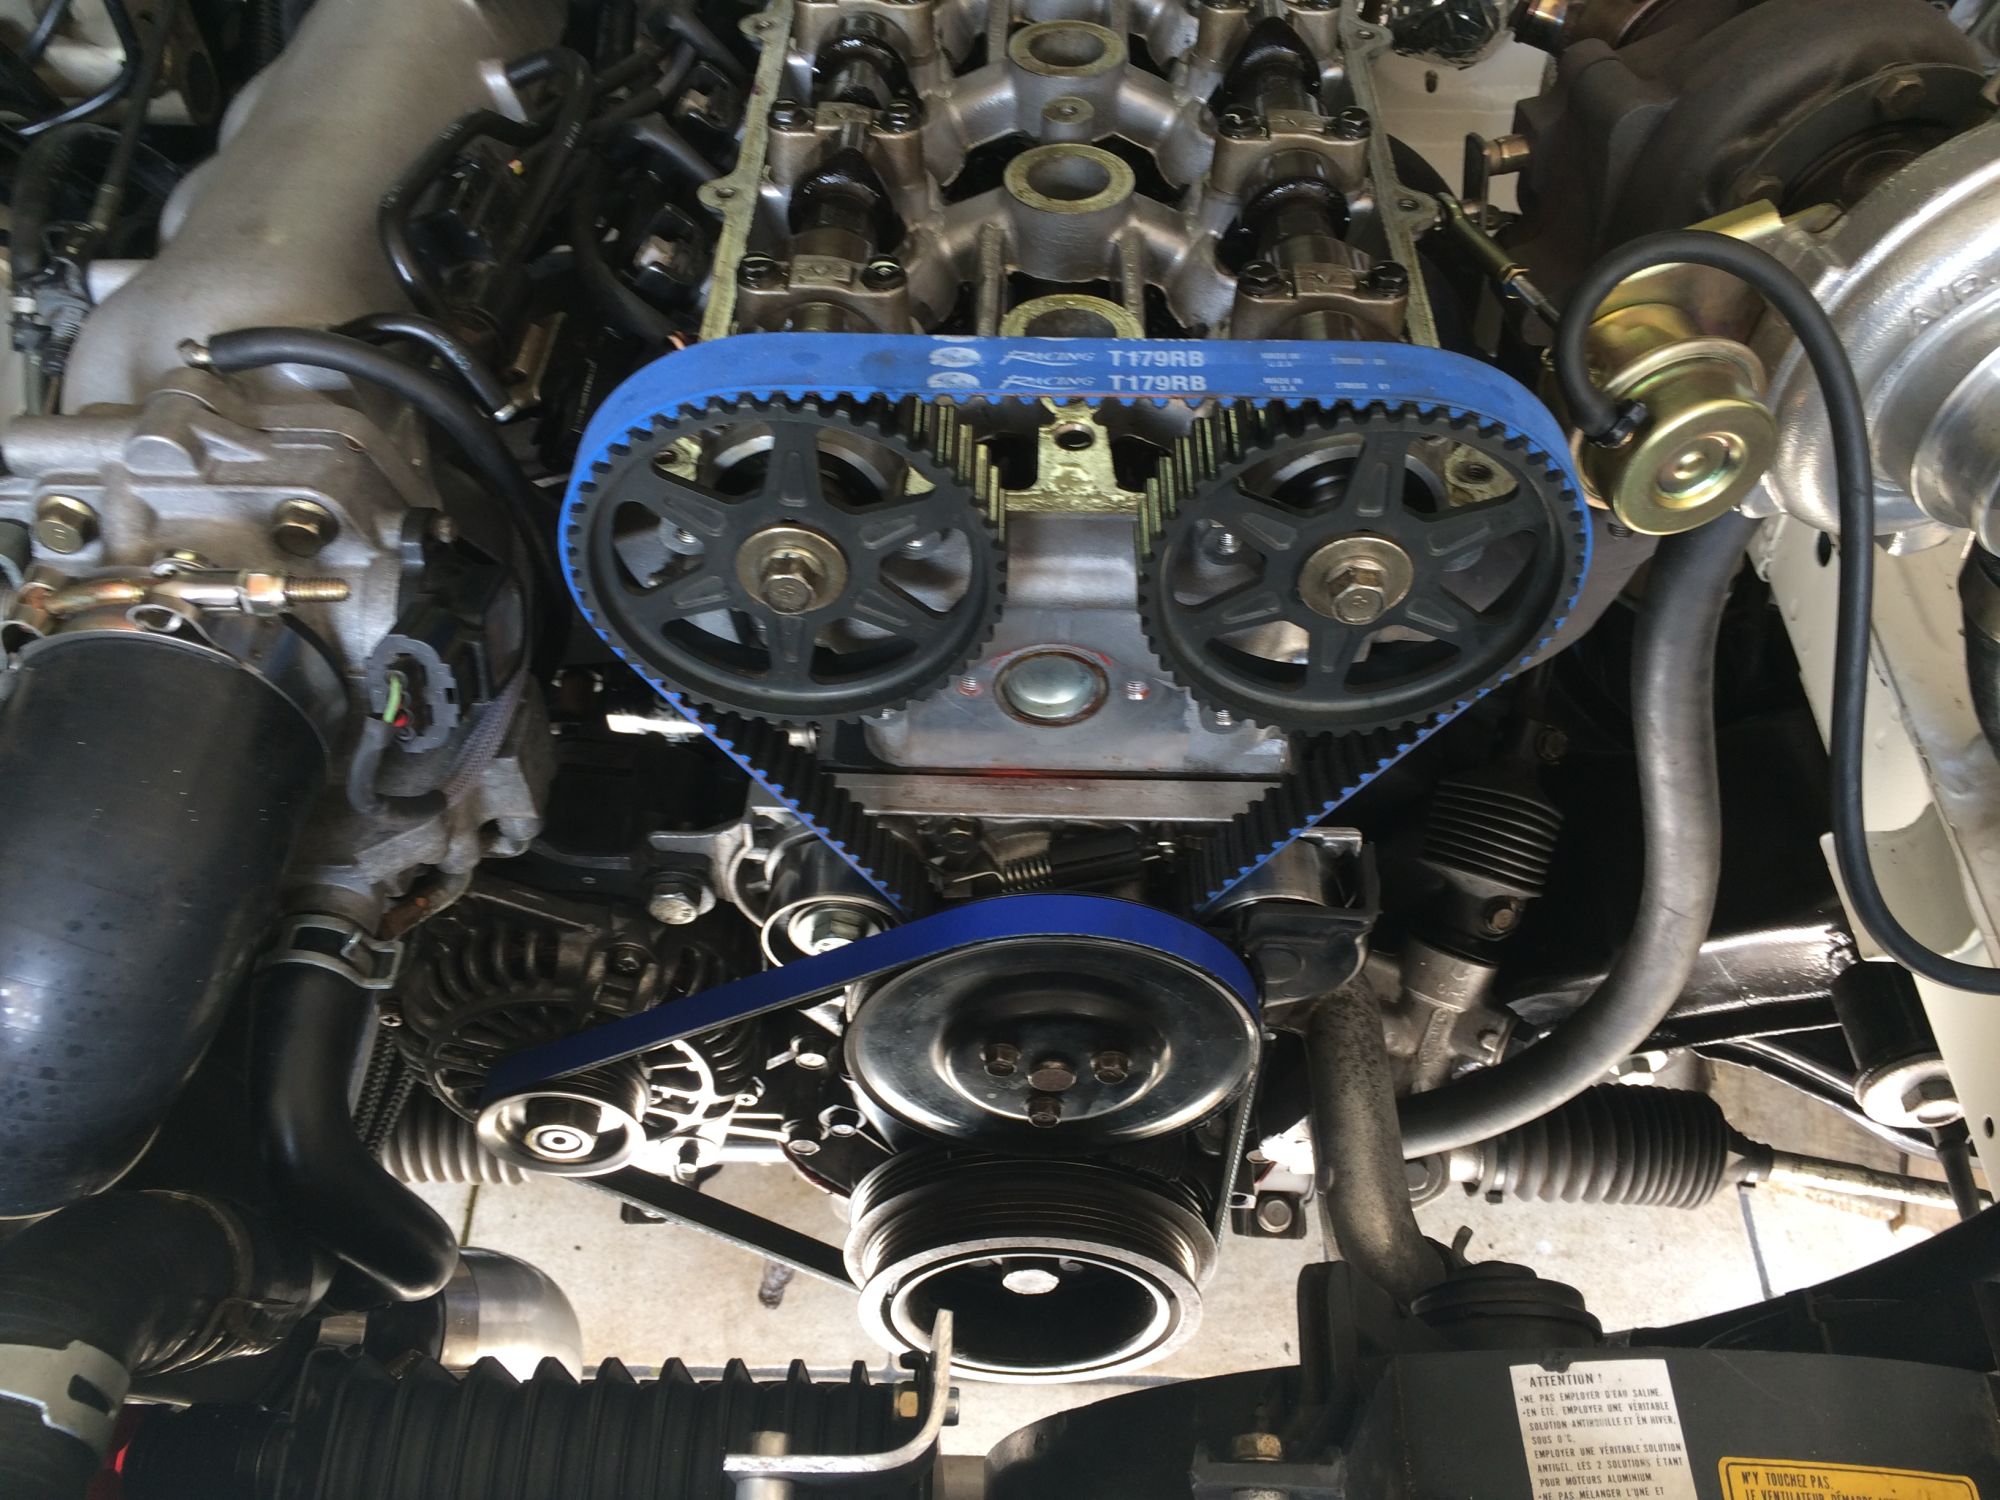
 One Side Done.
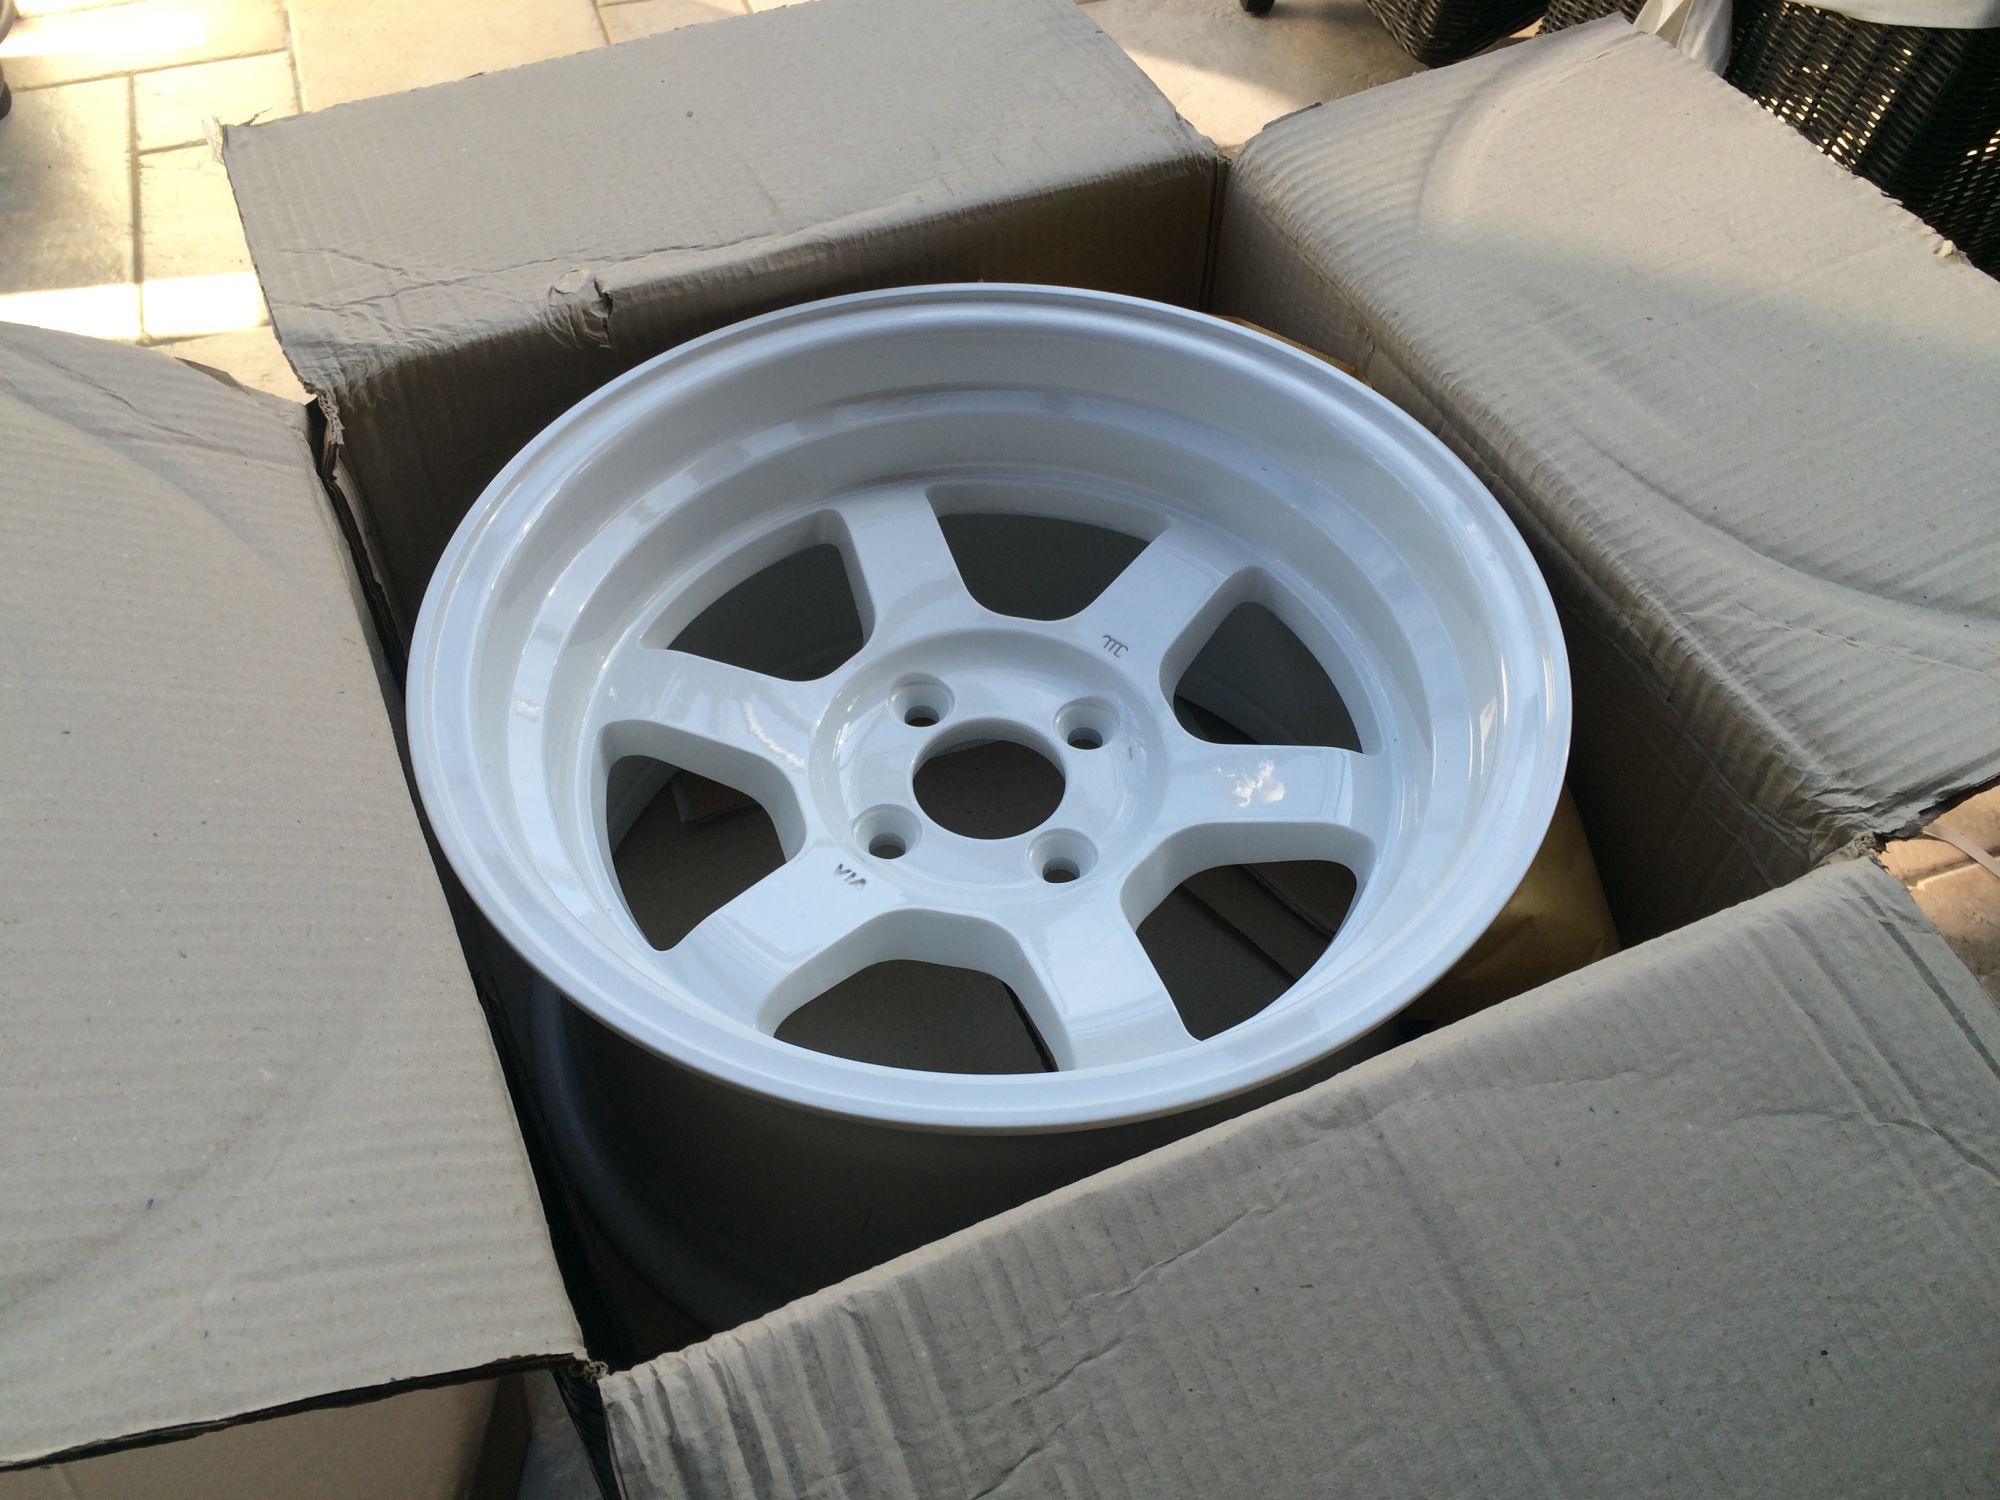
 Rota grid-V 15x9 et 0
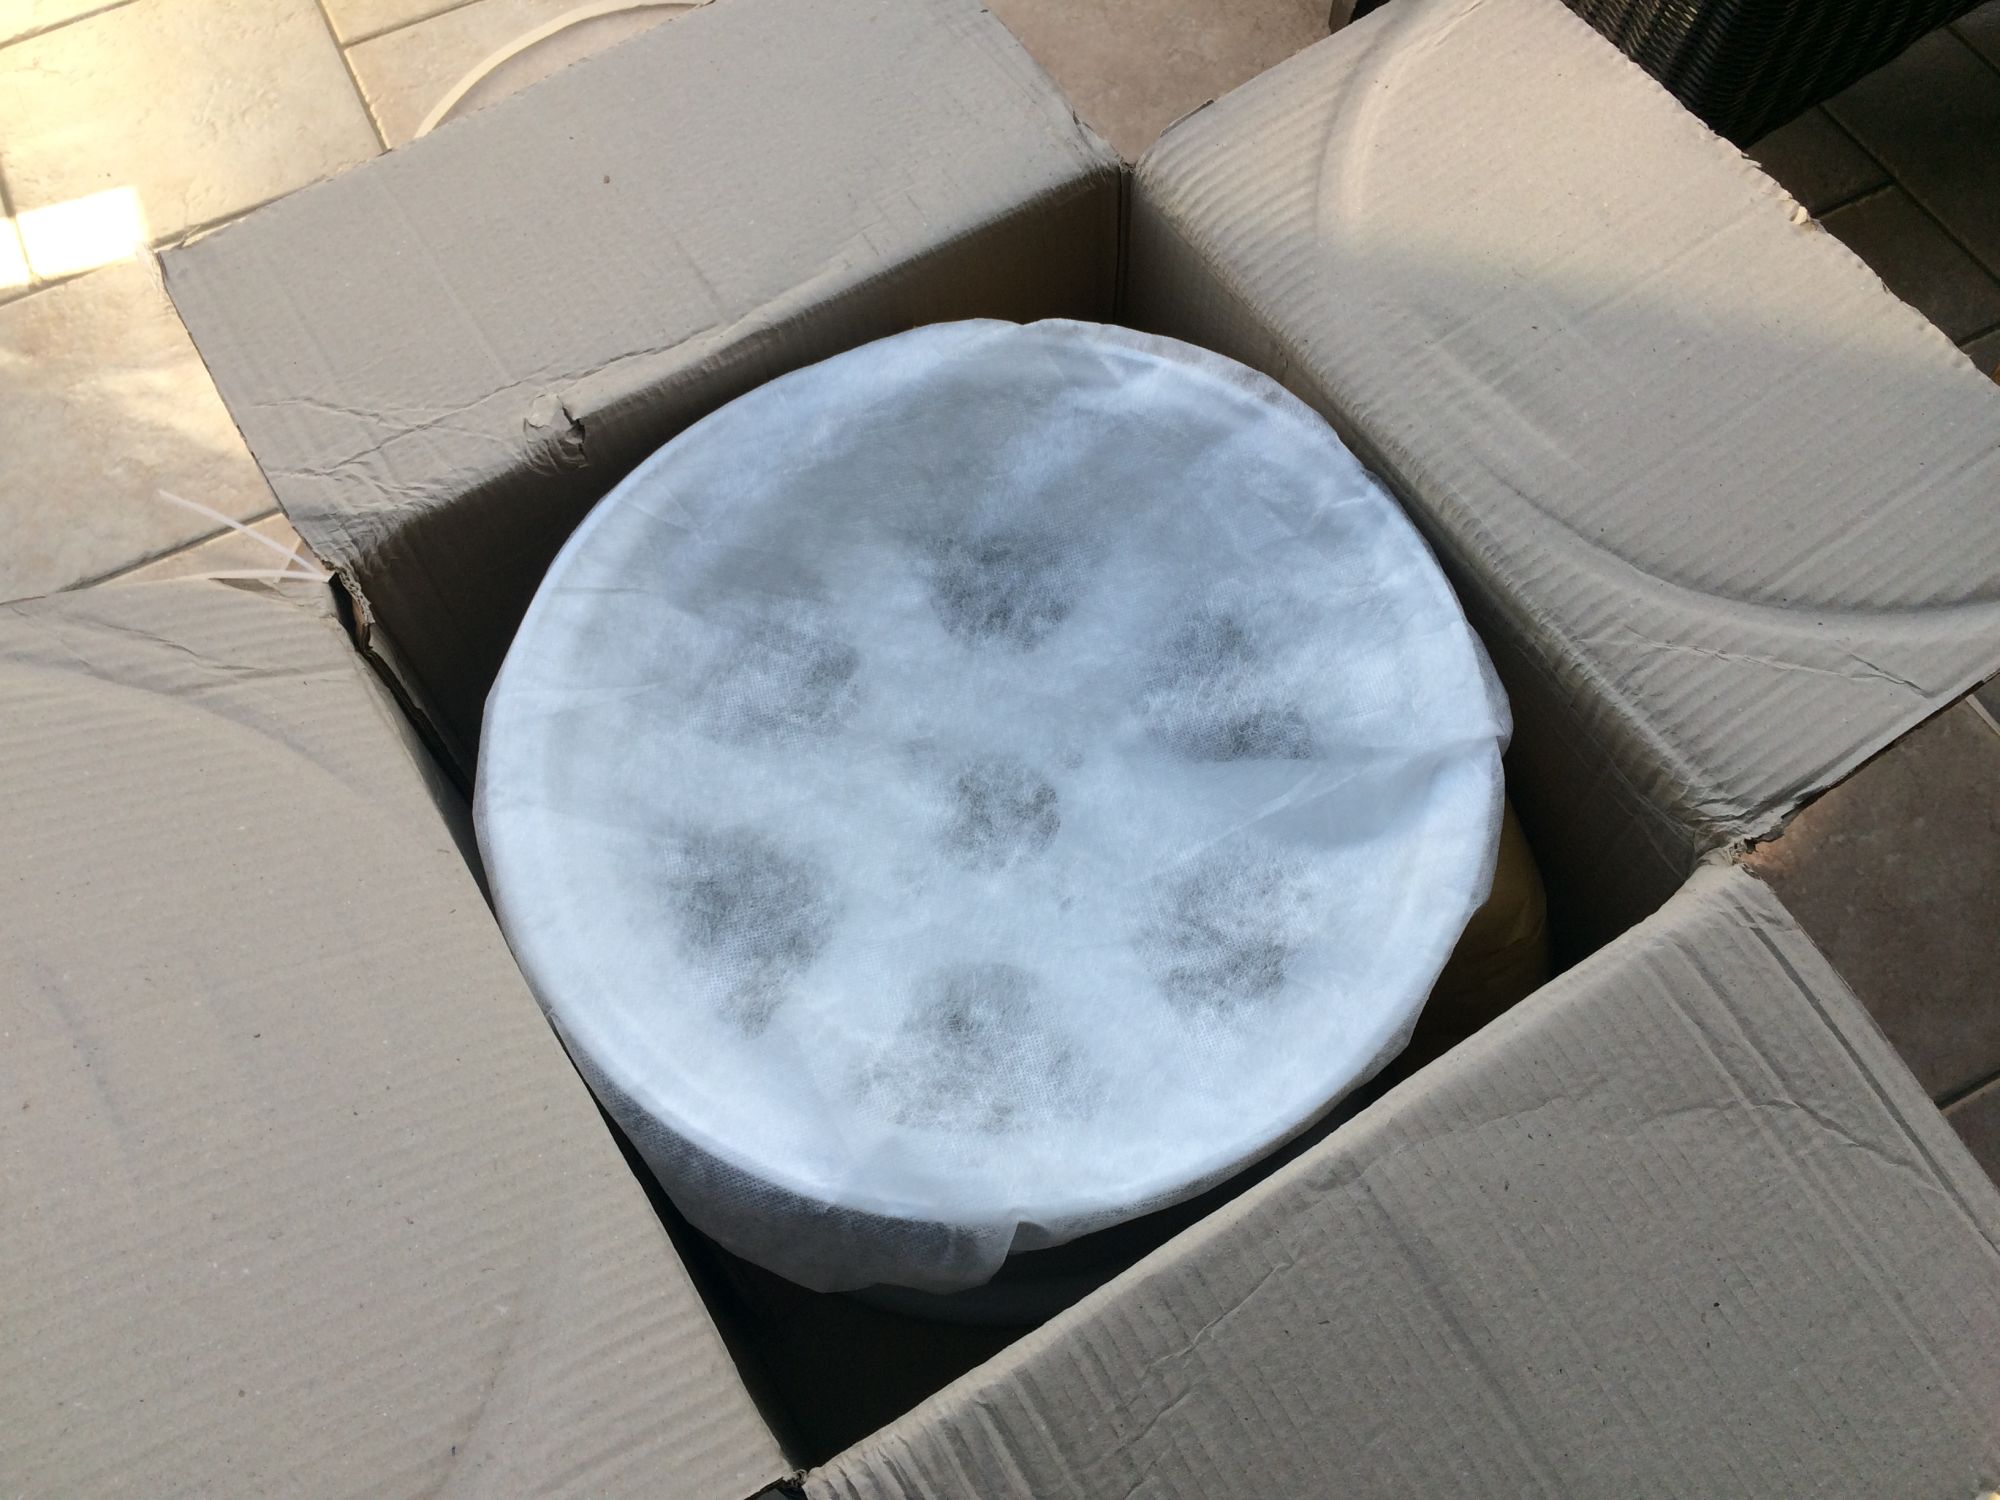
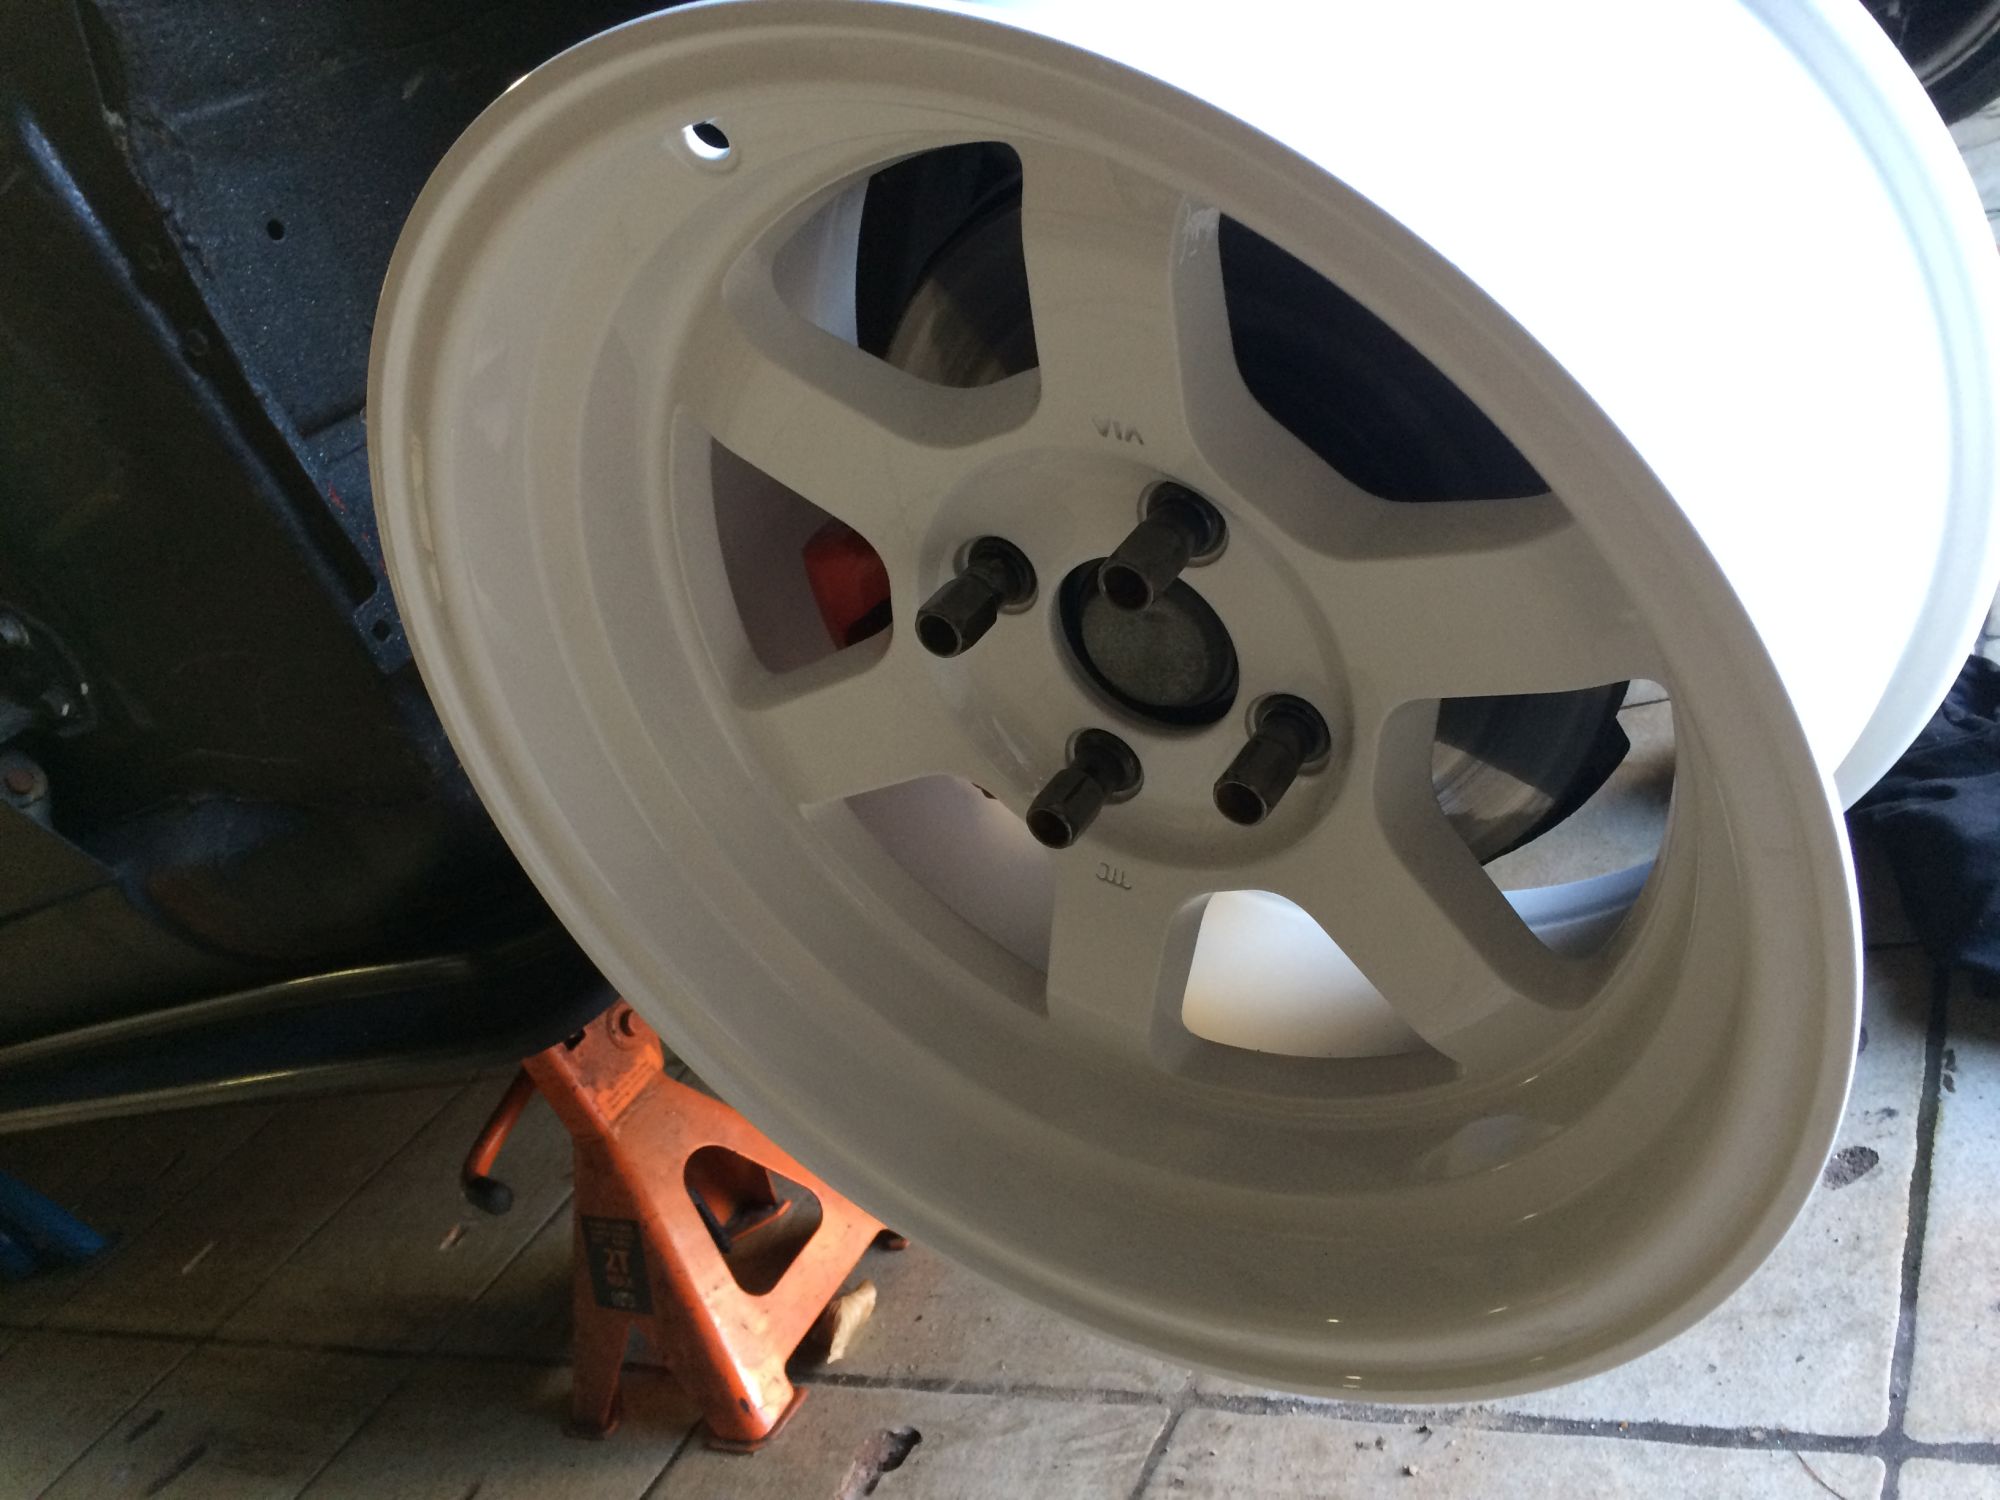
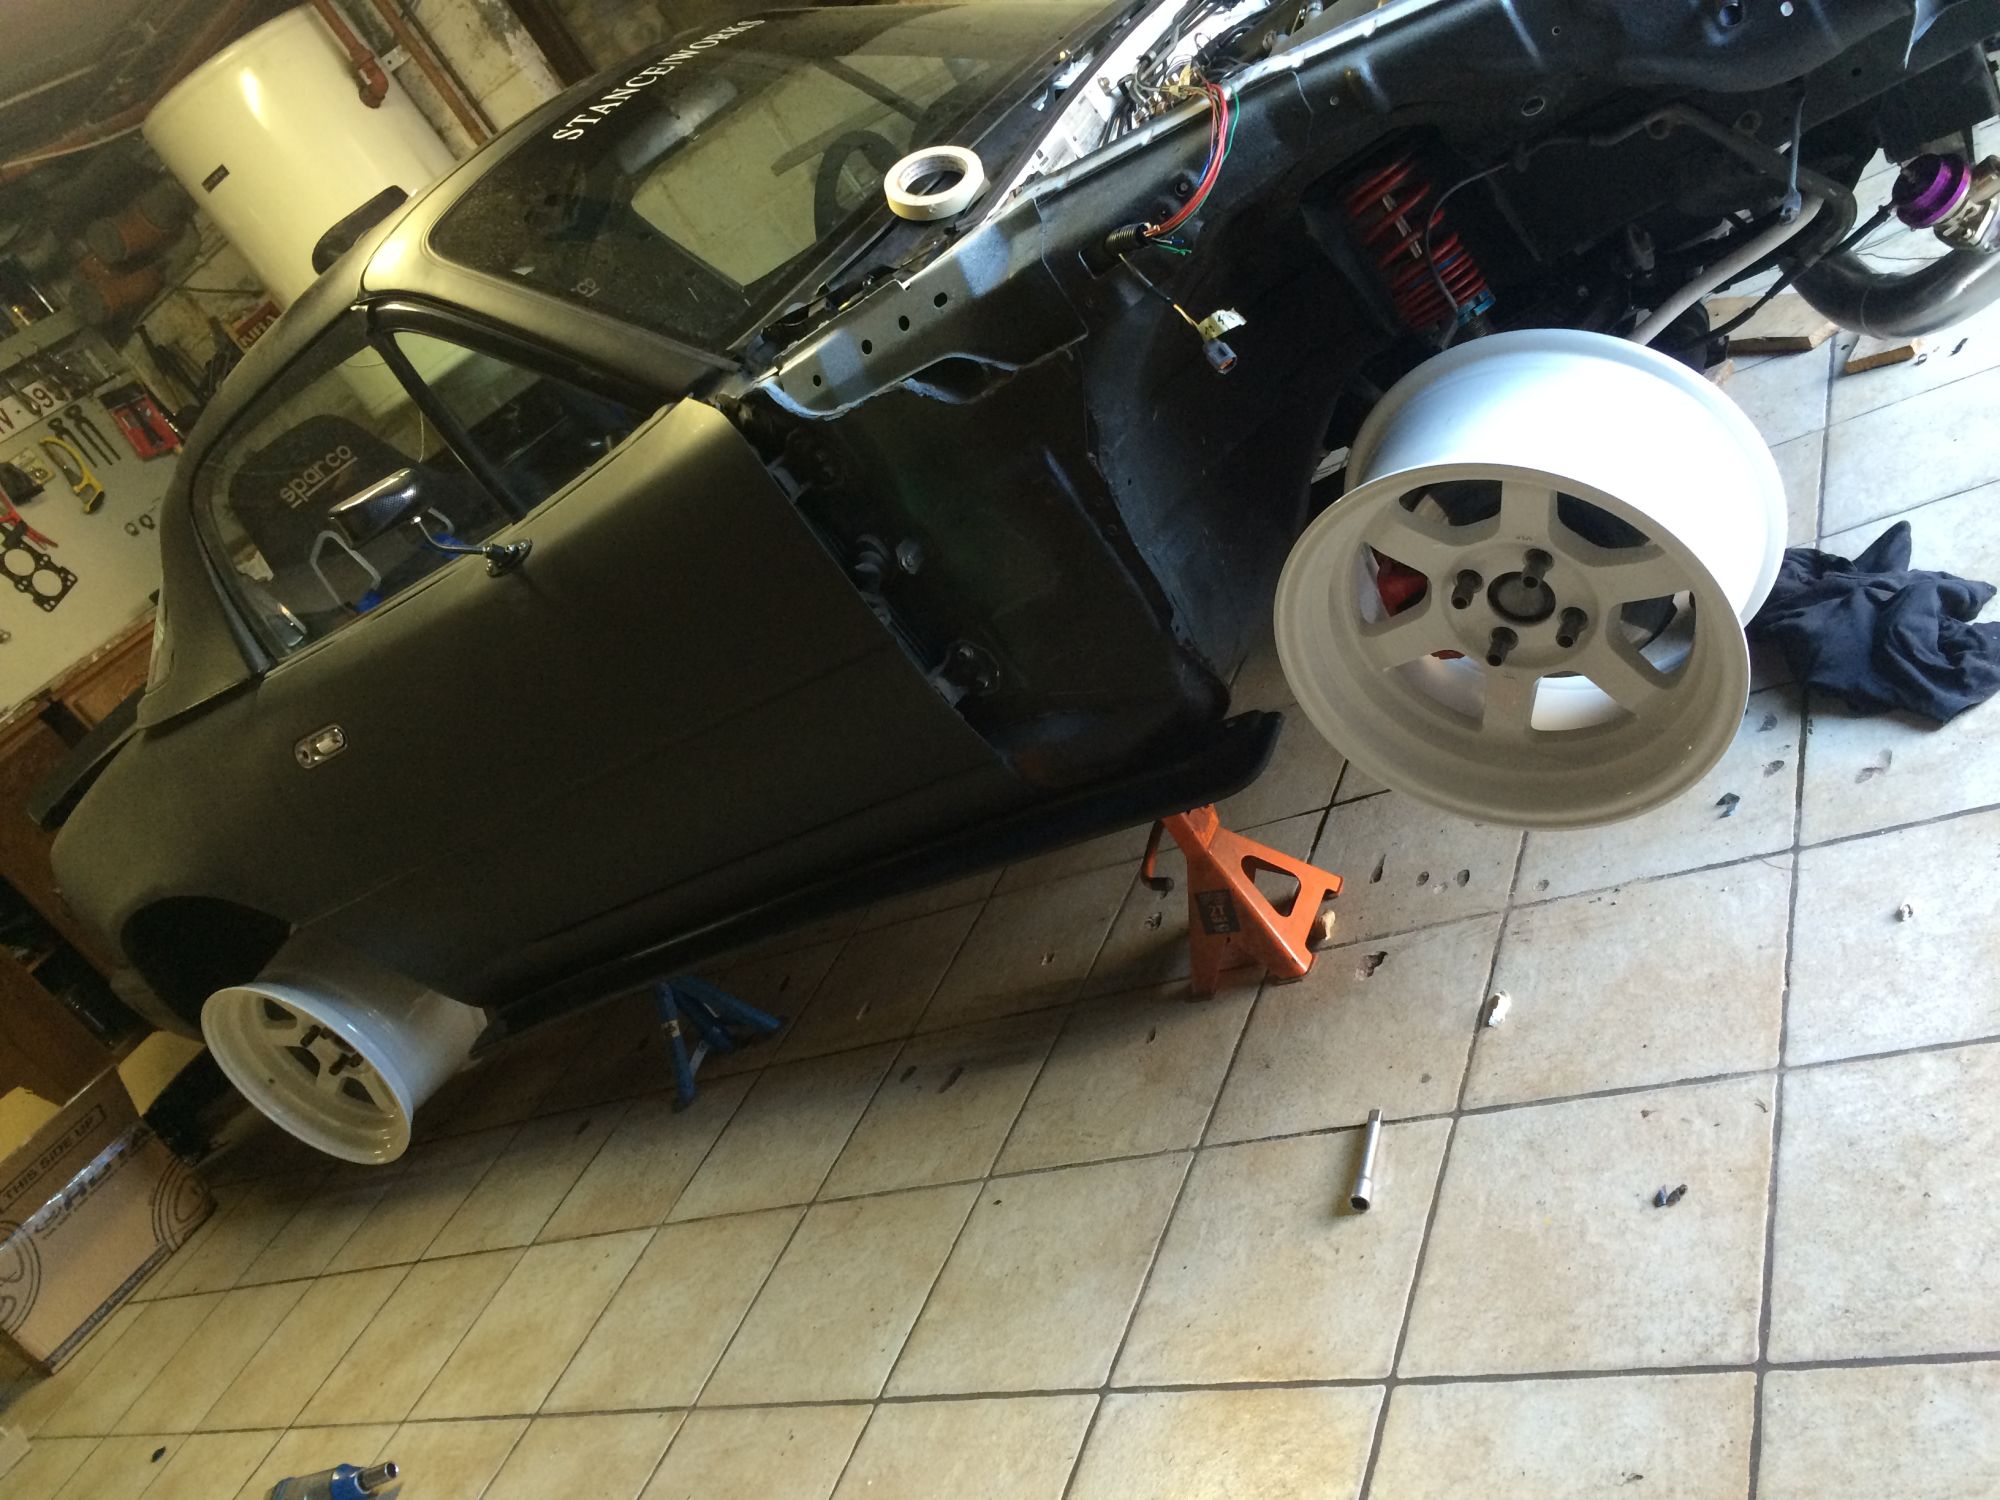 Looking small without tires
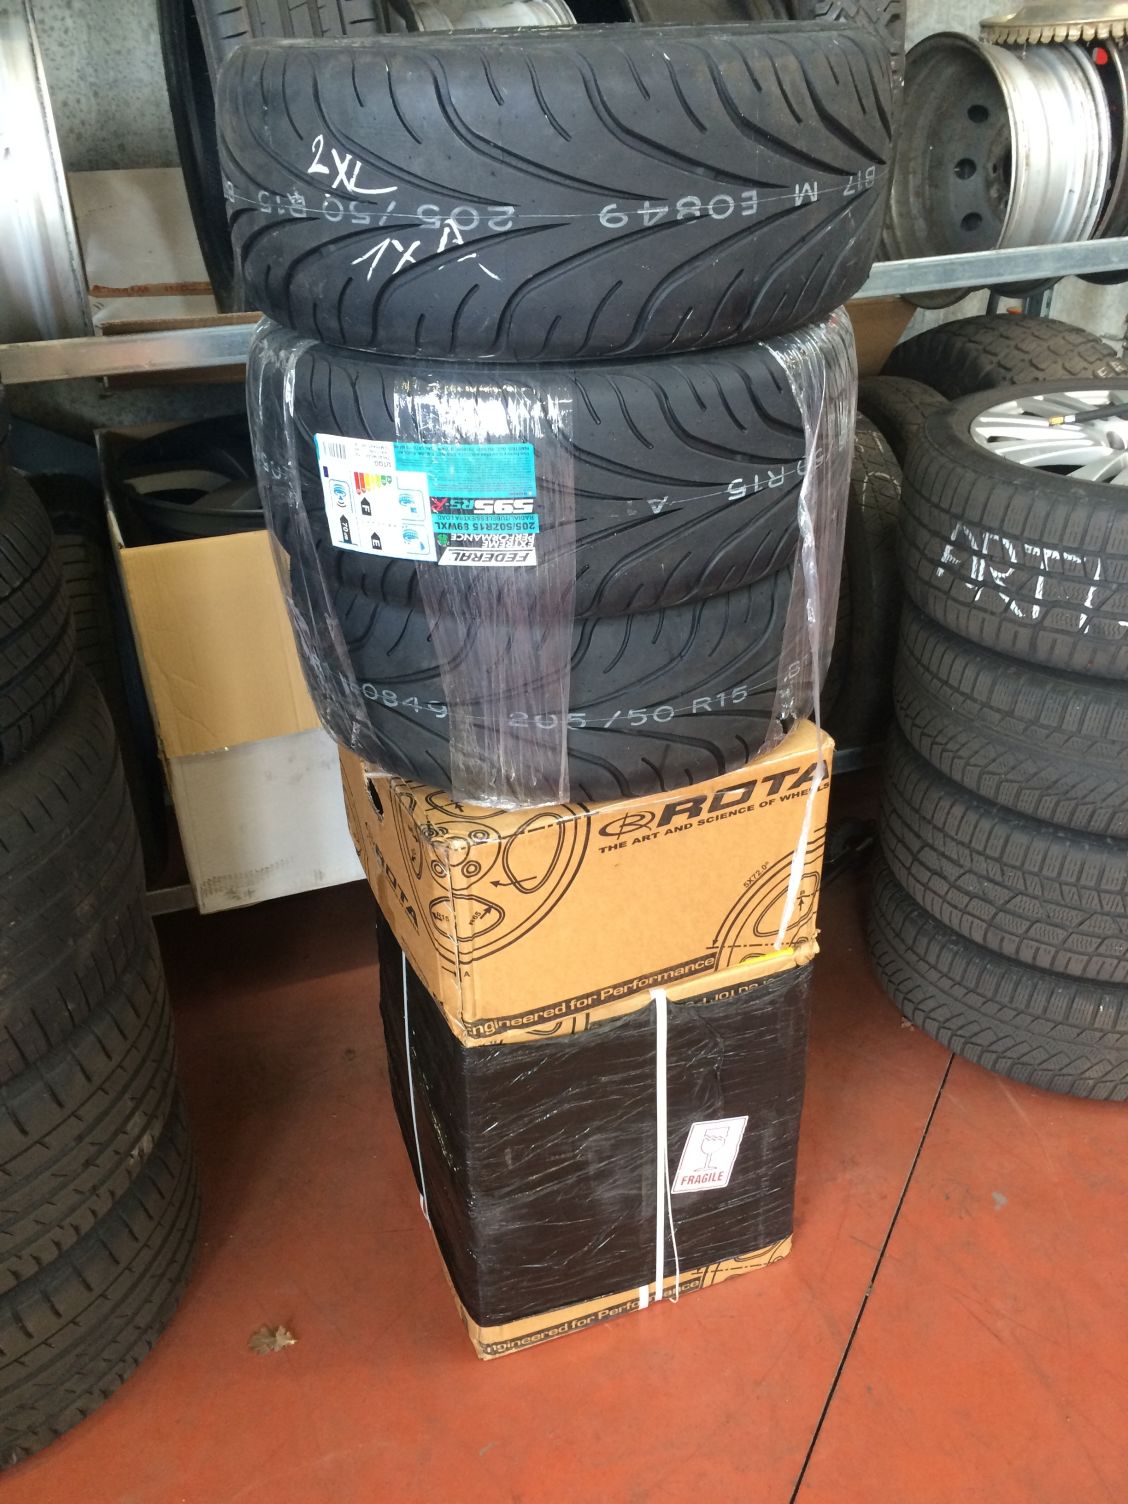 New Shoos.
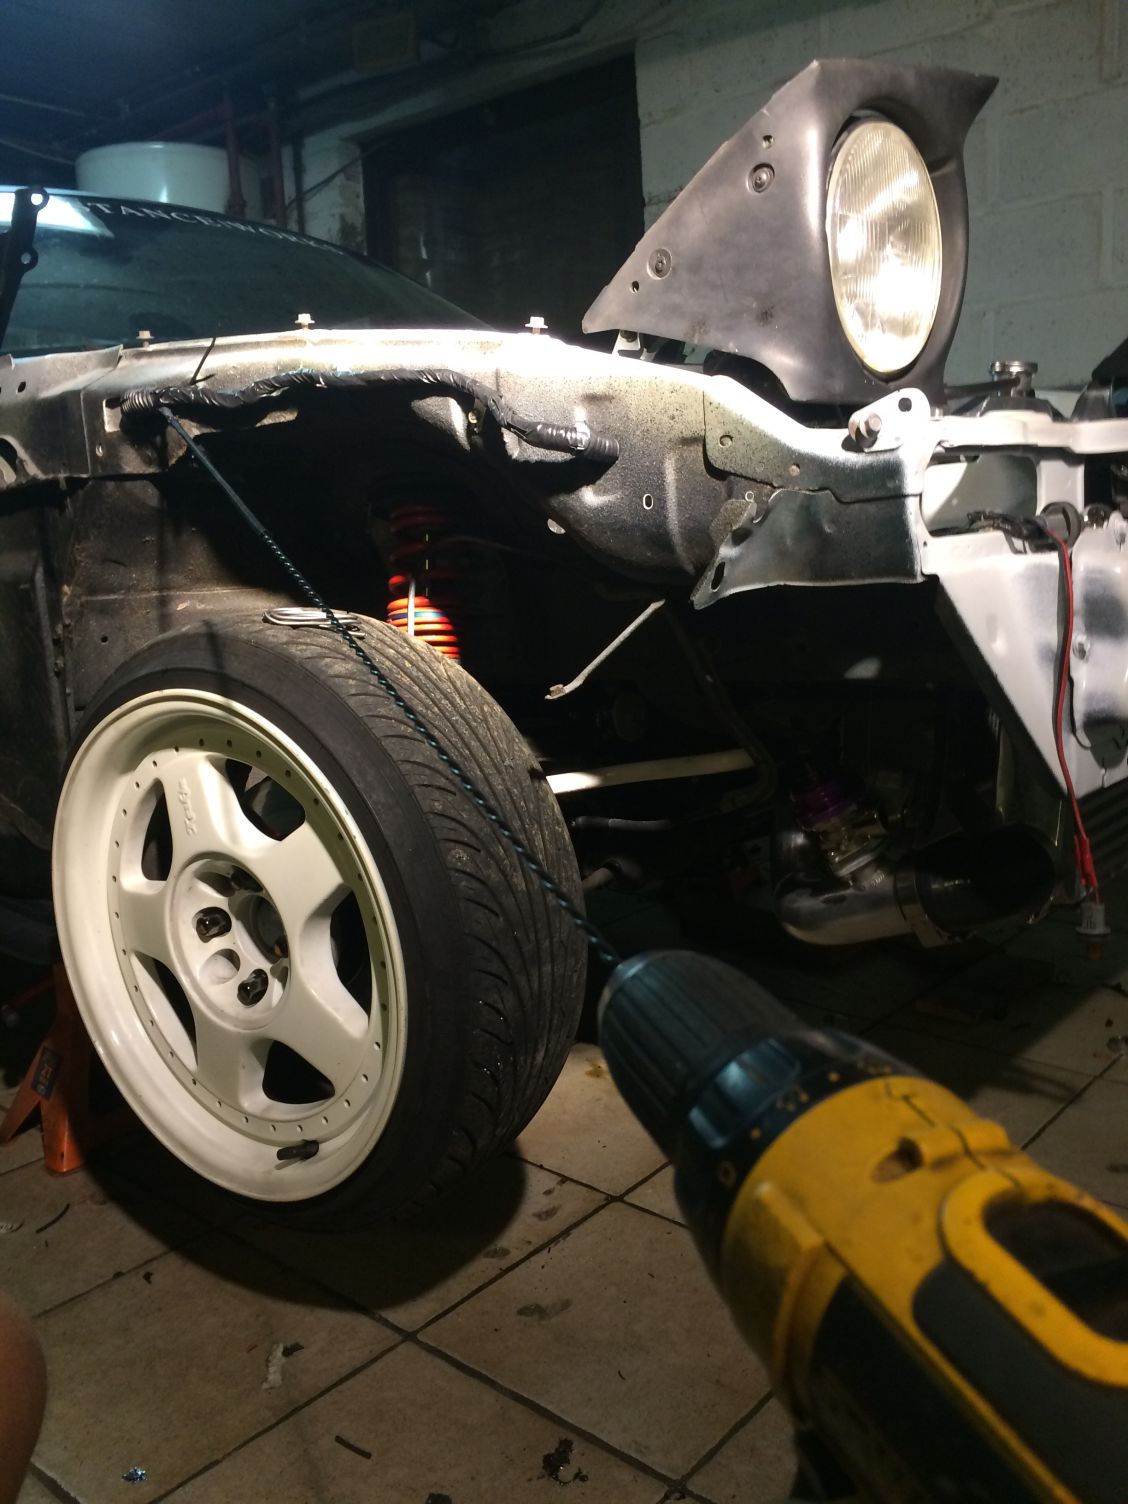

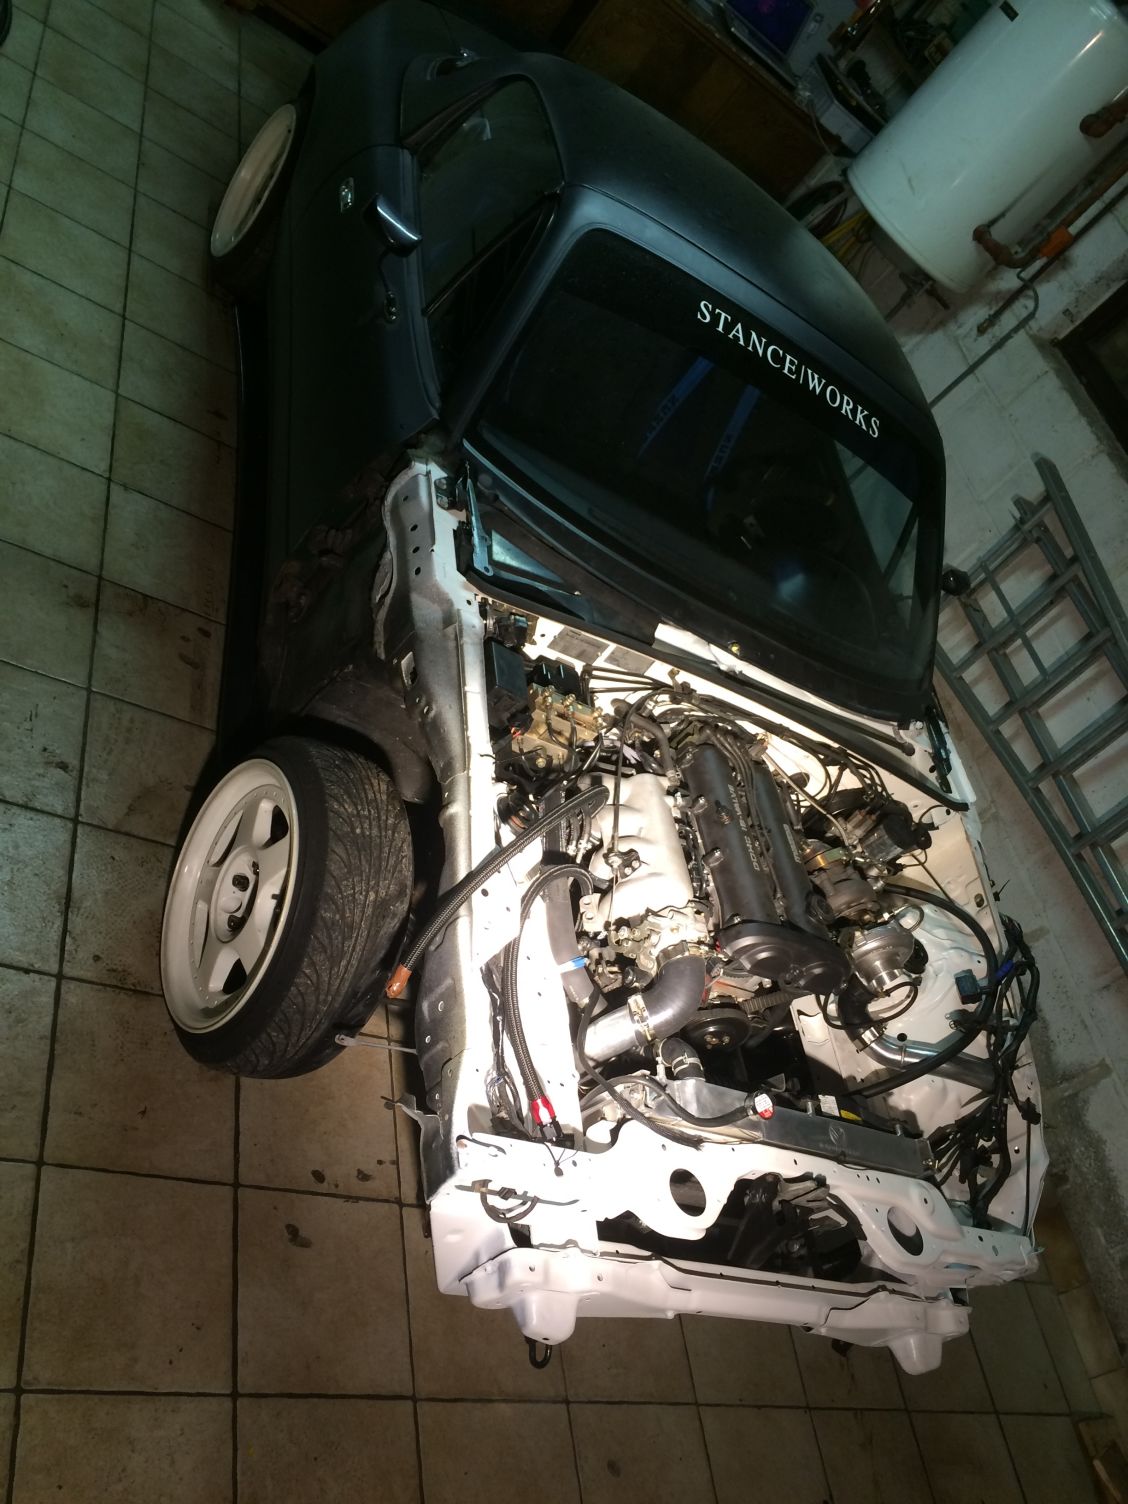
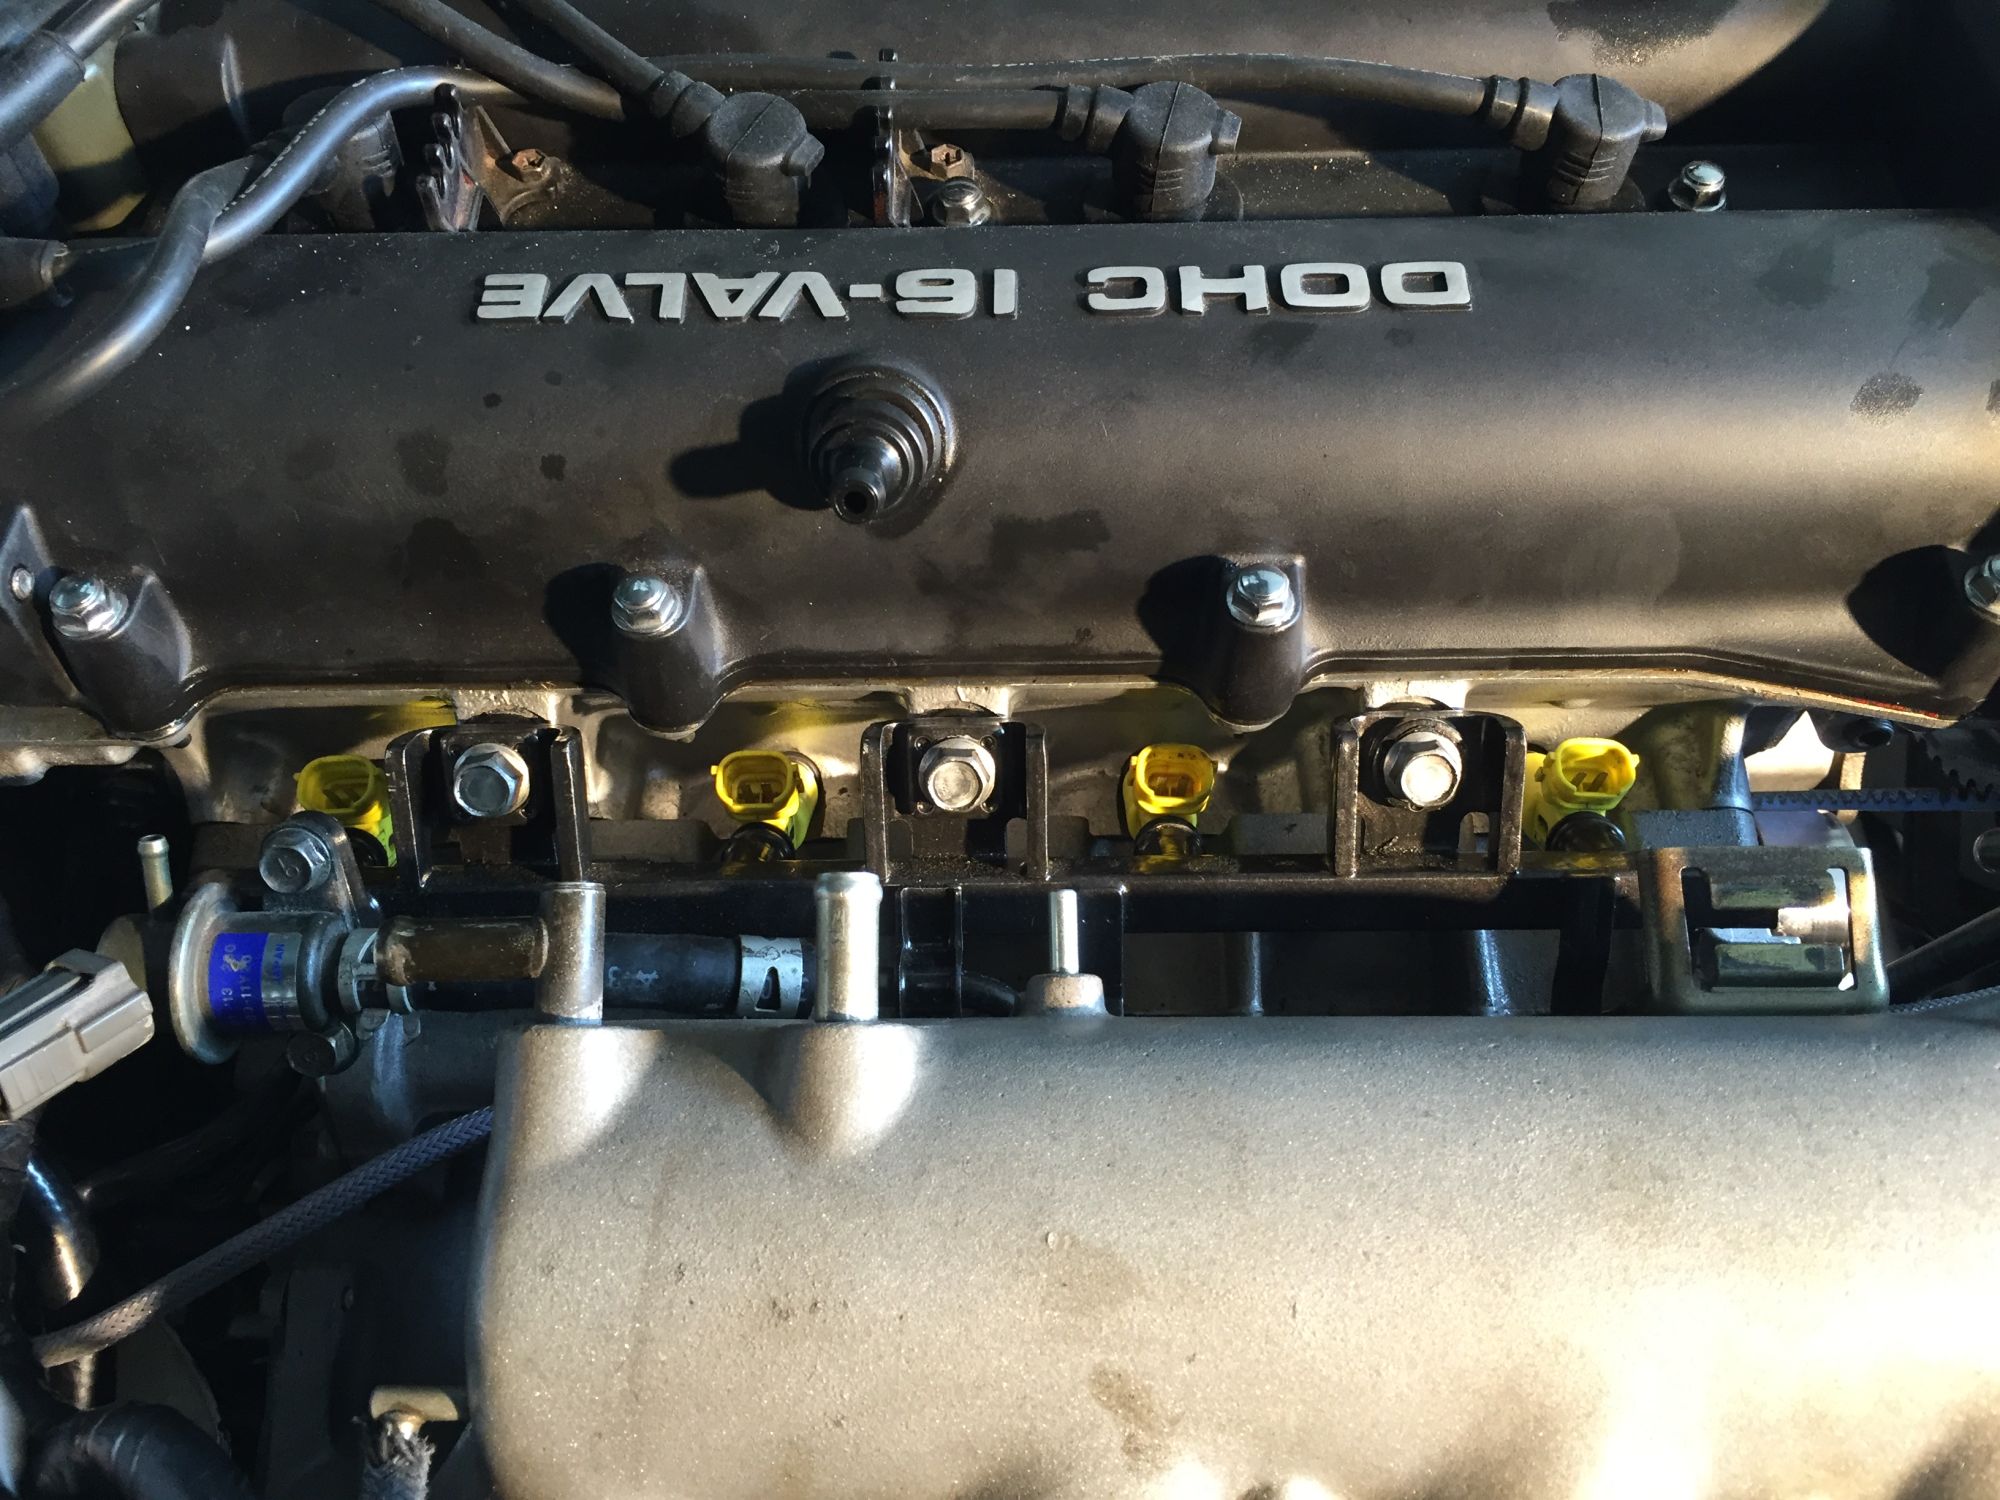
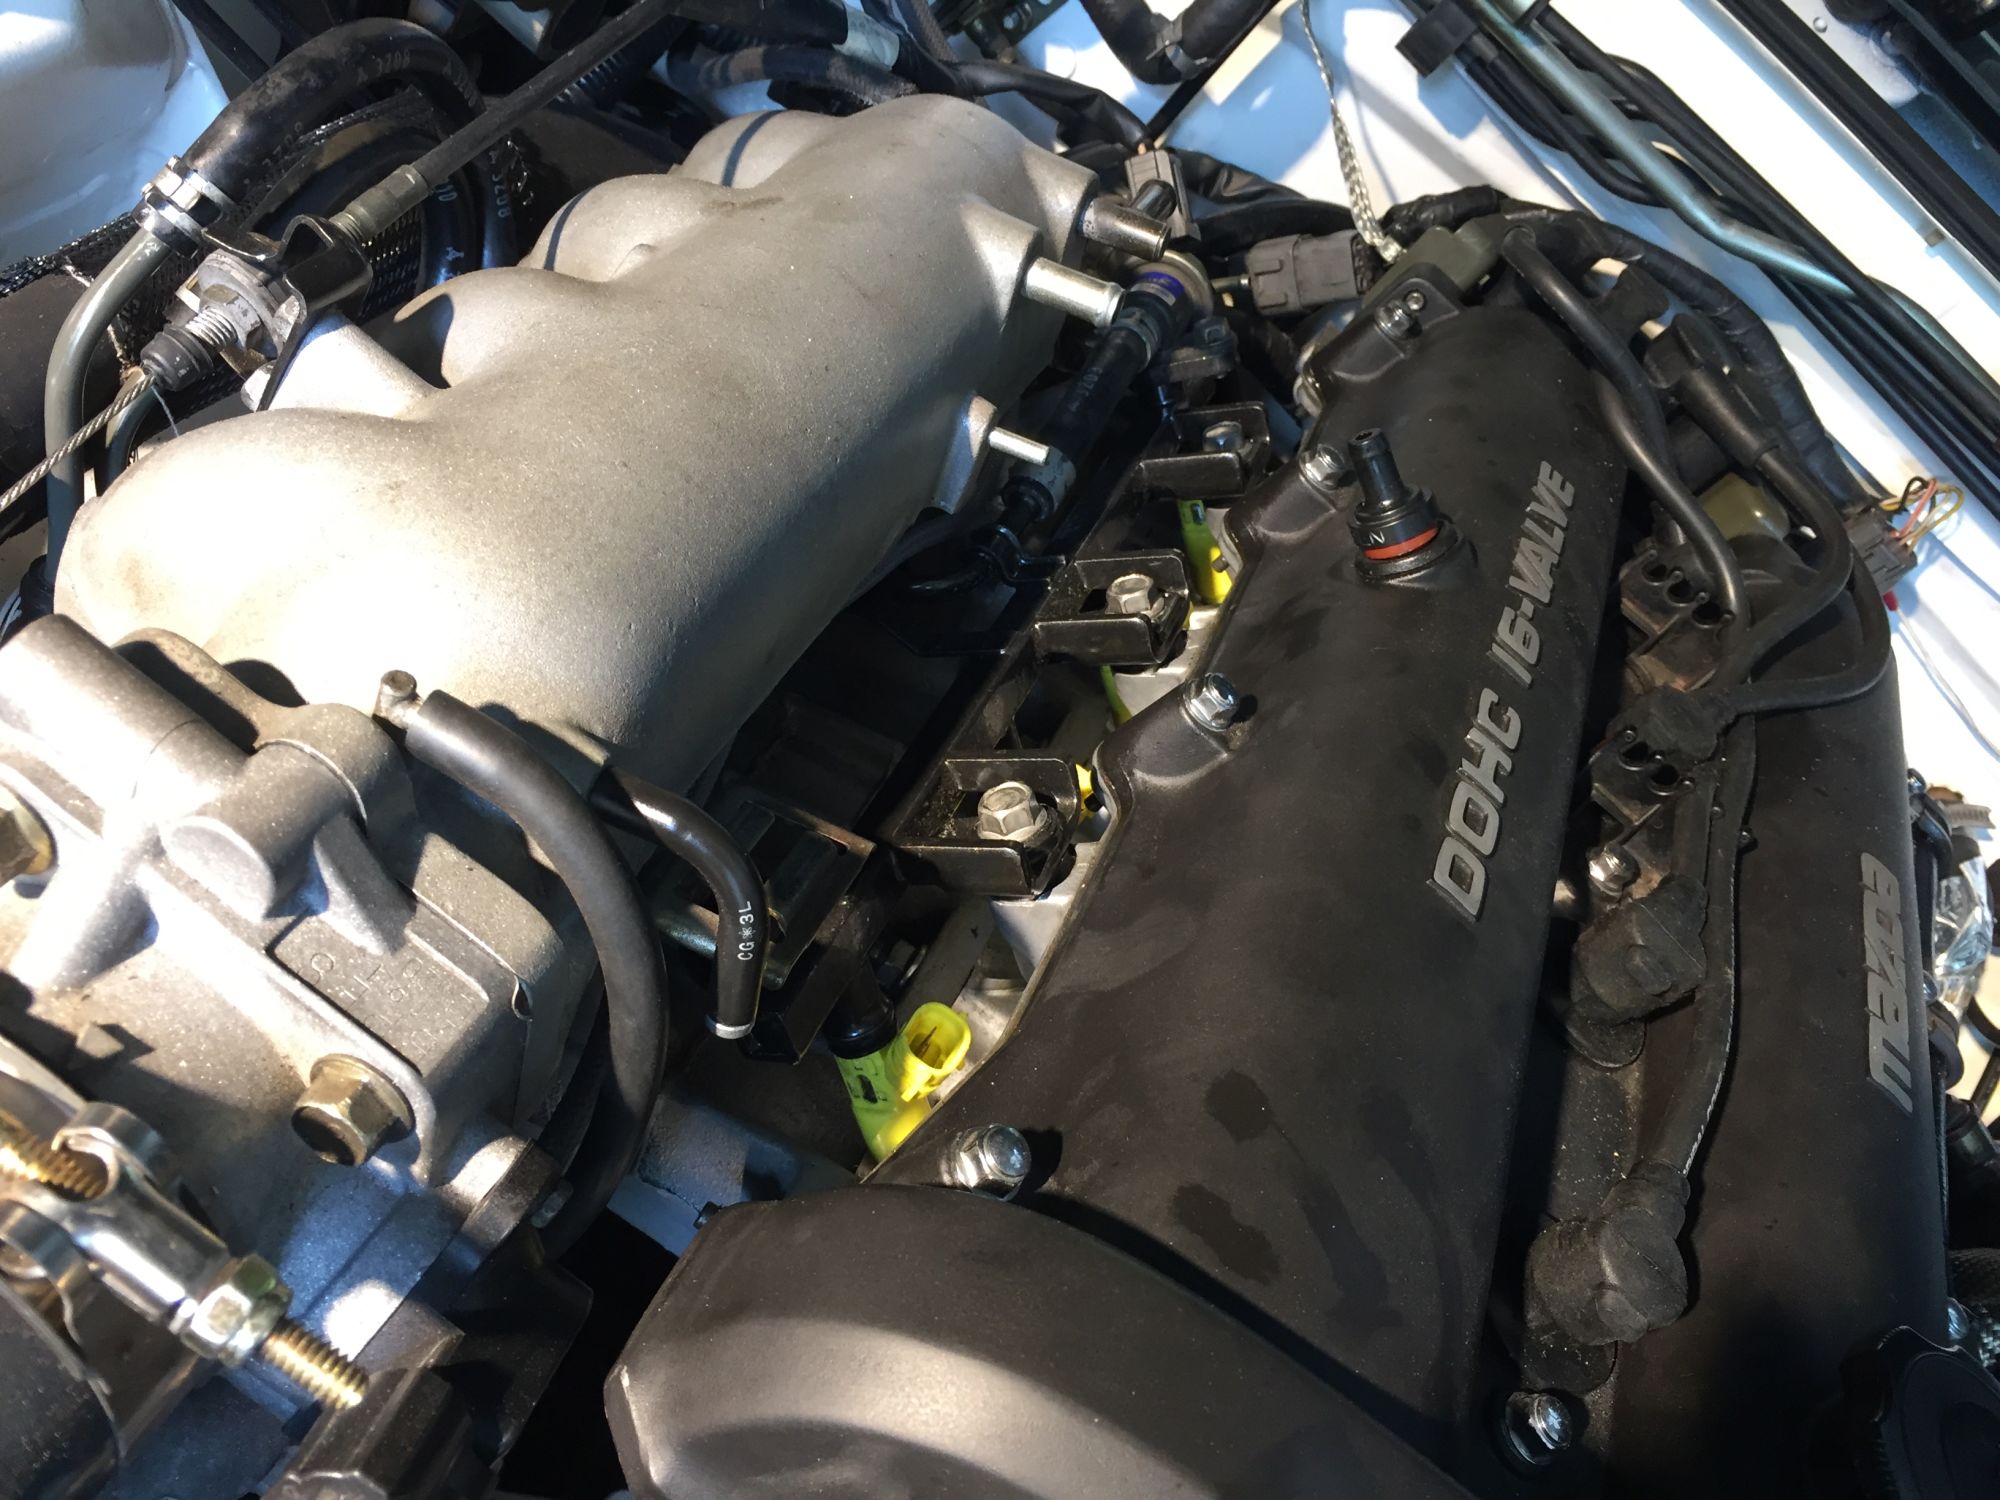
 First Drive in 8 months and rebuild engine.
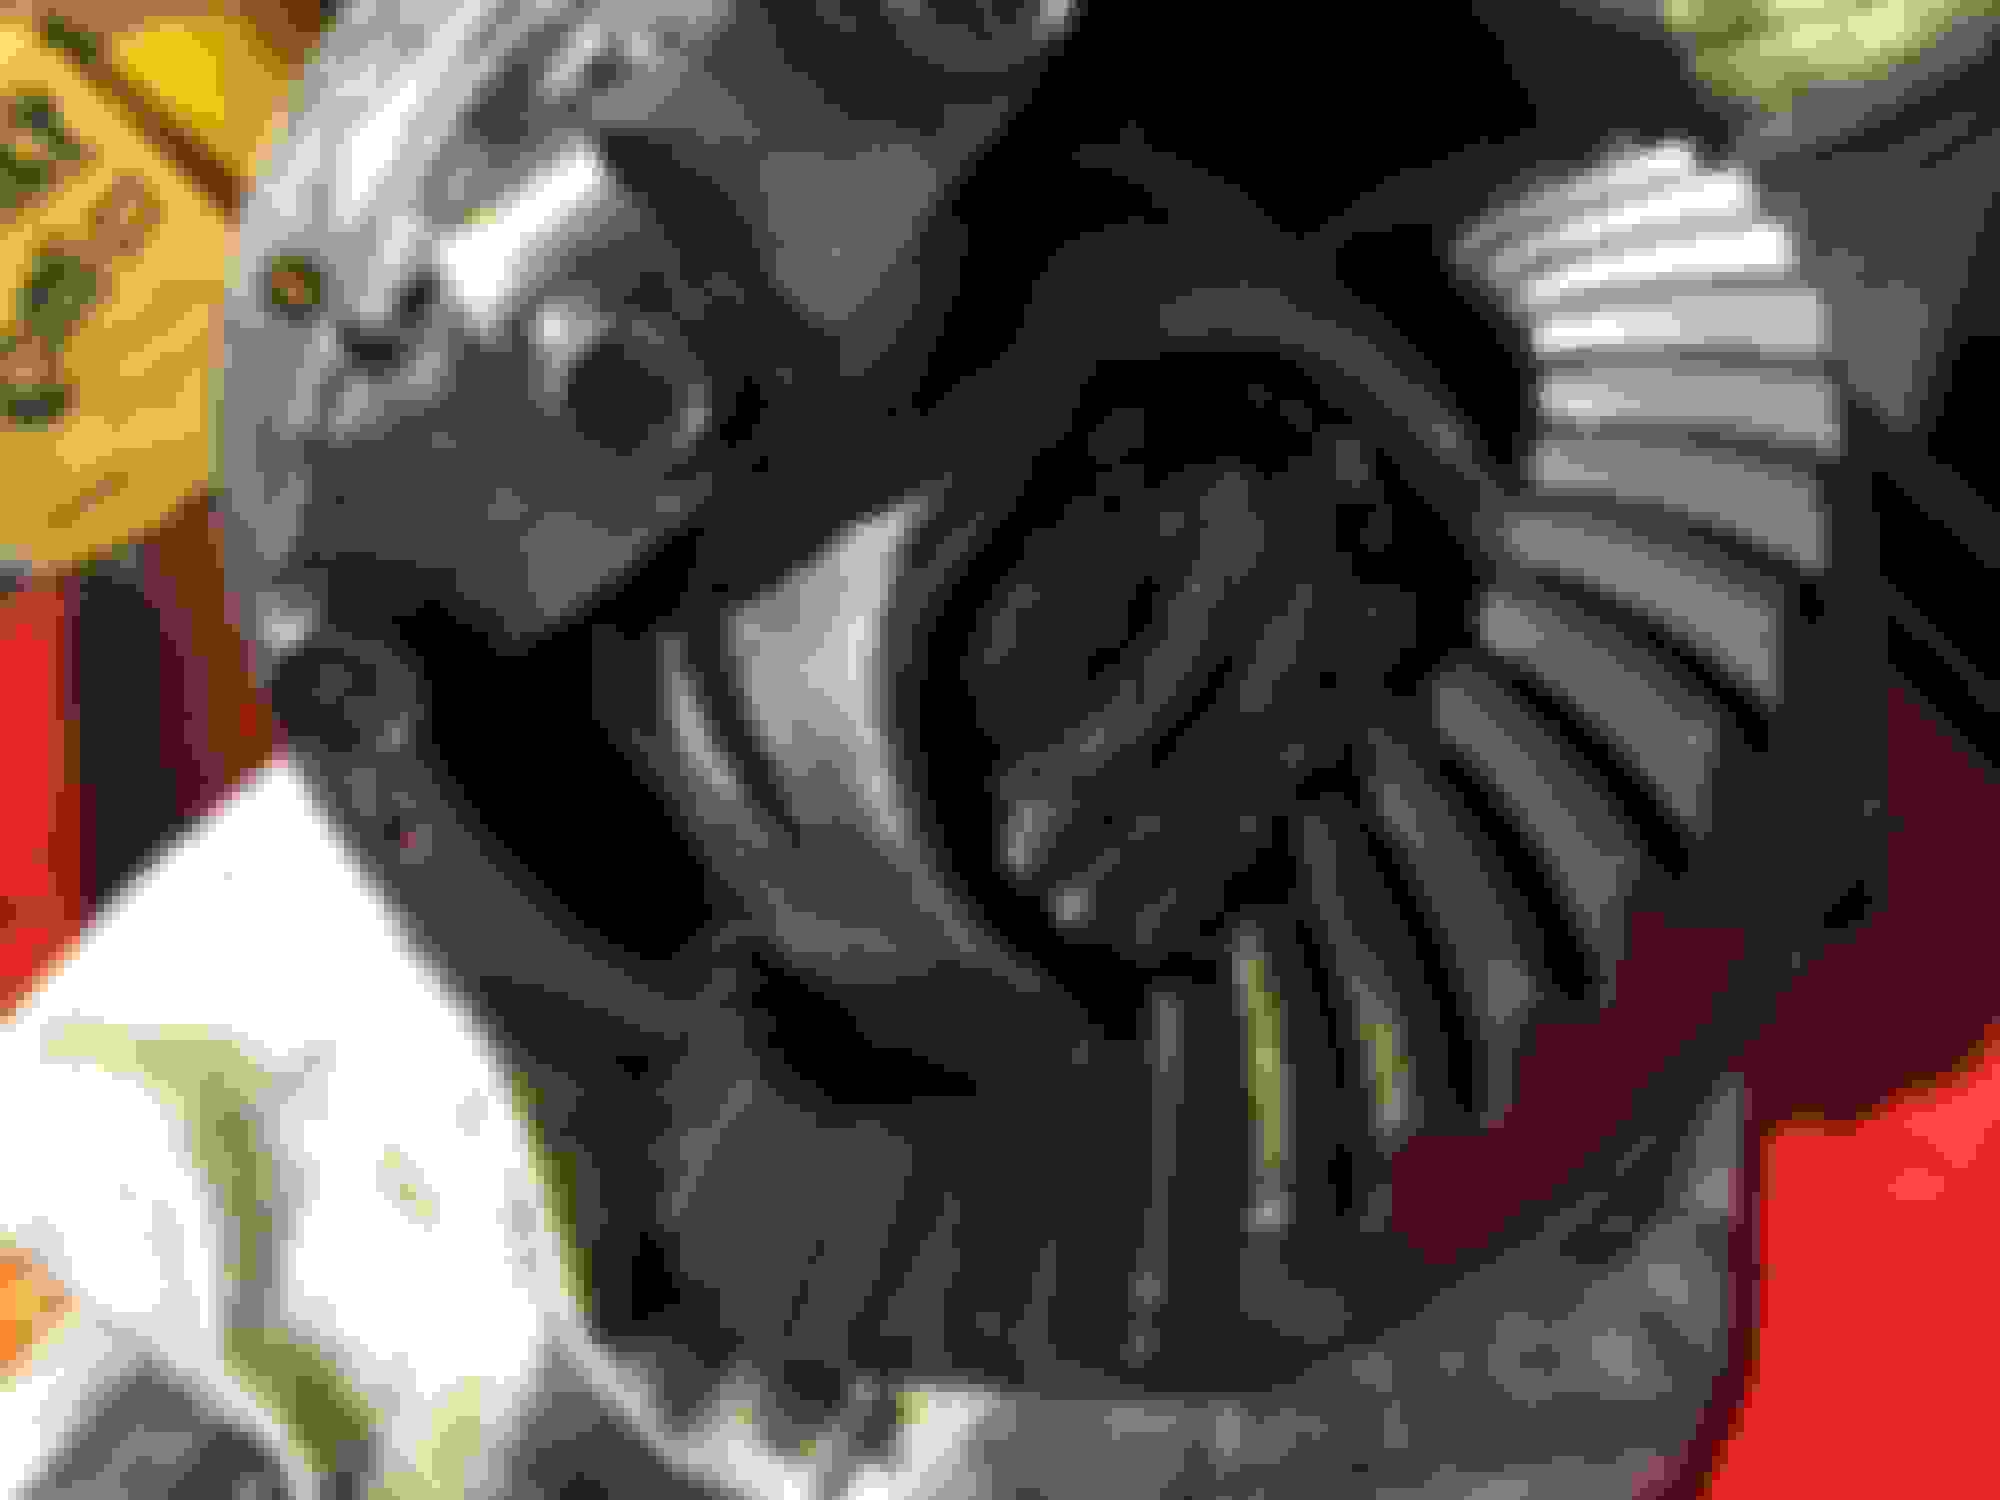
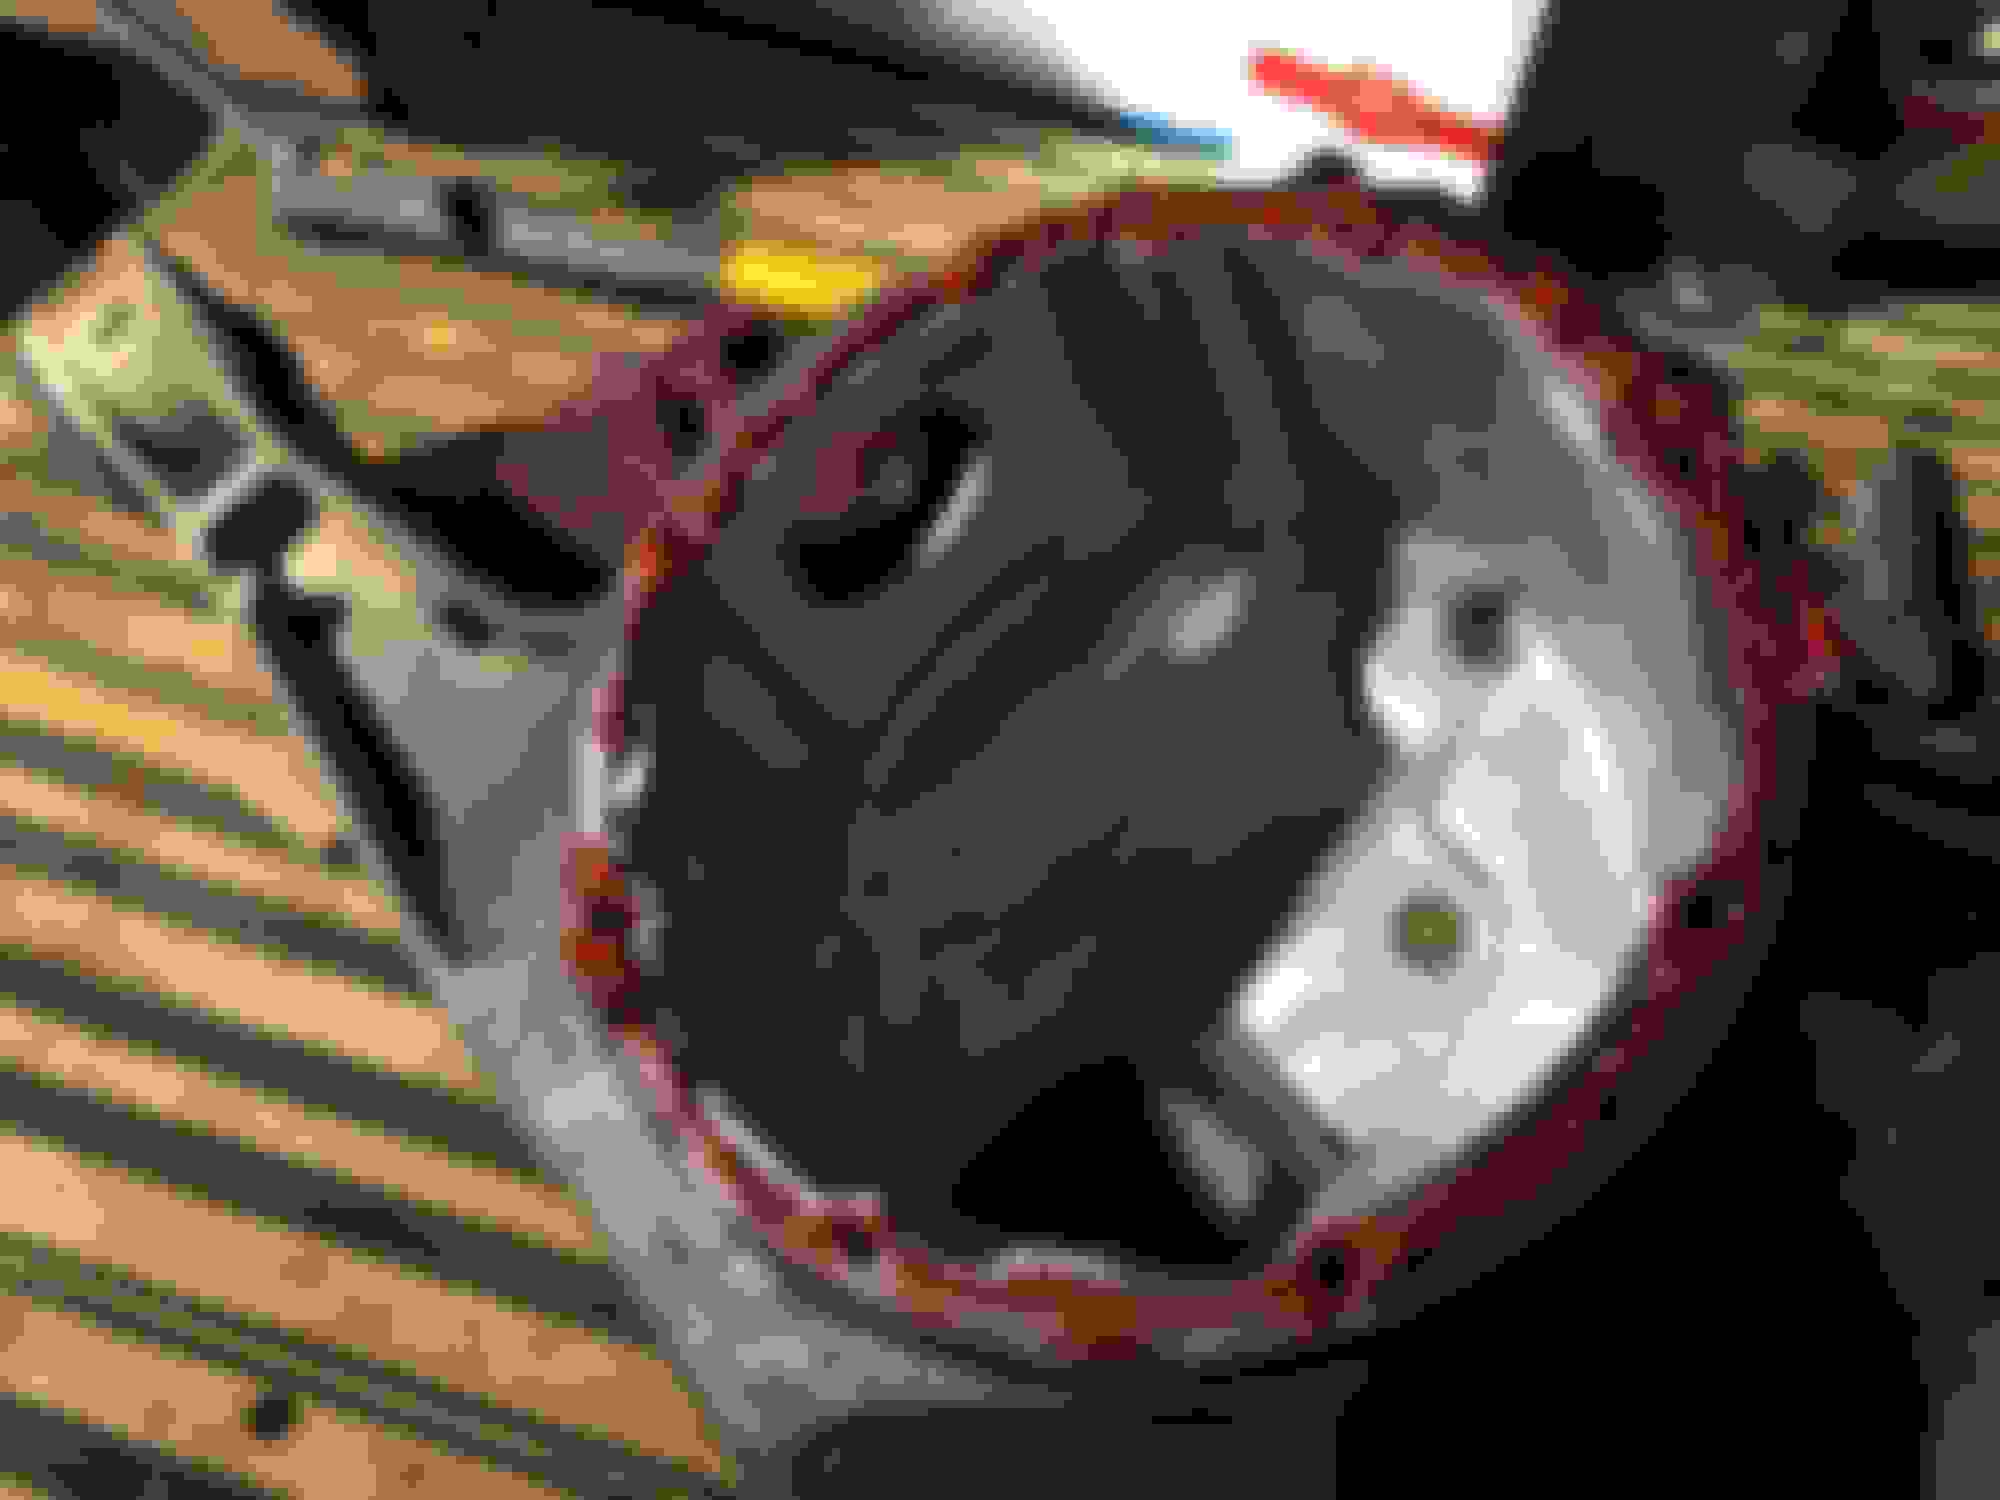
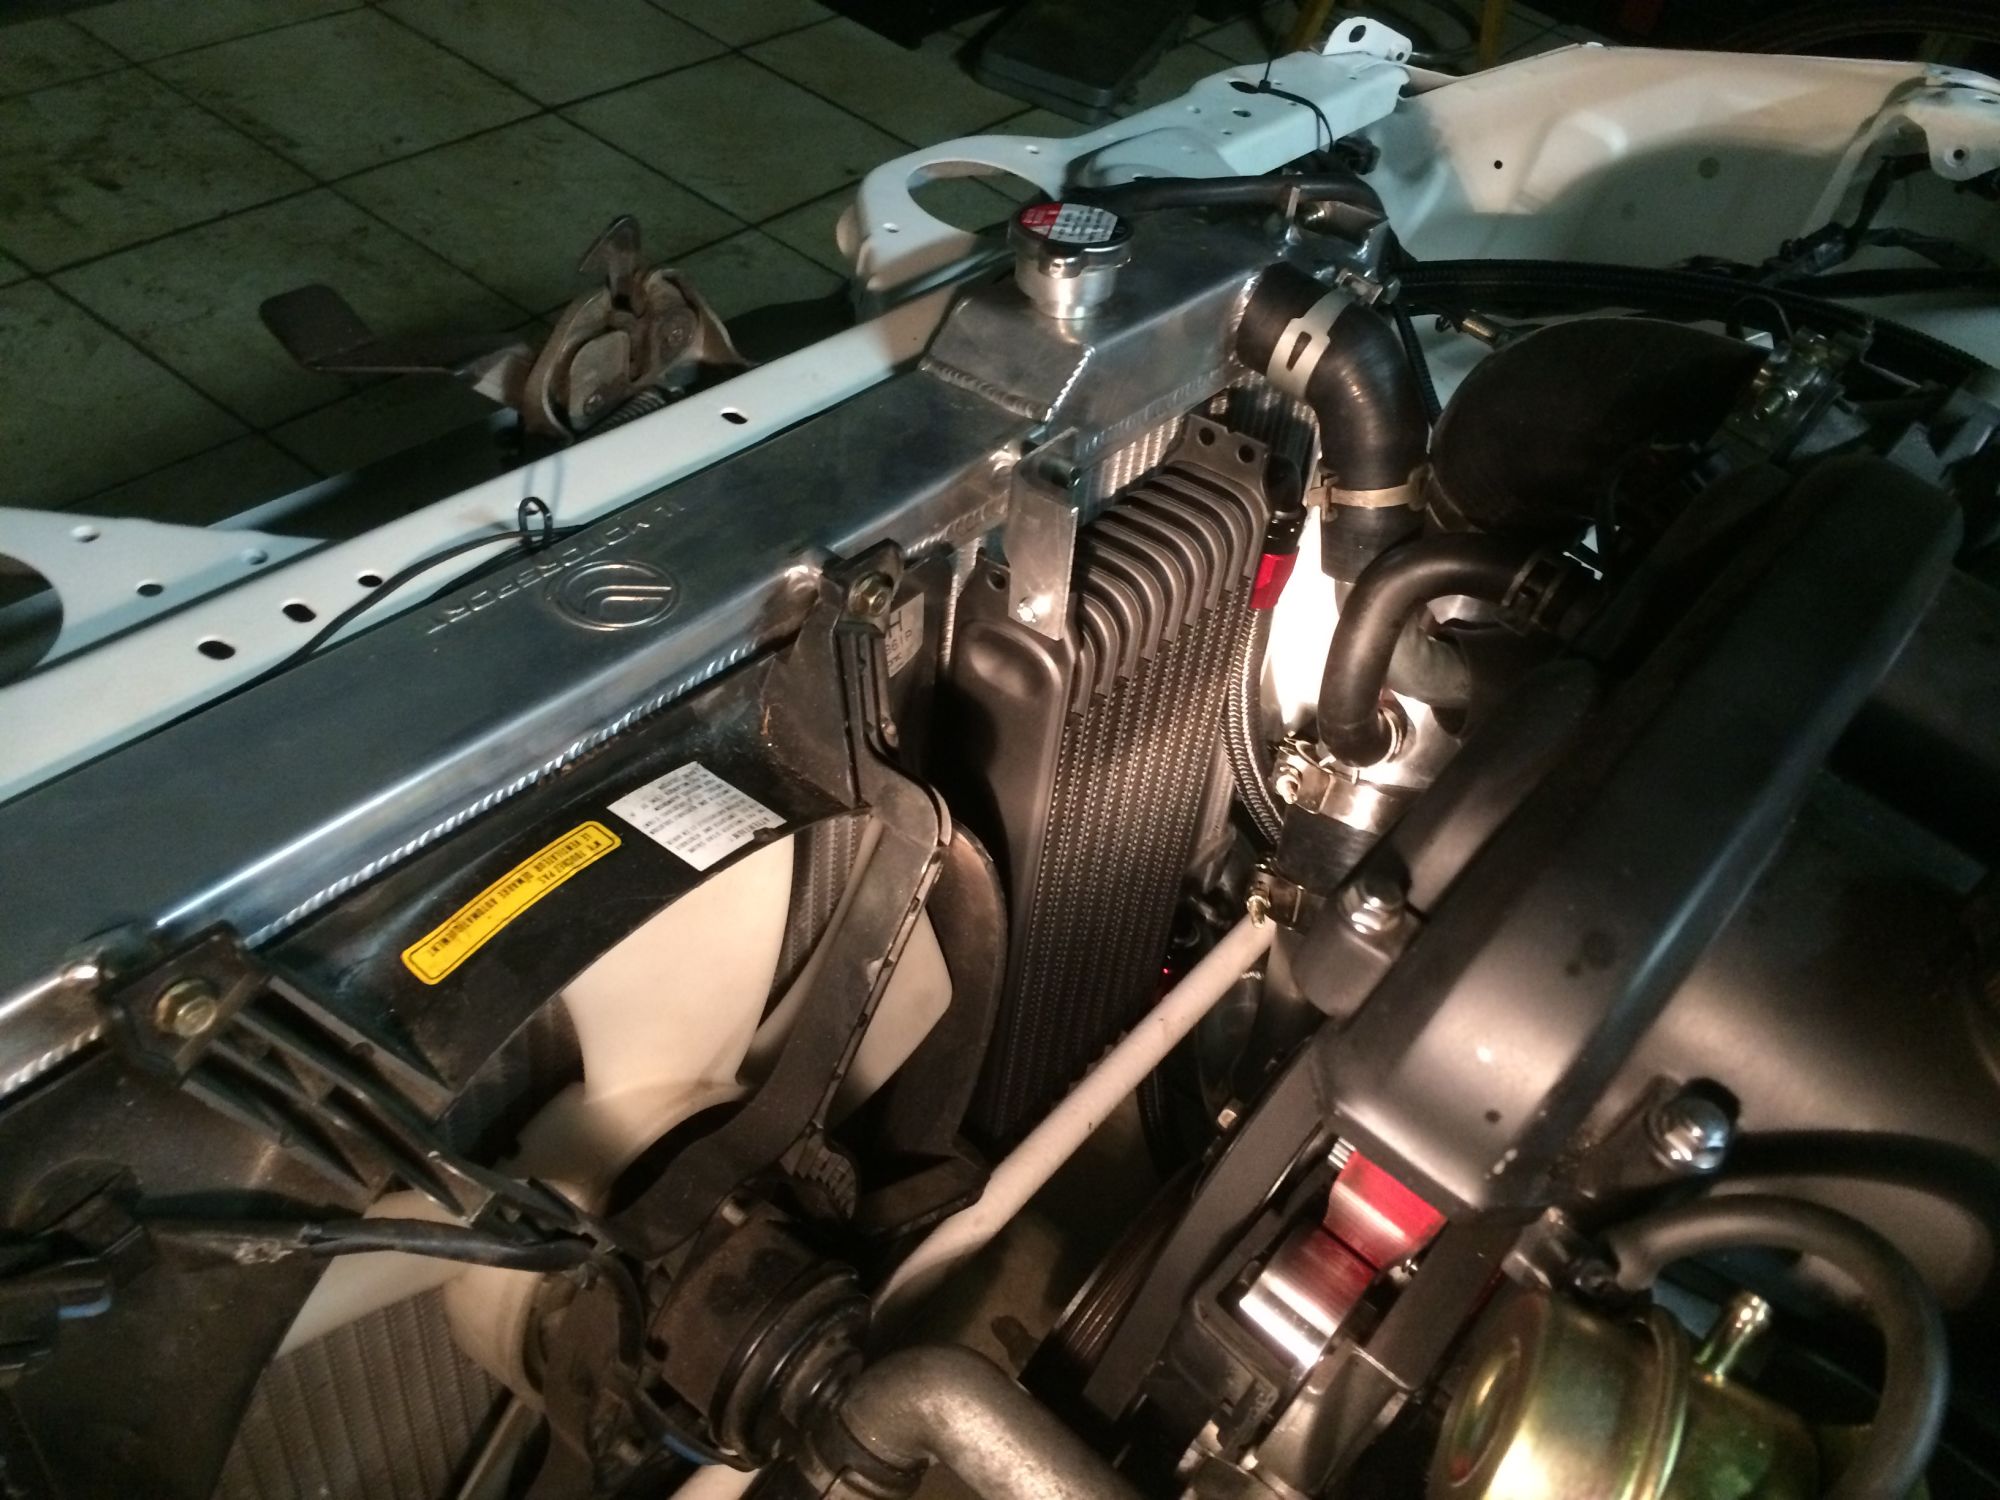
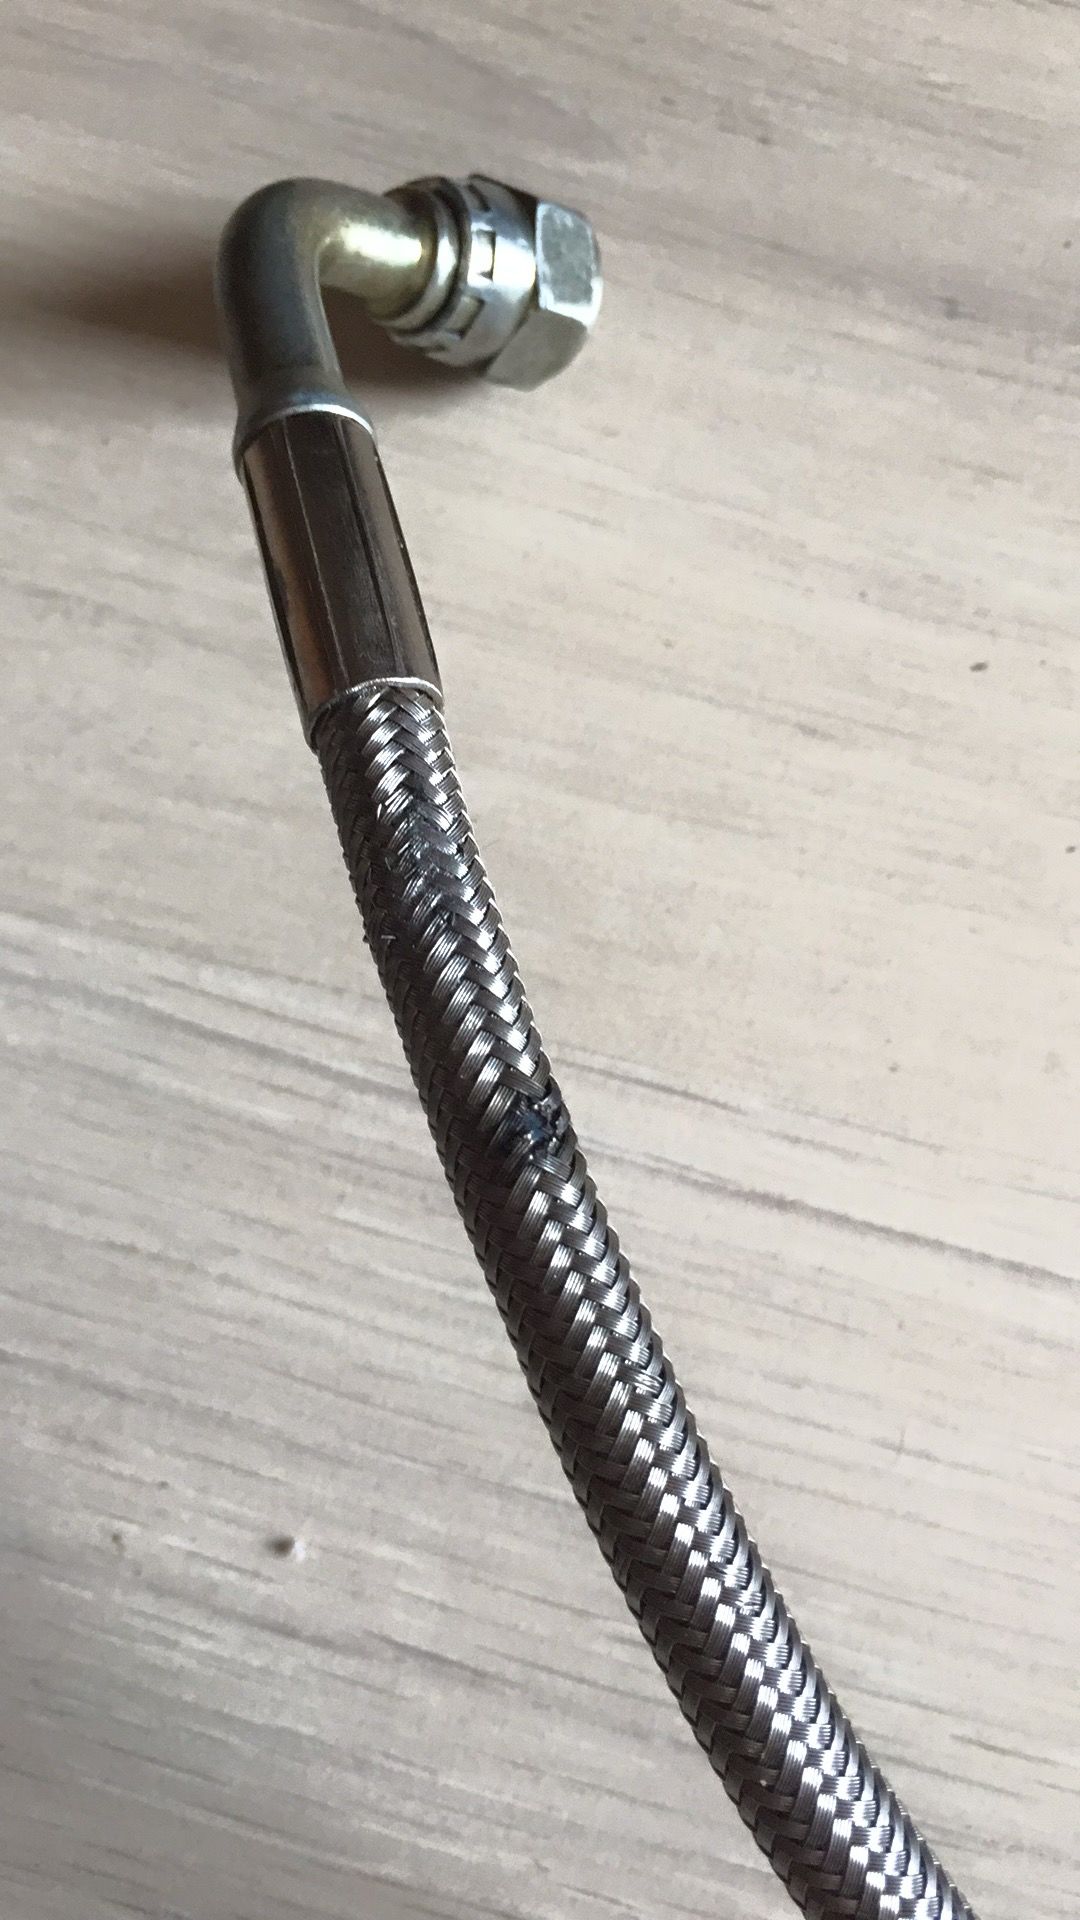 And than This happened... Oil leek at turbo oil line.
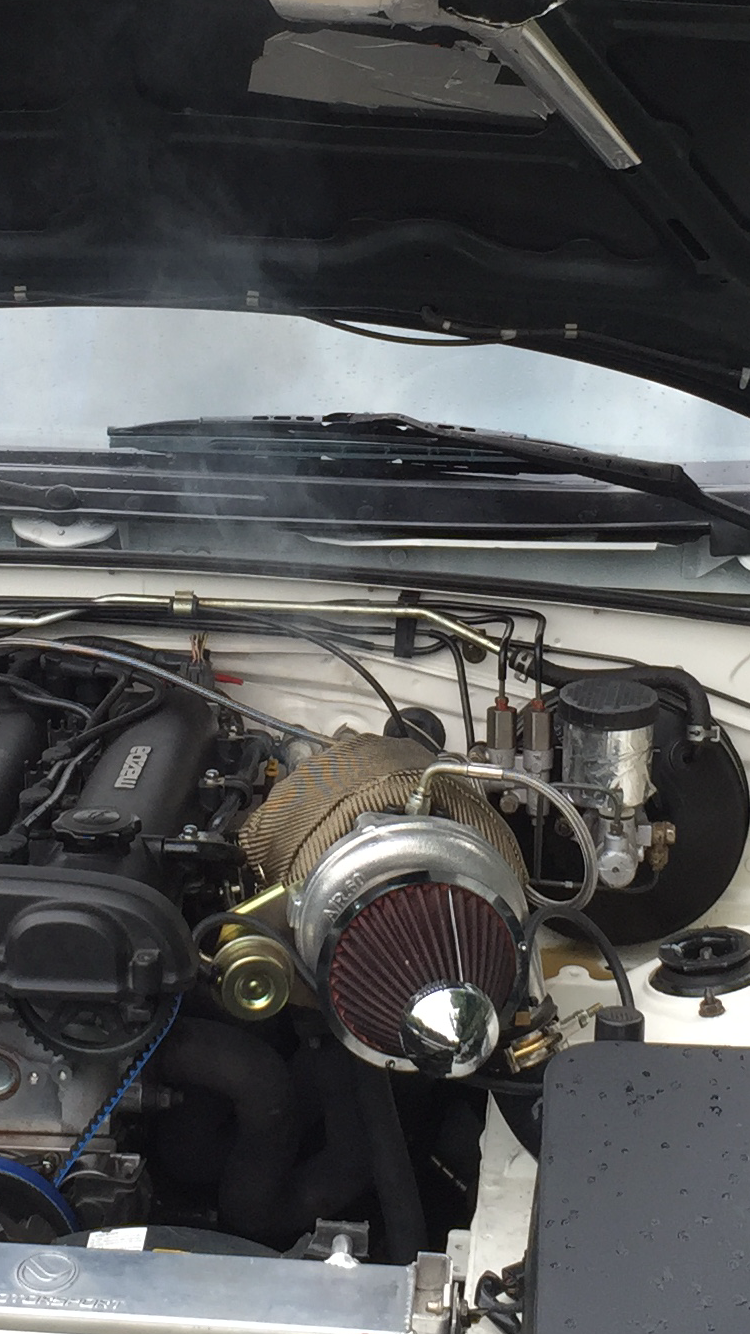

 I used a cap to block the original wire hole and drilled a new hole and the chassis so the wires are thuged under the fender.
  I only used the relays of my lights and the diagnose box (for if I have a problem in the future).


 I ordered one over night.