When you click on links to various merchants on this site and make a purchase, this can result in this site earning a commission. Affiliate programs and affiliations include, but are not limited to, the eBay Partner Network.
Your head on its way to the hot tank looks better than when I got mine back. If only PO's knew how/when to change oil...
Haha. To be fair, those photos were taken after some simple green and a power washer.
Originally Posted by Arca_ex
If you're using stock cast pistons you're not going to get to the power levels where cylinder wall integrity becomes a problem anyways. You opted for a much weaker piston to get 83.225mm bore size if I'm reading the specs correctly, when you could have done 83.5mm with forged? The difference of 0.275mm bore size is not going to suddenly make it way more resilient, but using forged instead of the cast pistons definitely makes a difference in the 300whp+ range. Plenty of people running 83.5mm or 84mm bore sizes are at 400+whp, but stock cast pistons would be the weak link at that point.
I hope this isn't the last time I build this motor. I would like to keep this car for a while if possible, put lots of track time on it, and develop the car along with my skills. My current goals are sub 300whp. But if needed in the future, I wouldn't mind rebuilding to accommodate higher goals.
Very possible I could be making a mistake, but I considered a bunch of advice and experience on here. I appreciate your feedback though! Kinda wish I got it sooner.
[QUOTE=HalalBuilt;1645836]Haha. To be fair, those photos were taken after some simple green and a power washer.
I thought I was single handedly keeping Simple Green in business during my build. Simple Green and a crockpot is a very effective DIY hot tank for smaller brackets and hardware.
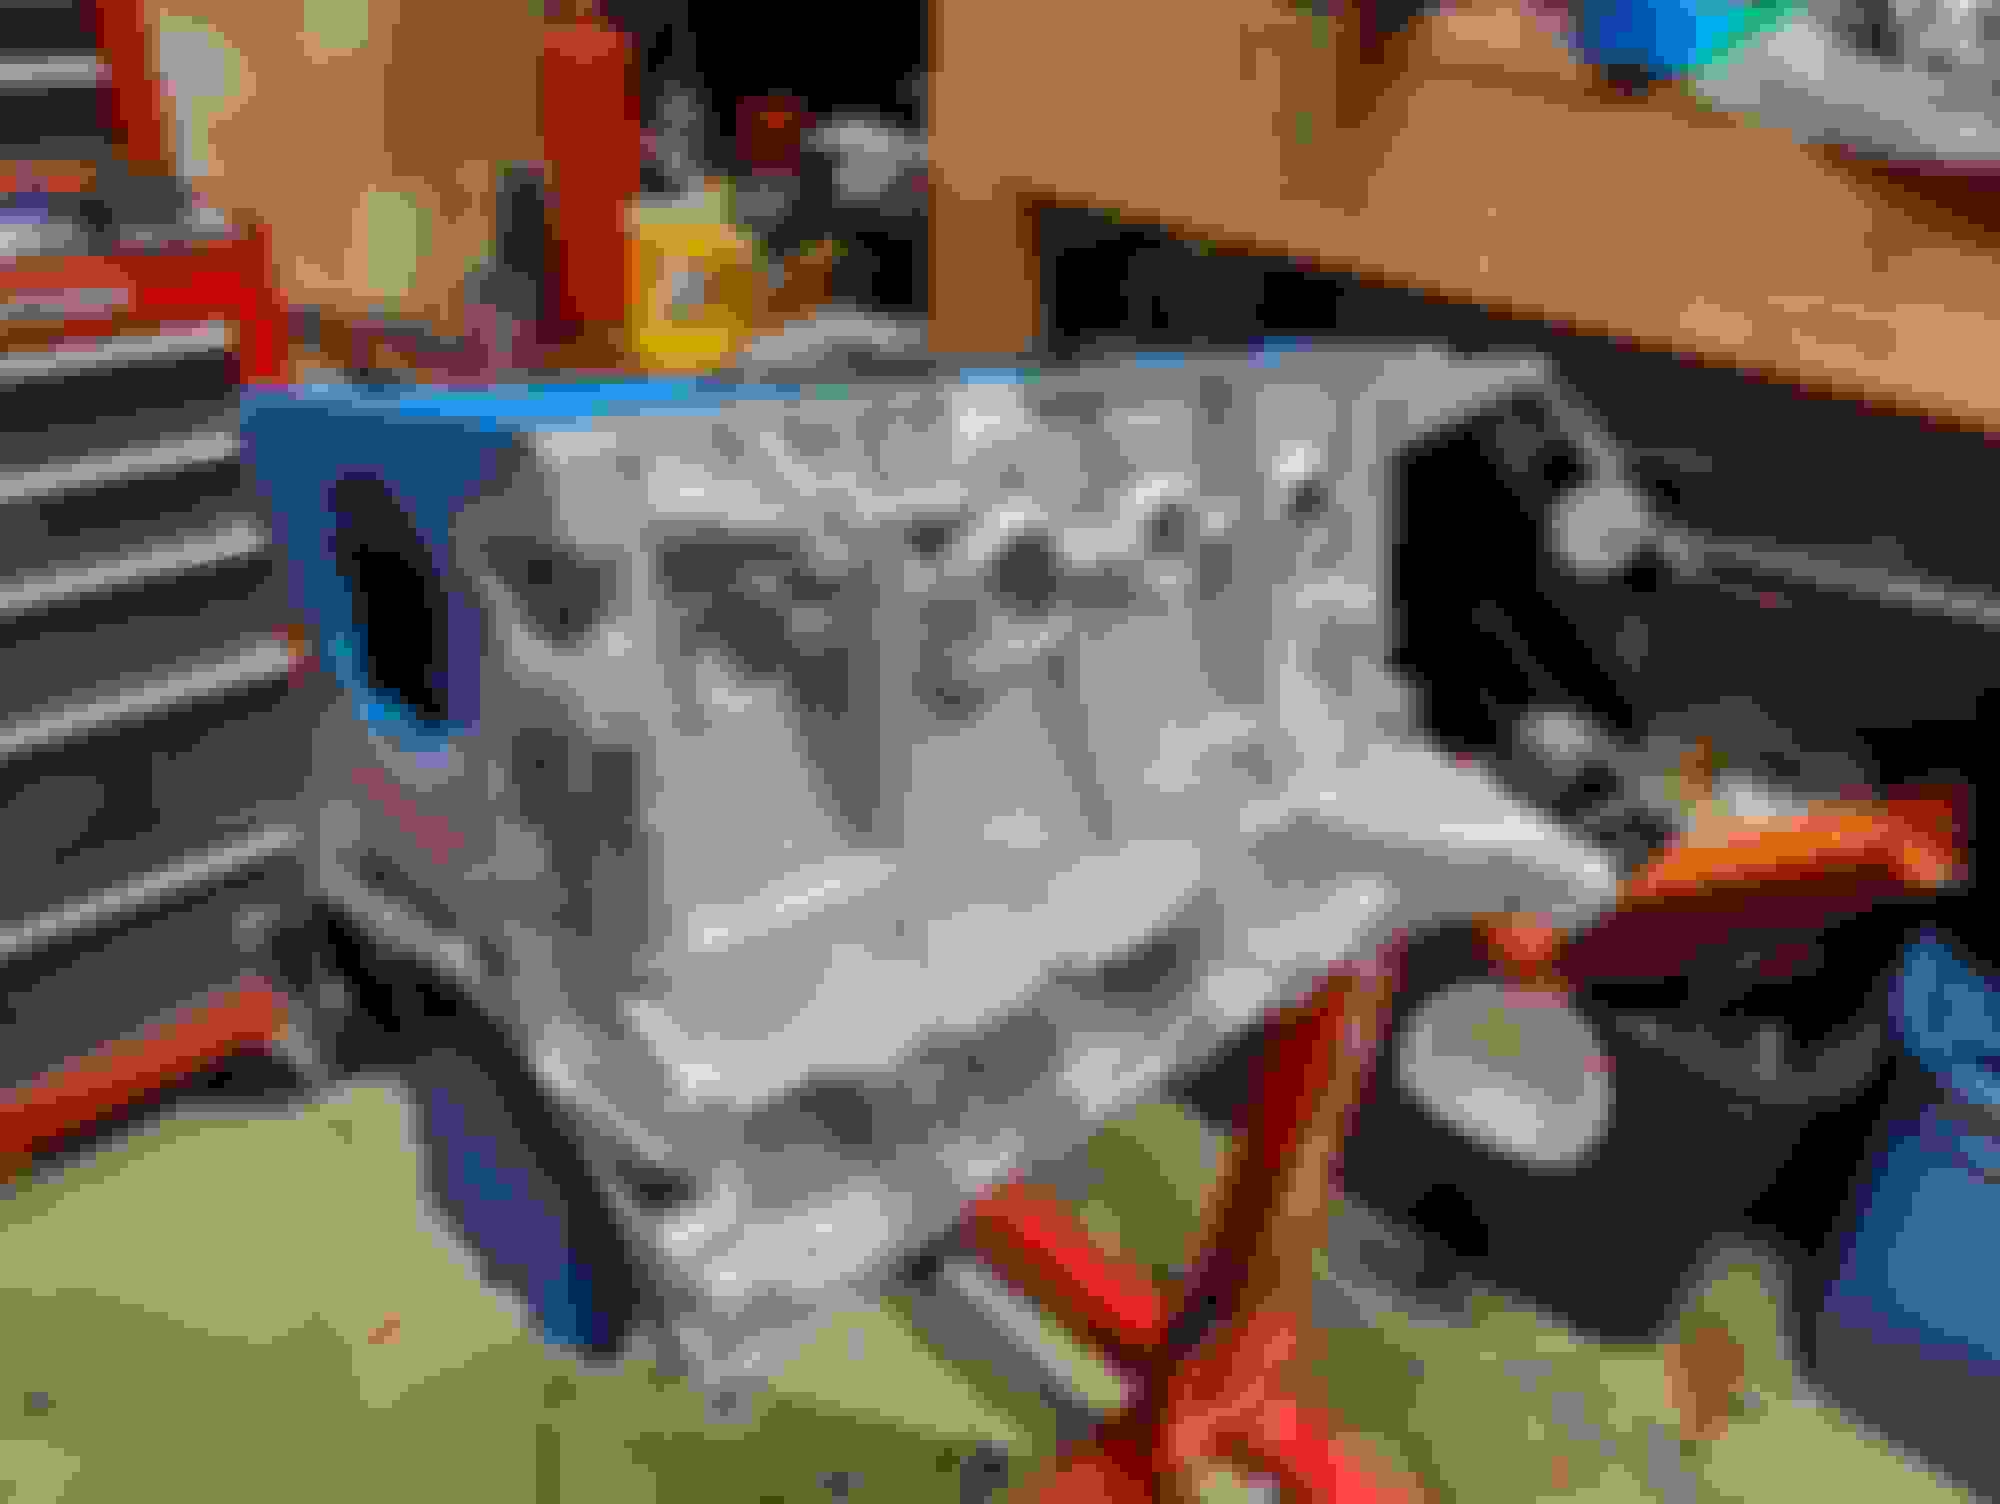
Everything is back from the machine shop. Got the crank polished, mains line honed, block decked (only needed a skim for a clean surface), and a 0.010" over bore. All the bearing clearneces were checked but I'll be checking them myself as well.
Time to get started I guess.
Still undecided on valves and springs. Leaning towards SuperTech valves and light double springs. Overkill? Warranted? I'm not sure.
Still undecided on valves and springs. Leaning towards SuperTech valves and light double springs. Overkill? Warranted? I'm not sure.
Scope creep kicked my ***.
Welp. That's that. Went with the Supetech light doubles springs and valves from Super Miata.
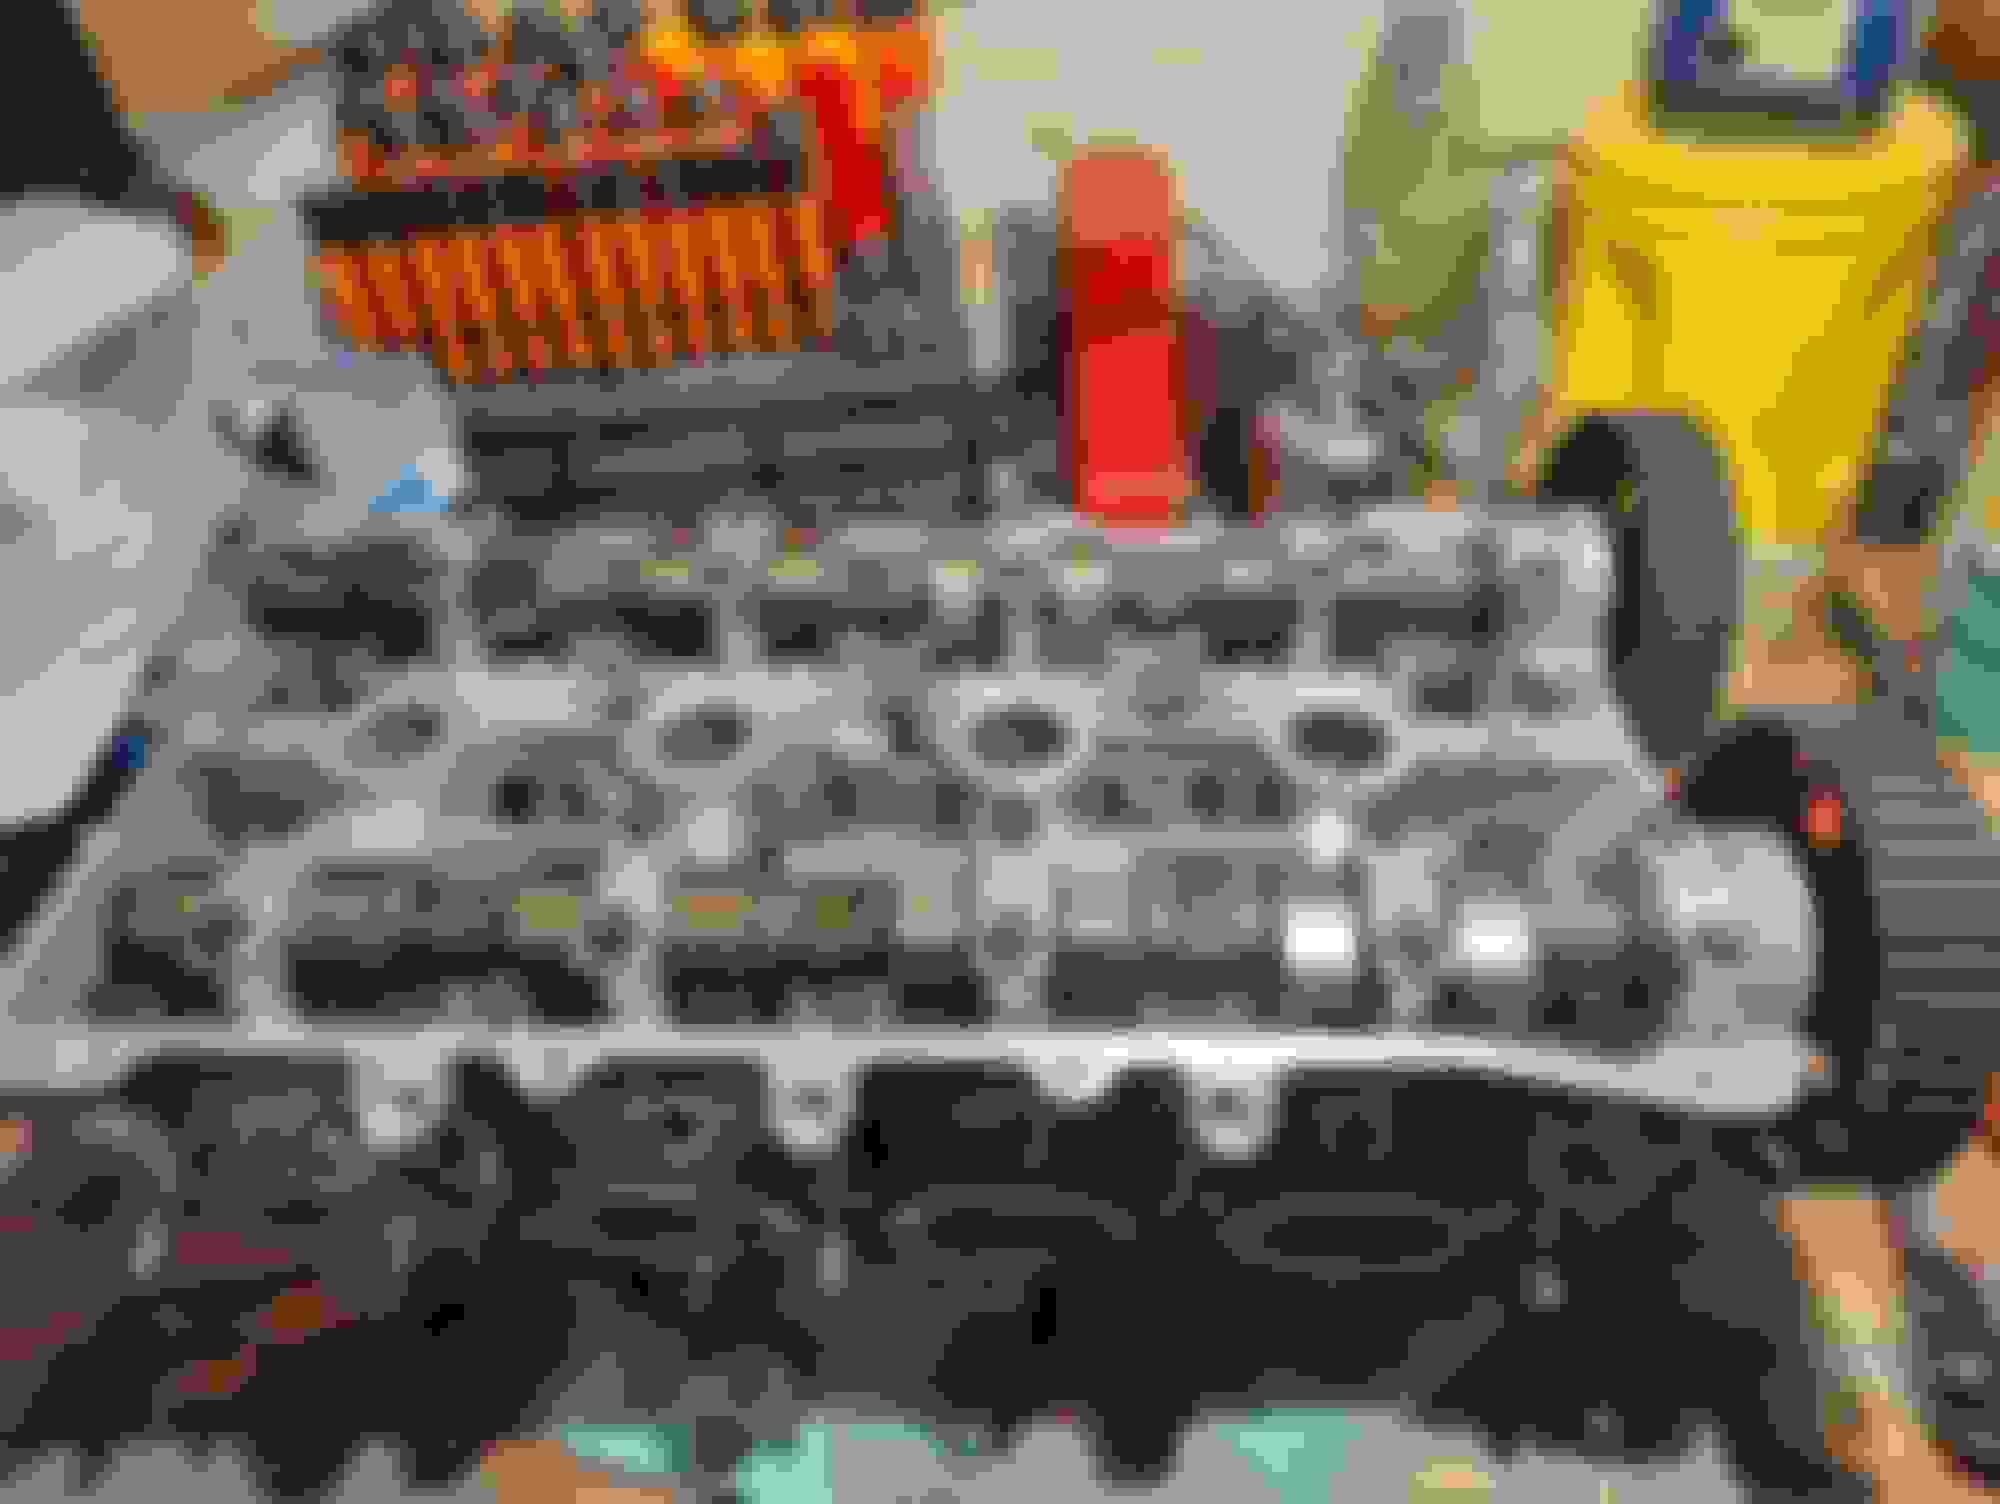
In the meantime I "ported" the head. Mostly just removed the casting flash, smoothed out some inconsistencies and removed carbon deposits.
Before shots:
After shots:
It doesn't look perfectly smooth but it's way better to the touch. Good enough I think.
Have to start assembling the head now. No more excuses that I can use unfortunately.
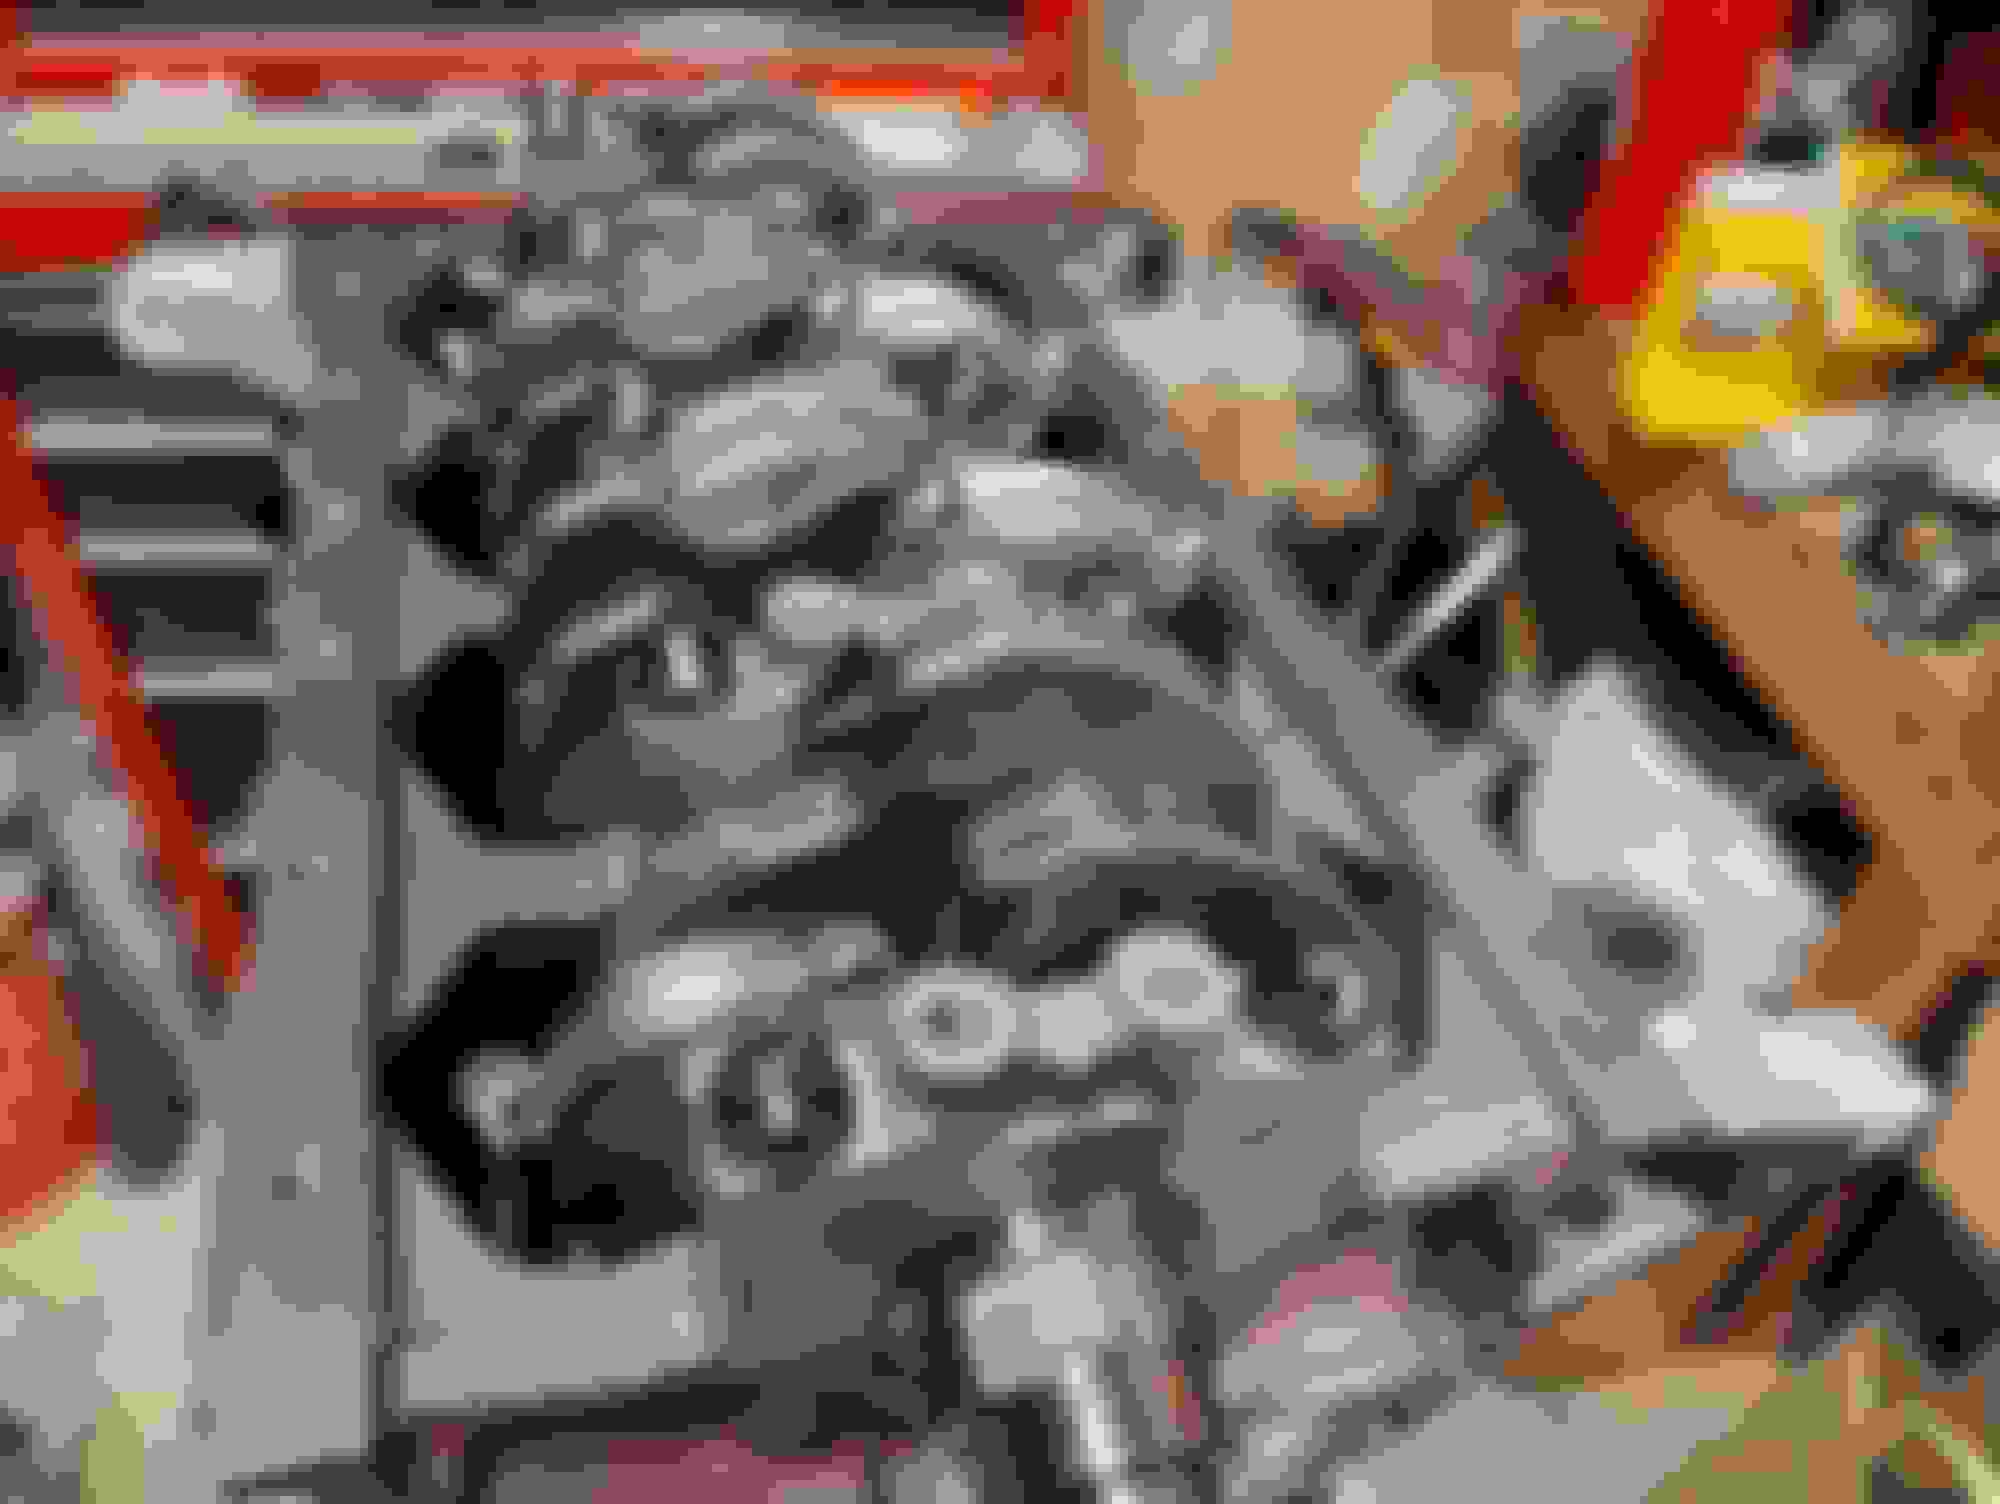
Question. In order to clean the head do I have to remove these two plugs (one of them in the center of the photo below)? I tried and they did not budge...
Wasn't totally satisfied with the port job, especially on the intake side right past the valves. So I took some time to get rid of the casting flash.
Before:
After:
Much happier with how those look and feel now.
Went on to try lapping in the new valves but the lapping tool I got from AutoZone is absolutely terrible. Wouldn't stick for ****. Even tried heating it up and hot gluing it to the valves. Ordered a new set. If those don't work I'll probably try another method.
Once the valves are lapped I'll clean and assemble the head.
Can anyone tell me about these two plugs? Worth removing to clean or will a through cleaning of the coolant galley be fine? Is it even coolant or is it oil? I can't seem to find any info on it. Checked forums and the service manual.
Lapped the valves. The new tool I ordered also sucked. I ended up just using some double sided tape to get the valves to stick to the tool. Got the job done.
Before and after lapping
Cleaned, primed, and painted the block. I think black would have looked better but I wanted a color that wouldn't make it hard to identify leaks. I'm not totally in love with the color but it serves it's purpose.
Assembled the head. This was by far the worst part of this whole process so far. Those damn valve retainers drove me insane.
I had the machine shop check clearances on the pistons and identify which piston goes in each cylinder but I just double checked to confirm. Everything looks good. Then set my ring gaps. I had trouble finding some solid information on suggested ring gaps for forced induction OEM oversized rings. Hopefully this is good.
Removed all the expansion plugs and brass oil plugs then cleaned the block as thorough as possible and installed the pistons. New plugs on the way.
Test fit the head to the block. I might take it off and spray the head gasket with Permatex 80065 High Tack Spray-A-Gasket Sealant. Not sure yet.
Thats about where the build stands. I have a few odds and ends coming in the mail. I have the Boundary oil pump and a Gates timing kit ready to go once I receive all the plugs. I cleaned the valve cover and oil pan. The aim is to drop the motor in next weekend.
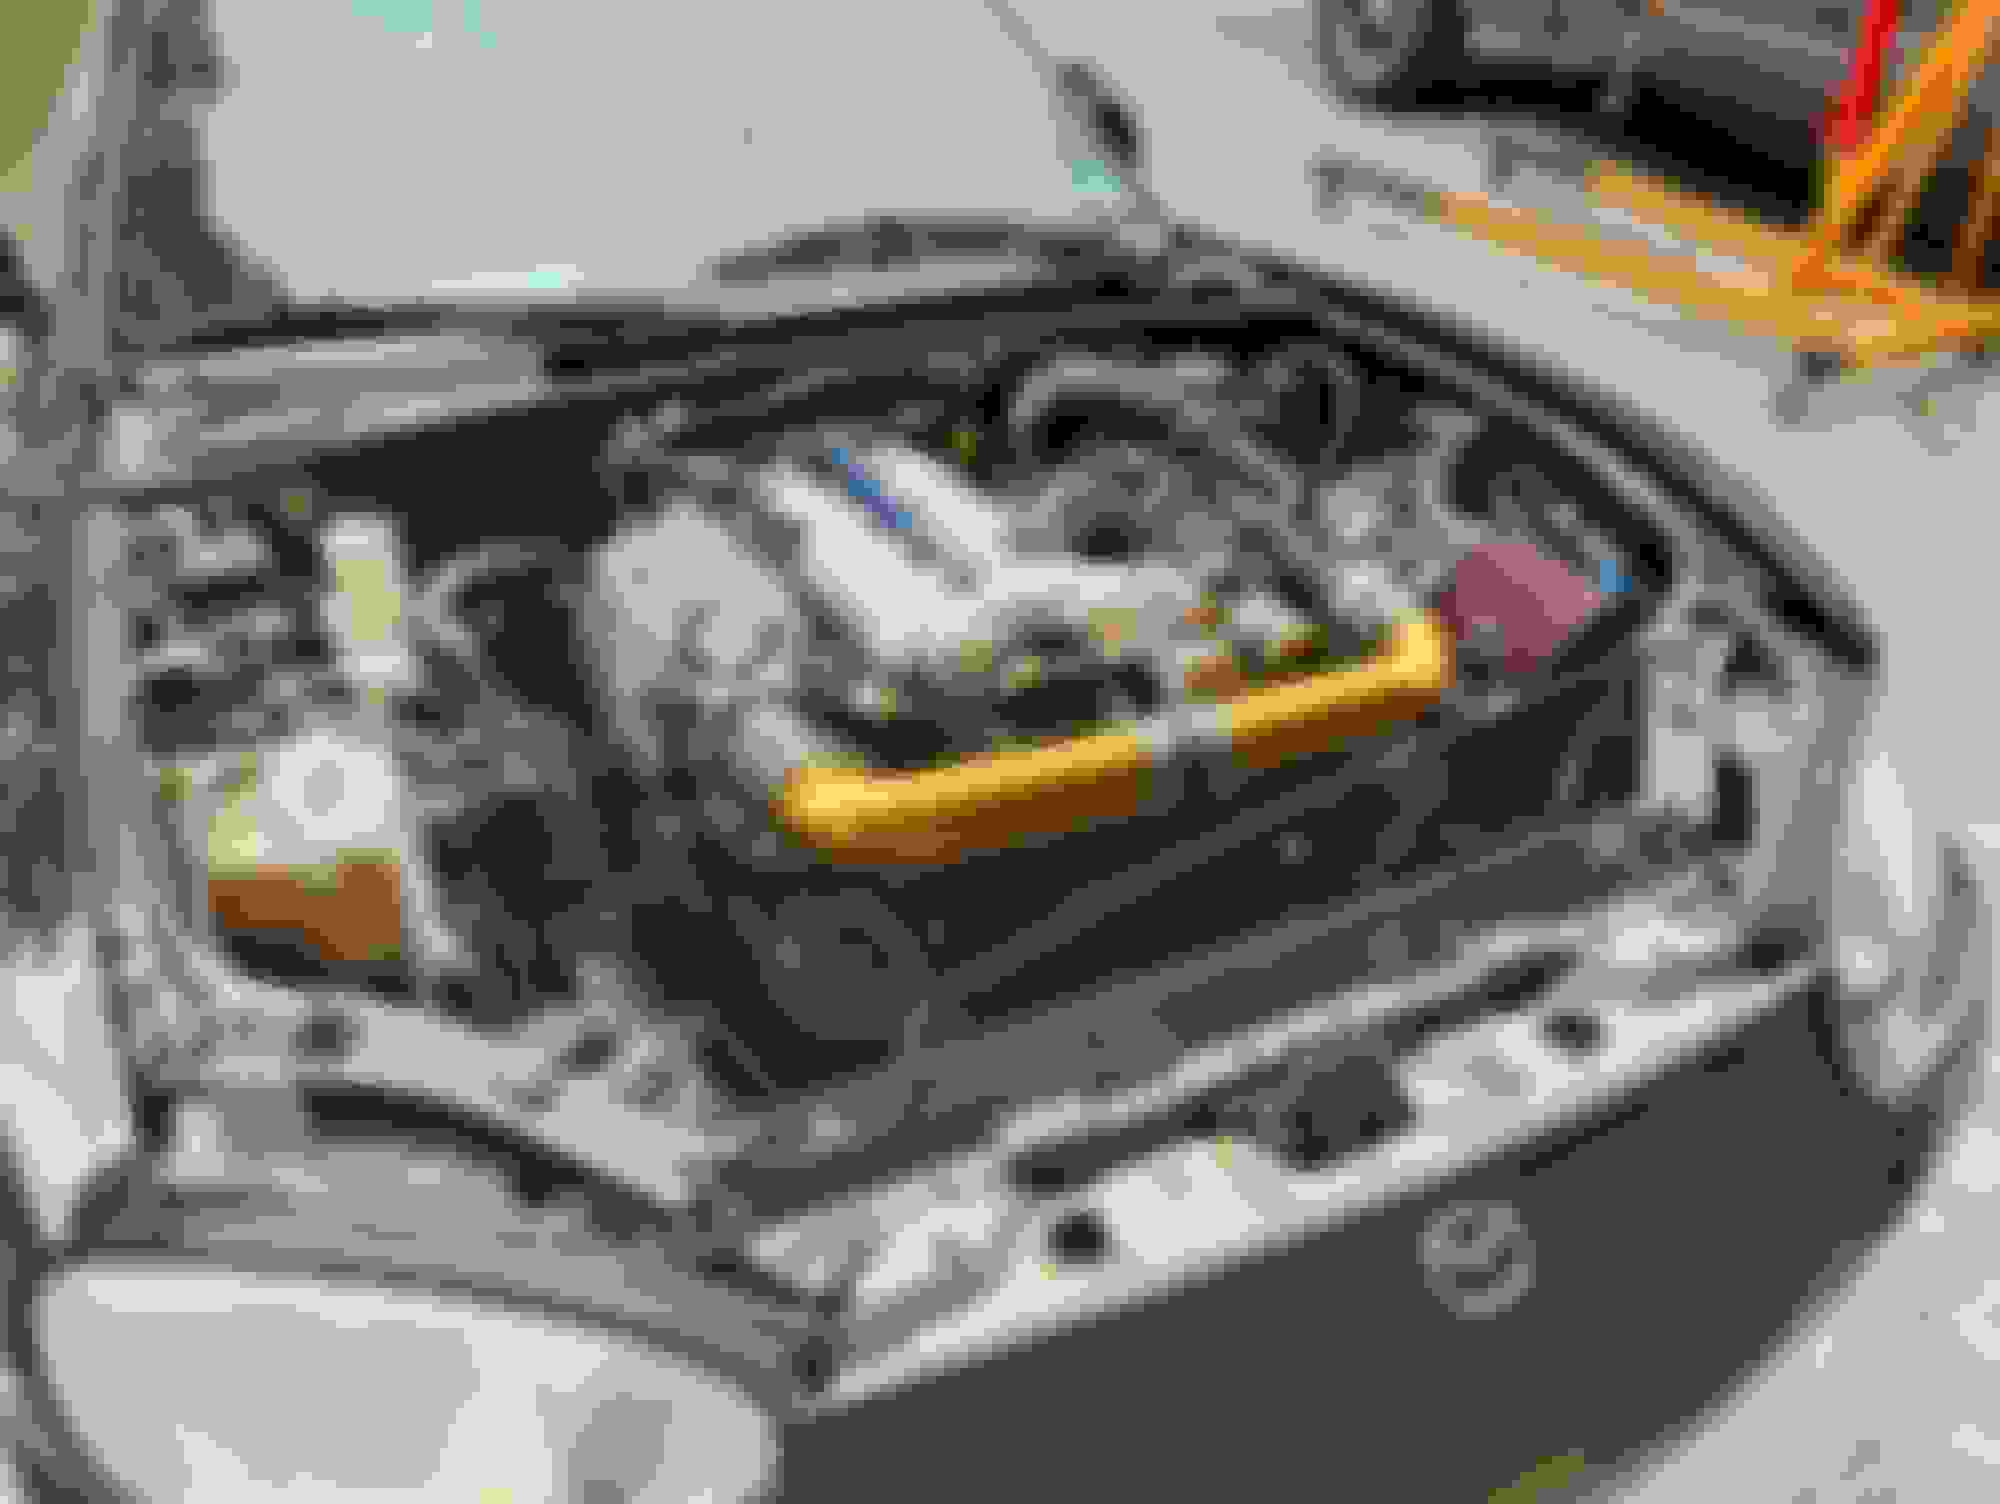
Some more progress. Was able to drop the engine this past weekend, thankfully.
New brass plugs for the head
Boundary Racing oil pump
Gates water pump
Valve cover prepped for paint
Copper scrubbies to trap oil. Also enlarged the vent hole that is on the intake side.
Checking timing. Notice: I forgot the rubber gasket strip that goes between the water pump and back timing cover... Which means I had to take the timing belt and cam gears off... This will be relevant below when I describe first start up.
Q-Maxx re-route installed. And yes, I did forget to install the oil and water plug before starting to mate the transmission. I remembered about half way.
I ended up getting a digital oil pressure/temp gauge at the last minute. I used a sandwich plate over the oil warmer. I was worried about oil pressure at start up.
First start went great with only some minor hiccups. I was nervous because it wasn't starting up after a few tries. It had spark and fuel, but compression seemed low. I did a compression test and it only got up to 25PSI. Even though I double checked the timing 2 or 3 times before I put the timing cover plates on, it ended up being wrong. Remember when I forgot to install the water pump-to-rear timing plate gasket above? I must have mixed up the E and I marks on the cams or something while reassembling. Or maybe the belt skipped while torquing the crank bolt. But nonetheless, I embarrassingly re set timing and it started up immediately.
I got a new eBay aluminum radiator delivered today that needs to be installed. I installed a new slave cylinder, so that needs to be bled. Transmission needs fluid and then I think this girl is ready for a test drive.
Last edited by HalalBuilt; May 8, 2024 at 04:20 PM.
So. I ended up ordering the wrong radiator... I somehow ordered one for an NA instead of an NB. Whoops. BNIB NA radiator available for sale in Central/South NJ...
Original OEM radiator installed for now.
Got the transmission filled with fluid.
Fished the brass shifter bushing out of the turret. I'm glad I realized it wasn't where it was supposed to be.
On the road for the first time in months.
Ready for autocross. No better way to break in/test a freshly built engine, right?
The car held up great. At one point in the staging lanes, the car died and wouldn't stay running. I realized one of the lines came off of the idle air control valve. Easy fix. There is a water leak coming from the rear. I'm pretty sure it's coming from the QMax reroute housing. I'm going to double check all the plugs and bolts are tight. I'm hoping I don't have to remove it for whatever reason.
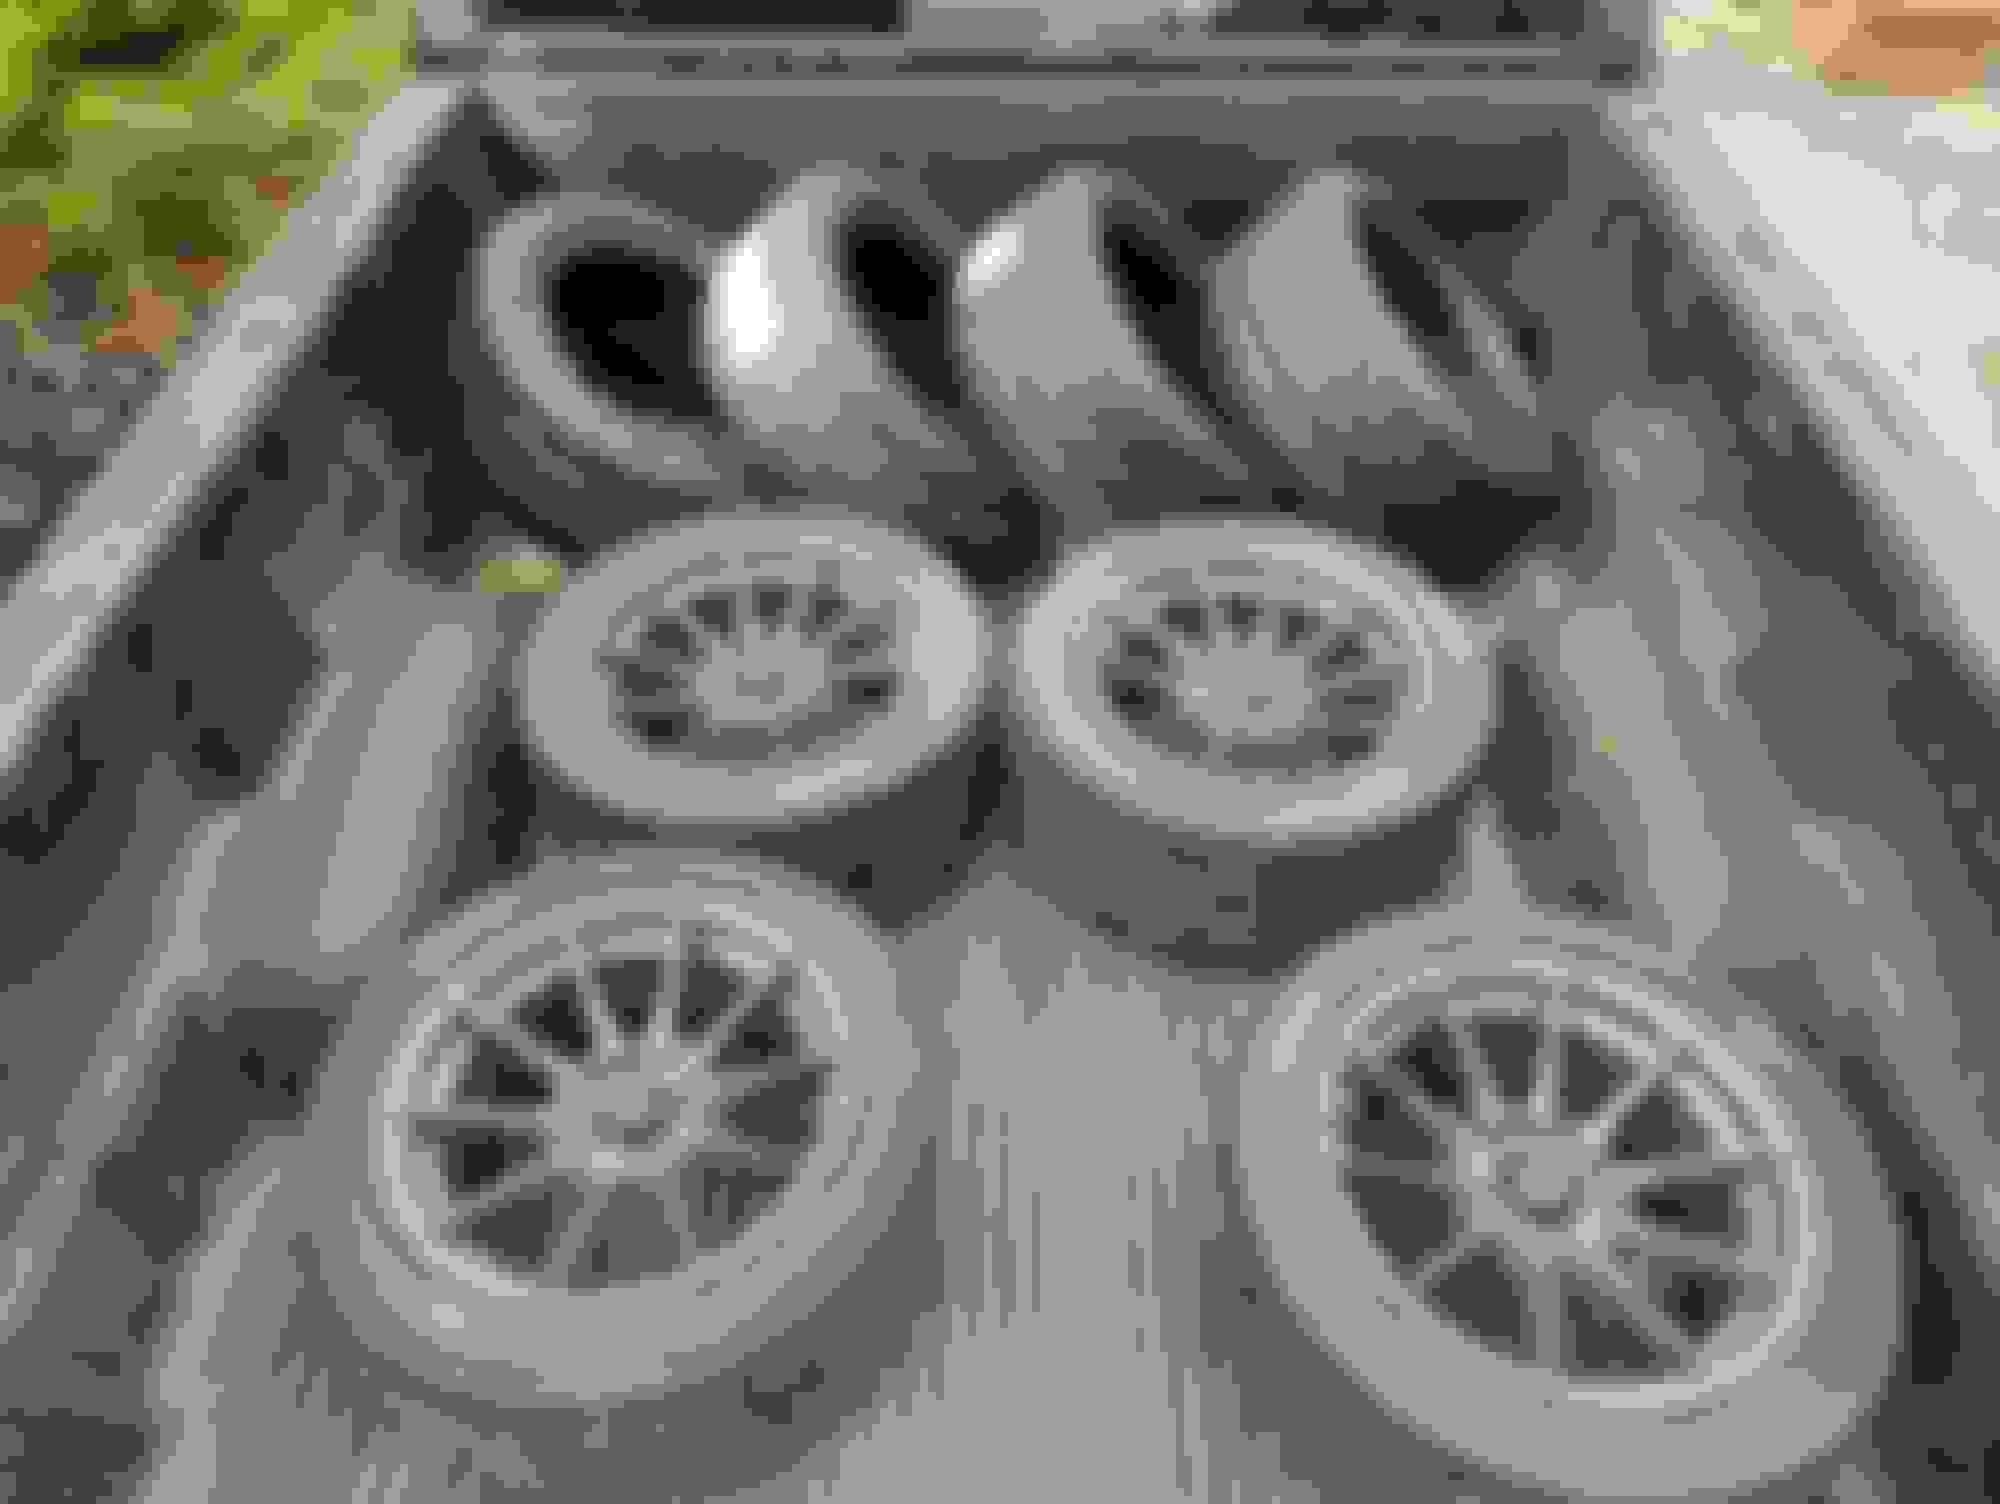
Overall, really happy with the build. Not so happy with the car's setup. Very unhappy with my performance. I had a lot of trouble with traction and finding the correct line through the course. I was definitely a bit preoccupied and nervous about monitoring oil pressure, coolant temps, and staying off the rev-limiter. That aside though, the car was really tail happy. Probably because I have mismatched tires front vs rear. Considering what to wrap a set of 15x9 Advanti Storm S1s I have in the garage. Also, rear sway bar has been disconnected since before the Xidas were installed. I'll order new end links and get that reconnected.
Rear bar reconnected with new OEM type end links. Thanks for the advice. Took the car out with a few buddies in much more expensive cars and it seemed to feel better.
In other news, I was asking around what tires I should wrap a set of new to me 15x9 wheels I have. I was originally set on 245 RT660s, but to my surprise, a lot of people suggested 225s instead. I went ahead and ordered Continental ExtremeContact Forces in 225/45/15. I wasn't even considering these because they were a little out of my budget, but I recently found out how easy it is to get a "sponsorship" from trackdaytire.com. I signed up and got approved for a buy 3 get 1 free deal. I know the TDT website runs these promos every so often, but I had missed it by a few days - so I was happy. Does everyone know about this sponsorship thing? It's very cool. Noob things I guess. Anyway...
I had the chance to break them in at the Englishtown Road Course yesterday. They were great. I'm not sure how much of it was the tires and how much of it was improved driving but things felt good yesterday. The car felt very predictable once the tires got hot. This was the first event in a long time where I was able to steadily improve my times each session. Here's my best lap. Definitely room for improvement but I'm happy we're moving in the right direction.
So... I have a 9LR medium downforce kit sitting in my garage since last year. Actually part of the reason for doing the engine rebuild because it felt stupid putting aero on a car with a sick engine. The car definitely still needs some odds and ends, but what car doesn't? I think I can start installing the kit now that the car feels better to me. I was slightly worried that adding aero would hide terrible flaws in either the car or my driving but this last event makes me feel way more confident in both.
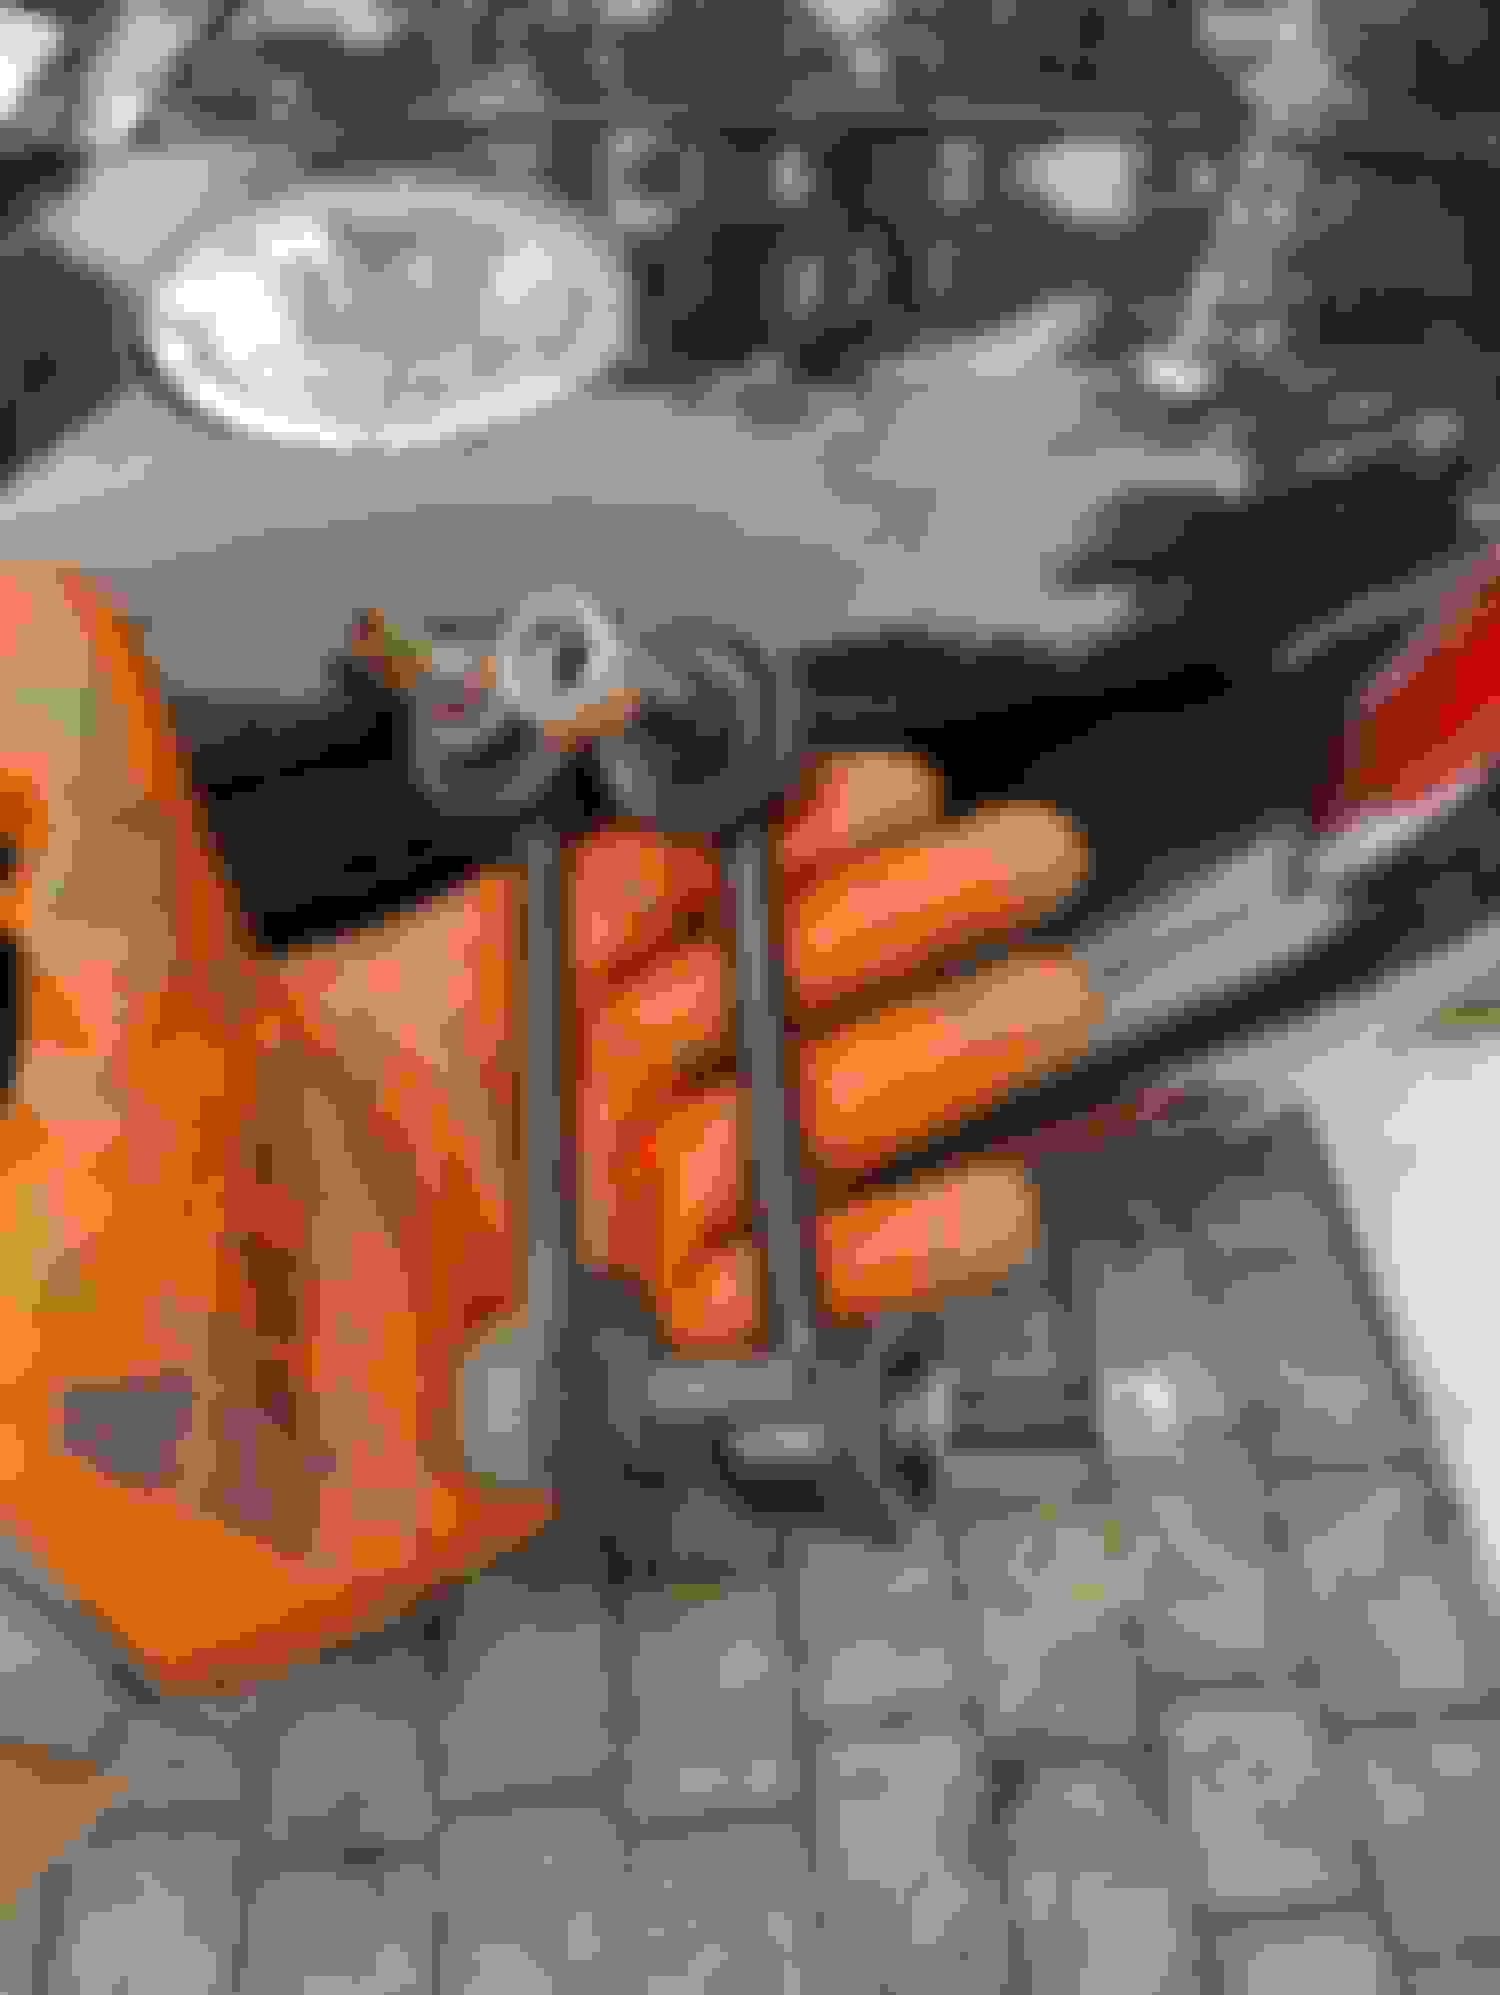
Also small insignificant update but felt really nice... I finally cleaned up all the wires going through the firewall to my gauges and used an actual grommet instead of an O2 sensor cap. Big pain in the *** but definitely satisfying.
Before
After
Last edited by HalalBuilt; Jun 10, 2024 at 05:44 PM.
I did something similar a while back with my firewall hole. Drilled it out and added a grommet. Small attention to detail like that make a car feel way more refined.
Tuned in for the aerodramatics. Big wings are the best.
I did something similar a while back with my firewall hole. Drilled it out and added a grommet. Small attention to detail like that make a car feel way more refined.
Tuned in for the aerodramatics. Big wings are the best.
Hahaha. I didn't even drill it out. Mine isn't even a hole. It's a rectangle that just barely fits everything so far. If I add anything else I'll have to re redo it.
Thanks man. Part of me definitely feels like I should do what you're doing now and replace all the suspension bushings first. But whatever. I guess there's no "correct" path. It always feels like some other project should be tackled before another.
This track is terribly bouncy but I'm surprised how much worse my car is bouncing around compared to the other cars on track. I don't understand much about suspension setup to be completely honest. It's something that I need to dive deeper into. If the car is bouncing around like this, should I slow down/stiffen the dampening? Please school me in suspensiology.
Edit: Holy smokes. Actually at 1:27 it looks like my rear tires are off the ground after a bump.
I'm no suspension expert but unless the track is incredibly bumpy I'd guess that maybe you have a blown shock since it looks like it's simply not controlling the spring (which is why it oscillates/bounces so much). I'm guessing some kind of blown shock. I would inspect them. If not I'd say it needs a whole lot more stiffness for the shock as the spring is oscillating around too much.
I'm no suspension expert but unless the track is incredibly bumpy I'd guess that maybe you have a blown shock since it looks like it's simply not controlling the spring (which is why it oscillates/bounces so much). I'm guessing some kind of blown shock. I would inspect them. If not I'd say it needs a whole lot more stiffness for the shock as the spring is oscillating around too much.
It is a notoriously bumpy track... Blown shock isn't a bad suggestion but I don't think that's the issue here. They're relatively low milage Xida's and it seems to be bouncing uniformly. I'm guessing if one corner was blown, it would be obvious? Maybe? I'm not sure. Either way I'll inspect them thanks for the idea.
Springs are already at 850/500 which I think is on the stiff side of things but I do agree that something is off.
Hmm ok.. definitely seems unlikely then. If one shock is blown vs the rest you would definitely get some strange oscillations. What are the shocks currently set at? I would add some rebound dampening and that should tame it down..
There's another thread here with poster talking about rough track, and video of very loose rear, followed by discussion of solutions, I didn't watch all of your video but while there was vertical movement I didn't see any sliding, but that was an outlap and you may not have been pushing.. The video car was moving too, but hard to compare the two.
How does the car behave otherwise, on other tracks? Is this a high priority track, that you would be willing to optimise the car for at the cost of losing time on other tracks? Have you played with the settings on the shocks to improve the car's behaviour, that would be the first and simplest thing to try, then maybe try different springs. Again, the question is how much to do want to do to optimise for this track?
If adjusting shock settings doesn't do enough for you, I'd approach Emilio directly and ask his advice before taking further steps.


 .
.


