When you click on links to various merchants on this site and make a purchase, this can result in this site earning a commission. Affiliate programs and affiliations include, but are not limited to, the eBay Partner Network.
With the new exhaust routing going right by the fuel and brake lines I decided to do some heat control. This is those slip on fiberglass sleeves.
I REALLY dislike how hot the footwell in my miata gets. With no AC my feet just bake, even when the rest of my body is comfy. So I went on a crusade to stop engine heat from getting into the driver footwell.
I used DEI Floor/Tunnel Shield II. It's fiberglass backed aluminum with a adhesive backing to the fiberglass. I would cut templates with paper and then cut out the heat shielding with a strong pair of scissors and a utility knife. The stuff is easy to work with and sticks really well. I'm hoping to get less heat and noise in the cabin. I got the 2x4ft and 2x2ft sheets to cover the whole tranny tunnel. So 12sq ft total. I weighed them. That 12 square feet added about 4lbs.
Forthe fuel lines to the FPR I made my first ever AN lines. I used all russel fittings and lines.
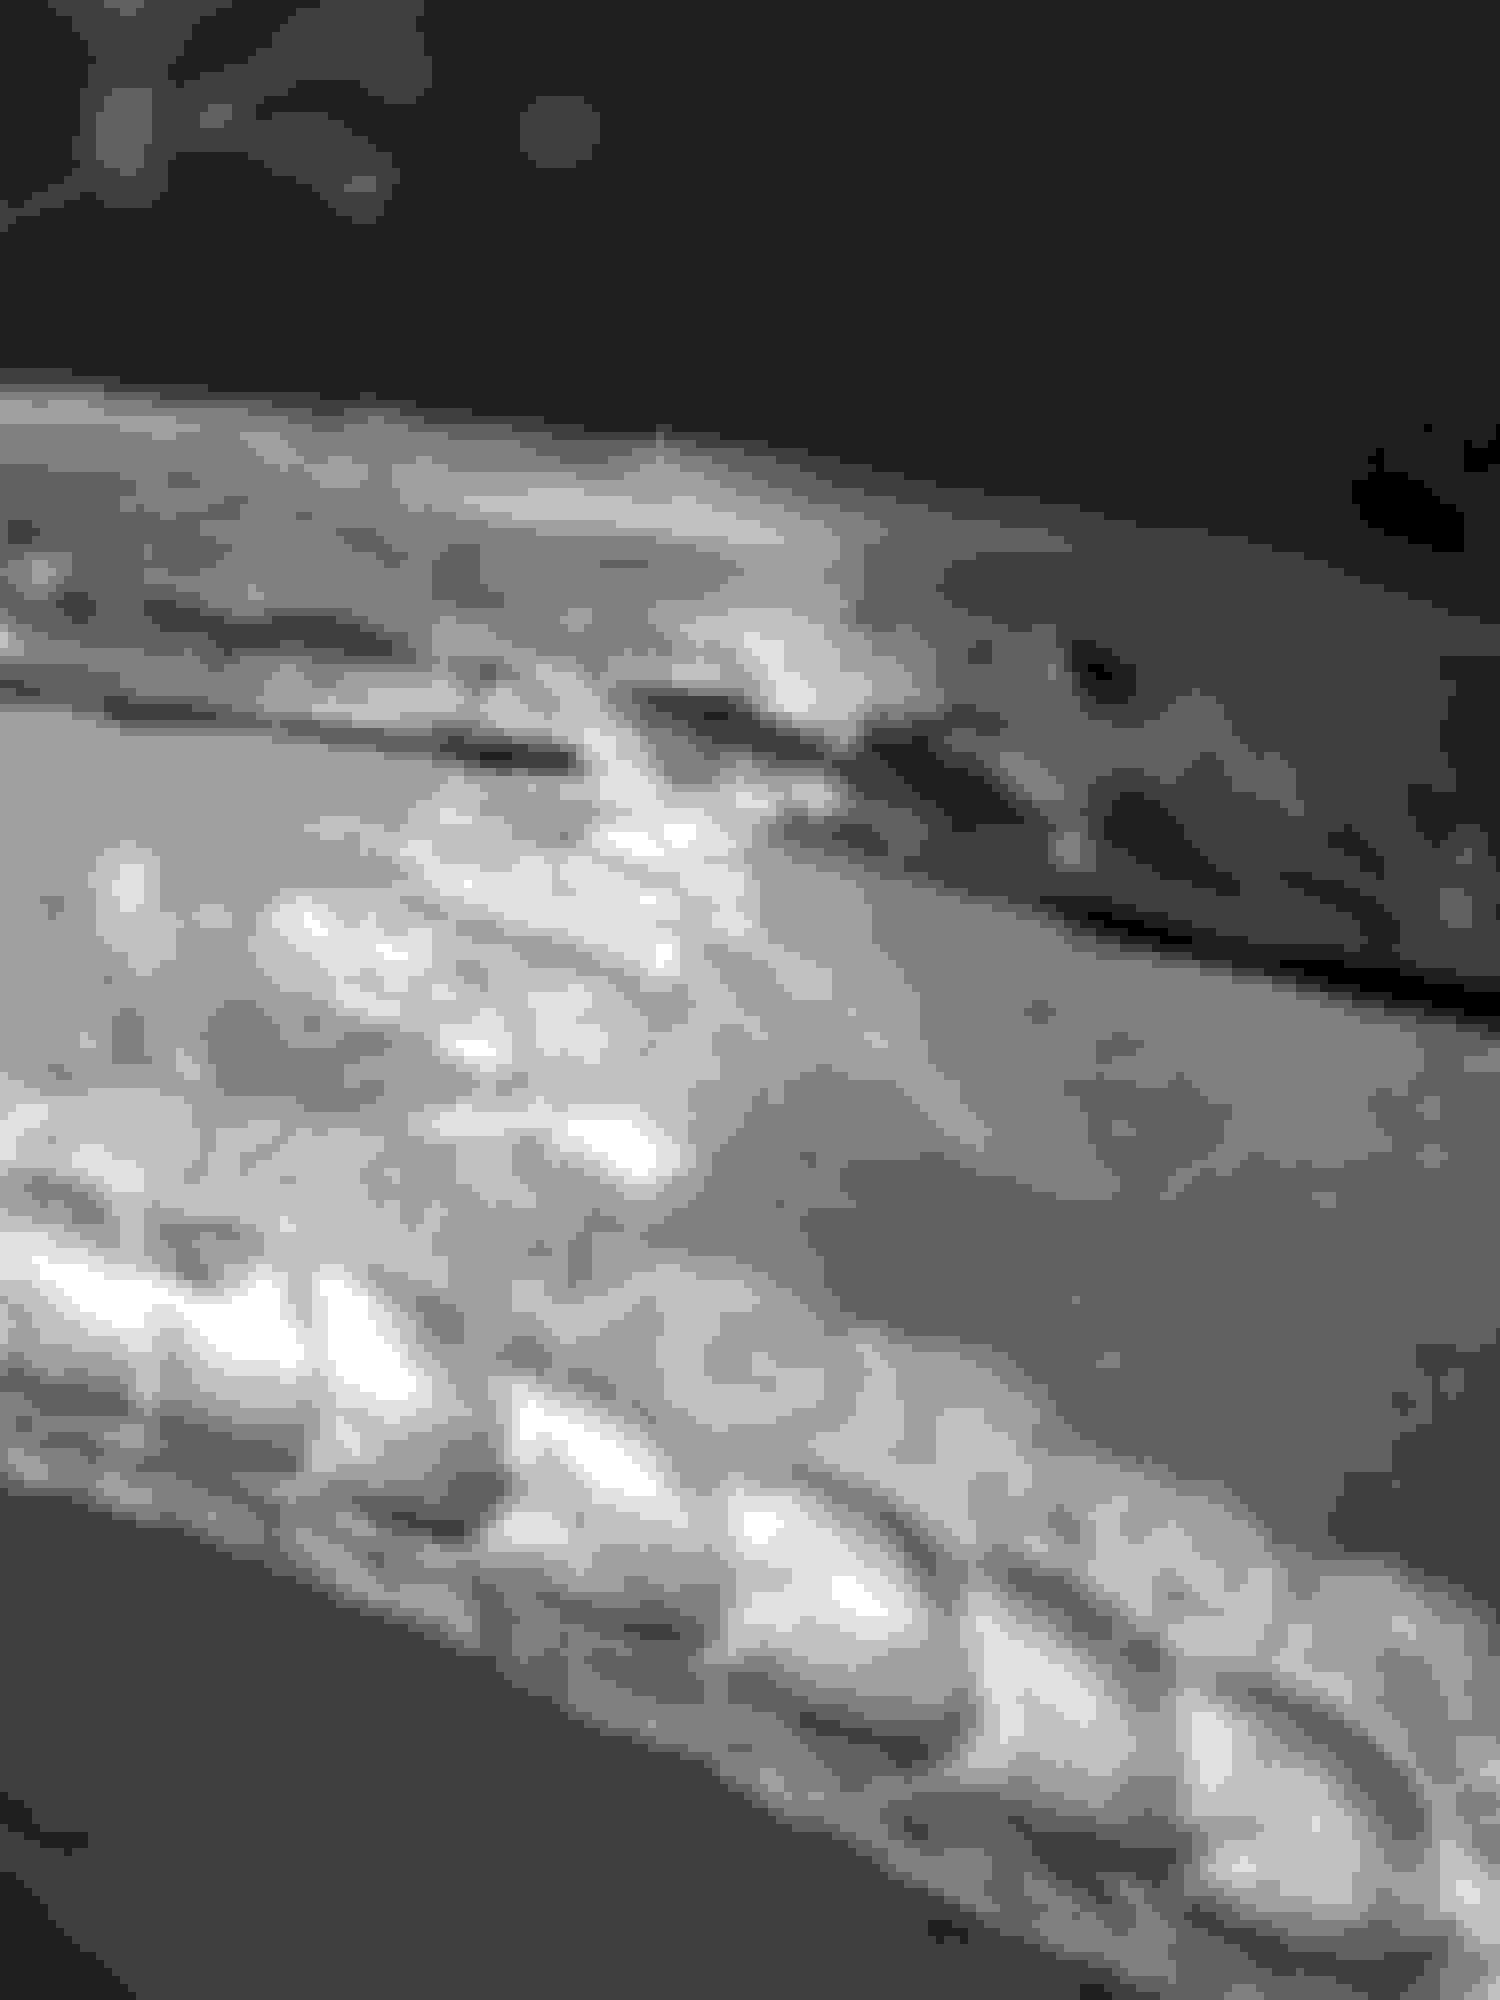
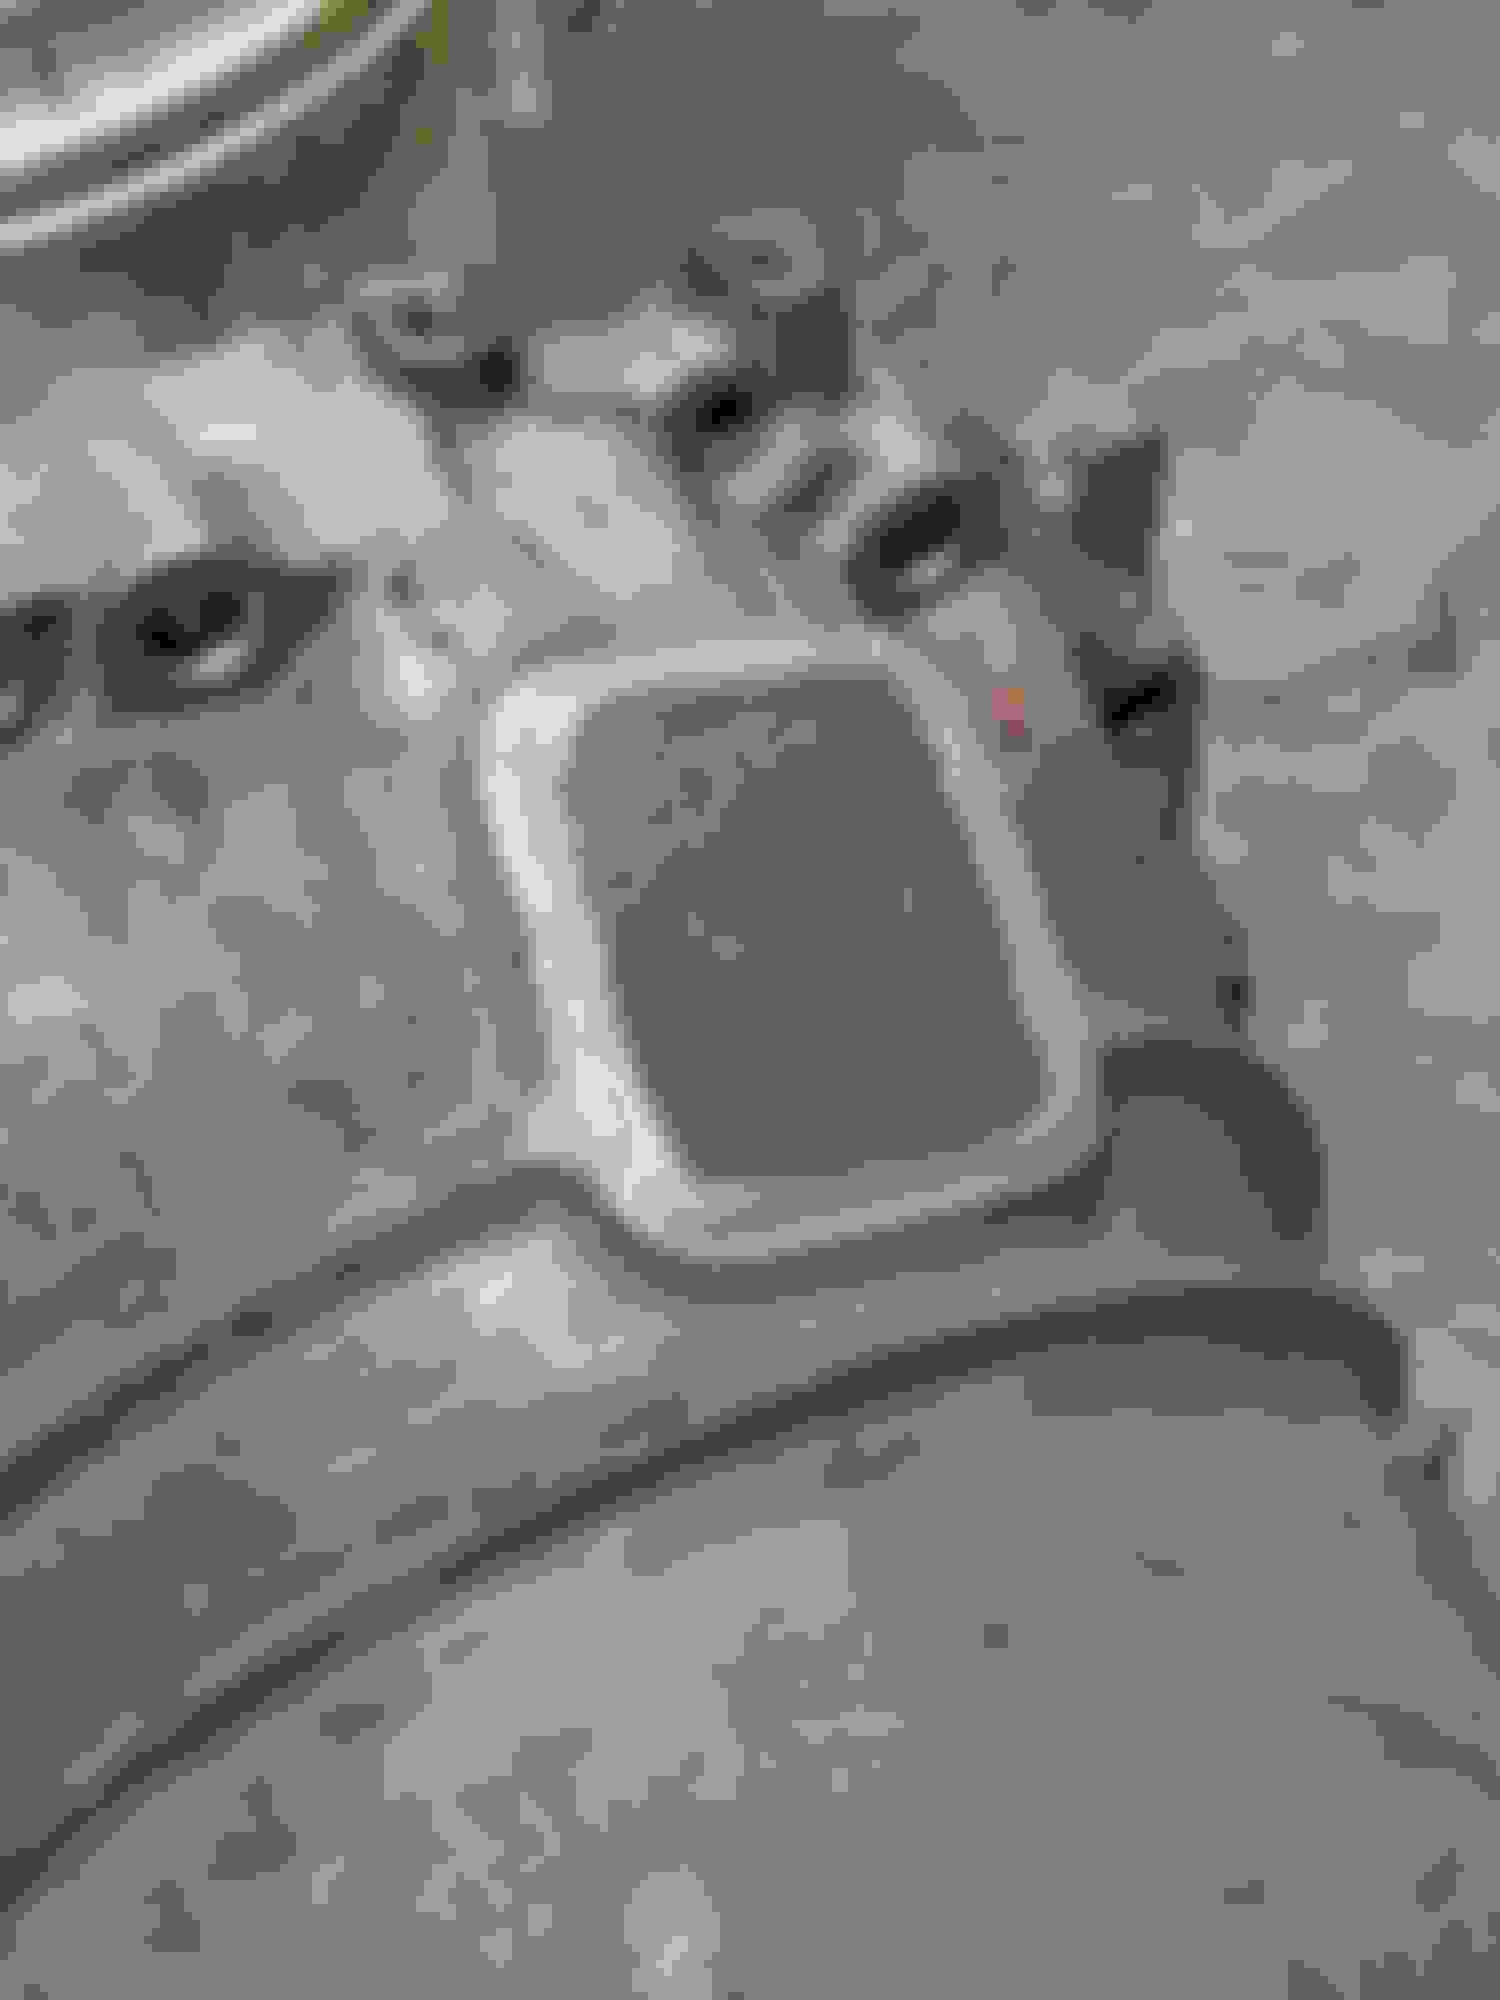
with the engine in, I realized that even more things need to be clearanced. I didn't shave enough of the subframe on the passenger side so i got a nice gouge in the oil pan, nothing critical but it aint pretty. I'm going to unbolt the passenger side and pull it up with the hoist to give me some working room to shave some more off. Below you can see the pictures of where it hit. That's where you need to shave past the seam weld and almost get rid of the lip there.
Also, the downpipe fits with about 1mm of clearance to the frame. I'm going to remove that and clearance the frame as well. again see pic for details on where you should clearance if you're doing the swap.
And one last thing, my solution for covering the clutch fork hole was cutting a peice of aluminum to size and then using hondabond to glue it there.
K series engines don�t have a return line. I�m pretty sure you have to do it this way.
If he's using the stock K series rail he has to do it that way.
Is there an advantage or disadvantage of either return setup?
Just brainstorming, having the FPR after the rail means fuel is constantly flowing through the rail, even during low consumption times like idle or cruise. Having the FPR before the rail means the fuel is more stagnant in the rail, possibly heat soaking?
Would love to hear the opinion of someone who knows more about this.
I saw radium fuel rails with both inlet and outlet. The return system is a better design - even NB guys try to convert to return style. I would expect that you want to return to FPR
If he's using the stock K series rail he has to do it that way.
Is there an advantage or disadvantage of either return setup?
Just brainstorming, having the FPR after the rail means fuel is constantly flowing through the rail, even during low consumption times like idle or cruise. Having the FPR before the rail means the fuel is more stagnant in the rail, possibly heat soaking?
Would love to hear the opinion of someone who knows more about this.
Originally Posted by stevos555
Your fuel lines and FPR looks great. I however think one of your lines needs to go to fuel rail first and then back to FPR.
Originally Posted by PBGuts
K series engines don�t have a return line. I�m pretty sure you have to do it this way.
Short answer. The K series is returnless so I choose to run my system like this, using the FPR as a "T" where the bottom of the T is the pressure relief valve. Aeromotive suggested I do it this way and it was the simplest to plumb.
Long answer. I think there is a benefit to running a return style because of that heat soak issue and also this comment I got on reddit:
"I don't know Honda engines, but does the K24 have a return style fuel rail? Meaning, can you plumb the fuel pressure regulator down-stream from the fuel rail. That's the best option especially for an engine that revs as high as this one. The bladder in the regulator causes a pulse effect on the fuel pressure down-stream from it. And it can vary as much as 10psi; which is enough to blow an engine at high rpm."
With a quick search on the S2000 forums there's talk about injector issues above 400-500whp with a returnless style fuel system, but no real issues for lower power cars. Maybe one day I'll get power hungry and do a supercharger and switch to a return style system.
Progress has been made. I got the clutch hooked up and it feels really nice, fingers crossed it stays that way and there arn't any issues.
I test fit the manifold and started plugging sensors in. The K24z3 ECT has a shoulder on it that prevents it from seating properly on the coolant neck. So I loaded mine up with thread tape and threaded it as far as i could without messing up the coolant neck threads.
I also shortened my throttle cable using Dorman 03336 cable ends. I cut the cable stop off the throttle body side but afterwards i realized i should have cut the stop off the gas pedal side for a cleaner look, and also because you could use a larger dorman cable stop to get more clamping force. But i tugged on mine as hard as possible and it didn't come undone so I should be good.
I also shortened my throttle cable using Dorman 03336 cable ends. I cut the cable stop off the throttle body side but afterwards i realized i should have cut the stop off the gas pedal side for a cleaner look, and also because you could use a larger dorman cable stop to get more clamping force. But i tugged on mine as hard as possible and it didn't come undone so I should be good.
I had no idea those existed... that is so much better than just dealing with a long throttle cable. Thank you!
Yeah, we are going to start doing the same thing to throttle cables. Super easy. I have the same Dorman kit here.
Also, we have already started putting the K24Z3 water necks on the shelf back through one of the mills to bore out that port just a bit. If anyone wants to send theirs back, we'll machine it and ship it back free of charge. Guess we used a K24A sensor on our car without even realizing it. 18 months of development parts floating around the shop plus a move to a new location sometimes does these things.
__________________ KPower Industries
Home of the original KMiata Swap
I used those style ends on my dual throttle body setup when I had mine set up with an FMIC JRSC setup. Use loctite on the screw once you get the length where you want it. Other than that, they worked perfect.
Also, we have already started putting the K24Z3 water necks on the shelf back through one of the mills to bore out that port just a bit. If anyone wants to send theirs back, we'll machine it and ship it back free of charge. Guess we used a K24A sensor on our car without even realizing it. 18 months of development parts floating around the shop plus a move to a new location sometimes does these things.
I think I'm going to take you up on that! being the perfectionist I am lol
I tested hood fitment last weekend. Cut the inner frame out where necessary. With the modified valve cover installed, The engine sits about .5-.75 inches too high to close the hood. Some people are spacing down the subframe, some are cutting holes in their hoods. I'm going to modify my hood to fit. I got in contact with Jim at Simpson design because I really like the cowl hoods he makes. After talking for a while we settled on him making me a custom hood bump out of fiberglass and then shipping that to me and I'll install it. I'm going to have him fashion it after the distinctive BMW M3/4 "powerdome"
That's so strange that it's THAT high. Like that's a huge variation from what we've seen from other cars. We are going to have a laser cut set of subframe spacers available soon, so that's going to be the easy (and cheap) button to get a bit more clearance. Interested?
__________________ KPower Industries
Home of the original KMiata Swap
With the modified valve cover installed, The engine sits about .5-.75 inches too high to close the hood.
Well damn. Hopefully I don't have this issue as I hate 99% of the aftermarket hoods for the NA. I really don't want to spend my kidneys on a GV 1006 hood and cut it up for vents.
When you are referring to the ECT sensor, does that go in the back of the head? What goes in the tstat housing behind/ next to the alternator? What are you doing about the factory Miata gauge and sender?
How hard was getting that throttle cable setup? I have a Napa near me that crimps hydraulic lines and such, I was expecting them to take care of that for me.
How's the clearance to the steering rack? Think theres enough for rack spacers?
If you space the subframe, doesn't that affect your suspension? My logic being that to achieve the same ride height you will need to lower the vehicle more with a spaced subframe, thus reducing your max bump travel. We already fight a hard battle on bump travel in these cars at sub 5" pinch weld heights, especially with non race level shocks like Xidas.
That's so strange that it's THAT high. Like that's a huge variation from what we've seen from other cars. We are going to have a laser cut set of subframe spacers available soon, so that's going to be the easy (and cheap) button to get a bit more clearance. Interested?
How tall are you going to make them? Seeing as I need 3/4in or more for comfortable clearance (I'm still trying to source rubber engine mounts so I may have more engine movement than others. Although I just had an epiphany! I think I'm going to run one rubber and one poly mount, 949 racing does a kit that's similar for the BP. I will report back with more info once I have a workable rubber mount on the car)
Originally Posted by Brap-Brap
When you are referring to the ECT sensor, does that go in the back of the head? What goes in the tstat housing behind/ next to the alternator? What are you doing about the factory Miata gauge and sender?
Correct. There's the Miata ECT that will drive your OEM gauge cluster and then there's the Honda ECT will send the coolant temp to the Honda ECU. Both of these sensors go in the back of the head in the coolant neck/block.
Originally Posted by Brap-Brap
How hard was getting that throttle cable setup? I have a Napa near me that crimps hydraulic lines and such, I was expecting them to take care of that for me.
Easy peasy honestly. The worst part is pulling the threaded adjuster off the line and then jamming it back on.
Originally Posted by Brap-Brap
If you space the subframe, doesn't that affect your suspension? My logic being that to achieve the same ride height you will need to lower the vehicle more with a spaced subframe, thus reducing your max bump travel. We already fight a hard battle on bump travel in these cars at sub 5" pinch weld heights, especially with non race level shocks like Xidas. Maybe its hung up on something?
Yes and no. For the same tire to fender gap you'll have to run your coilovers lower, and thus have less ground clearance (my biggest concern) because the subframe will be lower. If the shock and not the fender liner is your limitation for bump travel then yes you will have less bump travel. The effect on suspension geometry will be very minimal, maybe affecting caster? but you'd have to put it on an alignment rack to tell. I know one guy already running 15mm of spacers for his swap and he hasn't mentioned any ill affects on handling.
And the engine is definitely not hung up on anything. I've moved the engine around a bunch since getting it in there. I've checked clearances everywhere.
How's the clearance to the steering rack? Think theres enough for rack spacers?
I wouldn't try it. On my NA depowered rack the oil pan was 1-2mm away from this part of the rack. I took a dremel to it to get more clearance. So FYI for anyone doing this swap on an NA, probably clearance that part of your rack before you put the motor in.


 0
0