When you click on links to various merchants on this site and make a purchase, this can result in this site earning a commission. Affiliate programs and affiliations include, but are not limited to, the eBay Partner Network.
ABS bits. And I love "that ****'s expensive" followed shortly by boner fuel pics of Tilton multi plate and teaser fire hose injector/big boi boost implications.
Done that quite a few times before. But this is the LAST time its happening with a Mazda transmission.
Turns out that the ACT "EXTREME"disk also wasn't up to handling turbo K power. I didn't feel any slipping, but those friction pads are crumbling after just two events worth. At this point the supermiata pressure plate is the oldest part of the driveline, having outlived three transmissions, two motors, and three friction disks. It shall be retired and hung in a place of honor.
Other oddities, I think I figured out why my passenger side motor mount was melting so quickly. Not really sure how or why this happened, as there is a flex joint in the exhaust to prevent it from being stressed.
Regardless, this exhaust was not going to be reused anyway. That "S" bend I'm sure was awful for flow, and the entire exhaust was made out of mild steel. Also, there were these... "muffler" things on it? Eww.
The culling begins. The motor is the only thing in this shot that will be going back in. 3.63 diff sold, old transmissions scrapped or gifted to rebuilders, axles I held onto incase a friend needs a spare set quickly, but I'll probably sell those at some point as well.
Also sold off, my MS3 Evo, Harddog rollbar, Kpower flywheel and transmission adaptor, my Pi dash setup, and the two Walbro 255's I had on hand.
With the inflow of funds, I picked up my own tig welder. I've had access to old tig machines in the past, but this is the first time I've had anything but flux core mig in house. Excited to finally be able to do stainless, aluminum, and thin steel whenever I want to.
And then the big item- doors and upper parcel shelf gutted, windshield removed. Yesterday I dragged it out of the garage so it could see sunlight for the first time in 3 months, winched it onto the trailer, and dropped it off at a cage shop for a full, legit, custom cage.
When it returns I'll paint the cage, then begin the slow but inevitable process of reassembly. I know I always say that the point items start going back into the car is the "halfway" point, but that's not true for this one. It's more the starting point.
My todo list seems to be adding items faster than I can cross them off, but eventually I'll catchup.
Thread busting but anyway - I bought an AHP 201XD a few years back - it stopped working completely after about a month, but they replaced it quickly with a new one, no questions asked. I first then upgraded the foot pedal, then bought a TIG button. I LOVE the TIG button. Makes out of position as well as normal welding really practical, and regulates amperage accurately. I love being able to do all metal types with sometimes only a small weld instead of a MIG bugger.
I first then upgraded the foot pedal, then bought a TIG button. I LOVE the TIG button. Makes out of position as well as normal welding really practical, and regulates amperage accurately.
The 225 comes with the tig button by default, but I haven't used it as I like/need the modulation of the foot pedal(which I haven't had any complaints about). I can definitely see how it would be handy for awkward access spots, as long as you know exactly what amperage setting you need.
I started this whole cage adventure over a year ago, around the point I was hammering limiter, doing 145mph in the damp at Road Atlanta with a freshly turbo'ed car. The importance of a full cage had been lurking in the back of my mind for awhile, but its much easier to dismiss it when your Vmax is ~120mph. With the anticipated gearing for this car having a 192mph Vmax, I was sufficiently motivated to finally do something to prevent my immediate death should I tag a barrier in this Japanese sodacan.
For the last year, I had been doing off and on research into cage styles, designs, and tricks. Anytime there was a caged miata in a paddock, I would make an effort to poke my head in and look around it. Being able to find an owner and asking them what they liked about their cages, what they didn't like, what they would have done different was always a bonus.
I kept notes and an entire image folder full of details I picked up, as well as reference photos from cages I found online. If there was a caged miata posted online in the last 12 months, chances are I saw it, and of course the cages having come out of BBFW and Supermiata were given special attention.
I was fortunate to then encounter a cage builder/chassis fabricator that was not only local to me, but a fellow hillclimber with an extensive fabrication background who was willing to work with my design requests. Cody Puckett, owner of Victory Fabrication. Some of you might recognize his car in the background, and I know him well as he's normally one position up on me at every hillclimb event.
Cody has built a ton of cages in a variety of chassis, but somehow had never done one in an NA/NB Miata. I compiled all the relevant photos, details, and tips I had, and used them to build a guide document for him. This document can be found here and anyone is welcome to use it for reference photos or their own custom cages. https://docs.google.com/document/d/1...mBwXEKHDk/edit
I got a message today saying my cage was complete, along with a dozen photos. I'll go pick it up later this week and start the painting process.
But without further ado...
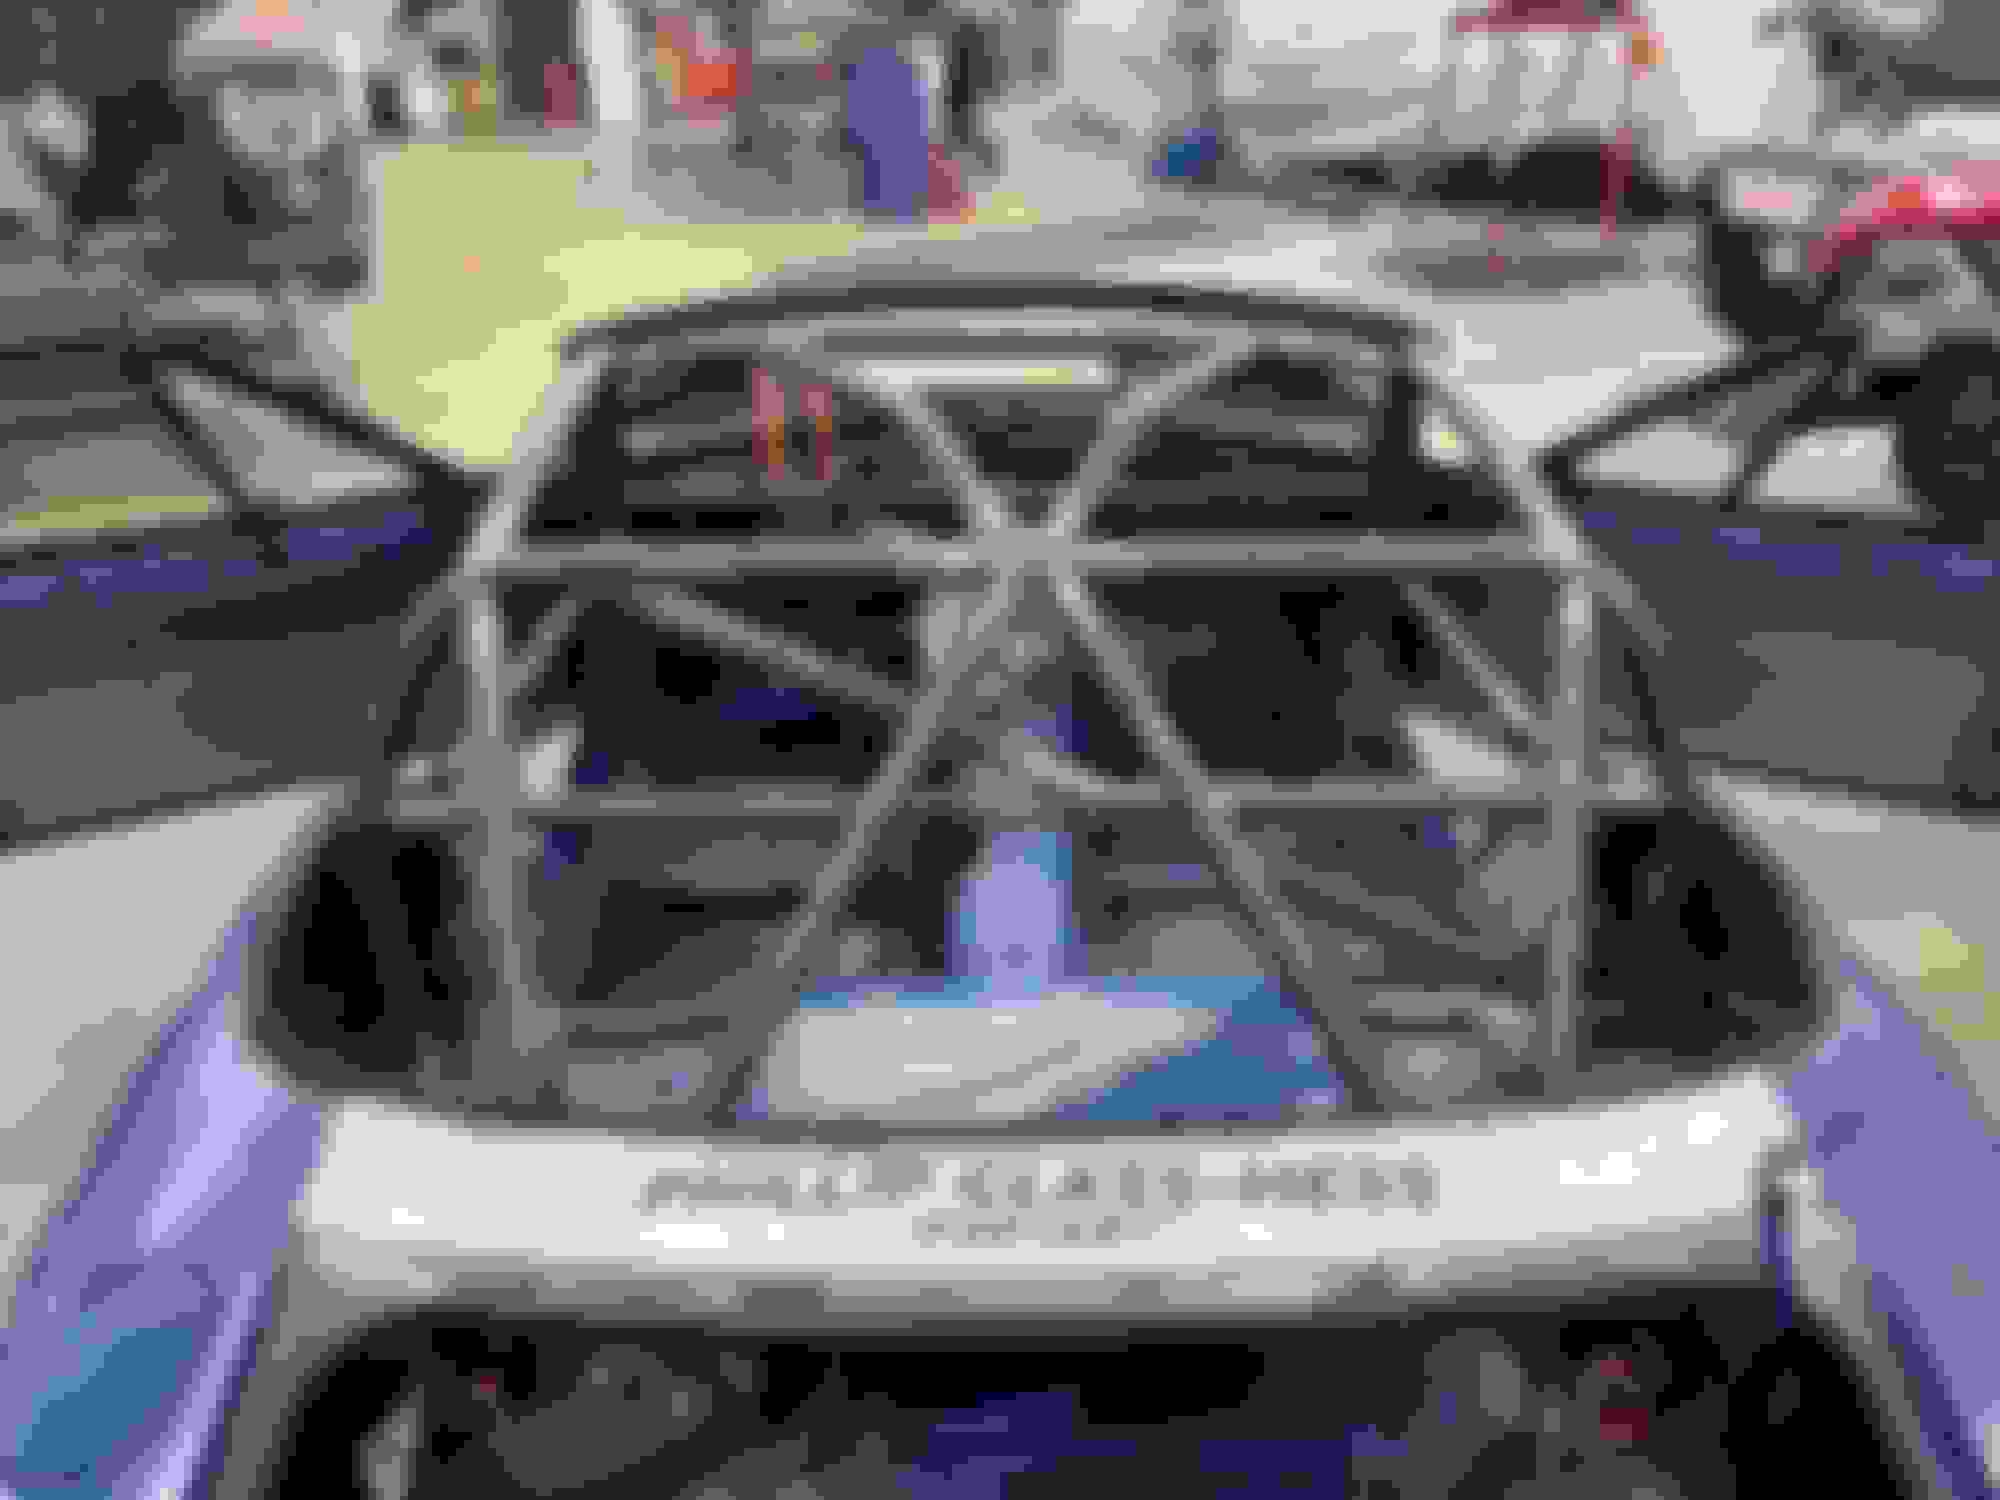
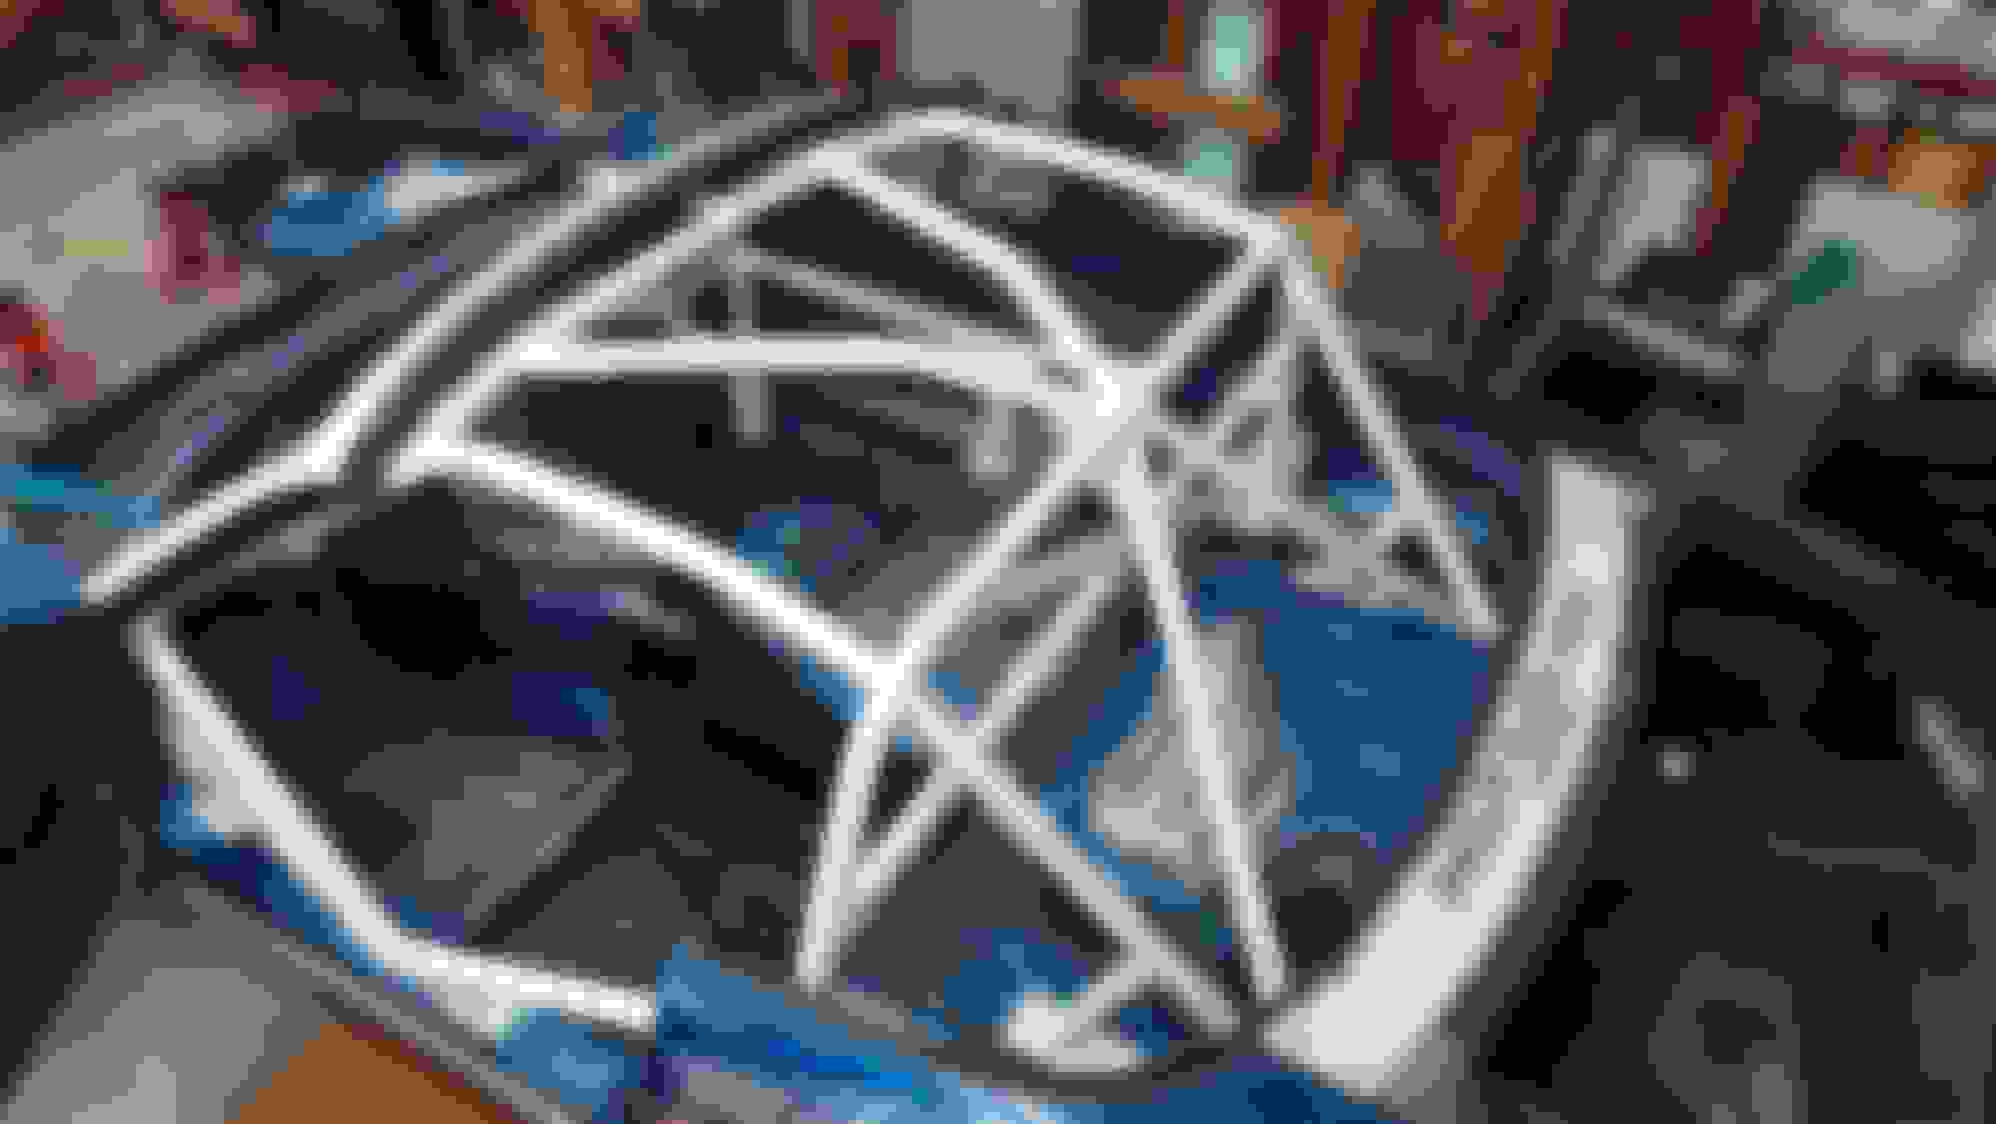
Seatbelt towers removed to plant the cage as wide and rearward as possible. Double diagonals in the rear, braced by an overhead V, while still leaving maximum head and seat room.
The rear subframe and shock mounts are also braced by the downbars and some additional tubing that will be visible from other angles. The entire car is tied to the cage in a dozen locations and braced shocktower to shocktower. No more wet noodle of a chassis!
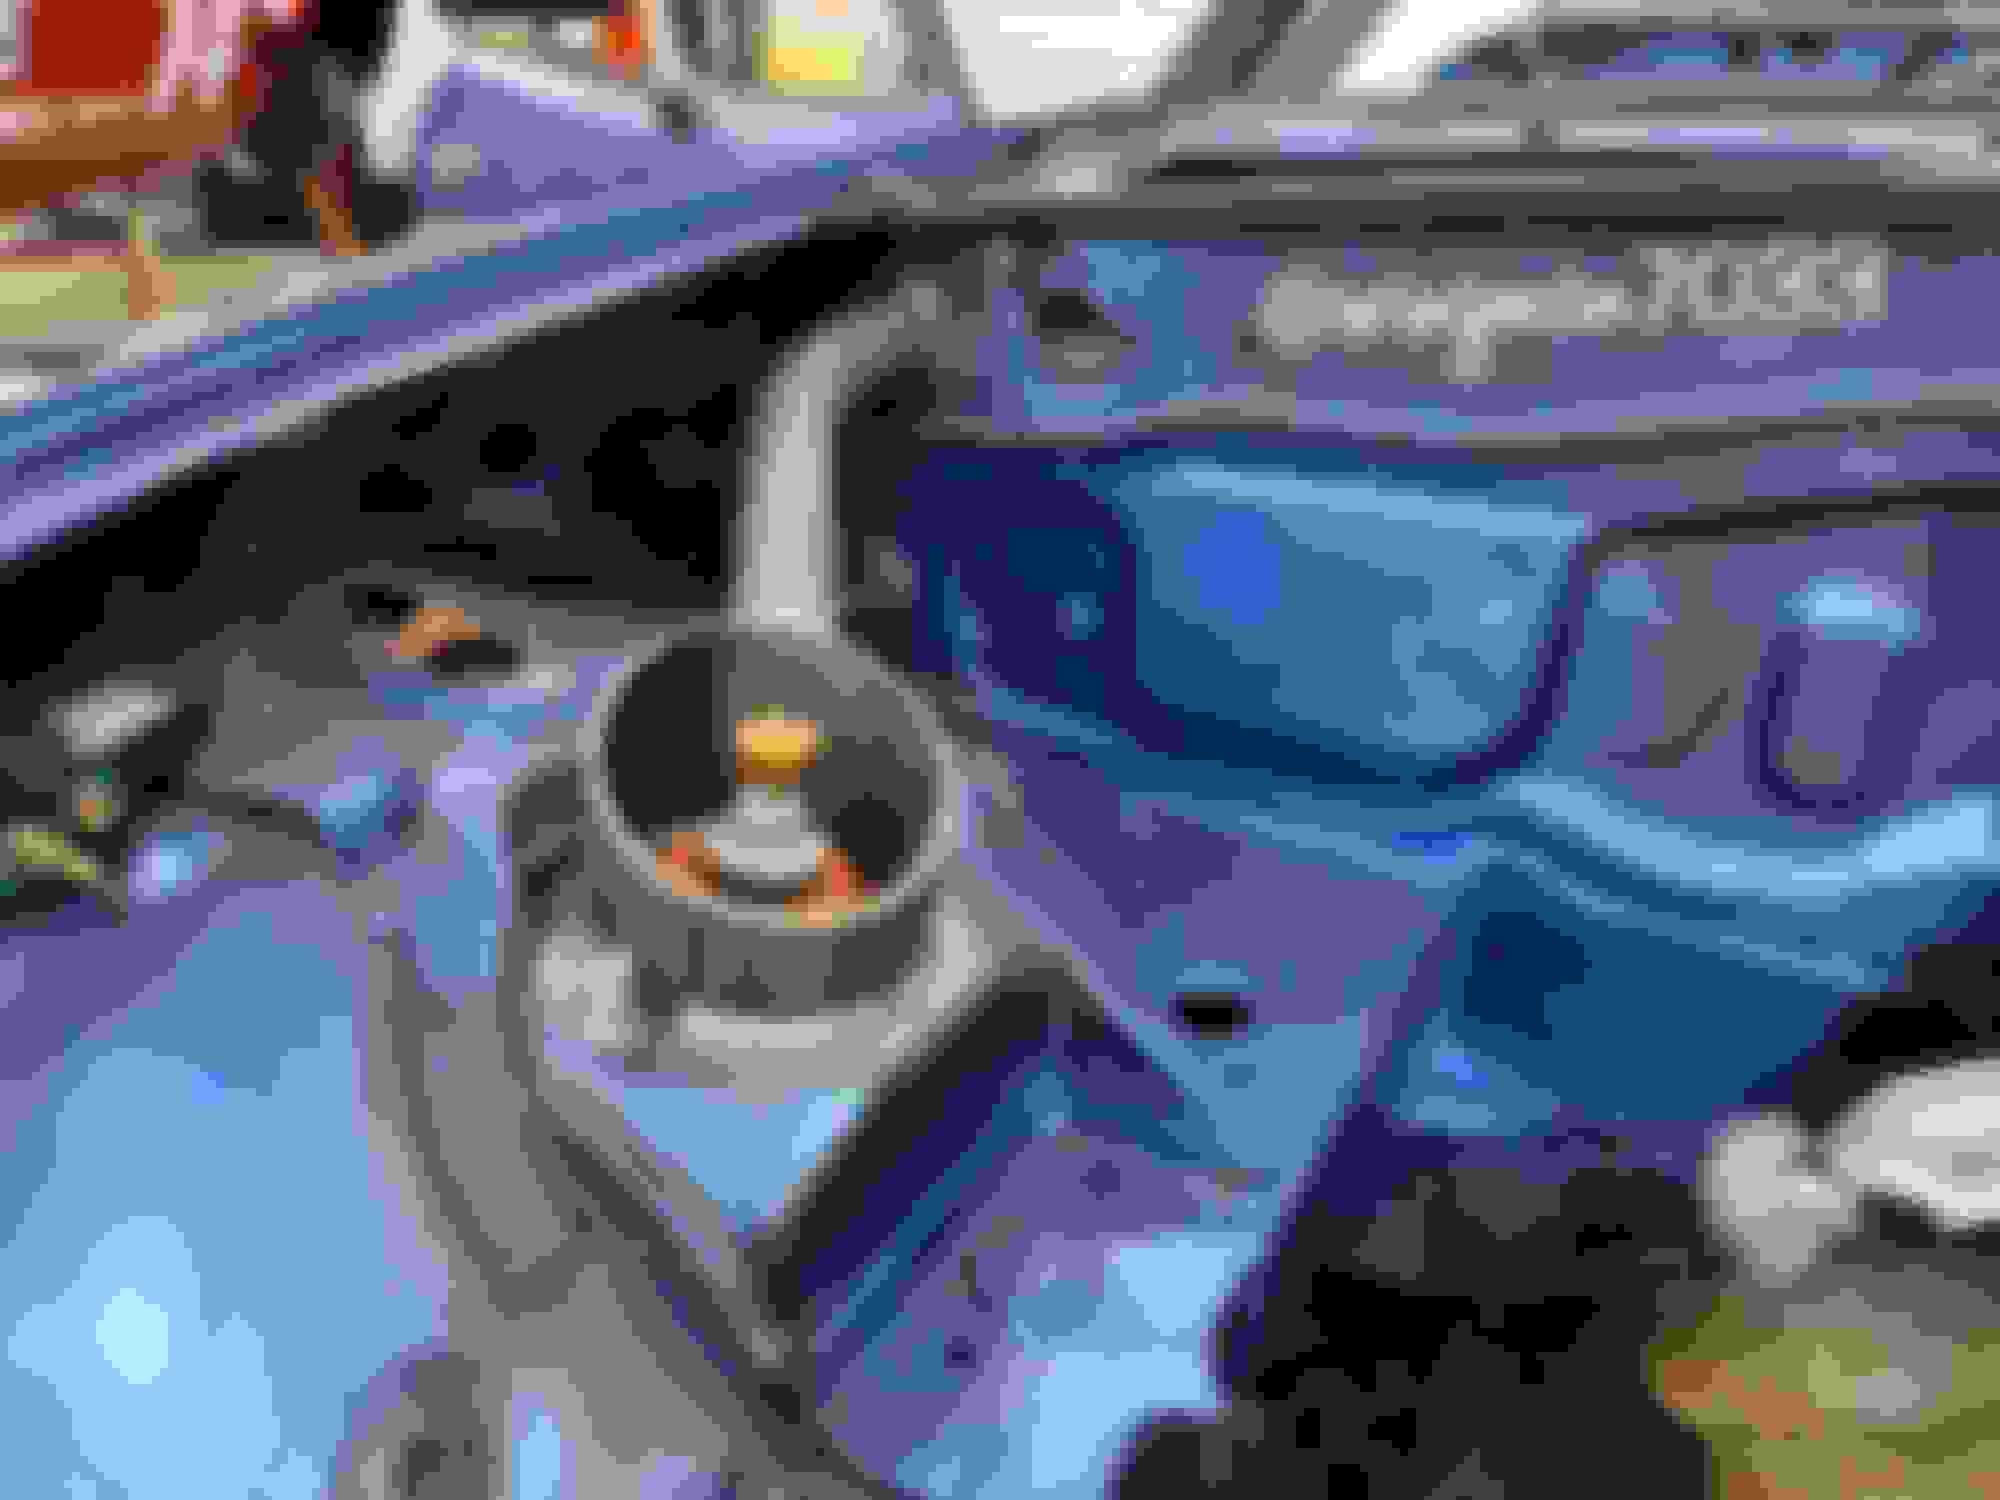
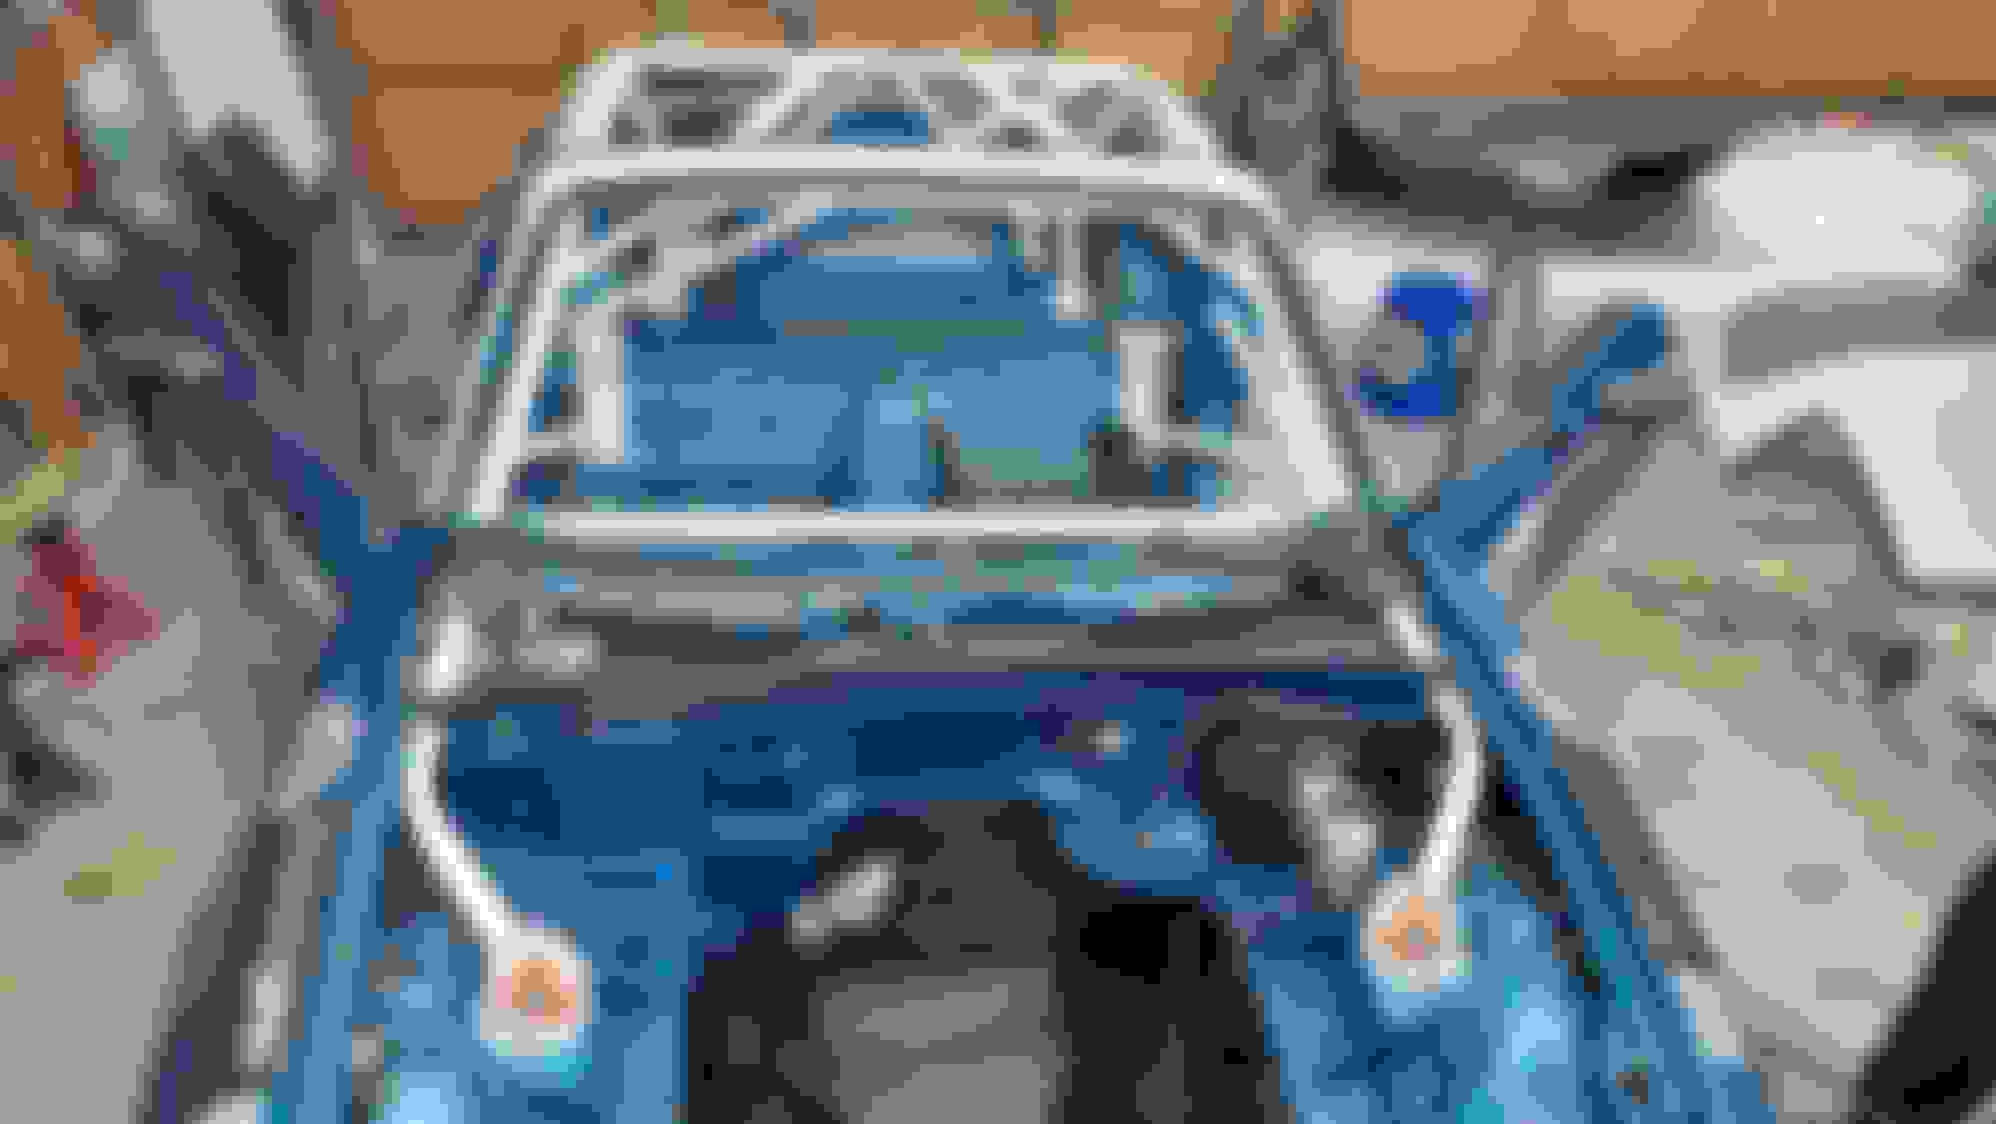
If I'm going to go to all this effort and added weight, I'm damn sure going to make it work in my favor wherever possible. The front shock towers are tied into the main cage and the firewall. I would have liked to add a secondary support bar back to the firewall to help triangulate them, but there simply isn't room on either side due to the Kpower intake and spinny thang, respectively.
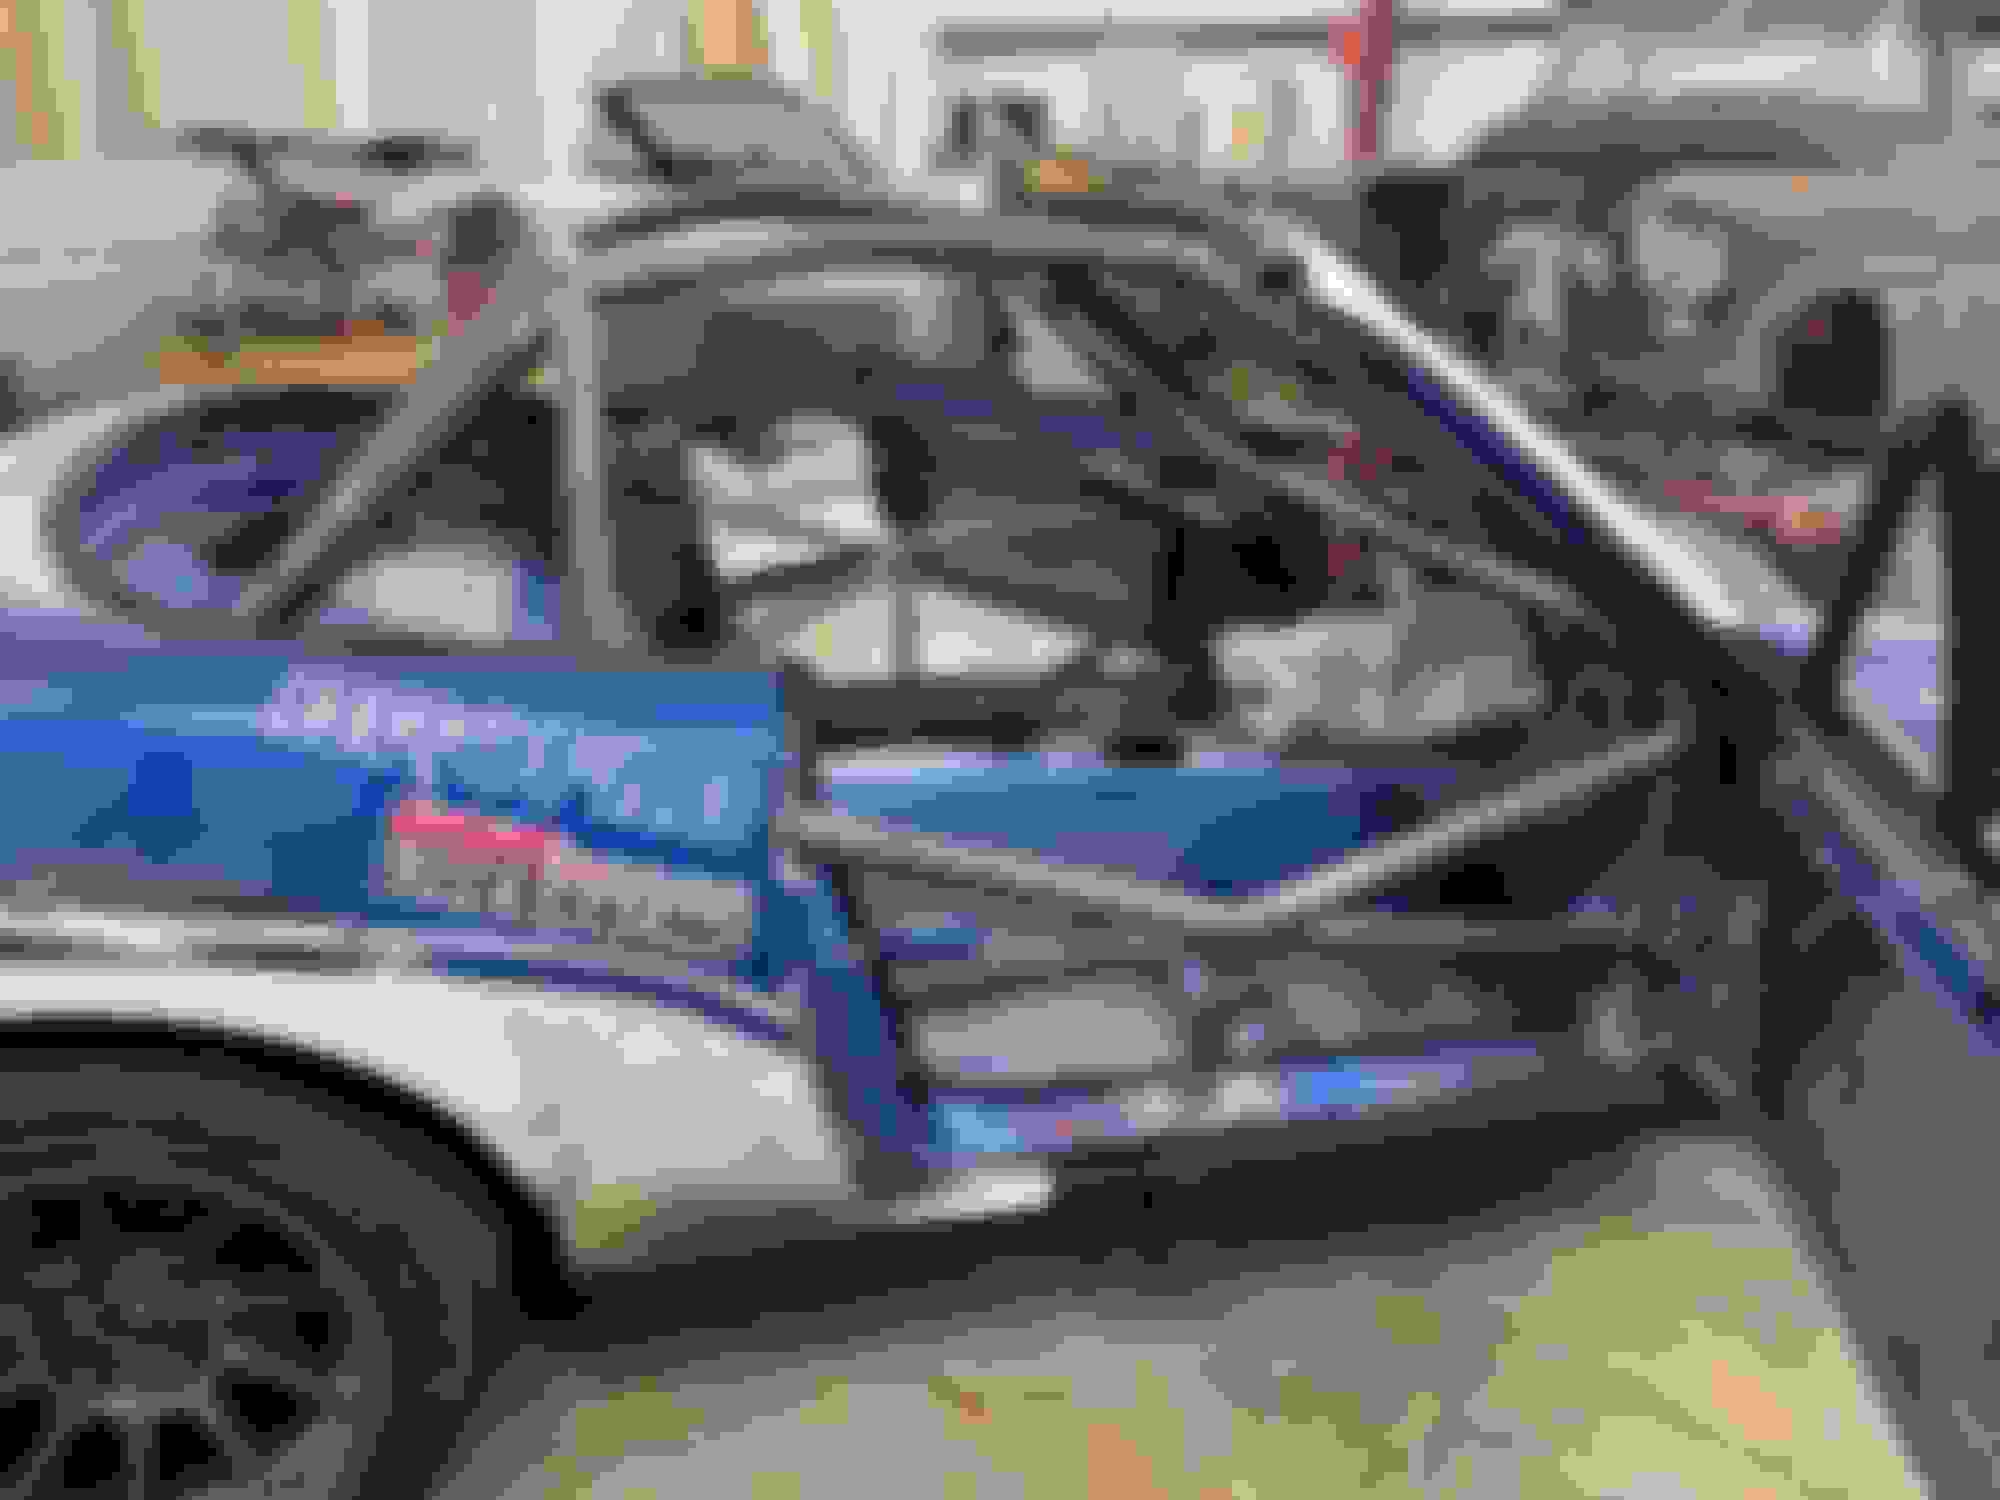
When it came to NASCAR bars vs X bars... it wasn't even a second thought. X bar's all the way, with an extra brace to the door sills, and terminating in foot impact structures.
I opted for zero taco gussets in the entire cage- I honestly don't see a useful benefit to them other then style/looks. I was unable to find any information showing an increase in strength or safety with them, and Cody seemed to agree with me when I asked his opinion on them. Every bar and plate was selected only to strengthen the cage, the chassis, or both.
I gave him the option of trimming the top of the door sills and bringing the top door bar down at a near 70* angle BBFW style, or just holesawing through the upright sill, and he opted to make some holes. I was a little worried about this method after seeing some ugly, off target cuts on other cars sporting this style, but Cody nailed it like the professional he is, and welded up everything afterwards for yet more chassis support.
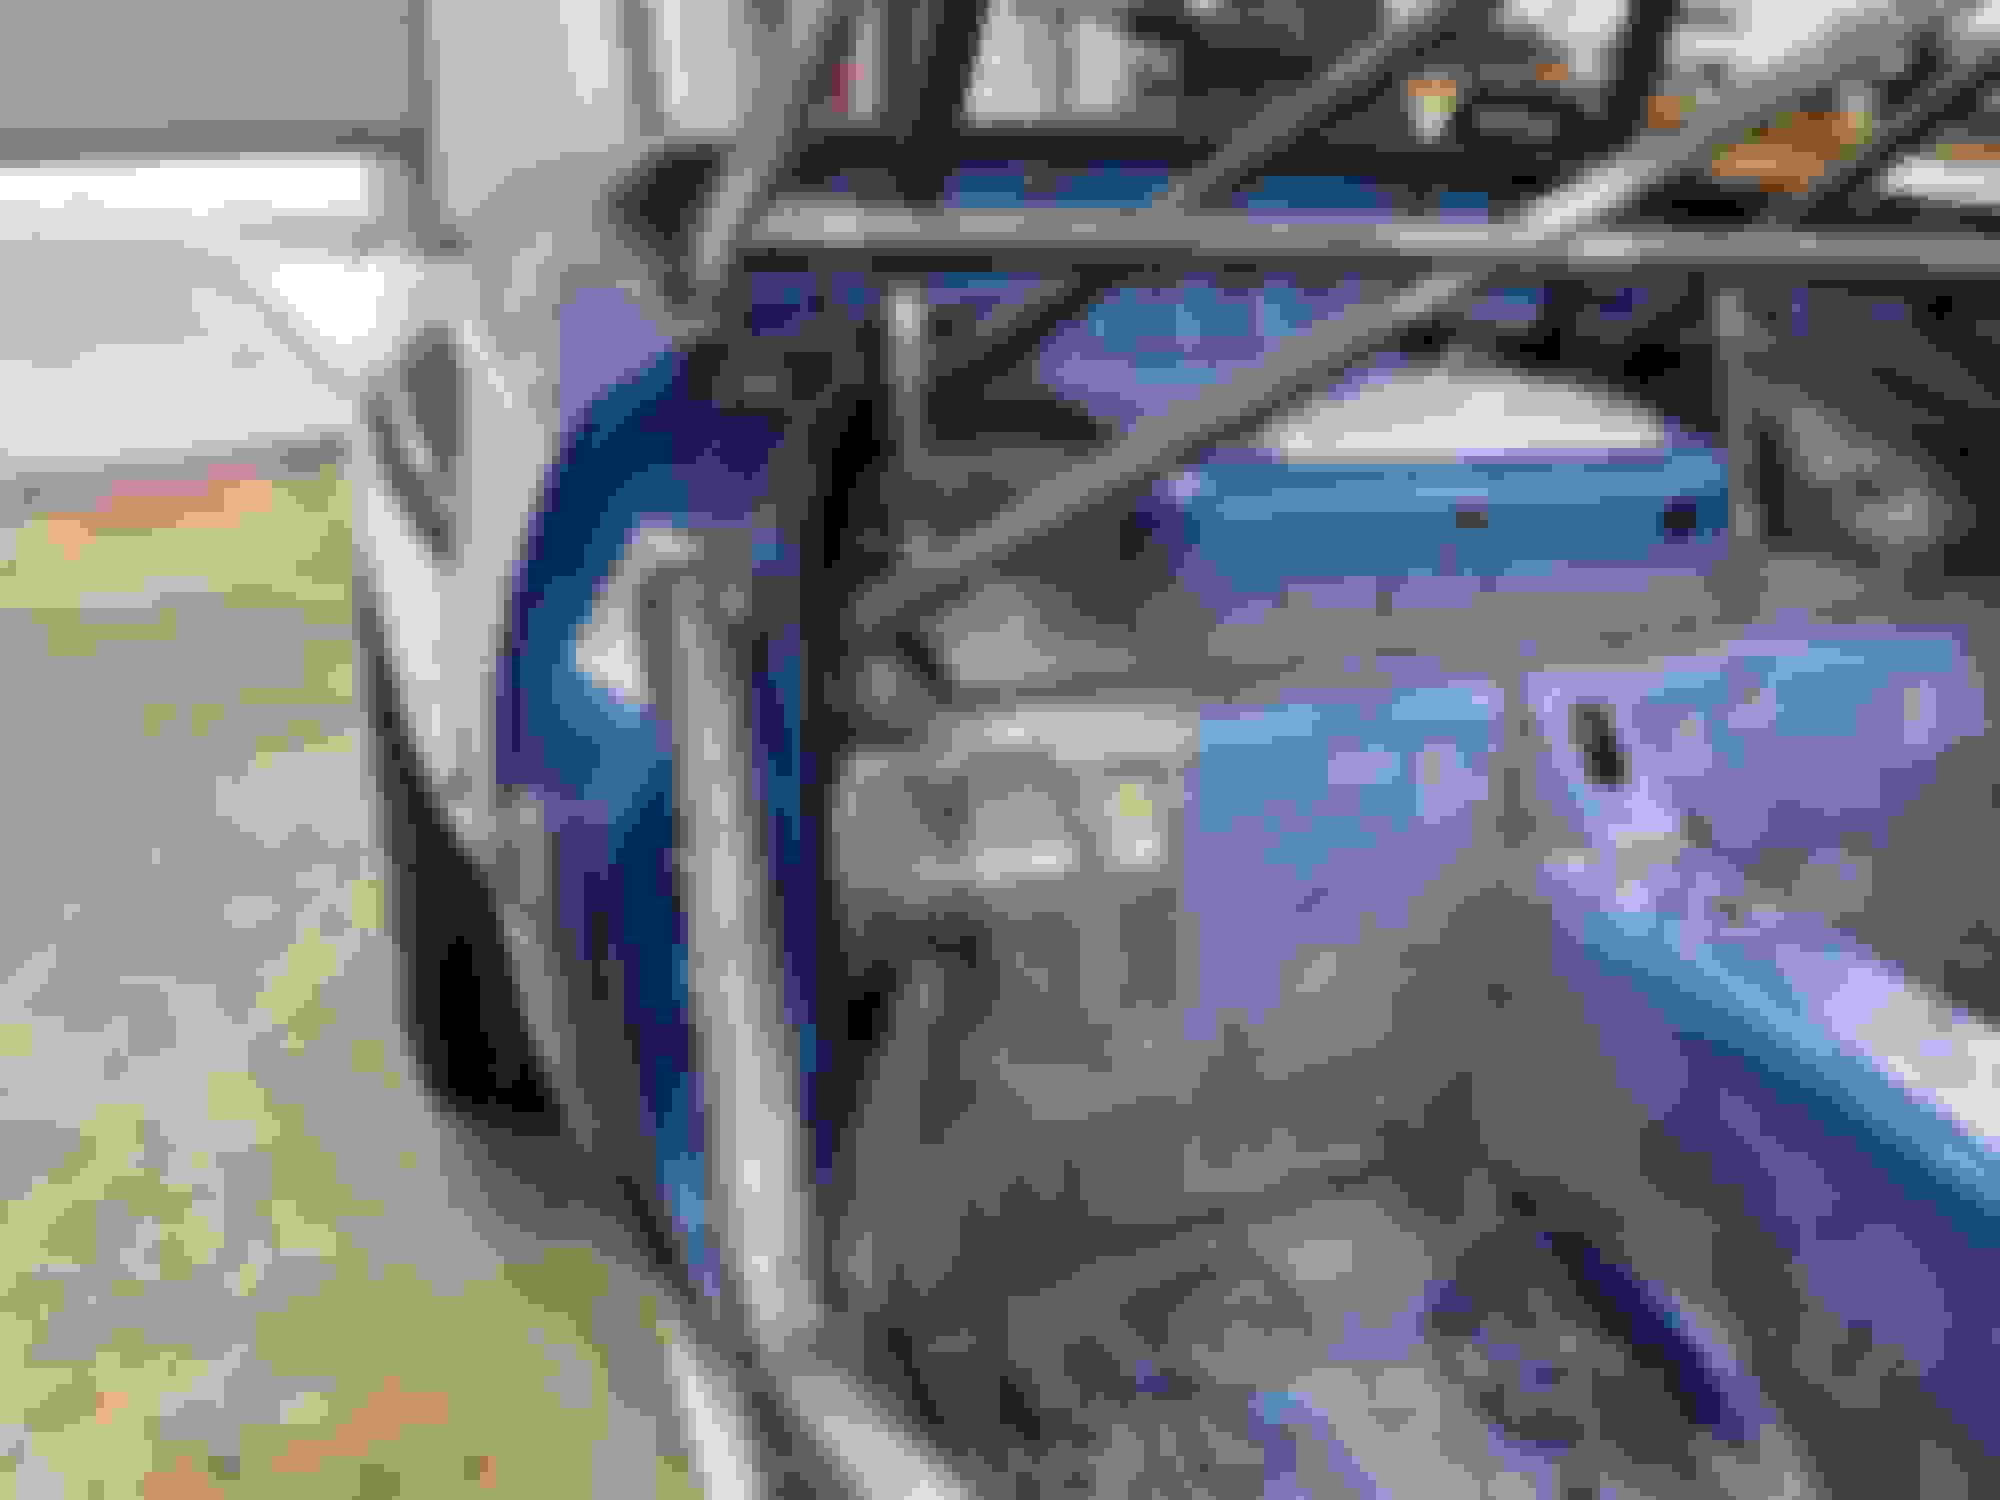
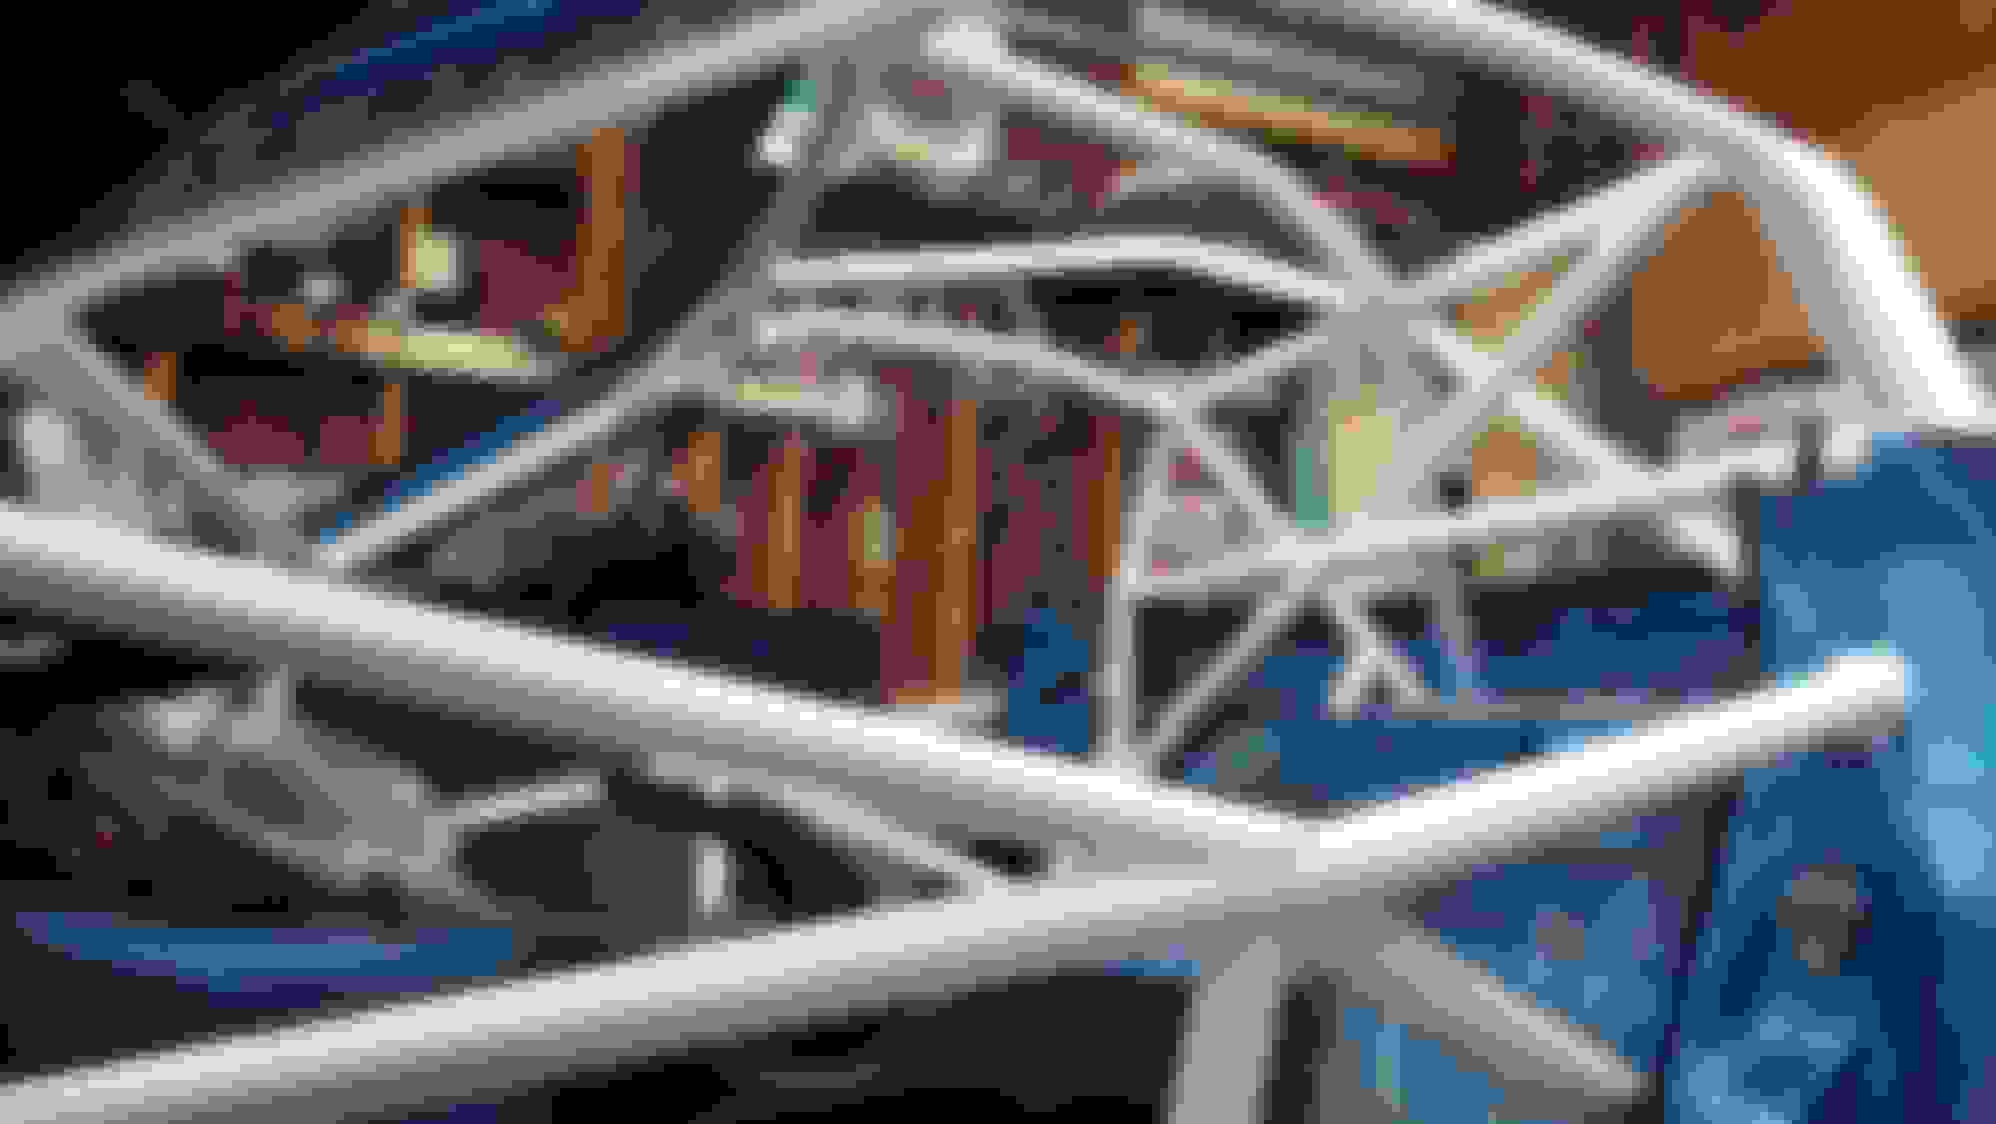
Also visible in this shot, the extra tubes coming down off the rear downbars to support the rear subframe mounts. No chassis twist when I shove excessive amounts of HP though that rear now...
The closest bar to my head is the outboard hoop, but even with a helmet on there's 3-4 fingers worth of space. I should have ample room once padding is added if I end up smacking a wall again. That bar is tight to the hardtop and physically cannot move farther outboard then it already is.
The 1" bars on the forward eyebrow serve to reinforce the overhead V bars, taking the load that otherwise would be a dead node. These should also do nicely for handholds to assist ingress and egress, and should not affect visibility except in fringe cases(i.e, extreme banking like Charlotte or Daytona).
I'm quite a bit more excited then I thought I would be after having this done. Up next, painting, which I've heard from multiple sources is a bear...
that's some solid fab work overall by your fabricator and good documentation on your end.. I have to admit, I'm probably most impressed by the precision on his hole cutting through the door "b pillar zone" and firewall. How does one do that? inquiring minds want to know...
Do the entire interior and cage as one color, saves a lot of masking and headache, my shop prefers ford grey. You might think it’ll look a little mono-tone, but once you add a black dash, black seats, red harnesses, and all the other misc things that go in a race car, it looks great.
+1 on gray. I use Rustoleum 'dark machine gray'. Not as durable as a catalyzed paint, but much easier to touch up, or deal with minor modifications. I use 3M clear PPF film to protect the high traffic touch points.
that's some solid fab work overall by your fabricator and good documentation on your end.. I have to admit, I'm probably most impressed by the precision on his hole cutting through the door "b pillar zone" and firewall. How does one do that? inquiring minds want to know...
He claims he "got lucky". Four times(two for the firewall, two for the doors). That ain't luck right there, and it's definitely a skill(drawing straight lines) I don't possess.
Originally Posted by curly
Do the entire interior and cage as one color, saves a lot of masking and headache, my shop prefers ford grey.
Originally Posted by Roda
+1 on gray. I use Rustoleum 'dark machine gray'.
I really want to keep the interior factory blue, and make the cage all white. I think it would look soooo good matching the rest of the car like that. But everyone I've asked about this has said the same, white looks great to start, but discolors quickly, and painting the interior two colors is a nightmare. I am as of yet undecided, but grey just seems so.. bland. And basic bitch black is DEFINITELY off the table.
Also there's a 95% chance a full dash doesn't go back into this one. Just something to shield gauges, and hold up a switch panel.
As far as painting goes (assuming you want 2 color), I'd not mask anything on the interior and just get the cage tubing painted the color you want, then use tin foil to wrap the freshly painted cage to then paint whatever is unmasked the secondary color. Tin foil is quick, cheap, and easy method to make quick work of masking tubing in my experiences.
I think this might be a new record for the amount of advice I've disregarded in one go
Brushed, not sprayed
White, not grey(I at least did semigloss, not a full gloss).
Two tone, not single color
After brushing an entire cage, I can absolutely see why shops just default to shooting everything one color. It's a lot of masking, and brushing definitely leaves a texture, even after several coats. Would I spray everything one color next time? Eh... probably not. Gotta look snazzy for the 'gram


 4
4