
wonton's 95 R-Package shenanigans


Thread Starter
Elite Member
iTrader: (17)
Joined: Apr 2009
Posts: 2,799
Total Cats: 1
From: Atlanta, GA
HA, you and me both. hopefully he will either send me some pics of the progress of it or post them up in here for me.........errrg i cant wait 
if my stuff hurries up and gets sold ill have more money for more ****. i should be buying all the Tial bits within a week, as soon as i get those in i can send ARTech the flanges to finish the manifold, he can only go so far with it right now without the parts. if the money flow is right ill see if i can get him to hold on to the mani so i can get him to build me a B-E-A-utiful downpipe.
if my stuff hurries up and gets sold ill have more money for more ****. i should be buying all the Tial bits within a week, as soon as i get those in i can send ARTech the flanges to finish the manifold, he can only go so far with it right now without the parts. if the money flow is right ill see if i can get him to hold on to the mani so i can get him to build me a B-E-A-utiful downpipe.
Reply
 0
0

0

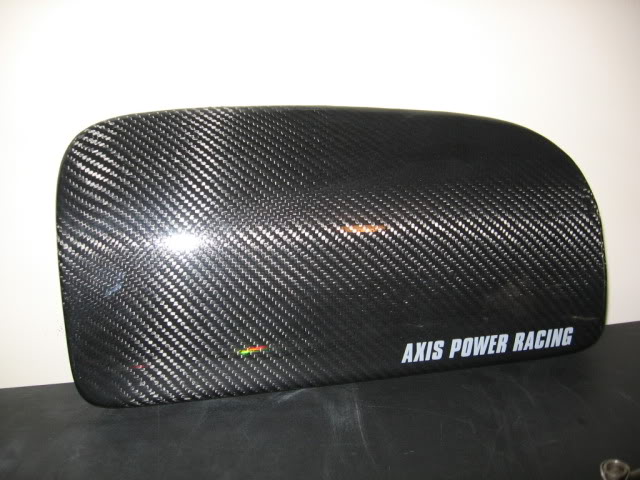
Is that just red paint on the needles or is it somewhat transparent? That looks pretty damn good IMHO. What happened to your 96 that you're gutting it? Build looks great, I especially like your DIY air box and radiator support cover. I also think the bumper vents you linked to seem pretty legit. I hope the manifold looks like **** but that won't happen, ARTech does awesome stuff. I learn a lot from him 
Reply
0
0
Thread Starter
Elite Member
iTrader: (17)
Joined: Apr 2009
Posts: 2,799
Total Cats: 1
From: Atlanta, GA
Is that just red paint on the needles or is it somewhat transparent? That looks pretty damn good IMHO. What happened to your 96 that you're gutting it? Build looks great, I especially like your DIY air box and radiator support cover. I also think the bumper vents you linked to seem pretty legit. I hope the manifold looks like **** but that won't happen, ARTech does awesome stuff. I learn a lot from him
both you and ARTech do amazing work! i only have a little bit of TIG experience and envy both or yours and his skills. if you can weld aluminum as good as you can weld stainless i would like to get you to weld up a intake manifold for me. my plans in the near future is to get most of my fab work done and see if i can get you to weld it up for me!
and as far as the vents: if only i can find a place that sells somthing like that.
i wanted a car in better shape than my 96. it has some minor damage up front that really annoys the **** out of me and a really shitty paint job. it is also OBDII and i live in a emission county, so im swapping to a 95 so i can run a standalone and pass emmisions at the same time.
Reply
0
0


BTW. ARTech parts will make you cry like a little girl when in hand.

Reply
0
0
Thread Starter
Elite Member
iTrader: (17)
Joined: Apr 2009
Posts: 2,799
Total Cats: 1
From: Atlanta, GA
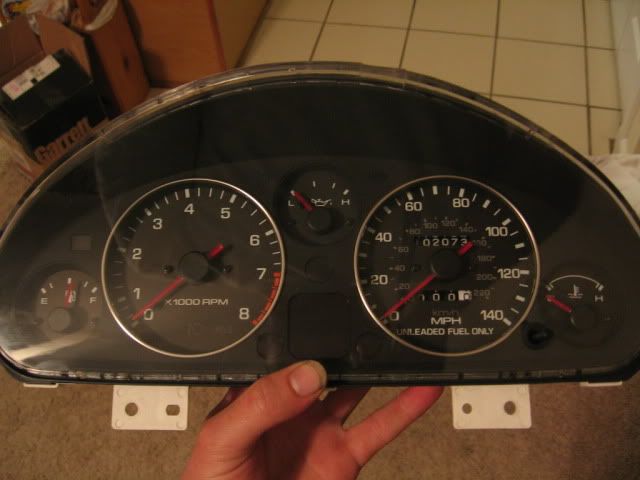
That looks familiar. I did that going on 2 summers ago and barely used the car enough to say whether I'm happy I did it or not. During the day they look great and everything, but at night they are pretty hard to see.
BTW. ARTech parts will make you cry like a little girl when in hand.
BTW. ARTech parts will make you cry like a little girl when in hand.
if it is hard to see at night, ill end up figuring out a way to use LEDs to light up the instrument cluster to help with visibility.
ill probably start shedding tears as soon as i see some progress pics. lol
Reply
0
0

How were you able to get yours apart without cracking the plastic cover? I did the oven method but mine still chipped around the edges so it's kind of half-assed back on now.
Reply
0
0
Thread Starter
Elite Member
iTrader: (17)
Joined: Apr 2009
Posts: 2,799
Total Cats: 1
From: Atlanta, GA
you take the edge of the circuit thing and pop it off the pin so that the wire doesnt get caught when your pulling the cover off
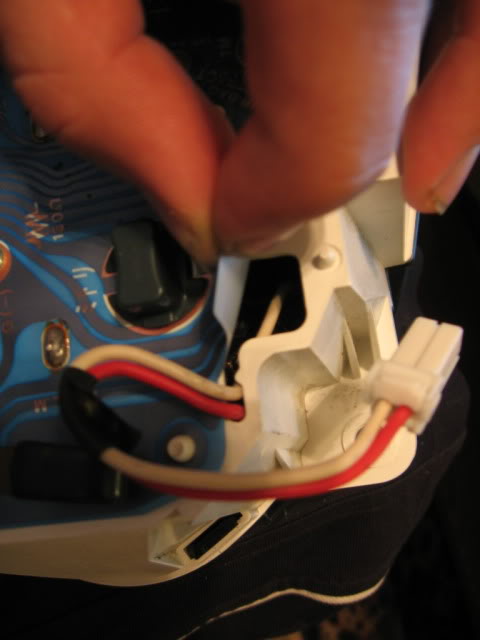
after that you start pushing the lil black clips down and out one by one, there is 7
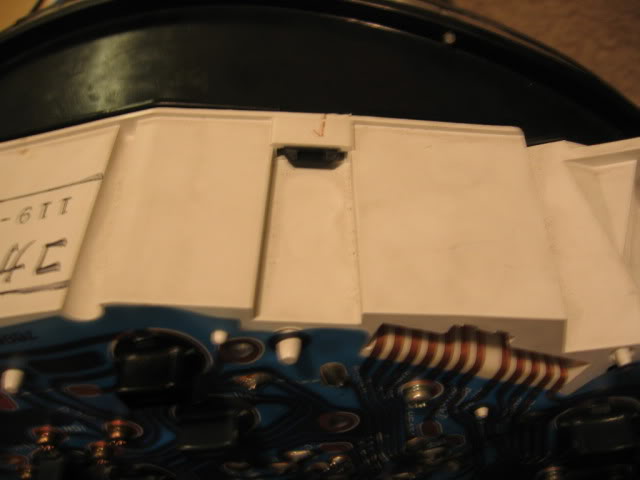
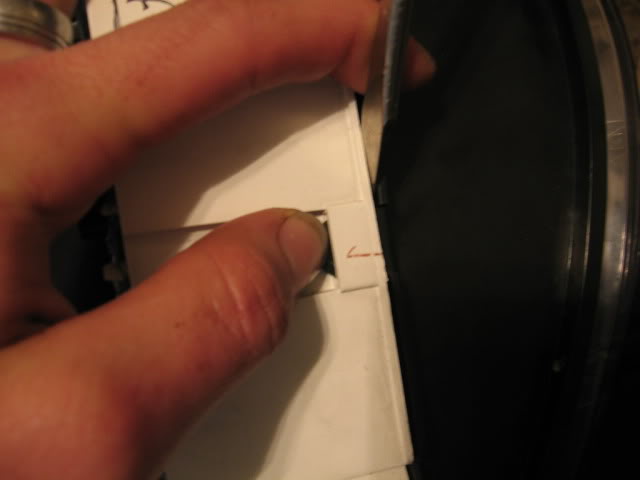
push down with your thumb and then take a flat head screw driver between the black cover and the white cluster housing and work your way around till all 7 tabs arnt holding the black cover in place. then pull the cover off and slide the connector through the hold in the first pick, and there you have it. you have pulled your cover off without ******* it up.
after that you start pushing the lil black clips down and out one by one, there is 7
push down with your thumb and then take a flat head screw driver between the black cover and the white cluster housing and work your way around till all 7 tabs arnt holding the black cover in place. then pull the cover off and slide the connector through the hold in the first pick, and there you have it. you have pulled your cover off without ******* it up.
Reply
0
0
Thread Starter
Elite Member
iTrader: (17)
Joined: Apr 2009
Posts: 2,799
Total Cats: 1
From: Atlanta, GA
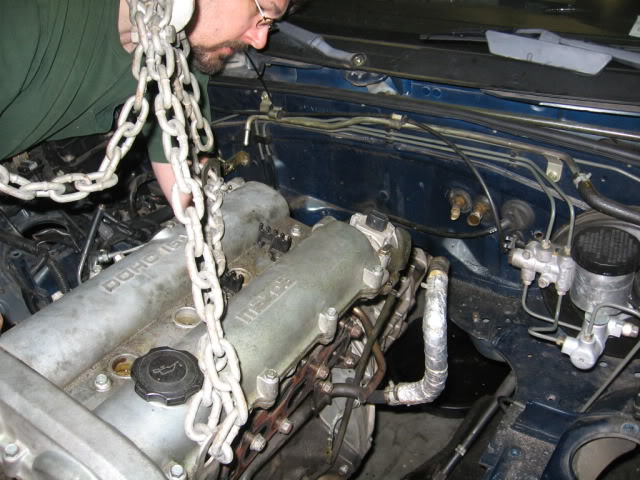
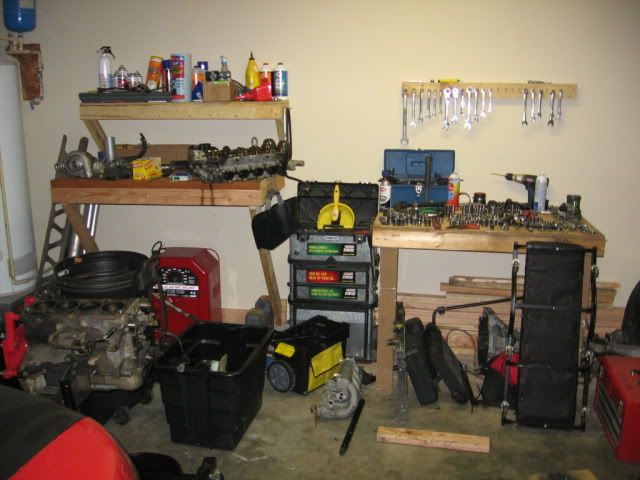
SO, i got some more **** done. i finally got the engine and trans out, and got the cylinder head taken off the block to send it off the the guy who is building me a Blueprinted and balanced OEM block.
pulling a engine without a balancing bar is a PITA.
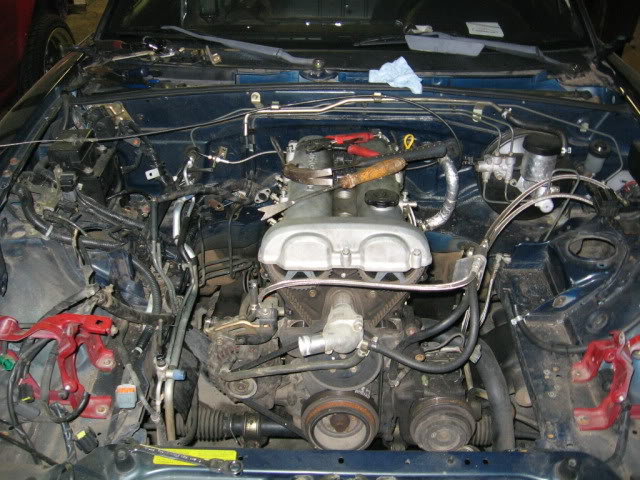

when i got the engine on the engine stand i realized i had a problem. i needed to get the crank nose pulley and bolt off so i can pull the timing belt and lower gear off. so i thought i was fucked for a min, i walked a around the garage for a min and then found somthing that i could use to hold the crank still while i break the crank nose bolt loose.
a ****** JDM TyTE yO tow hook haha
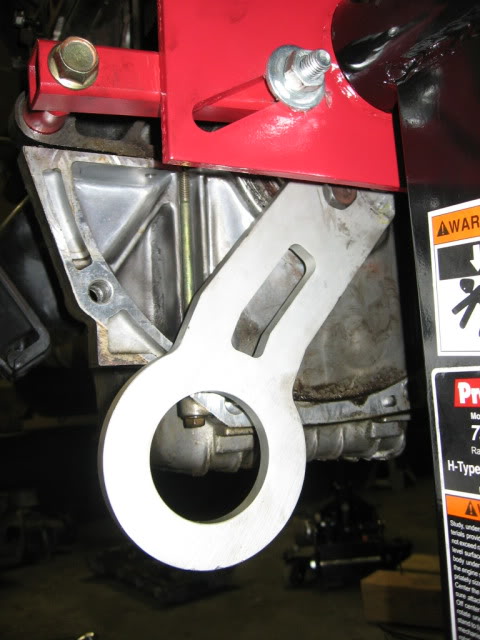
well now with that taken care off i could separate the head now, i was really itching to take a look at the tops of my pistons.

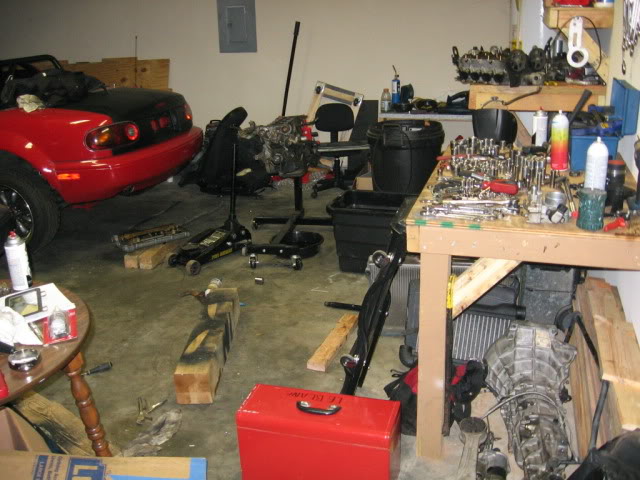
and a couple shots of how much of a cluster **** my garage is.
pulling a engine without a balancing bar is a PITA.
when i got the engine on the engine stand i realized i had a problem. i needed to get the crank nose pulley and bolt off so i can pull the timing belt and lower gear off. so i thought i was fucked for a min, i walked a around the garage for a min and then found somthing that i could use to hold the crank still while i break the crank nose bolt loose.
a ****** JDM TyTE yO tow hook haha
well now with that taken care off i could separate the head now, i was really itching to take a look at the tops of my pistons.
and a couple shots of how much of a cluster **** my garage is.
Reply
0
0

Thread Starter
Elite Member
iTrader: (17)
Joined: Apr 2009
Posts: 2,799
Total Cats: 1
From: Atlanta, GA
Oh i need my fix to man, im getting anxious to see the progress......
im waiting for pics from him and im about 250 bucks away from have all my Tial parts so i can get them sent to him. he is waiting on that stuff so he can get the major portion of the mani finished. after the manifold is finished the DP will be next.
if somebody would ******* buy my injectors already that would put me closer and i think im about to put my R-package lip up for sale to help me meet my goal!
Reply
0
0
Thread Starter
Elite Member
iTrader: (17)
Joined: Apr 2009
Posts: 2,799
Total Cats: 1
From: Atlanta, GA
all of my Tail parts have been purchased and should be on their way to ARTech. here is a lil photo of what is to come from ARTech.
here is whats going to be built! it will put my turbo a lil further forward than expected but will not be a problem
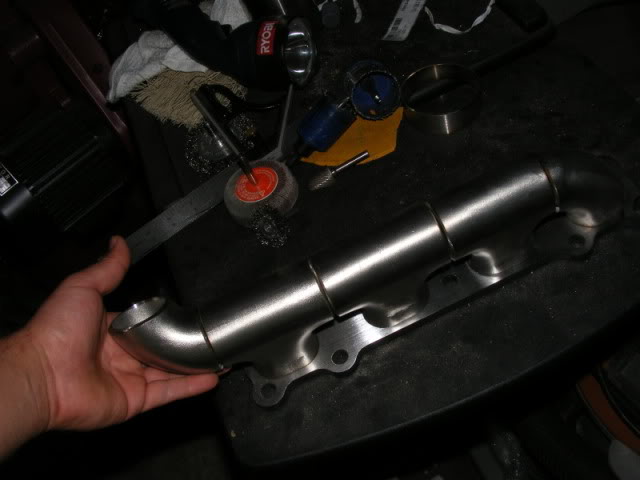
we could have gone with this, but from the looks of it it will not flow as good as the first (ARTechs thoughts and i agreed)
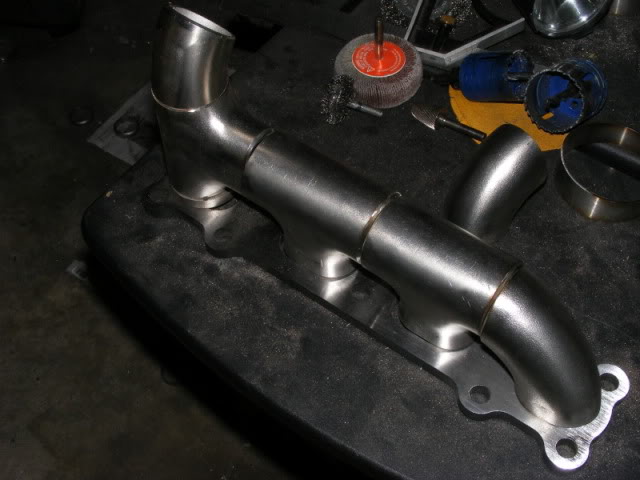
i know this will not be superior to the ramhorn, but it is what i want so folks......dont bust my *****.
PICS taken by ARTech....
here is whats going to be built! it will put my turbo a lil further forward than expected but will not be a problem
we could have gone with this, but from the looks of it it will not flow as good as the first (ARTechs thoughts and i agreed)
i know this will not be superior to the ramhorn, but it is what i want so folks......dont bust my *****.
PICS taken by ARTech....
Reply
0
0
Thread Starter
Elite Member
iTrader: (17)
Joined: Apr 2009
Posts: 2,799
Total Cats: 1
From: Atlanta, GA
FML!!!!!!

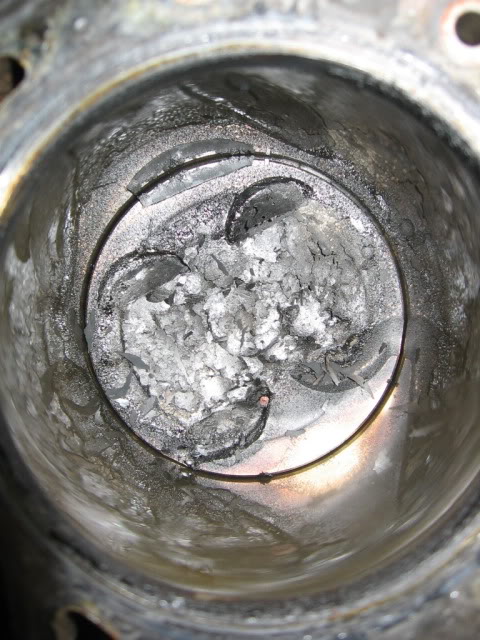
so i was bored and decided to go work on my car. i grab a drain pan so i can drain the gear oil out of my Differntial before i put it up in the 95 and get the rearend finished on the car so i wont have to worry bout it later. this is what i found................
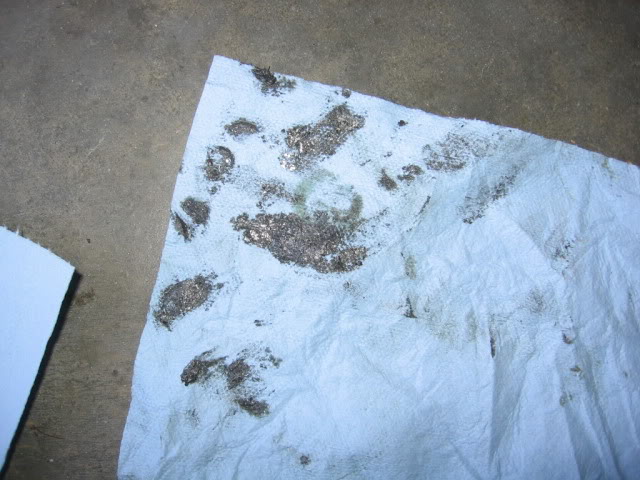
first i pulled the drain plug out and found this **** on it. i wiped all the stuff of the plug onto the shop towel and picked the shards out. all the gray **** on the second pic is nothing much ground up metal, first pic are the chunks that i pulled out of the gunk.
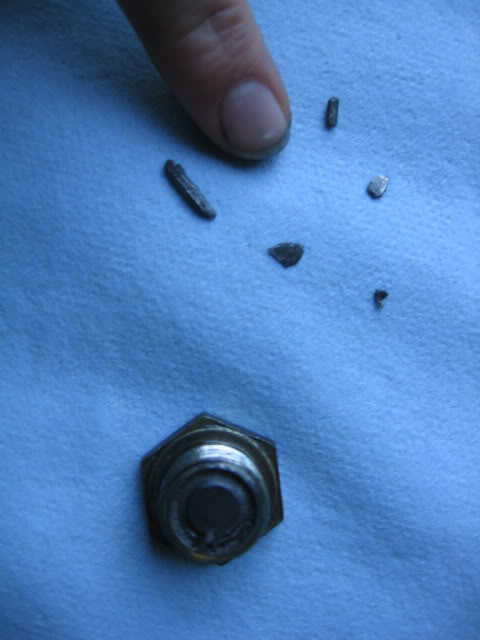
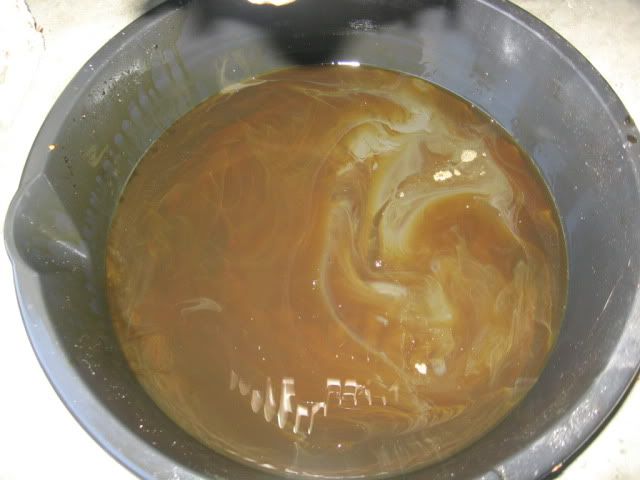
and a shot of the oil in the pan...
so i was bored and decided to go work on my car. i grab a drain pan so i can drain the gear oil out of my Differntial before i put it up in the 95 and get the rearend finished on the car so i wont have to worry bout it later. this is what i found................
first i pulled the drain plug out and found this **** on it. i wiped all the stuff of the plug onto the shop towel and picked the shards out. all the gray **** on the second pic is nothing much ground up metal, first pic are the chunks that i pulled out of the gunk.
and a shot of the oil in the pan...
Last edited by WonTon; Apr 26, 2010 at 08:22 PM.
Reply
0
0
Thread Starter
Elite Member
iTrader: (17)
Joined: Apr 2009
Posts: 2,799
Total Cats: 1
From: Atlanta, GA
ight so i got some more **** done, i will get pics up asap. i cant do it from my PS3, and for some reason my laptop wont connect to the internet....  but anyway, i have been doing some cutting and welding in my engine bay and have started preping it for paint. my raidiator cover panel is almost compleat, it just needs some. i have began working on getting the hood vents that i picked up from Cspence in the hood as well. the dude that is building my engine came and picked up my old shell and other parts from me to compleat the building of the engine. also i have got some more pics from ARTech to put up in here .
but anyway, i have been doing some cutting and welding in my engine bay and have started preping it for paint. my raidiator cover panel is almost compleat, it just needs some. i have began working on getting the hood vents that i picked up from Cspence in the hood as well. the dude that is building my engine came and picked up my old shell and other parts from me to compleat the building of the engine. also i have got some more pics from ARTech to put up in here .
Reply
0
0


