
Yet another GTX build thread.


Thread Starter
Elite Member
iTrader: (8)
Joined: Aug 2007
Posts: 2,712
Total Cats: 5
From: Bellingham, Wa
I think you need this, comes with extra tranny too.
http://cgi.ebay.com/ebaymotors/JDM-M...#ht_3728wt_939
and then you can sell me your upper 1.6 cam gear cover, rods, and cams.
http://cgi.ebay.com/ebaymotors/JDM-M...#ht_3728wt_939
and then you can sell me your upper 1.6 cam gear cover, rods, and cams.
I can get you the rods though if you really want them. The valve cover and cams might be possible but more tricky.
Reply
 0
0

0

Thread Starter
Elite Member
iTrader: (8)
Joined: Aug 2007
Posts: 2,712
Total Cats: 5
From: Bellingham, Wa
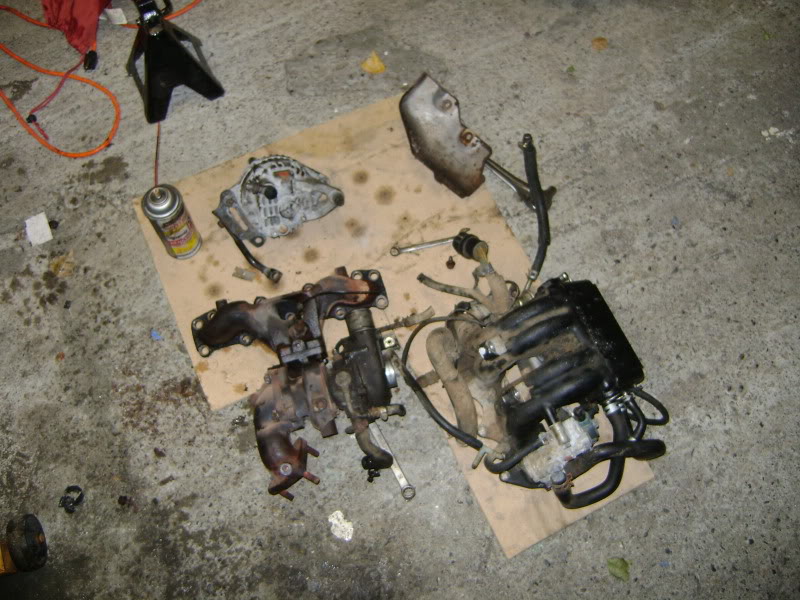
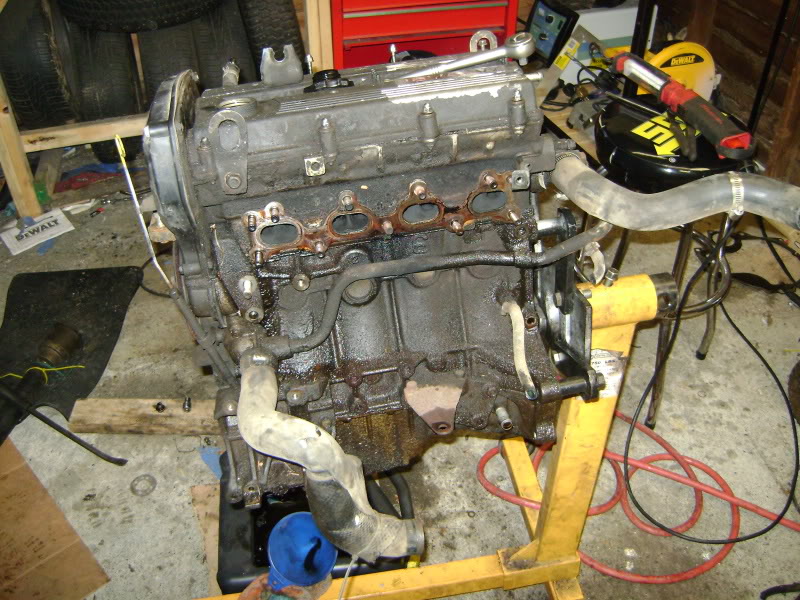
Finally had more time to work today. I put the suspension together and pulled the driveshaft and moved the GTX out of the garage. Much better, actually have room to work now. Split the trans from the engine and got the engine on the stand. Got almost everything stripped off of the block. Just need to get the valve cover, timing belt stuff and head bolts and I can pull the head and see how usable this thing will be.
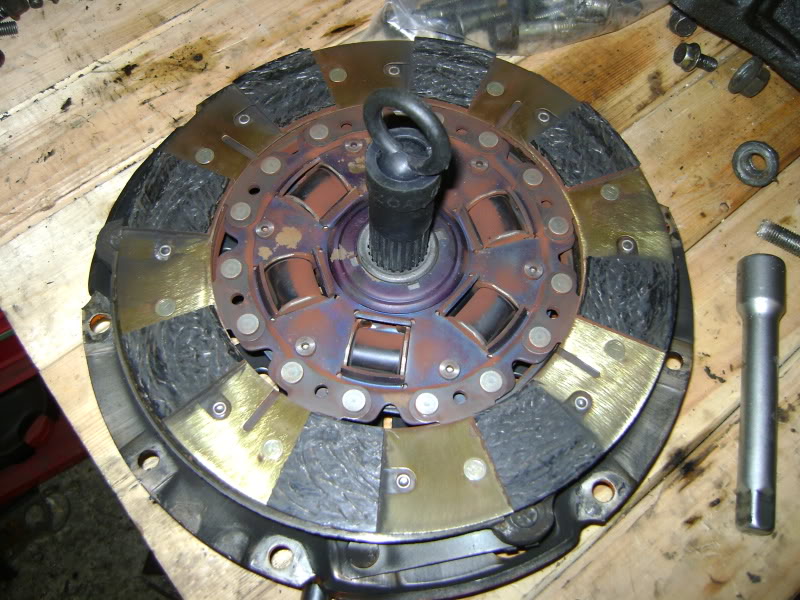
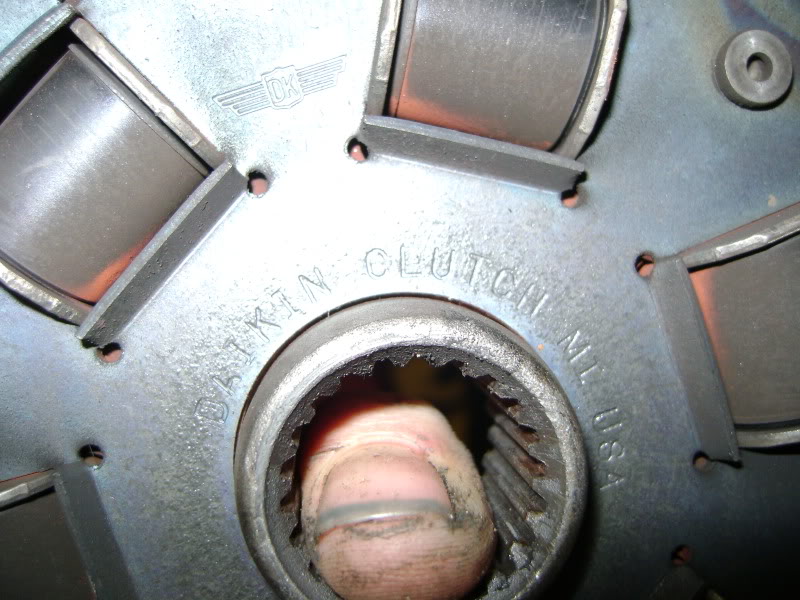
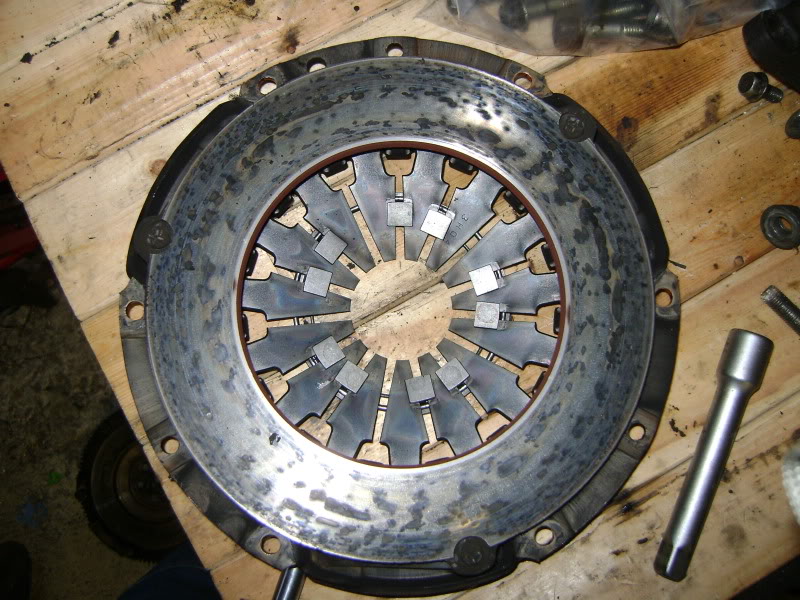
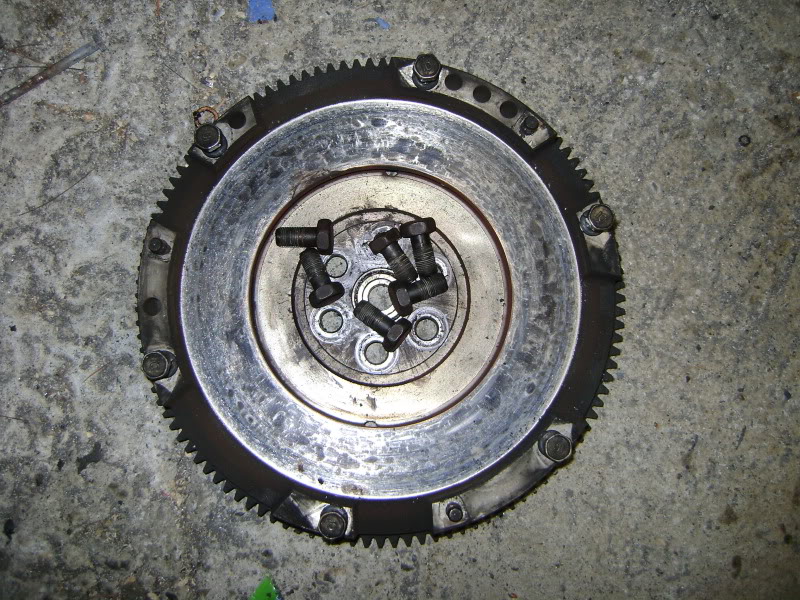
The clutch disk looks new, but the pressure plate and flywheel look like they were reused without being resurfaced. Looks like crap with lots of hot spots and obvious slippage.
 .
.
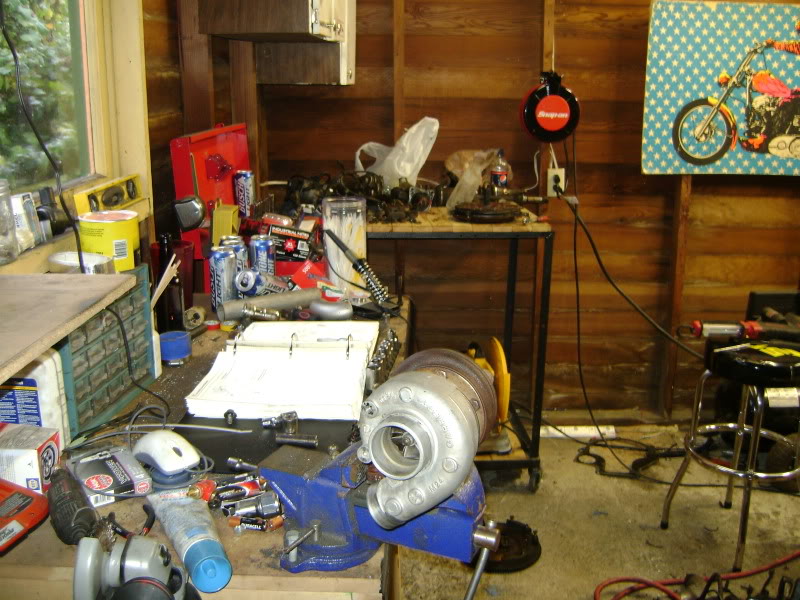
Its tough staying organized in a tiny space :(
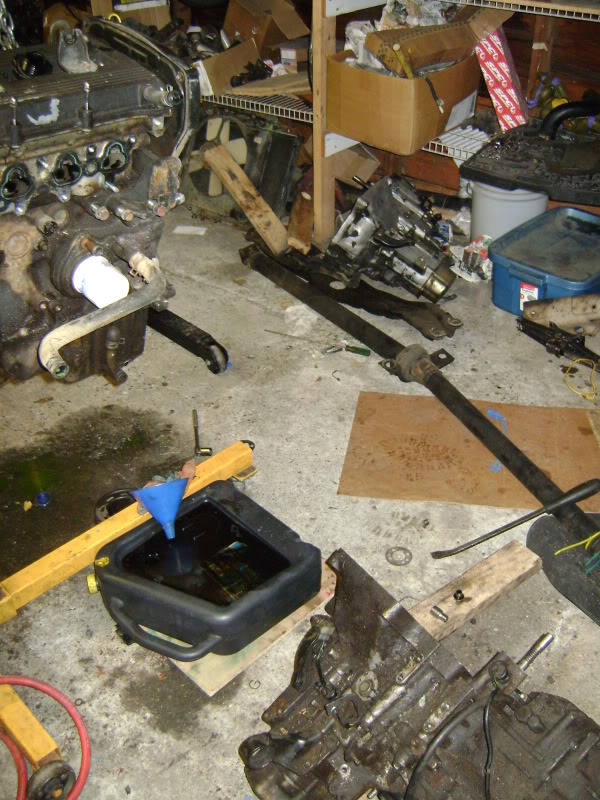
This thing is a greasy mess. Not going to have a lot of fun cleaning it. Might drop the block off at the machine shop to be decked, honed, and hot tanked.
Parts on the way: Long nose crank and pistons. Actually, those pistons might be on the door step right now!
The clutch disk looks new, but the pressure plate and flywheel look like they were reused without being resurfaced. Looks like crap with lots of hot spots and obvious slippage.
.Its tough staying organized in a tiny space :(
This thing is a greasy mess. Not going to have a lot of fun cleaning it. Might drop the block off at the machine shop to be decked, honed, and hot tanked.
Parts on the way: Long nose crank and pistons. Actually, those pistons might be on the door step right now!
Reply
0
0
Thread Starter
Elite Member
iTrader: (8)
Joined: Aug 2007
Posts: 2,712
Total Cats: 5
From: Bellingham, Wa
I think i'm just going to have the machine shop hot tank, deck, and hone the block. Also probably going to have them replace all the valve guides and seals in the head and regrind the valves.
Reply
0
0
Thread Starter
Elite Member
iTrader: (8)
Joined: Aug 2007
Posts: 2,712
Total Cats: 5
From: Bellingham, Wa
Progress! Got 90% of the shortblock assembled tonight. I still need to do the oil pan and a few other things to finish it off.
The work area prepped.

Inside of clean, bare block.
Oil jets in.
Crank laid in on new bearings.
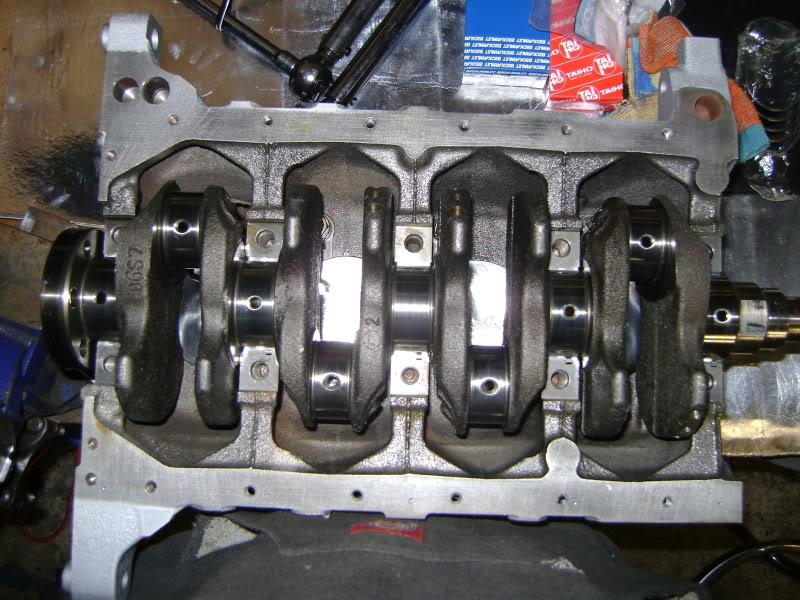
Crank torqued down.
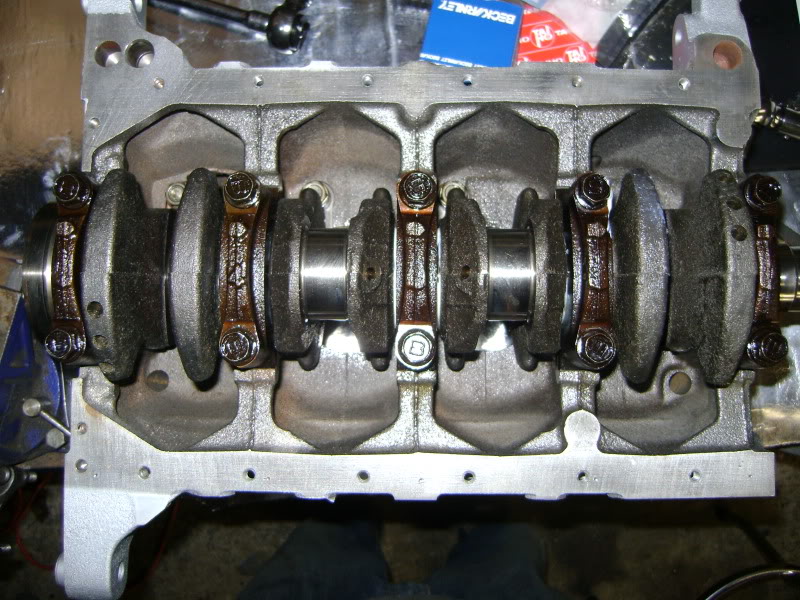
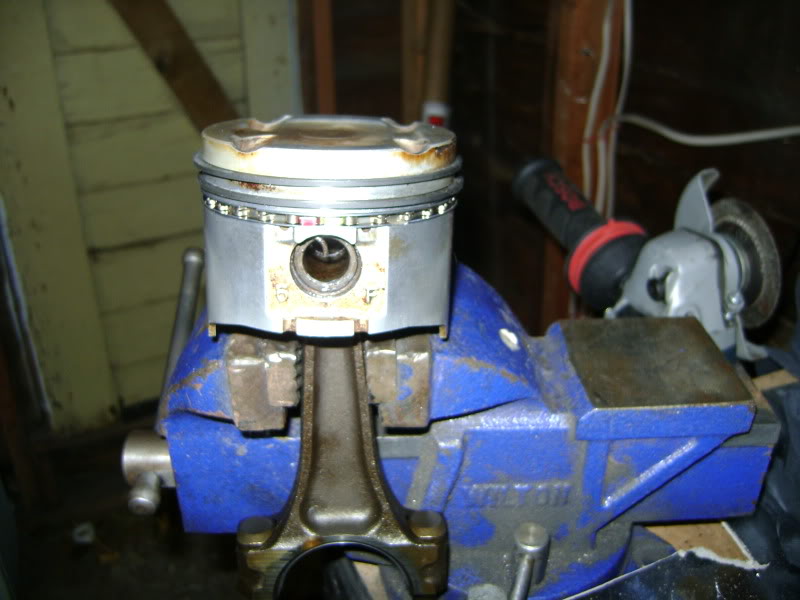
New rings on cleaned up miata piston.
Almost there...
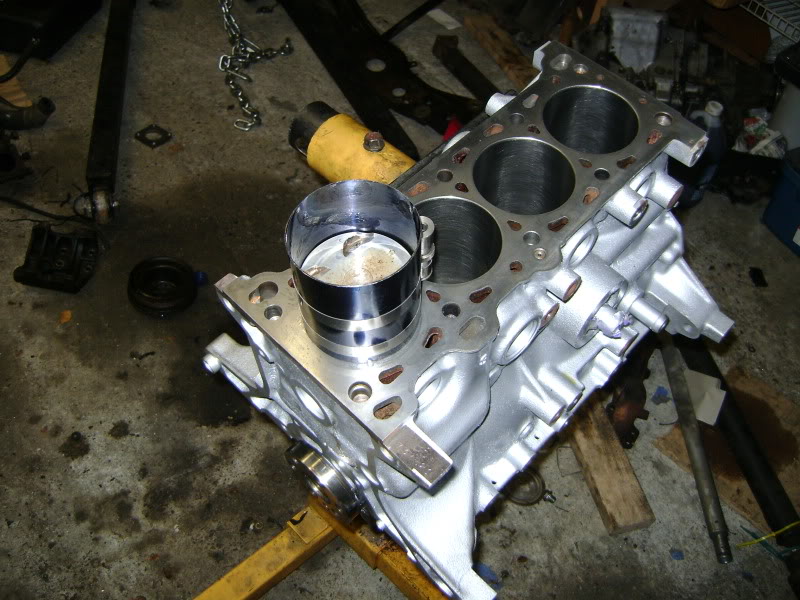
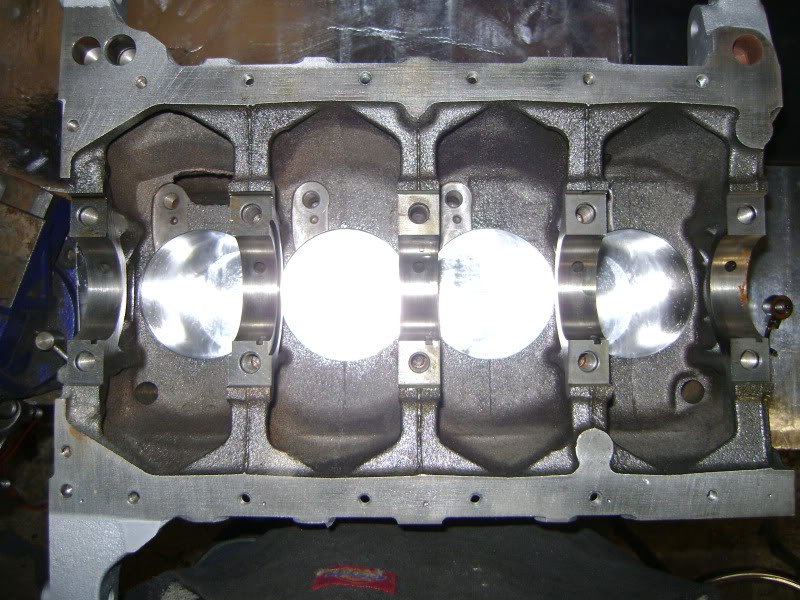
In the hole!
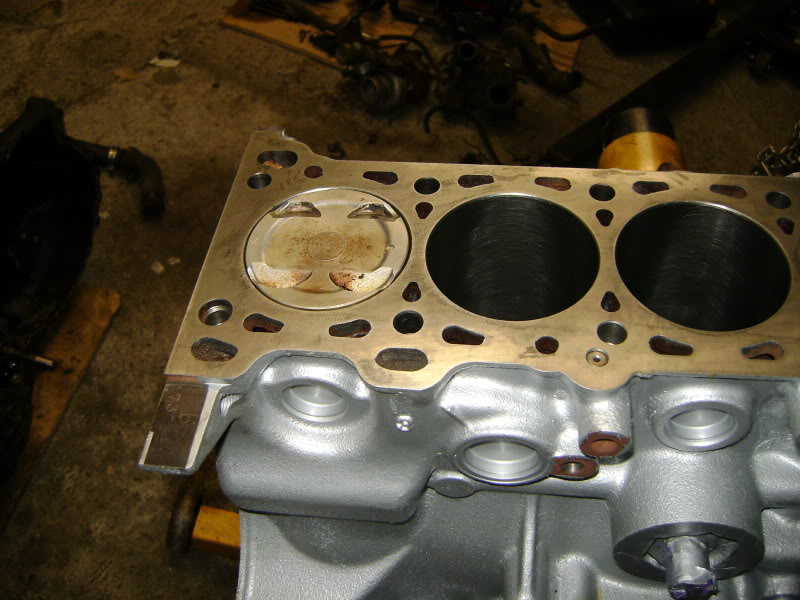
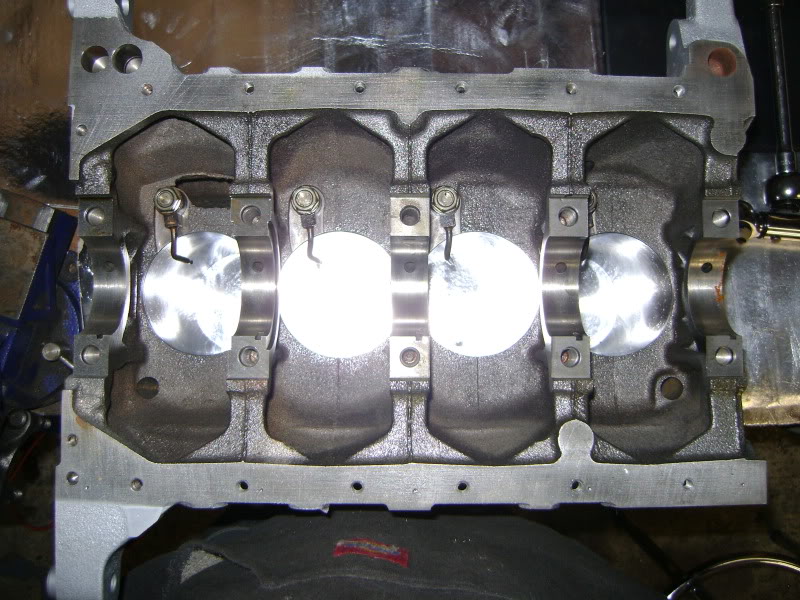
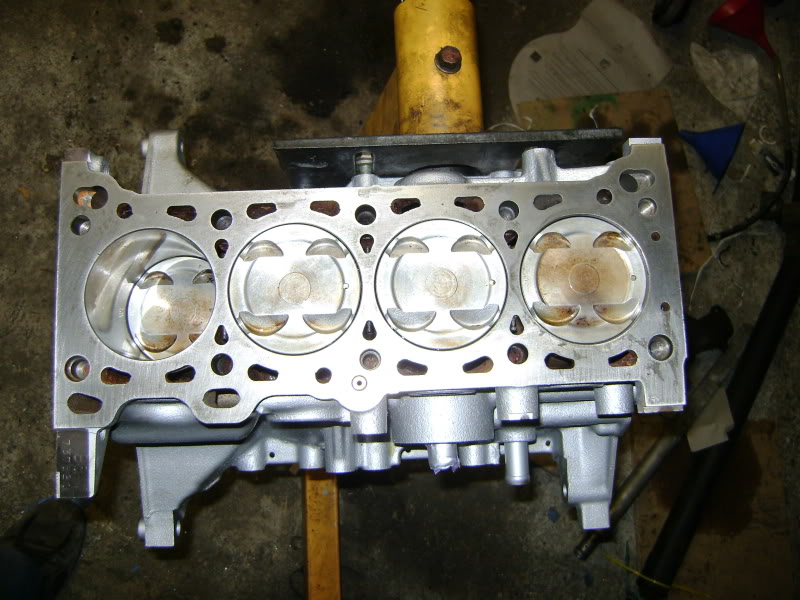
And the rest are in too!
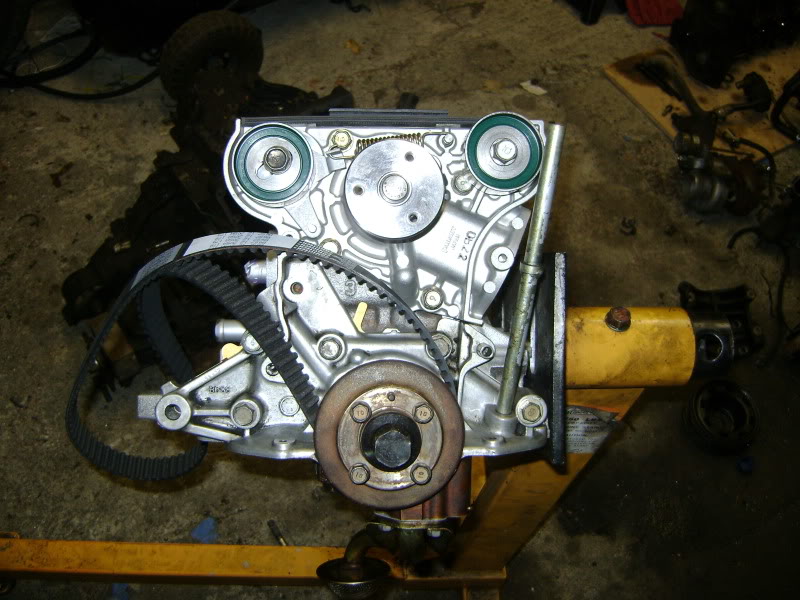
Also got some of the stuff hung off the front of the block as well.
I still need to order all of the upper-end gaskets. I'll probably have to wait a week or so for the girlfriend and I to get paid. I just dropped 800 bucks at the dentist today (frivolous, I know).
I'm excited to get this done and back in the car! Hopefully I can pull it off before school starts on the 4th and I can finally put the miata back in the garage for the winter so it can hibernate and get upgrayedd's (with two 'd's for a double dose of pimping)!
The work area prepped.
Inside of clean, bare block.
Oil jets in.
Crank laid in on new bearings.
Crank torqued down.
New rings on cleaned up miata piston.
Almost there...
In the hole!
And the rest are in too!
Also got some of the stuff hung off the front of the block as well.
I still need to order all of the upper-end gaskets. I'll probably have to wait a week or so for the girlfriend and I to get paid. I just dropped 800 bucks at the dentist today (frivolous, I know).
I'm excited to get this done and back in the car! Hopefully I can pull it off before school starts on the 4th and I can finally put the miata back in the garage for the winter so it can hibernate and get upgrayedd's (with two 'd's for a double dose of pimping)!
Reply
0
0

Thread
Thread Starter
Forum
Replies
Last Post


