
Yezzir Montego 94-M Turbo Build


Thread Starter
Junior Member
Joined: Mar 2013
Posts: 111
Total Cats: 42
From: Redmond, WA
Hi all, here is my miata build thread, mainly focusing on the turbo build, but I will also include parts of the journey prior to turbo.
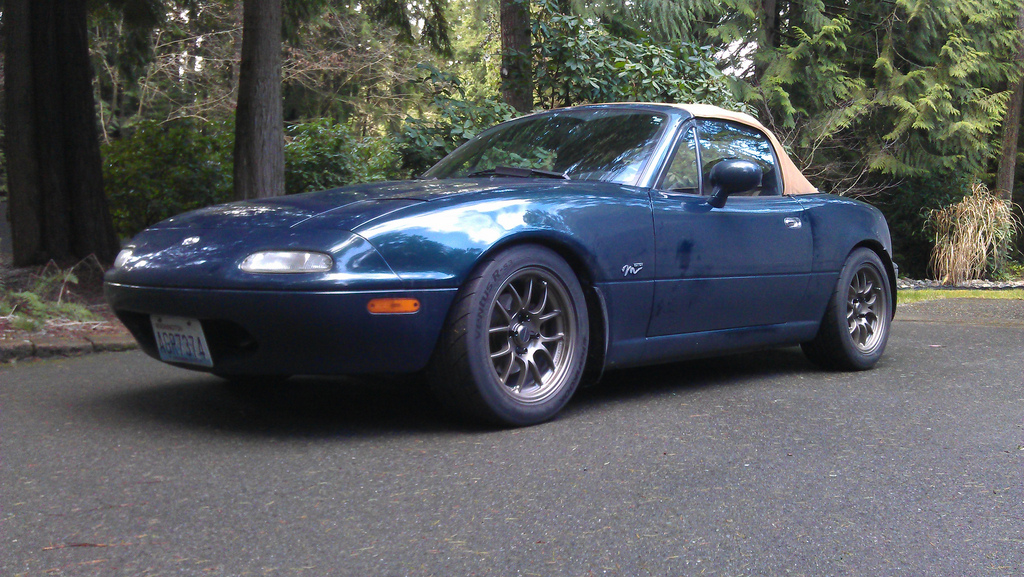
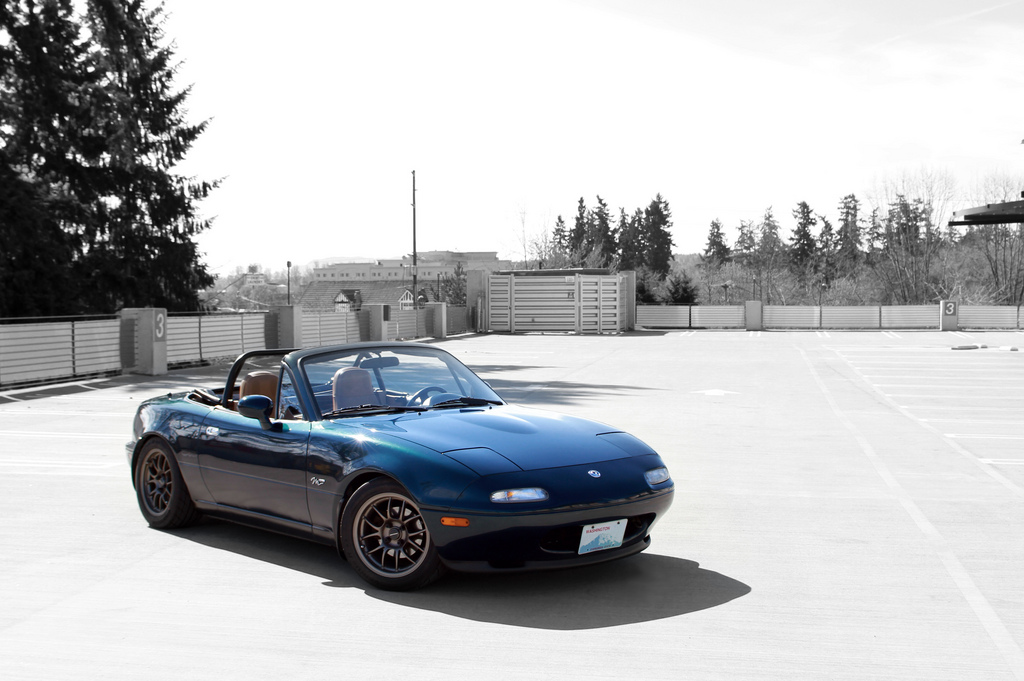
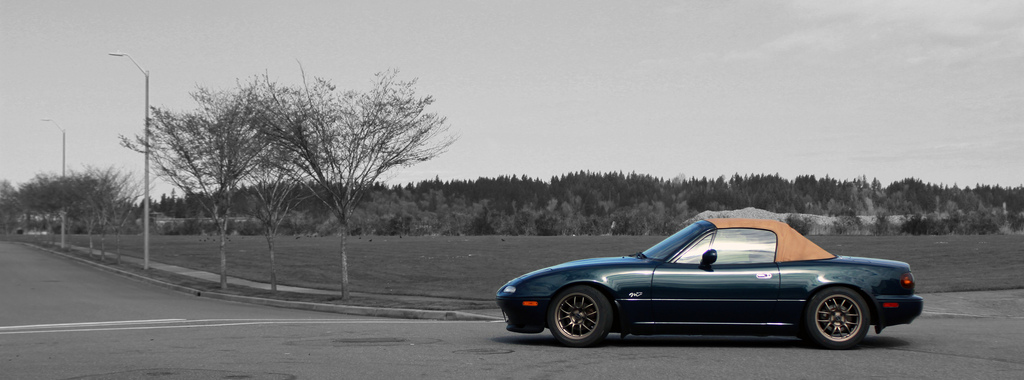
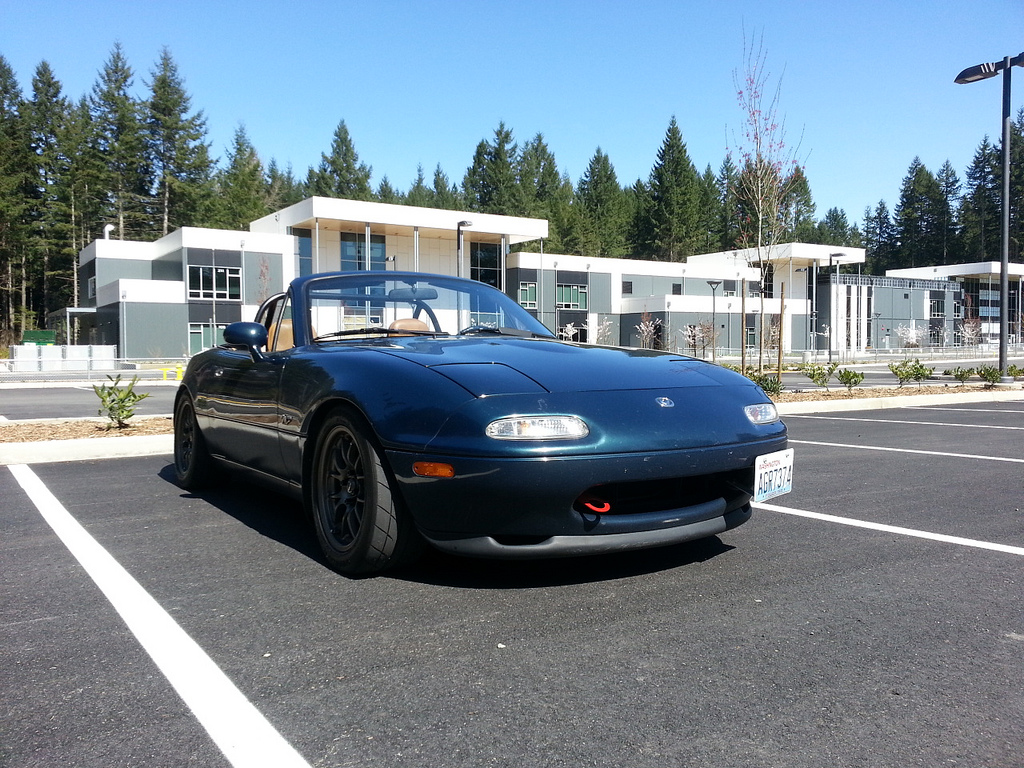
I bought my 94 m-edition about 2 years ago with close to 124k miles. All stock. Let the pics commence (note: pics start off pretty crappy but get better as I upgrade cameras/phones, so bare with me)! Also, since I'm doing it all at once, there are a lot of details that I'm skipping. Enjoy.
After I first bought it and washed it

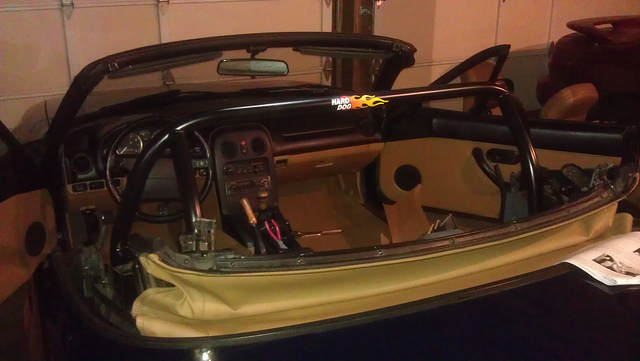
First thing I did was get a Flyin' Miata Front sway bar and a hard dog roll bar. man, i hated this phone/camera
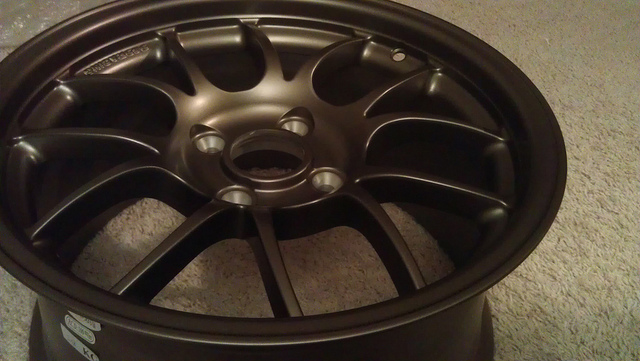
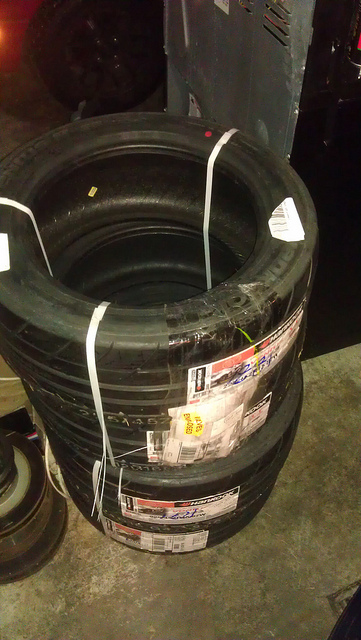
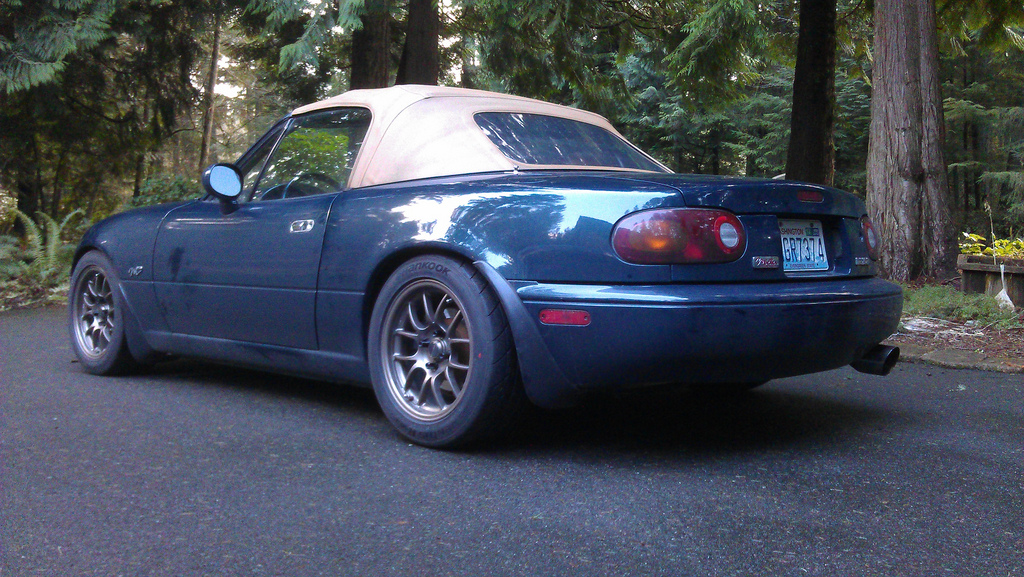
Next were wheels and tires: Bronze 15x8 6UL's and Hankook R-S3's 225/45/15
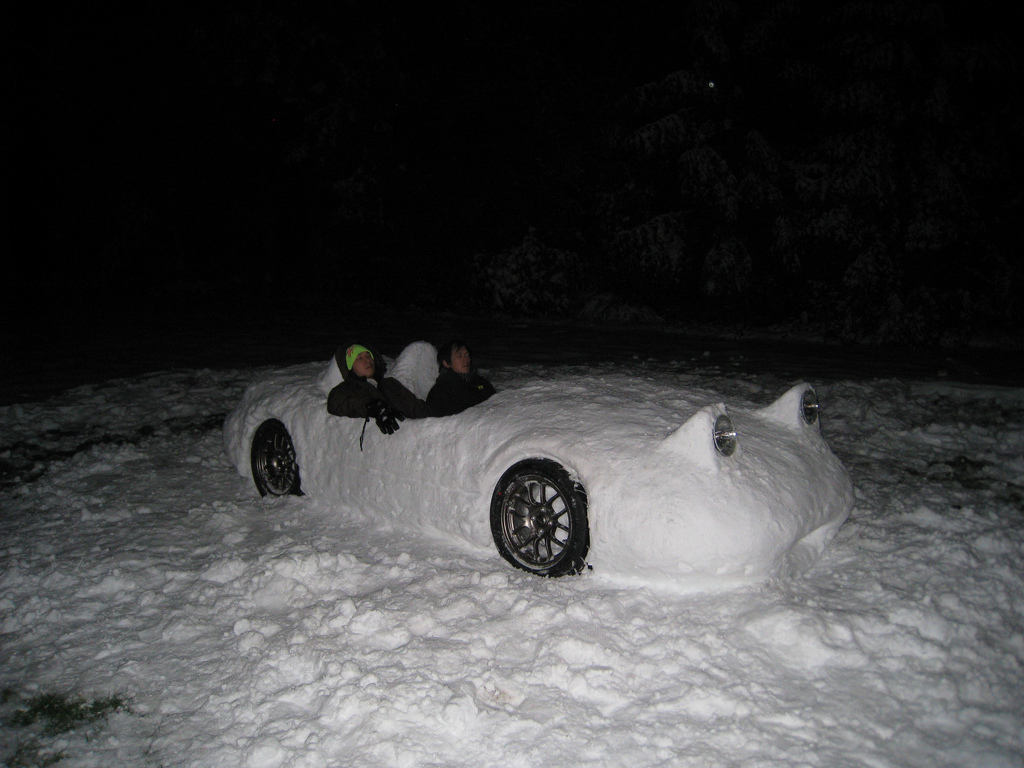
One day it snowed quite a bit, and we were stuck at home without power for the entire day. So what did my brother and I do? build a snow miata!
Switching out the stock exhaust for a Jackson Racing exhaust, which my brother handed down to me
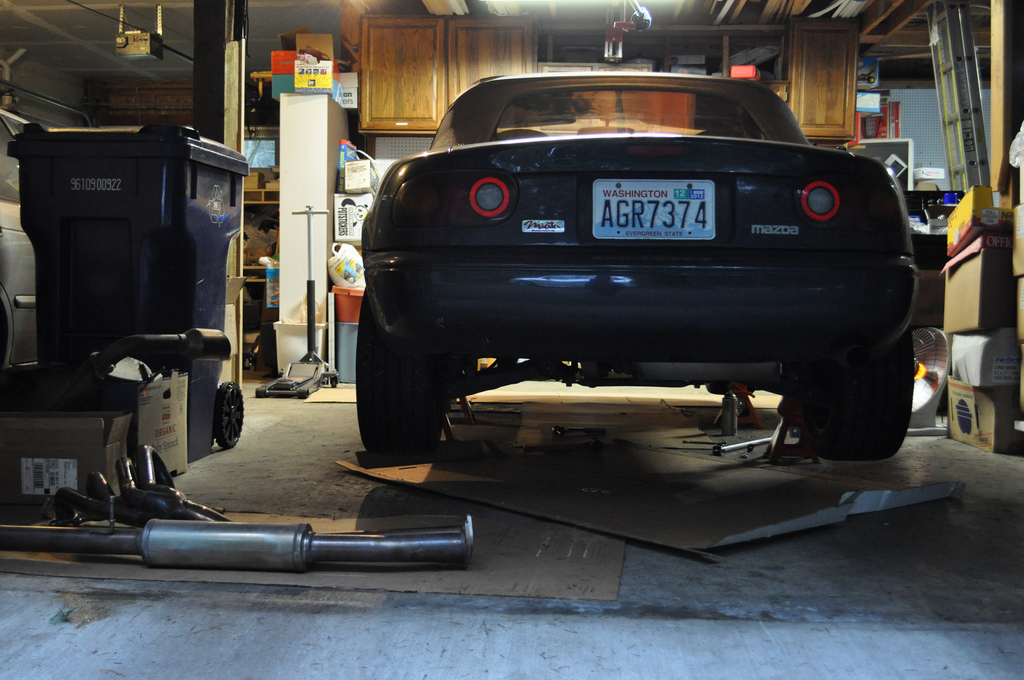
Also got front/rear OEM mud guards
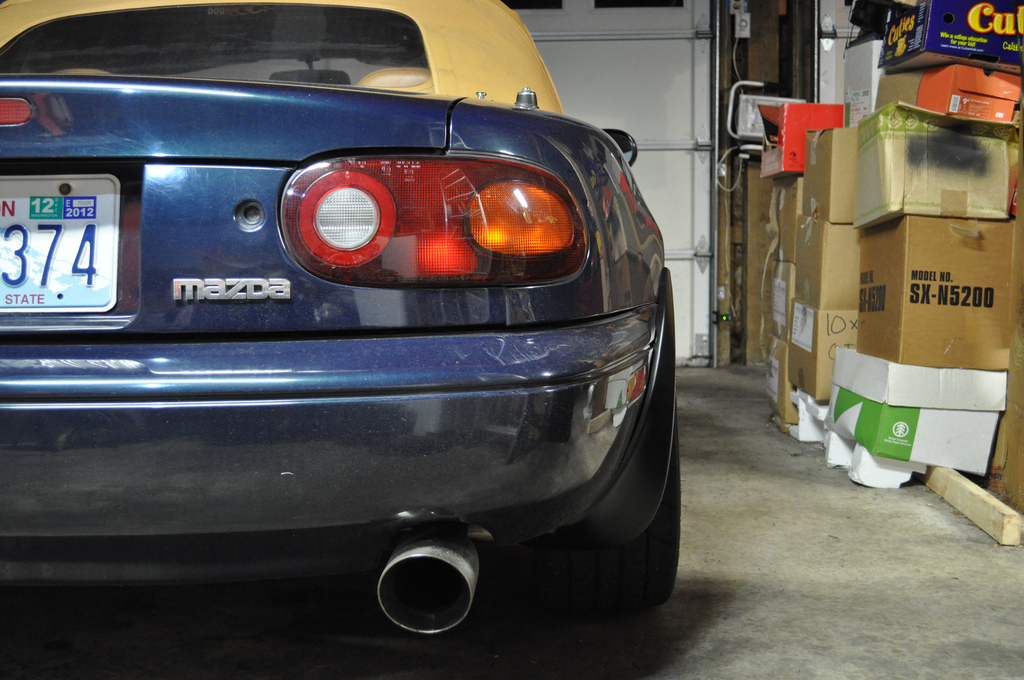
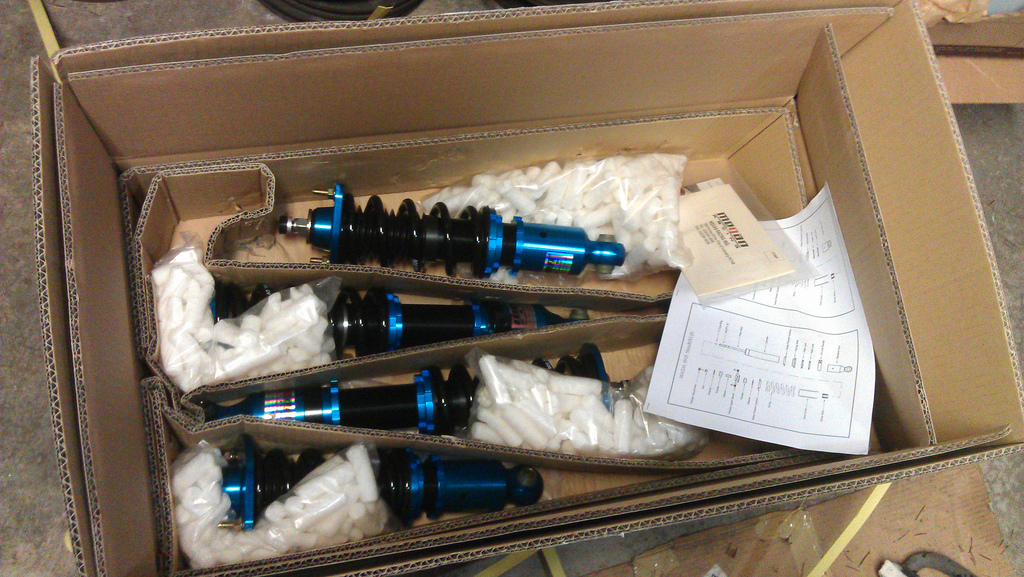
Next thing to install were Megan EZ Street coilovers
Lowered, but really dirty...didn't have time to wash it!
EDIT: breaking up the pics into more posts below
I bought my 94 m-edition about 2 years ago with close to 124k miles. All stock. Let the pics commence (note: pics start off pretty crappy but get better as I upgrade cameras/phones, so bare with me)! Also, since I'm doing it all at once, there are a lot of details that I'm skipping. Enjoy.
After I first bought it and washed it
First thing I did was get a Flyin' Miata Front sway bar and a hard dog roll bar. man, i hated this phone/camera
Next were wheels and tires: Bronze 15x8 6UL's and Hankook R-S3's 225/45/15
One day it snowed quite a bit, and we were stuck at home without power for the entire day. So what did my brother and I do? build a snow miata!
Switching out the stock exhaust for a Jackson Racing exhaust, which my brother handed down to me
Also got front/rear OEM mud guards
Next thing to install were Megan EZ Street coilovers
Lowered, but really dirty...didn't have time to wash it!
EDIT: breaking up the pics into more posts below
Last edited by Yezzir; Jan 15, 2014 at 07:36 PM.
Reply
 5
5

5


Joined: Sep 2010
Posts: 8,157
Total Cats: 1,095
From: Lake Forest, CA
Awesome! Great looking car. Props to you sir.
Reply
0
0


Thread Starter
Junior Member
Joined: Mar 2013
Posts: 111
Total Cats: 42
From: Redmond, WA
Thanks for the props!
Thanks! Yeah, at least I can be confident that the bracket won't be crapping out on me haha
Thanks! Yeah, at least I can be confident that the bracket won't be crapping out on me haha
Reply
1
1
Joined: Sep 2010
Posts: 8,157
Total Cats: 1,095
From: Lake Forest, CA
If you'd separate some of those posts I'd prop them lol the car just looks really great man. And I love the snow Miata. Awesome.
Reply
1
1

Senior Member
Joined: May 2011
Posts: 1,112
Total Cats: 35
From: Pennsylvania
Damn.... talk about doing a ******* great job right from the get go.... this is one of my new favorite cars on here.... haha
GREAT job man!!!
But in all seriousness.... you should have put that motor in the snow miata.... lmao
GREAT job man!!!
But in all seriousness.... you should have put that motor in the snow miata.... lmao
Reply
0
0
Thread Starter
Junior Member
Joined: Mar 2013
Posts: 111
Total Cats: 42
From: Redmond, WA
Installing a lip
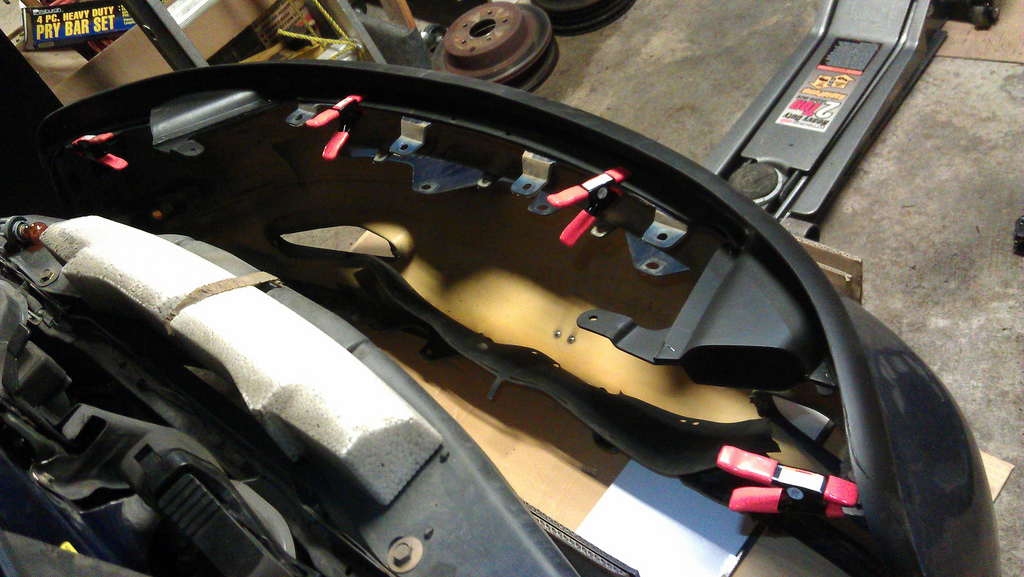
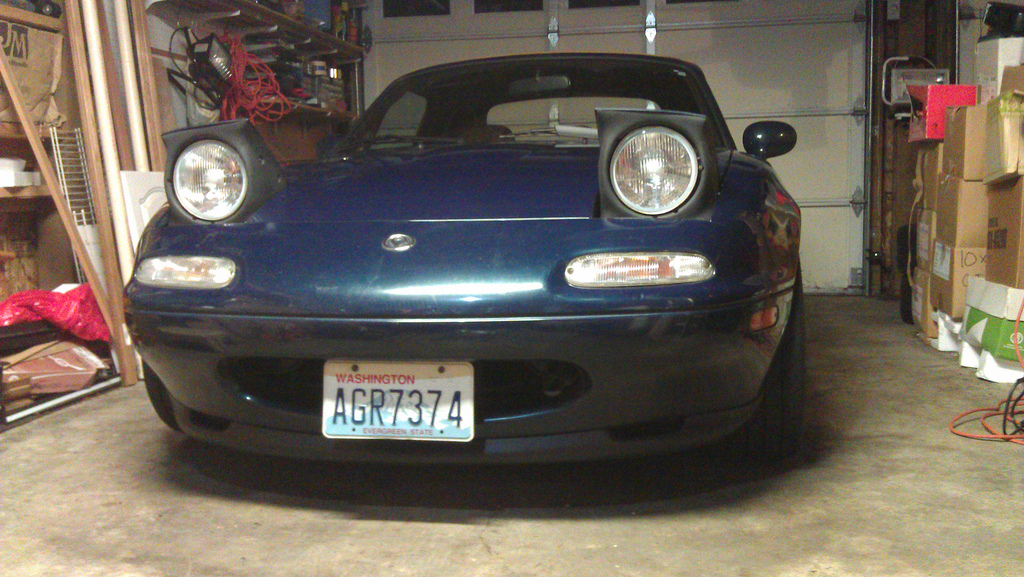
Cleaned up the car and bam!

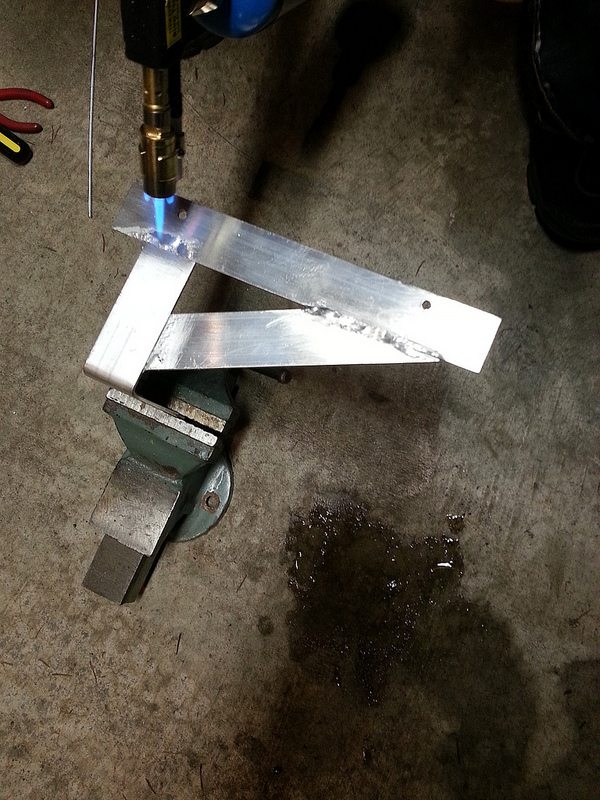
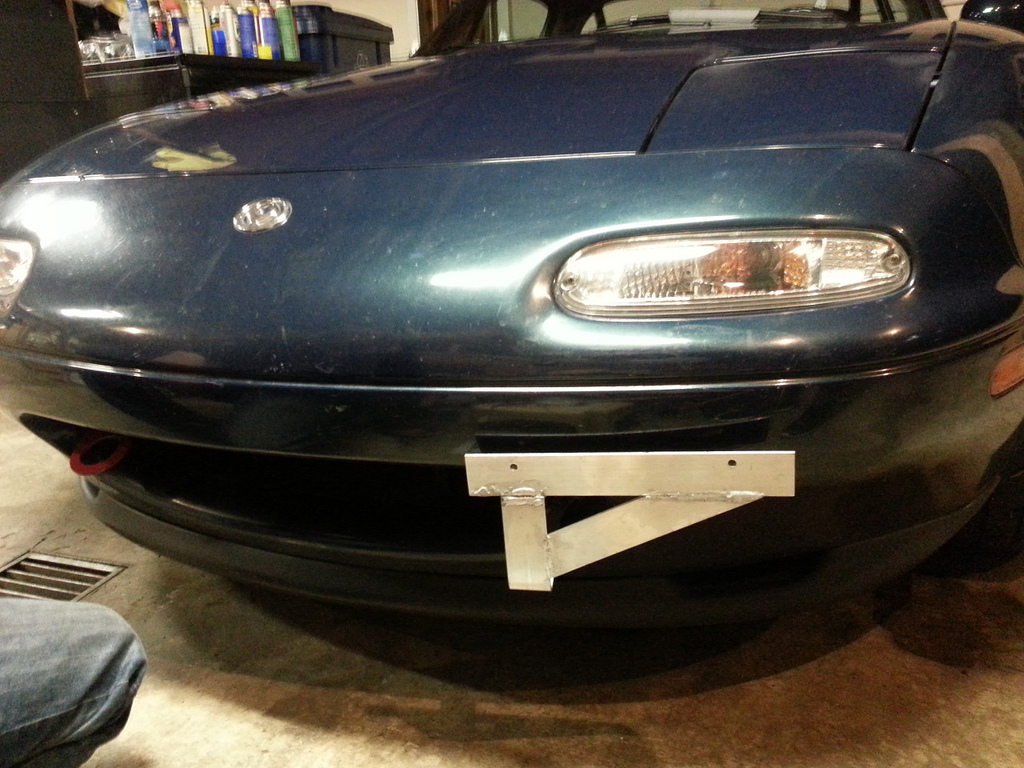
alumiwelding a custom license plate bracket
Some more progress
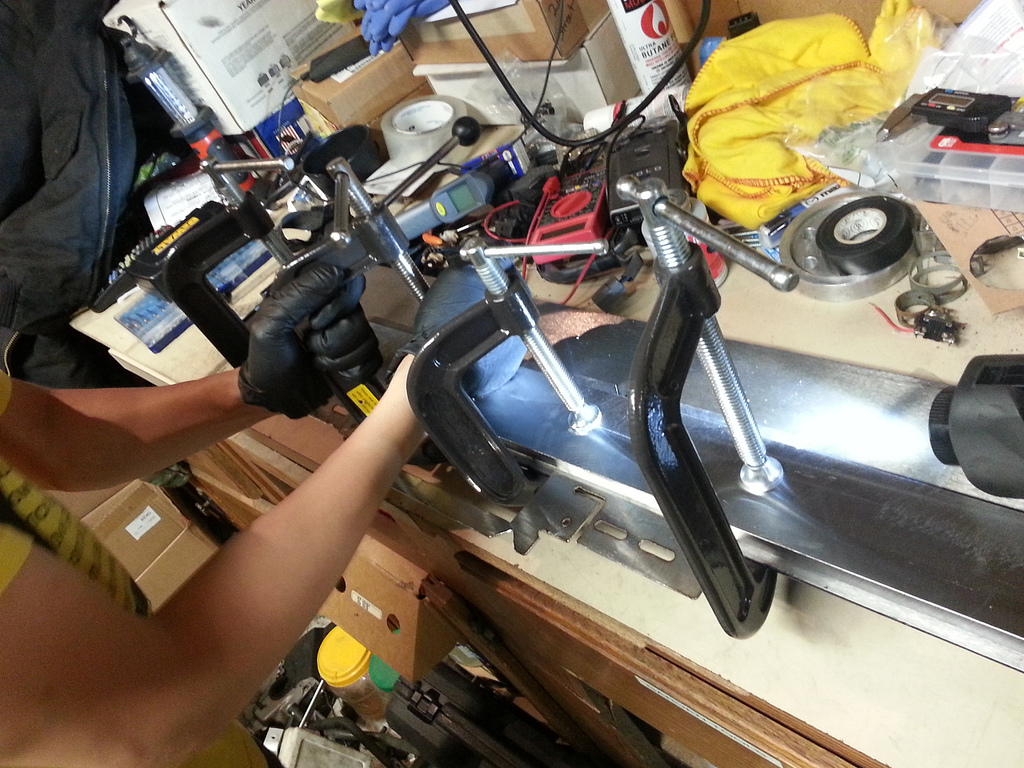
Oh, what's this? About to bend something on the bending break
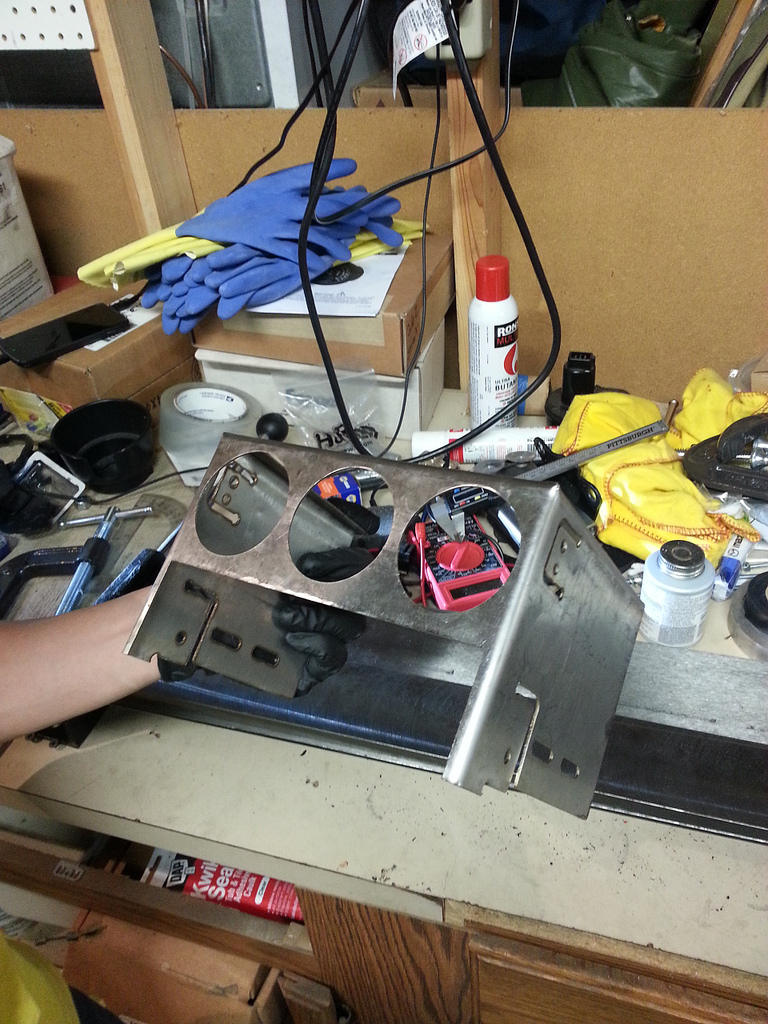
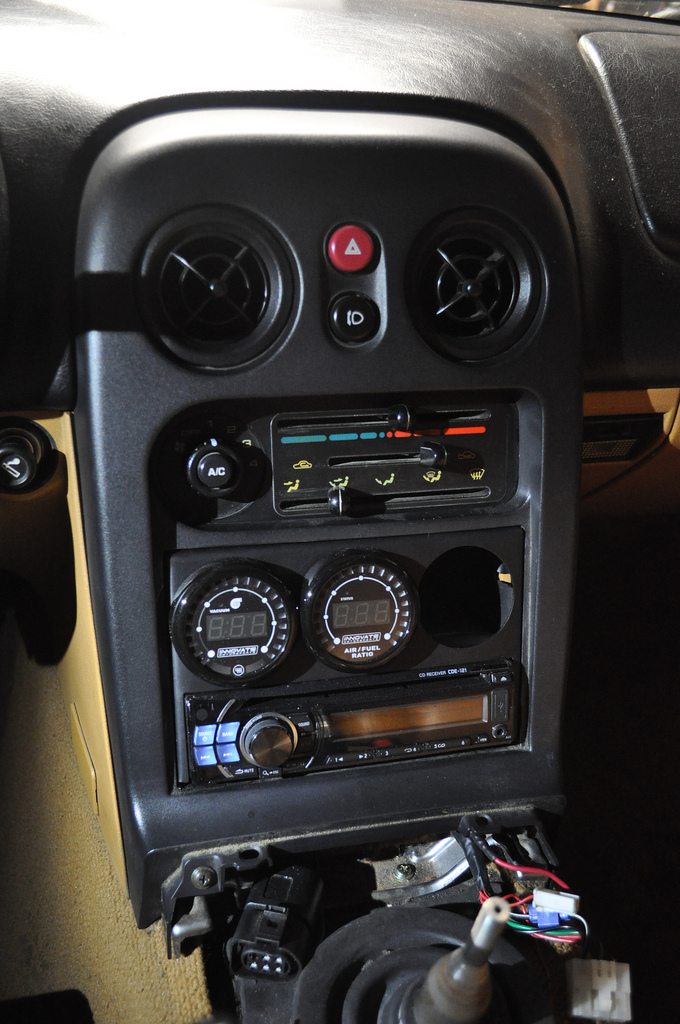
A laser-cut stainless steel gauge/radio mount! We don't like paying for things that we can make ourselves
Getting ready for the turbo install, so my brother and I installed an MS3X and wideband.
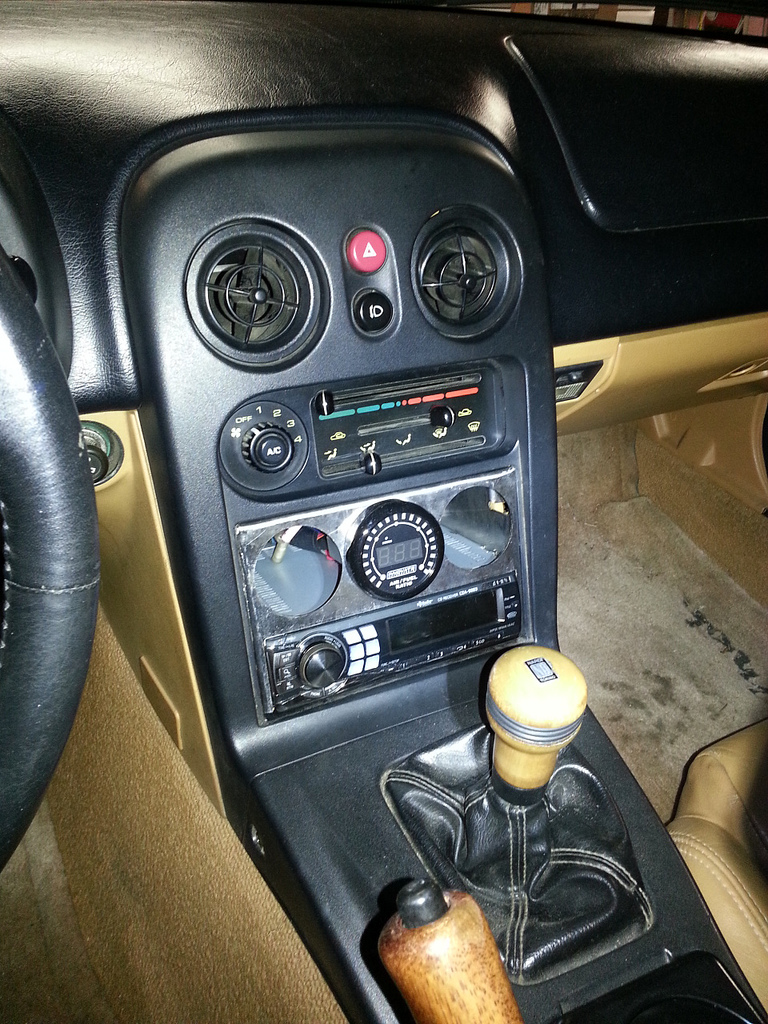
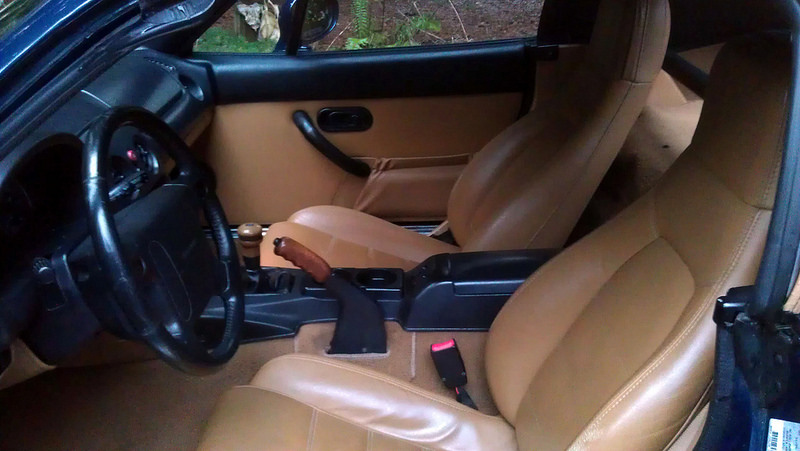
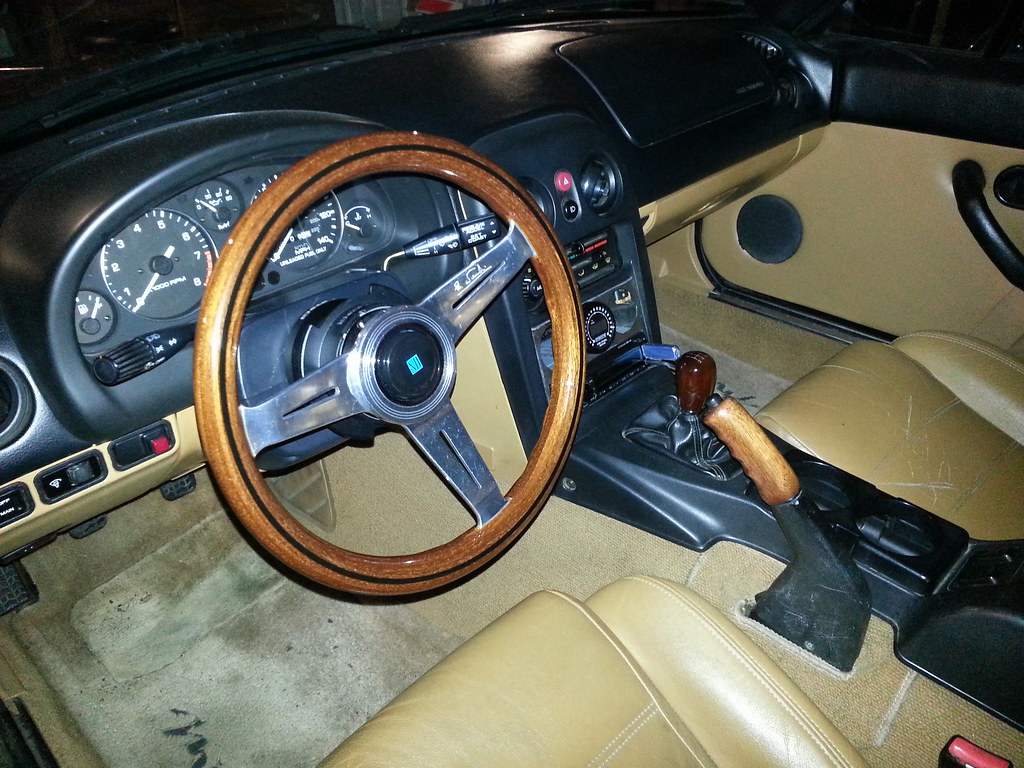
Got some goodies for the interior: Nardi Classic 230mm with NRG quick release and short hub, and a Nardi teardrop shift ****. The wheel is a bit small for my taste and it blocks my view of my speed. Other than that, I love both.
Cleaned up the car and bam!
alumiwelding a custom license plate bracket
Some more progress
Oh, what's this? About to bend something on the bending break
A laser-cut stainless steel gauge/radio mount! We don't like paying for things that we can make ourselves
Getting ready for the turbo install, so my brother and I installed an MS3X and wideband.
Got some goodies for the interior: Nardi Classic 230mm with NRG quick release and short hub, and a Nardi teardrop shift ****. The wheel is a bit small for my taste and it blocks my view of my speed. Other than that, I love both.
Last edited by Yezzir; Jan 15, 2014 at 07:56 PM.
Reply
1
1
Thread Starter
Junior Member
Joined: Mar 2013
Posts: 111
Total Cats: 42
From: Redmond, WA
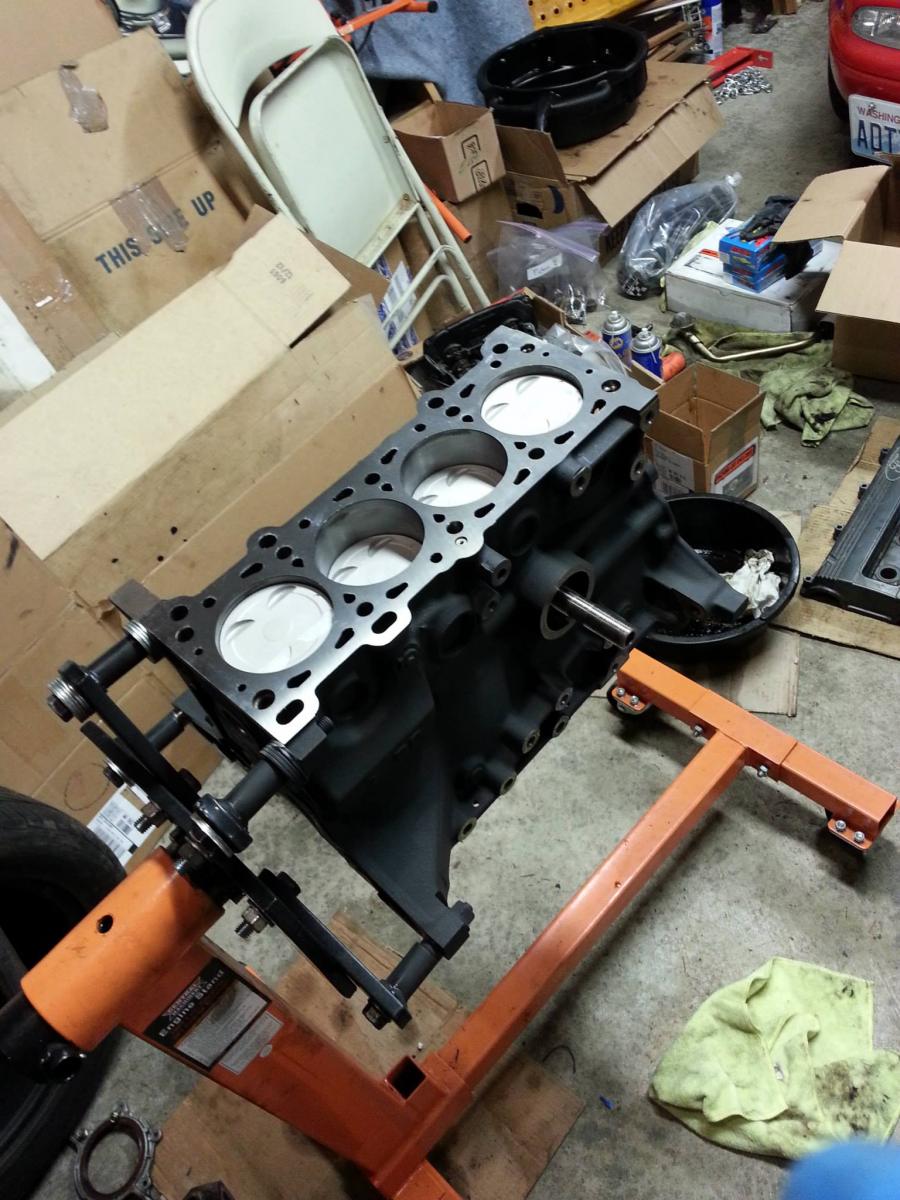
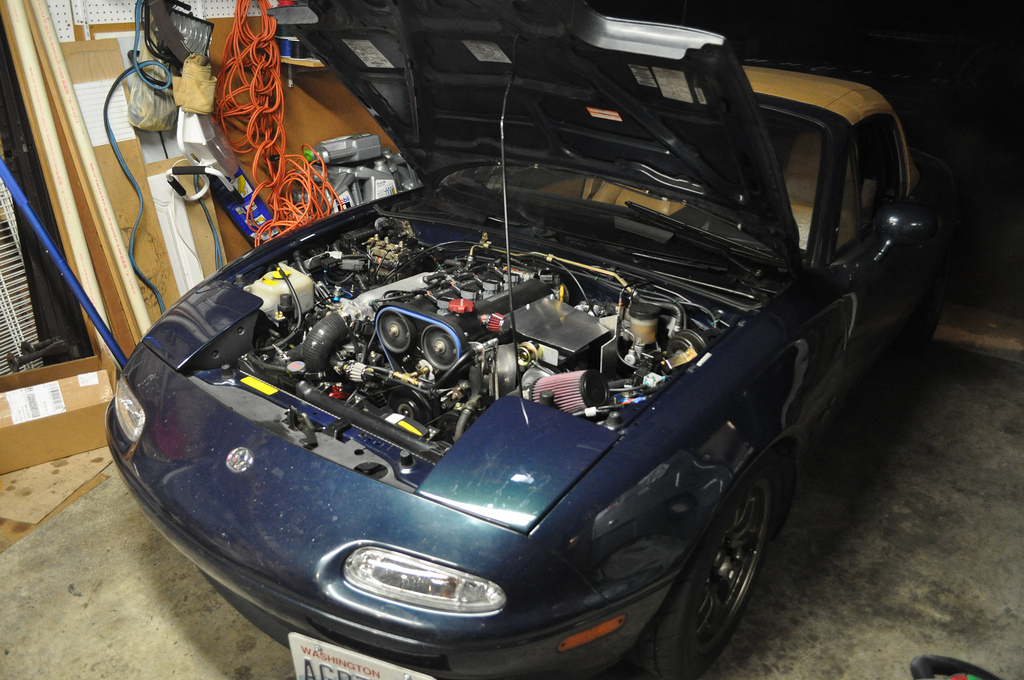
Now for the actual turbo project... First thing we did was buy an engine to rebuild. We got an engine from an Escort GT, which we were going to use the block from, and then we took the head of another miata engine. Got it all cleaned up and machined at the shop and started to build the engine with forged rods.

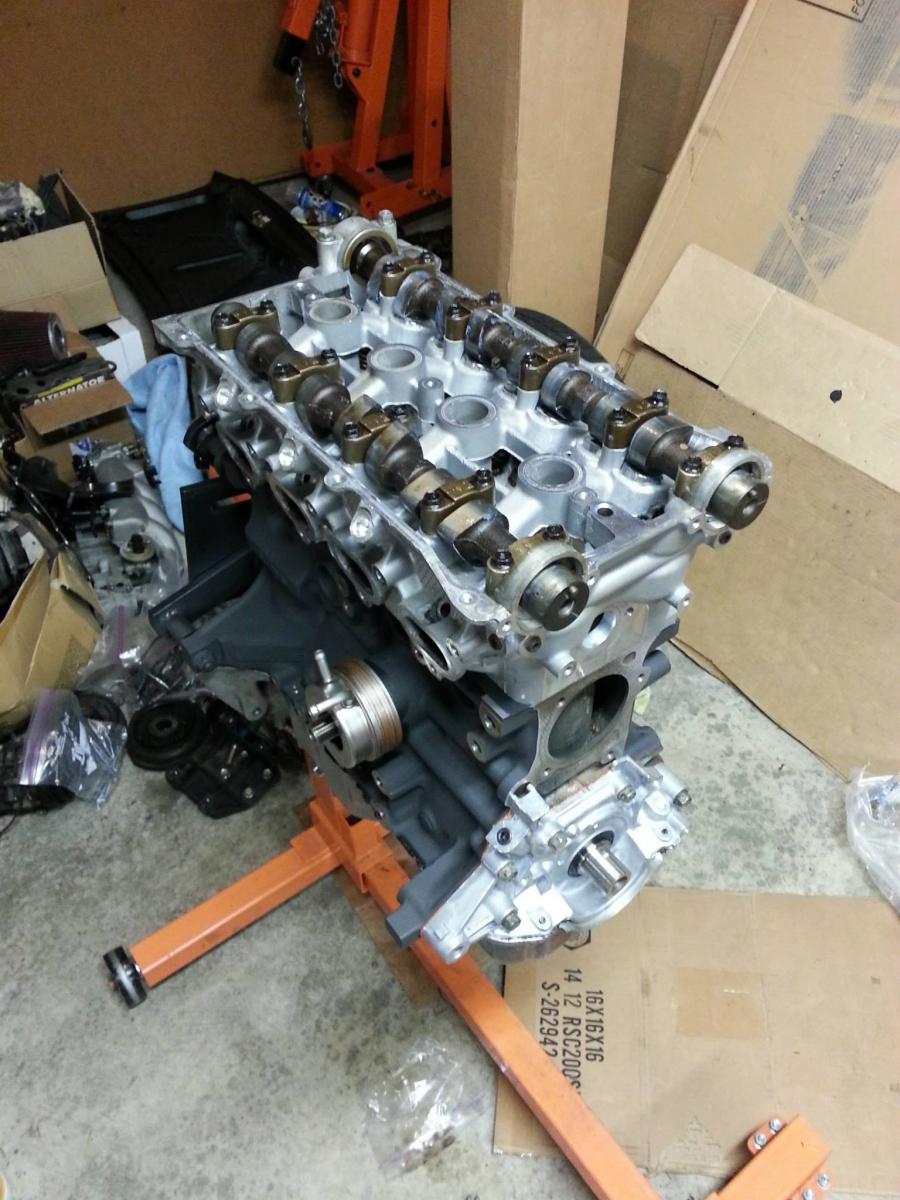
After making sure all the pistons/rods were balanced, we started piecing the thing together
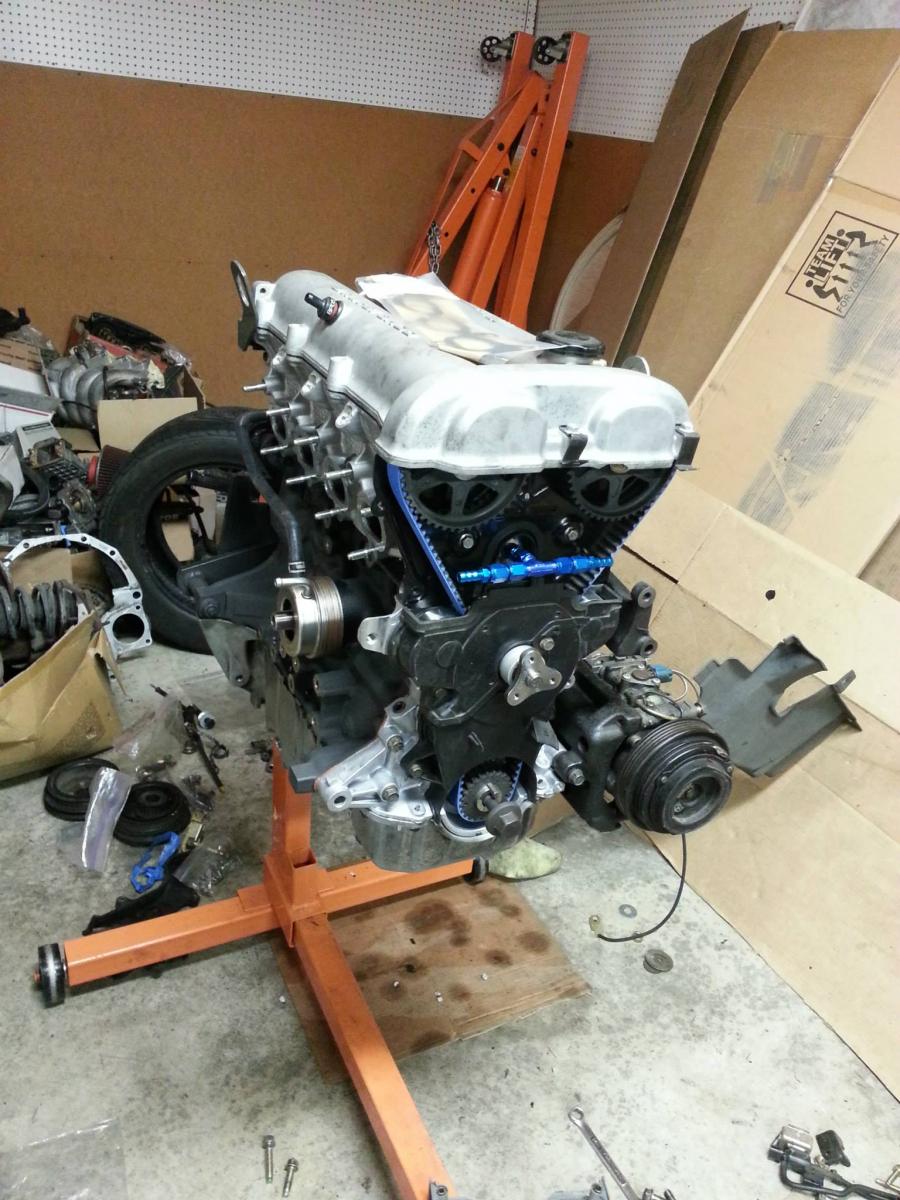
Curly pointed out that the blue T fitting would be potentially weak, so you'll see later on that we beef it up.
After making sure all the pistons/rods were balanced, we started piecing the thing together
Curly pointed out that the blue T fitting would be potentially weak, so you'll see later on that we beef it up.
Reply
2
2
Thread Starter
Junior Member
Joined: Mar 2013
Posts: 111
Total Cats: 42
From: Redmond, WA
TURBO INSTALL
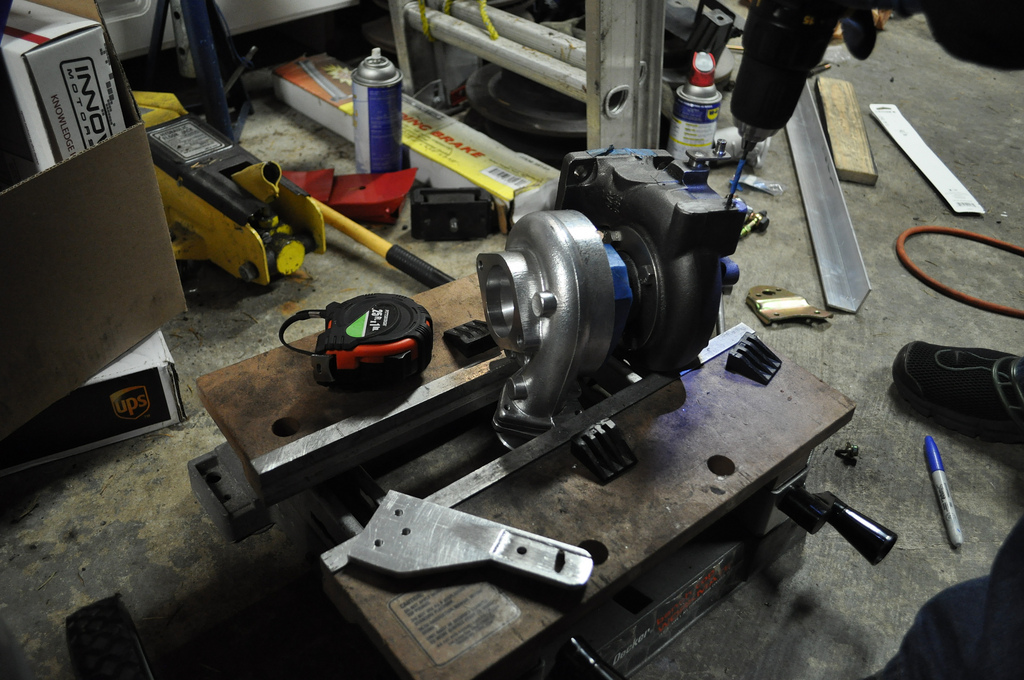
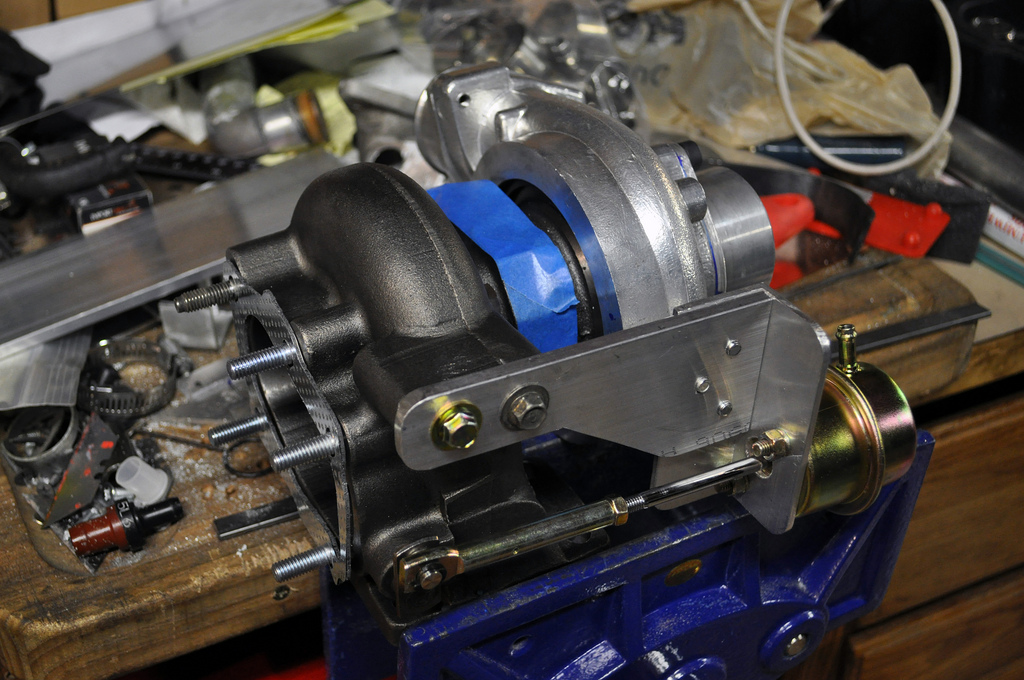
My original plan was to use a Garrett T25 off a bluebird SR20, but when we tried to clock it, it was seized. So I decided to grab my cousin's chinacharger and had to make a custom bracket for the wastegate actuator
We wanted to keep the A/C but it was too much trouble to get around it with the piping and everything. So after a few attempts, we decided to ditch it.
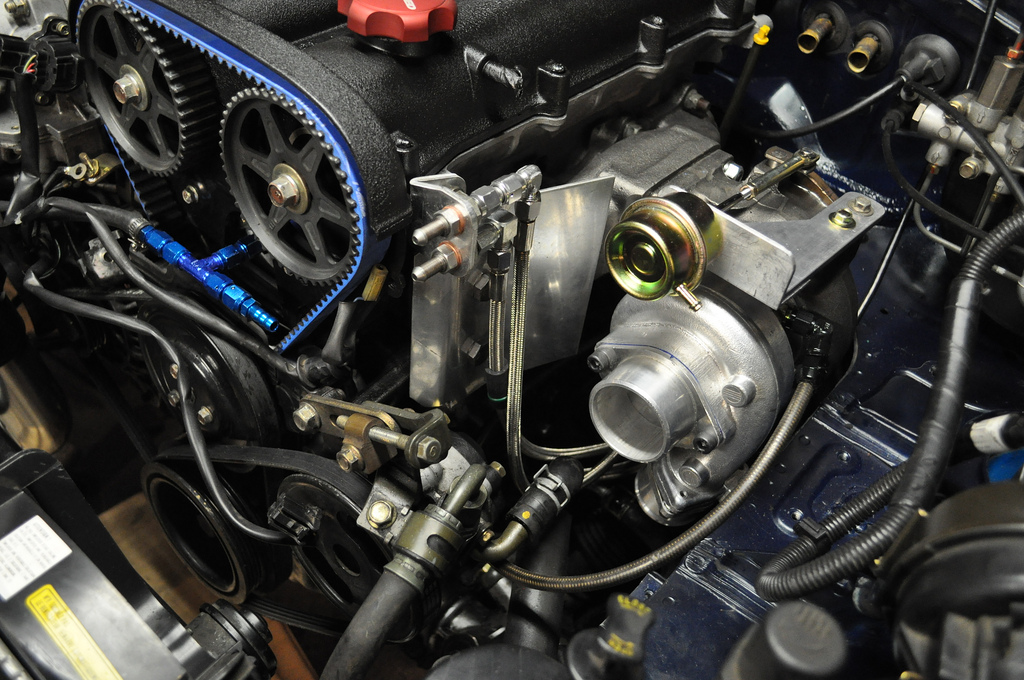
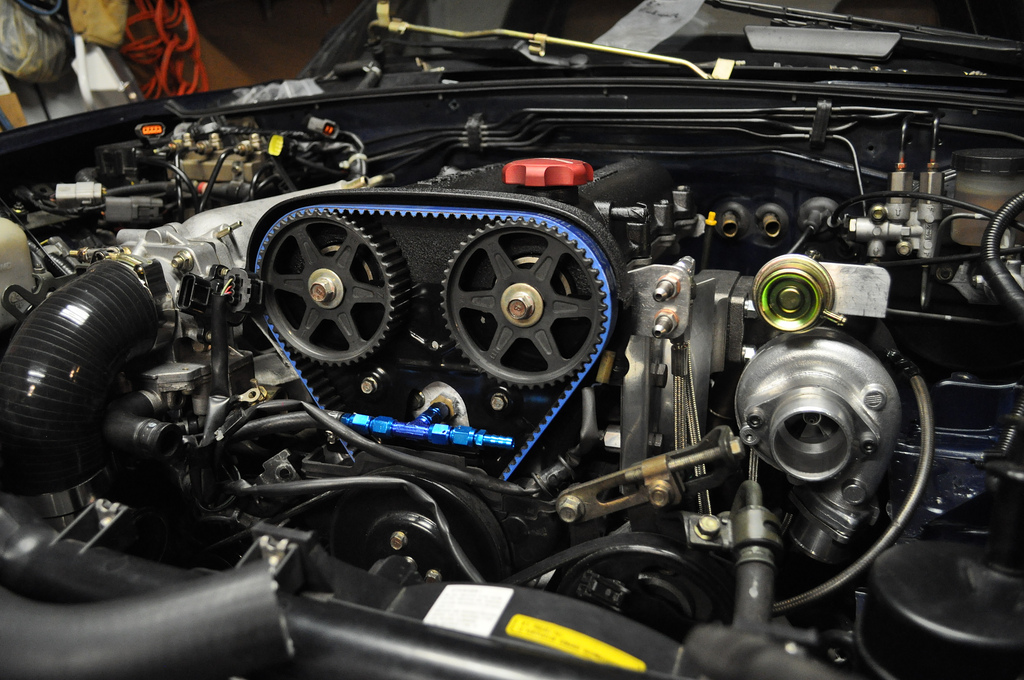
Done with coolant reroute, installed the Tial BOV, relocated the cruise control, using a custom bracket, relocated the wideband, got the COPs on, now for changing the T-fitting
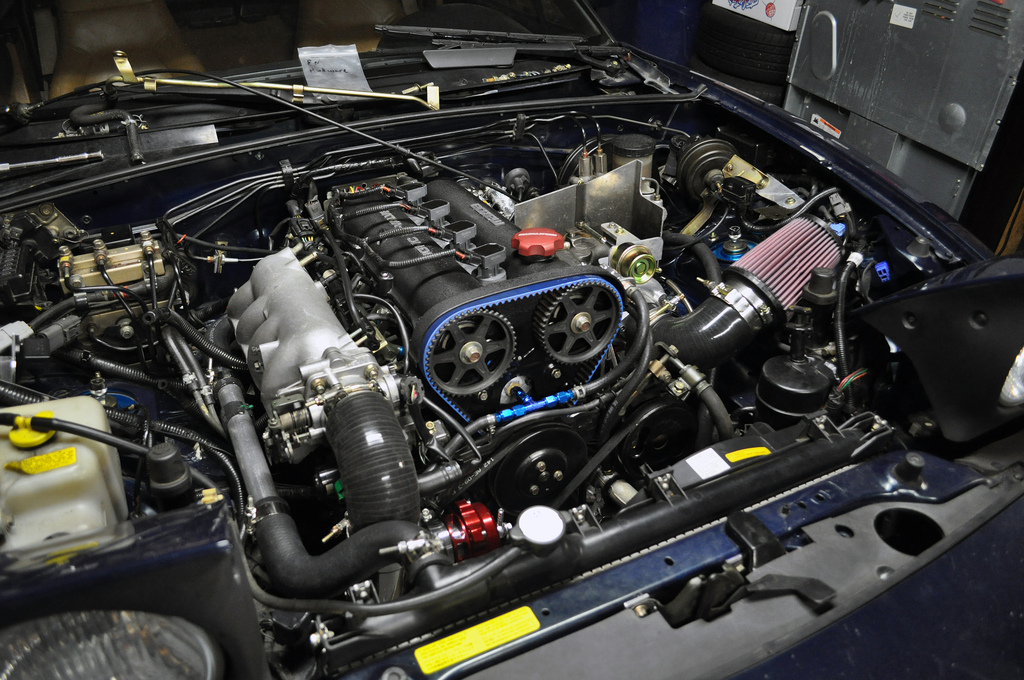
That's better...big brass fittings (no longer aluminum) and a thicker plate. I made the top heat shield from an old computer case that was laying around lol.
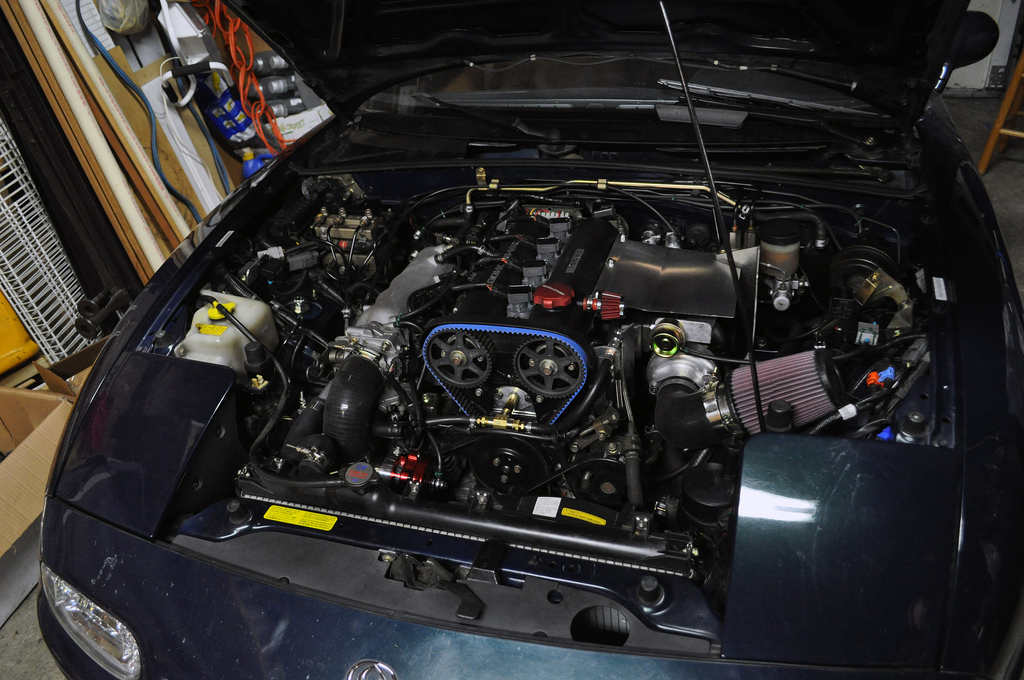
Painted the mounting plate and installed boost gauge. had to shave a bit off of the bevels so that they would fit together, side-by-side.
After adding in all the fluids, it was time to fire it up. Thankfully, it started up fine
After breaking in the engine, I've been able to reach 10 psi, so far. No leaks and everything is working as it should. Will continue to update!
My original plan was to use a Garrett T25 off a bluebird SR20, but when we tried to clock it, it was seized. So I decided to grab my cousin's chinacharger and had to make a custom bracket for the wastegate actuator
We wanted to keep the A/C but it was too much trouble to get around it with the piping and everything. So after a few attempts, we decided to ditch it.
Done with coolant reroute, installed the Tial BOV, relocated the cruise control, using a custom bracket
, relocated the wideband, got the COPs on, now for changing the T-fittingThat's better...big brass fittings (no longer aluminum) and a thicker plate. I made the top heat shield from an old computer case that was laying around lol.
Painted the mounting plate and installed boost gauge. had to shave a bit off of the bevels so that they would fit together, side-by-side.
After adding in all the fluids, it was time to fire it up. Thankfully, it started up fine
After breaking in the engine, I've been able to reach 10 psi, so far. No leaks and everything is working as it should. Will continue to update!
Last edited by Yezzir; Jan 15, 2014 at 07:53 PM.
Reply
2
2
Thread Starter
Junior Member
Joined: Mar 2013
Posts: 111
Total Cats: 42
From: Redmond, WA
Thanks man! I wouldn't have been able to do it without my mad scientist brother. It's his second time building a turbo miata so I trust his knowledge. LOL damn good suggestion. well, at least we have the stock engine for the next snow storm
Reply
3
3

Super excellent build thread, straight to the ******' point. It looks like a forged rod/oem piston build? Awesome. Vlad is a trend setter.
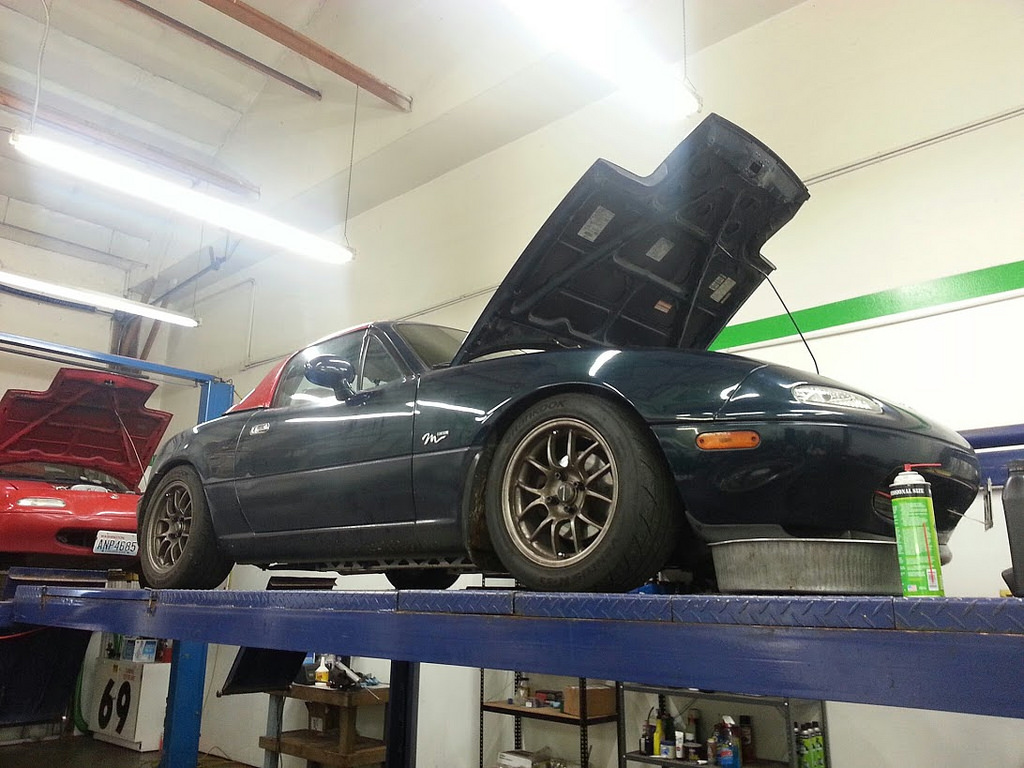
Looks like the next mod you should consider is a bigger radiator. I bet Curly has a hardon for your WG bracket, .
.
Looks like the next mod you should consider is a bigger radiator. I bet Curly has a hardon for your WG bracket,
.
Reply
1
1

living in the NW, a reroute gives plenty of cooling with a stock radiator. I experience overcooling when it's 50 degrees or below. Now if you lived somewhere where it actually got hot, aka New Mexico, that's a different story
Reply
1
1

If your car is overcooling at 10degC (50F), with a re-route, you have a thermostat failure - stuck open. Or a non OEM stat which tend to have much smaller openings.
There's no way an otherwise stock system will overcool.
Reply
0
0
Heh, ok maybe I'm exaggerating with the overcooling at 50 degrees, and yes I have a 180 thermostat, which isn't quite necessary. Yezzir has a 195 thermostat and a correctly routed return heater hose. No cooling issues either
Last edited by bmxfuel007; Jan 16, 2014 at 04:52 PM.
Reply
0
0
Thread Starter
Junior Member
Joined: Mar 2013
Posts: 111
Total Cats: 42
From: Redmond, WA
Reply
0
0
Thread Starter
Junior Member
Joined: Mar 2013
Posts: 111
Total Cats: 42
From: Redmond, WA
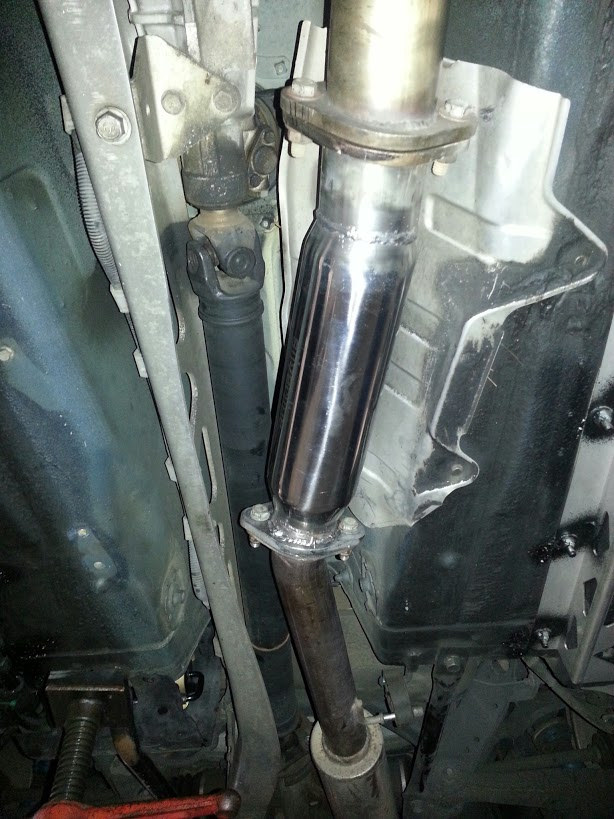
Took the car to our local fabrication guy to cut and weld my test pipe flanges to fit better. It was slightly too long and was causing the exhaust to knock against the diff.
Where the exhaust was meeting the diff BEFORE:
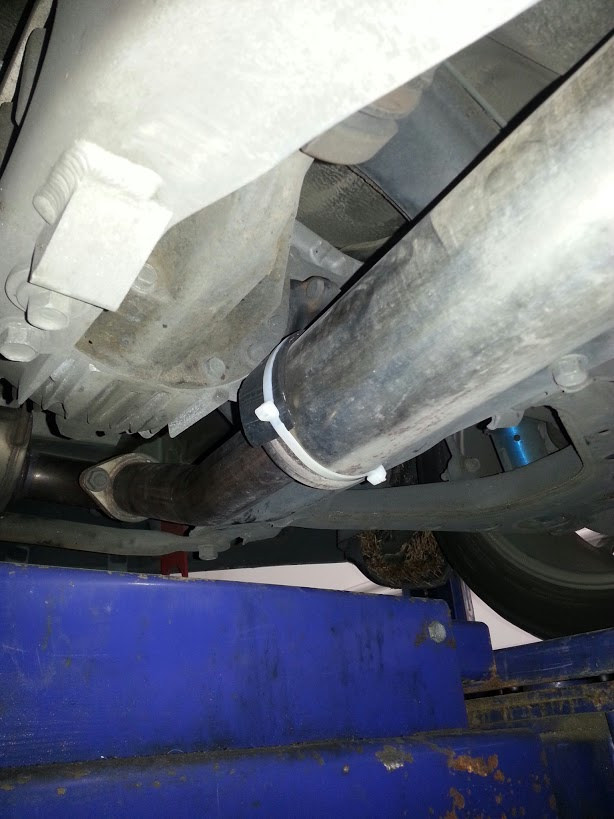
AFTER:
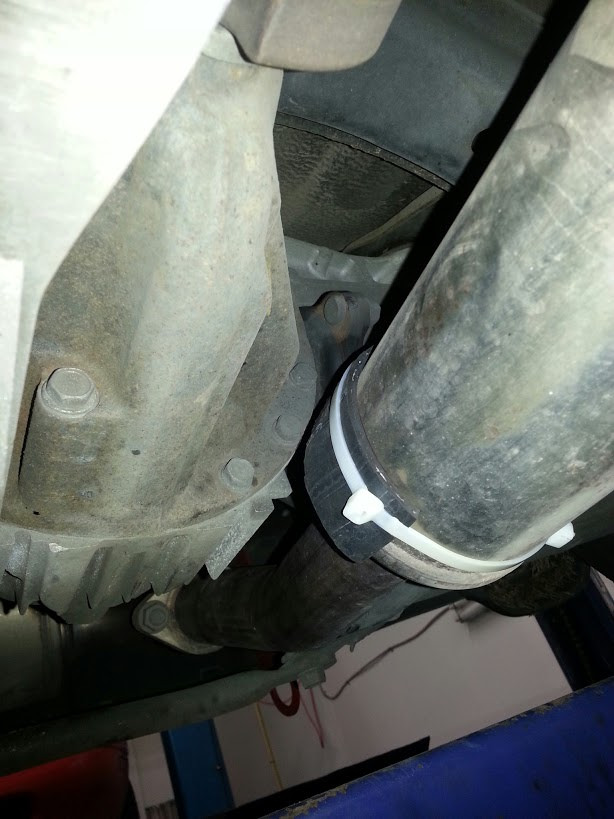
Welded test pipe flanges fitted.
Where the exhaust was meeting the diff BEFORE:
AFTER:
Welded test pipe flanges fitted.
Reply
1
1


Reply
0
0
Thread Starter
Junior Member
Joined: Mar 2013
Posts: 111
Total Cats: 42
From: Redmond, WA
Are you talking about the ziptie and the rubber? that was just to serve as padding, to keep it from denting when the exhaust was knocking against the diff. It was taken off after the flanges on the test pipe were modified. The before and after pics just show the gap distance. However, it still knocks a couple times under load
Reply
0
0


