
Intercooler pipes are through the hood...literally.


Thread Starter
Junior Member
Joined: Sep 2011
Posts: 135
Total Cats: -20
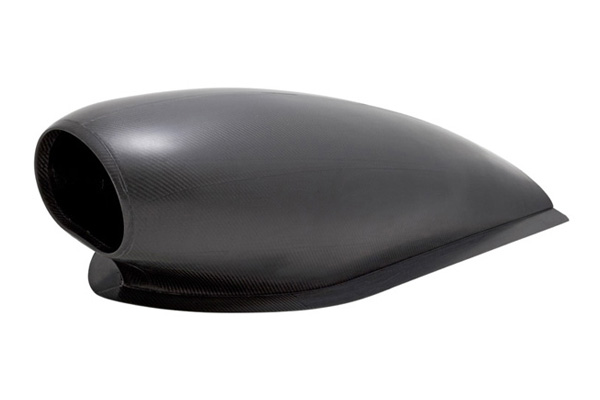
duct tape this over your cuts:
Summit Racing Hood Scoop WRX 10" Long 25" Wide 2" Tall ABS Plastic Black Each | eBay
it will look better.
Summit Racing Hood Scoop WRX 10" Long 25" Wide 2" Tall ABS Plastic Black Each | eBay
it will look better.

Reply
 -1
-1

-1

Reply
0
0
Thread Starter
Junior Member
Joined: Sep 2011
Posts: 135
Total Cats: -20
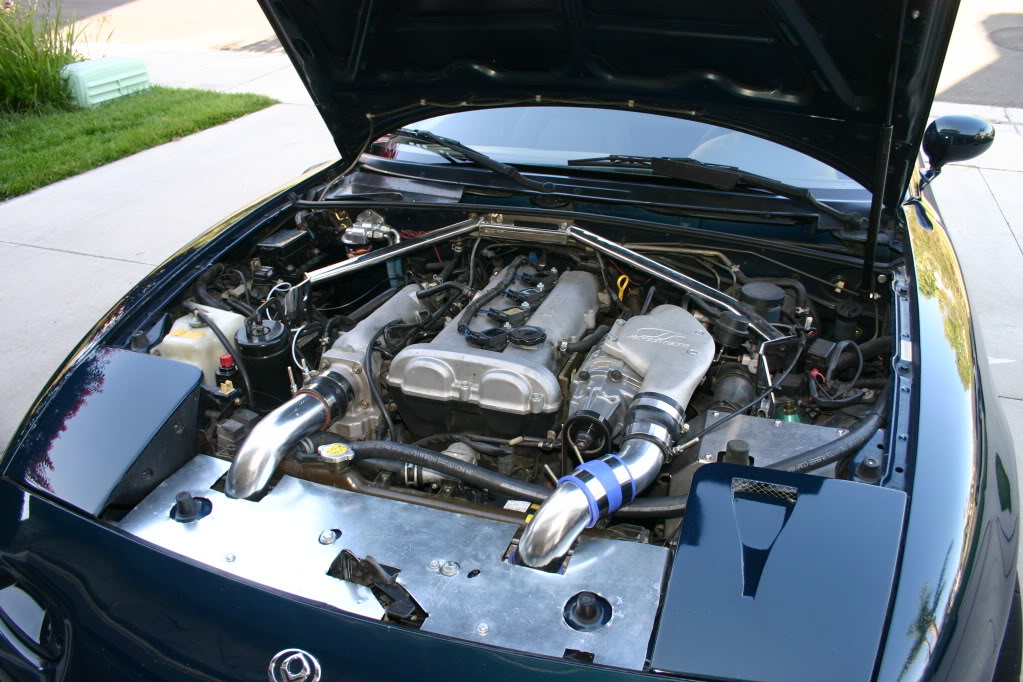
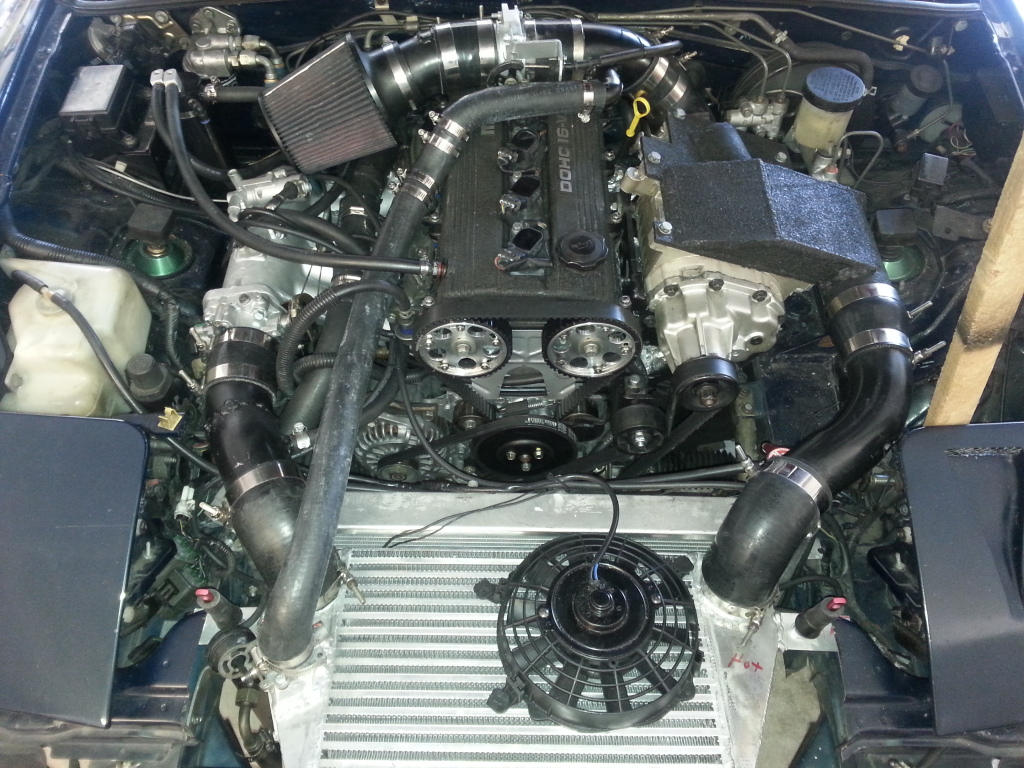
The pipes came with the kit. They were made by BRP for 99+ Miatas. Those places just have pipe pieces that have to be fitted together with silicone hose couplers right?
Reply
-1
-1

Reply
0
0

Honestly, i'm reasonably sure i could tweak your BRP kit to work in about ohhhh.... 30 minutes. Or less.
They're sitting too high above the radiator. Remove length where necessary by means necessary.
Reply
0
0

But the holes are already cut, right? I'll admit the thought process of "Hrm, my hood doesn't close tight because these pipes are in the way, brb getting my cutoff wheel" instead of "hrm, my hood doesn't close tight because these pipes are in the way maybe I should move them or get different pipes" isn't exactly the one I would have taken, but the fact remains it's too late for him to swap out pipes without either replacing the hood or patching the holes.. and if he's going to patch the holes he might as well patch them with patches that work with the pipes.
If it were me, I would go with the glassing/painting option found on the previous page.
Sand down to bare metal, wax paper, flanel or similar, glass over top, sand, body filler, sand, primer, sand, paint, sand, clear.
Unfortunately it's going to be approximately 37x more work than modifying the pipes, and probably just as much if not more money, but it's your best option at this point.
Reply
0
0
Thread Starter
Junior Member
Joined: Sep 2011
Posts: 135
Total Cats: -20
But the holes are already cut, right? I'll admit the thought process of "Hrm, my hood doesn't close tight because these pipes are in the way, brb getting my cutoff wheel" instead of "hrm, my hood doesn't close tight because these pipes are in the way maybe I should move them or get different pipes" isn't exactly the one I would have taken, but the fact remains it's too late for him to swap out pipes without either replacing the hood or patching the holes.. and if he's going to patch the holes he might as well patch them with patches that work with the pipes.
If it were me, I would go with the glassing/painting option found on the previous page.
Sand down to bare metal, wax paper, flanel or similar, glass over top, sand, body filler, sand, primer, sand, paint, sand, clear.
Unfortunately it's going to be approximately 37x more work than modifying the pipes, and probably just as much if not more money, but it's your best option at this point.
If it were me, I would go with the glassing/painting option found on the previous page.
Sand down to bare metal, wax paper, flanel or similar, glass over top, sand, body filler, sand, primer, sand, paint, sand, clear.
Unfortunately it's going to be approximately 37x more work than modifying the pipes, and probably just as much if not more money, but it's your best option at this point.
Also, if I'm to cut the pipes, won't I be cutting off the bubble flares and losing part of my sealing surface? Will just the hose couplers seal against the flat surface of the pipes? Thanks for the response.
Reply
-2
-2
You can bead the ends yourself its not that hard.
Also with the amount of boost you'll be running and the way the sc generates it I wouldn't even worry about them popping off if you install em properly
Also with the amount of boost you'll be running and the way the sc generates it I wouldn't even worry about them popping off if you install em properly
Reply
0
0
Thread Starter
Junior Member
Joined: Sep 2011
Posts: 135
Total Cats: -20
Looking to run 10 psi. How do you bead the ends? Thanks for the response
Reply
-1
-1
Thread Starter
Junior Member
Joined: Sep 2011
Posts: 135
Total Cats: -20
 Another concern of cutting the pipes is having trouble with the angle. The Passenger side is basically a 90 from the dummy throttle body to the intercooler. If I cut length at the bottom, won't the angle to the intercooler be off when lowering pipe? Thanks for the response.
Reply
0
0


Thread Starter
Junior Member
Joined: Sep 2011
Posts: 135
Total Cats: -20
 The radiator is lowered. And tilted. But that isn't the problem. The problem is the tubing that came with my kit. And again, The cuts were a temporary solution to get the car on the road. I never planned on leaving them like. I have another hood for the car. You could call it a fail if I did that and thought it looked cool and was going to keep it that way.
Reply
-3
-3
Junior Member
Joined: Oct 2011
Posts: 77
Total Cats: 5
Before I even looked at the username, I almost didn't recognize your car in this pic... I was like "looks strangely familiar... wtf" and the headlight lid gave it away. Should post a pic of it now just to really confuse the OP lol
Reply
0
0
Junior Member
Joined: Oct 2011
Posts: 77
Total Cats: 5
I see much fail in your upper shroud cover. The radiator is lowered. And tilted. But that isn't the problem. The problem is the tubing that came with my kit. And again, The cuts were a temporary solution to get the car on the road. I never planned on leaving them like. I have another hood for the car. You could call it a fail if I did that and thought it looked cool and was going to keep it that way.
The radiator is lowered. And tilted. But that isn't the problem. The problem is the tubing that came with my kit. And again, The cuts were a temporary solution to get the car on the road. I never planned on leaving them like. I have another hood for the car. You could call it a fail if I did that and thought it looked cool and was going to keep it that way.Just because the tubes that came with a kit are what came with the kit doesn't mean they're magically better than what other people can do with them. Just like the ebay universal kits, they are intentionally made to be cut and modified for your specific car.
Reply
0
0
Lol that cover was an oh **** I need this to work tomorrow setup. Later I had a carbon fiber one I made. Prefer the current "cover" I have now. Which by the way on one side has 3" piping over the rad and clears the hood.
Reply
0
0


