When you click on links to various merchants on this site and make a purchase, this can result in this site earning a commission. Affiliate programs and affiliations include, but are not limited to, the eBay Partner Network.
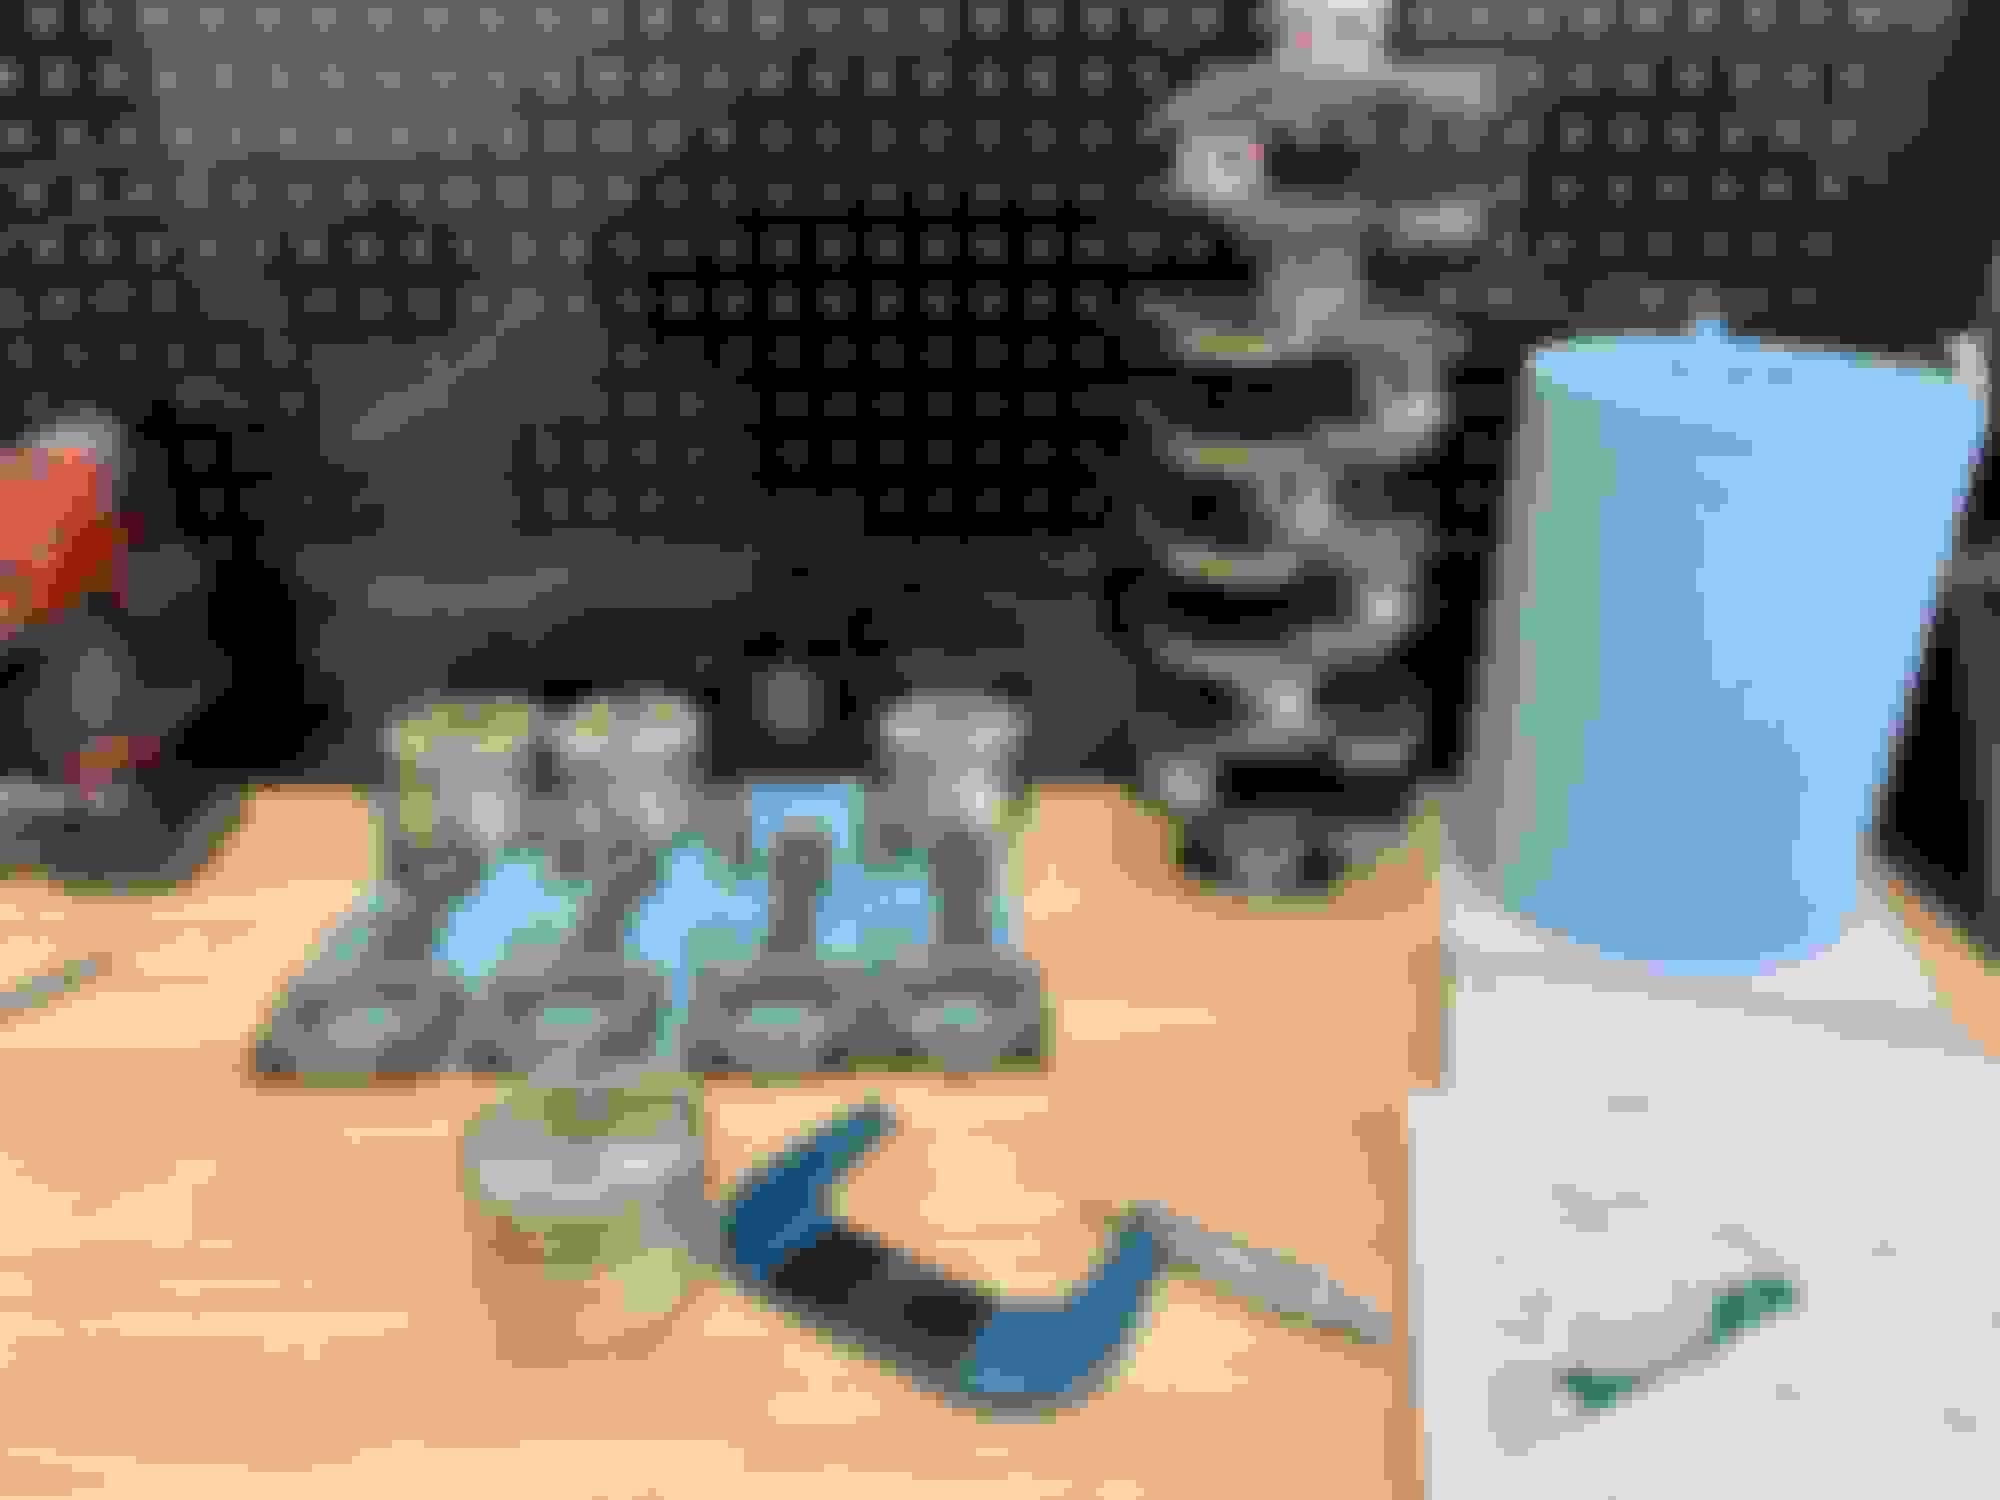
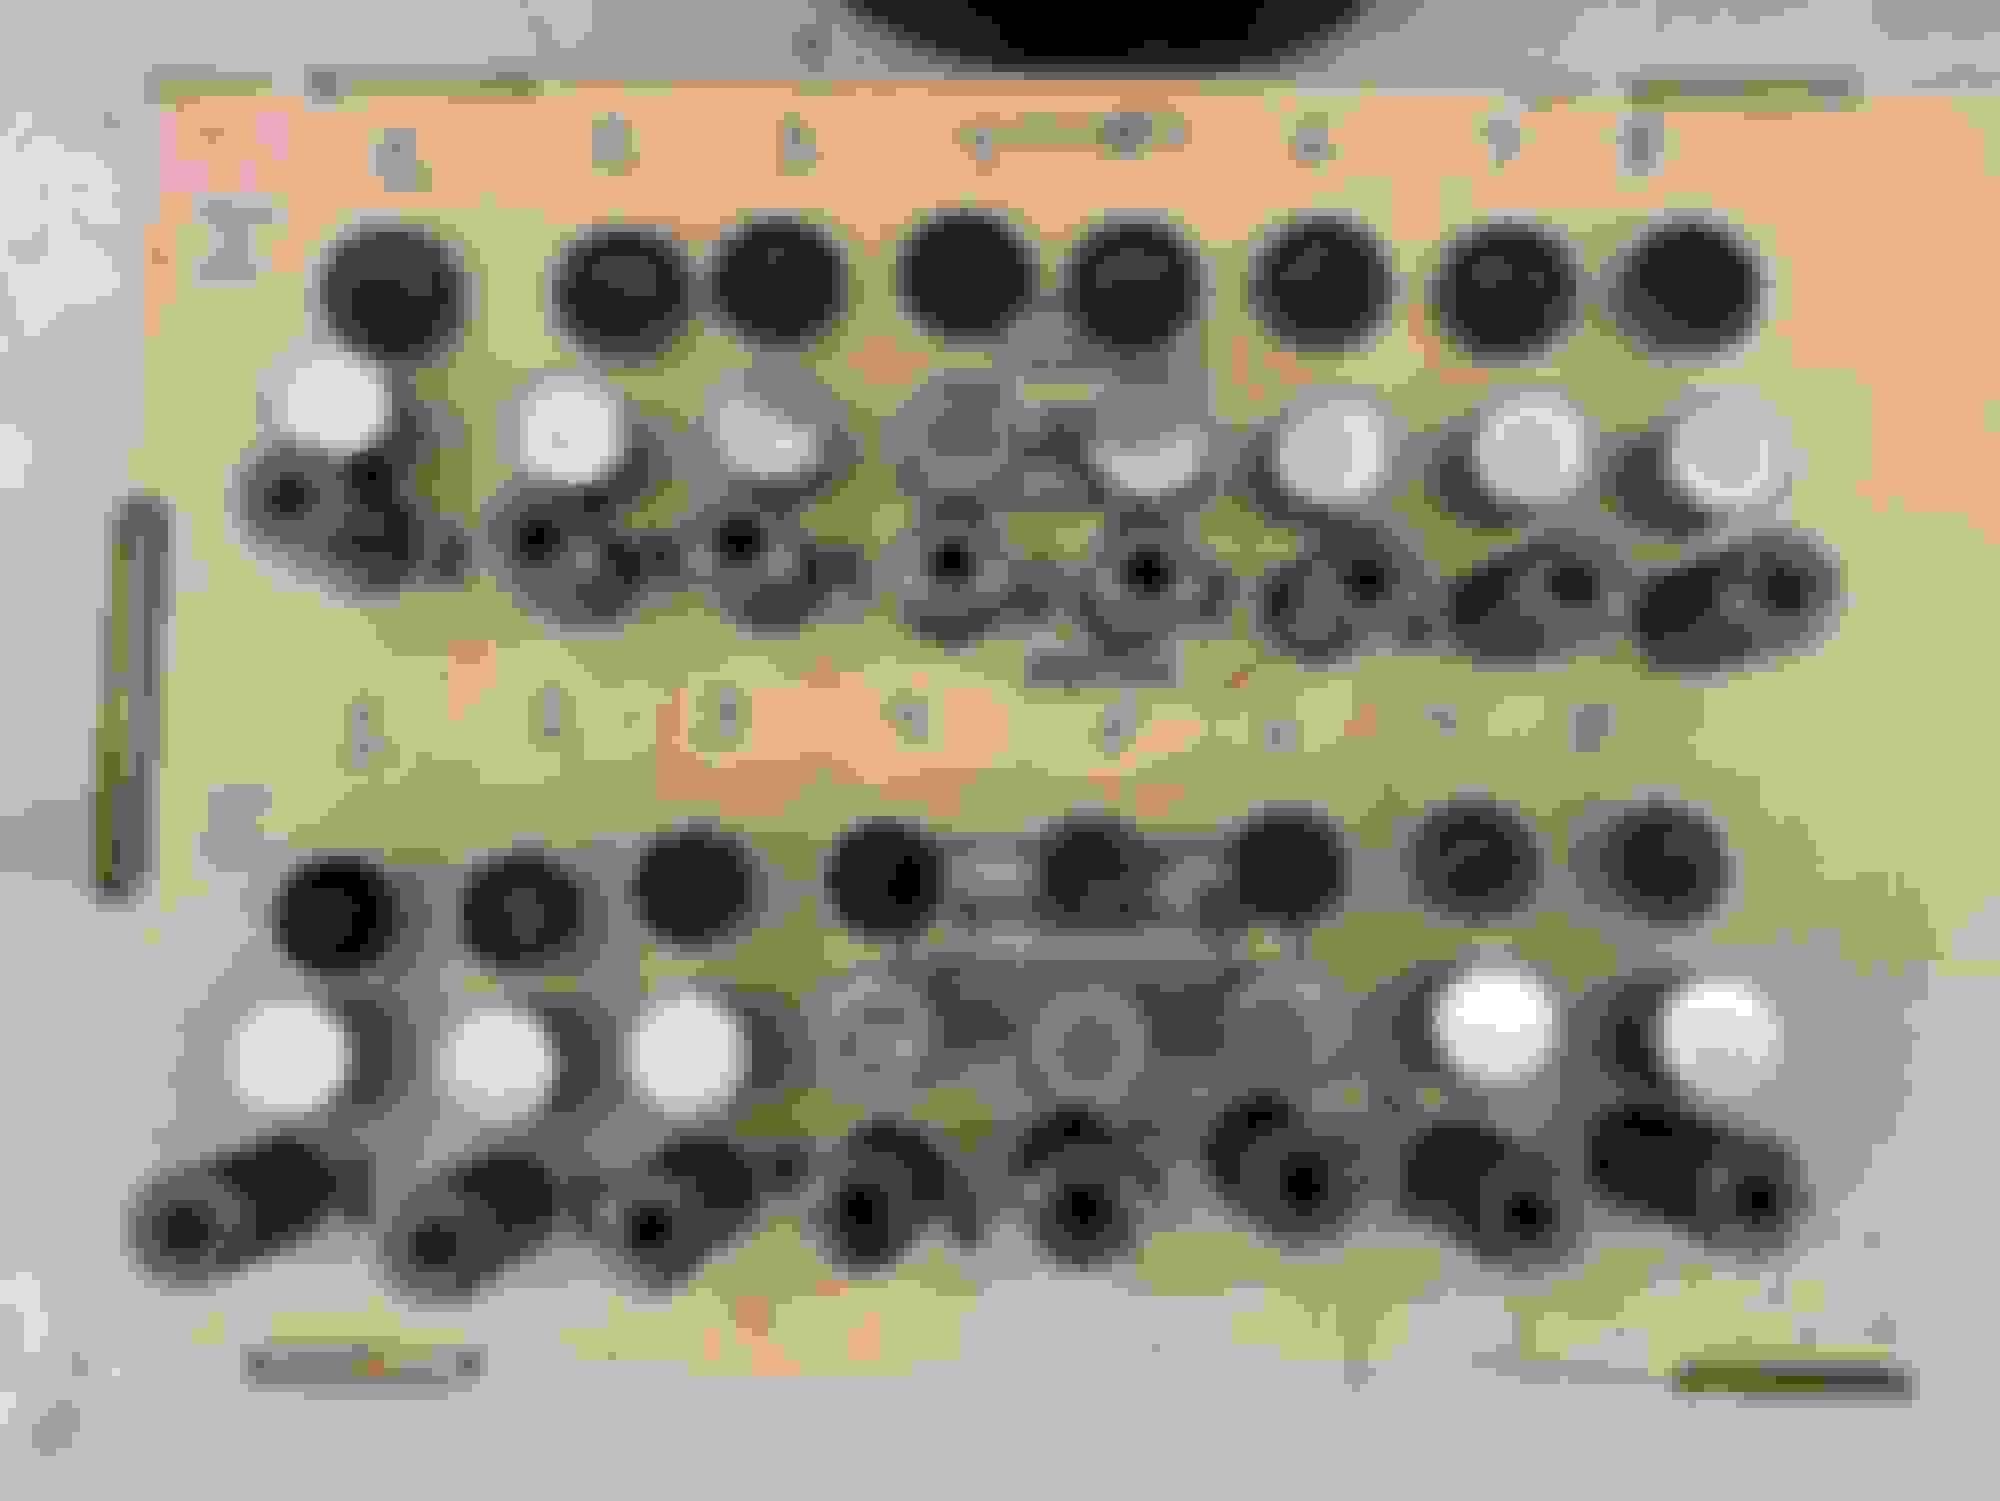
Got a chance to tear down the block this morning, was busy at Sebring last weekend for the 12hr. Overall looks good so far. Going to run everything through my parts washer tomorrow and start measuring. Bearings actually don�t look that bad, they look even better in person. Pistons didnt appear to have any detonation damage just the casting marks from the factory as mentioned earlier in the thread. In any case tomorrow I�ll be able to get a better idea with where the engine stands.
Pistons and bearings look alright. The rings *and* valve stem seals are probably two likely candidates for the lower compression and consuming oil. Might want to do both!
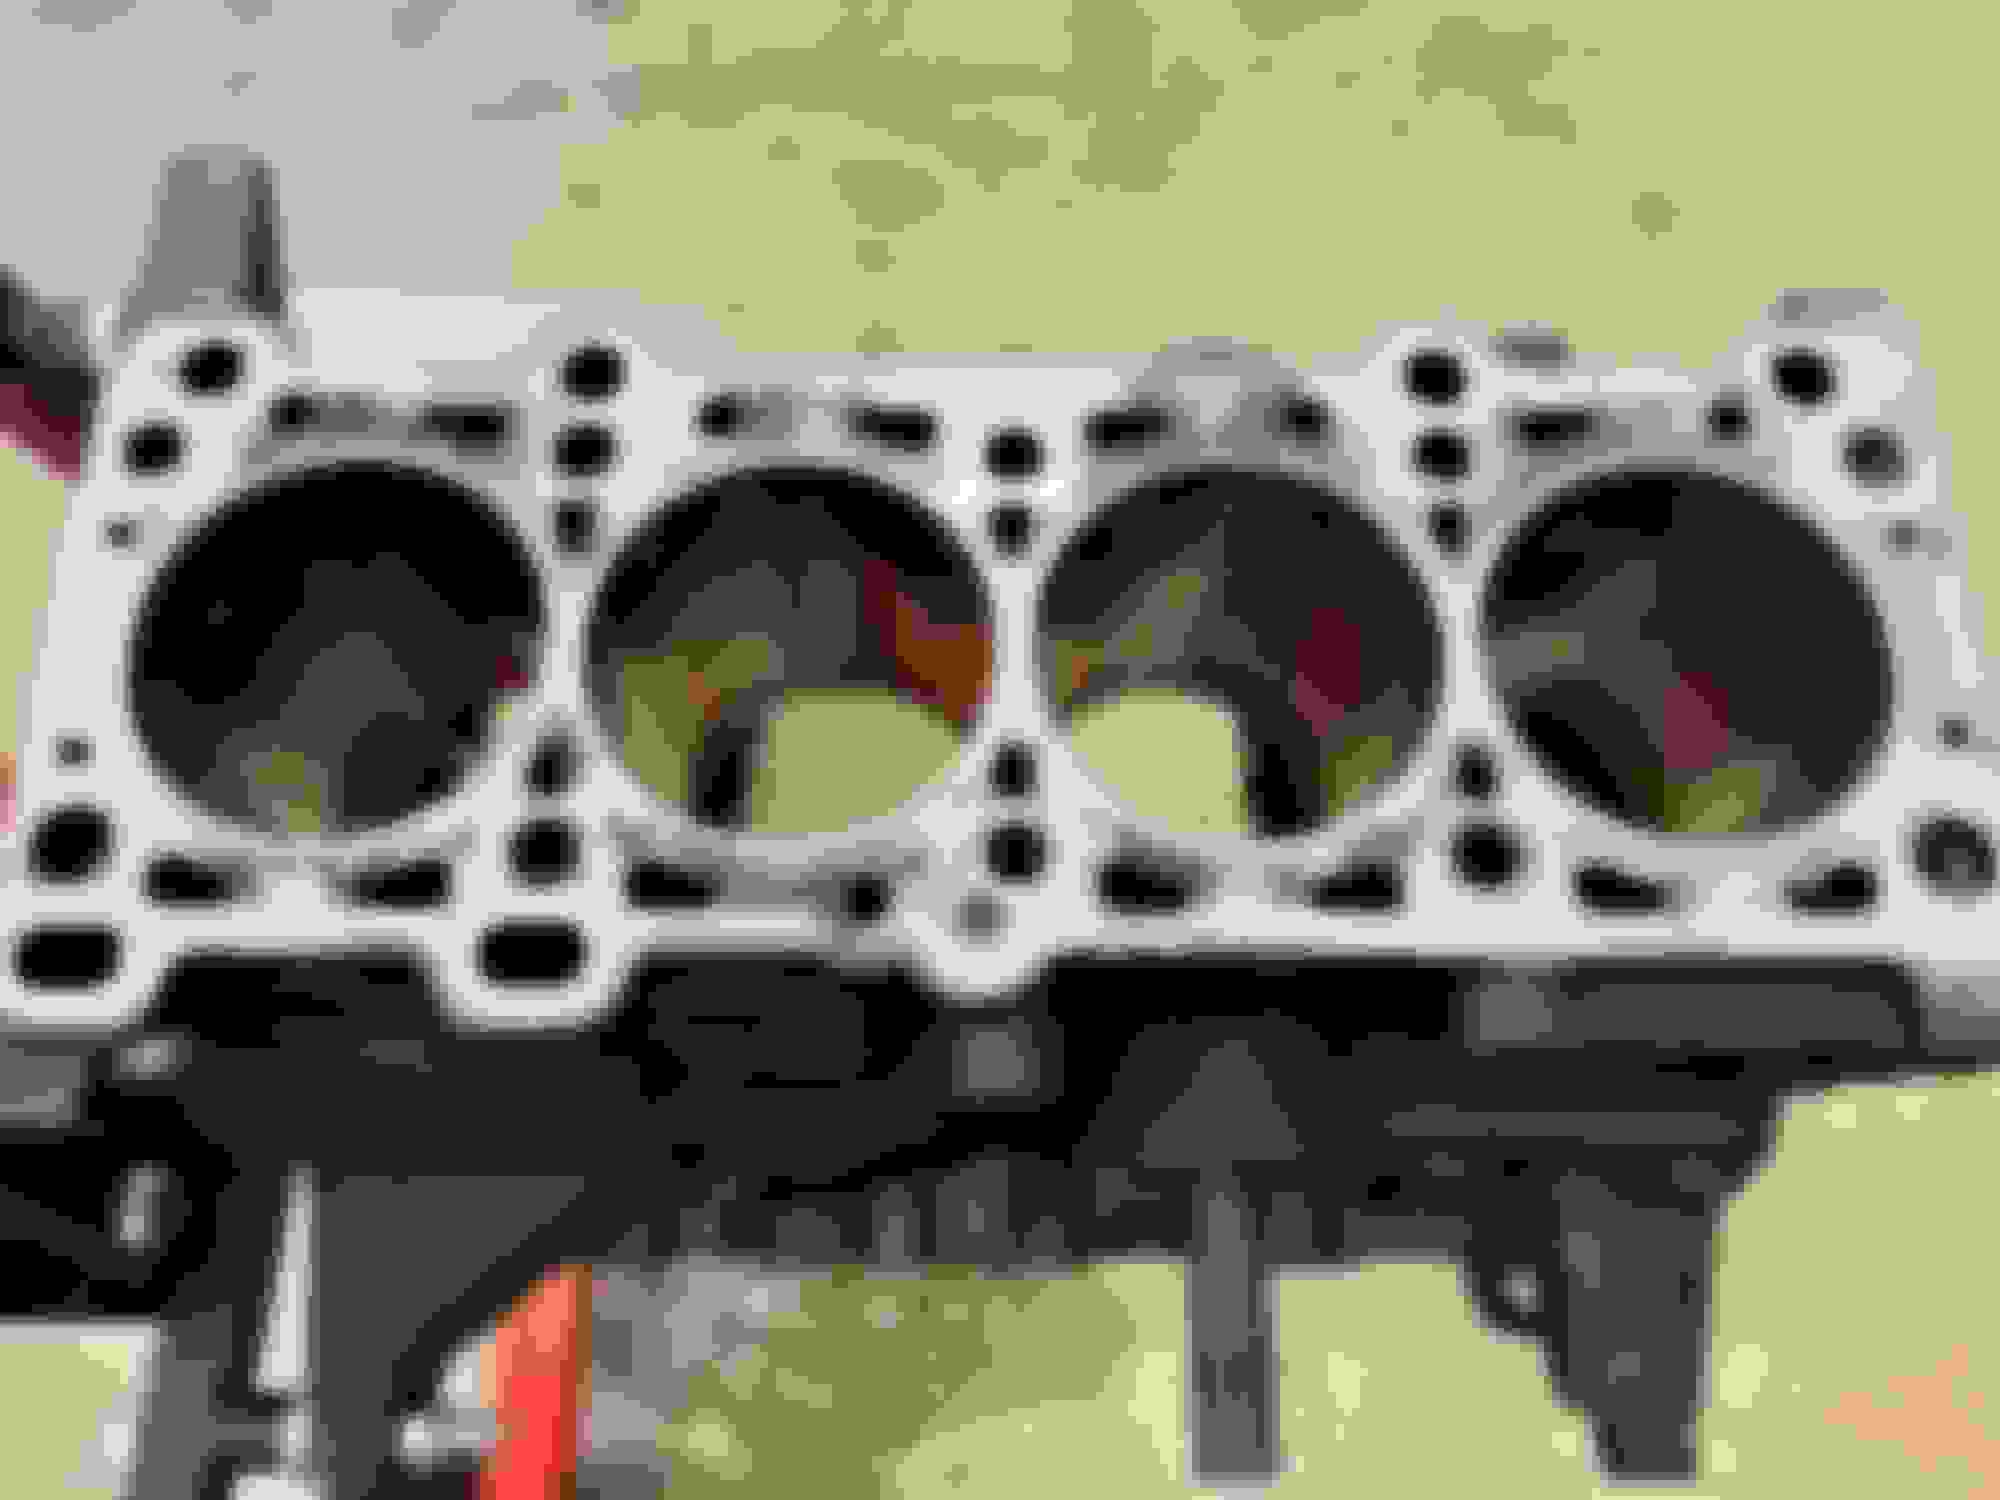
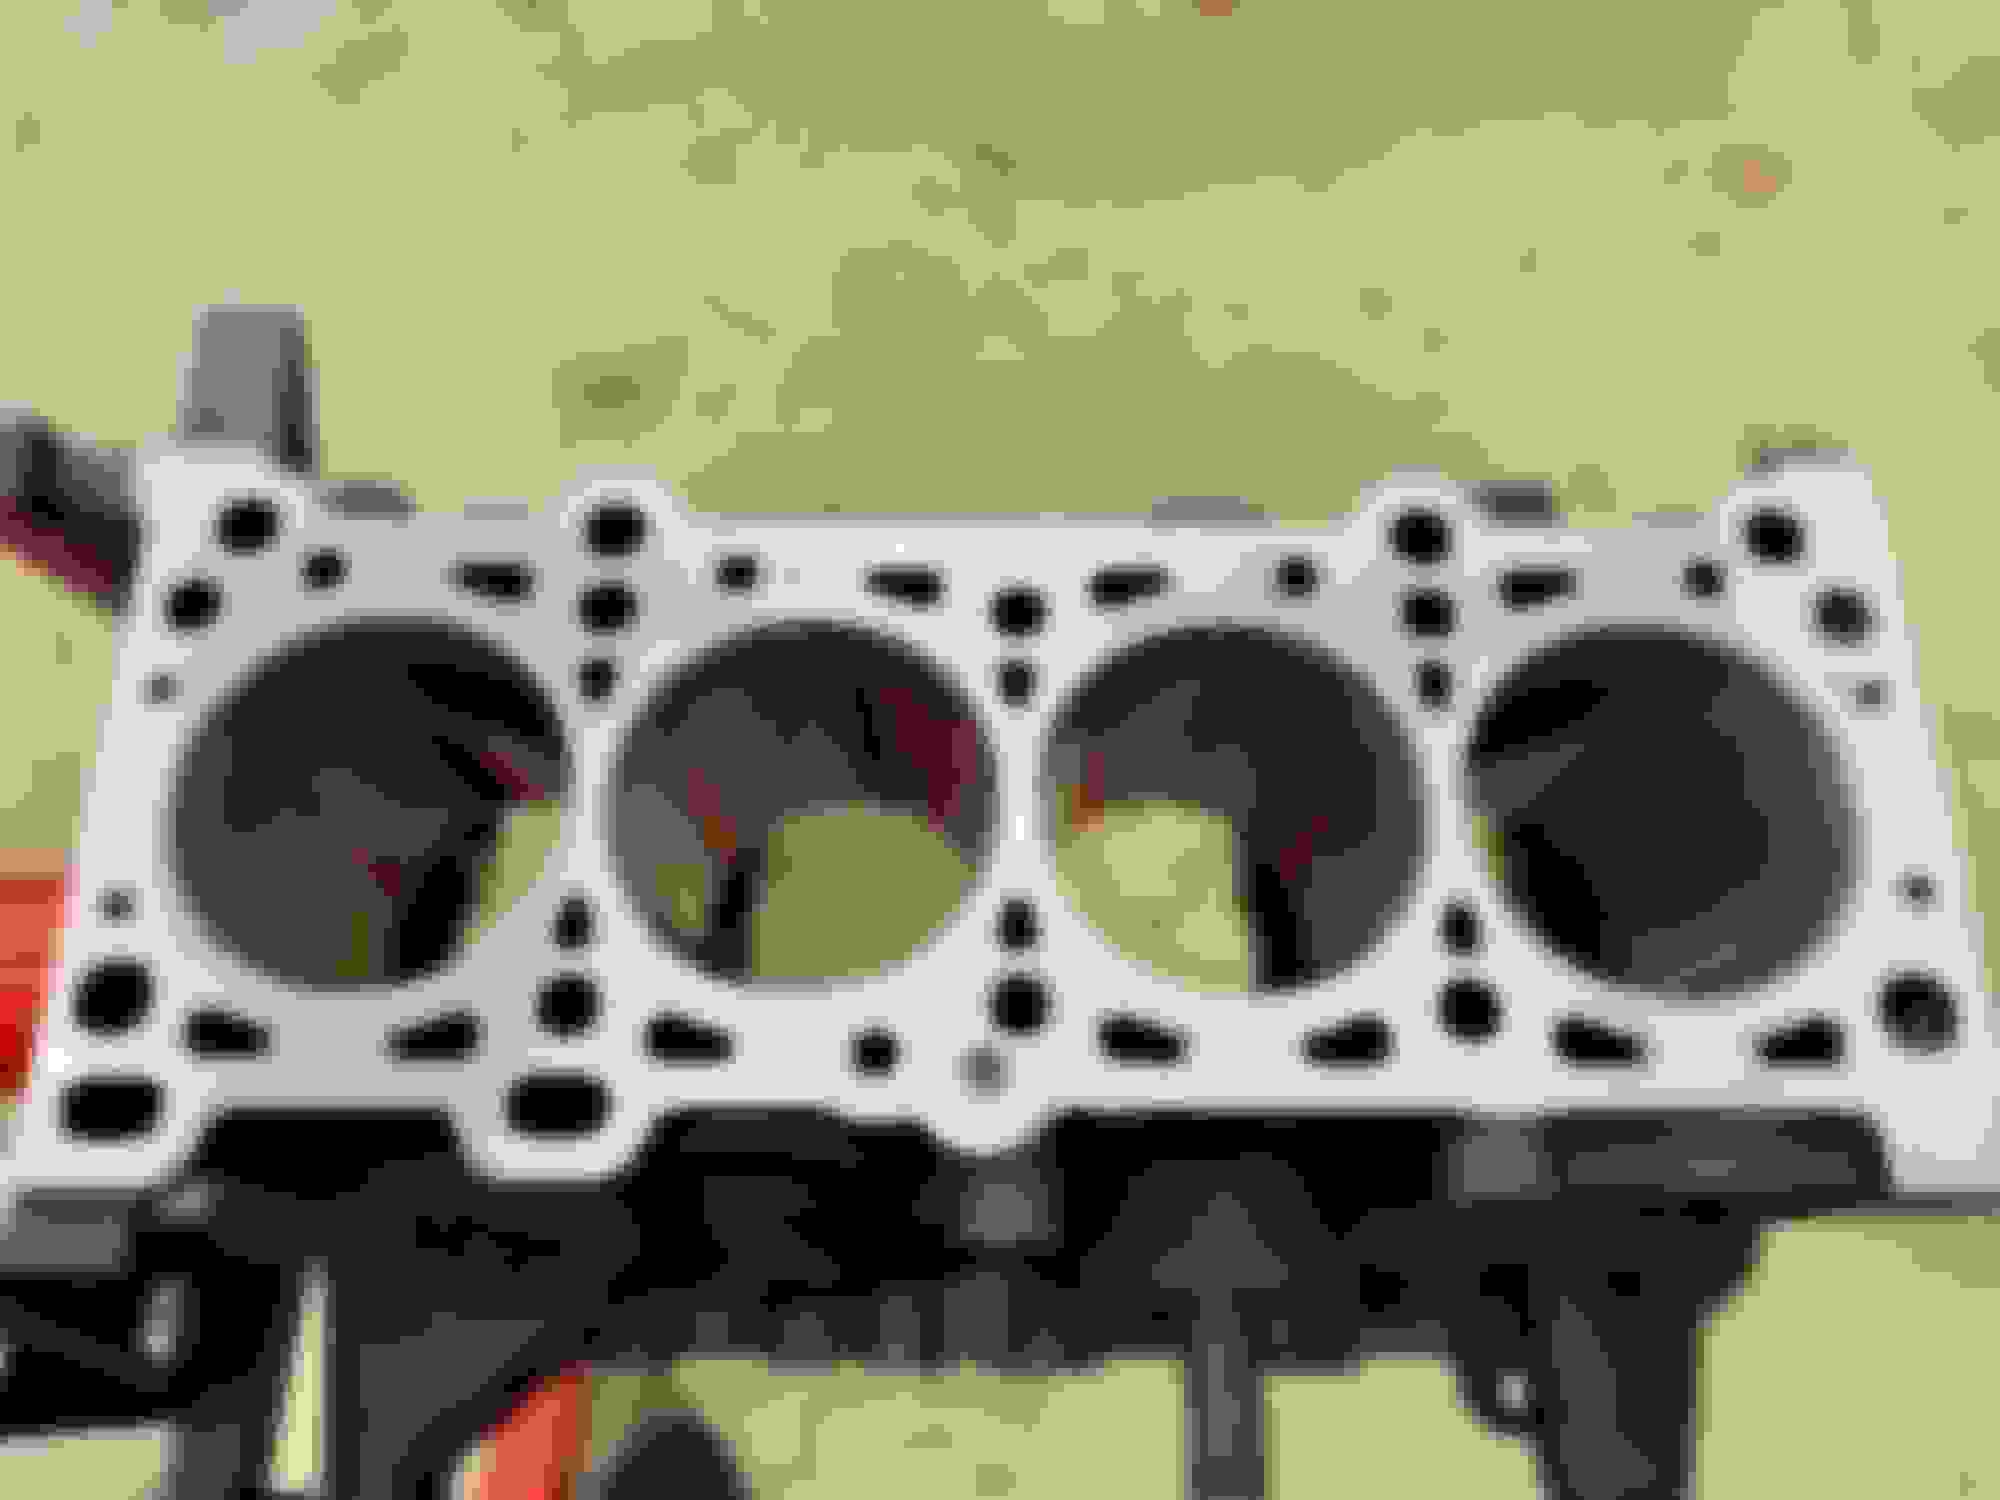
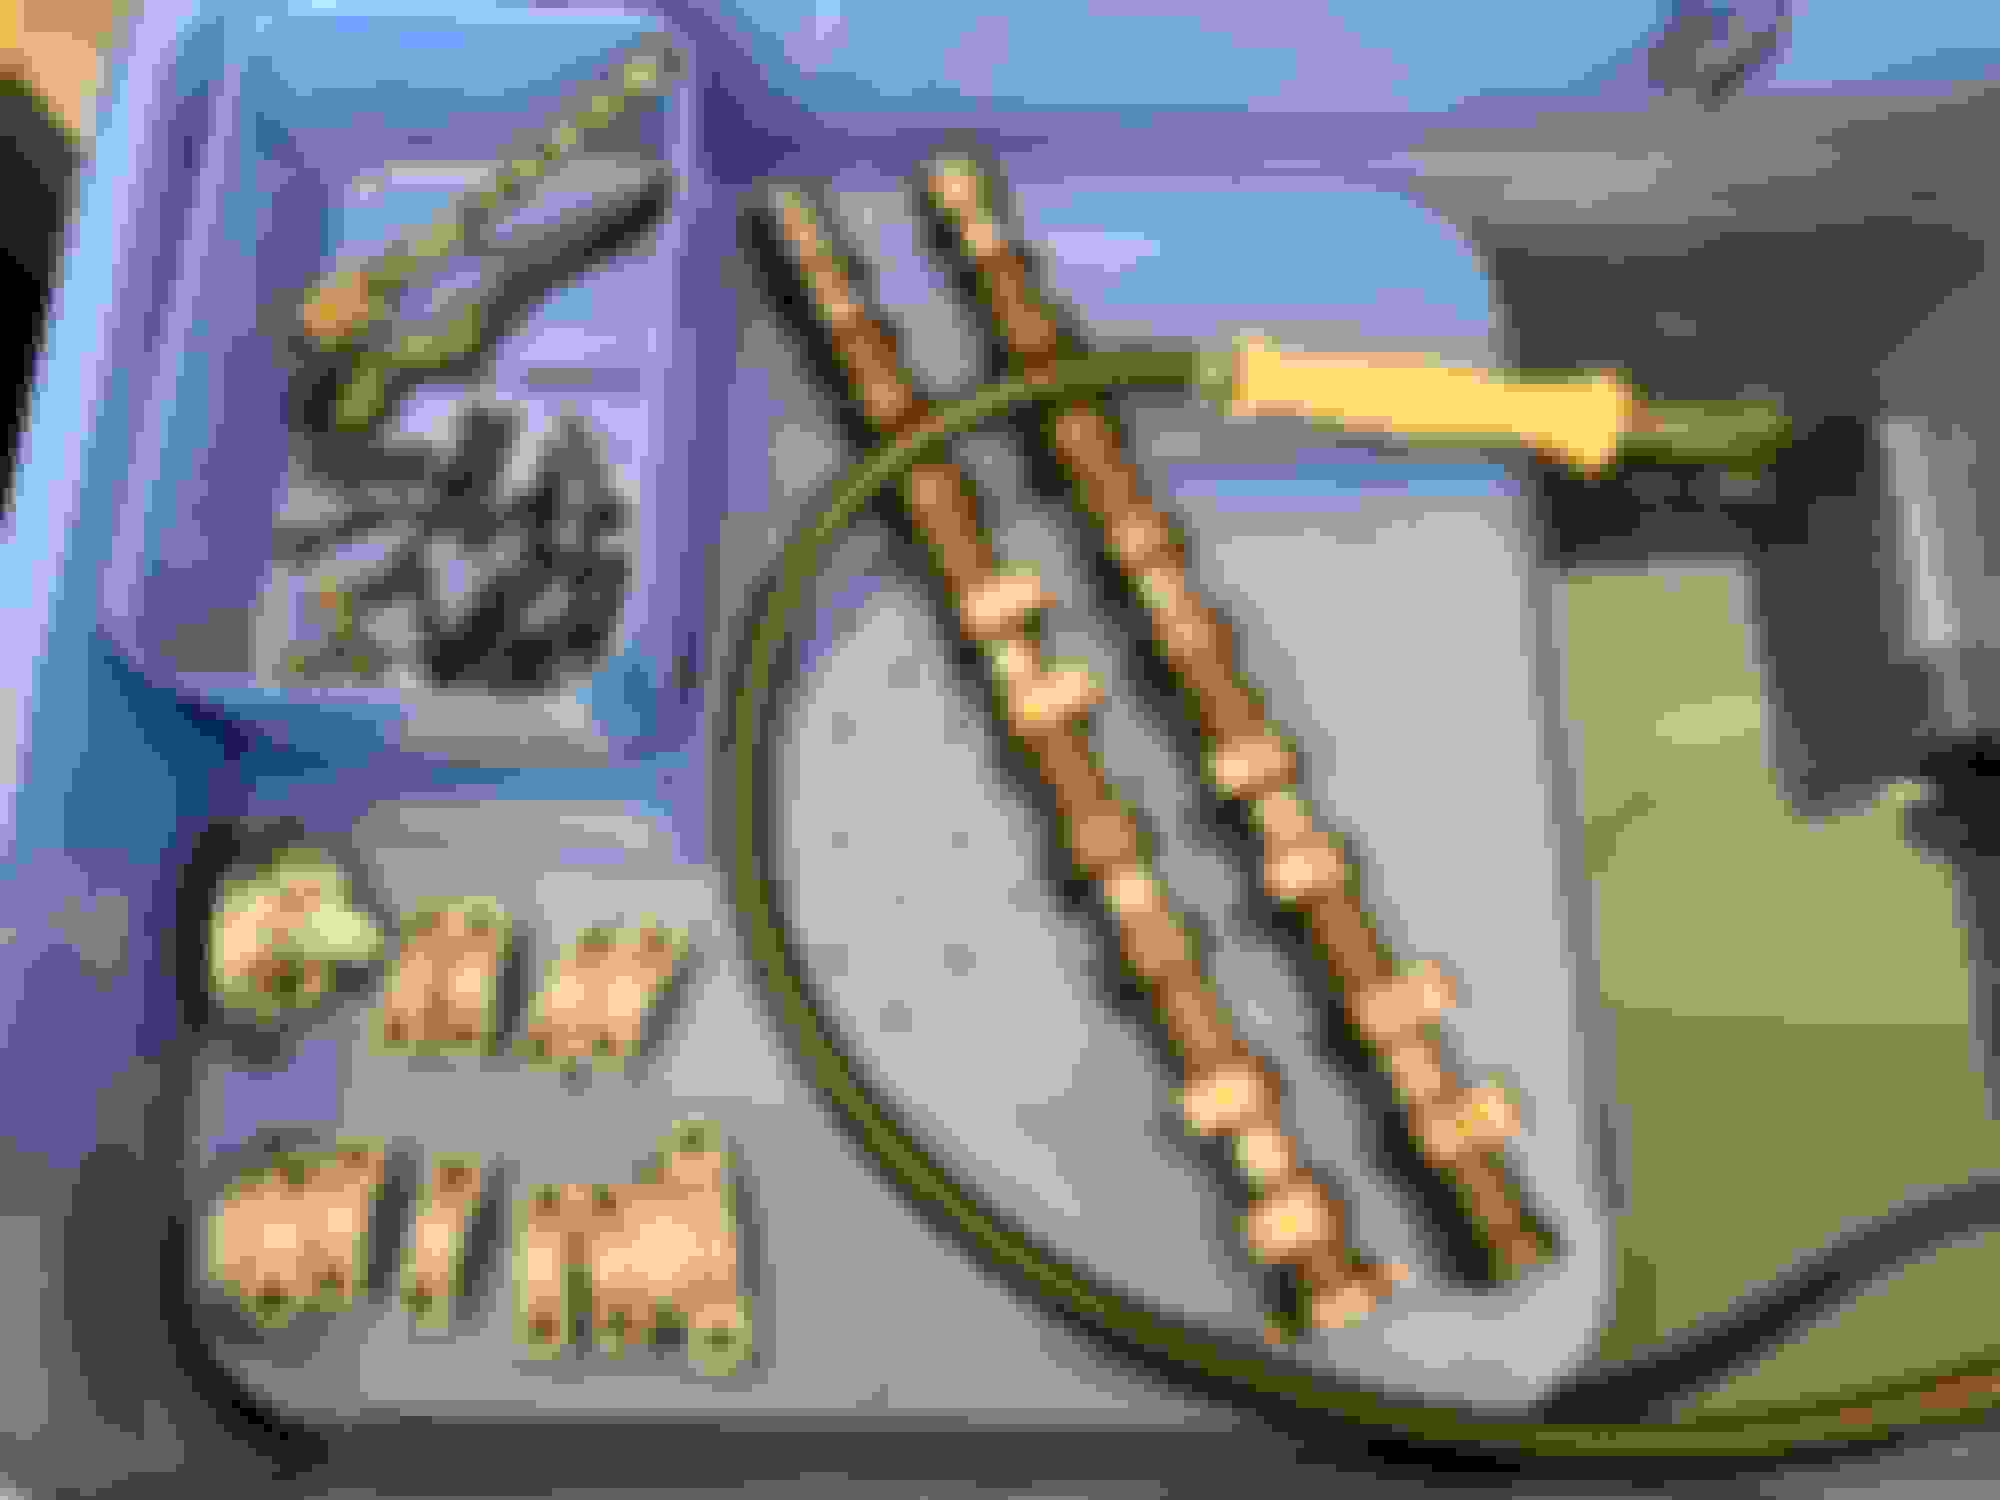
Got everything cleaned and measured today. Well almost everything except the connecting rod big ends. My dial bore gauge wasnt small enough to fit so I�ll pick up some snap gauges to finish it up. Overall everything measured fine and I�ll be reusing mostly everything. Pistons did not have any concerning scoring on the skirts or damage on the head. Rods are fine. Crank journals and fine, no scratches and issues there. No concerns with the cylinder walls that a hone isn�t going to take care of, factory crosshatch marks still there but it�s glazed. Next on the list is the head which is mainly a cleaning.
Watching with interest! I'll be doing this myself soon to a spare VVT 1.8 motor. Nice to see your pistons and bearings are in good shape.
What's your plan for the rebuild?
So far just planning on doing a hone and rings for the bottom end. Bearings are fine and measured out well under the �max� spec so I�m reusing them. I would prefer it on the looser end of the spectrum anyways.
Pistons and bearings look alright. The rings *and* valve stem seals are probably two likely candidates for the lower compression and consuming oil. Might want to do both!
Yeah new rings and a hone for the bottom end. Head will get new valve stem seals (they�re included in the Mazda overhaul kit anyways) and a general cleaning. Will probably lap the valves depending on how they look and measure out.
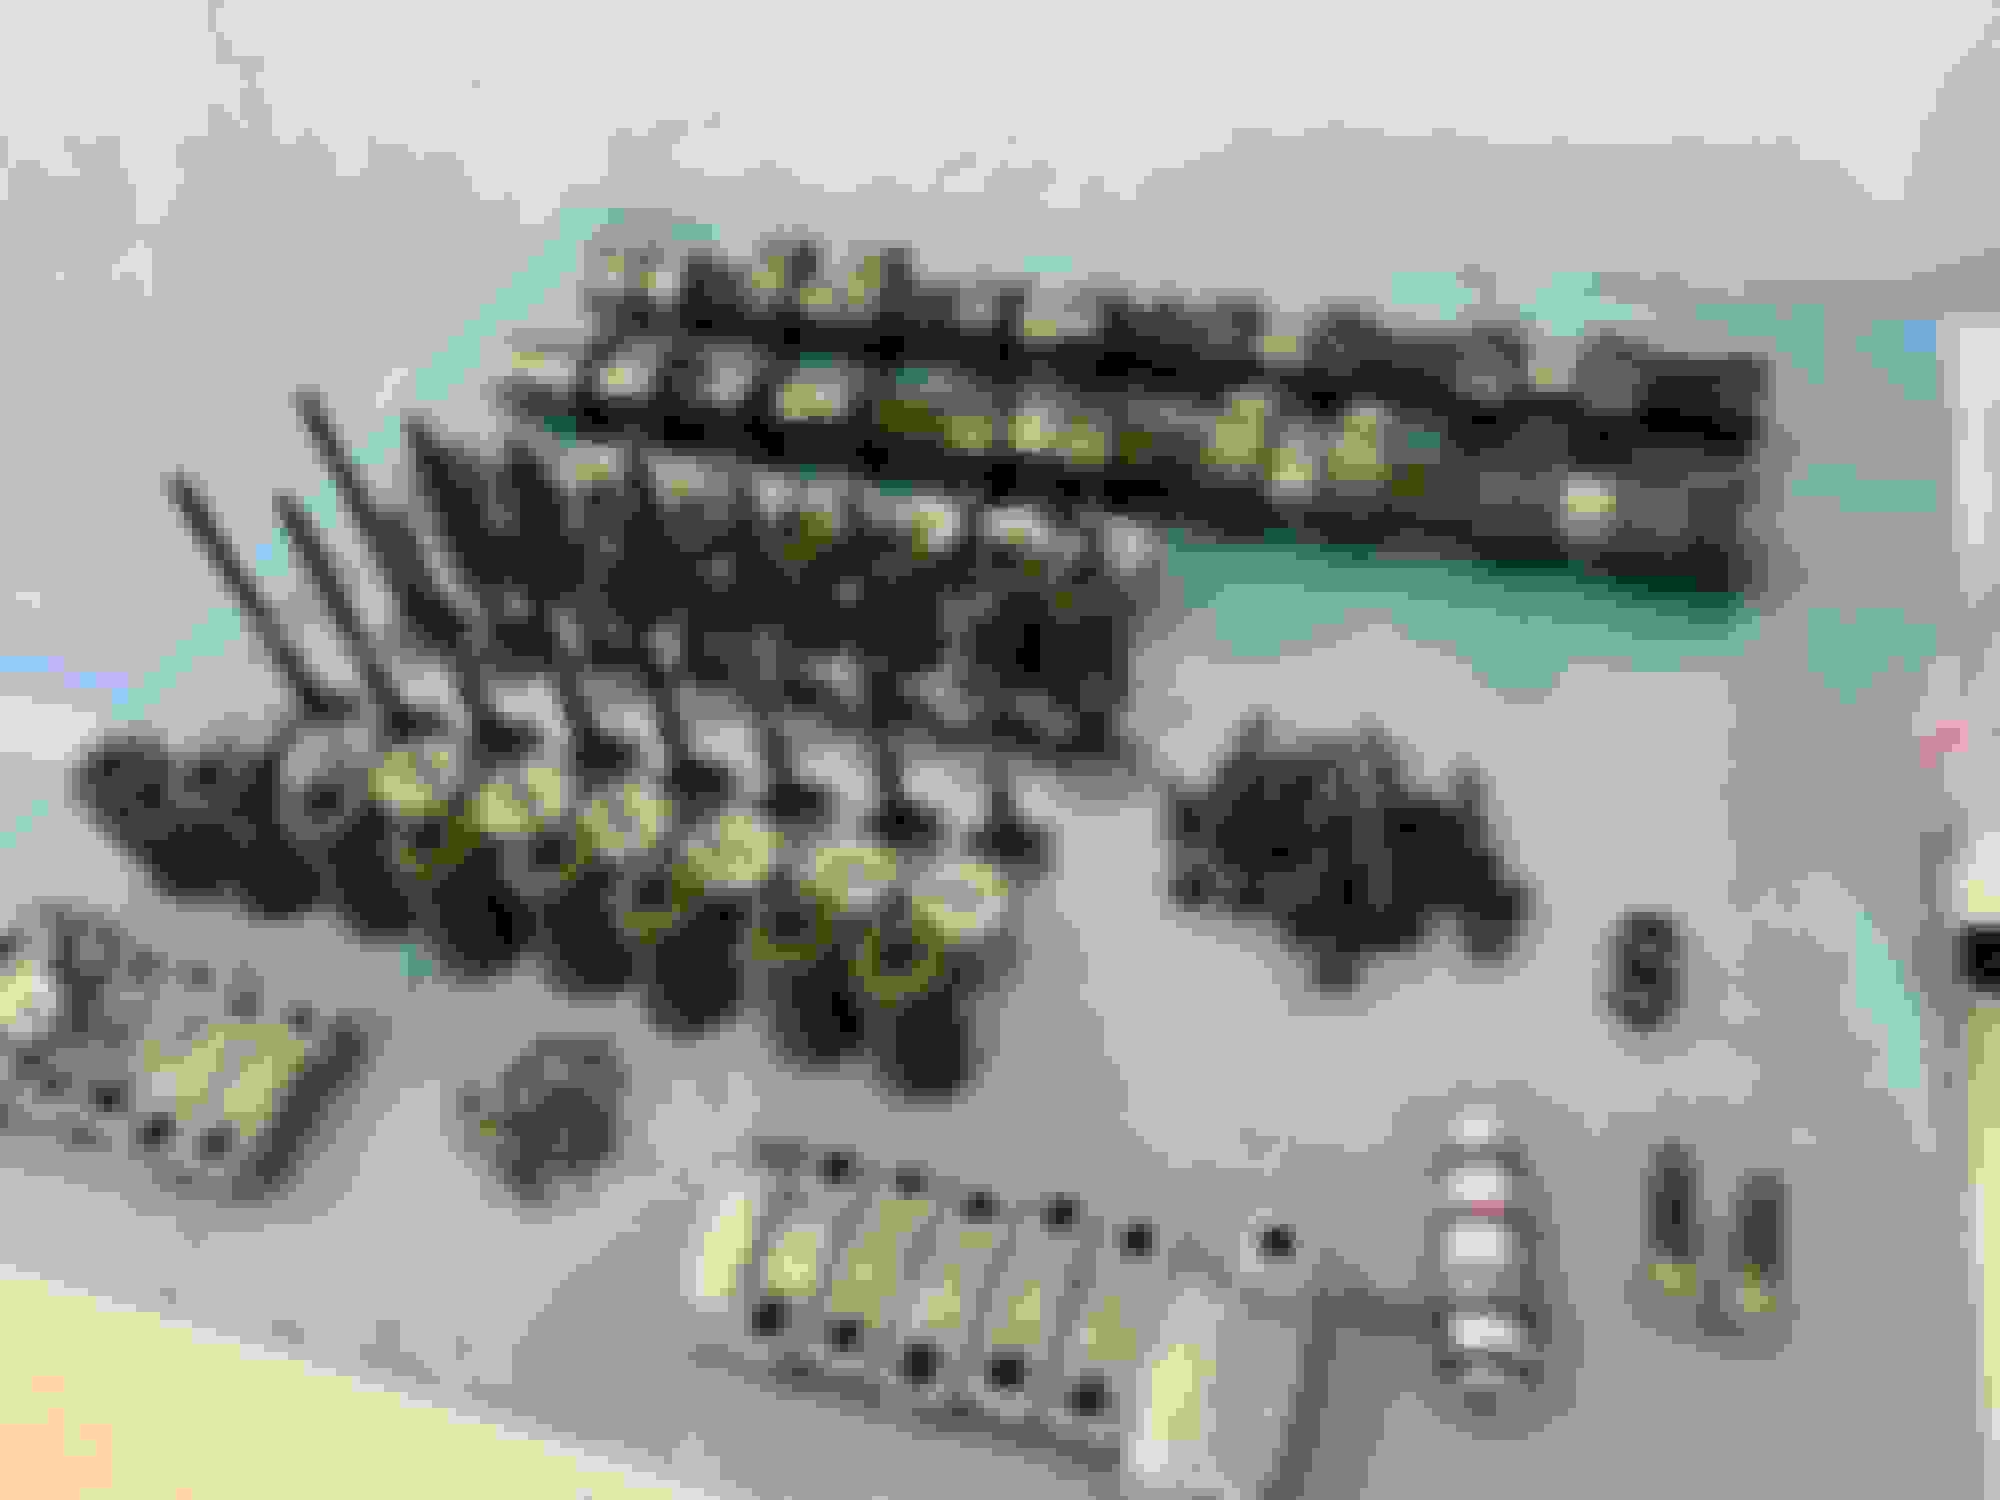
I slept on this last night and decided to change the main and rod bearings with ACL Race in STD size. Not due to wear, cost or any other reason but I did notice a couple bearings had a few tiny specs of foreign material embedded in them. You cant feel them with your finger nail but my thinking is as the bearing continues to wear these tiny pieces *could* become welded to the crank journal and possibly cause a spun bearing. So new plan on the bottom end is hone, rings, rod bearings and main bearings. If I was on a super tight budget or under really tight time constraints to get this motor back in the car I would have just reused the original ones. In all likelihood they would have been fine but whatever.
I slept on this last night and decided to change the main and rod bearings with ACL Race in STD size. Not due to wear, cost or any other reason but I did notice a couple bearings had a few tiny specs of foreign material embedded in them. You cant feel them with your finger nail but my thinking is as the bearing continues to wear these tiny pieces *could* become welded to the crank journal and possibly cause a spun bearing. So new plan on the bottom end is hone, rings, rod bearings and main bearings. If I was on a super tight budget or under really tight time constraints to get this motor back in the car I would have just reused the original ones. In all likelihood they would have been fine but whatever.
Honestly, bearings are cheap anyway. Once you have put in the labor to pull the engine apart and lay the bearings out on the table...might as well just spend ~$150 to slap some Kings XP or ACL Races in. What's the thrust bearings look like?
Edit: ah, yes. The thrust bearings in the picture you took. Derp.
I credit the lack of thrust bearing wear to my clutch bypass switch for starting.
Measured runout on the crank today, came in at .0008 which is fine. Sent the crank out to a local machine shop for a polish and hot tank. Getting a small case of "while im in there" syndrome lol.. Piston rings arriving tomorrow from Mazda Motorsports, pretty sure im on track to be final measuring and assembling the bottom end this weekend. This week ill be doing more cleaning and razoring the old rtv sealant off of the block, oil pan, thread chasing etc.
Something interesting I wanted to add to this thread before I forget. I measured my new ACL Race rod bearings compared to the *used* OEM Mazda rod bearings today and found something interesting. The ACLs were consistently .0004 smaller than the OEM bearings. So basically there is .0004 extra oil clearance with the ACLs.
If I�m not mistaken that number would be x2 because of there are 2 bearings per rod which equals .0008 extra oil clearance total per rod journal. I was sure the used OEMs would be smaller than the ACLs due to wear and less material left on the bearing from that wear. To be clear these are ACLs in Standard size too.
*pro tip* I also �part shelf balanced� the rotating assembly by matching the heaviest piston with the lightest rod etc. the heaviest piston/rod assembly will be placed closest to the flywheel. This is common in spec miata where everyone is looking for the slightest edge.
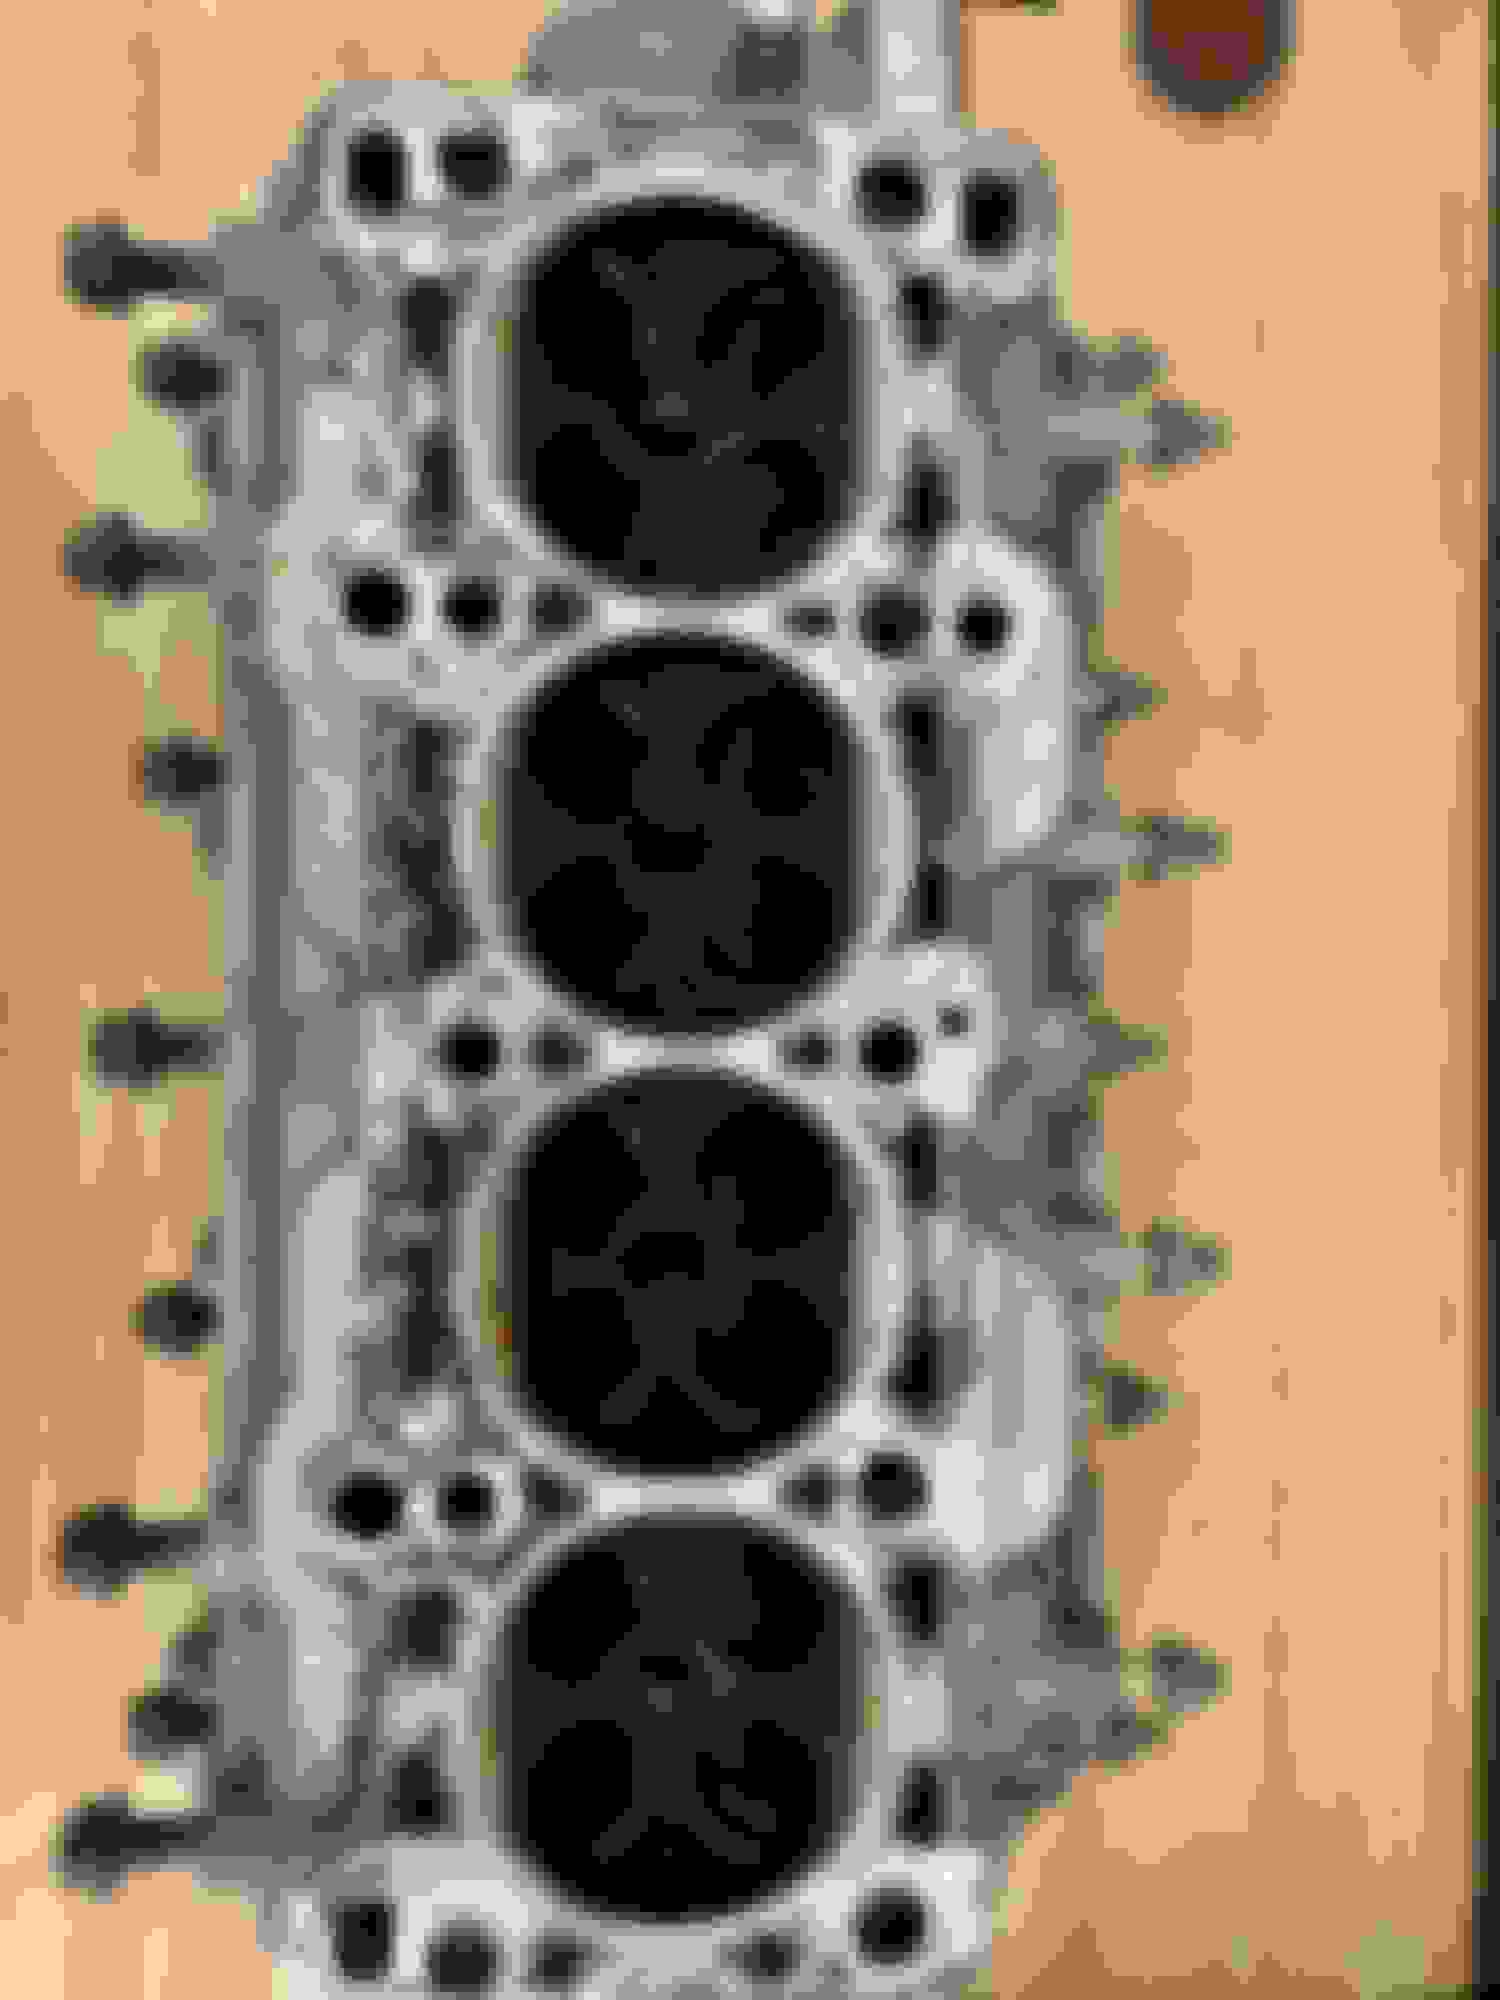
Got the block ready today since im still waiting on a few things to show up. I flex honed the cylinders, block sanded the deck with 120 then 240, cleaned the block 3 times with hot soapy water and lots of different sized tube brushes. I was debating on painting the block but said f**k it I need to get moving on this thing. So instead of painting the block I tore down the oil pump, got all the RTV off, parts washed it then repacked it with assembly lube. Cleaned the oil squirters and reinstalled them. Cleaned the RMS housing and got that ready. Thread chased and cleaned a bunch of various bolts. Tomorrow I will work on the head.
Pretty interesting regarding the extra clearance of std ACL race bearings!
Please share your notes about the rotating assembly weights of piston/rods. Curious how closely you could get them matched.
Did you have the machine shop hone cylinders or are you dingle ball'ing it yourself?
Yeah im going to measure everything before reassembly with the new bearings etc to get hard numbers on the clearances. Yes just a ball hone on the cylinders.
So as far as the balancing goes, im not physically removing material from the components. Im just trying to match the weights as close as I can. While keeping in mind piston to wall clearances. I also keep the piston pin with the same piston as it wears together.
Piston 1 - 384g
Piston 2 - 384g
Piston 3 - 383g
Piston 4 - 381g
--------------------------------
Rod 1 - 542g
Rod 2 - 542g
Rod 3 - 544g
Rod 4 - 543g
--------------------------------
P1 + R1 = 926g (Going in Cyl 4 .0017 P to W)
P2 + R2 = 926g (Going in Cyl 3 .0020 P to W)
P3 + R4 = 926g (Going in Cyl 2 .0018 P to W)
P4 + R3 = 925g (Going in Cyl 1 .0017 P to W)
Did a half day in the garage today, you know Easter and junk.. checked the block for distortion with my new straight edge that is certified to .001 and I couldn�t even fit my .0015 feeler gauge under any area I checked. Got the head torn down, components cleaned and valve seals removed. Still need to clean the actual head itself though. Valves looked good but I�ll probably give them a light lapping for good measure.
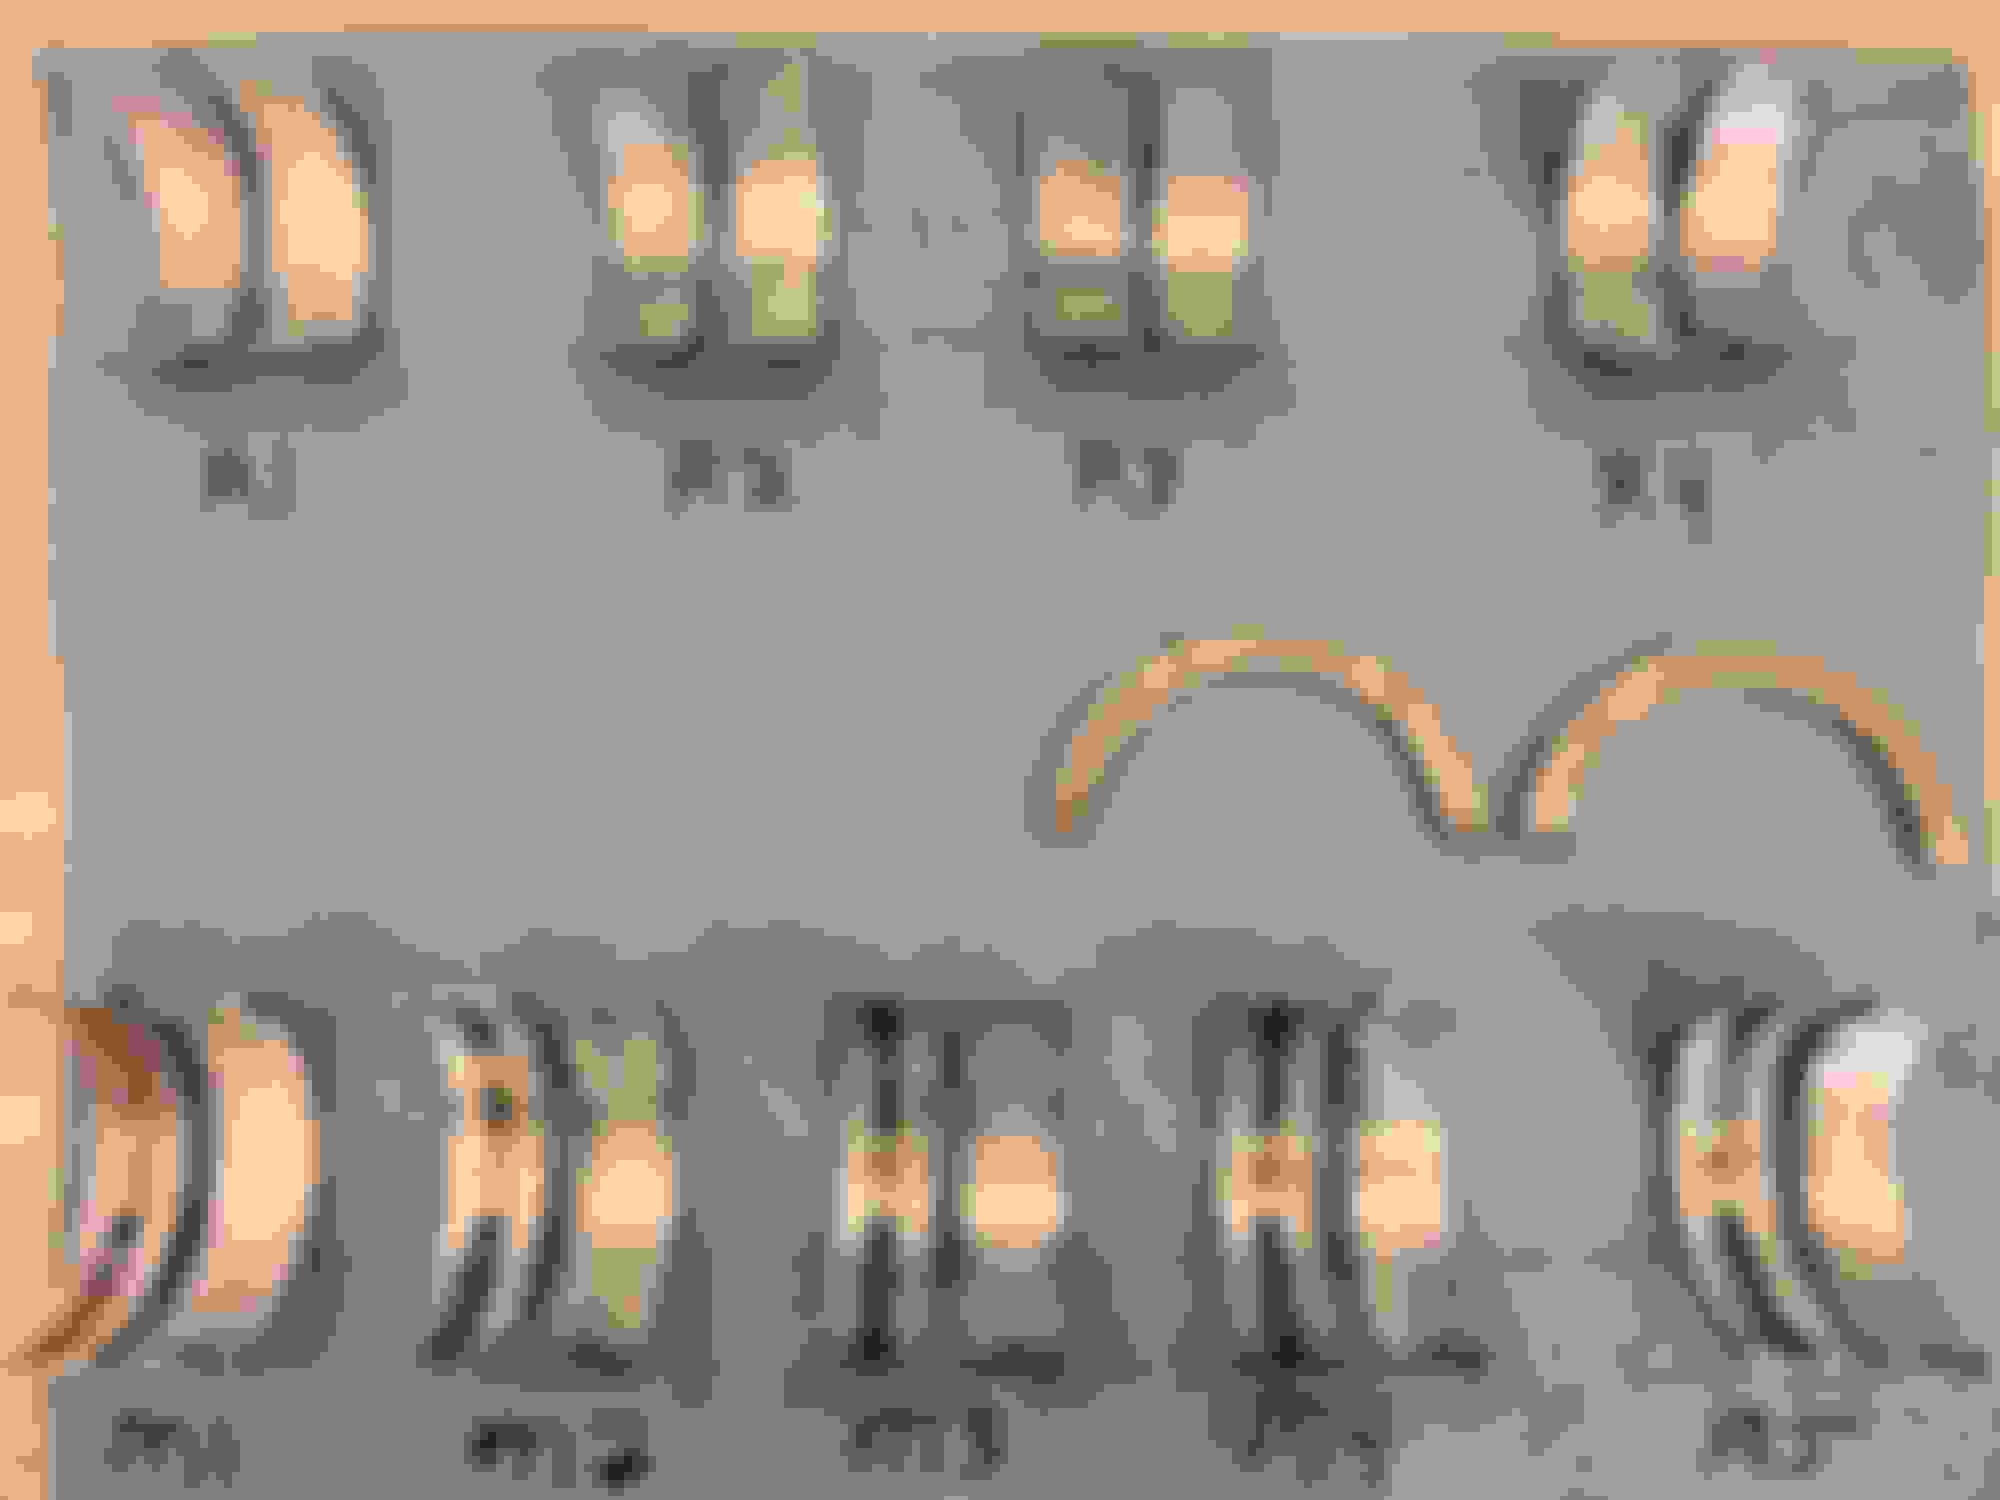
Did a preliminary clean on the head today, block sanded it with 120 then 240 and lapped the valves. The before/after pic shows the valve contact area (dull gray ring on the valve seat). There really wasn�t any pitting or any issues on the valves or seats so it was just a quickie. Tomorrow I�ll be doing a final clean and assembly of the head. To say this thing was filthy is an understatement.. I think the pics speak for themselves lol. I also checked the head for distortion with my straight edge and it�s about .002 out from cyl 1 to 4, 0 diagonally. Spec for distortion is .006
I recommend buying a suction cleaning gun like the one I linked below. I hook it up to 100psi air and feed it with mineral spirits. This comes in really handy when you're blasting out the oil feed holes in the block for the mains and the galley that feeds the oil squirters. You would be very surprised at what gets blasted out after you think everything is clean. I would be willing to bet many new engine build failures are caused by inadequate cleaning. When you think your're good, clean it one more time.


 03-27-2021, 01:40 PM


 0
0