When you click on links to various merchants on this site and make a purchase, this can result in this site earning a commission. Affiliate programs and affiliations include, but are not limited to, the eBay Partner Network.
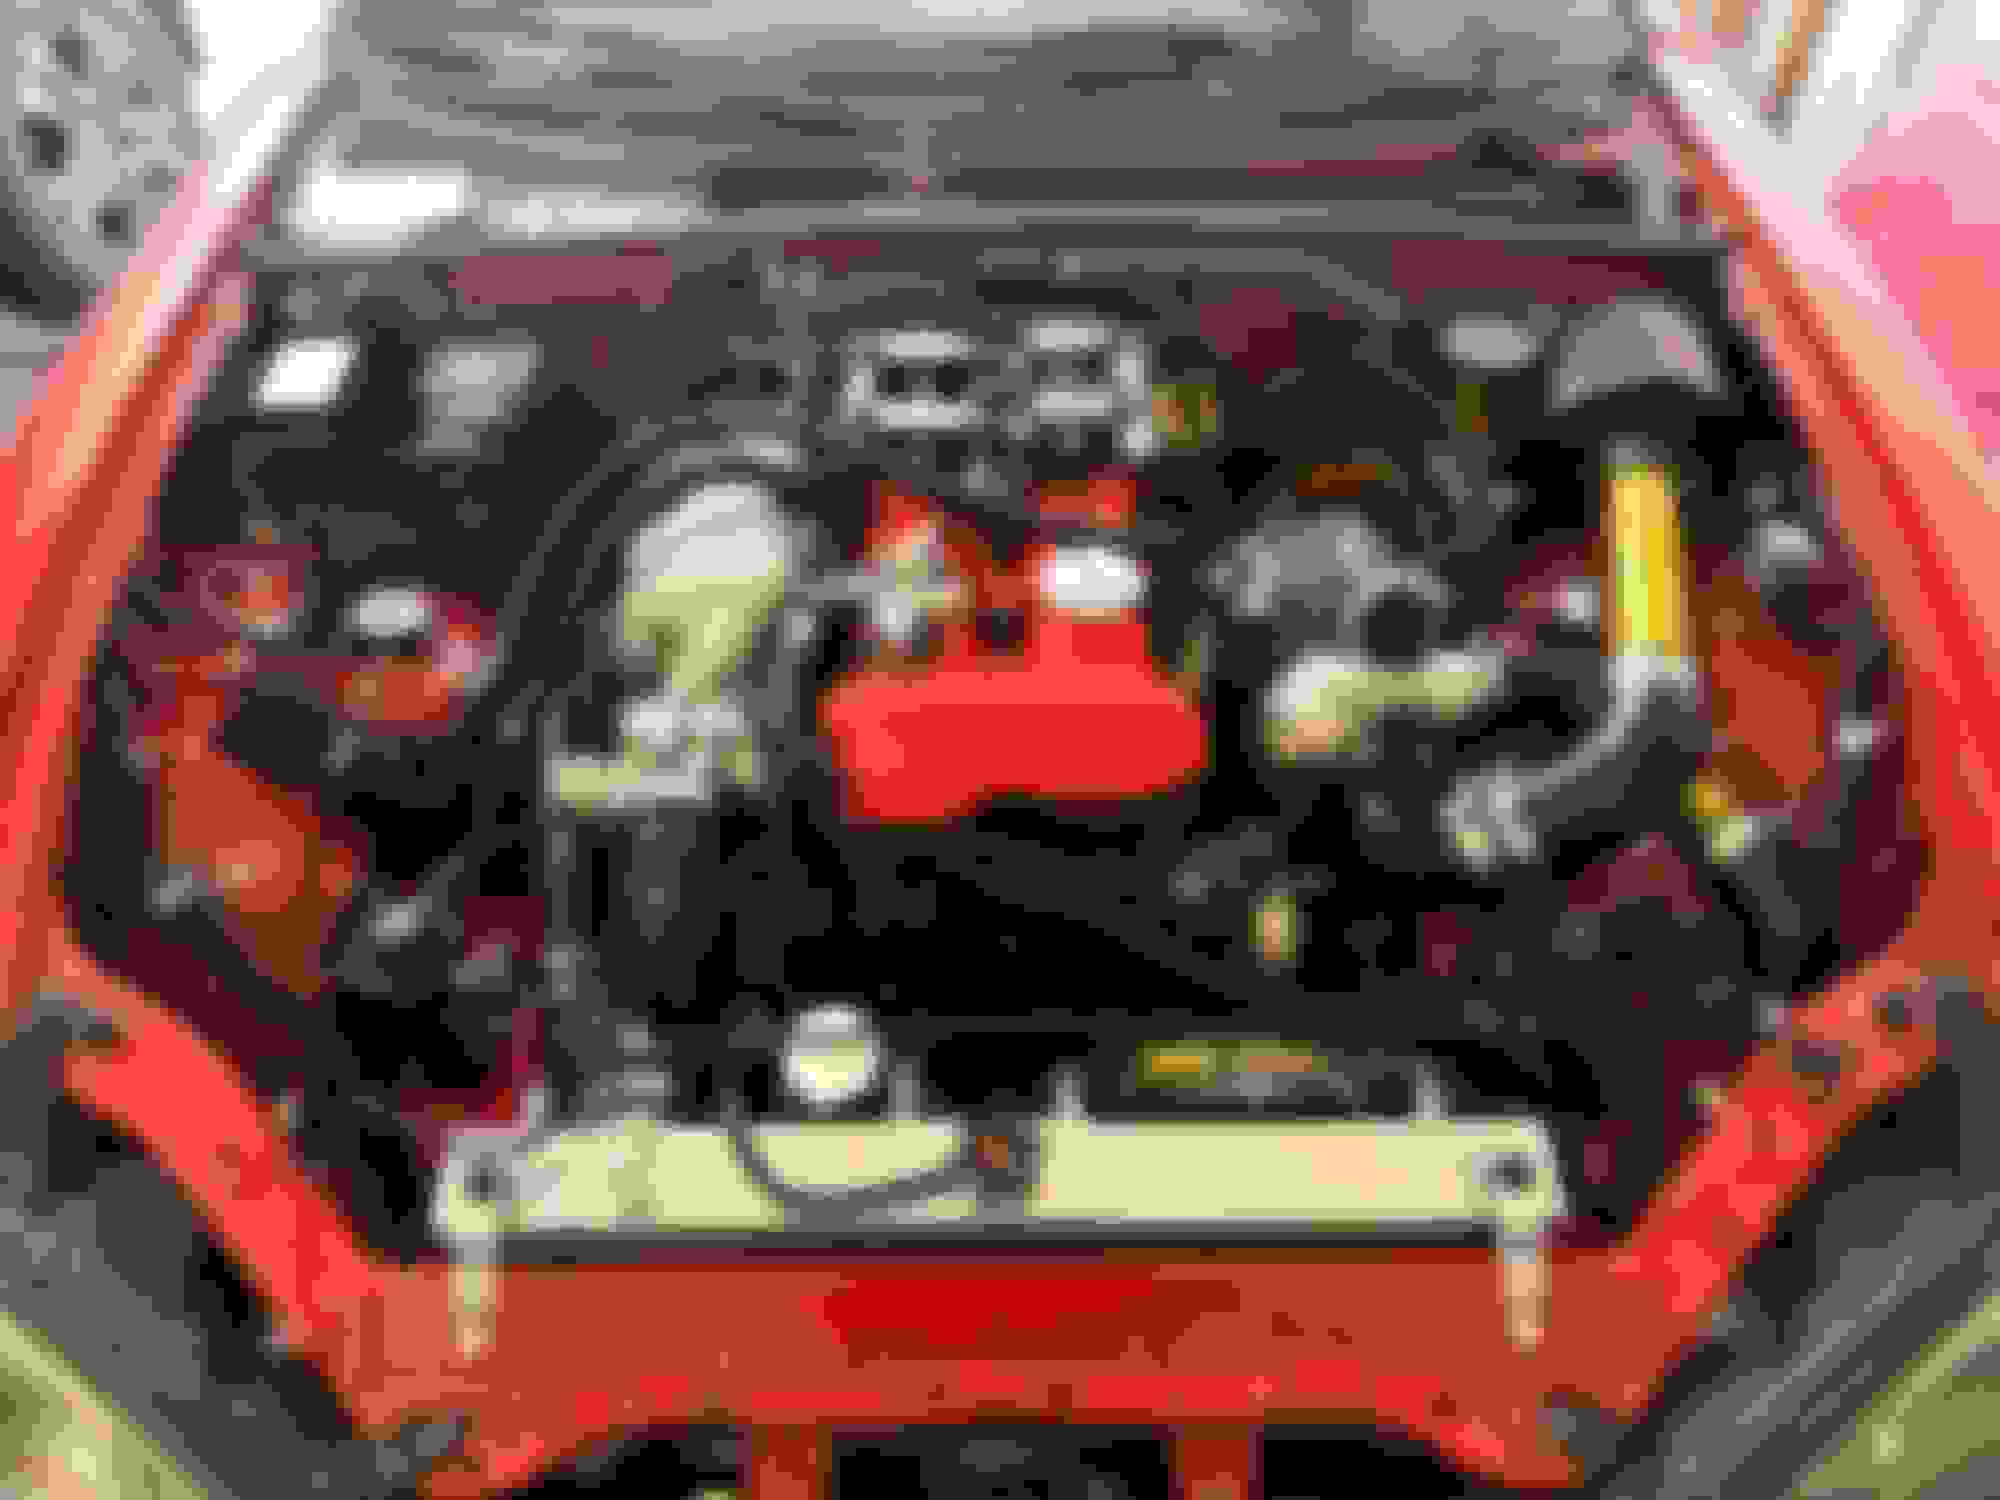
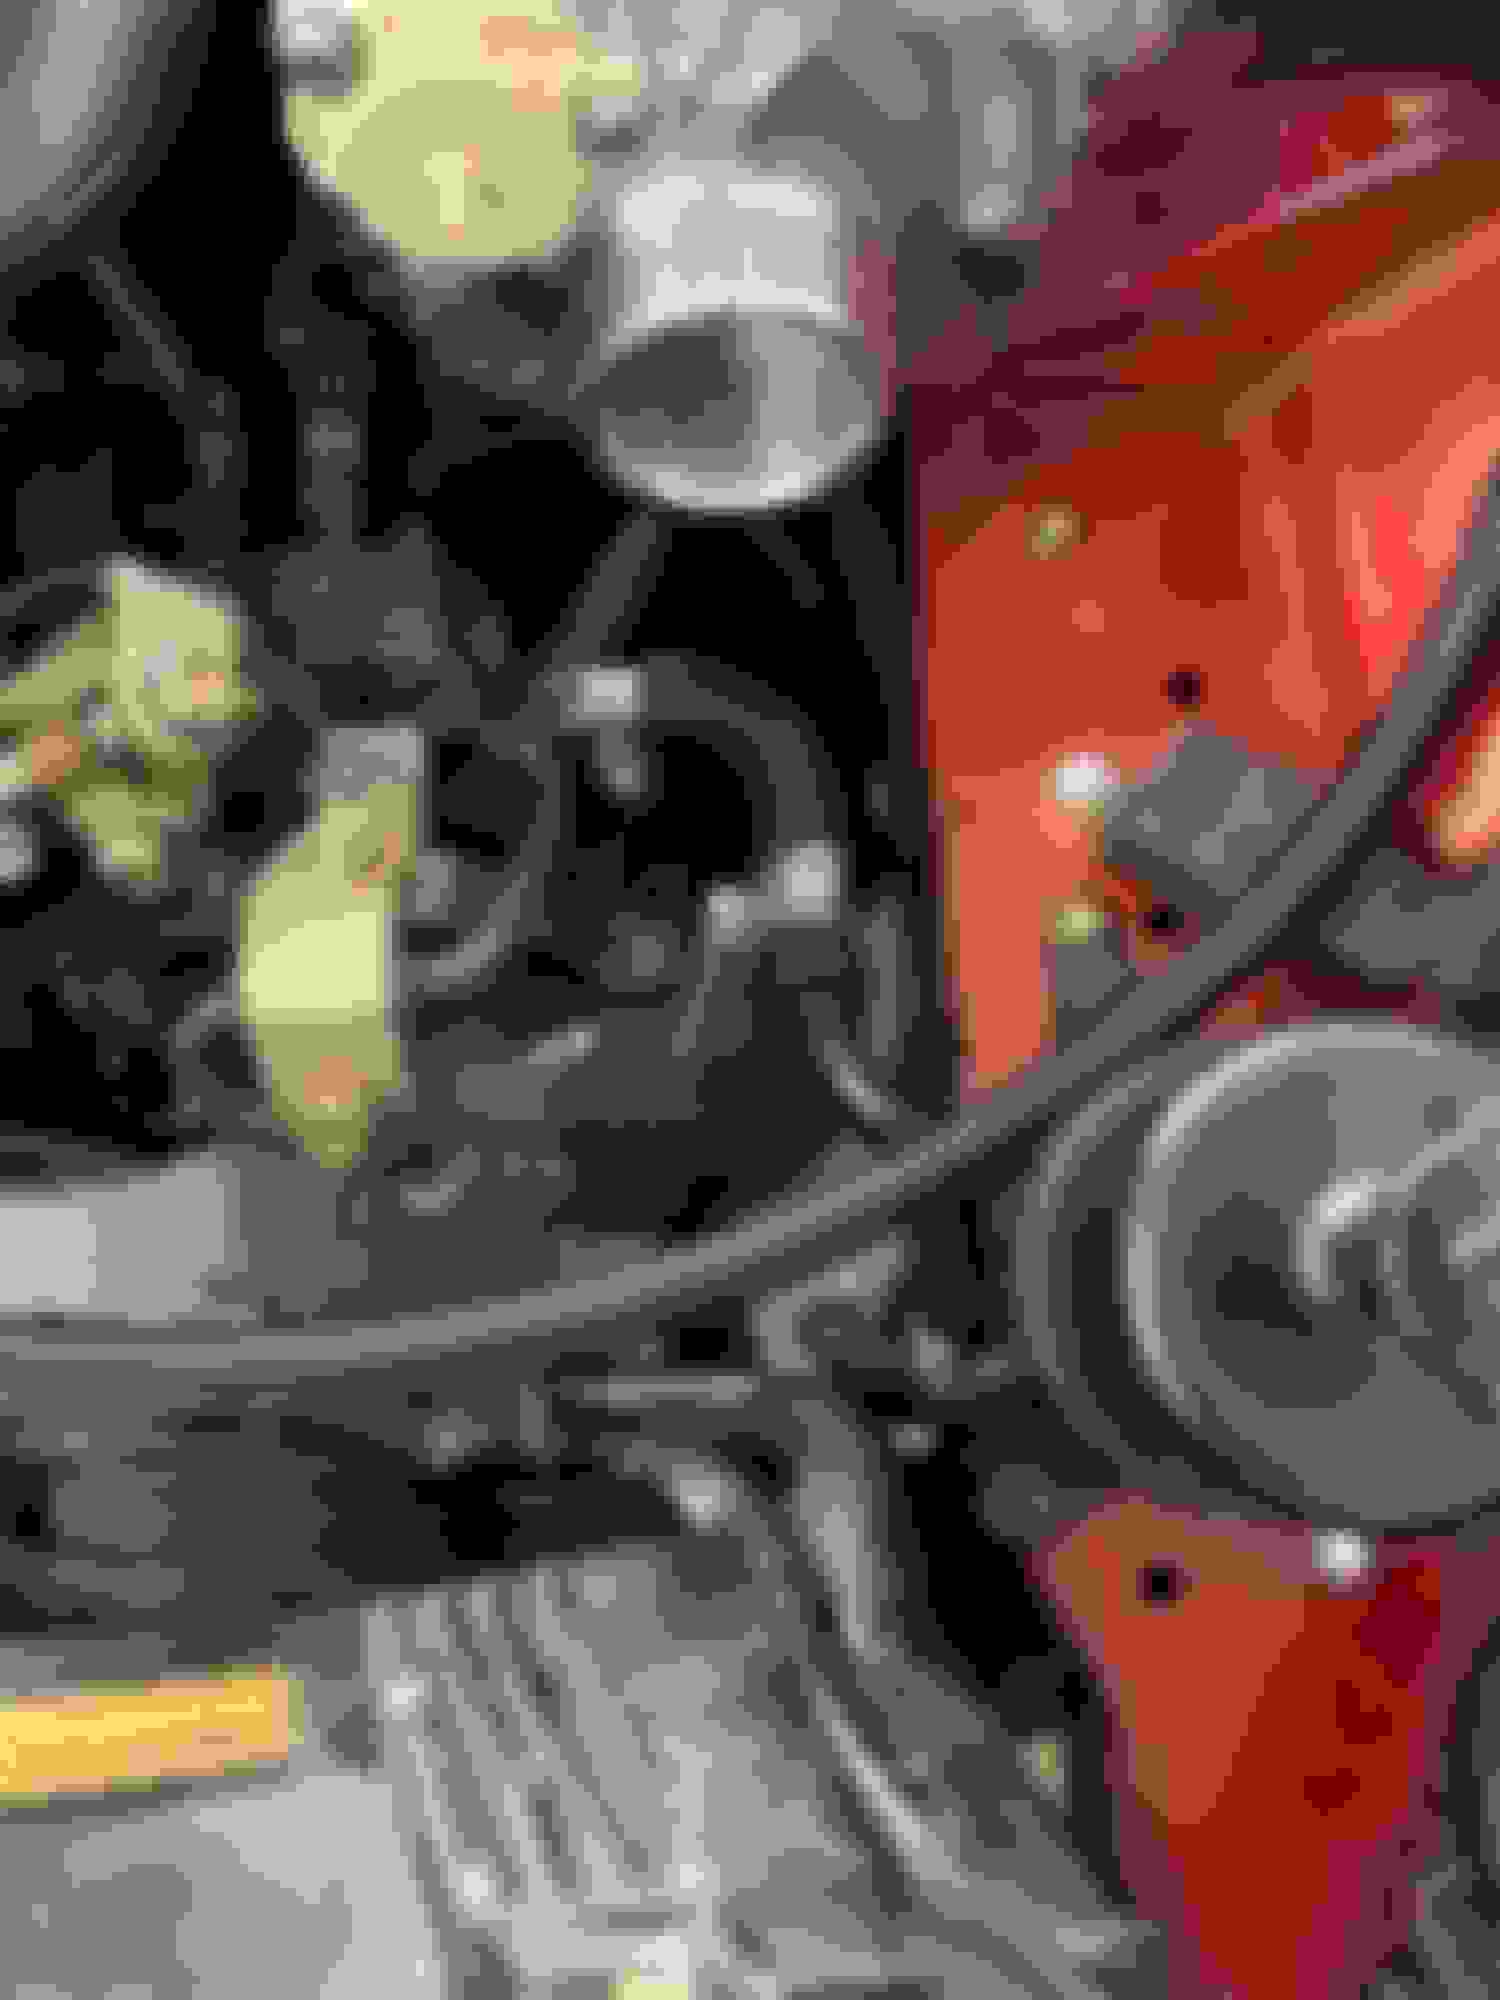
You NEED to get rid of that 90* Alu bend on your coolant re-route (it impedes flow and may stress your water pump) and in the last picture it looks like the 90* silicone hose is actually kinked.
- try and find a single hose that snakes around the TB hose to the rear of the car and use a hose connector to connect it to your coolant re-route hose.
I just watched a video about fluid flow through a 90 degree bend and it does speed up some areas to create pressure differences and definitely messes with the flow. But how bad is it really for the water pump? I looked all over for a snaking S shaped hose and couldn't find anything at all for 1.25". I suppose I could do two 90 degree silicones with straight barb fittings between them, I'll have to see if it will fit with my FPR location.
Also, yeah didn't realize I had the hose pulled up in that pic to get at my fuel lines, It actually sits below the FPR gauge and isn't kinked at all.
Jeez I can't believe its been so long since I've done an update, my apologies to anyone reading this! Life has been crazy, we had a very bad hail storm so there been lots of house repairs, new roof and my poor brand new CX-50 with 4k miles on it got absolutely smashed up :(. The miata is running and ripping now but let me get back to the process and story telling!
Per last post, I did get two curved bends so no more 90* fitting.
I made another little bracket for the boost controller similar to the FPR, it didn't turn out quite how I wanted it to so I had to use zip ties in lieu of the screws, but it works.
I don't have any good pics of the IC piping but if anyone is interested I can get some. It goes behind the headlight in the mazdaspeed stock location. 2" hot side and 2.5" cold side. Wrapped it in some reflective tape since I have to let my inner ricer out once in a while lol. Here's a sneak peak of how its almost sitting today. You can see the catch can is finished and I did the MaxSpark kit with full sequential wiring.
You can also see my little custom heat shield made out of an old license plate and then another formed a bracket that I JB welded together. I am not a fabricator and I do not know how to weld so this is about as good as it gets haha.
I had to rearrange the heater core hard line and the power steering line. The heater line I cut and took to a shop to get welded at an angle and then wrapped it in the reflective tape and a heat protective sock. I did the same to the PS pump nozzle but just used JB weld since I couldn't be bothered to spend another $100 on a quick weld. The PS move was to make room for my intake.
Then it was time to get everything wired up. My sensors, the ignition and a few other things. I decided to go through the firewall on the passenger side since it was easiest. Its the 3 wire bundles in heat wrap coming through, I left a good extra loop in there in case I need to make any changes in the future without having to run all new wires. While I was in there I also pulled out the radiator from the AC box since all of that has been deleted. Saved a few lbs woo!
So then it was time for the first start! It did not go perfectly smoothly. It sounded like it was misfiring like crazy. Felt like the firing order was off so I made a post over at the MS forums and they assured me my original firing order was correct even though I tried changing it up. Turned out I had my ignition wires backwards. I went into Tuner Studio and the test modes and fired each one to find that out. I think it was something like cyl 1 was firing off the 3 spark so obviously that was wrong. Once I swapped two quick wires it fired up immediately! It was one of the best feelings I've ever felt. To know I took a bare block, put it in this car and it was now running, having never done this before, absolute bliss.
I then started doing some very rough tuning and needed to get some miles on the engine. Lots and lots of oil changes and diagnosing leaks. On my first few drives I noticed some smoking coming from the turbo blanket. I figured it was new and would do that so didn't think much of it. Turned out that it was actually leaking at the turbo oil feed and saturating the blanket. I have since removed the blanket for potential fire reasons. Extremely bummed to spend so much money on a nice blanket that is now garbage. For anyone reading this, don't put your turbo blanket on until you know for a fact that you have ZERO oil leaks.
So this is where I started not having fun. I was leaking oil at the turbo due to a bad fitting and I was also leaking at my sandwich plate. I figured I would remove the AN6 line and drop down to an AN4 as my feed line wasn't quite as long as I originally thought it would be. Borg Warner mentions to use -6 for over 18" and I'm about 22" but considering I won't drive it when its cold out I figured its not a big issue. Fitting comes off turbo easy, I go to remove the AN/NPOT fitting in the sandwich plate and it freaking snaps in half. I don't know if I had torqued it down too much but it was coming out just fine and POP. My advice, don't buy Evil Energy fittings. I never will again based upon the amount of time and pain this cost me. Then I had to figure out how to get the threaded half out of the sandwich plate. I tried everything but in the end I just had to drill it out. I drilled it too big and when I tried to rethread it, it was not good enough, would have leaked for sure. So I had to order a new sandwich plate. I got one from Track dog racing which turned out to just be a Glowshift one. If you're looking for one of those just get them off Amazon, it would've gotten there several days quicker when I needed it.
I got the new sandwich plate in and used RTV on the AN4 fitting to keep the leaks away for good. And its held up very well.
Something I also did with no pics is the Skunk2 Throttle Boyd fix. I thought I could get away without it. Just do it. Its super easy and saves you the time of having to remove some things just to fix it after you install it once. Made a big difference and the throttle would actually snap back wheres without the fix the throttle would stick open at 3-8% just driving around town once it warmed up.
Anyways once it was all put together with no leaks, I drove it around for a couple of weeks and got about 250 miles on it before I needed it to go get dyno tuned. This is where I stopped having fun again. Obviously I was without the car but I was without the car for 3 weeks. There was a lot of drama with the tuner that I won't go into. He's supposed to come down to me in a bit and get it all sorted so I'll hold off on my feedback for now. If anyone is in the CO area and interested then you can DM me. But long story short it still doesn't have e85 tuned, no VVT, no oil temp sensor set up and the car died every single time I pushed the clutch in.
I decided I knew what I was doing a tiny bit with tuning so I took his spark map and a few other maps then loaded them into my tune. I somehow lost the VE table from his tune so the first time I hit 20psi of boost I saw 17AFR and freaked the F out. I since took lots of logs and let VE analyze give me a VE table that looks pretty dang solid and then I just tweaked the idle cells. Now the car only dies occasionally on clutch in. I think it has to do with the ECU thinking its in overrun and not triggering idle. Bumping up my dashpot adder to 2% quelled the issue a small amount.
Some small issues I had was the wastegate pushrod unscrewing itself constantly. I ended up putting some blue loctite on it and its held for a couple of weeks now. I also had a coolant leak off the cracking rubber nipple I hastily added when I first started the car. I bought the HPS one which was pricey but its soooo much thicker and capable of withstanding much higher temps. Solid little piece should be good, fingers crossed.
I also put in the FM hood struts and holy crap they're soooo nice. Can't believe I didn't do these sooner with how often I'm under the hood.
She's running pretty warm around 200F with high 70F intake temps. It will hit close to 210 after a pull if I get caught at a red light. I've had to turn on the heater just to shed some of that heat even though its hot as crap out haha. I think this is due to me not having an undertray on there and the air is pressurizing the engine bay from underneath. I tried burping the system and just got coolant everywhere with hardly any bubbles coming out. I've been reading some aero posts on FB and the forums and ended up getting a LRB undertray which is on the way and I plan on doing hood vents in the near future to help with temps. I also plan on doing some ducting to help air get through the IC and rad easier. For now all I've done is a simple tape job up top with some high temp HVAC tape. I am also only running one rad fan. I'm thinking of getting a 13" spal one and finding a small like 6-8" one to sneak behind the other side that is quite space limited to help cool it down. Right now the fan kicks on at 195F and don't really do anything lol.
So if anyone has any cooling temps or feedback I would love to hear it. I know these engines run hot so I'm not sure if I should be worried with 215F coolant temps in the summer? I'd rather not have to get a xflow rad since I need the money for other things but I also don't want this thing to get too hot!
Thats pretty much whats been going on with the build since my last post. Here is a corrected dyno graph for where it sits at 91 octane running (I think) 22lbs of boost. Need to doublecheck the logs. But she freaking rips and I can't believe I get to drive such an absolutely fun car whenever I want, that I built! If anyone wants to see a few short vids, I'll get them up on my instagram @meowmotor. I also got my Montana plates, so its basically a super car now haha.
Just fit the factory undertray, nothing wrong with that. Except, whatever undertray you use, make sure you seal the gap between the undertray and the bottom of the radiator. And all the other gaps where air can bypass the radiator. Air going through the radiator encounters resistance so it will divert to a path of less resistance, you need to think like a molecule of air, and ask where it can go that is not through the radiator, and keep working through the multitude of paths available.
Then realise you have forgotten about the path forward into the bumper skin and out through the wheel wells (iirc).
There are any number of threads here on sealing the radiator, I haven't felt the need to look elsewhere.
Appreciate the validation! I ordered the LRB speed one a week or so ago so I'll wait on it to get here. In the meantime, I'll test out my hacked up stock undertray and see if it helps at all.
There is a lot of sealing to do for the MSM bumper. I'm worried since my IC and rad are several inches apart and I can't realistically move either so I'll have to fill lots of gaps. I've been reading a few threads here about sealing the rad and will absolutely be doing that once I find some time.
I did put the stock under panel tray on temporarily and did a quick 5min duct tape job for some gaps and it is much better. Still not great and I will definitely need hood vents but it is much improved cooling while moving.
Welp, good things never last! Minny is broken. I'm not 100% sure on what happened but here's the symptoms:
-Heavy Oil leak out of head gasket at the back, exhaust side
-Valve cover slight leakage
-Rear main seal seems to be leaking heavily
-Oil smells like gas
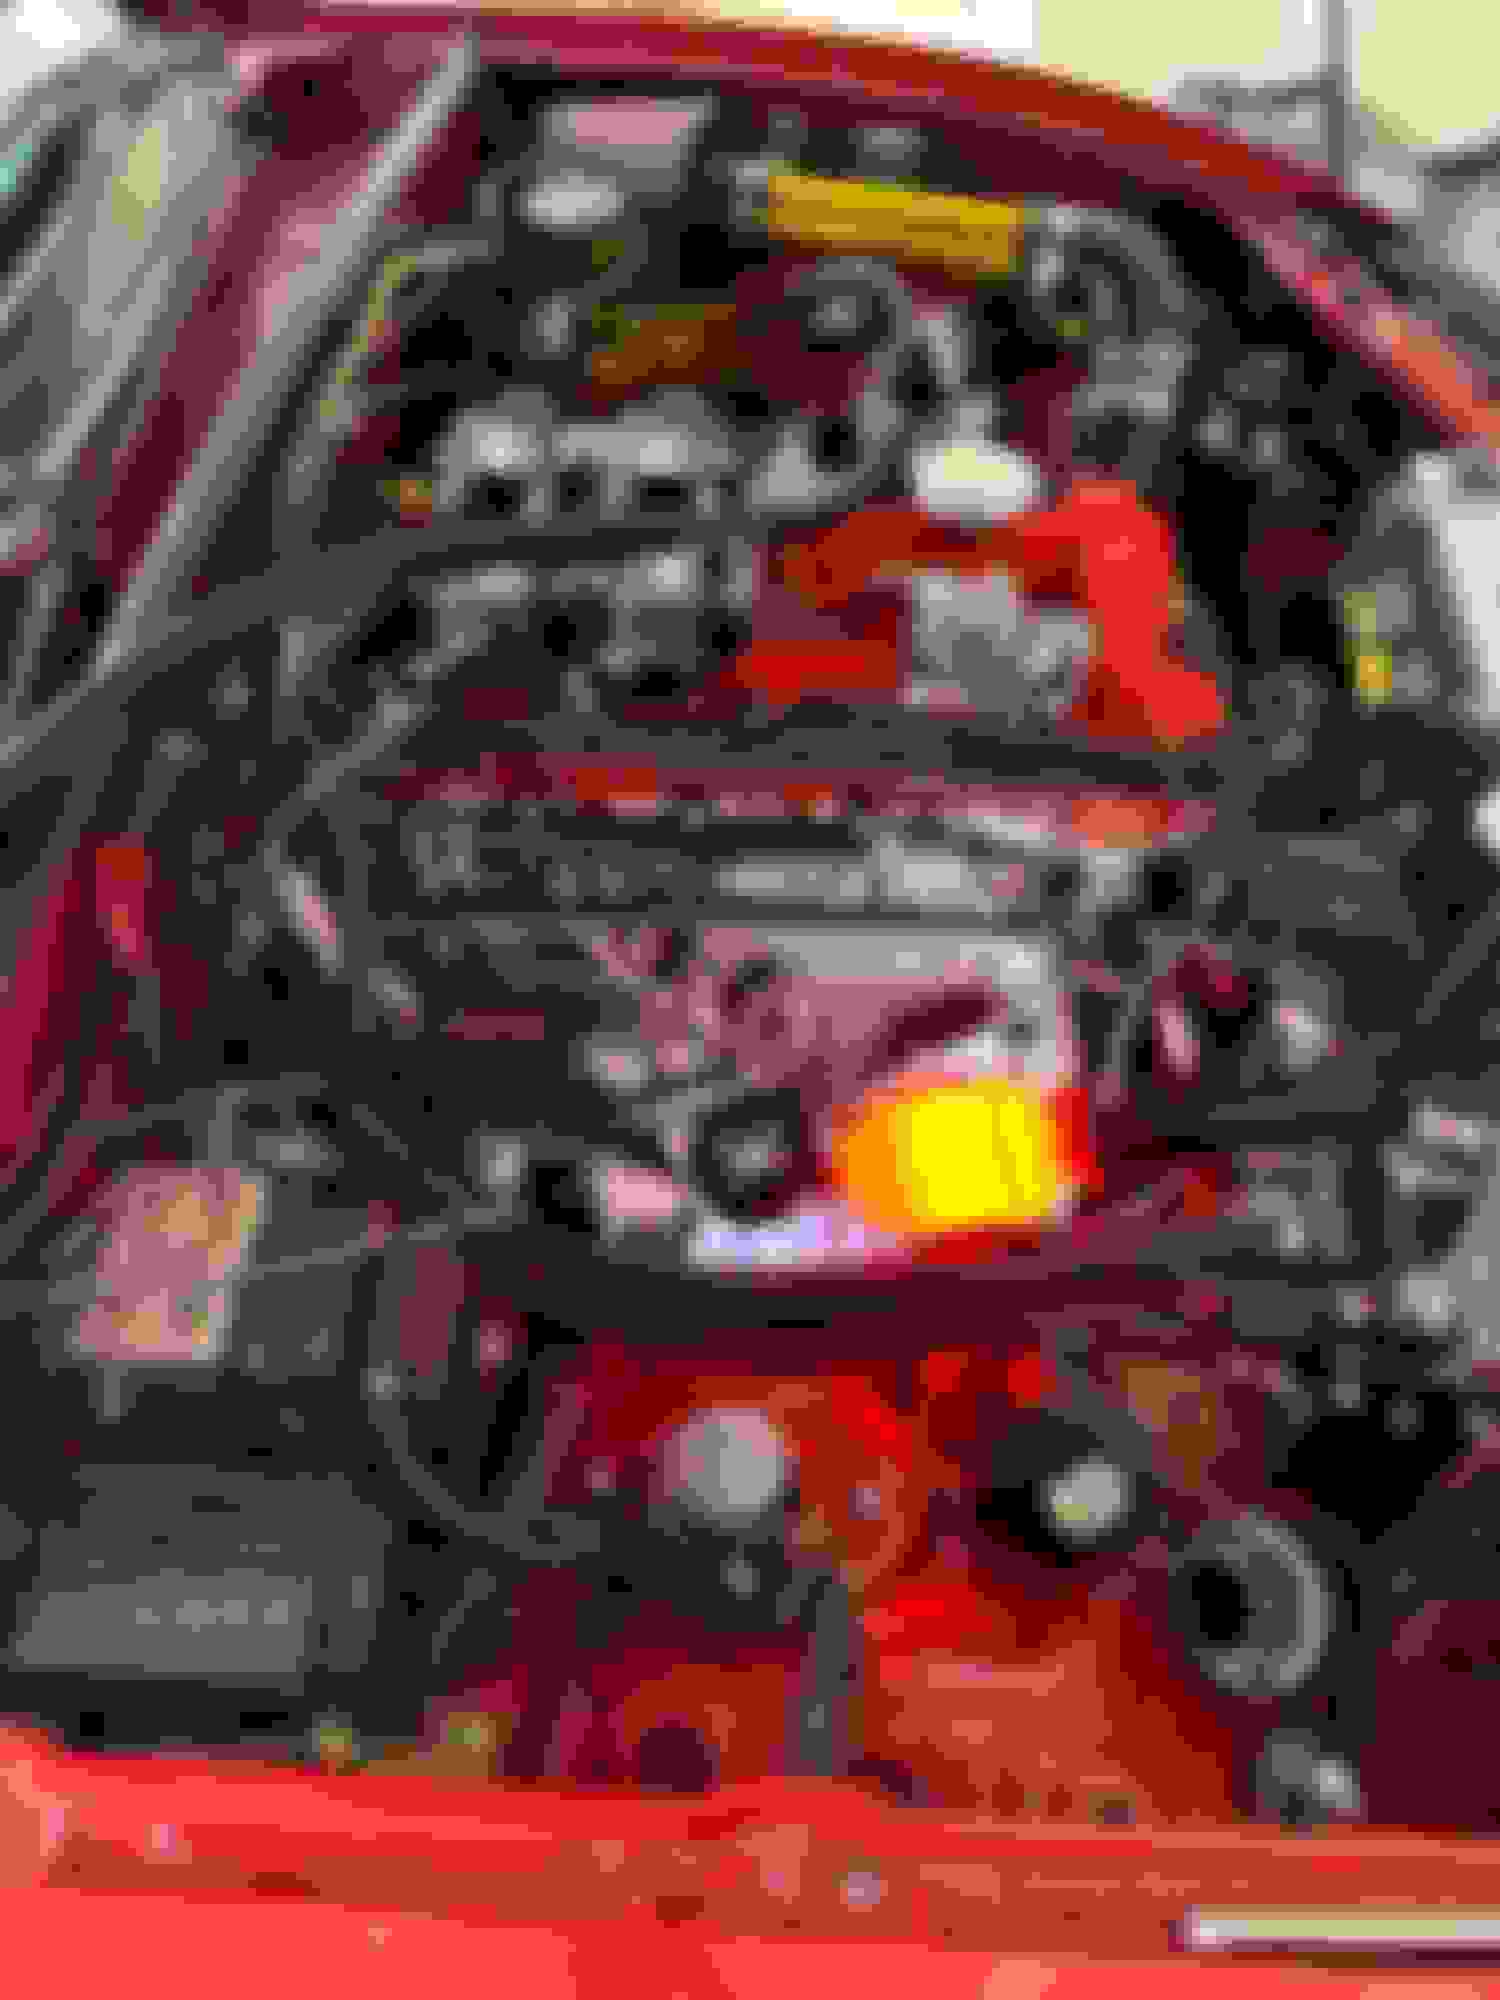
Here's a few pics, you can see the oil coating the block (color difference) and the oil on the undertray and there was a small pool after it sat overnight. Leak doesn't seem continuous, meaning its since stopped. I had just installed the LRB Speed full undertray and noticed fresh oil on it in several places. Side note, it helped cooling tremendously! Ignore that coolant on the trans, unrelated spill.
I ran a compression test and it was 118-123 in all cylinders. However, cyl 4 had oil all over the spark plug. I'm thinking head stud failure or head gasket failure. I will have some time this weekend to hopefully pull the head and check. I plan on "tightening" the head studs before I loosen them just to see if they are still torqued down. Some other theories were crank case pressure but my catch can only had about a tablespoon of oil and I drilled out all the passages following what Greg Peters did for his. So it should have enough "volume" to vent. Especially since I only hit 24 psi and theres others running far higher boost on these motors. If any one has any other ideas I'm open to them. Kinda annoyed I'll have to replace that rear main seal already, what a pain lol.
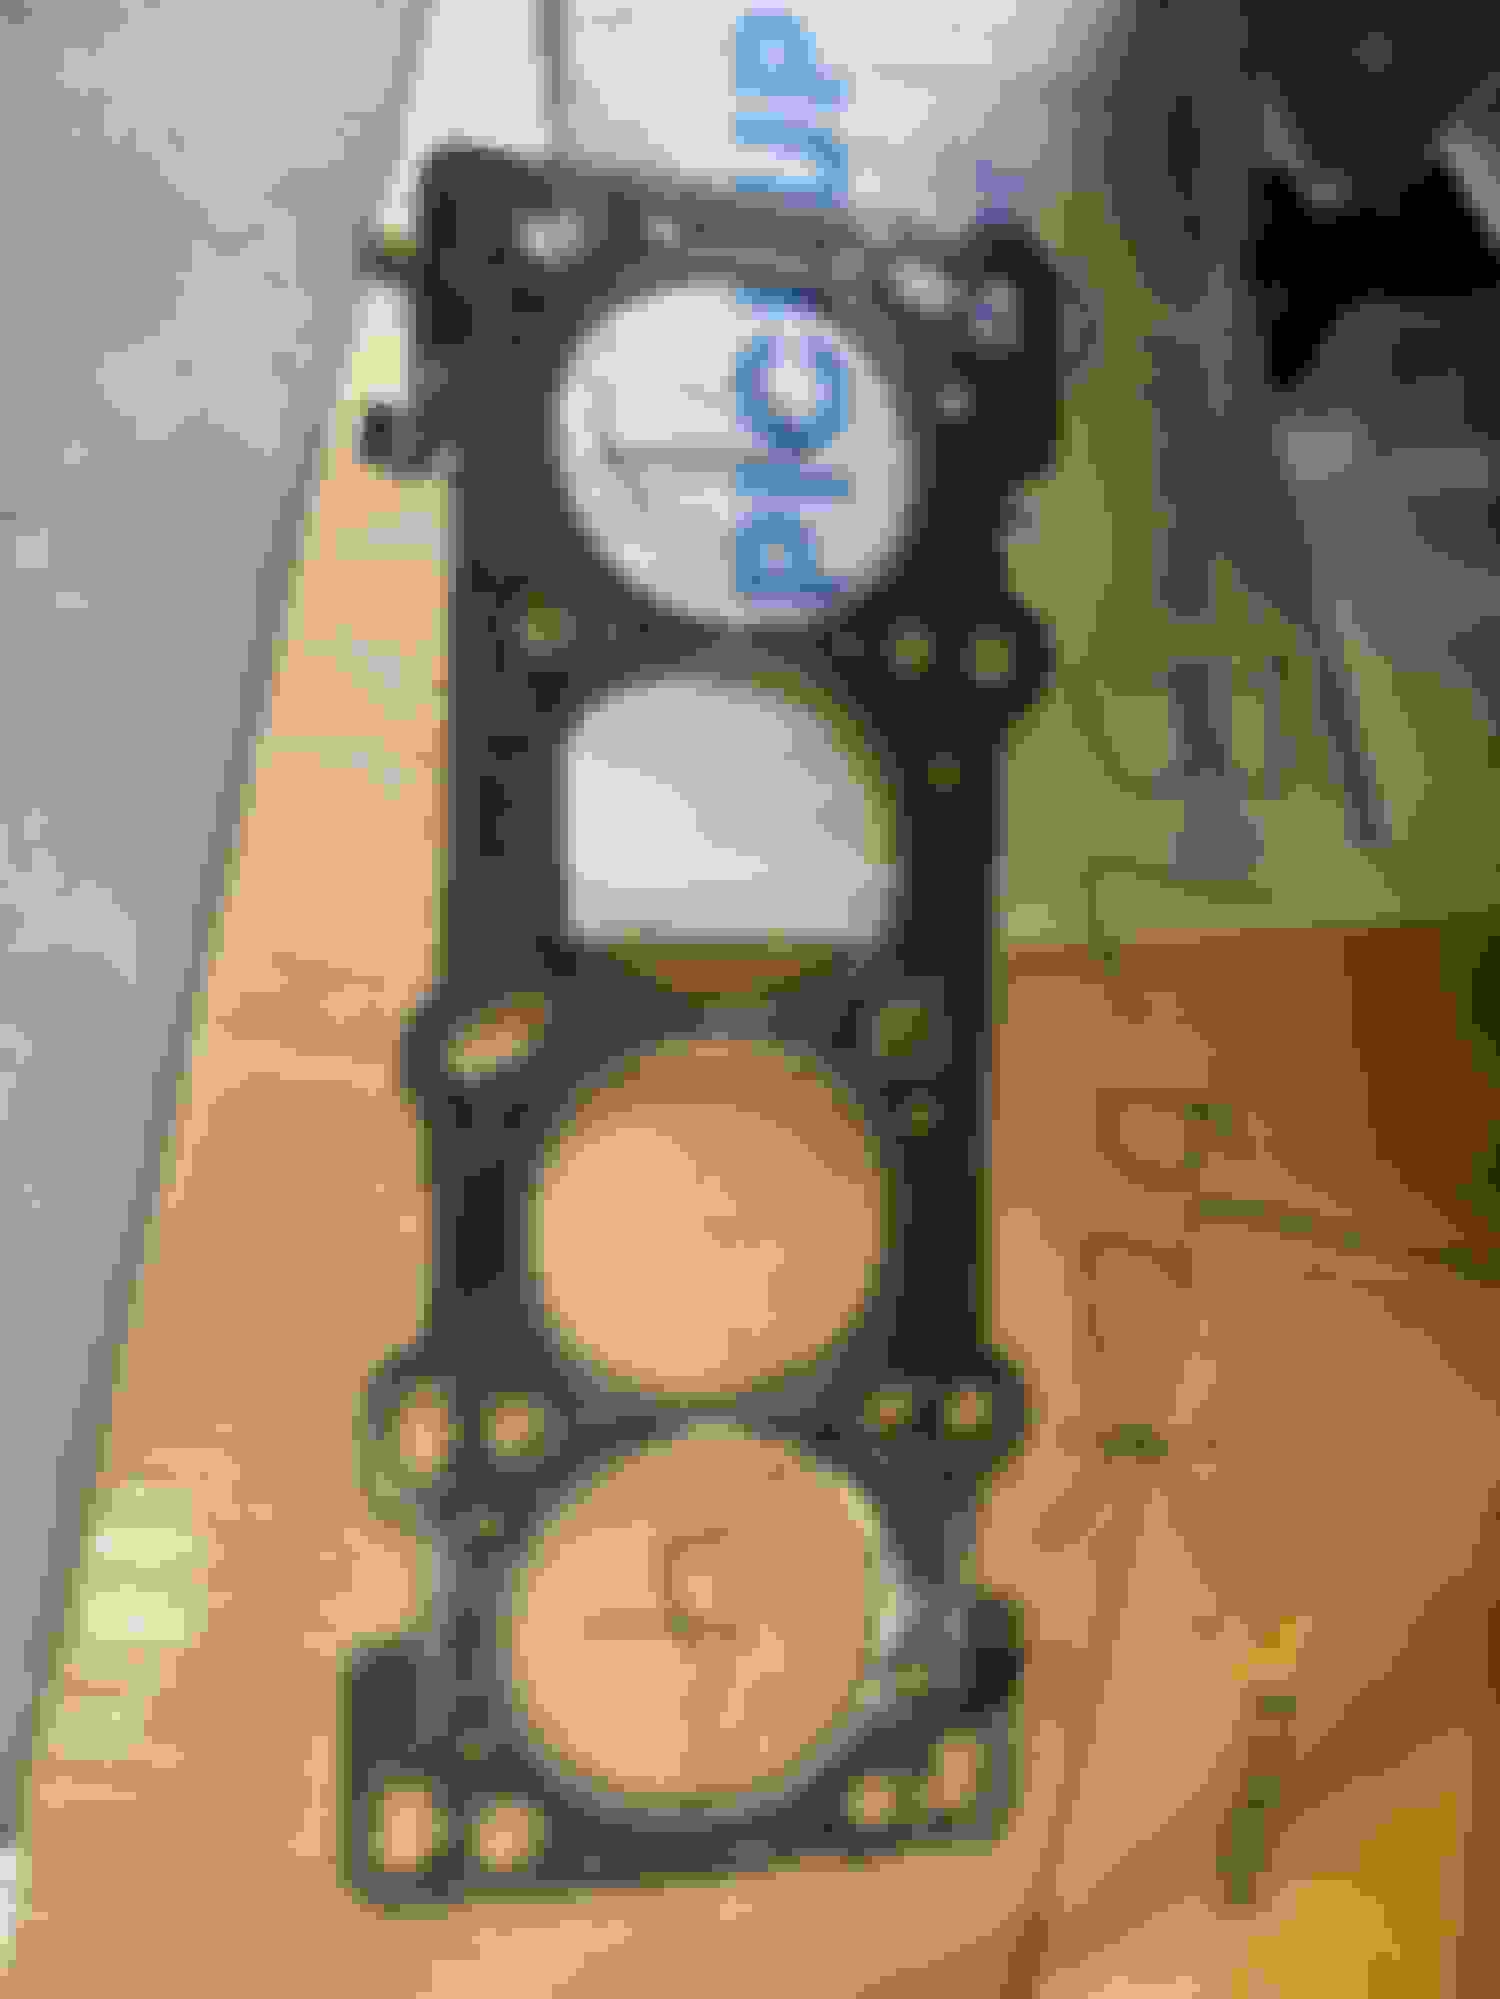
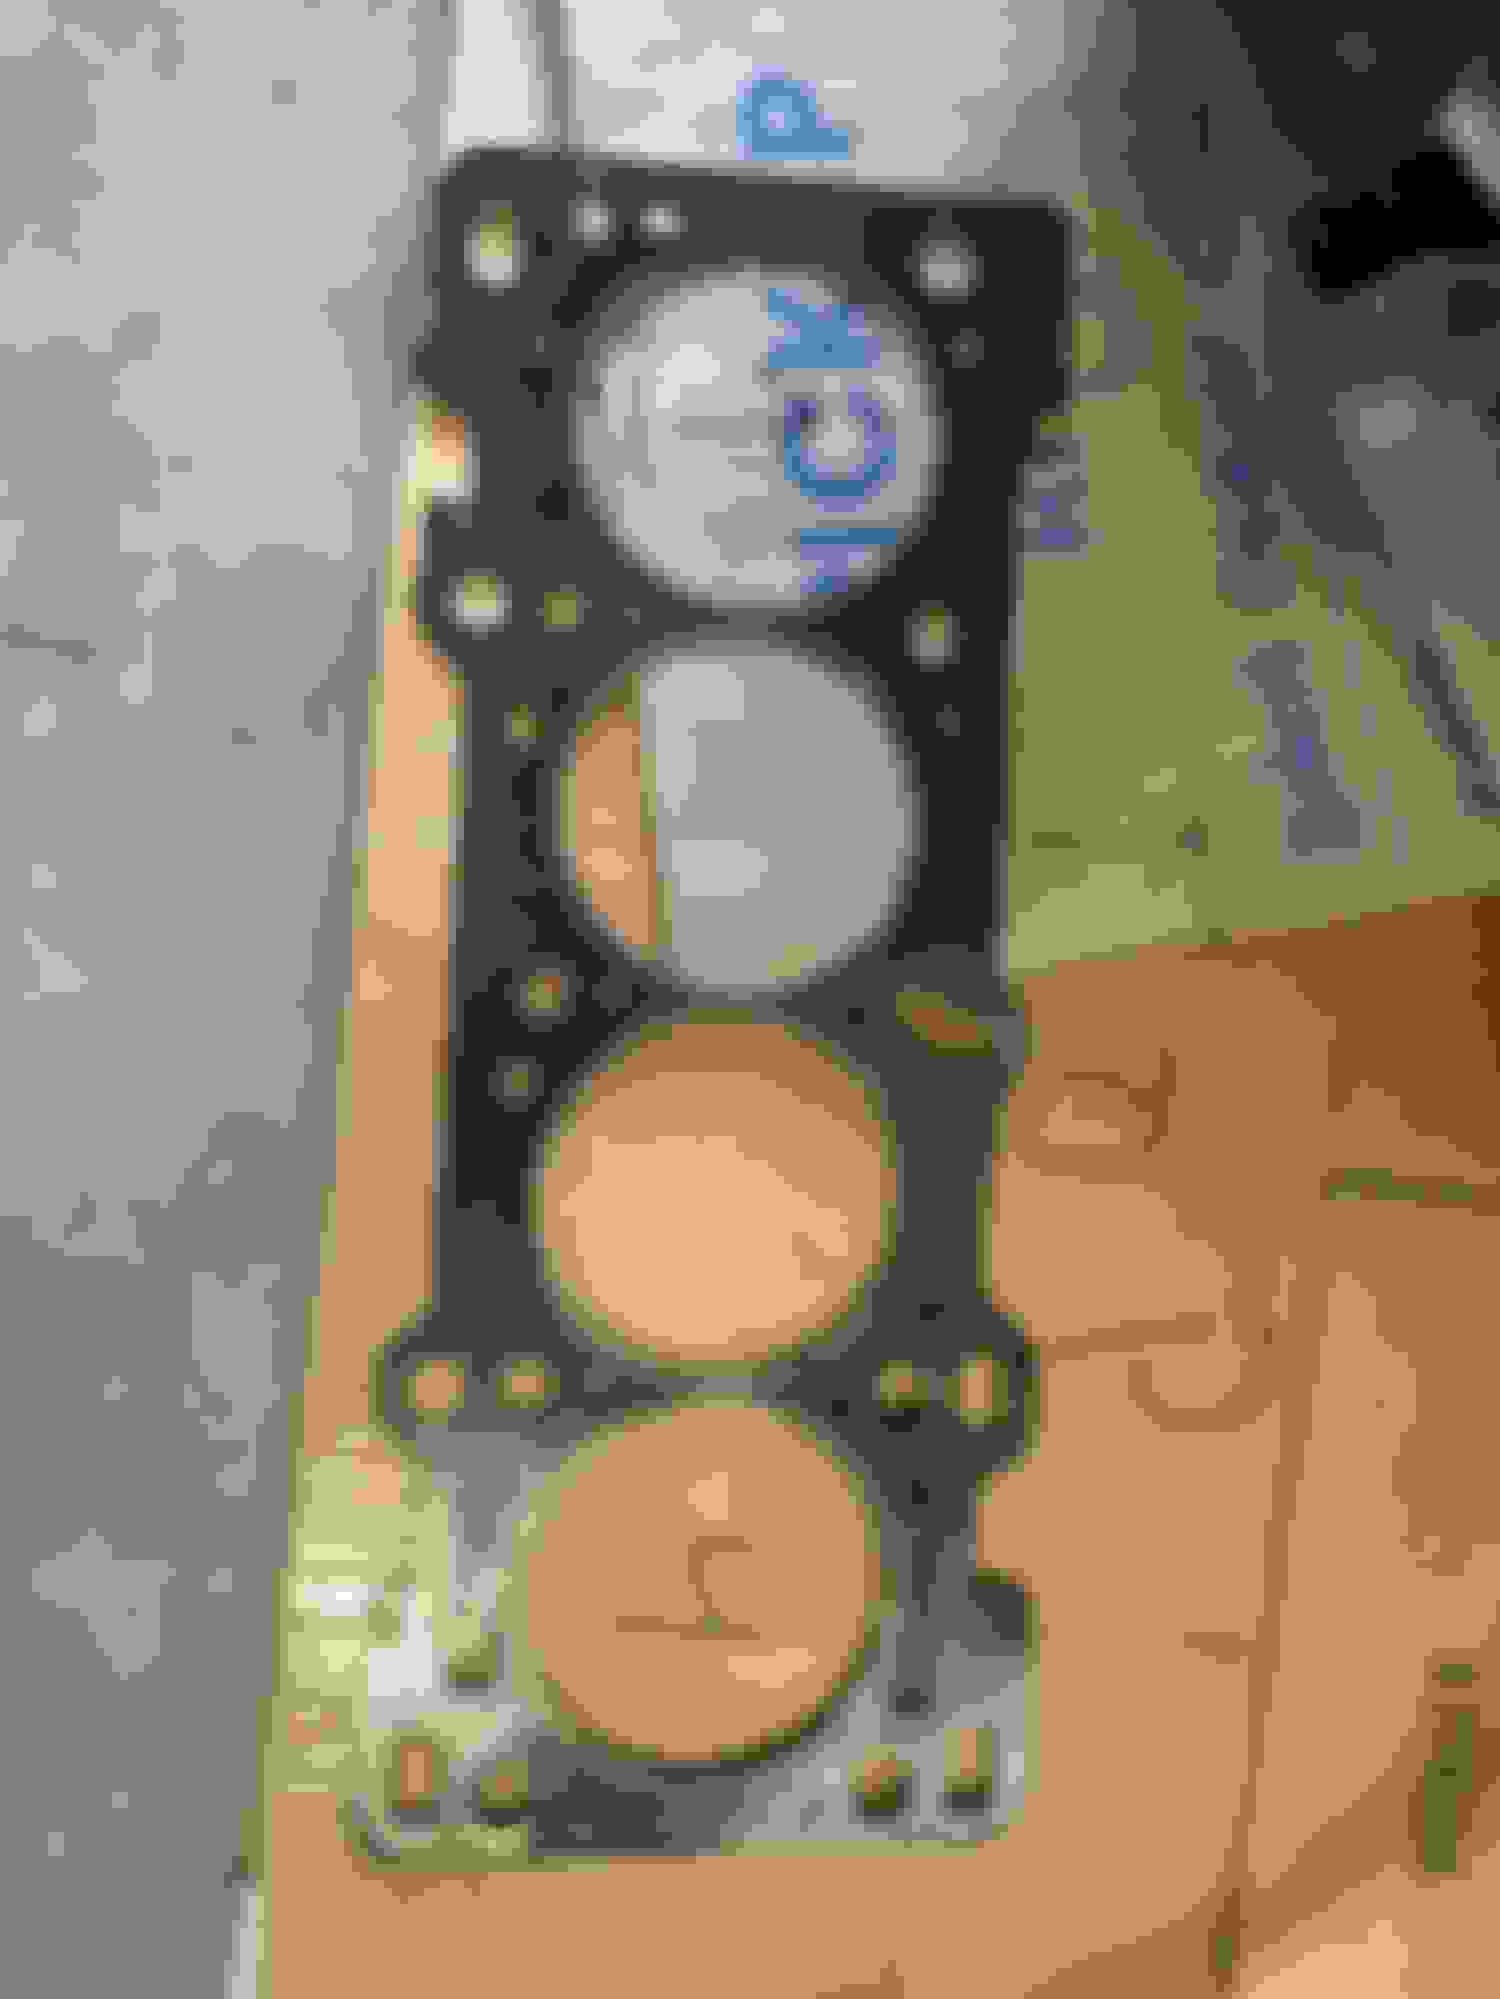
My theories of head gasket and studs was incorrect. All studs were at 85ft lbs and the HG looks fine, see the pics:
block side is up how it would sit on the engine, head side up
If nothing else, here's what a HG looks like after only 500 miles. At least the block was easy to clean and the pistons look ok.
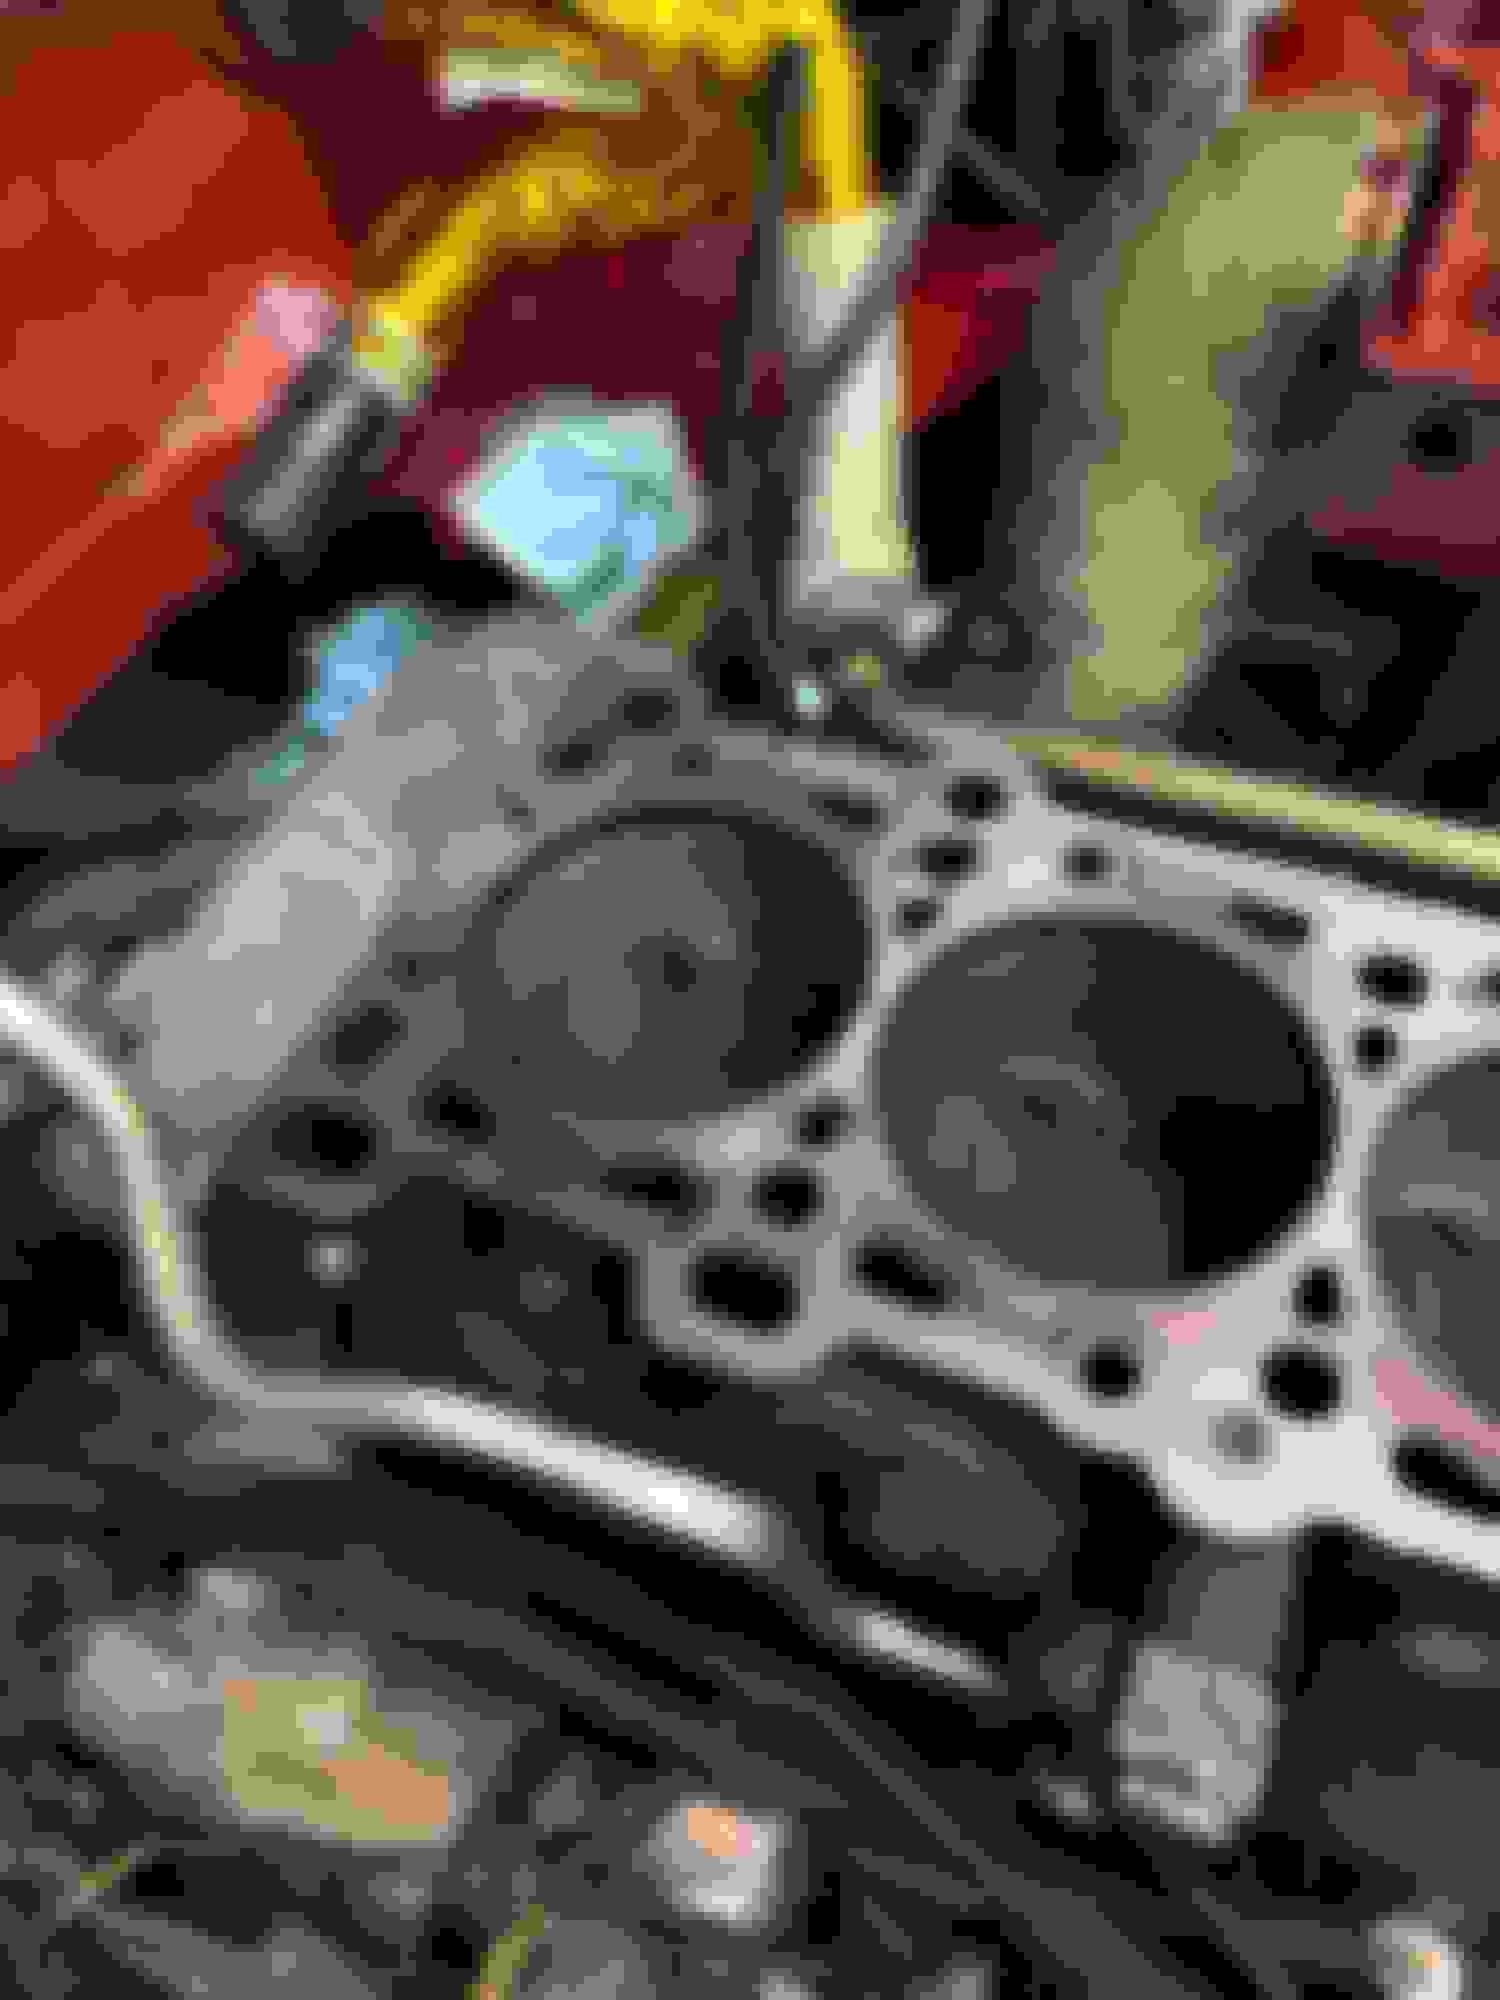
I did test the piston rings by spraying a bunch of break clean on cyl 4, where the oil was on the spark plug. The brake clean pooled up and didn't drain or bubble. I don't think this is an official test but its all I could think of. Side note, if you do this, make sure you change the oil. The cylinder walls also were super smooth and no ring pieces were found. Its impossible to see the rings themselves but I didn't notice any signs of them not seating correctly.
So that leaves the most likely cause of crank case pressure wasn't venting well enough. I pulled the baffles off and took a ton more material off the passage from the middle baffle zone and added an additional hole. I'd much rather deal with more oil in the catch can since its not a DD or track car, than deal with pressurized oil.
I also previously did not RTV the baffle plates and this time I did. Logically I don't understand how this will help but since Mazda did it from factory, I will give it a shot.
Next up is plugging everything back in. Then next weekend I'll pull the trans and replace the rear main seal and seal up the flywheel bolts better with some high temp thread sealant as opposed to blue loctite. I'm guessing I didn't put enough loctite on initially either. Then turning the boost down to wastegate spring (I think 14psi) and I'll just give it a couple thousand miles to really break in.
I also switched to a cometic headgasket and ARP studs instead of putting the Ultra Duty's back in. Even though they were not the obvious failure, maybe they stretched or lifted or something, I have no idea. But I trust the ARP's since people run those with higher hp than I have. I also only used 65 ft lbs this time per their instructions. UD studs said to go to 85 and thankfully I didn't see any head cracking but I'd just rather go with the trusted brand.
Turns out the Rear Main Seal was perfectly fine, no oil out of that or the half moon seal. Put everything back together and it wouldn't start. My shortcut with the head gasket meant the timing belt slipped a tooth so I redid the timing belt and she fired up. Still leaking. Found the source was the rear cam cap and circular seal. I put grey RTV on it and took it out last night, still leaking pretty bad.
I'm getting a new valve cover gasket, gonna check the flatness of the VC and top of the head. Assuming both flat, I'll reinstall with a crap load of grey RTV, torque to 60in/lbs and pray to every deity in the world.
If its still leaking I'm going to have to rebuild the engine. I'm thinking my piston ring gaps weren't done correctly by the shop. I think the root cause is excessive blow-by and crankcase pressure. I didn't double check the ring gaps and I'm kicking myself for it. Allegedly the top is .017 and the 2nd ring was done to .023. I think the second ring is far too big for the Supertech rings and pistons, but I need to find the instruction sheet.
Pretty disheartened so don't expect any updates for a while, probably taking a break from this project for my own sanity.
I decided not to install the new valve cover gasket and instead had someone come over with a boroscope and do a leakdown test. I had already done compression but I wanted to test with the valves closed and isolate the rings as the variable. Cyl 4 had almost 40% leakdown, not good. I then rotated the engine and did cyl3. It didn't even register and the amount of air you could hear rushing past the rings into the oil pan was actually comical. DIdn't even bother doing the other two cylinders at that point since fate had been determined.
Boroscope confirmed what I saw with the head off only 150 miles ago. The issue was getting worse and the vertical marks on the cylinder walls had completely taken away the cross hatching. So its rebuild time again. The mobile mechanic's theory was that the rings were not de-burred. As the machine shop had assembled the pistons/rod and rings, I had assumed (bad move) this was already done. I'm not going to completely fault the shop, I should've double-checked. Regardless, it means a second rebuild and I will not be returning to that machine shop. I will also be doing the rings myself this time.
Probably won't be updating this thread as much the second go around unless I think theres worthwhile info to post and this thread is mostly just me rambling anyways . See y'all in a few months!
Don't fret, I'm still here and she's still alive haha.
Had minor surgery and a cold so I was down for 3 weeks but I basically have the short block done. I'd continue but I am currently awaiting a call back from Flyin Miata. Turns out you should NOT clean your brand new head gasket with brake cleaner
My other mistake (I make a LOT of these lol) I sealed the oil pan with ultra grey, which I am now having second thoughts about. So I threw an extra bead on the half moon seals to hopefully help.
Things I did right this time:
1. Balanced the rod and piston combos. Biggest delta previously was about 3 grams, now down to <1gram between the 1&4 and 2&3 strokes.
2. Cleaned the crap out of the block. Last time I did not clean the block at all. There was some dirty stuff that came out of my oil galley behind the oil pump and I used ATF to wipe the cylinders super well per a Real Street Performance video.
3. Gapped the rings myself this time. .0017" top ring .0021" second ring, (it came out the box at this gap). I would prefer being down to about .0019 but I can't add material so I'm stuck. Still better than the .0025" they were the first build. I also gapped the oil control rings to match the 2nd ring. This was a tip on Total Seal Piston Ring's channel, those guys have tons of great info regarding rings.
4. Assembled short block with garage door closed. I realized last time, I had the door open and probably a load of dust in my cylinders.
5. Bought some actual break in oil this time. (BR30)
Some are reading this asking what went wrong with the first build. The theories are... a little bit of dirty assembly, I didn't clean the cylinders when I got the block back and I was fighting to get it started. Thats problematic because I had two ignition wires crossed, causing misfire and because of that, lots of fuel washing the oil off the bore walls. This time, the tune is already good to get it started, I'll even lean it out a teensy bit more. And I will be running the break in oil with no oil change for about 200 miles. And I will drive it harder this time to seat the rings better. Thinking unplug wastegate so I'm 0 boost but I'll get it up to 4-5k revs around 50% throttle and do longer vacuum pulls in gear.
Take all this with a grain of salt, I clearly have no clue what I'm doing and just hoping I'm a blind squirrel that will finally find a nut lol.
Hey man, I'm proud of you for sticking with it. I hope this engine build works out for you! May the miataturbo cats grace you by showing you their anus (why do cats do this?!?)
Hey man, I'm proud of you for sticking with it. I hope this engine build works out for you! May the miataturbo cats grace you by showing you their anus (why do cats do this?!?)
Thank you, I appreciate that very much! I don't have any friends or family that are into cars so this and the local FB group are my only outlets and that means a lot. Hahaha who knows, but both of ours do it. Must be an affection or trust thing!
Were you not running break in oil last time? What oil did you use?
Nope, I was using Valvoline VR1 per some bad advice not to use break in oil. Its a conventional oil high in zinc but not meant for actual break in.
My new machinist gave the BR30 recommendation this time and said not to worry about changing it out after a couple minutes or the first 10mile drive or so. Per his rec, I'm going to run it for about 200 miles then switch to the VR1 again. That is, unless you have a different recommendation, I'm all ears!
 04-16-2023, 07:55 PM


 0
0


 . See y'all in a few months!


