
Hid projector retrofit


Thread Starter
Junior Member
Joined: Jan 2009
Posts: 53
Total Cats: 3
From: Springfield nj
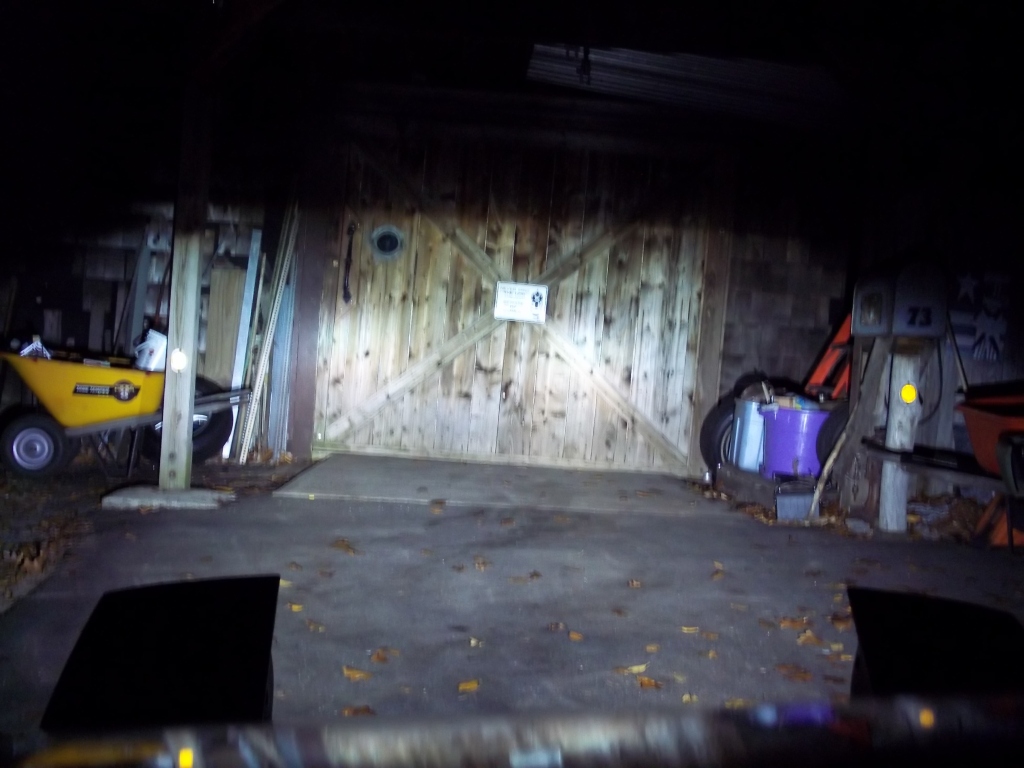
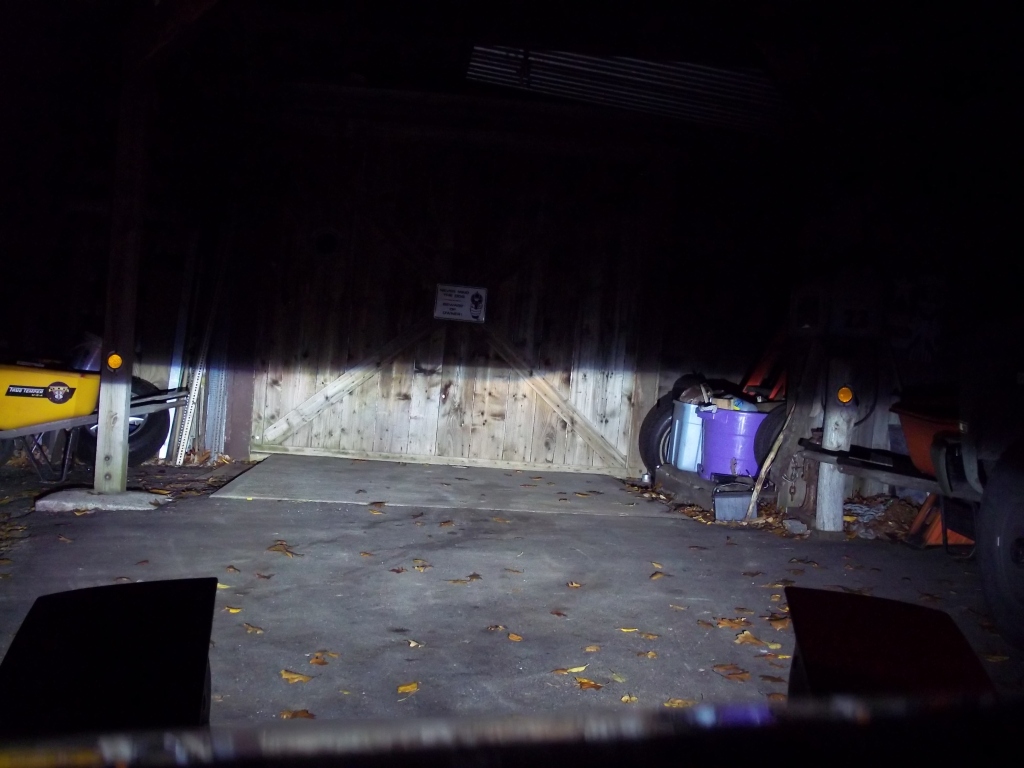
Miata headlights suck. I tried blaring everyone with a "hid" kit, but i've finally plunged for a retrofit. I used TRS morimoto d2s projectors.
photobucket-4658-1319738804615.jpg?t=1319738958
I know this is MT not m.net, but if anyone wants me too, i'll make a guide.
photobucket-4658-1319738804615.jpg?t=1319738958
I know this is MT not m.net, but if anyone wants me too, i'll make a guide.
Last edited by danotakulus; Nov 14, 2011 at 09:56 PM. Reason: Inclusion of [NA] for clarification.
Reply
 0
0

0

 do it!!!

Thread Starter
Junior Member
Joined: Jan 2009
Posts: 53
Total Cats: 3
From: Springfield nj
--------------------------------
Originally i wanted to do a low profile conversion too, but when the ******** at the yard told me $300 for two 1g eclipse buckets, i told him good luck keeping his business open.
No, this is not the prettiest retrofit.
Yes, one you drive at night with them you will not care about the issue above.
WHAT YOU WILL NEED:
-TOOLS-
*Phillips and flathead screwdriver.
*4 1/2 grinder with cut off wheel.
*An oven.
*A dremel/
*Razor.
*A ruler.
-PARTS-
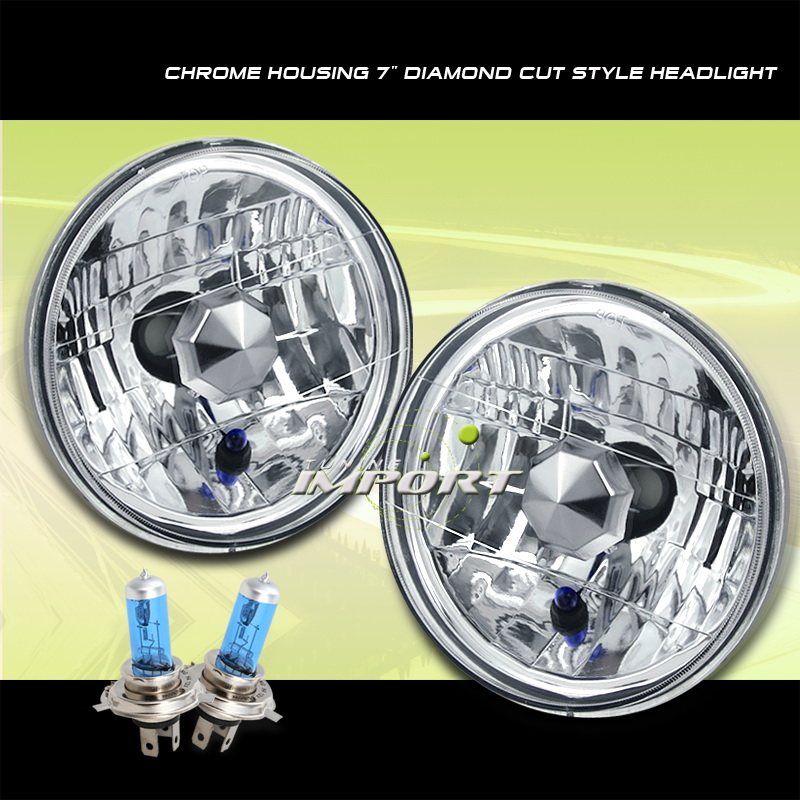
*4x6 eBay headlights.
http://www.ebay.com/itm/190585666124...84.m1439.l2649
*Morimoto Mini D2S 2.0 Projectors.
http://www.theretrofitsource.com/pro...roducts_id=236
*If you have a generic h4 HID "retrofit", you can still use your AMP ballasts and wiring harness. Instead, you will want the PNP upgrade kit.
The kit includes the projectors, bulbs of your choice, [ I suggest 5000K] shrouds to go around the projector, and adapters that allow you to use your old ballast to fire the D2S bulbs.
http://www.theretrofitsource.com/pro...roducts_id=178
*If you DO NOT have any hid kit yet, TRS has a kit for you with projectors, ballasts, a wiring harness, bulbs, shrouds, even glue if you wish.
*Thin sheet metal.
* 4x6 buckets.
These are what hold the headlight. I got mine off a old 89ish blazer. Very american and easy to find.
*Silicone.
comes in a tube.
*paint of your choice.
This is going to be used inside the headlight. I suggest hot pink or flat black.
STEPS
1----------
Now that you have everything, take your oven to 250*. Some headlights have hardware on the back and inside them. Throw that **** out. Throw those headlights in there for 15 minutes. You want the glue/ alien matter to soften so that you can pry it open with your screwdriver and razor. When in doubt, throw it back in the oven. Once you get both, move on down
2----------
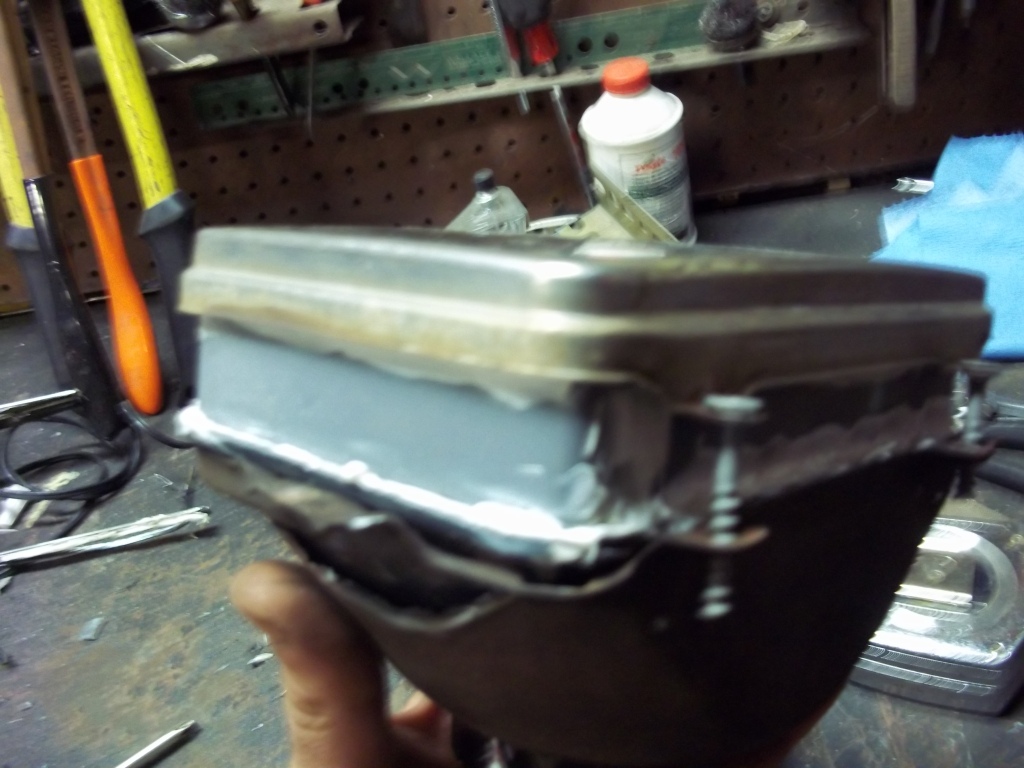
Take the projectors, and if you look at the back, it is threaded. This is where it connects to the headlight. there is a big piece of silicone that stays on the inside of the headlight, then the guide which looks like a funny washer. It only fits one way. If it fits too tight, use your dremel to make some clearance.
YES IT STICKS OUT FARTHER THAN THE HEADLIGHT. THIS IS GOD MAKING SURE NOTHING IS EASY.
3----------
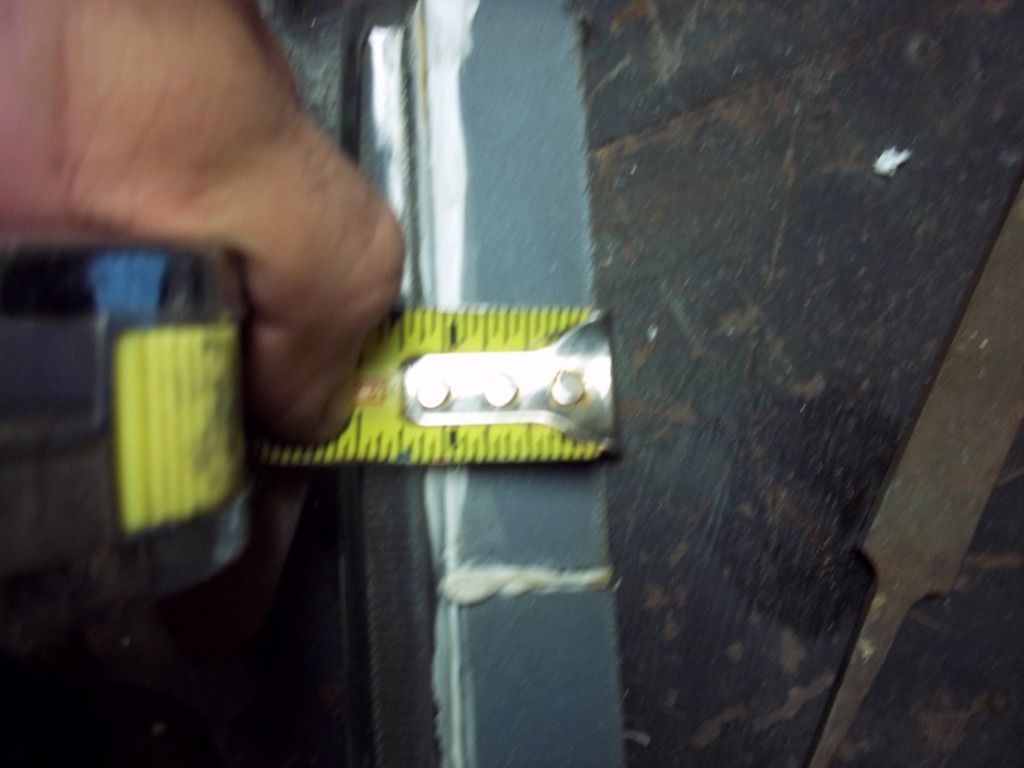
Using that sheet metal and your grinder, make 4 1" strips. make each one longer than 14". These are going to be our spacers between the headlight housing and the glass. I bent the corners using a vise and a hammer. You need two for each headlight; you may need to trim them to fit around the headlight. Once it gets the ok, use silicone to mount it to the headlight backing. Once its ready for paint, paint it with whatever color you want.
4----------
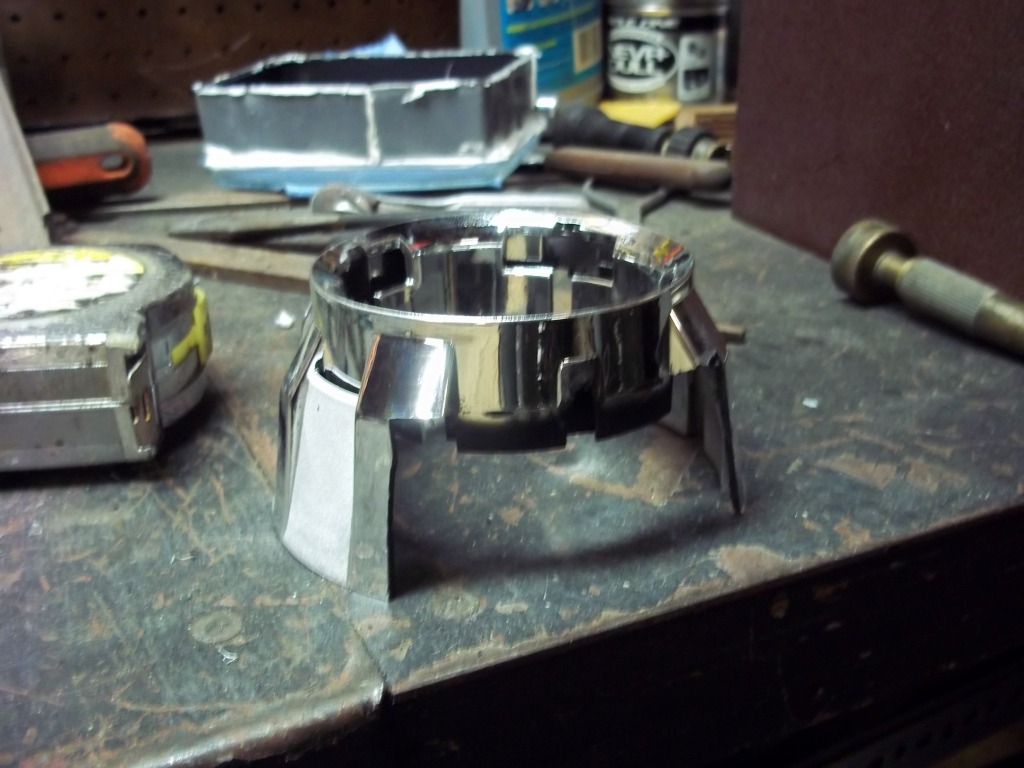
Now we need to modify the shroud so it fits in the housing. once its trimmed, you can leave it chrome or paint it. This is a good idea of where to start.
5----------
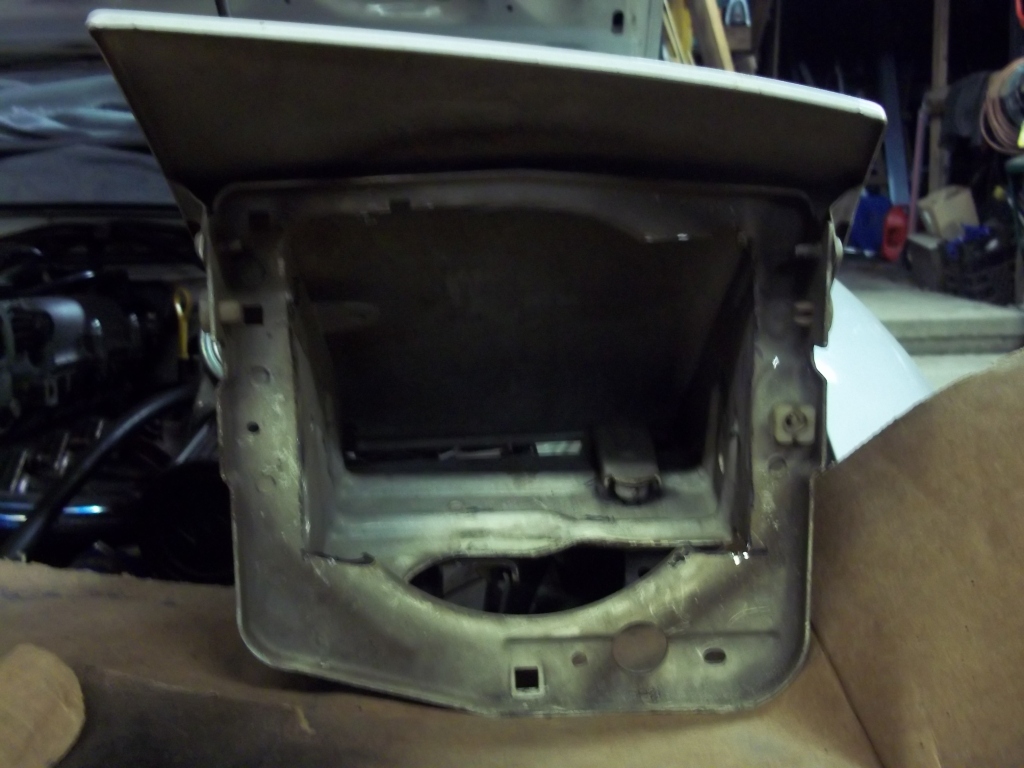
Now we will trim the headlight frame. Raise the headlights and remove the fuse so it can't have a mind of its own. Take your old headlights out, along with the backing thing so all we have in front of us is the frame. cut untill it looks like mine.
6----------
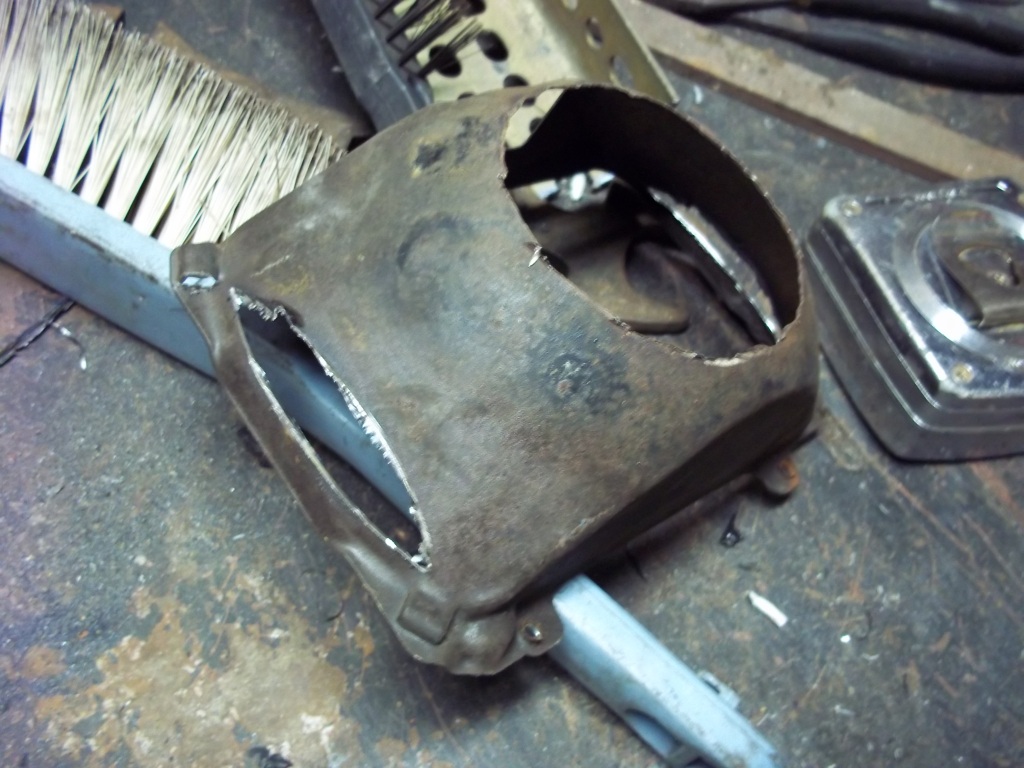
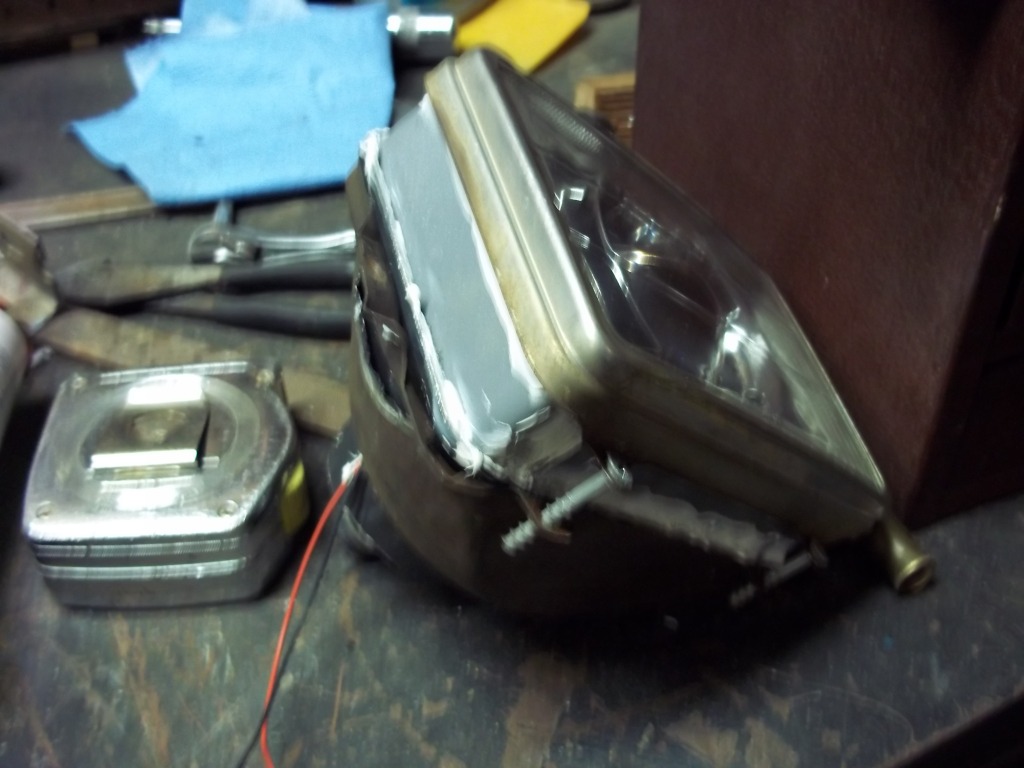
Take the buckets and trim them as well.
7----------
After you painted what you want, assemble the whole shiraz. Dont forget the wires for the hi/lo solenoid. Use the silicone to fasten the glass to the front. Using whatever materials you have, assemble
the rear bucket to the front using something long enough.
8----------
Back to the sheet metal. We need to make pieces because we will be able to use the horizontal adjustment, but not the vertical. these will allow us to retain complete adjustment.

9----------
Connect the HID kit/ adapter kit and test. Also check for clearance. You may need to remove the piece of rubber where the headlight folds down.
CRAPPY CELL PIC
10---------
Trim the corners of the headlight plastic.

11---------
Adjust headlights
12--------
Smile and take pictures.
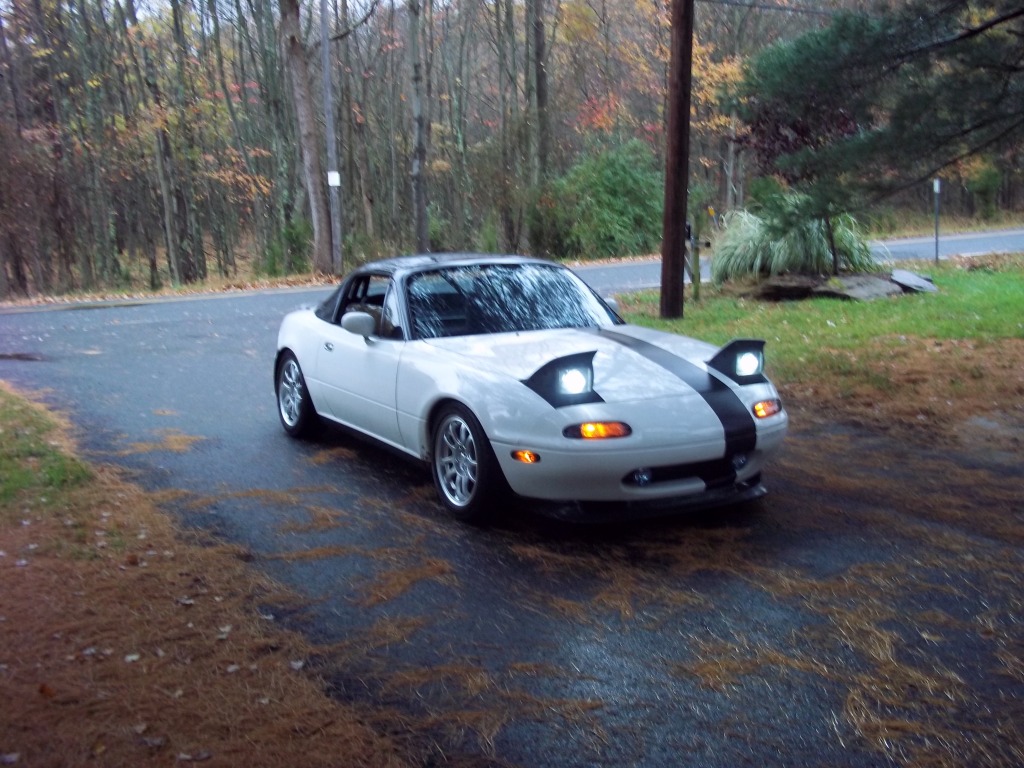

I will post night pics when it gets dark.
Originally i wanted to do a low profile conversion too, but when the ******** at the yard told me $300 for two 1g eclipse buckets, i told him good luck keeping his business open.
No, this is not the prettiest retrofit.
Yes, one you drive at night with them you will not care about the issue above.
WHAT YOU WILL NEED:
-TOOLS-
*Phillips and flathead screwdriver.
*4 1/2 grinder with cut off wheel.
*An oven.
*A dremel/
*Razor.
*A ruler.
-PARTS-
*4x6 eBay headlights.
http://www.ebay.com/itm/190585666124...84.m1439.l2649
*Morimoto Mini D2S 2.0 Projectors.
http://www.theretrofitsource.com/pro...roducts_id=236
*If you have a generic h4 HID "retrofit", you can still use your AMP ballasts and wiring harness. Instead, you will want the PNP upgrade kit.
The kit includes the projectors, bulbs of your choice, [ I suggest 5000K] shrouds to go around the projector, and adapters that allow you to use your old ballast to fire the D2S bulbs.
http://www.theretrofitsource.com/pro...roducts_id=178
*If you DO NOT have any hid kit yet, TRS has a kit for you with projectors, ballasts, a wiring harness, bulbs, shrouds, even glue if you wish.
*Thin sheet metal.
* 4x6 buckets.
These are what hold the headlight. I got mine off a old 89ish blazer. Very american and easy to find.
*Silicone.
comes in a tube.
*paint of your choice.
This is going to be used inside the headlight. I suggest hot pink or flat black.
STEPS
1----------
Now that you have everything, take your oven to 250*. Some headlights have hardware on the back and inside them. Throw that **** out. Throw those headlights in there for 15 minutes. You want the glue/ alien matter to soften so that you can pry it open with your screwdriver and razor. When in doubt, throw it back in the oven. Once you get both, move on down
2----------
Take the projectors, and if you look at the back, it is threaded. This is where it connects to the headlight. there is a big piece of silicone that stays on the inside of the headlight, then the guide which looks like a funny washer. It only fits one way. If it fits too tight, use your dremel to make some clearance.
YES IT STICKS OUT FARTHER THAN THE HEADLIGHT. THIS IS GOD MAKING SURE NOTHING IS EASY.
3----------
Using that sheet metal and your grinder, make 4 1" strips. make each one longer than 14". These are going to be our spacers between the headlight housing and the glass. I bent the corners using a vise and a hammer. You need two for each headlight; you may need to trim them to fit around the headlight. Once it gets the ok, use silicone to mount it to the headlight backing. Once its ready for paint, paint it with whatever color you want.
4----------
Now we need to modify the shroud so it fits in the housing. once its trimmed, you can leave it chrome or paint it. This is a good idea of where to start.
5----------
Now we will trim the headlight frame. Raise the headlights and remove the fuse so it can't have a mind of its own. Take your old headlights out, along with the backing thing so all we have in front of us is the frame. cut untill it looks like mine.
6----------
Take the buckets and trim them as well.
7----------
After you painted what you want, assemble the whole shiraz. Dont forget the wires for the hi/lo solenoid. Use the silicone to fasten the glass to the front. Using whatever materials you have, assemble
the rear bucket to the front using something long enough.
8----------
Back to the sheet metal. We need to make pieces because we will be able to use the horizontal adjustment, but not the vertical. these will allow us to retain complete adjustment.
9----------
Connect the HID kit/ adapter kit and test. Also check for clearance. You may need to remove the piece of rubber where the headlight folds down.
CRAPPY CELL PIC
10---------
Trim the corners of the headlight plastic.
11---------
Adjust headlights
12--------
Smile and take pictures.
I will post night pics when it gets dark.
Reply
0
0


Joined: Sep 2005
Posts: 34,433
Total Cats: 7,549
From: Chicago. (The less-murder part.)
That's a beautiful pattern, George.
They look like any of the hundreds of cheap 7" H4 headlamp housings available on Fleabay, modified to accept a projector assembly.
Example of aforementioned cheap H4 housings: http://www.ebay.com/itm/7-ROUND-DIAM...sories&vxp=mtr
They look like any of the hundreds of cheap 7" H4 headlamp housings available on Fleabay, modified to accept a projector assembly.
Example of aforementioned cheap H4 housings: http://www.ebay.com/itm/7-ROUND-DIAM...sories&vxp=mtr
Reply
0
0
Nice! Thank you for considering your fellow motorist and realizing such shitty lighting doesn't help you see much better since most of the light is scattered uselessly over the road. That beam looks just like the HIDs in my (NB2) projectors.
 ics before and after install:
Reply
0
0

Senior Member
Joined: Oct 2011
Posts: 646
Total Cats: 62
From: The Race Track & St Pete FL
Reply
0
0

Thread
Thread Starter
Forum
Replies
Last Post
Splitime
Miata parts for sale/trade
10
Aug 12, 2009 08:56 AM


