
GB Economy Frame Rail Stiffeners.. Part II!


Junior Member
Joined: Apr 2009
Posts: 50
Total Cats: 0
Agreed I was along for the ride. It was damaged in shipping amazingly enough. Future recievers of nuts, will have superthick ziplock bags for extra protection and some tape to keep things in place. 
Thanks!!
I have the worst luck with group buys. When it comes to shipping I need a sticker that says I'm special.
Thanks!!
I have the worst luck with group buys. When it comes to shipping I need a sticker that says I'm special.
 . I will try to hammer the corner straight Travis, see what happens. I just assumed that it was a manufacturing defect, as I could not figure out how they could bend it in transit. Maybe USPS tried to feed it through the mail sorter?
Reply
 0
0

0

Thread Starter
Elite Member
iTrader: (9)
Joined: Jun 2008
Posts: 1,547
Total Cats: 14
From: Houston, TX
I have absolutely no idea how they bent that. I tried to bend mine. At a 3 foot drop right on the corner it was bent about 1/4 as much as yours. I would think they would of had to drop it from 6 foot and right on the corner to get that like your was bent up. Really it doesn't effect function, but its a shame it was damaged in transit.
The funny thing is that I actually joked with the lady when she asked me if I wanted insurance. I told her those were solid stainless steel, and if you damaged one of those you better look at what damaged it first. I tempted fate.
The funny thing is that I actually joked with the lady when she asked me if I wanted insurance. I told her those were solid stainless steel, and if you damaged one of those you better look at what damaged it first. I tempted fate.
Reply
0
0
Junior Member
Joined: Apr 2009
Posts: 50
Total Cats: 0
I have absolutely no idea how they bent that. I tried to bend mine. At a 3 foot drop right on the corner it was bent about 1/4 as much as yours. I would think they would of had to drop it from 6 foot and right on the corner to get that like your was bent up. Really it doesn't effect function, but its a shame it was damaged in transit.
The funny thing is that I actually joked with the lady when she asked me if I wanted insurance. I told her those were solid stainless steel, and if you damaged one of those you better look at what damaged it first. I tempted fate.
The funny thing is that I actually joked with the lady when she asked me if I wanted insurance. I told her those were solid stainless steel, and if you damaged one of those you better look at what damaged it first. I tempted fate.
Reply
0
0


Newb
Joined: Aug 2006
Posts: 34
Total Cats: 3
Day off tomorrow so I am going to toss mine on, I could have sworn that I saw a thread on the install a while back but havent been able to find it since. anybody have a link....its not rocket science either way
Reply
0
0

Thread Starter
Elite Member
iTrader: (9)
Joined: Jun 2008
Posts: 1,547
Total Cats: 14
From: Houston, TX
I'm going through the install process right now.
Basic instructions:
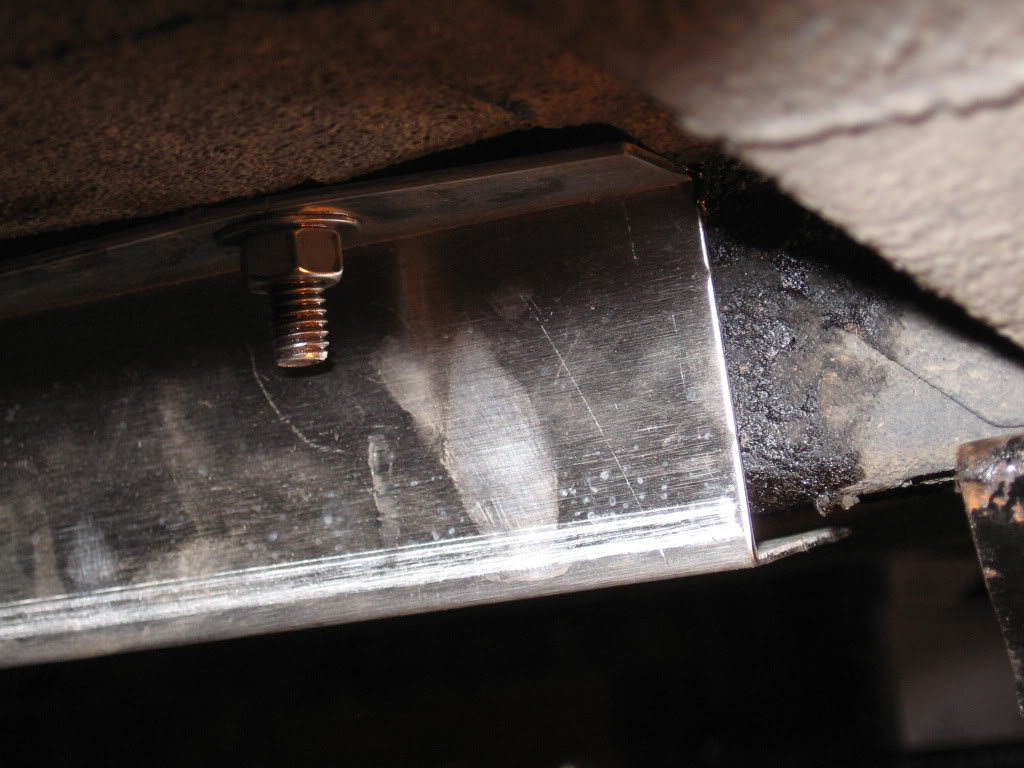
Take the seats out, the vinyl on the panel next to the door on the floor and the wall. Remove necessary weather seals to pick carpet up. Jack brace up, drill holes while someone holds the carpet up. Drop the hex caps in from the top while washering and nutting the bottom.
It takes some time, I probably spent a couple hours on it last night and plan to finish it up today. I also had significant main rail damage from someone jacking it up using the frame rail so this made things a little more complicated.
Basic instructions:
Take the seats out, the vinyl on the panel next to the door on the floor and the wall. Remove necessary weather seals to pick carpet up. Jack brace up, drill holes while someone holds the carpet up. Drop the hex caps in from the top while washering and nutting the bottom.
It takes some time, I probably spent a couple hours on it last night and plan to finish it up today. I also had significant main rail damage from someone jacking it up using the frame rail so this made things a little more complicated.
Reply
0
0

Just a couple of tips for idiots like me who might not think of it:
1. Bolt down the first hold drilled so that the brace won't move around as you drill the other holes. I had to 'widen' a couple of holes because of not doing this.
2. The hardware is top notch stainless. Passed the magnet test. But I used a bit of blue threadlocker to make sure the nuts don't back out.
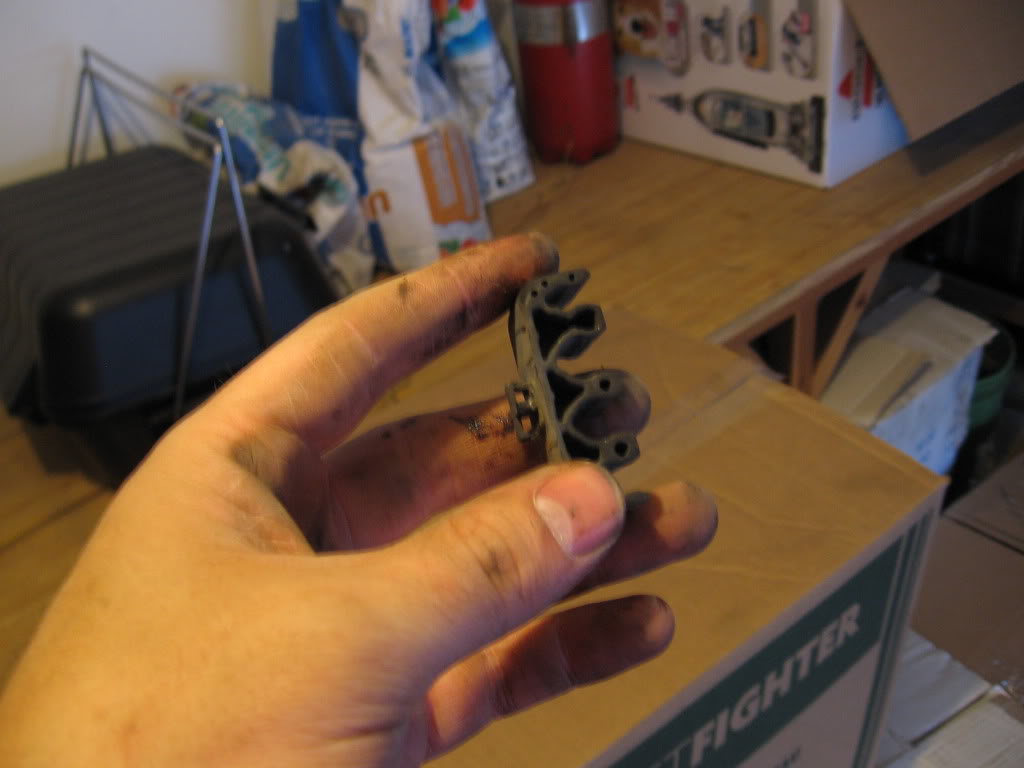
3. I don't have sheet metal screws, but will be going to pick up a couple #10 for the hard line brackets, which will need a bit of reshaping.
4. Wear eye-pro and gloves for the upward drilling.
5. Get latex or nitrile gloves for the underbody spray if you use it. That way you don't need to clean your skin with acetone after.
I would have loved to have had a lift and a small friend to hold the bolts from the top. It just took a bit longer on jackstands with arms reaching around.
Observations: Excellent product. Simple, but very well executed from materials to machining. I had to do a bit of 5lb mallet straigtening on the factory rails to get them to fit under the braces. Even after, it was tight. I didn't get them to sit flush before torquing down, and there was a bit of deflecting on the brace flanges as I torqued. After driving last night and this morning however, they have flattened out nicely. The brace material is substantially harder and stiffer than the sheetmetal.
The suspension appears to be working harder now, as smaller bumps are more apparent. I didn't have much flex going over train tracks or speed bumps to begin with, but the hardtop doesn't complain as much backing out of the driveway.
couple of crappy photos from this morning.
1. Bolt down the first hold drilled so that the brace won't move around as you drill the other holes. I had to 'widen' a couple of holes because of not doing this.
2. The hardware is top notch stainless. Passed the magnet test. But I used a bit of blue threadlocker to make sure the nuts don't back out.
3. I don't have sheet metal screws, but will be going to pick up a couple #10 for the hard line brackets, which will need a bit of reshaping.
4. Wear eye-pro and gloves for the upward drilling.
5. Get latex or nitrile gloves for the underbody spray if you use it. That way you don't need to clean your skin with acetone after.
I would have loved to have had a lift and a small friend to hold the bolts from the top. It just took a bit longer on jackstands with arms reaching around.
Observations: Excellent product. Simple, but very well executed from materials to machining. I had to do a bit of 5lb mallet straigtening on the factory rails to get them to fit under the braces. Even after, it was tight. I didn't get them to sit flush before torquing down, and there was a bit of deflecting on the brace flanges as I torqued. After driving last night and this morning however, they have flattened out nicely. The brace material is substantially harder and stiffer than the sheetmetal.
The suspension appears to be working harder now, as smaller bumps are more apparent. I didn't have much flex going over train tracks or speed bumps to begin with, but the hardtop doesn't complain as much backing out of the driveway.
couple of crappy photos from this morning.
Reply
0
0


Thread Starter
Elite Member
iTrader: (9)
Joined: Jun 2008
Posts: 1,547
Total Cats: 14
From: Houston, TX
I definitely wouldn't use a bottle jack. If you had a wide lift point jack then it would probably be ok.
Stainless to mild steel could be a challenge. Not impossible though.
Any thoughts on welding them in?
Reply
0
0

Newb
Joined: Apr 2009
Posts: 8
Total Cats: 0
I finally installed the rails today !! 
I followed the FM instructions for the equivalent product, and it went well.
Here are some pictures of the install:
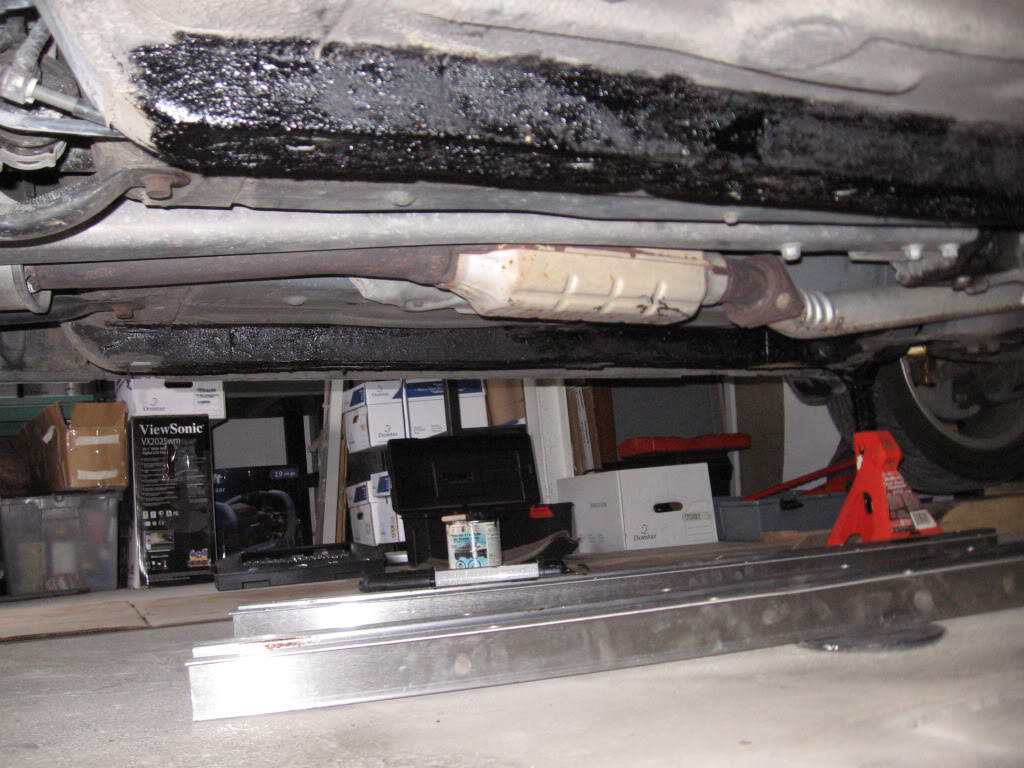
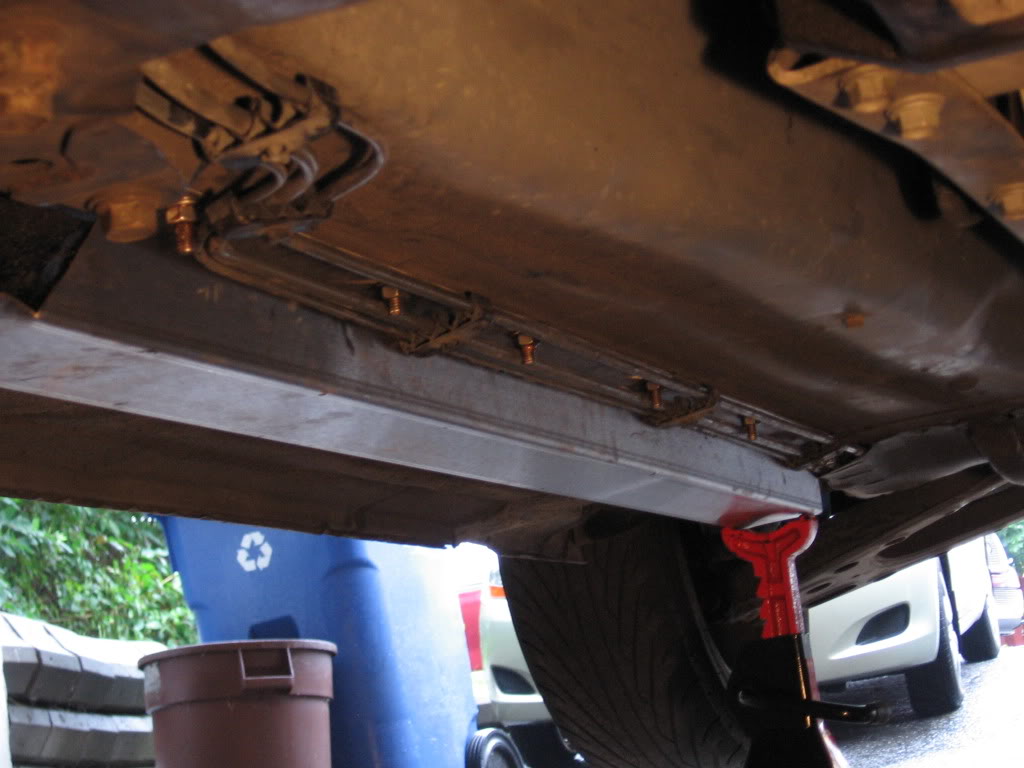
The stock rails were damaged, so I knocked them back into place with a hammer, and to cover all scratches from these hits and scratches from past bottom-outs; I put some gravel guard before putting the BE rails.
Ready to rock this up
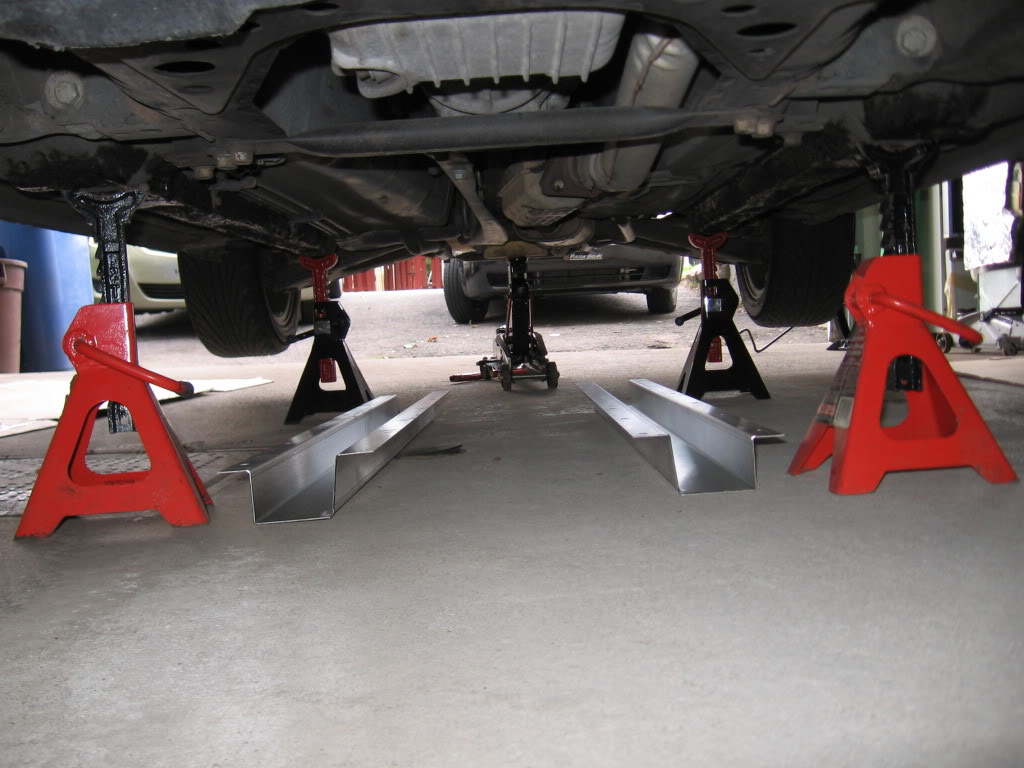
Seats, seat belt lower bolts and door sills removed (you don't need a picture for that)
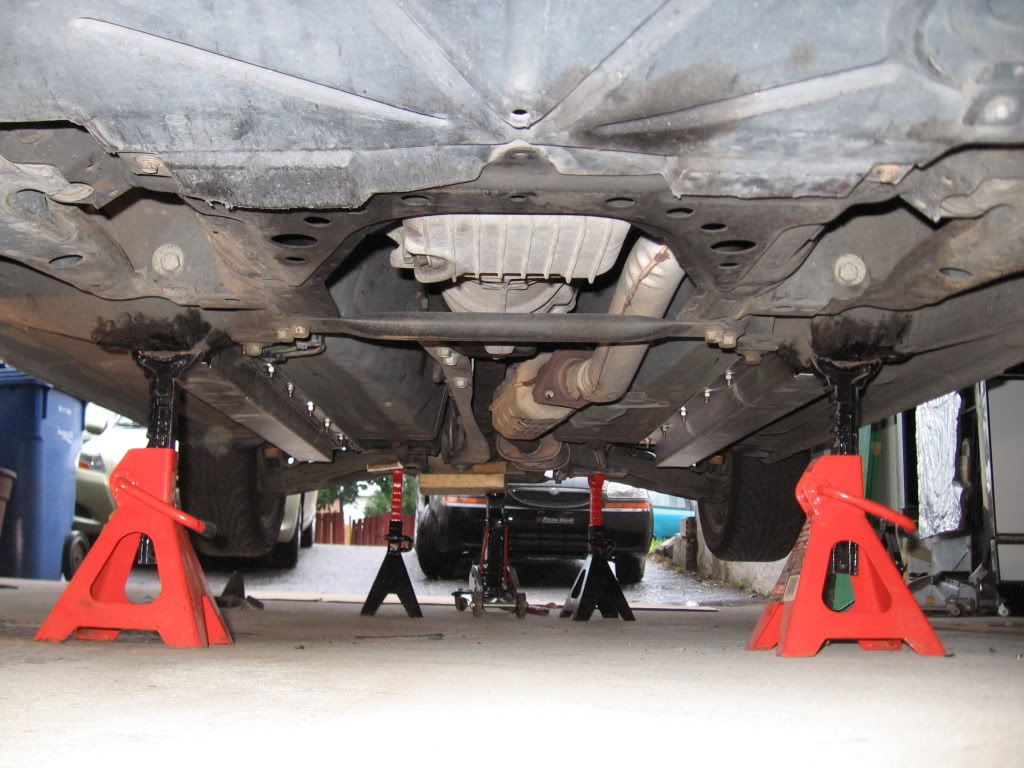
Then it's pretty straight forward. I used a mallet to push them in place and the hammer to move them as far forward as possible.
Voil� !
A look of the inside, underneath the carpet.
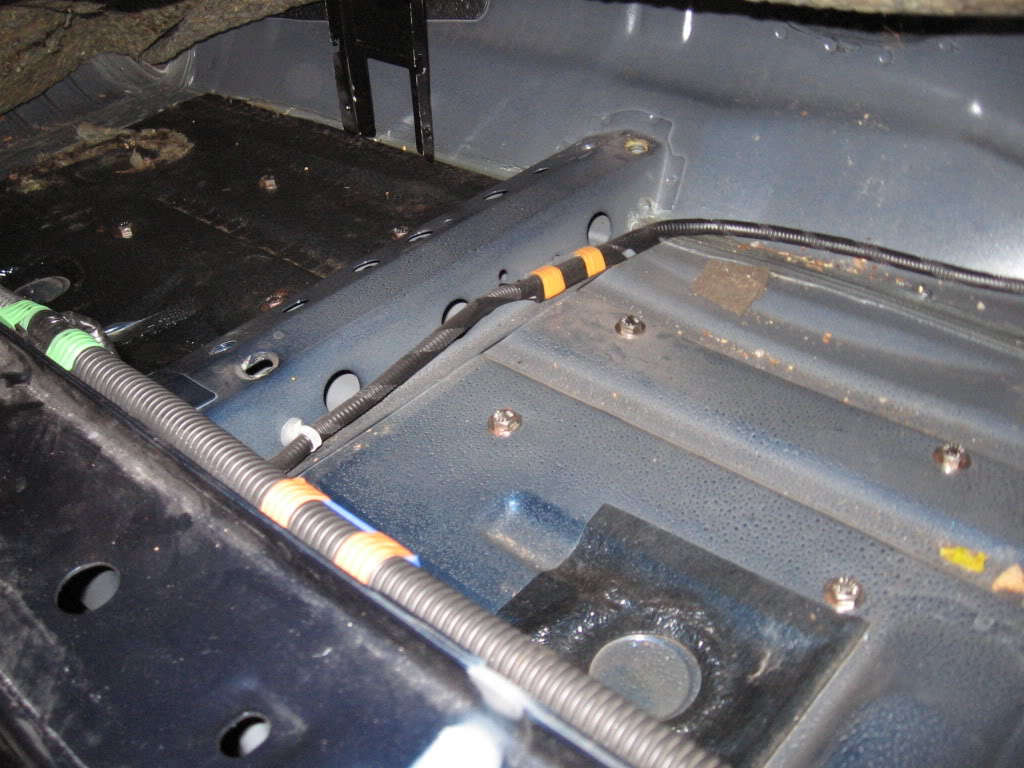
For those with lowered Miata, I measured a loss of 6.2mm (�") of clearance.
I hammered the front part to smoothen the front edge in case I (and probably will) bottom out somewhere. Obviously, the outter corner didn't move much under my hammer attacks.

I thought that the stock line bracket would remove some more clearance if I used metal screws as suggested.
Instead, I removed the line retainers from the two brackets, and just snapped the lines in it; like the other retainers.

Then I moved the lines as far up, one line rubbing on the bolts. That made all the retainers stuck to the rail, so the lines aren't going anywhere.
I saw on FM instructions' photos that there was 4 lines, so my trick wouldn't work on these. On mine, NB with returnless fuel system, I had only 3 lines so that made just enough space for the bolts to go between 2 lines.
Thanks again Travis
I followed the FM instructions for the equivalent product, and it went well.
Here are some pictures of the install:
The stock rails were damaged, so I knocked them back into place with a hammer, and to cover all scratches from these hits and scratches from past bottom-outs; I put some gravel guard before putting the BE rails.
Ready to rock this up
Seats, seat belt lower bolts and door sills removed (you don't need a picture for that)
Then it's pretty straight forward. I used a mallet to push them in place and the hammer to move them as far forward as possible.
Voil� !
A look of the inside, underneath the carpet.
For those with lowered Miata, I measured a loss of 6.2mm (�") of clearance.
I hammered the front part to smoothen the front edge in case I (and probably will) bottom out somewhere. Obviously, the outter corner didn't move much under my hammer attacks.
I thought that the stock line bracket would remove some more clearance if I used metal screws as suggested.
Instead, I removed the line retainers from the two brackets, and just snapped the lines in it; like the other retainers.
Then I moved the lines as far up, one line rubbing on the bolts. That made all the retainers stuck to the rail, so the lines aren't going anywhere.
I saw on FM instructions' photos that there was 4 lines, so my trick wouldn't work on these. On mine, NB with returnless fuel system, I had only 3 lines so that made just enough space for the bolts to go between 2 lines.
Thanks again Travis
Reply
0
0


