When you click on links to various merchants on this site and make a purchase, this can result in this site earning a commission. Affiliate programs and affiliations include, but are not limited to, the eBay Partner Network.
Don't be afraid to show us what you did. We will make fun of you, but we can help you adjust your setup or technique.
Did you do a test spray on a piece of cardboard first?
A significant chunk of a good paint job comes from knowing how to adjust the gun properly. Like Monk is alluding to, spend some time doing practice shots on something you don't have to spend tons of time fixing or doing prep work on.
You also need to do some research if you haven't done this before.
Pics..
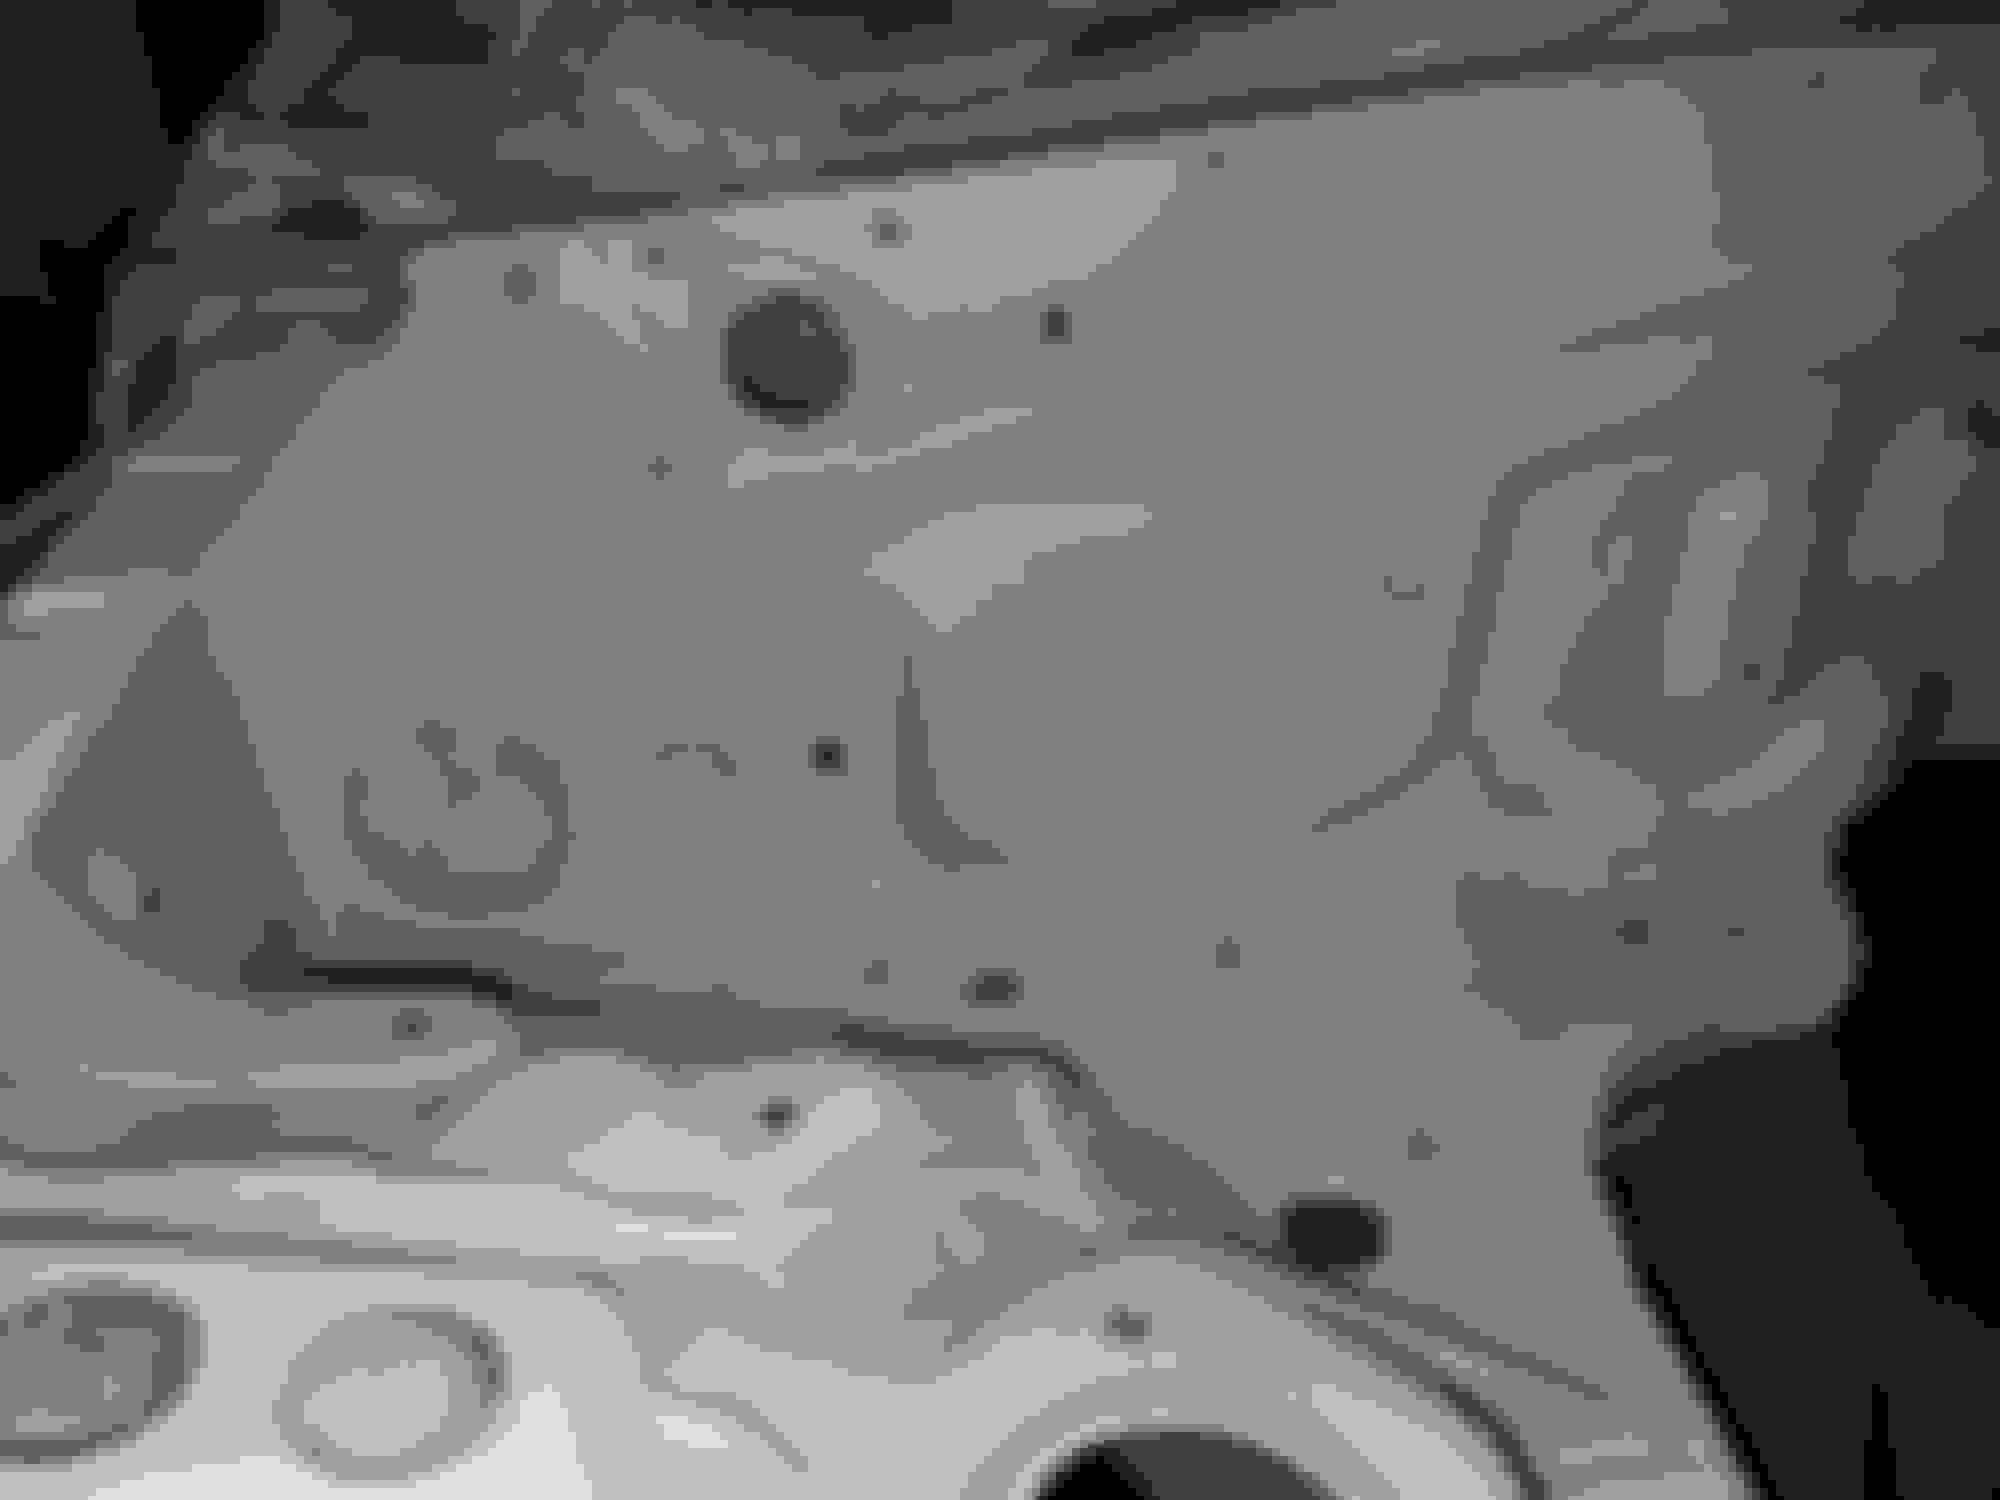
I ran out of paint in the gun once and was like, "Wow that ran out quick... better turn the air pressure down." Turning the psi didn't help. I didn't realize there was a **** to control how much paint comes out. I eventually ran out of paint a second time and was pretty stressed out.. so i stopped. Its dry now.. not sure what the next step would be. It's epoxy primer, so it's pretty thickish, it may be thick enough to fill in the orange peelness. Just not too sure about the runs. What do you guys recommend? It looks good if you squint all the way.
May have to get in there and sand it by hand then. I had it professionally sandblasted before; cost me $140. That's part of the reason messing this up hurts so much.
You've got a lot of FLA going on.
As you have figured out already, you put it on too thick.
Make sure you use the right ratio of paint, thinner, and hardener for the temperature you are painting in. If you aren't sure what that is, just ask the paint guy at your local Napa.
When you get the mixture right, make some practice sprays on a pice of cardboard or something to test the spray pattern.
Never stop the gun! All of your passes should be steady and even.
If you pause your hand during a pass, you will get runs.
You will need to make multiple passes with time to dry I'm between.
As far as fixing what you've done so far, I'm afraid the answer is just to sand it down, and apply some fresh, light coats.
When I painted my first truck, I spent days just on wet-sanding before the clear coat.
It just takes a ton of patience, prep and elbow grease.
Epoxy primer is much more forgiving of applying too thick than top coat. It is soft enough to get it down to the proper thickness without too much fuss.
Sand down the the orange peel and any other imperfections. If you get down to bare metal or the previous finish, you will need to spray primer again. Once you have a nice clean and straight finish of primer, you are ready for topcoat. Be sure to scuff all primered surfaces with sand paper or scotch bright pad before going with top coat.
You may consider just doing the primer coats and prep and let a pro do the final finish. That way you get some experience tackling a paint job, but have better results in the end.
I think I'll give it another go.. I'll just be more mindful next time of all the settings. Started sanding again a bit ago. Seems nearly impossible to get all the orange peel off with all the cracks and crevices in this bay.
Looks like you've got some splattering going on in addition to the runs... As noted, learn to adjust the gun, and practice on some old cardboard. Keep the gun moving while the trigger is pulled.
Another thing is to be sure you have the correct fluid tip and needle for the material you're spraying. Primers are generally going to require a larger fluid tip and color coats a smaller one.
Also make sure the fluid tip is tight.
A touch up gun would be easier to maneuver in there, but you'd have to refill the cup more often.
Your paint is WAY too thick. Causing spattering, and to lay it on too heavy. Thin it out - however much thinner you added was about half what you needed.
Hmm. I checked all of those things. The tip is the right size. The ratio was right according to the paint shop and a few other sources. Not sure why it was splattering so much. I cleaned the gun well too beforehand. This has been a crazy experience so far.
Location: Detroit (the part with no rules or laws)
Posts: 5,677
Total Cats: 800
I've sprayed paint with no thinner at all. It's all about adjusting the gun and choosing the right tip.
The paint should be coming out and laying in droplets as small as a needle.
So, I am finally looking at the pics on a computer and not my cell phone. So much wrong going on there. Next time, you need to stop as soon as there is a problem. Things are not magically getting better if you keep spraying.
What equipment are you using? Did you properly strain the paint as you loaded the gun? Looks to me like there is debris in the gun preventing it from spraying properly, or you are spraying at like 140 psi air pressure.


 best thread ever


 01-12-2017, 12:14 PM


 0
0