
Would live in this garage

Thread Starter

Joined: Jun 2006
Posts: 29,085
Total Cats: 375
From: Republic of Dallas
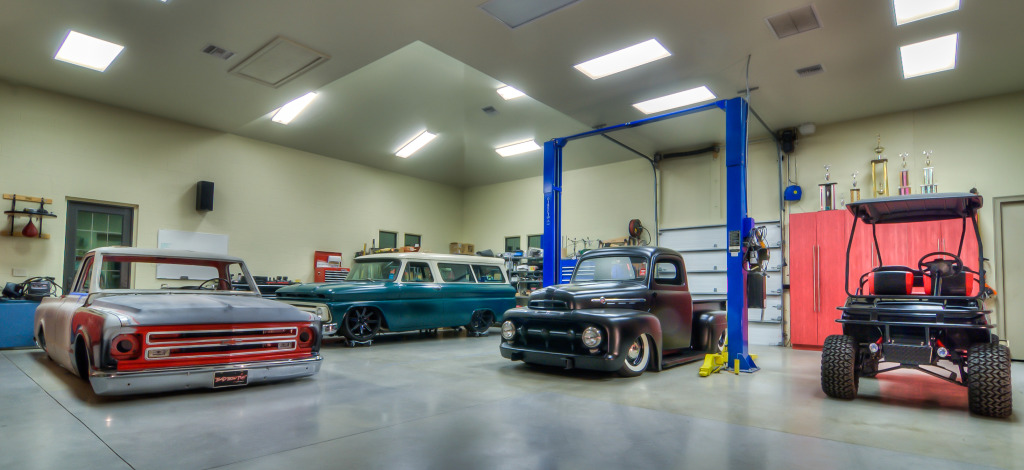
I guess it turned out alright 


Planning Stage:
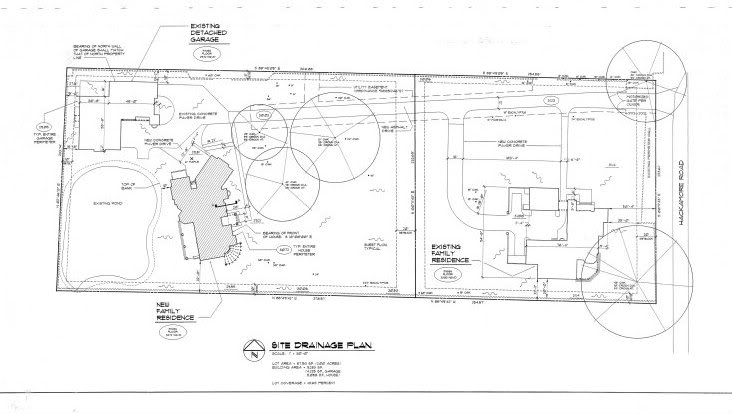
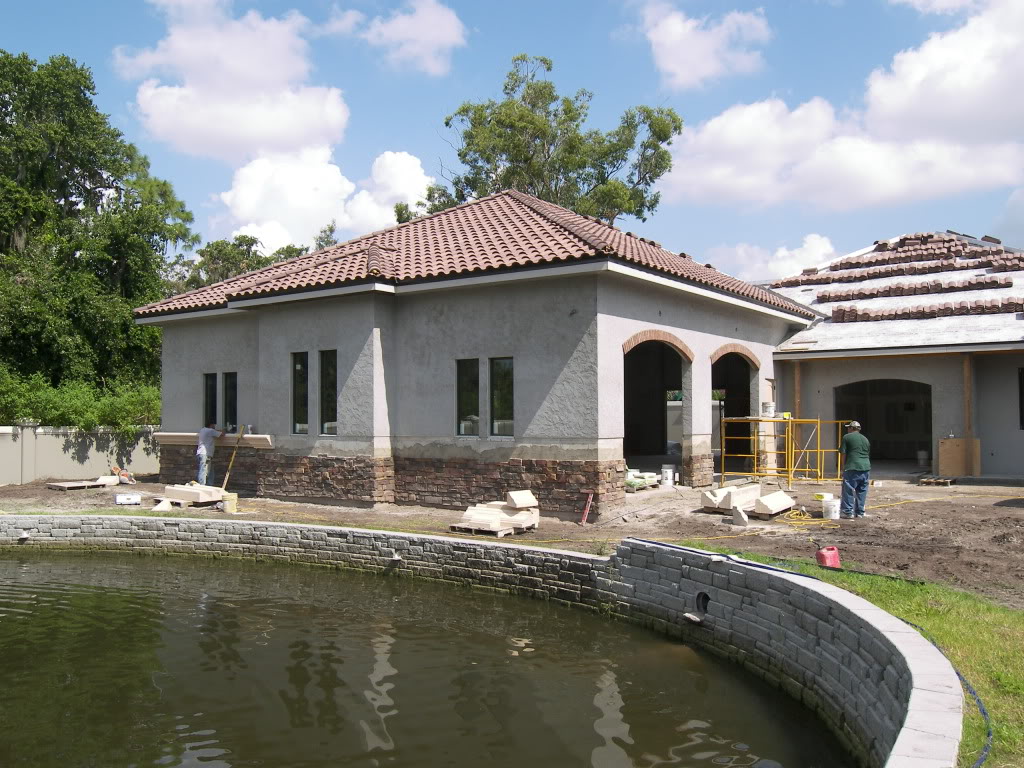
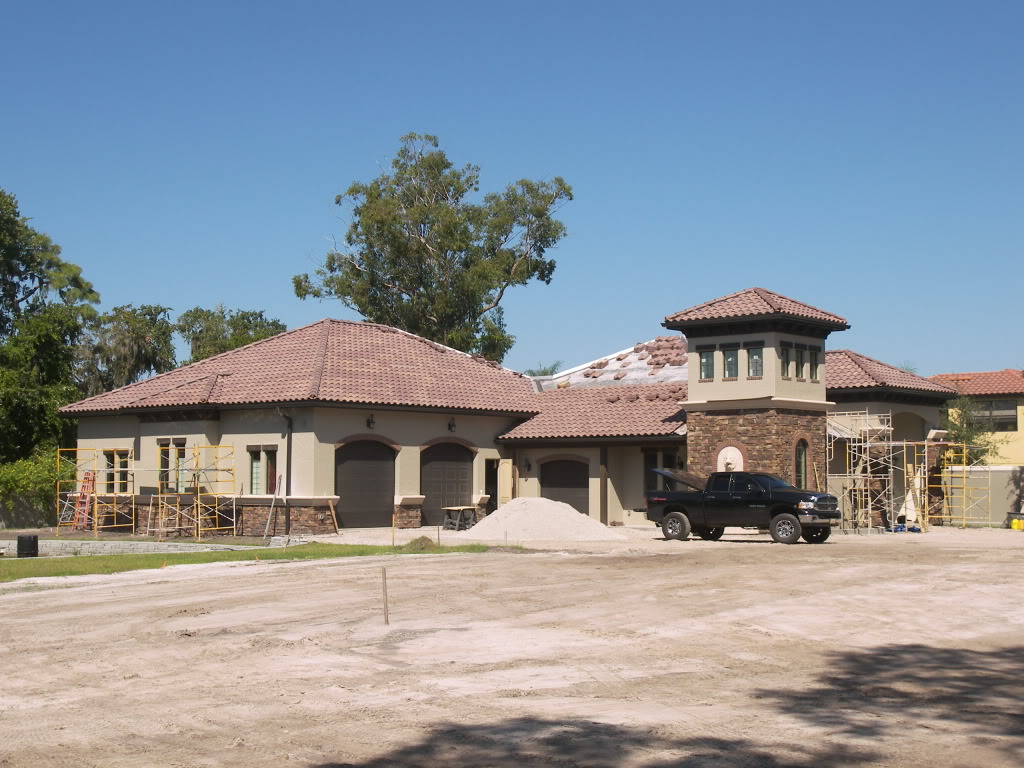
Here is the layout of the property. The home to the right of the drawing is my brothers home. To the left on the top left hand corner is the garage, below is the existing pond, and to the right is my wife's house!!!
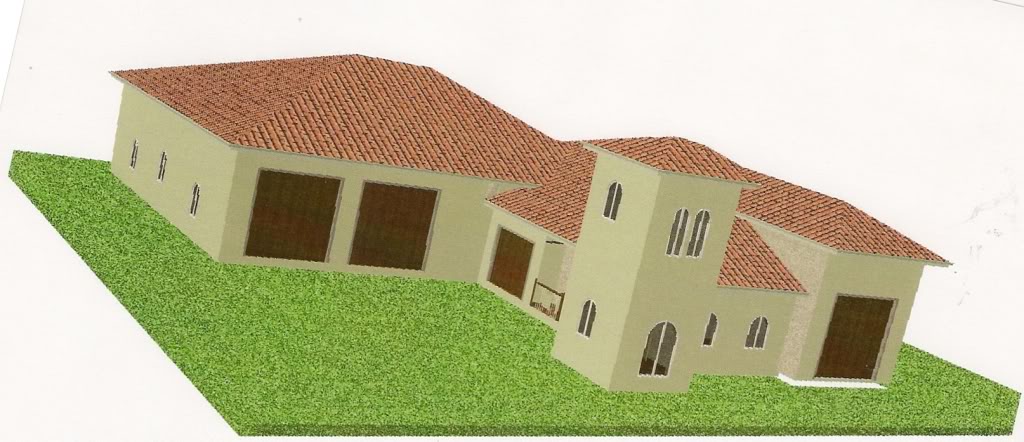
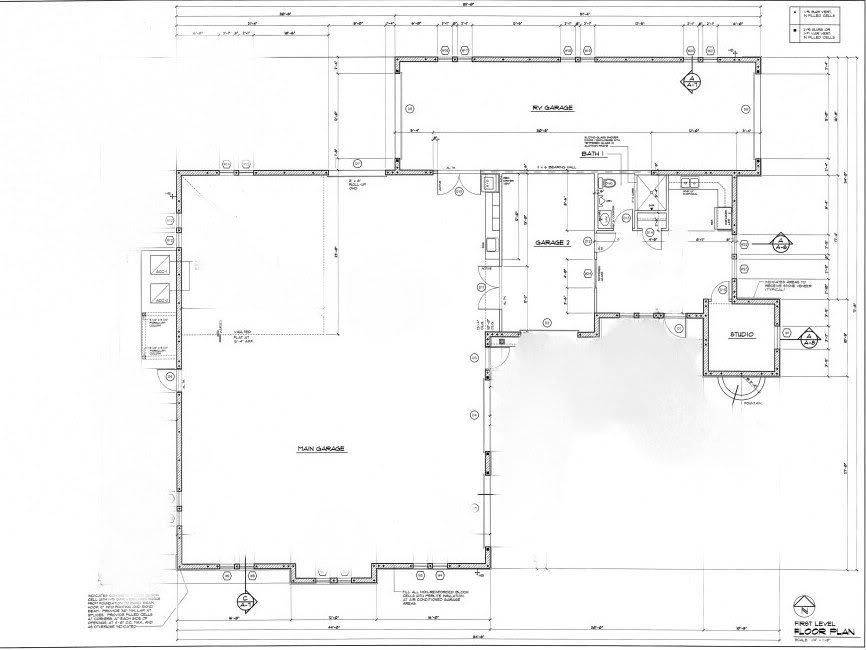
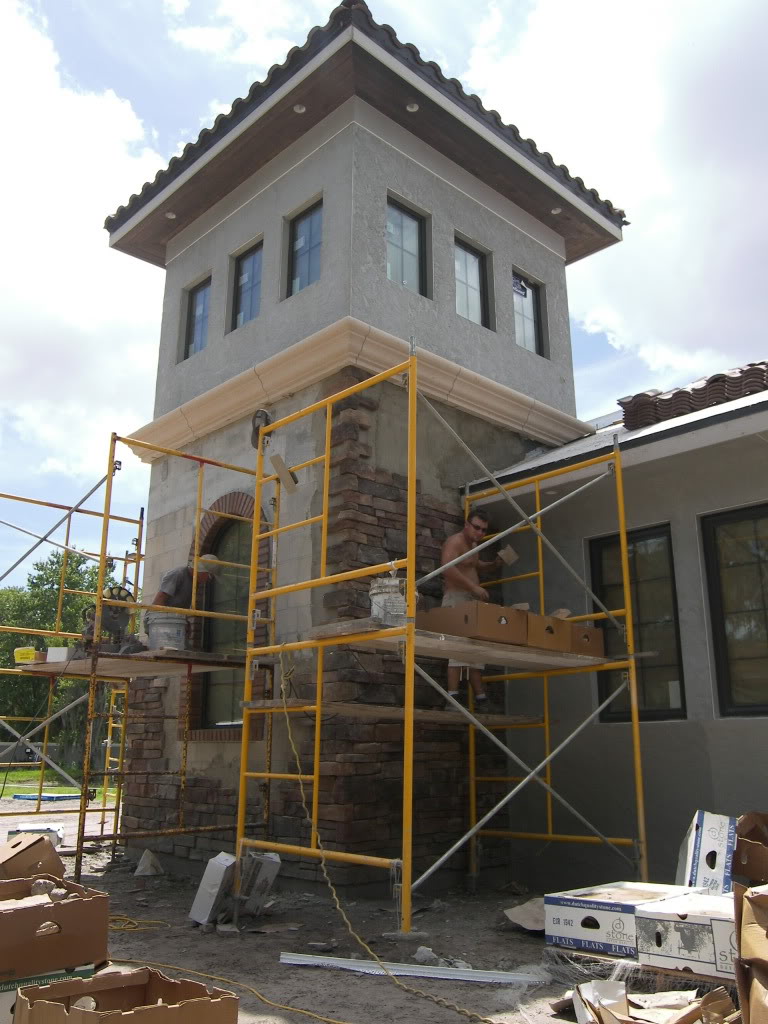
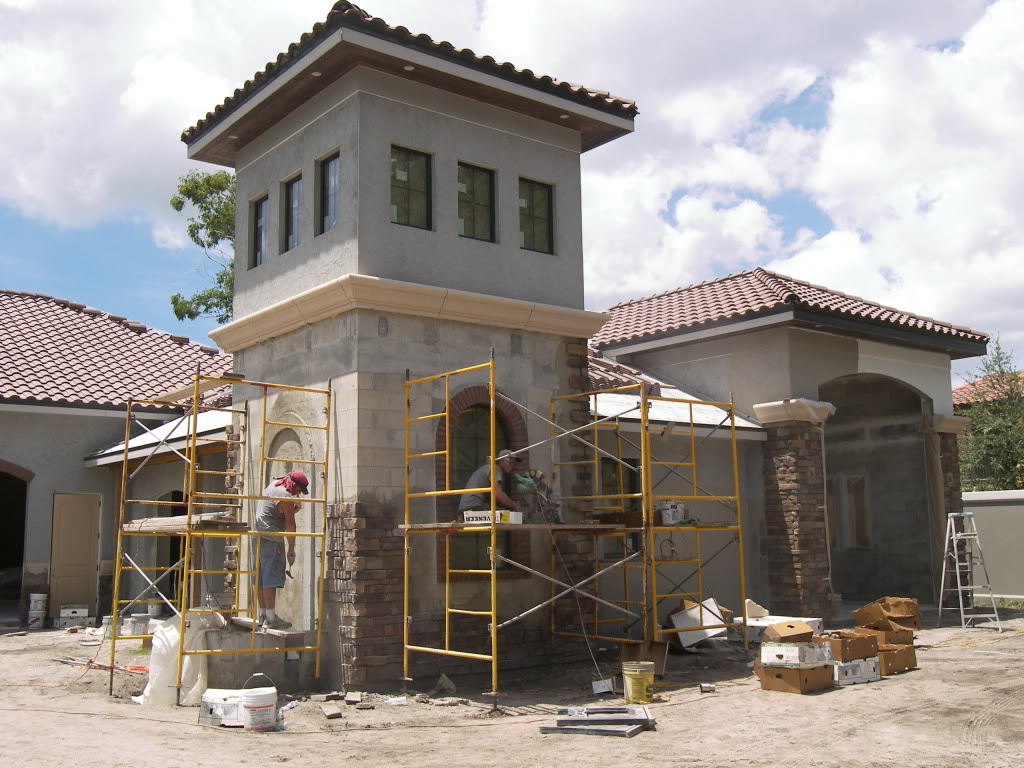
Here is the floor plan of the garage. The tower bedroom is marked studio, and the living room is labeled study.
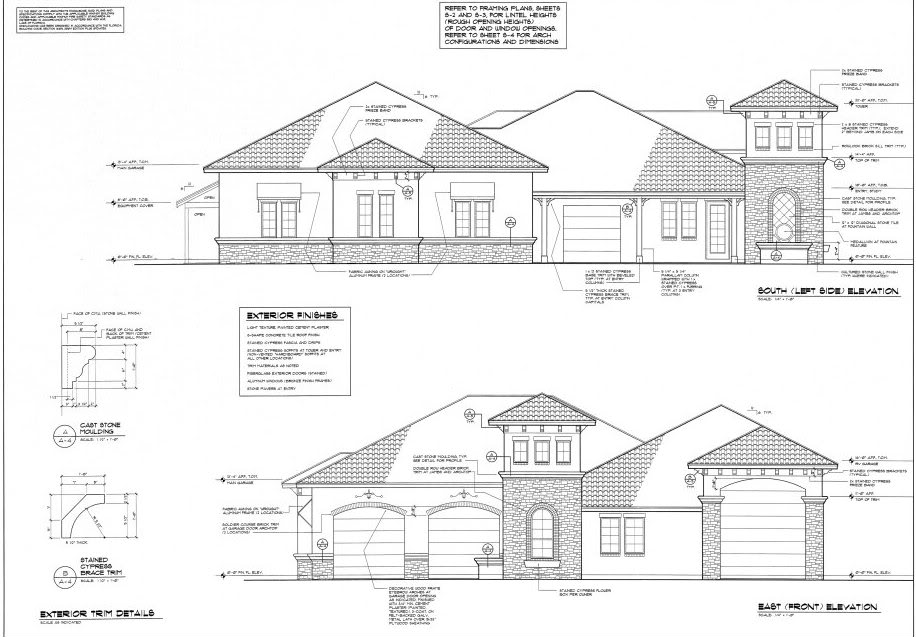
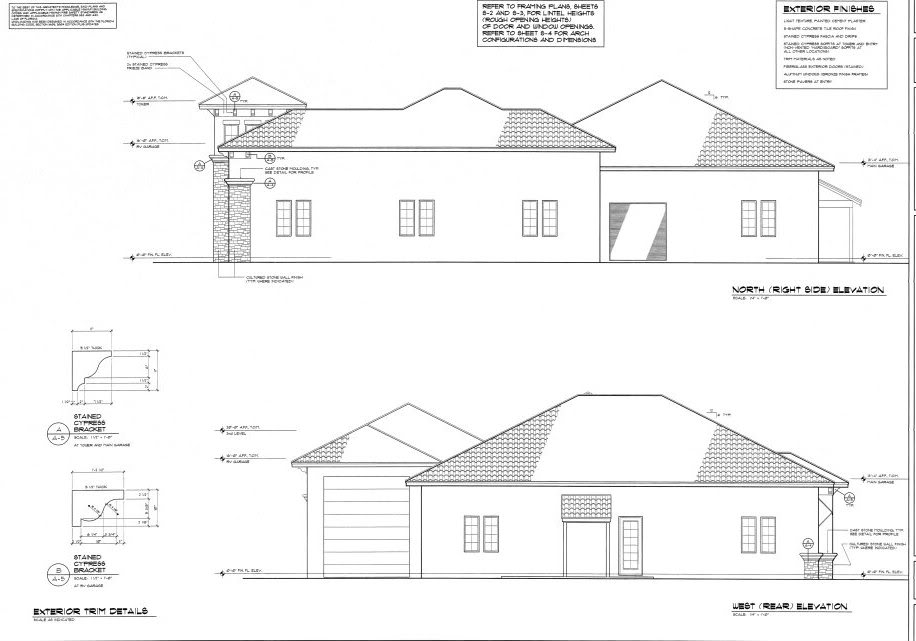
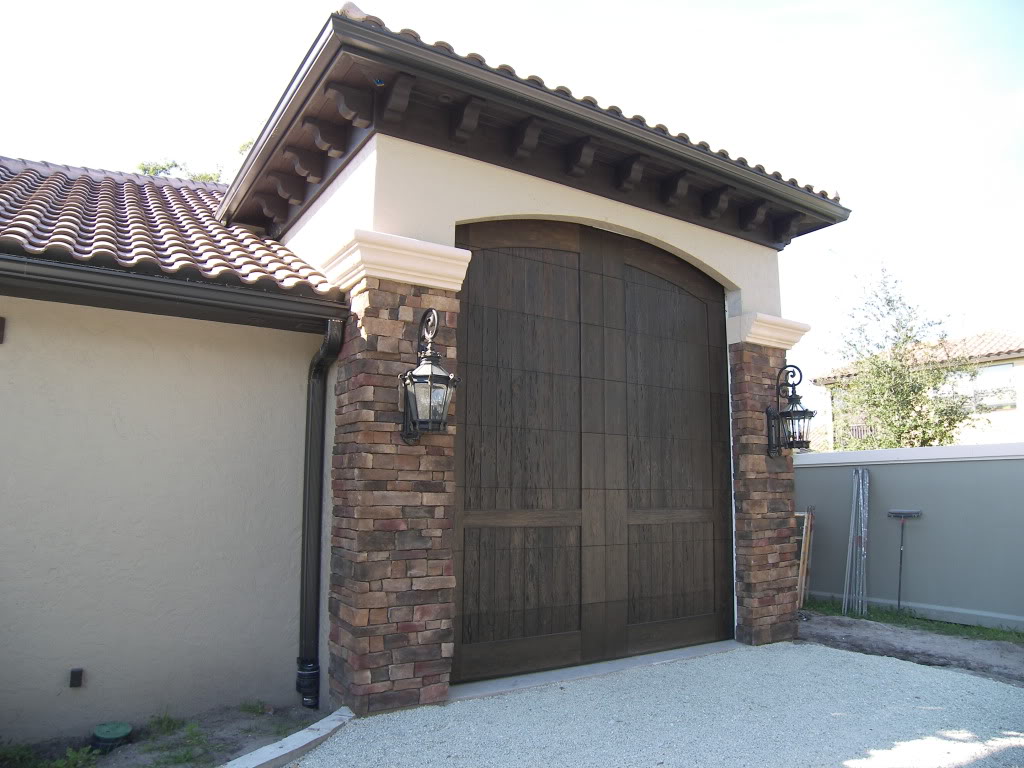
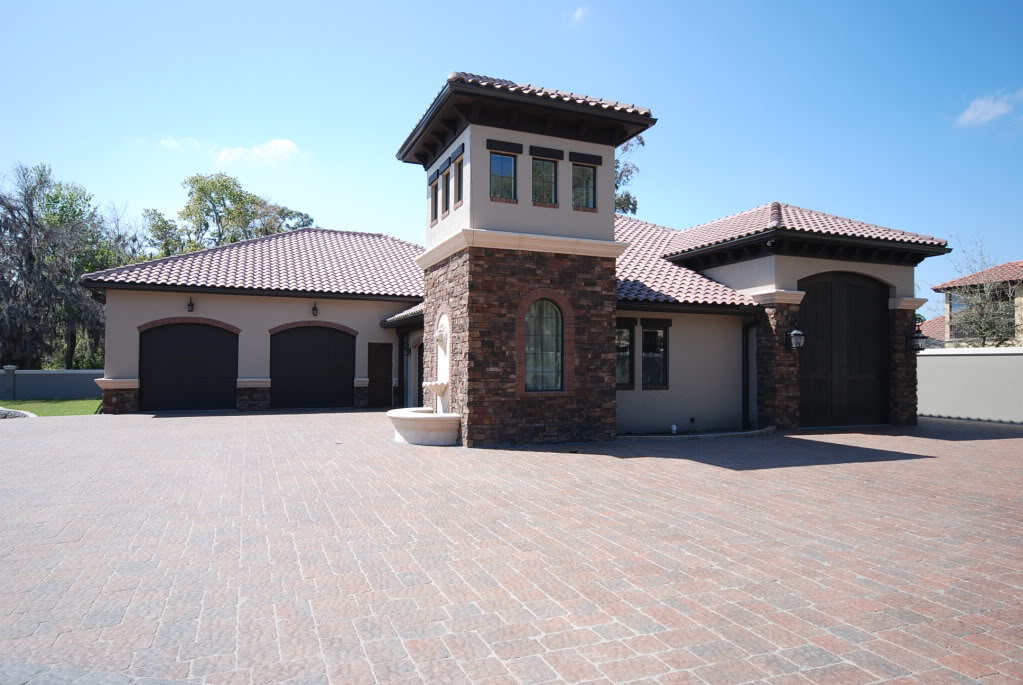
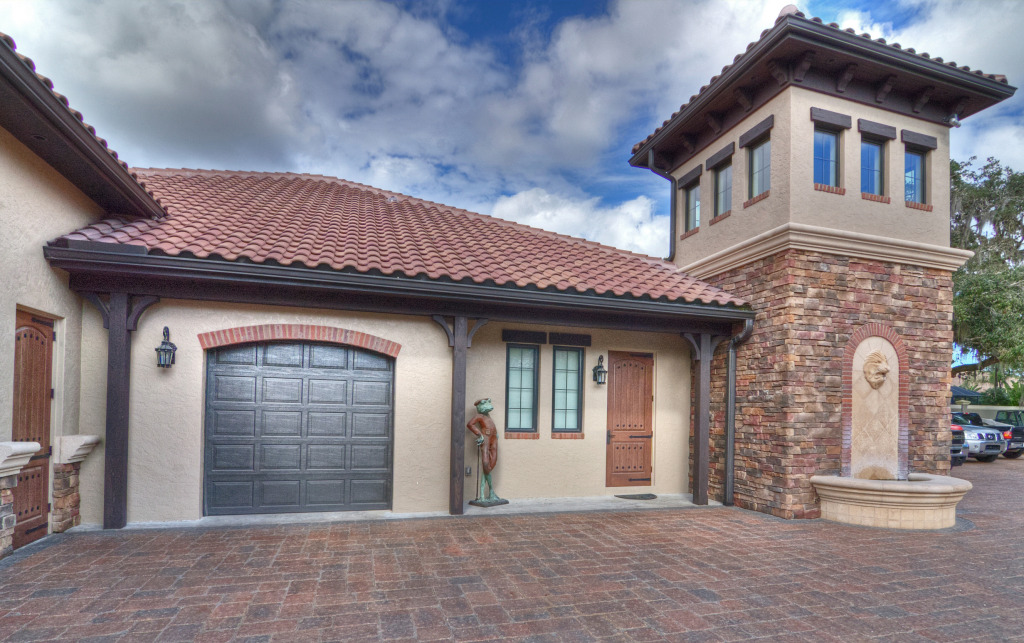
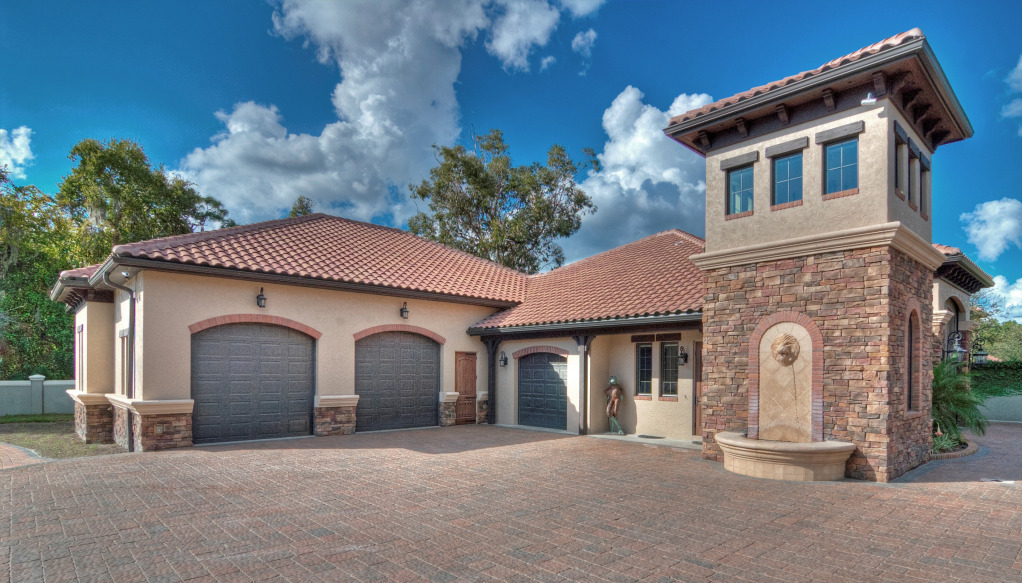
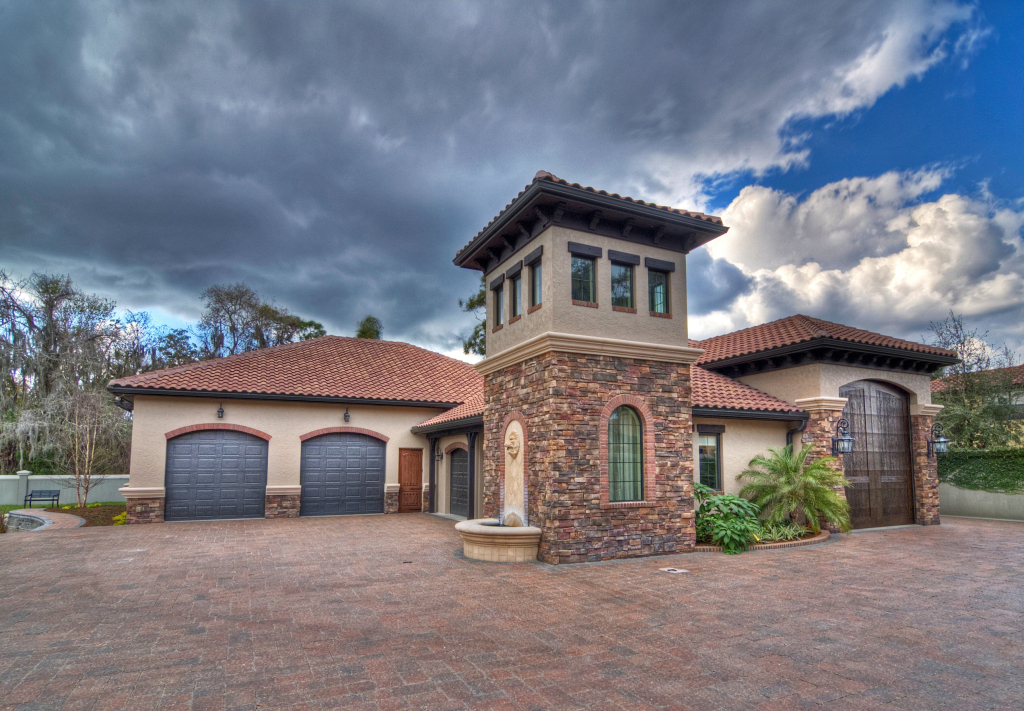
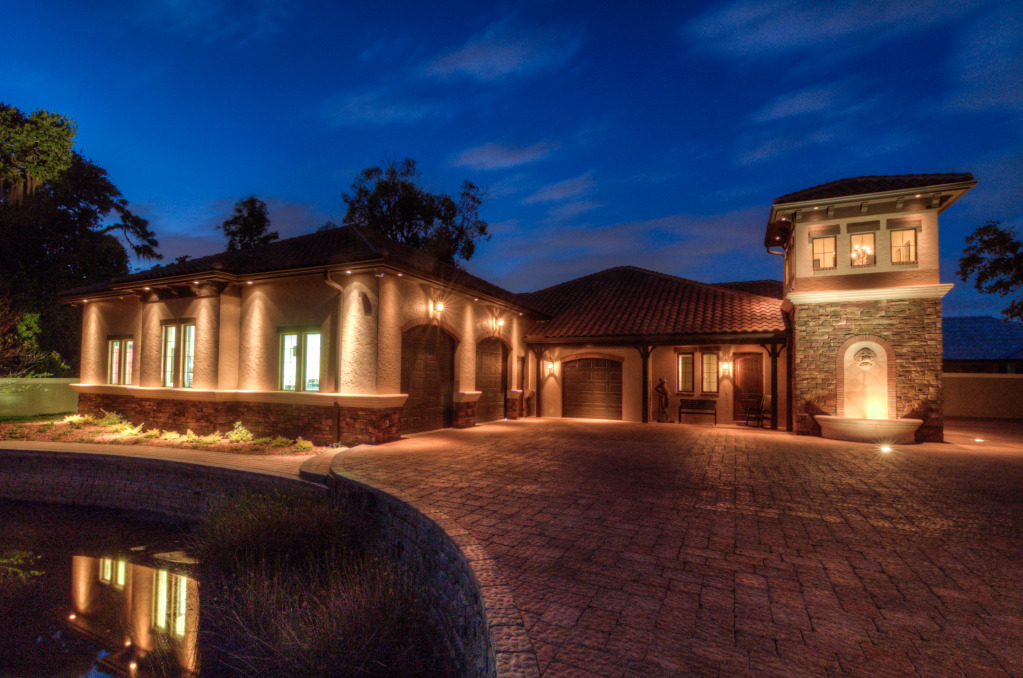
Front and side elevations.
I want to add I have a 8 foot tall prestressed concrete wall around the entire property so we have plenty of privacy.
As I layer out the property building sides I built as close to the property corners as i could to preserve as much open space between the homes as possible. I want to add I have a 8 foot tall pre=stressed concrete wall around the entire property so we have plenty of privacy. The lot is about 700 feet deep by 300 feet wide.
Construction Pictures:
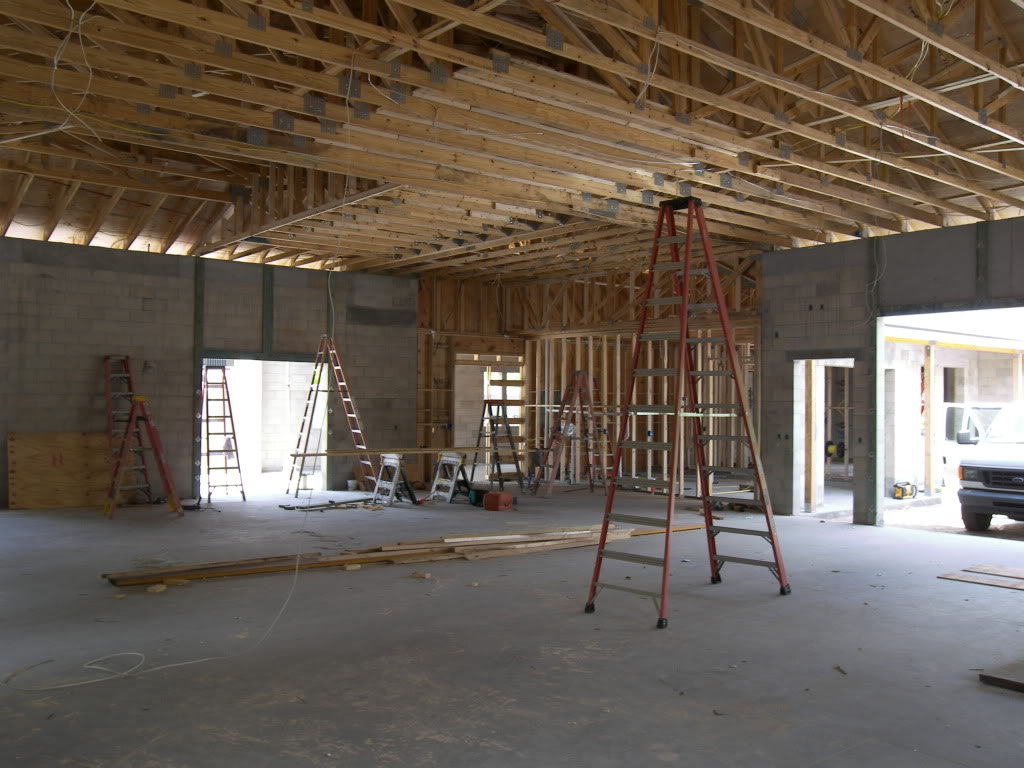
This picture is looking out the two 10 x 10 doors on the front of the main garage and then to the left you will see the opening for the 8 x 8 door for garage 2. The huge pile of dirt is good top soil mixed in with the dirt we dredged from pond. Also, corner of the garage for my house.
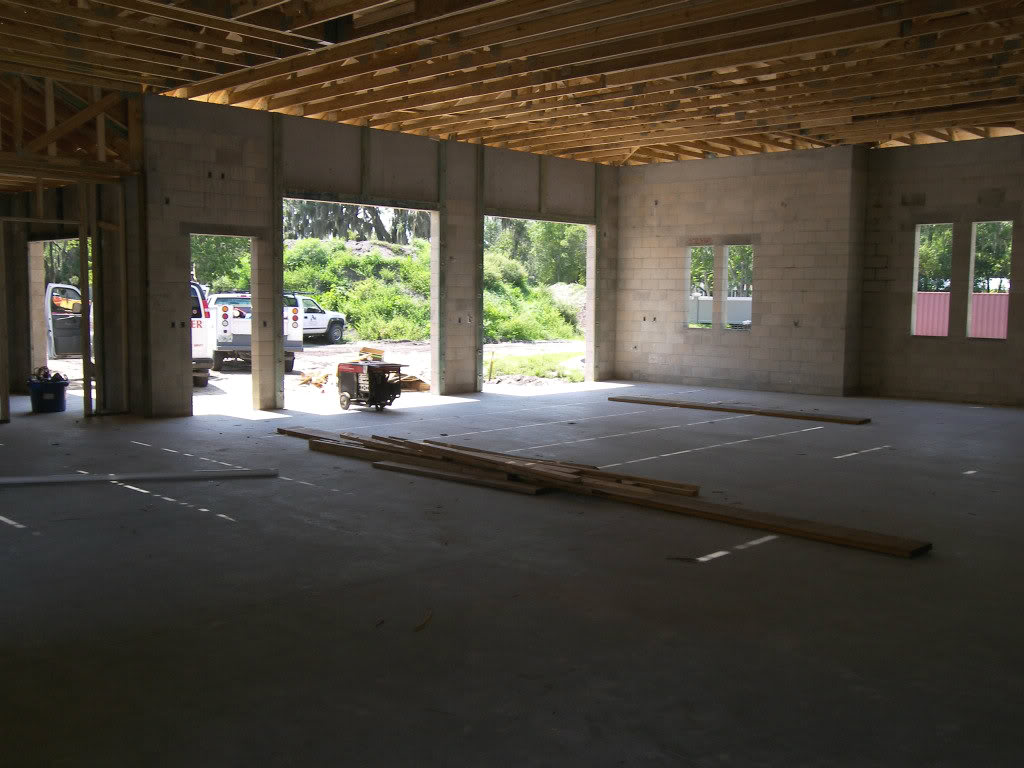
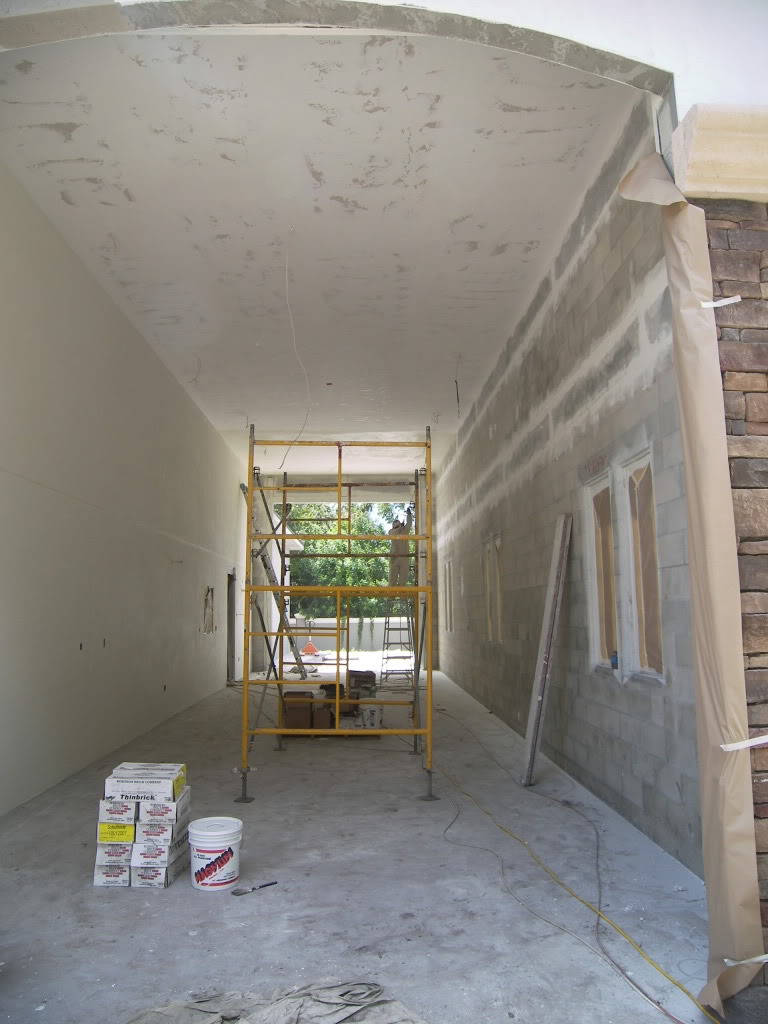
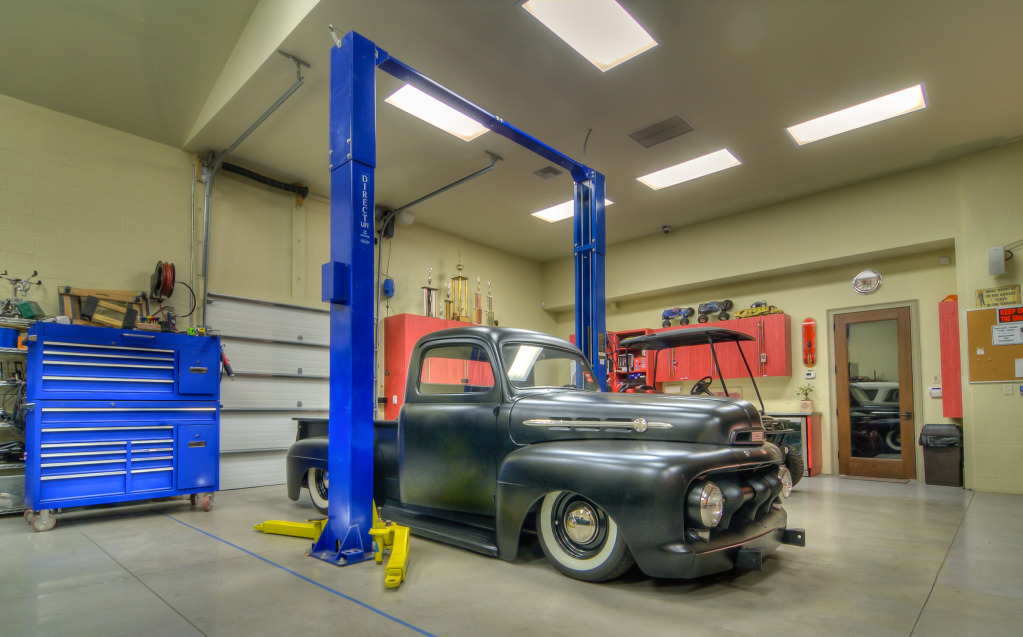
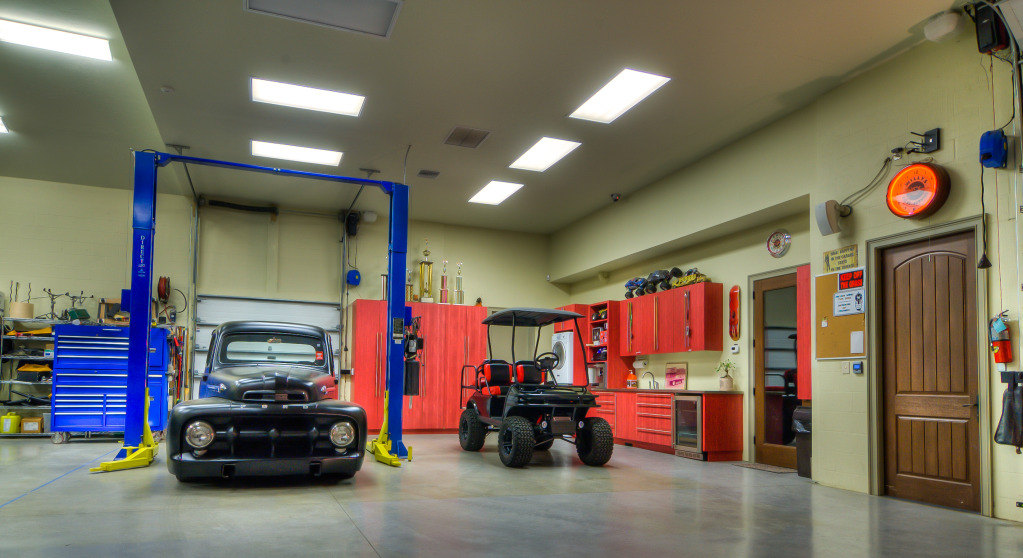
This shot is taken toward the pond area and the back wall of garage.........14 foot tall ceilings. Concrete slab is 5 inches + thick and footers were poured for two car lifts.

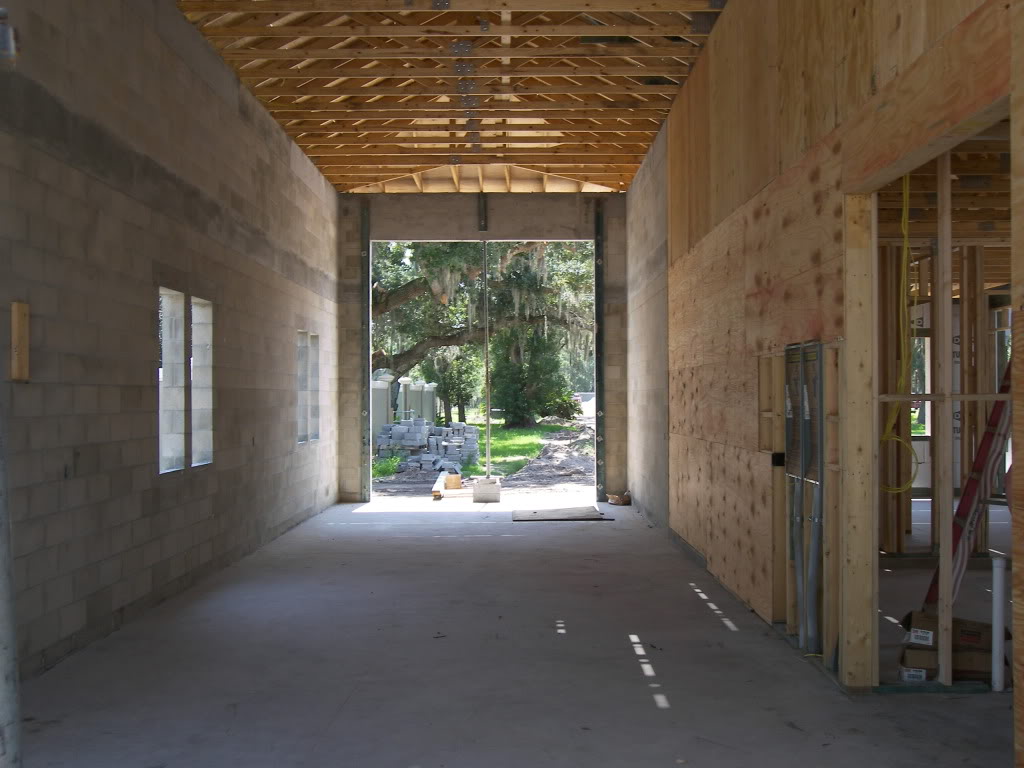
The is the rv bay with its 16'6" tall ceiling.........12' x 14' opening for garage door. OUt the door is a view of the concrete fence that surrounds our compound. You can also see the (2) 200 amp panels. One can never have enough electricity.
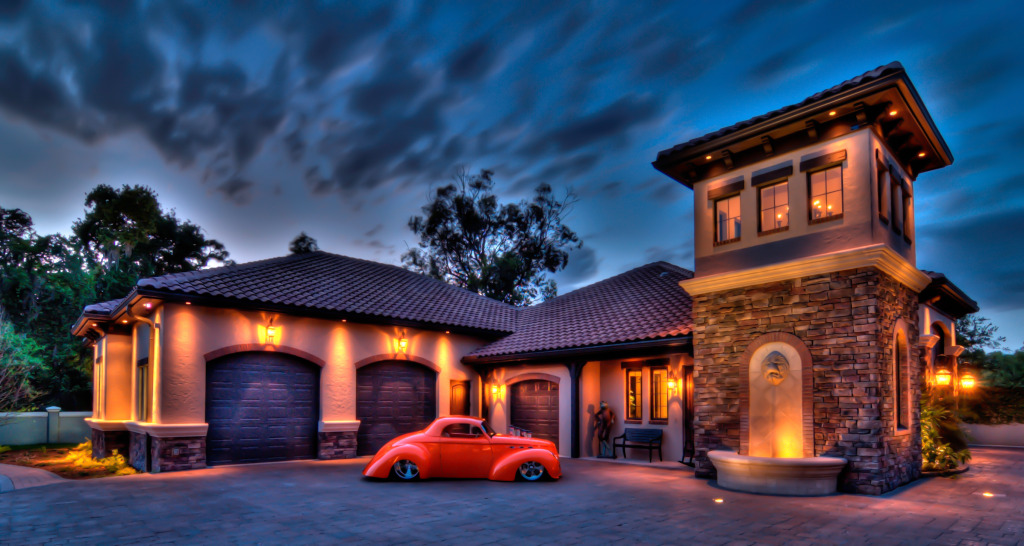
total of 6 garage doors.
2 - 8' x 8'
2 - 10' x 10'
2 - 14' x 12'
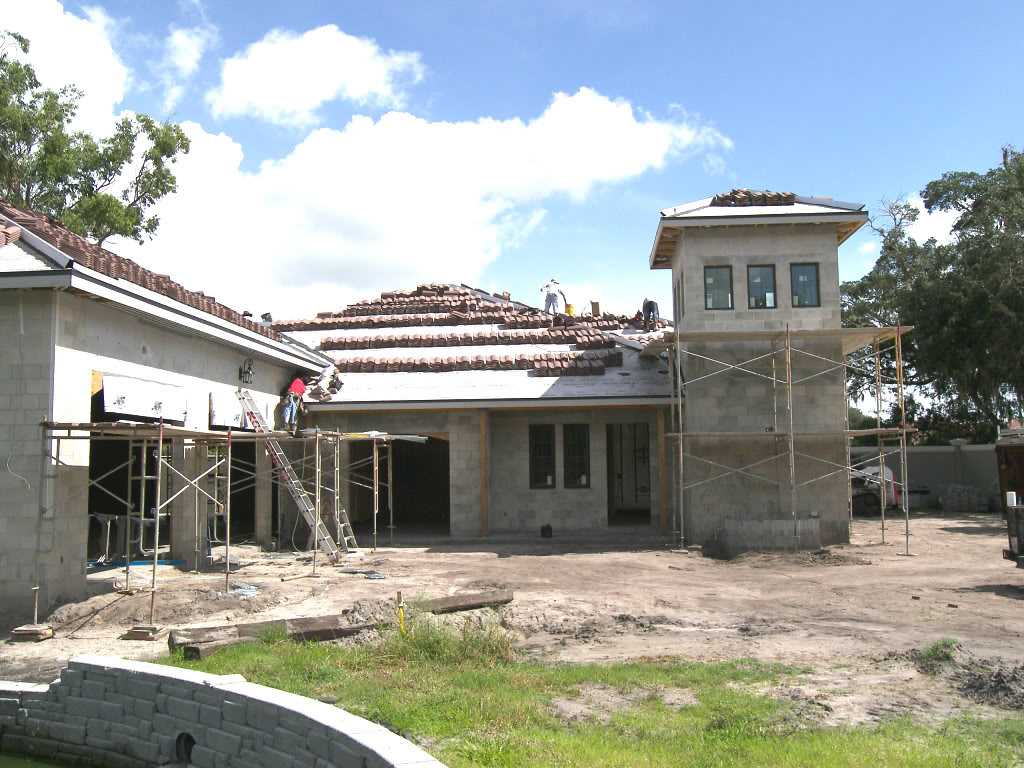
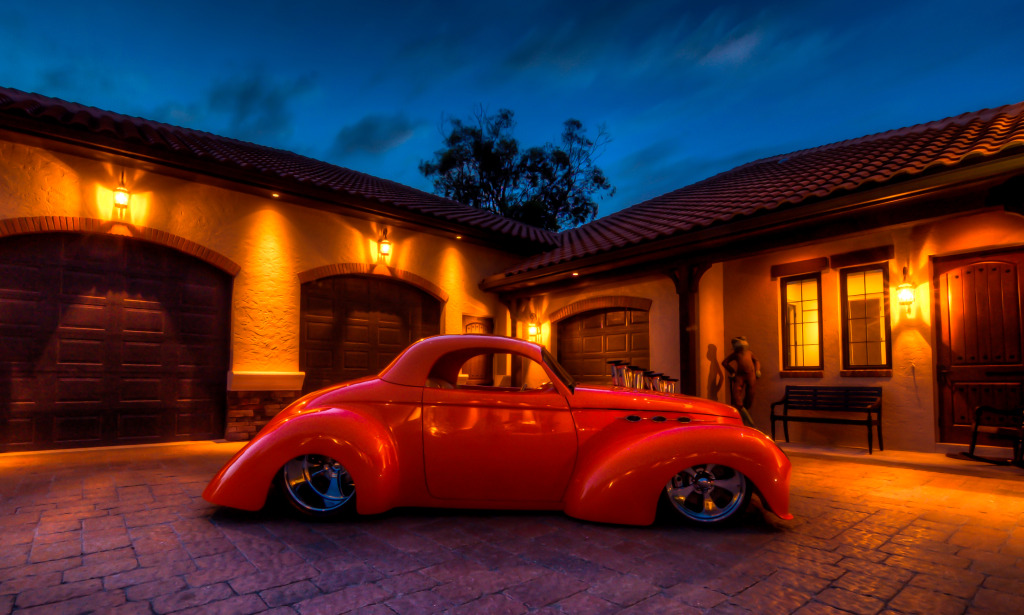
This is the picture of the side of the garage with a bump out. It was done primarily for architectural purposes so there was just one long straight wall. It will come in handy as a desk area inside the garage. We will later use this feature on the house.
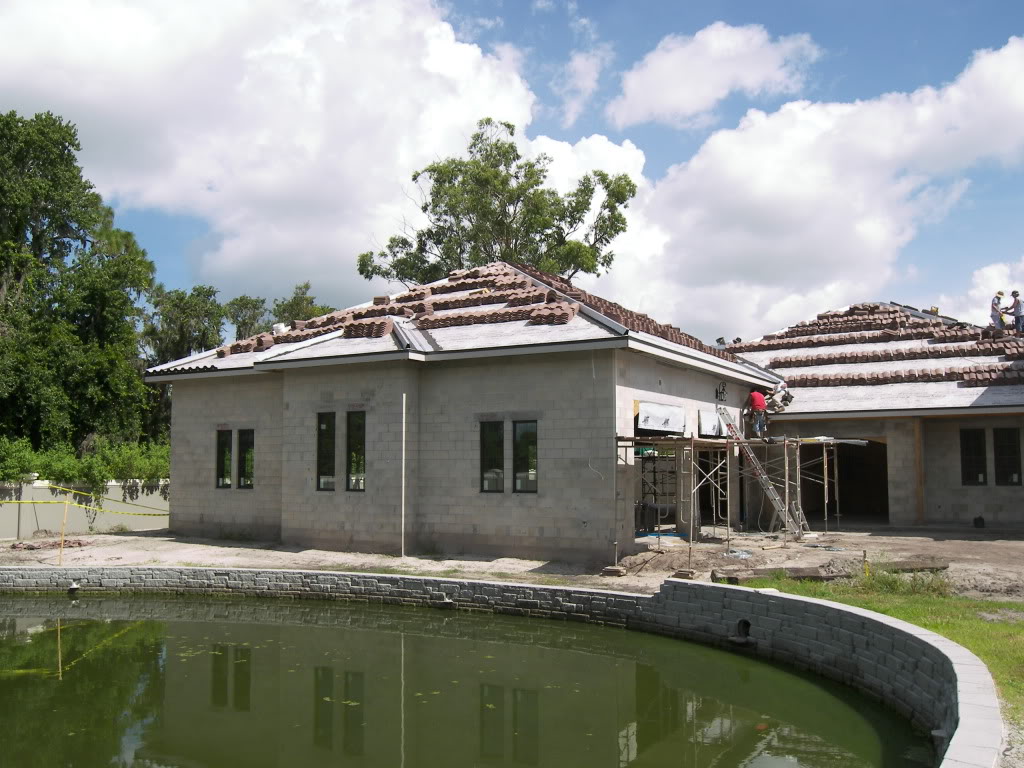
The pond is pretty high in this picture. Notice the 4 inch pvc lines in the side of the architectural wall on the pond. To the right is 1 of 3 twelve inch drain culverts. i am in the process of building our own storm water drainage system. Every home on the property will have their downspouts and ground water drain into this pond. We built the 6 foot tall 300 foot long winding architectural block retaining wall ourselves.
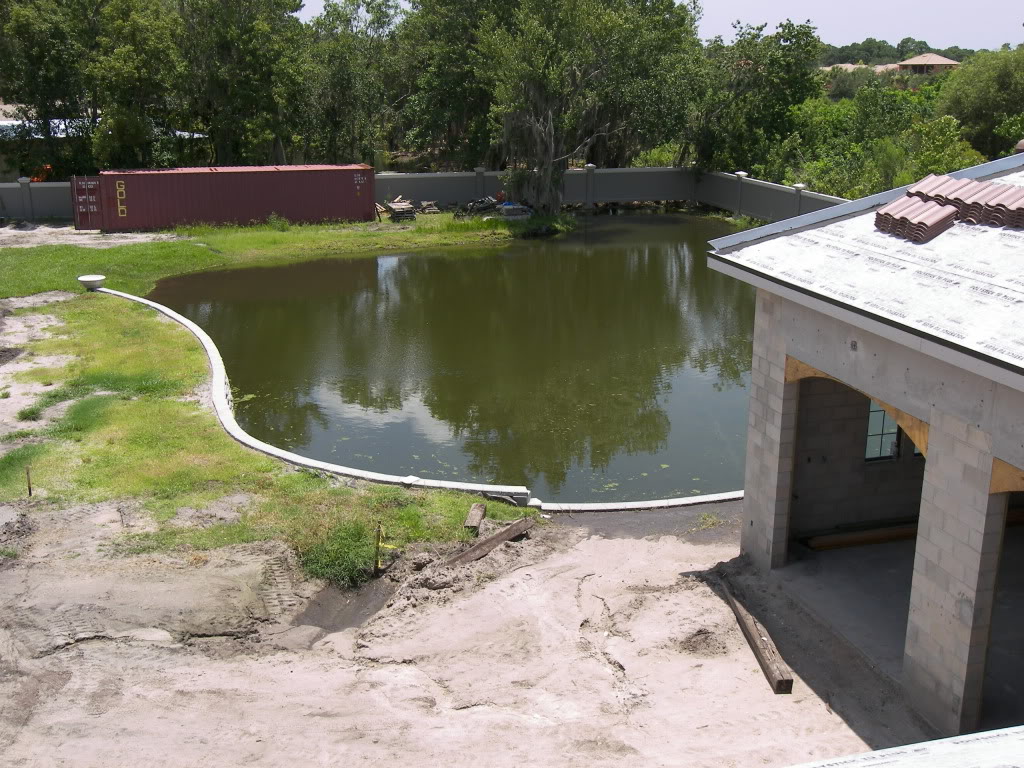
This is a picture of the pond before we enlarged the pond and added the rest of the retaining wall. I ended up hiring a pond maintenance company to take care of the pond for me.
Sorry this picture is so dark. I have tried to edit it a few times. The is the back of the garage showing the back RV opening and the concrete slab. I say its a slab but it is a footer with a stem wall and built such that we could add a roof over it.

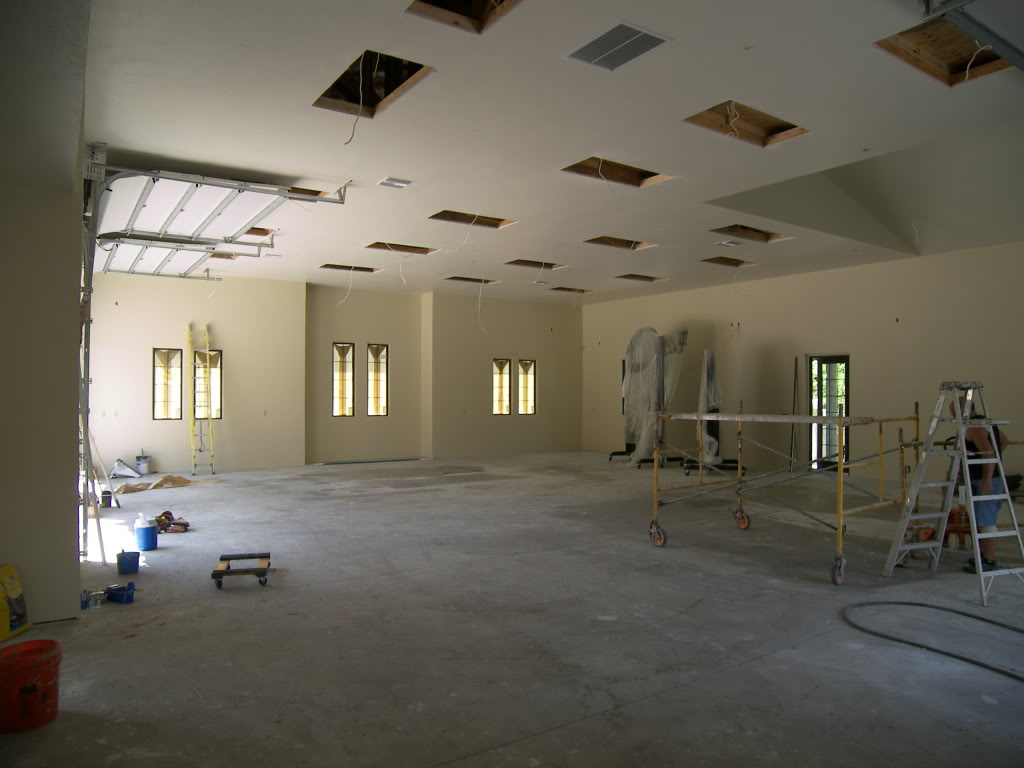
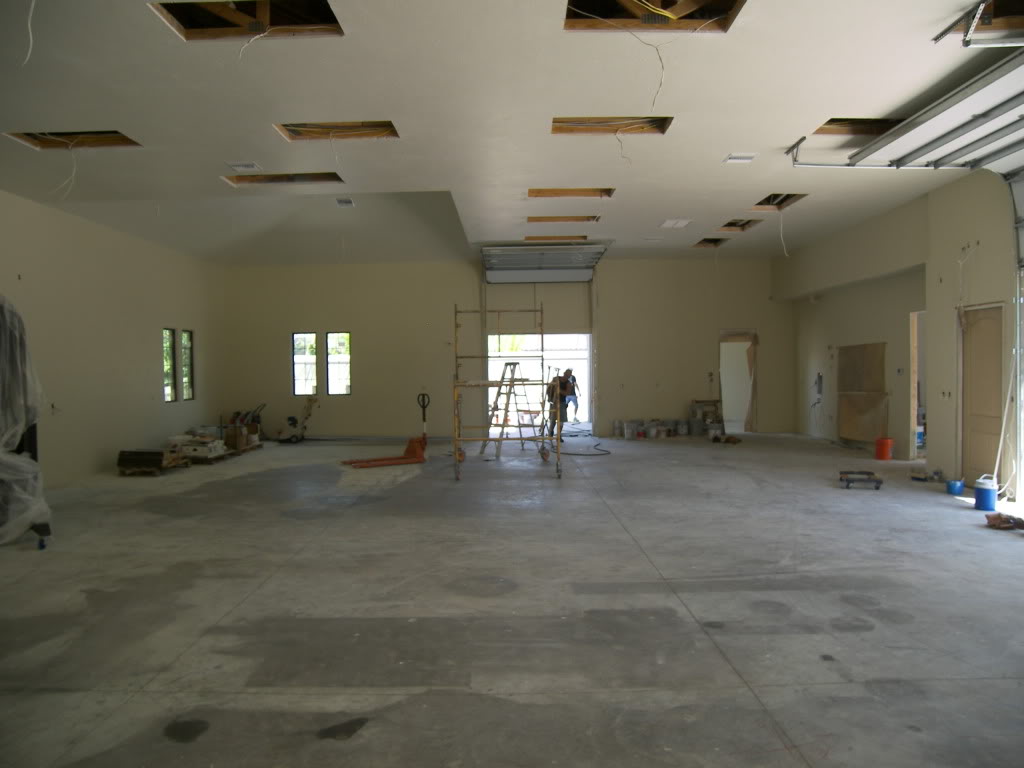
There is not too much to say about the RV bay other than it is a long tall room!
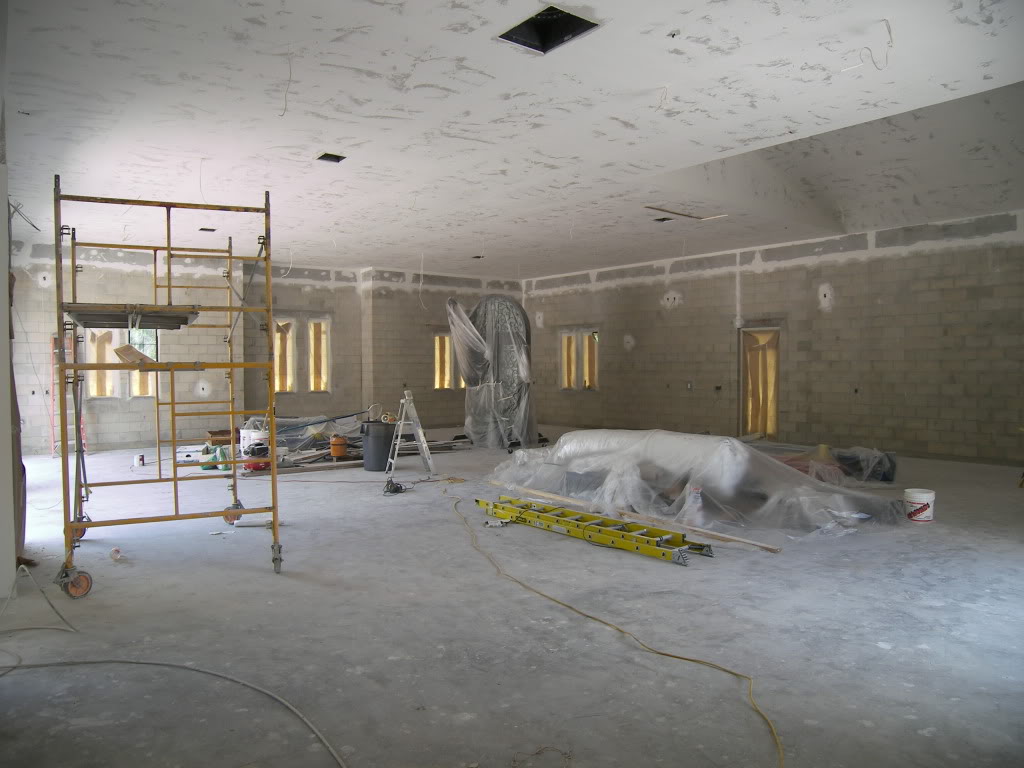
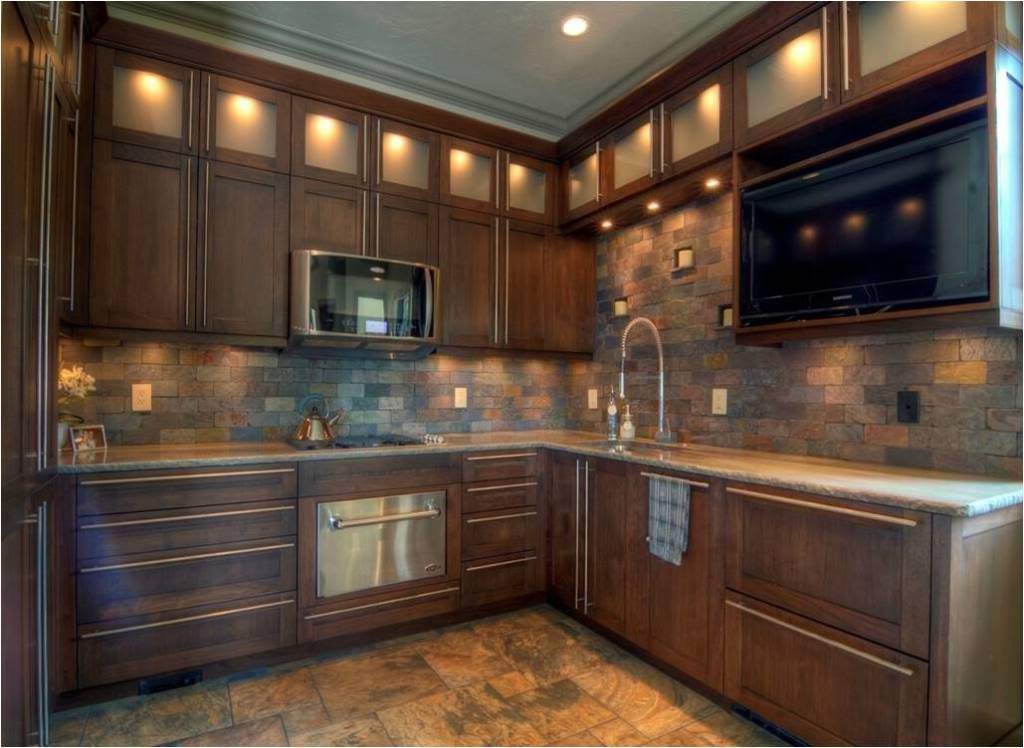
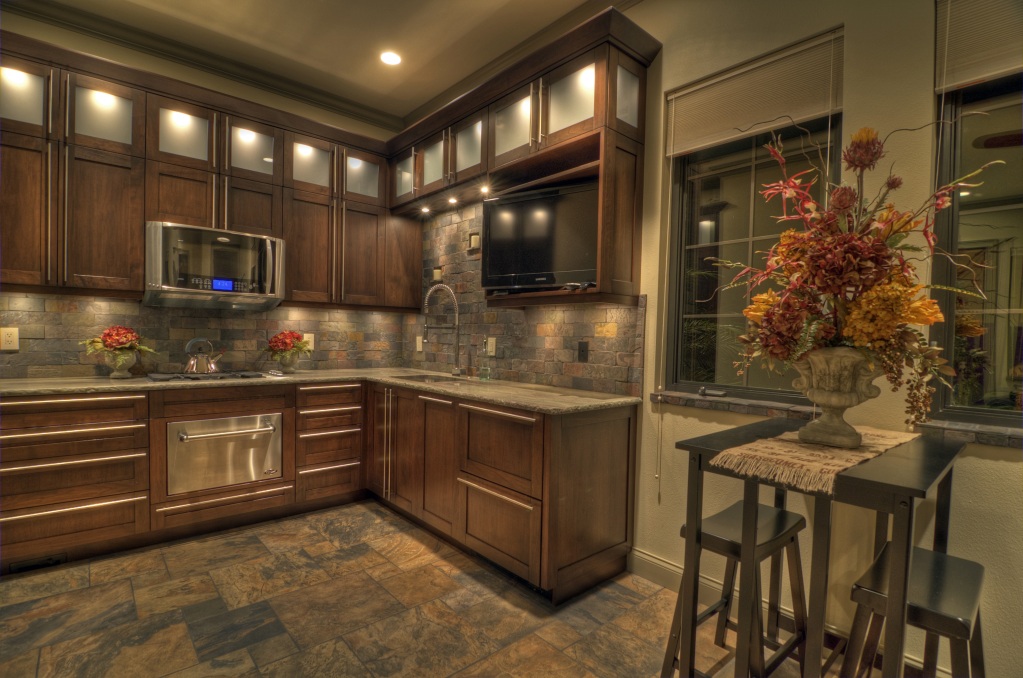
This is the painting stage in the kitchen. You can see the beginning of the kitchen cabinets. The closet on the left is the equipment room. I did get a little carried away with the lighting control and installed a Lutron lighting system as i mentioned earlier. I love gadgets and I can turn on or off any light in the garage I want with my iPhone. Why, well it shoulder good in the beginner to be able to do this. The best part is a single gang wall plate can control 7 different lights and each button is programable. Instead of having a large face plate in many areas I have these single gang switches. Just a lot cleaner and I have a lot of accent lighting, the fountain, landscape lights, and other stuff and it all gets turned on and off automatically.
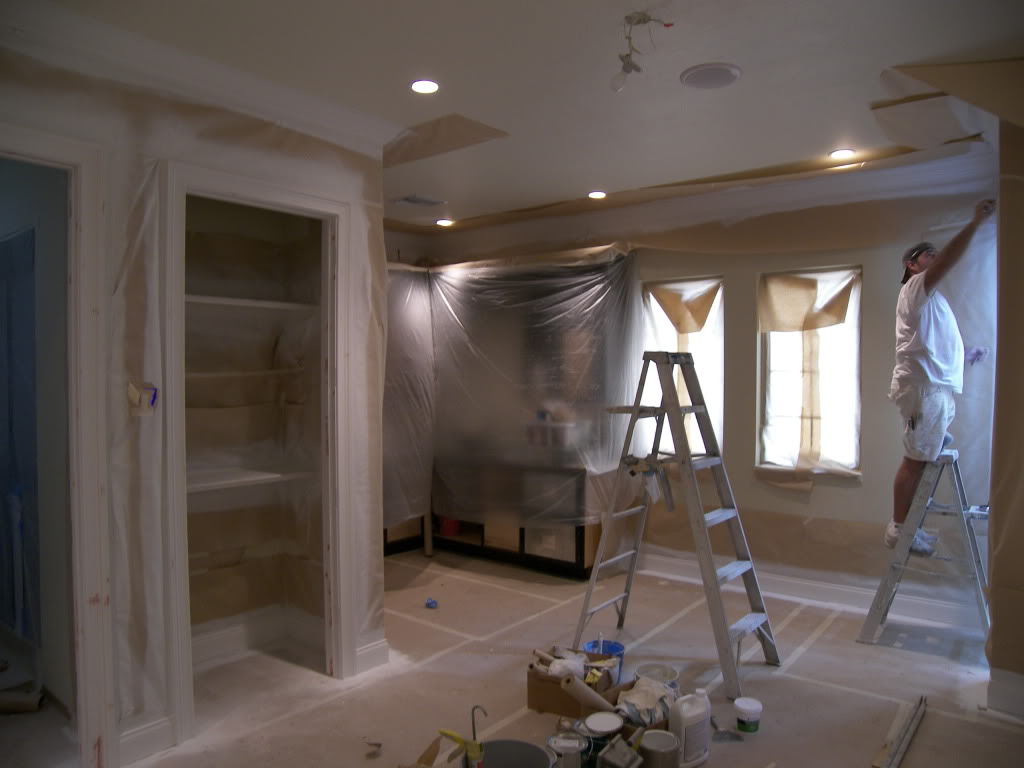
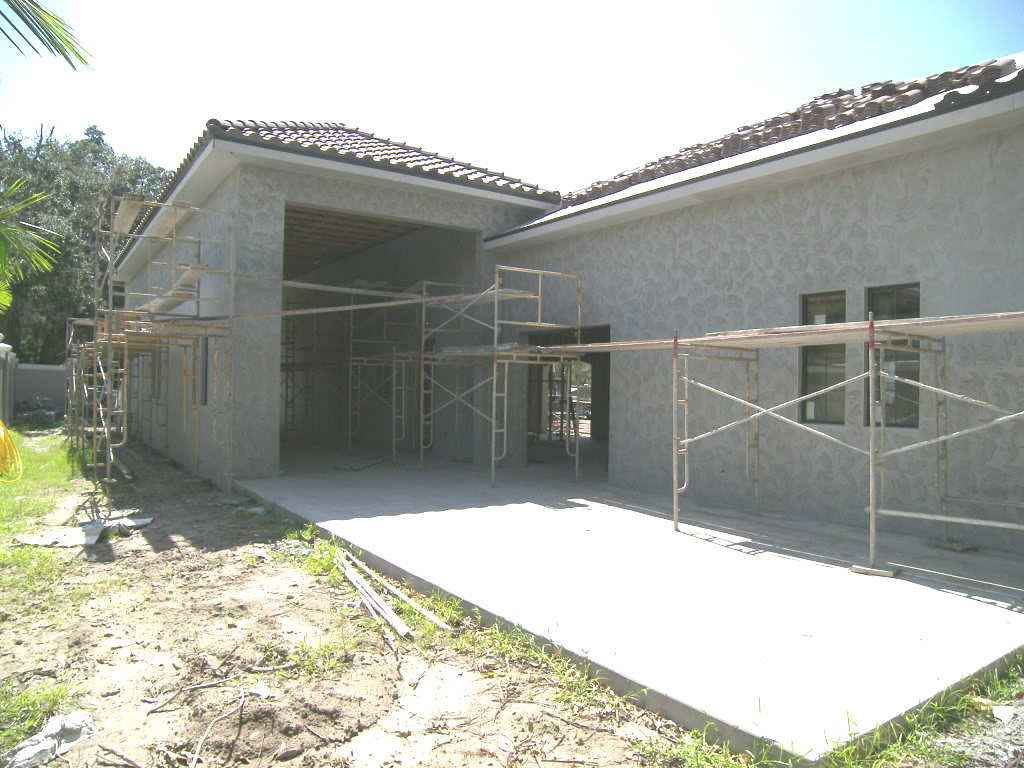
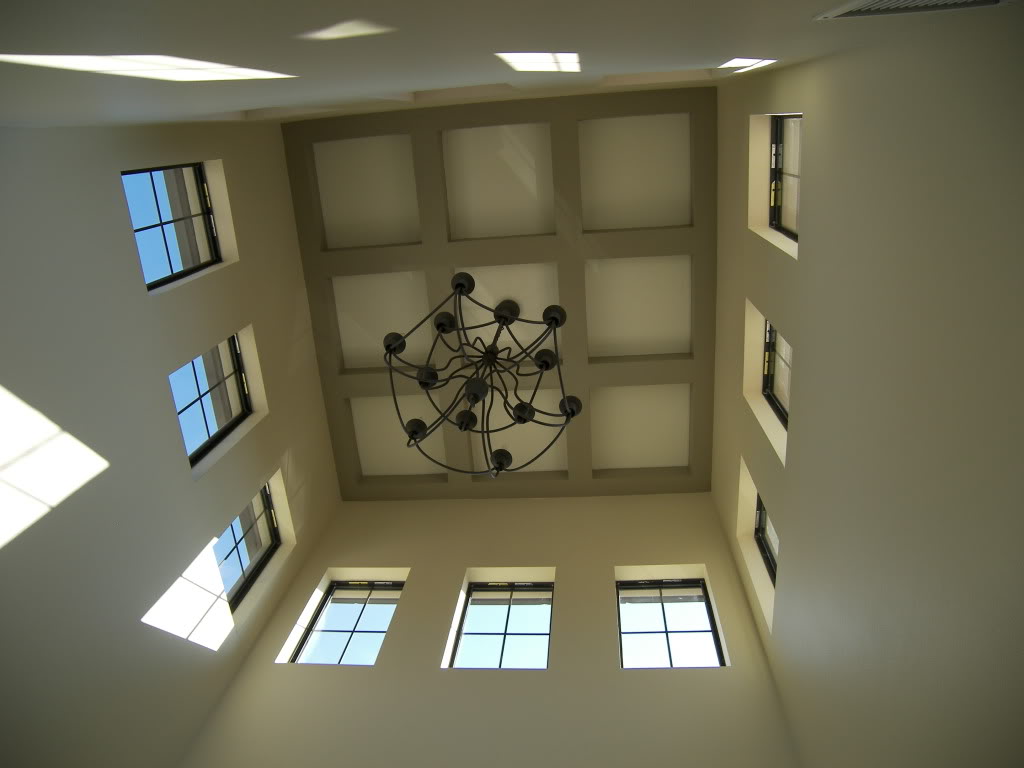
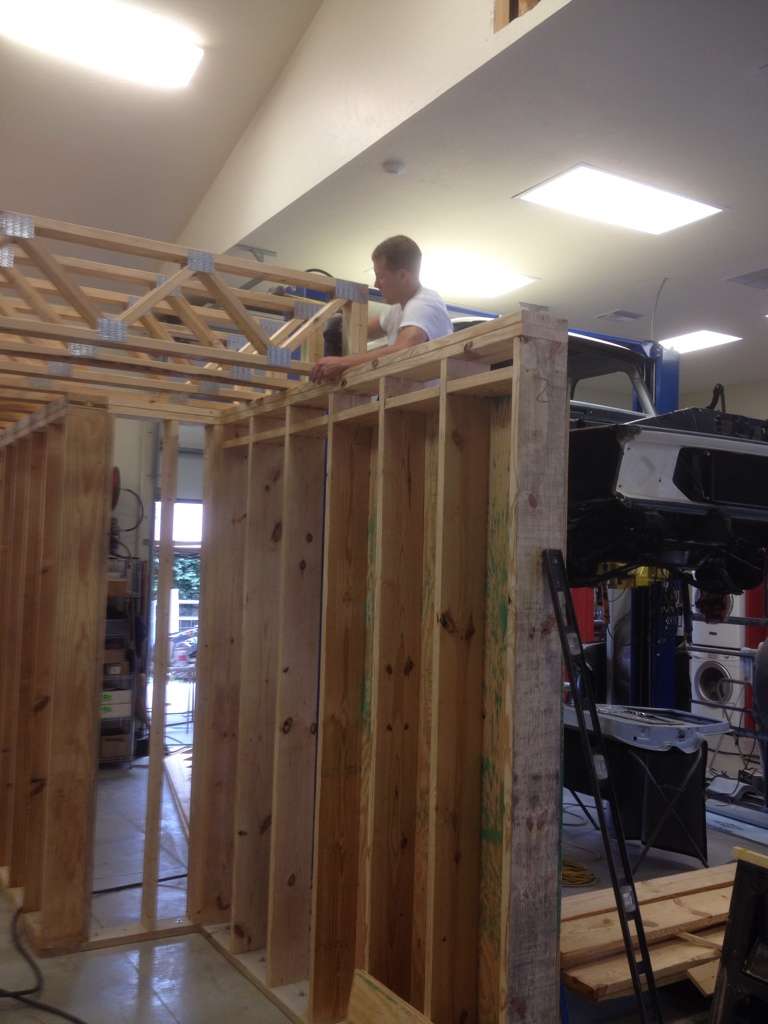
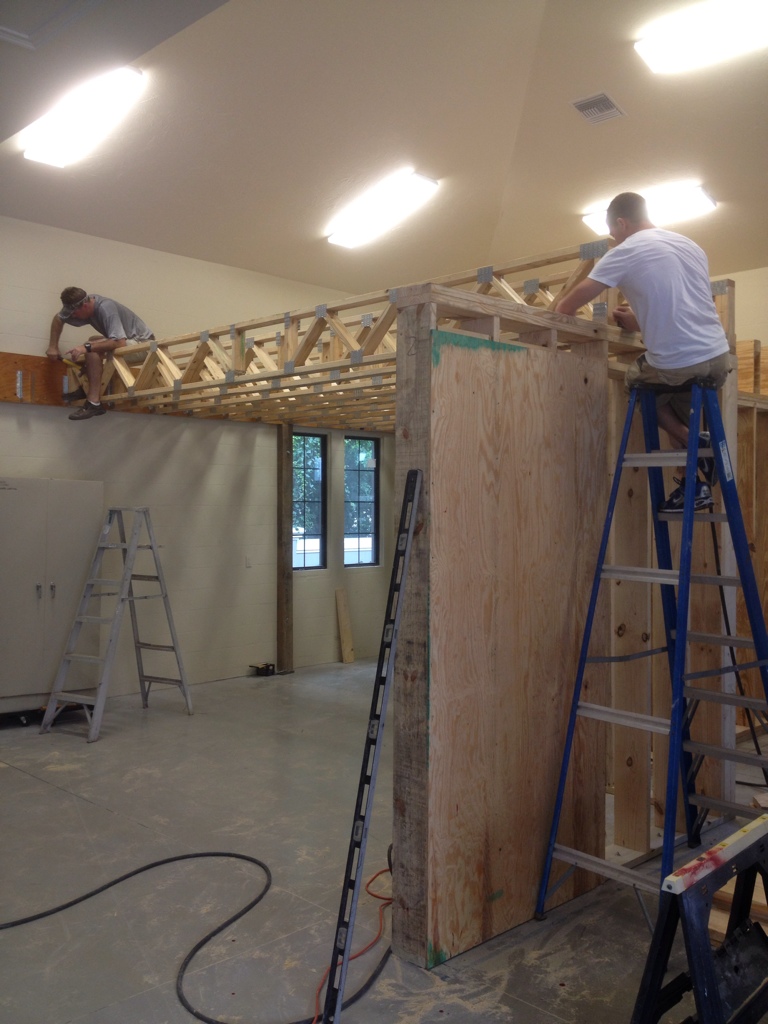
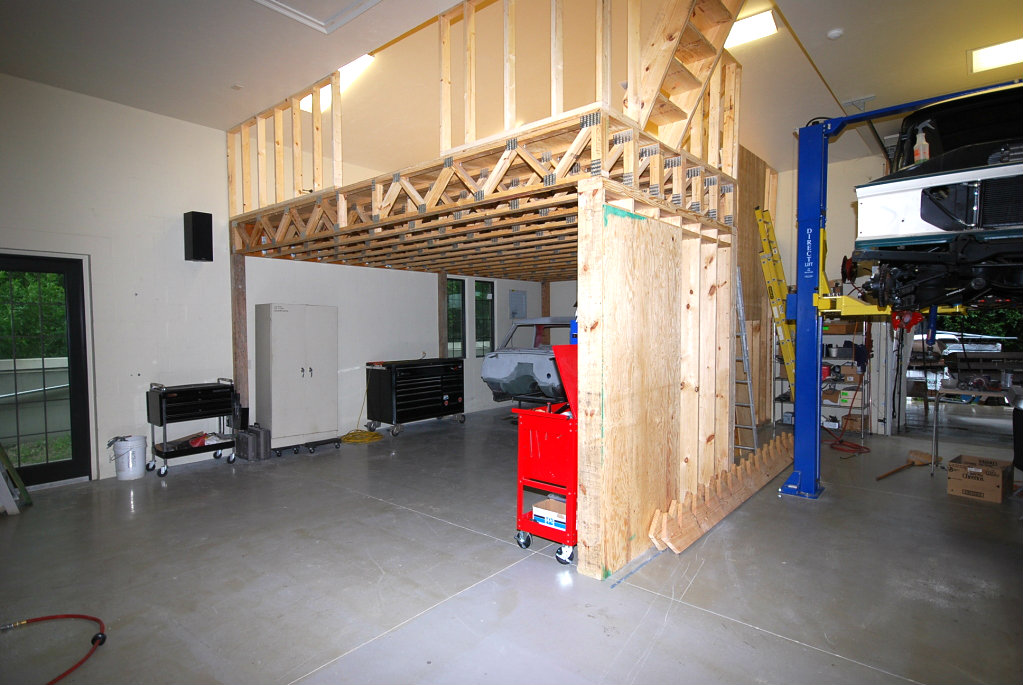
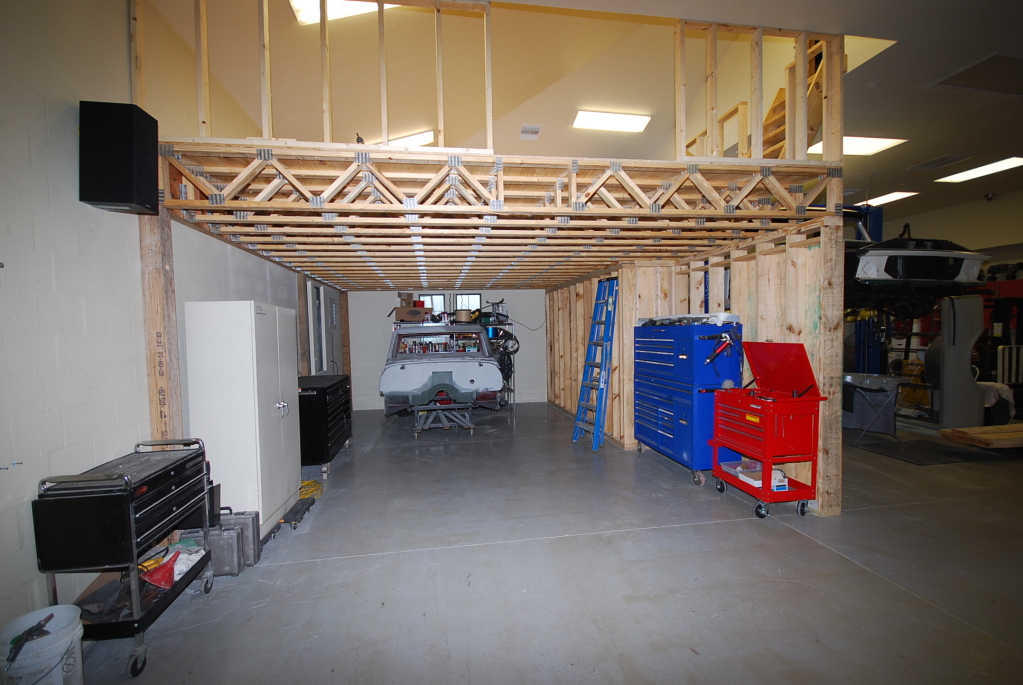
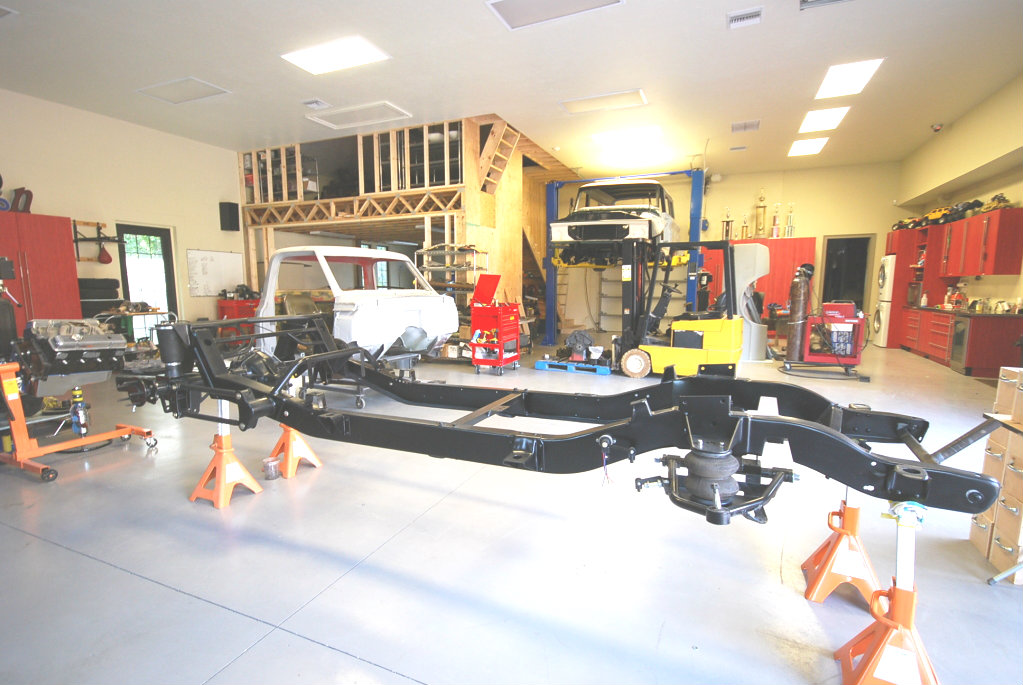
We did get some paint on the garage walls in these pictures. My last garage had white painted walls and I would never do that again. Shows too much dirt and scuff marks. We installed as many lights as possible. I have 3 zones of lighting which lets me light up whichever area in the garage I am working In the next two pictures you will notice a vaulted ceiling in the corner of the garage. The trusses were built so I could build a future loft for storage. I will be starting the loft project in a few weeks so I will be detailing this modification in future posts.
COMPLETION:

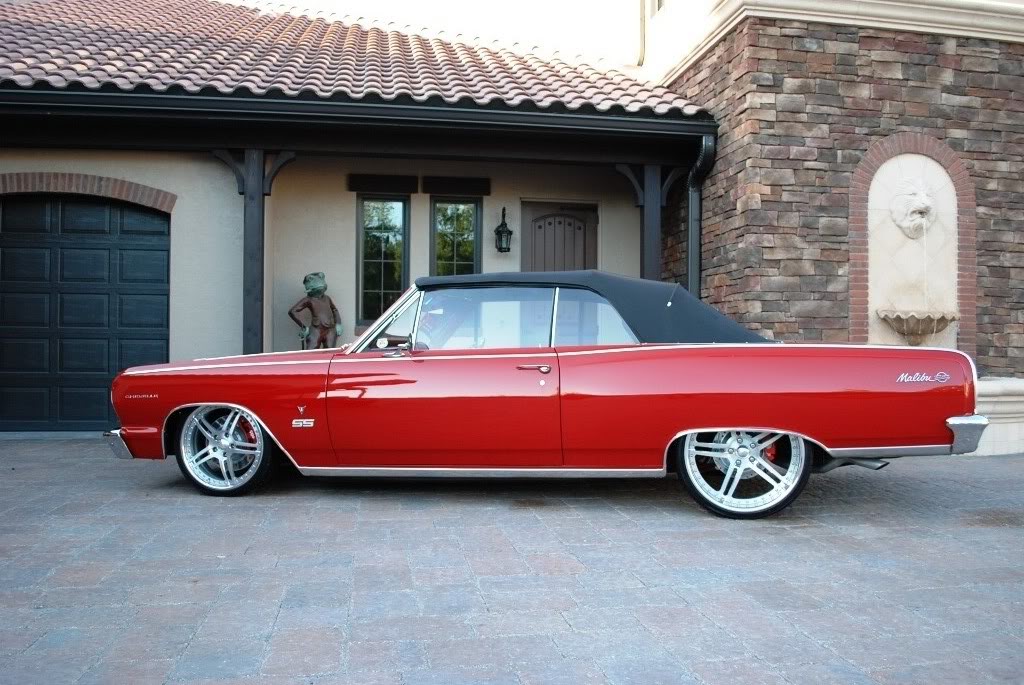
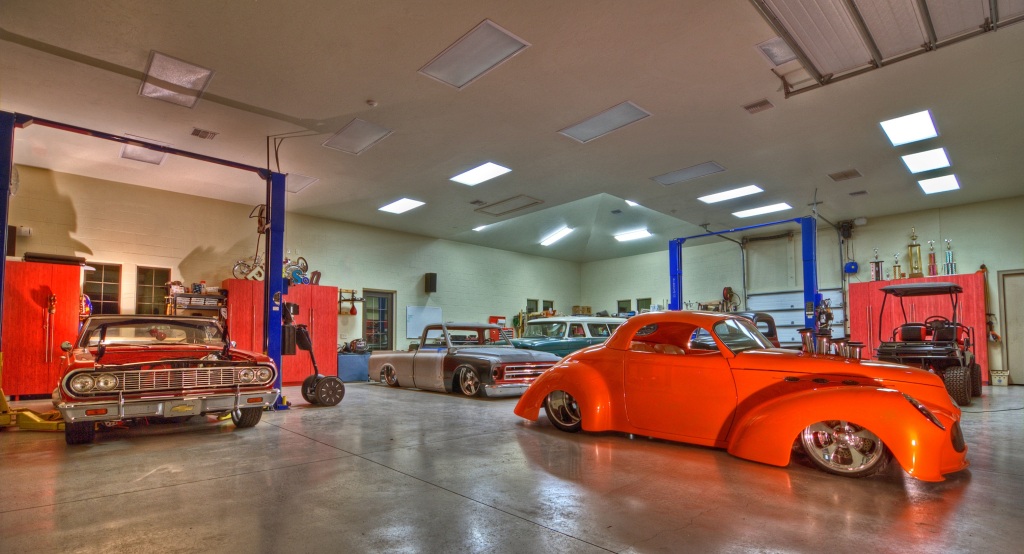
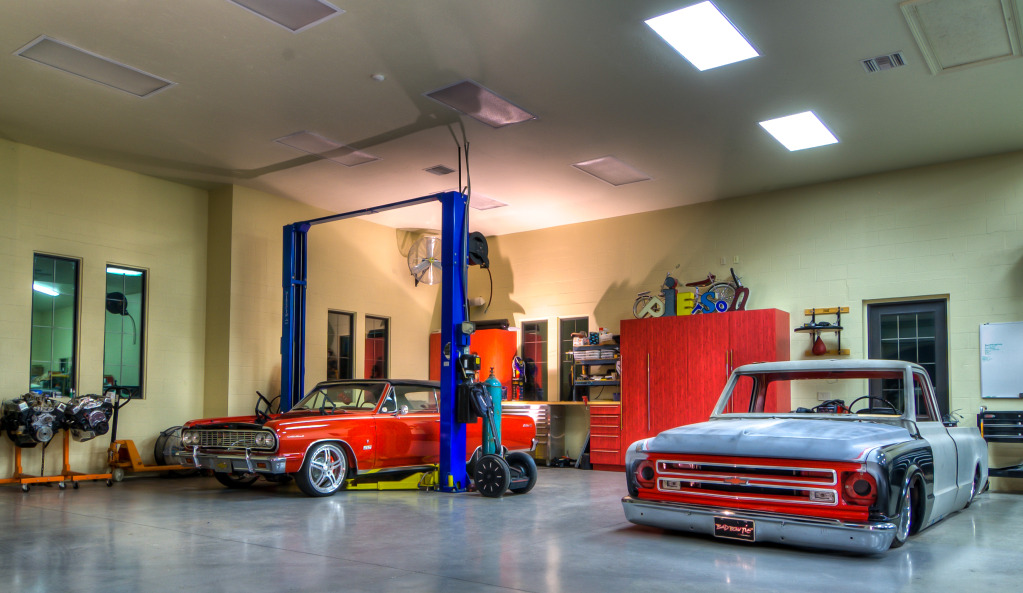
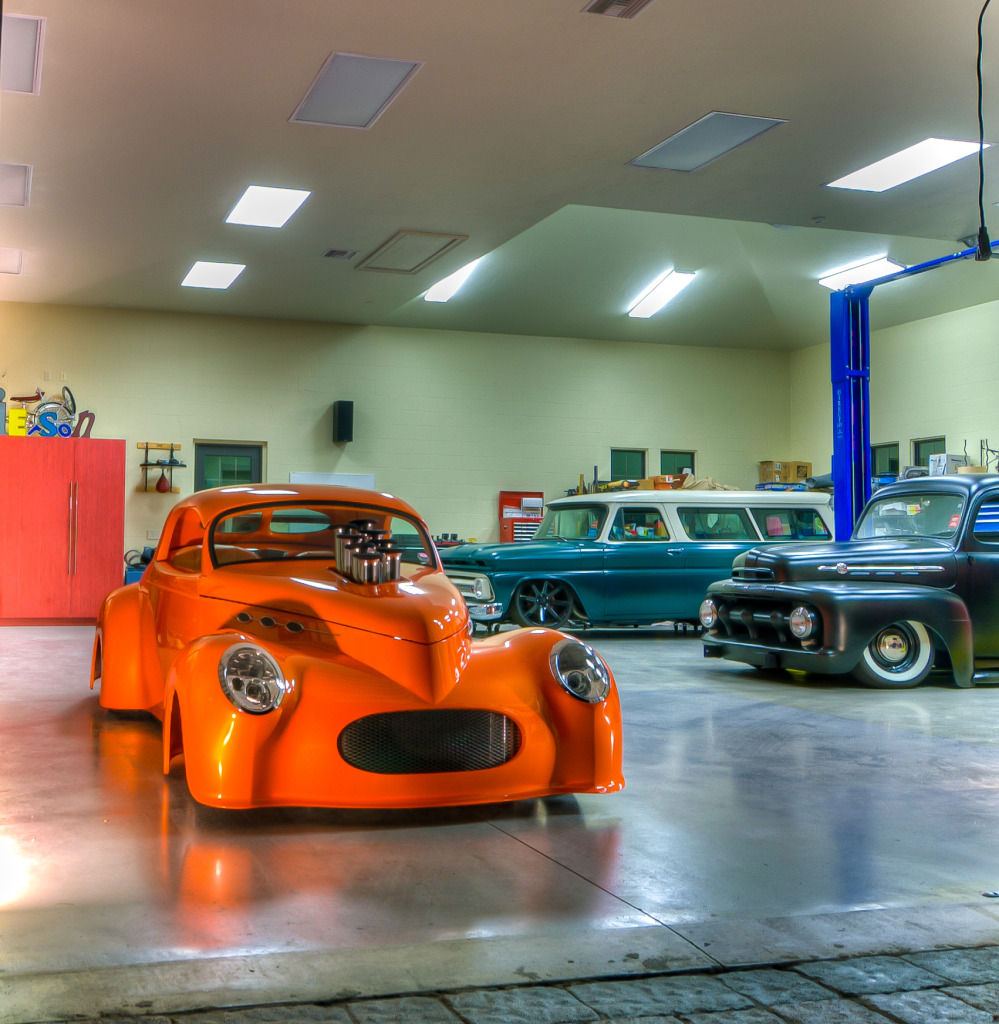
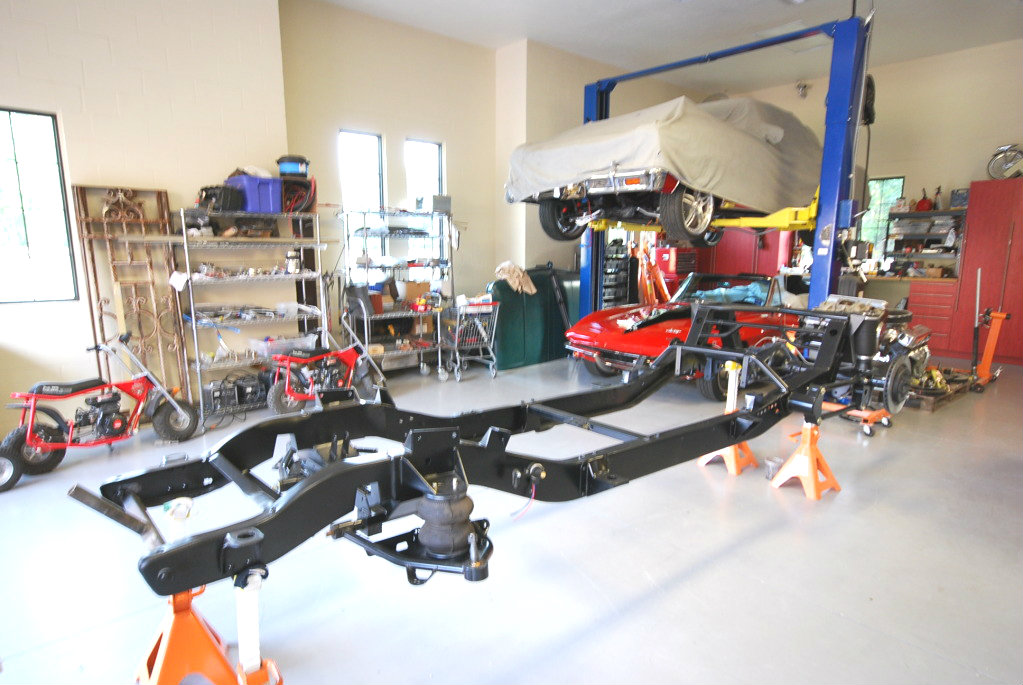
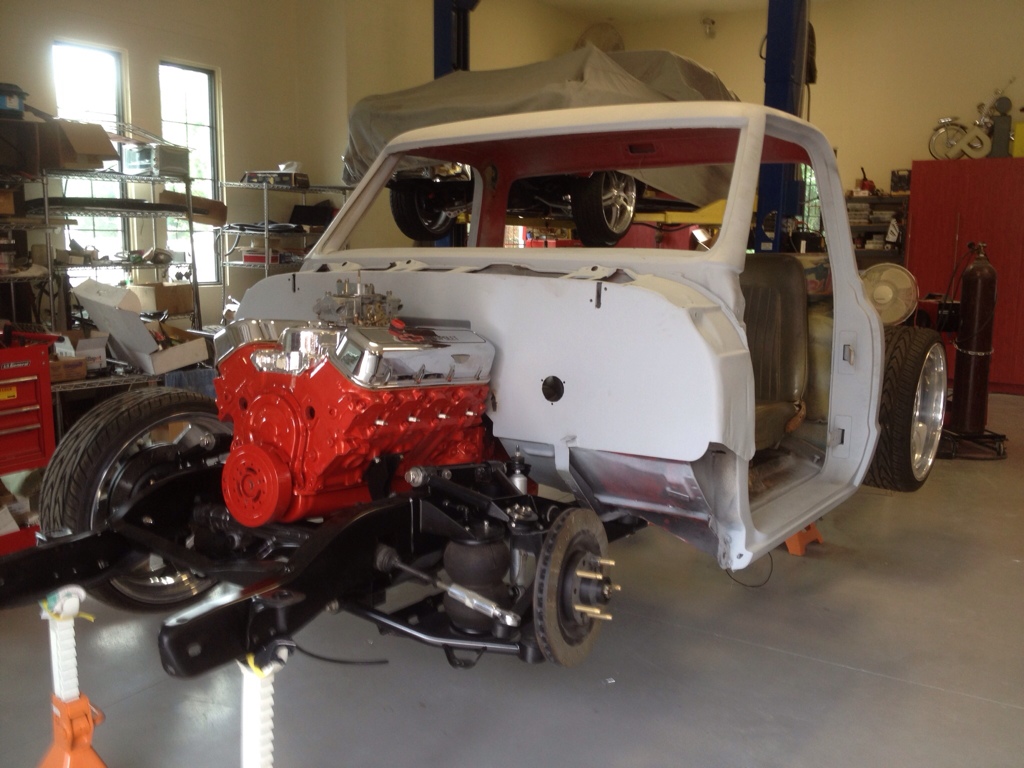
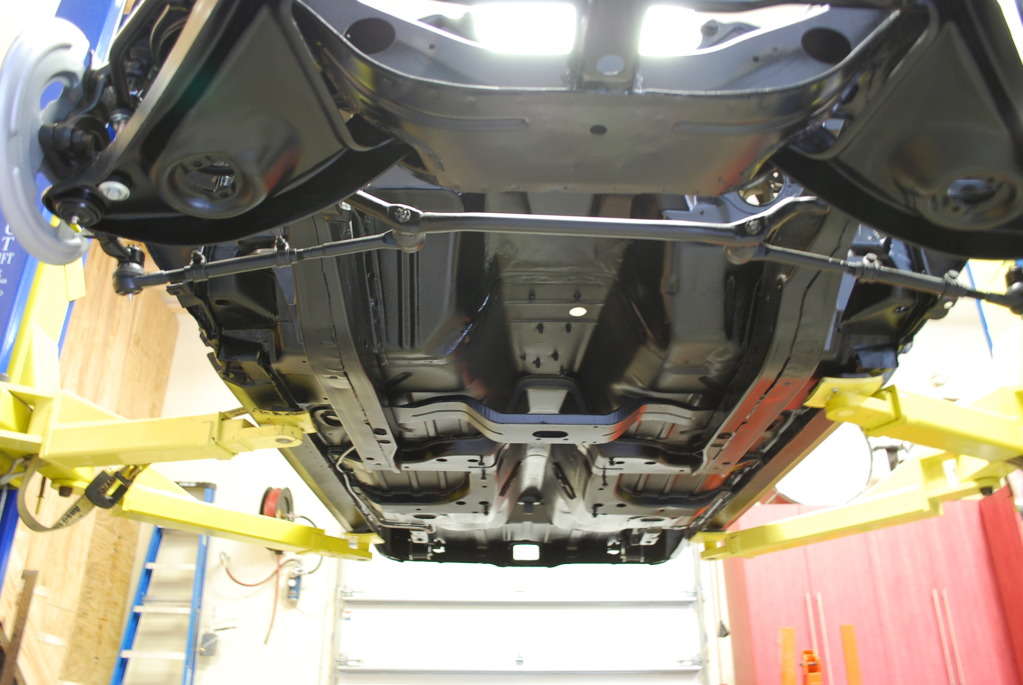
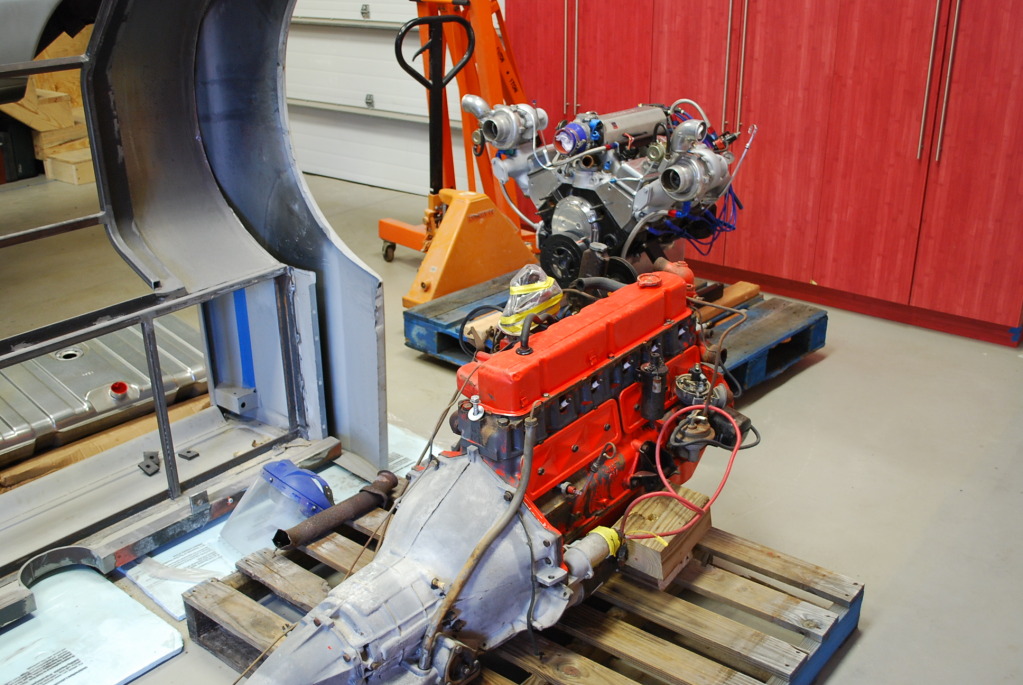
Oh and a garage is not complete without cars. I thought I would throw this picture in. It is a 1964 Chevelle Malibu SS. We are just finishing up a big block 502 with lots of polished aluminum to slide into this car.

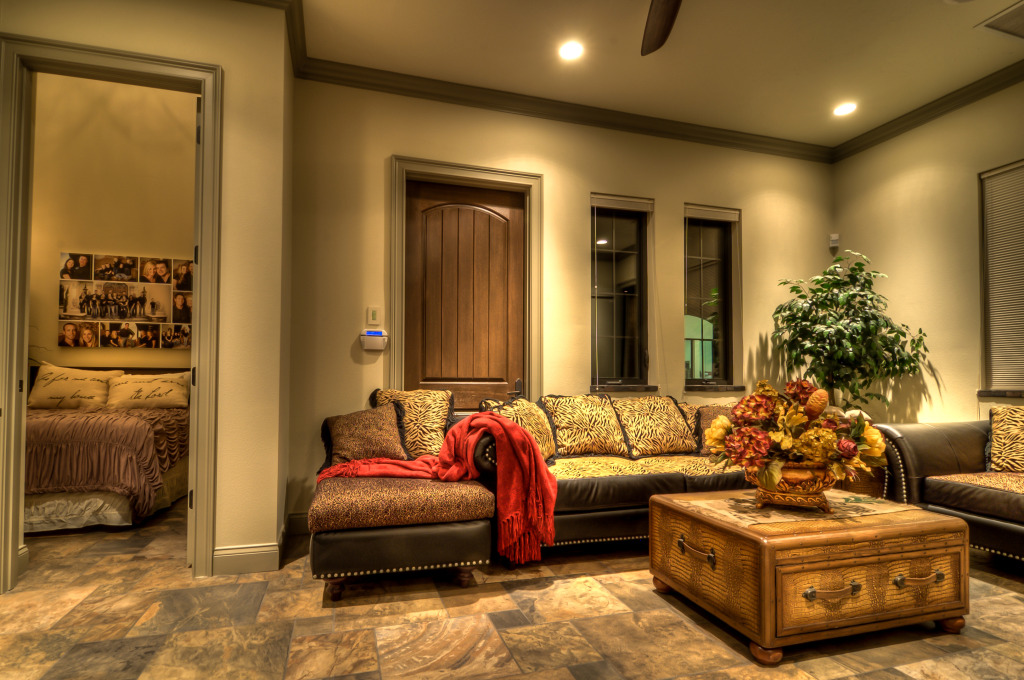
Here is a picture taken toward the garage door. The curtain is still up to hide the garage door. This is a good picture showing the picture window into the apartment.
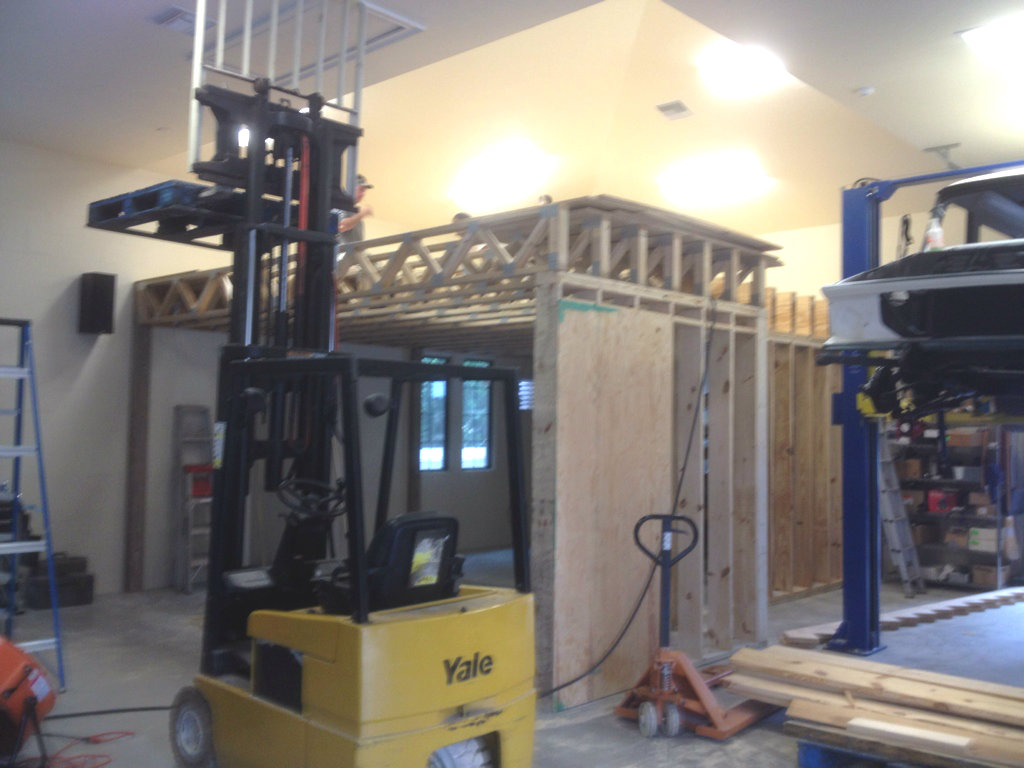
Forklift makes easy work of getting the plywood on deck.
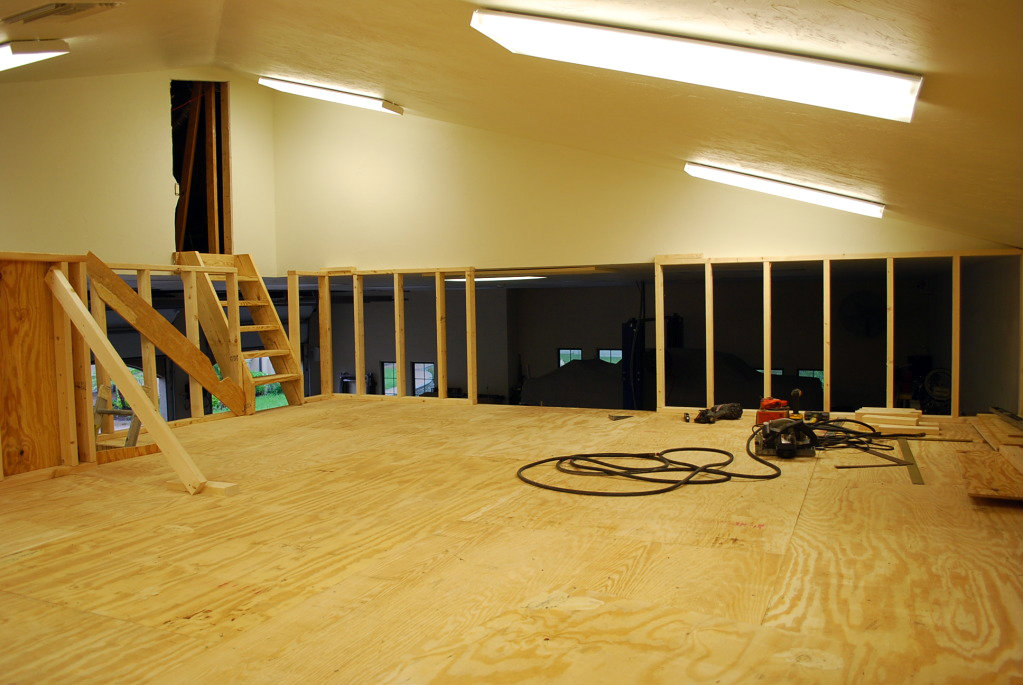
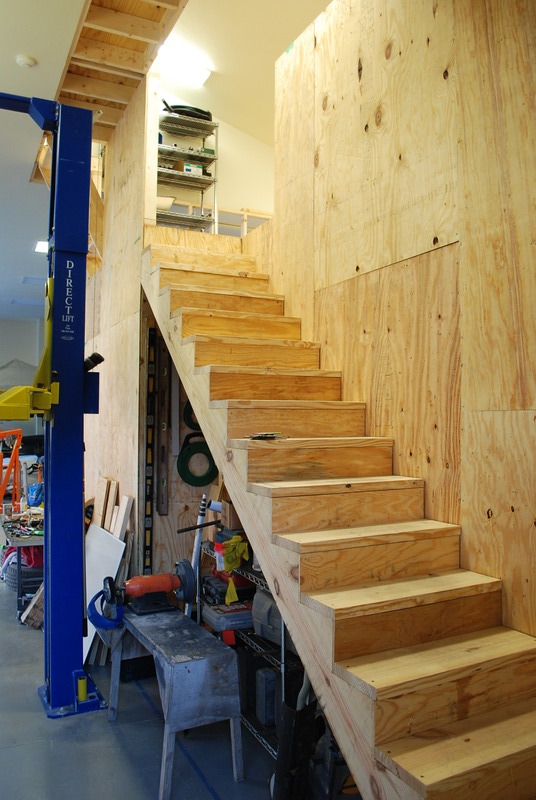
Straight ahead is where the stairs land in the loft. At some point we will drywall or just use 1/2" plywood to finish the room. The short set of stairs leads to the existing 500 square feet of attic storage. The area in view right now is 6'6" plus. My plans for this area is to have rolling shelves. Luckily a A/C duct is right in the middle of the room.
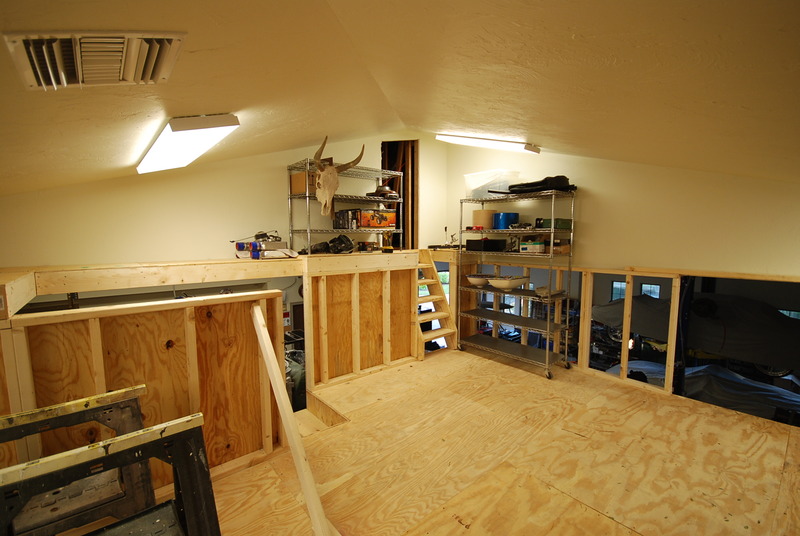
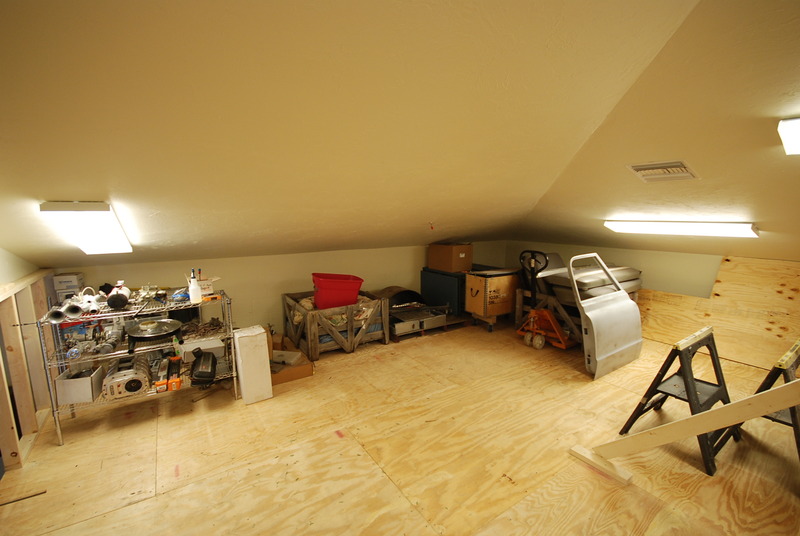
This is the back side of the loft as it meets the exterior concrete block walls. Short yes but as you can see I have my pallet jack up there and plans are for more crates I can organize parts in. I can roll these 4' x 4' x 3' tall crates back in the corner where the ceilings are low. Yes, that is a 6-71 blower sitting on the bottom shelf on the left.

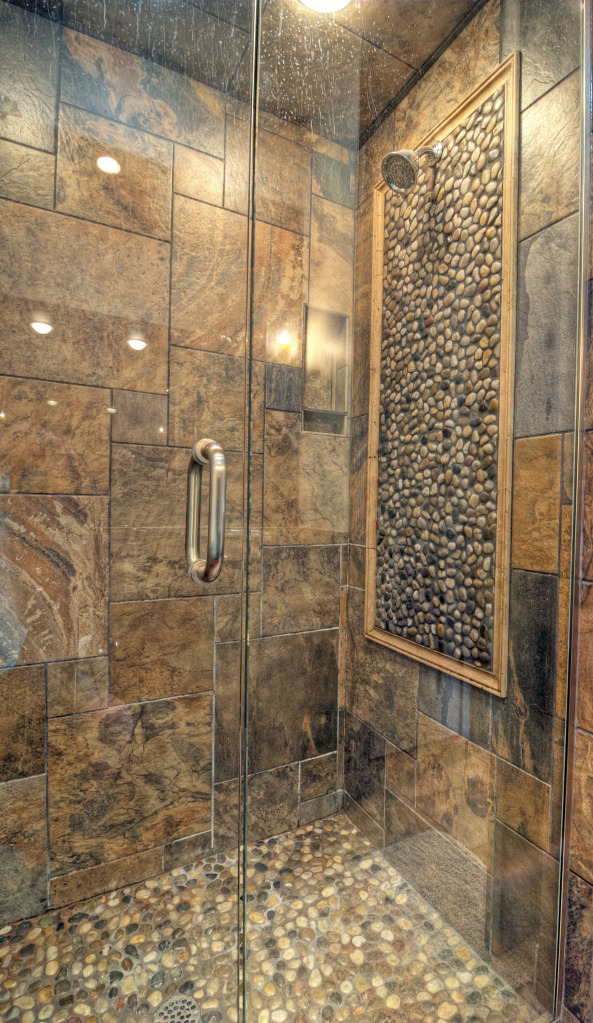
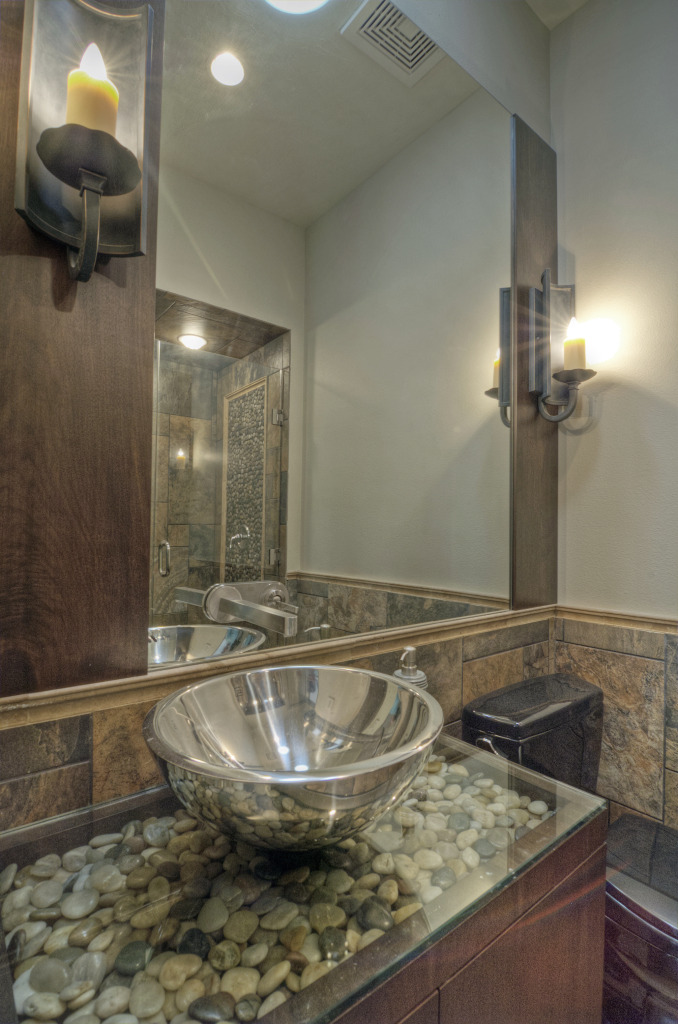
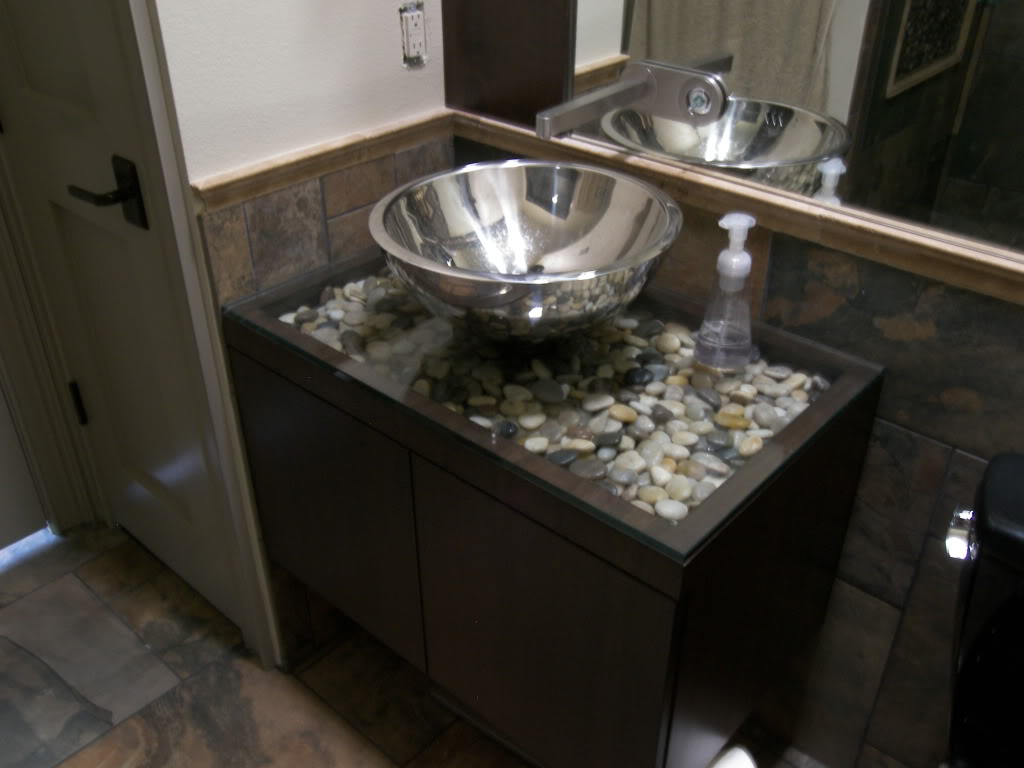
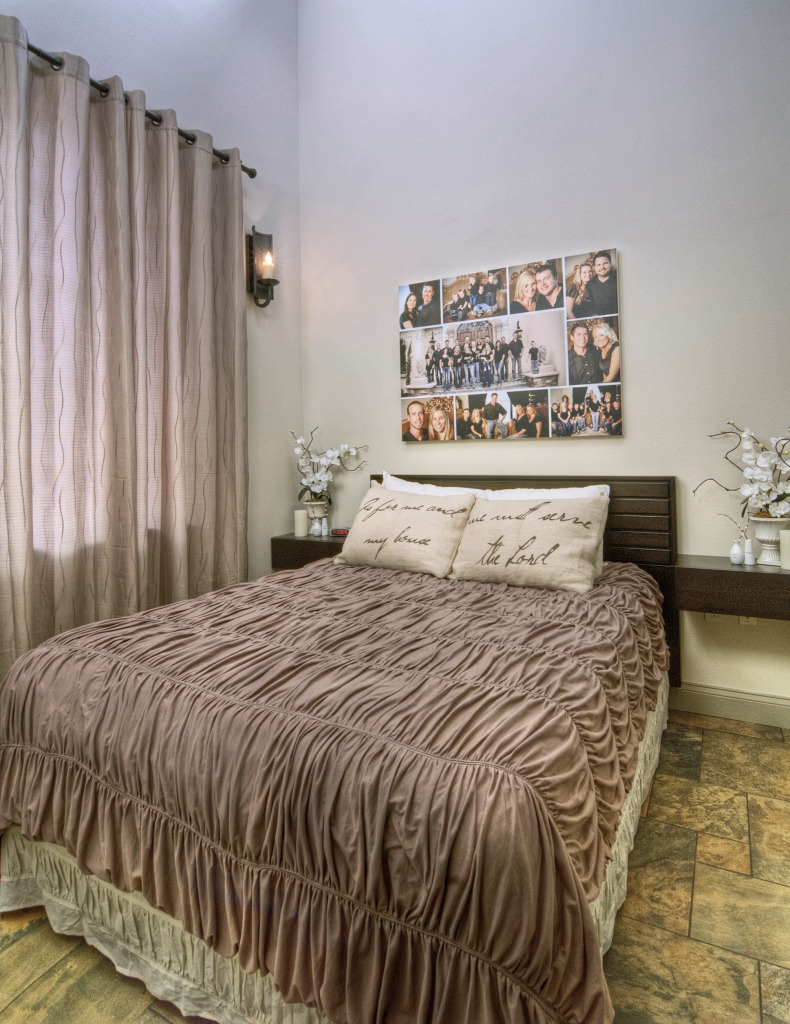
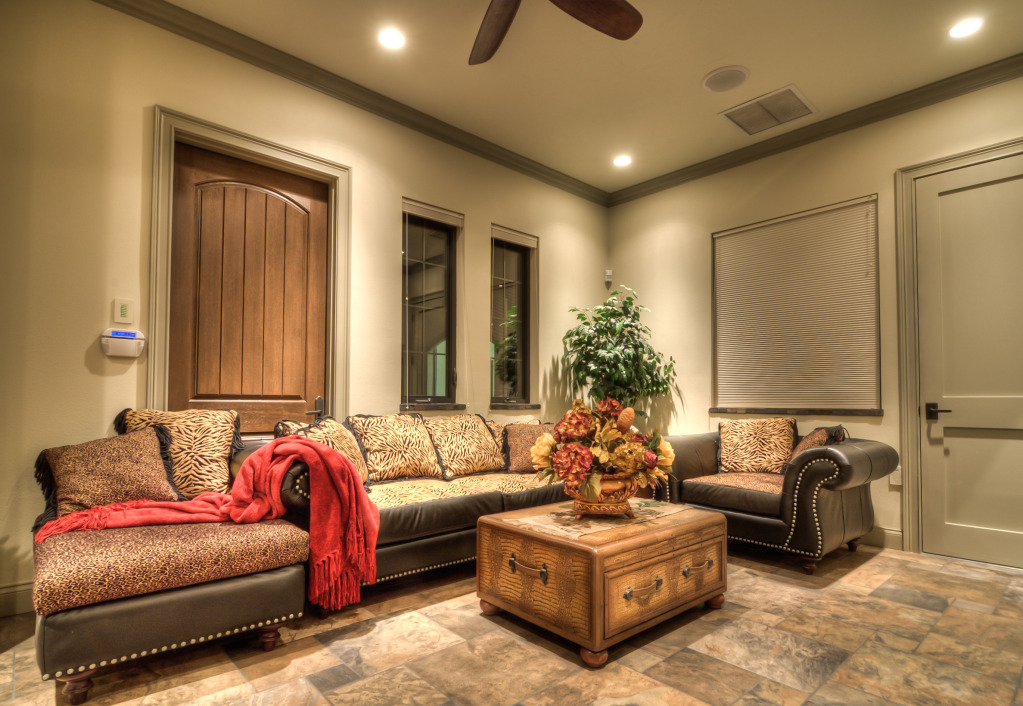
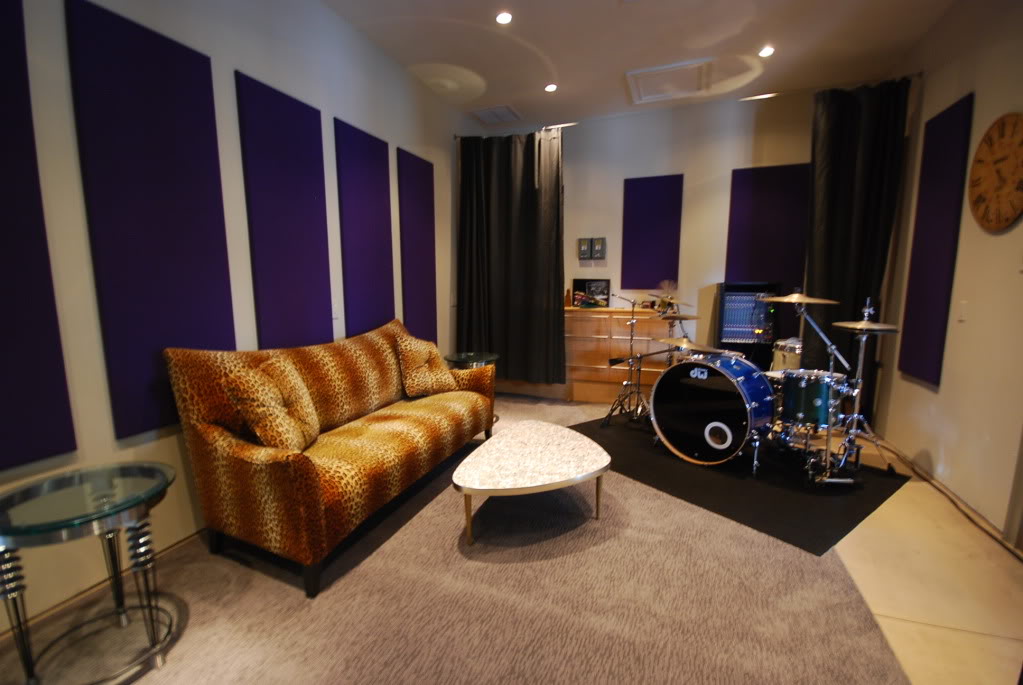
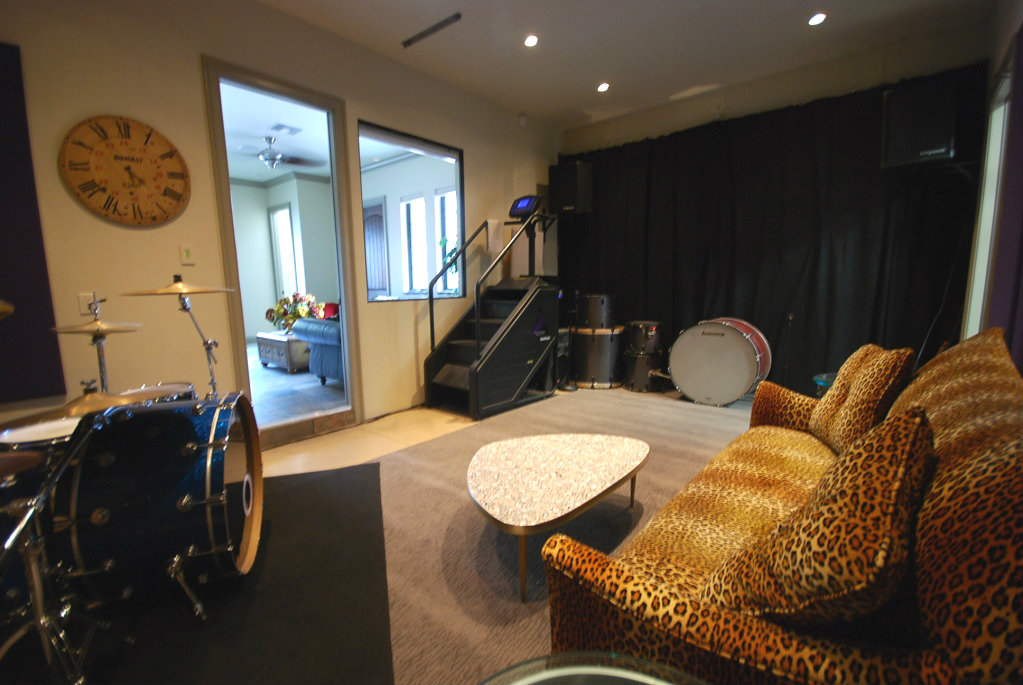
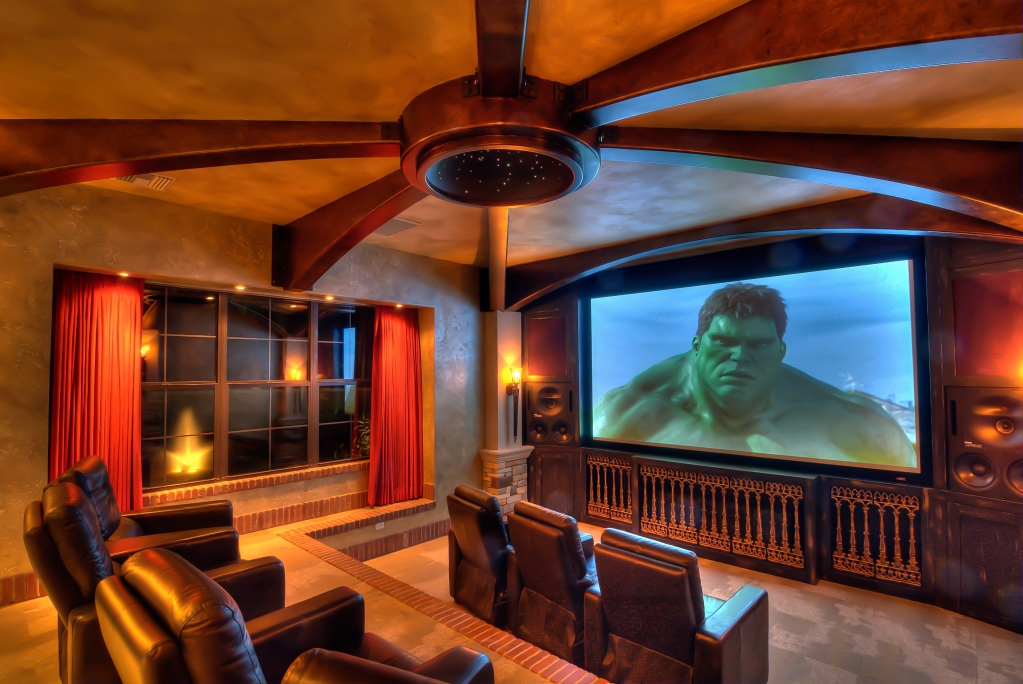
Some interior shots from his house... LOL
This is in his house:
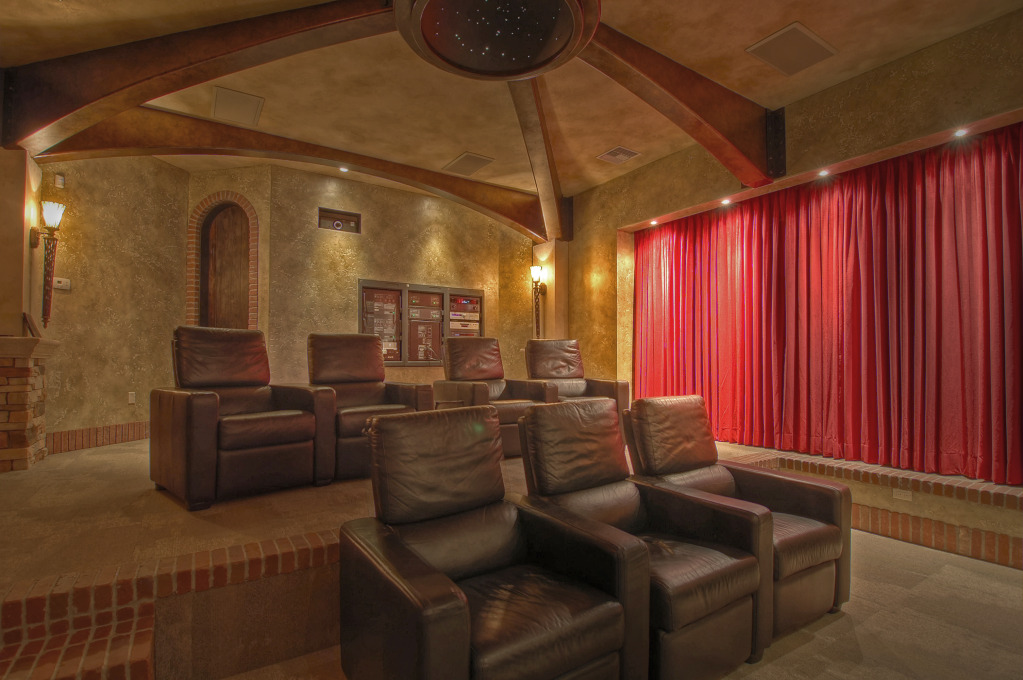
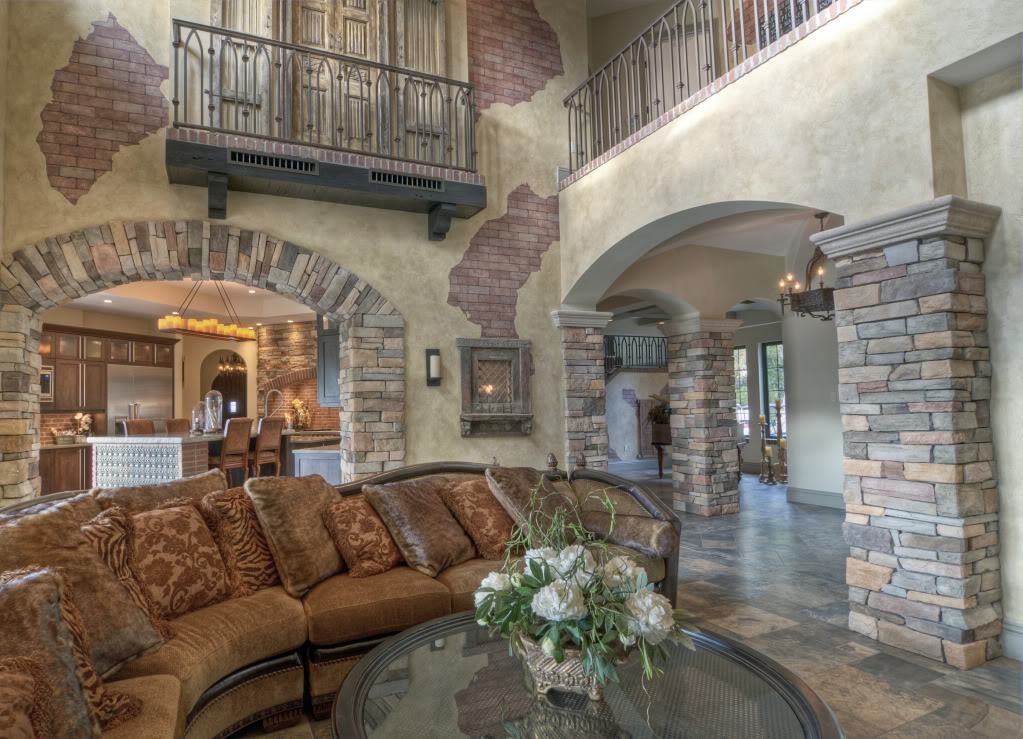
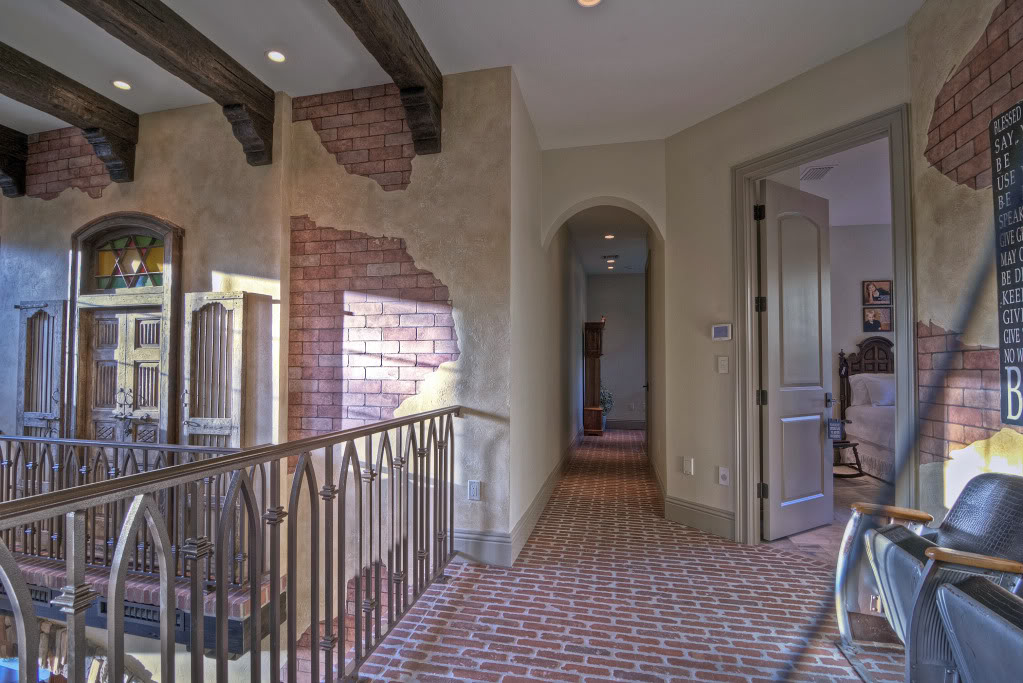
:bowd own:: bowdown:
Planning Stage:
Here is the layout of the property. The home to the right of the drawing is my brothers home. To the left on the top left hand corner is the garage, below is the existing pond, and to the right is my wife's house!!!
Here is the floor plan of the garage. The tower bedroom is marked studio, and the living room is labeled study.
Front and side elevations.
I want to add I have a 8 foot tall prestressed concrete wall around the entire property so we have plenty of privacy.
As I layer out the property building sides I built as close to the property corners as i could to preserve as much open space between the homes as possible. I want to add I have a 8 foot tall pre=stressed concrete wall around the entire property so we have plenty of privacy. The lot is about 700 feet deep by 300 feet wide.
Construction Pictures:
This picture is looking out the two 10 x 10 doors on the front of the main garage and then to the left you will see the opening for the 8 x 8 door for garage 2. The huge pile of dirt is good top soil mixed in with the dirt we dredged from pond. Also, corner of the garage for my house.
This shot is taken toward the pond area and the back wall of garage.........14 foot tall ceilings. Concrete slab is 5 inches + thick and footers were poured for two car lifts.
The is the rv bay with its 16'6" tall ceiling.........12' x 14' opening for garage door. OUt the door is a view of the concrete fence that surrounds our compound. You can also see the (2) 200 amp panels. One can never have enough electricity.
total of 6 garage doors.
2 - 8' x 8'
2 - 10' x 10'
2 - 14' x 12'
This is the picture of the side of the garage with a bump out. It was done primarily for architectural purposes so there was just one long straight wall. It will come in handy as a desk area inside the garage. We will later use this feature on the house.
The pond is pretty high in this picture. Notice the 4 inch pvc lines in the side of the architectural wall on the pond. To the right is 1 of 3 twelve inch drain culverts. i am in the process of building our own storm water drainage system. Every home on the property will have their downspouts and ground water drain into this pond. We built the 6 foot tall 300 foot long winding architectural block retaining wall ourselves.
This is a picture of the pond before we enlarged the pond and added the rest of the retaining wall. I ended up hiring a pond maintenance company to take care of the pond for me.
Sorry this picture is so dark. I have tried to edit it a few times. The is the back of the garage showing the back RV opening and the concrete slab. I say its a slab but it is a footer with a stem wall and built such that we could add a roof over it.
There is not too much to say about the RV bay other than it is a long tall room!
This is the painting stage in the kitchen. You can see the beginning of the kitchen cabinets. The closet on the left is the equipment room. I did get a little carried away with the lighting control and installed a Lutron lighting system as i mentioned earlier. I love gadgets and I can turn on or off any light in the garage I want with my iPhone. Why, well it shoulder good in the beginner to be able to do this. The best part is a single gang wall plate can control 7 different lights and each button is programable. Instead of having a large face plate in many areas I have these single gang switches. Just a lot cleaner and I have a lot of accent lighting, the fountain, landscape lights, and other stuff and it all gets turned on and off automatically.
We did get some paint on the garage walls in these pictures. My last garage had white painted walls and I would never do that again. Shows too much dirt and scuff marks. We installed as many lights as possible. I have 3 zones of lighting which lets me light up whichever area in the garage I am working In the next two pictures you will notice a vaulted ceiling in the corner of the garage. The trusses were built so I could build a future loft for storage. I will be starting the loft project in a few weeks so I will be detailing this modification in future posts.
COMPLETION:
Oh and a garage is not complete without cars. I thought I would throw this picture in. It is a 1964 Chevelle Malibu SS. We are just finishing up a big block 502 with lots of polished aluminum to slide into this car.
Here is a picture taken toward the garage door. The curtain is still up to hide the garage door. This is a good picture showing the picture window into the apartment.
Forklift makes easy work of getting the plywood on deck.
Straight ahead is where the stairs land in the loft. At some point we will drywall or just use 1/2" plywood to finish the room. The short set of stairs leads to the existing 500 square feet of attic storage. The area in view right now is 6'6" plus. My plans for this area is to have rolling shelves. Luckily a A/C duct is right in the middle of the room.
This is the back side of the loft as it meets the exterior concrete block walls. Short yes but as you can see I have my pallet jack up there and plans are for more crates I can organize parts in. I can roll these 4' x 4' x 3' tall crates back in the corner where the ceilings are low. Yes, that is a 6-71 blower sitting on the bottom shelf on the left.
Some interior shots from his house... LOL
This is in his house:
:bowd own:: bowdown:
Reply
 0
0

0


Sorry guys, I find all that crap tasteless.
Looks like new found money, dying to show itself off. The place, as a home, is far from warm, has almost no feeling to it. Kinda like a page torn out of a penney's catalog and propped in front of the camera.
Any idiot can build a garage. A real idiot stuffs it with the sort of wannabe lowrider junk and a couple hard parkers like in those pics.
That guy is either 14, or does not get any.
I have seen guys turn a 12 X 12 foot space into a real garage, and turn out respectable work. Not just assemble mail order shiny stuff.
Reply
0
0


I like how 90% of the pictures are either HDR or have shadow inversion from trying to make it look like HDR in Photoshop.
**** is annoying.
Like most things, the internet has ruined photography.
**** is annoying.
Like most things, the internet has ruined photography.
Reply
0
0

Haters gonna hate. (dude does have kinda bad taste in cars, though) That building is still amazing. There's much more space in the apartment area than I'm used to living in, that's for sure. I could retire to a place like that.
Reply
0
0

Reply
0
0


