
DIY - Raspberry Pi Racedash


Thread Starter
Junior Member
Joined: Jul 2013
Posts: 85
Total Cats: 48
From: Norway
Hi!
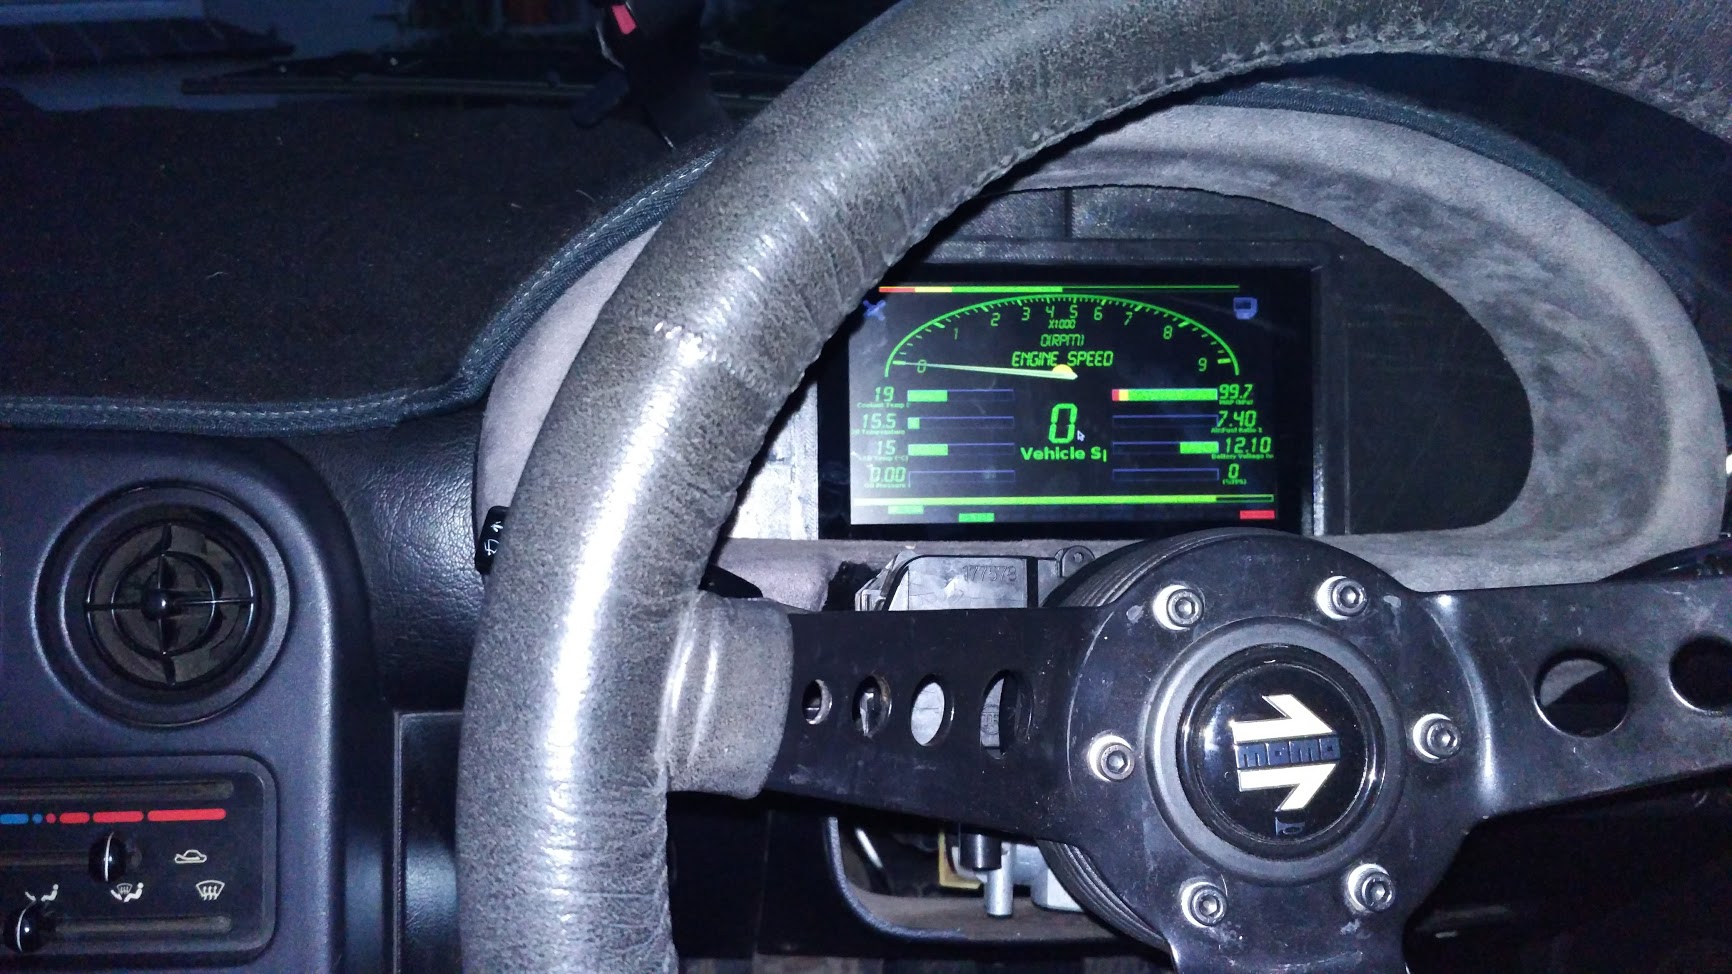
I just finished my Raspberry Pi Racedash and I wanted to share it with you guys. It does require a 3D-printer or access to one.
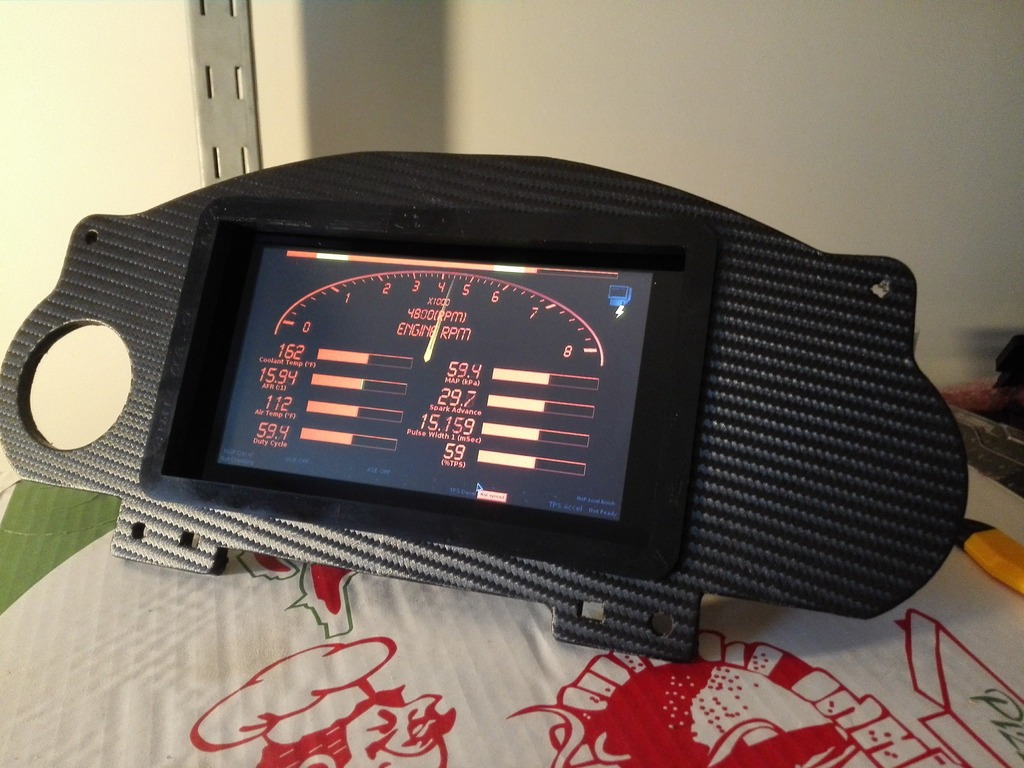
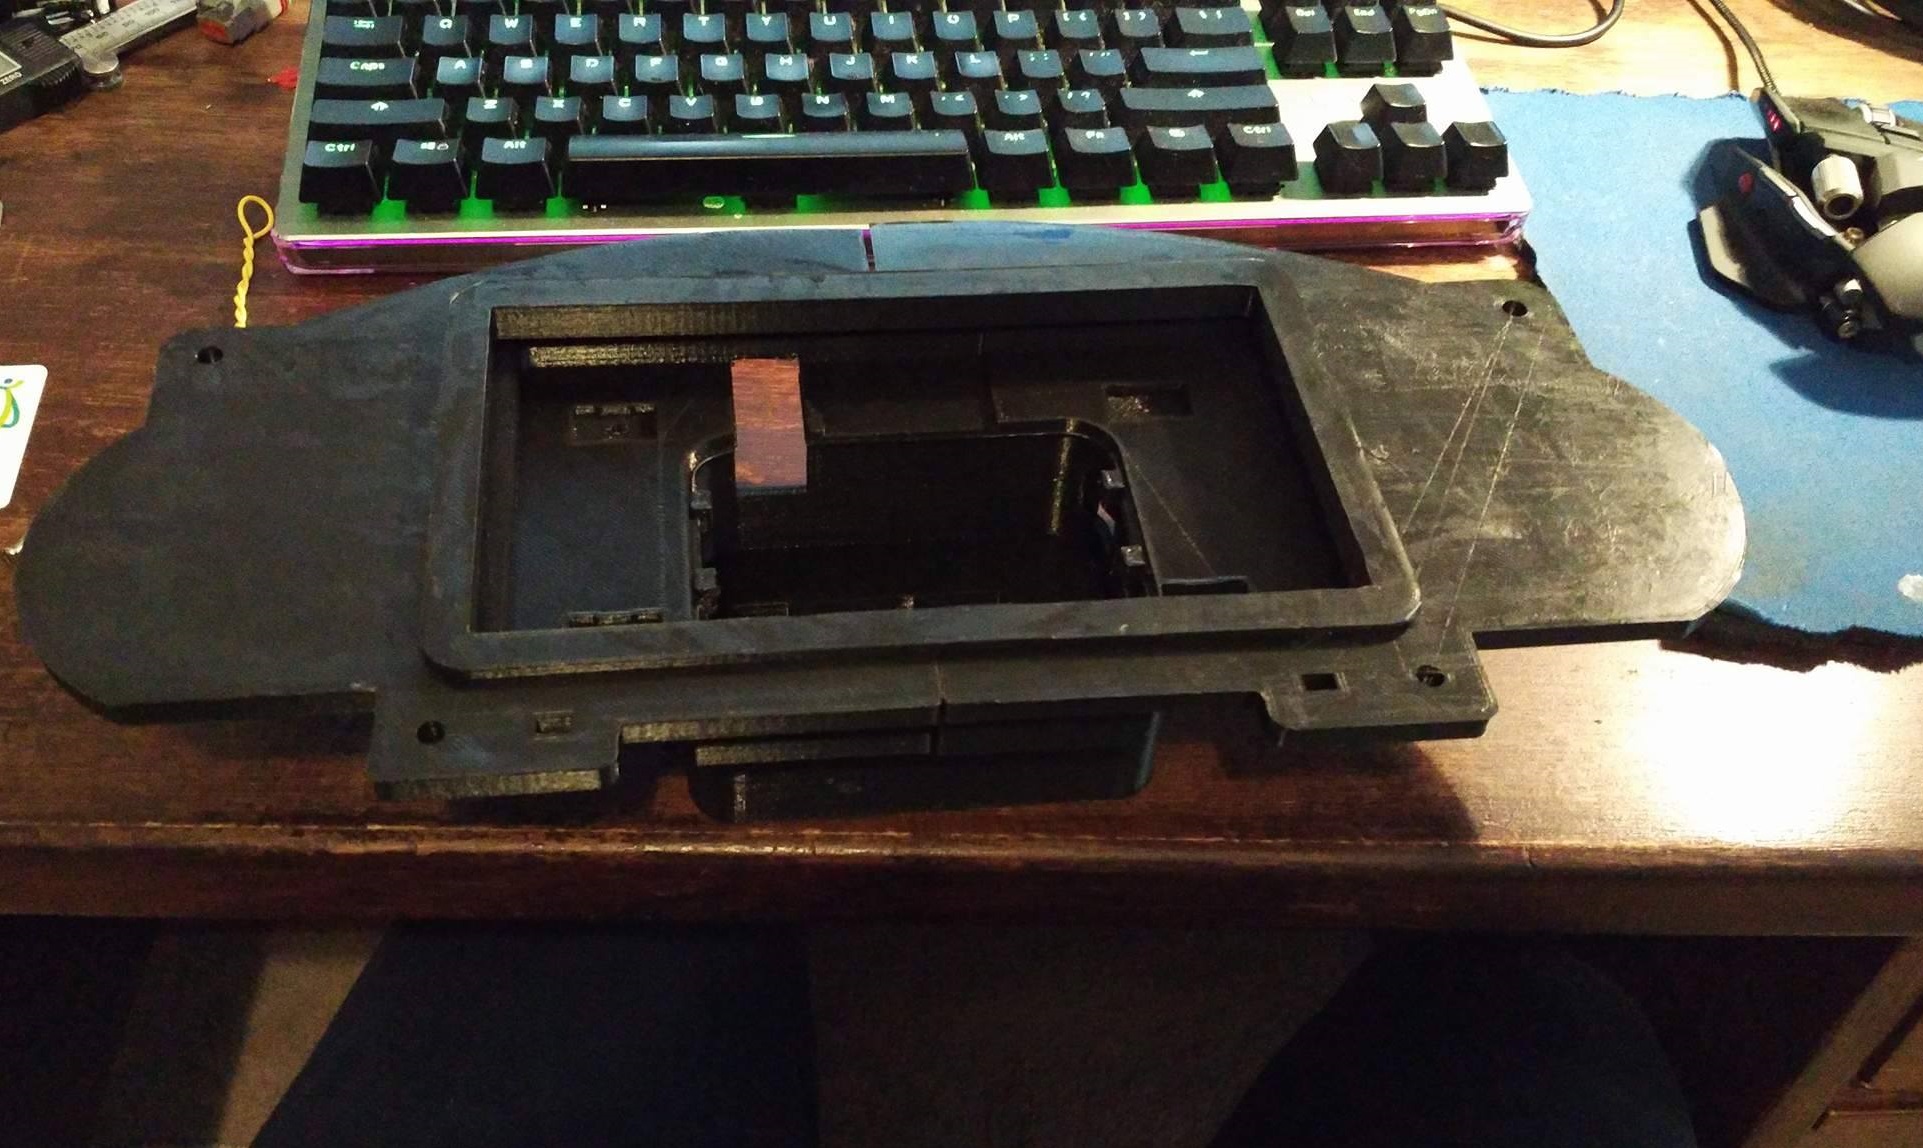
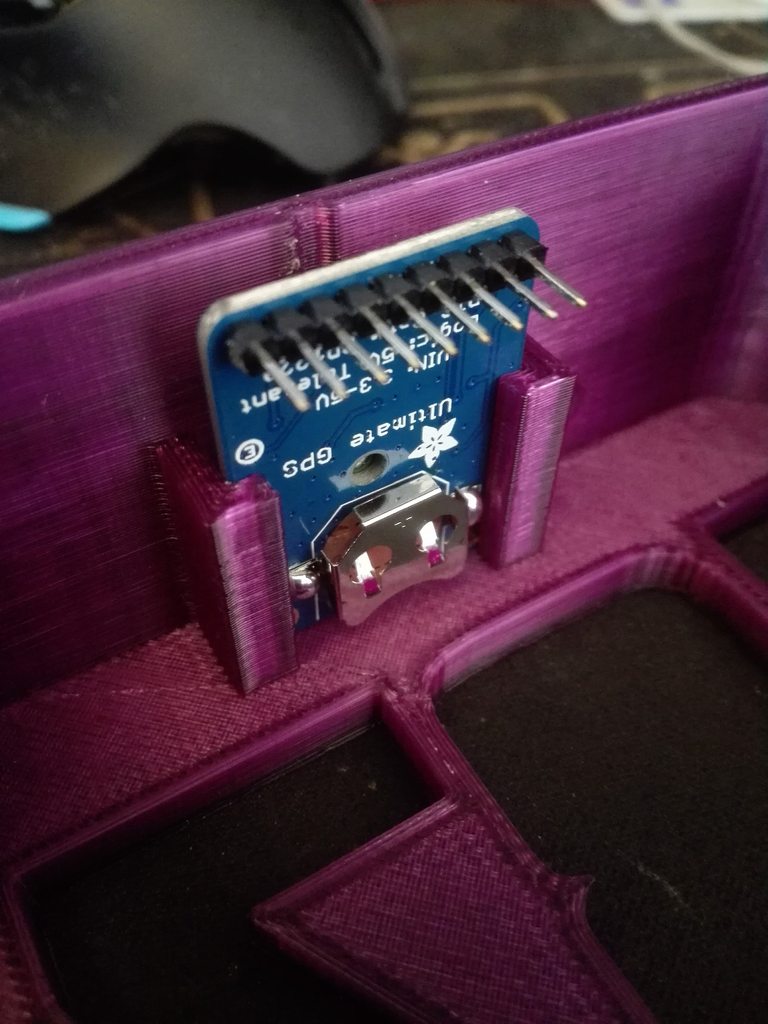
I designed a frame which sits in place of the original cluster. The Pi and screen slides into the frame. It has a hole for a gauge and it has a slot inside the electronics box for a GPS module.
A guide for the setup is in the making, but I am still waiting for parts. The guide contains a parts list and it can be found here: http://goo.gl/88eJaX
If you're after the 3D-files, they can be found here: https://cults3d.com/en/3d-model/gadget/miata-racedash-raspberry-pi-megasquirt-v2
If you have any questions, feel free to ask!
I just finished my Raspberry Pi Racedash and I wanted to share it with you guys. It does require a 3D-printer or access to one.
I designed a frame which sits in place of the original cluster. The Pi and screen slides into the frame. It has a hole for a gauge and it has a slot inside the electronics box for a GPS module.
A guide for the setup is in the making, but I am still waiting for parts. The guide contains a parts list and it can be found here: http://goo.gl/88eJaX
If you're after the 3D-files, they can be found here: https://cults3d.com/en/3d-model/gadget/miata-racedash-raspberry-pi-megasquirt-v2
If you have any questions, feel free to ask!
Last edited by Teejay187; Jul 6, 2023 at 01:10 PM.
Reply
 4
4

4


Just like everything, you get used to glancing at it, no? After using it for a bit, you'll figure out the layout and know exactly where to look when you glance down if you want to check anything in particular. I think you can also set up different dash setups so you can have more 'analog' looking gauges if that's what you prefer kinda like in TS.
Solid job Teejay! That looks fantastic!
Solid job Teejay! That looks fantastic!
Reply
0
0
Thread Starter
Junior Member
Joined: Jul 2013
Posts: 85
Total Cats: 48
From: Norway
Thanks guys!
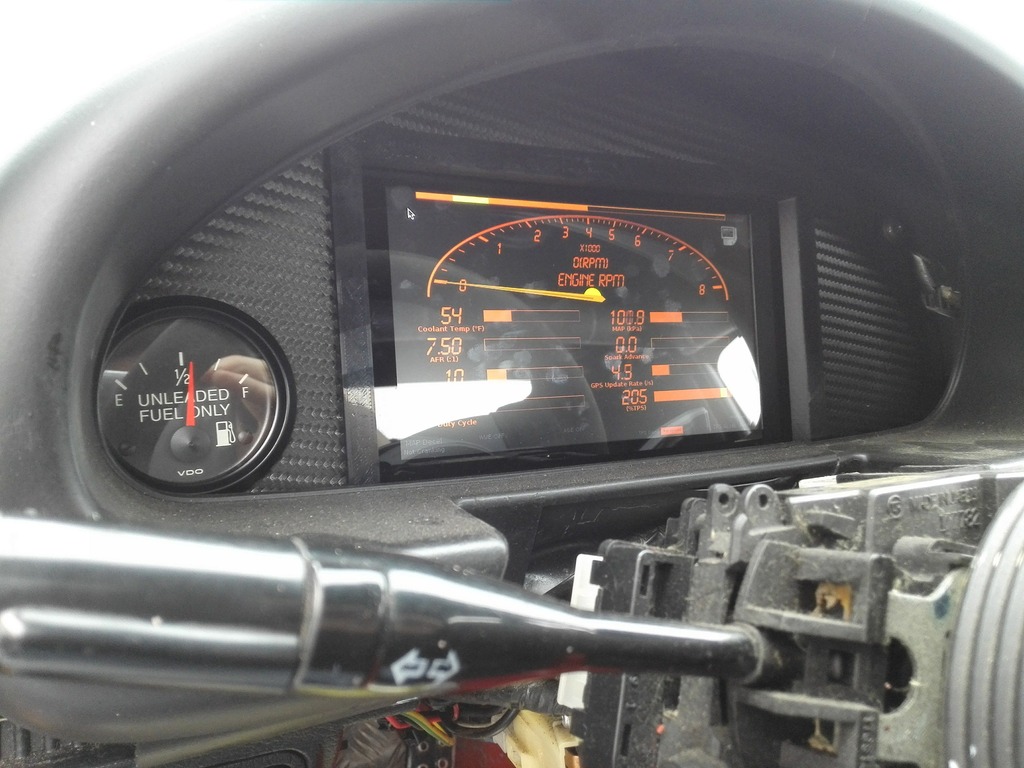
Regarding the dials and how they are set up, the one showed in the photo is one of the stock ones. I built that one for a friend so I don't have it handy, but I am building a new one now and I am going to document the process. And also maybe design a new set of gauges If I figure it out..
Regarding the dials and how they are set up, the one showed in the photo is one of the stock ones. I built that one for a friend so I don't have it handy, but I am building a new one now and I am going to document the process. And also maybe design a new set of gauges If I figure it out..
Reply
0
0
Thread Starter
Junior Member
Joined: Jul 2013
Posts: 85
Total Cats: 48
From: Norway
Worst thing would be if people tried to profit from my work though. That's what I have to decide I guess. At least the 3D-files are out there so people can make it work themselves for now.
So far I made two of these and both are working well in full-time race cars.
Reply
0
0

Senior Member
Joined: Aug 2007
Posts: 574
Total Cats: 44
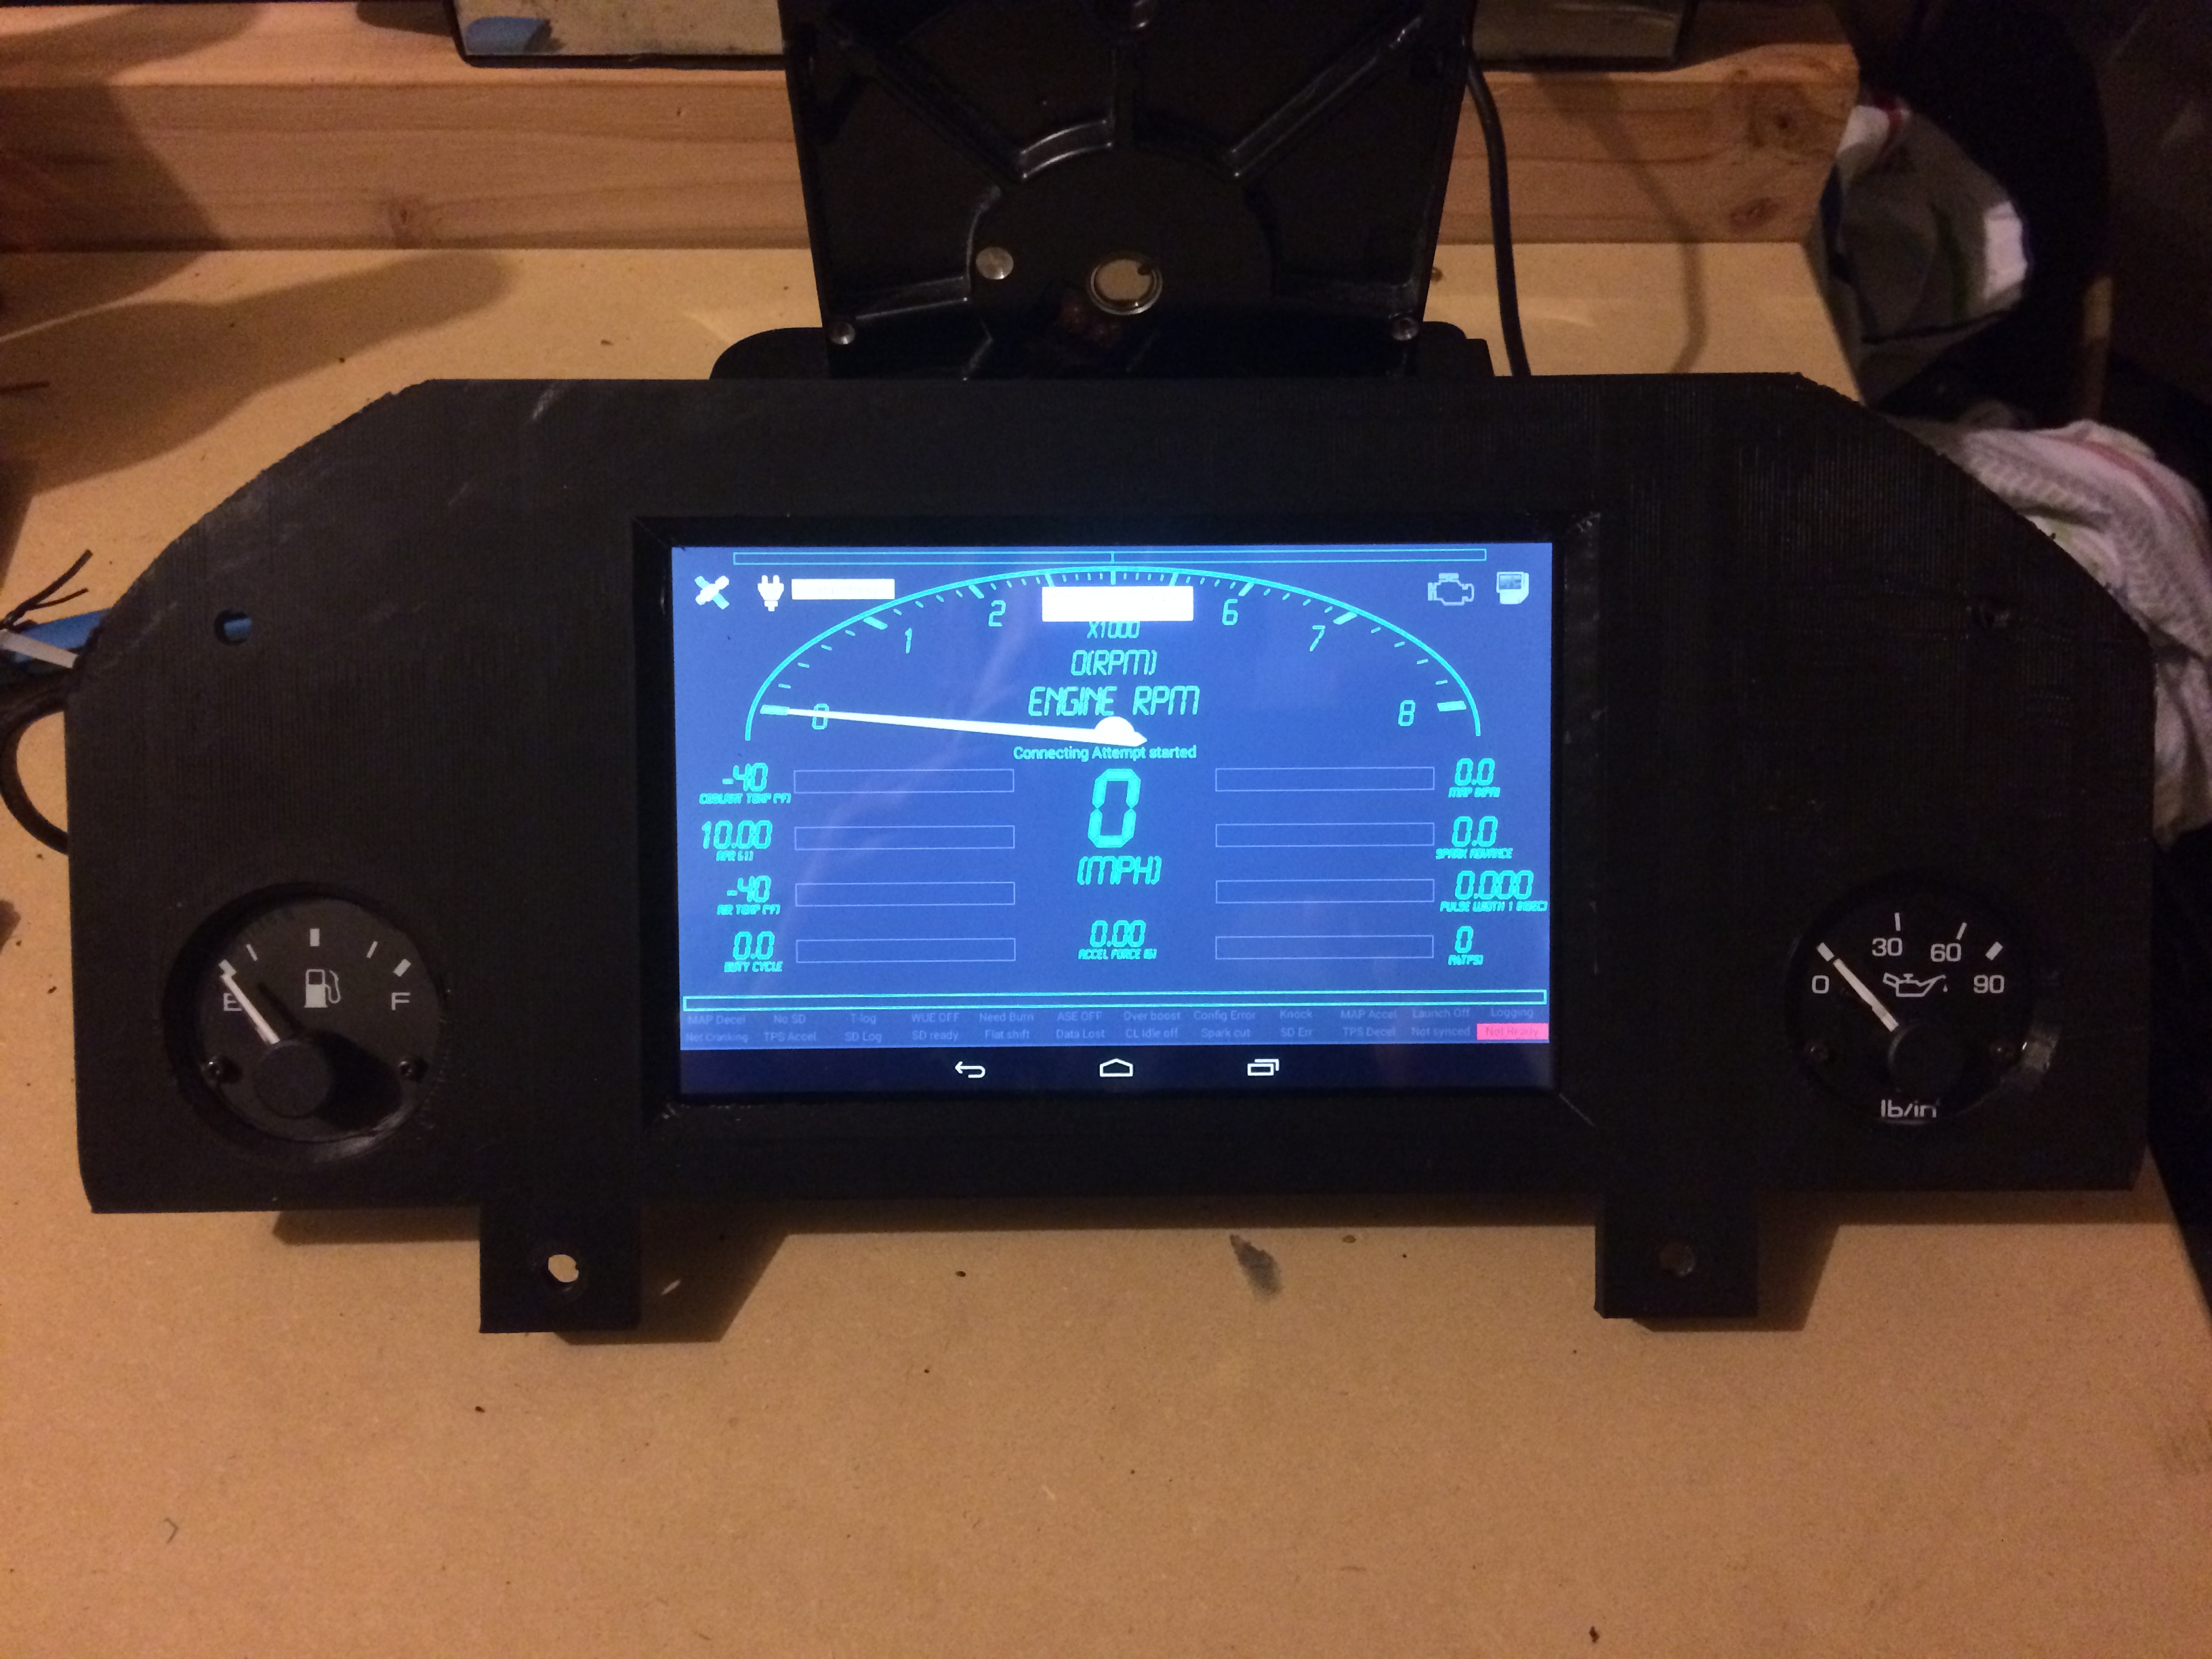
I created something similar for use with a tablet. Mine uses the stock fuel level and oil pressure gauges while the tablet displays everything else. I need to get it finished up and make it pretty but it is close.
Reply
2
2
Thread Starter
Junior Member
Joined: Jul 2013
Posts: 85
Total Cats: 48
From: Norway
That looks great! I originally wanted to reuse some of the gauges, but never got around to it. What kind of setup runs on the screen? Looks like TunerStudio running on Android?
Reply
0
0
Senior Member
Joined: Aug 2007
Posts: 574
Total Cats: 44
Shadow Dash by tunerstudio. its an android app they produce. I am using in strictly for display and not tuning. i dont have a pic of the back but i designed the tablet to slide right in. Yours is really nicely done.
Reply
-1
-1

Senior Member
Joined: Aug 2007
Posts: 574
Total Cats: 44
Reply
0
0

Junior Member
Joined: Jun 2015
Posts: 182
Total Cats: 58
From: VIC, Australia
Got mine printed up. Just waiting on the Pi and screen.
Can get some cool dashboards from here (not mine):
Welcome to Tuner Studio Dashboards! - TunerStudio Dashboards
Can get some cool dashboards from here (not mine):
Welcome to Tuner Studio Dashboards! - TunerStudio Dashboards
Reply
1
1

Reply
1
1
Thread Starter
Junior Member
Joined: Jul 2013
Posts: 85
Total Cats: 48
From: Norway
I also found this writeup: http://brianesser.com/raspberry-pi-m...wiki/#Raspbian
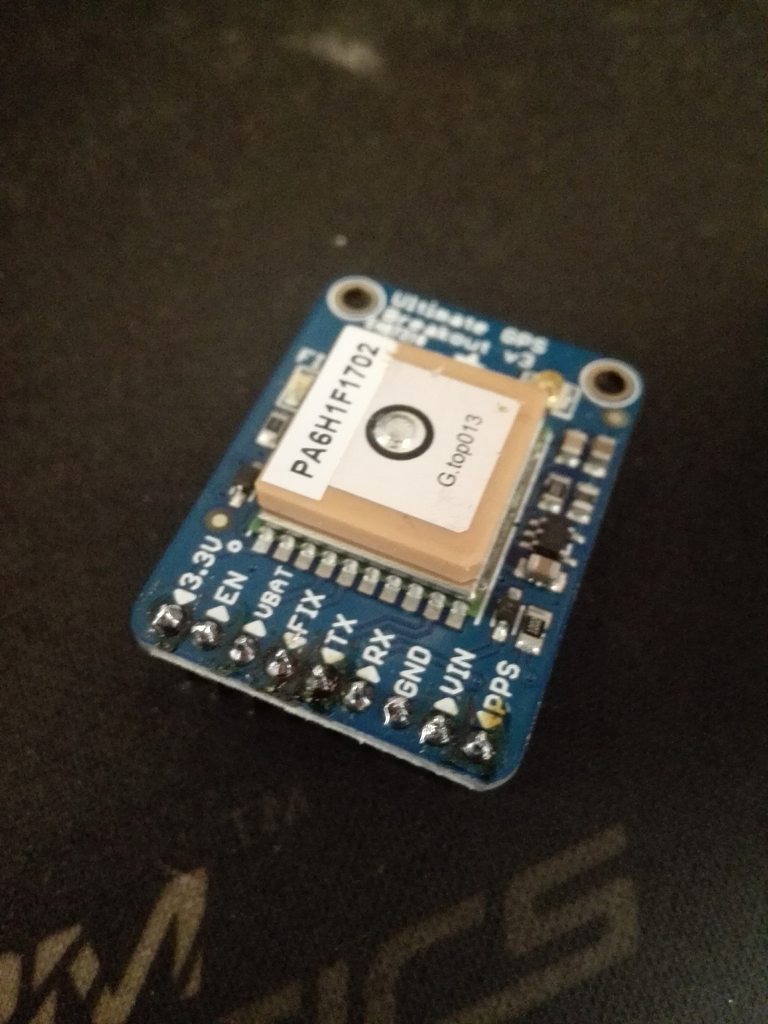
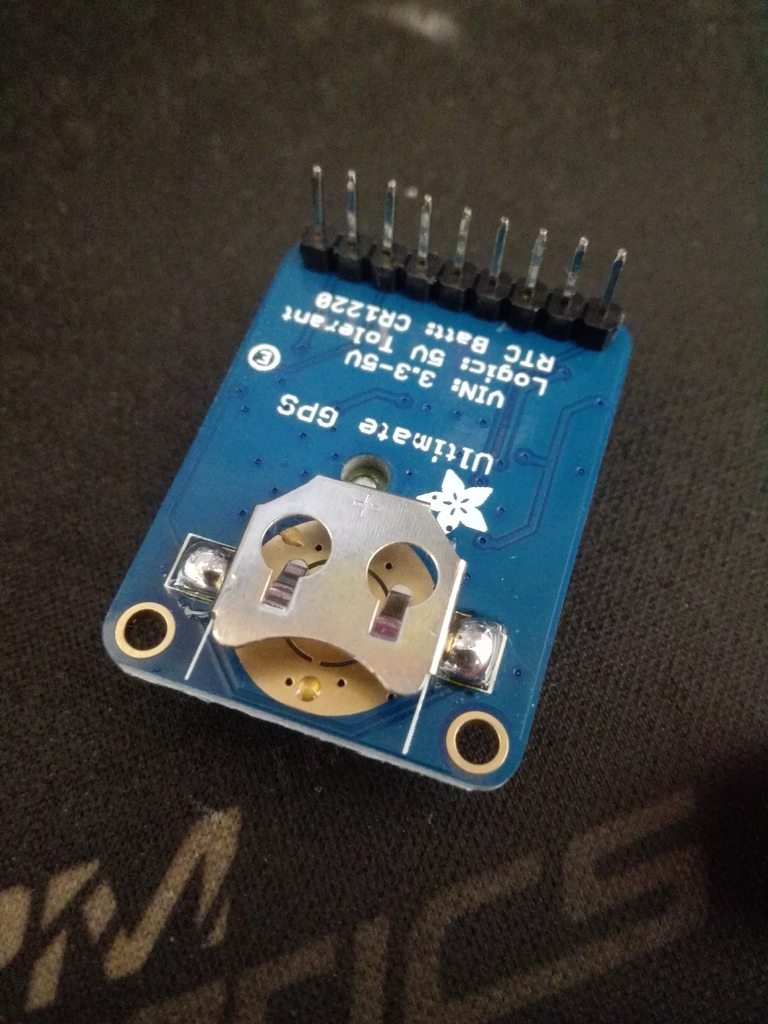
On another note.. I am currently working on the GPS module. Soldered the pins, soldered the battery clip, and then inserted it into the cover. Don't **** on my soldering skills please. I know..
I also got a great deal on a Asus Tinker Board (Around 60$ retail while the Pi3 is at 35$). It is faster, has double the RAM, and it has the same dimensions as the Pi. It can utilize the Raspberry Pi 7" touch screen which was the main selling point for me. It supports Android out of the box, as well as Raspbian Linux. Just got it today, so I need to tinker with it a bit to see if it's worth using in the race dash. Look at the power light shining through the honeycomb infill of the case!

Reply
0
0
Junior Member
Joined: Jun 2015
Posts: 182
Total Cats: 58
From: VIC, Australia
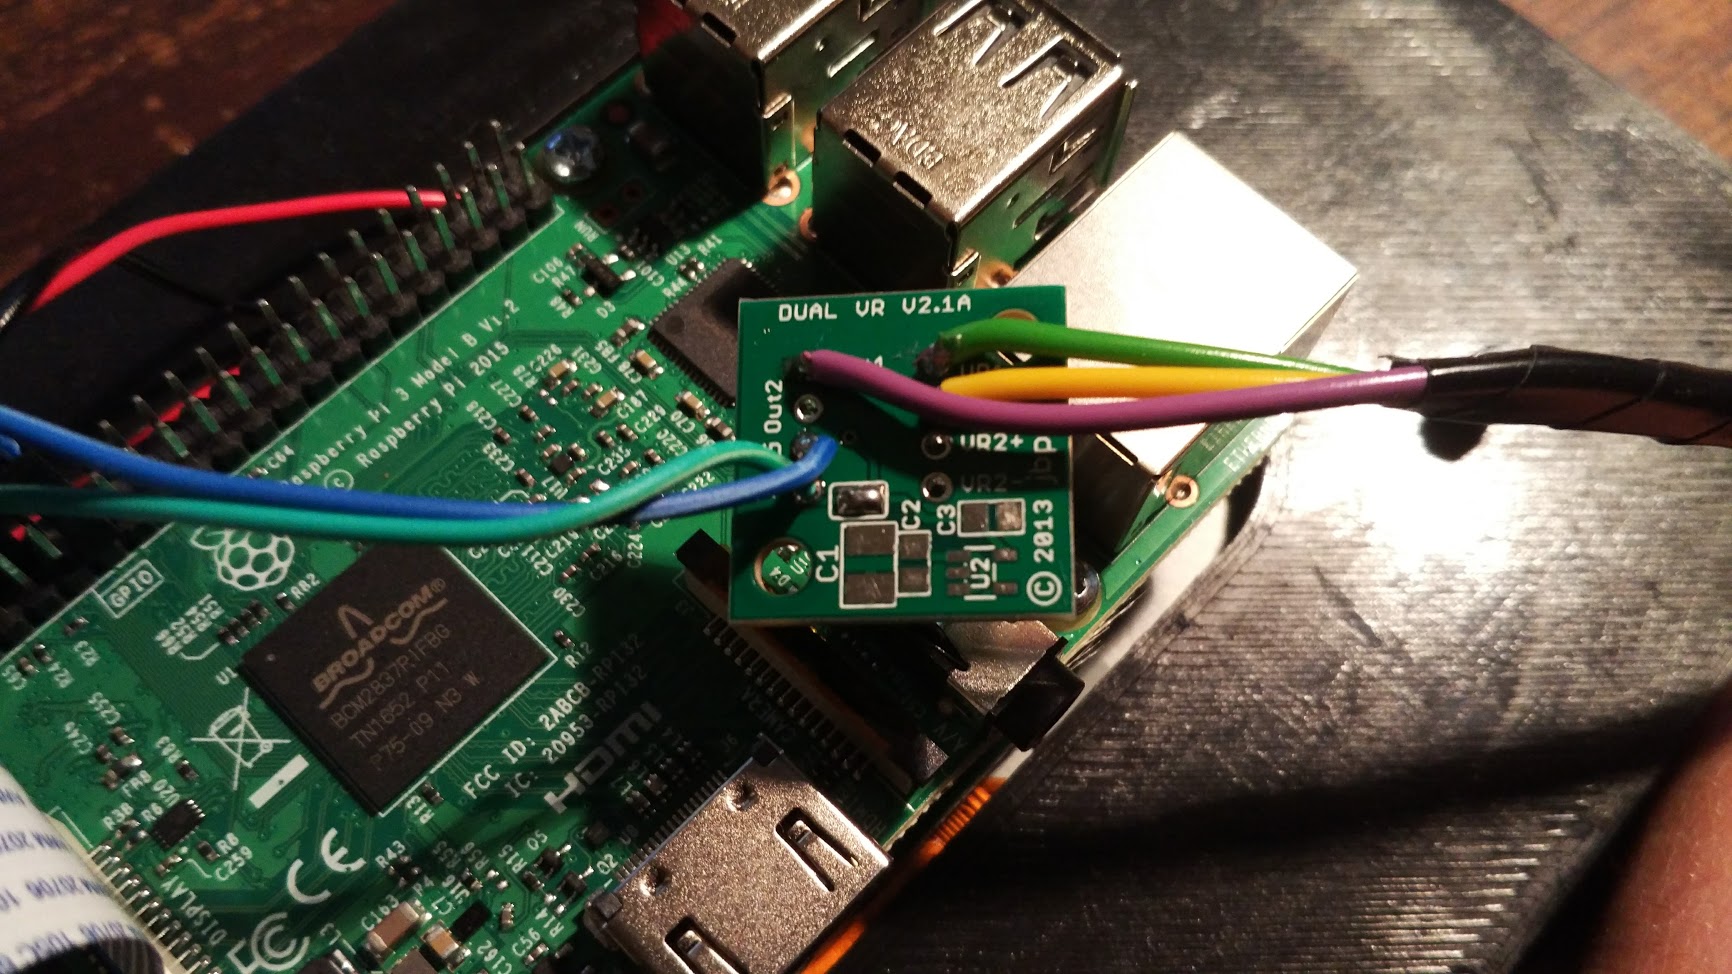
Finished putting mine in. Used a JBPerf VR conditioner for the VSS signal to be sent back to the ECU. Stuck the board in the case and powered it off the Pi. Also send the fuel level signal back into the ECU however I haven't finished wiring it up on the ECU side yet.
I think it'd be a good idea to also add an input to one of the GPIOs on the Pi to allow the screen to dim when the lights are on. I've just set it to about 50% brightness for now and will see how it goes. 100% is way too bright at night.
I think it'd be a good idea to also add an input to one of the GPIOs on the Pi to allow the screen to dim when the lights are on. I've just set it to about 50% brightness for now and will see how it goes. 100% is way too bright at night.
Reply
0
0


