When you click on links to various merchants on this site and make a purchase, this can result in this site earning a commission. Affiliate programs and affiliations include, but are not limited to, the eBay Partner Network.
MS3 Basic: Which connectors for sequential injection and 2nd fan?
I want so run a 1.9 VVT engine in my 92 1.6 Miata using a MSLabs MS3 Basic and have two questions regards wiring:
- For sequential injection I use the two wires from the original harness for two injector, but which wires should I use from additional I/O wires provided by the MS3 Basic for the other two? There are only outputs for sequential spark.
- Same problem for the 2nd fan, which wire should I use to switch it on?
And to anticipate the next question: Which output do I have to select in Tunerstudio?
Thanks for your answer. So, I only have to run two new wires to the connector? That's easy. The instruction from TheCarPassionChannel says I have to run new wires to MS, but this seems to be wrong.
What about the fan? Which connector should I use for the second fan?
A 94-95 Miata has a 2nd fan, which starts at high loads and high water temperature?
Maybe I'm wrong, but if I get it right, the wiring diagram says, there is only one wire to the fan relay. My understanding was, that I use a free output from the MS3 to control the 2nd fan, so it's only running at peak temperatures.
Yes, the 94-95 has a second fan, which is run by a separate output of the ECU. It runs a few degrees above the first fan and both switch on when the A/C engages.
I’m just doing this again on my ms3 basic. Last time I did it, rev had me move a few wires to the OE sequential locations. The purge solenoid and battery check wire IIRC. I’m just taking a chopped up harness and stealing some pins.
Where do you get that from? My MS3 Basic had only a short documentation, something like a quick start guide, but I'm missing the detailed information, telling you what all the jumpers do and where to connect the injector 3 and 4.
Where do you get that from? My MS3 Basic had only a short documentation, something like a quick start guide, but I'm missing the detailed information, telling you what all the jumpers do and where to connect the injector 3 and 4.
I got it from Rev via email when asking him about sequential injection setup for my NA6
my tach is not connected/parallel together does that cause my rpm on dash not to work? , i only gets rpm signal/reading on studiotuner
my eg02, sadc,map,a06 not in parallel/ connected as showed in the picture, do i have to connect them to have the db37 output working?
also there are 3 pin for FPUMP, is connect to pin 2,3 , what if i switch them over to 1,2 what change will i get?
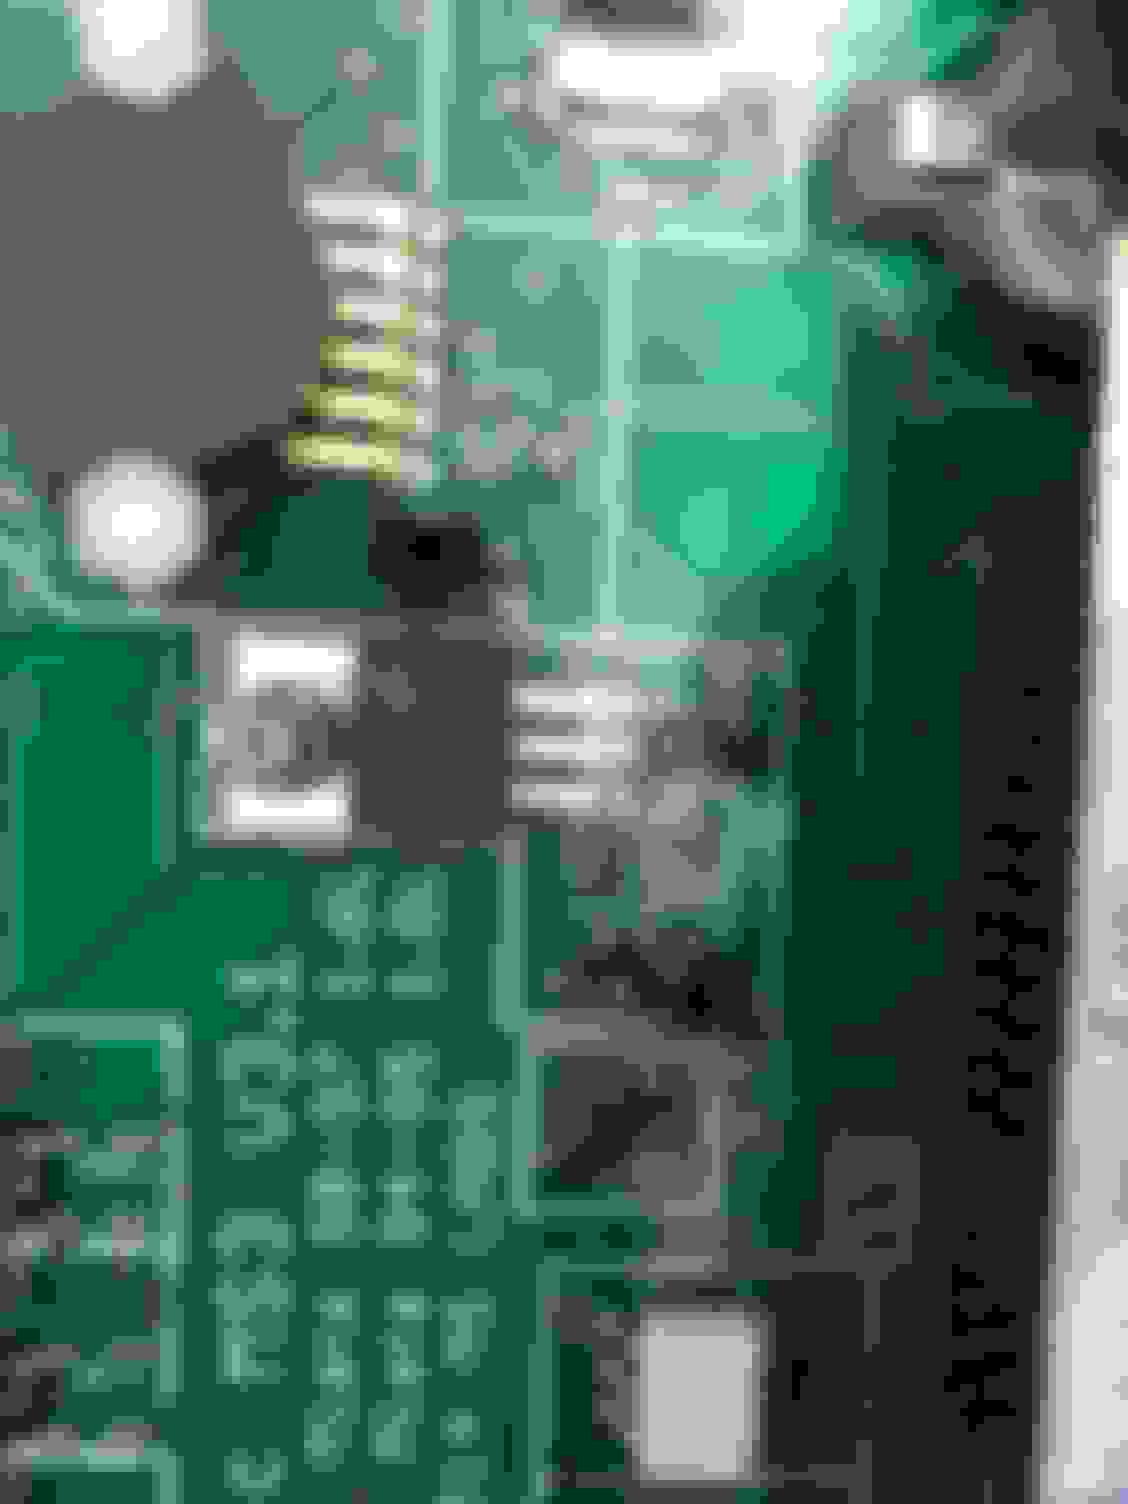
The jumpers in the pictures are to enabled a 2.5K Ohm bias resistor on those pins from the DB37 connector. If you dont know what that means, leave it alone.
In order to get your tach back, you need to run the tach out pin from the DB37 connector back to the gauge cluster. This is well documented.
on my 1994 miata back of gauge cluster white connector , i have black/white (1H) wired to db37 pin 10 RPM/TACH out still doesn't work on cluster RPM, only works on studiotuner.
Do i have to connect the jumper inside the ms lab ecu to enable the function?
The jumper inside the ECU that reads TACH, enables the RPM signal to go to pin 1I (not 1H). On a 1994, the OEM cluster tach is not controlled by the ECU but by the coils.
The jumper inside the ECU that reads TACH, enables the RPM signal to go to pin 1I (not 1H). On a 1994, the OEM cluster tach is not controlled by the ECU but by the coils.
got it fixed I just jumped b+ and ig port with a 1k ohm resistor, thanks for support


 0
0