When you click on links to various merchants on this site and make a purchase, this can result in this site earning a commission. Affiliate programs and affiliations include, but are not limited to, the eBay Partner Network.
Will second the 1st layer comment, it's true even in metal SLS machines. In general, spending time to perfect the print settings/profile usually pays off.
. . .
JD, I spend some time removing support interface layers that like to bond in place, and I usually have to clean up edges, and take a heat gun to it which shrivels up the stringing and makes it easy to remove. Everything in this thread is PETG, its super simple to print with, no warping or splitting issues, and it holds up way better to heat and stress, less rigid than PLA, less crystalline of a structure, so it absorbs blows better and the working heat resistance is 25C higher. I've spent a lot of time working on calibration and getting a perfect first layer, it makes a big difference in print quality.
I am going to have to look into PETG. So your intake is PETG and it has held up ok in the engine bay?
Harry, definitely agreed, settings and calibration are the name of the game for good prints. I will say however that you can only do so much with shitty machines, I was having print failure rates near 80% before I removed my filament sensor (it overheats the drive gears which heat the filament and then you get clogs before the extruder.), my settings were probably 90% where I wanted them but the machine was causing failures. After diagnosing the machine I haven't had a print failure, and I'd say my settings are at probably 95% of where I want them.
JD8, Yeah PETG is good stuff, and usually priced the same as PLA, check out makergeeks. My intake v2 is PETG and it has held up with no change over about 3 weeks so far. I ran a PLA intake before that wrapped in DEI gold, it sort of worked, but I melted it at idle. PETG has a glass transition of 80-85 C, so 180 F, it sits on top of my radiator and still stays cool enough to have no issues. I'm sure re-wrapping it in DEI gold would make it do even better and lower my IAT's, but I'm installing my rotrex right now, so I'm not going to waste the $50 a roll.
Just a heads up for everyone, I'll be out of town July 2nd to 13th, so the printer won't be running. I'll pull measurements from everything I need to design and I'll be designing on the road. I'm starting a list, so if you're interested in something, throw your name on the list and I'll get out everything I can before then. To reiterate, the trunk/gas lever cover is out to 008 for NB testing, NA version is tentatively ready, might have revisions after getting feedback, but one is going out as is. I'm currently using flat rate boxes for shipping until I can figure out how to ship for cheaper. Radio deletes alone fit in the small box, so $7.20 on shipping, and everything else including multiple parts, fits in the medium box, so $13.65 for shipping. If anyone knows how to get better shipping rates, message me, it would benefit everyone. Currently focusing on the radio deletes and lever covers because the designs are finished (mostly), but I haven't forgotten about the other things people want.
Radio delete:
1.
2.
3.
4.
5.
Trunk/gas lever cover (specify NA/NB):
1. Mrmonk7663 NB
2.
3.
4.
5.
Prusa i3 mk3, it's a broken POS, get the mk2s or wait for updates down the road. I've disconnected half the machine to get it to run right, so essentially I spent an extra $300 frustrating myself.
:
I'd like to warn anyone considering buying a cheap 3D printer NOT to, it's a constant effort in frustration, fixing everything that will go wrong with them.
I bought a Wanhao i3 V1.2, which is a Chinese knock-off of the original Prusa i3 Mk3 and is one of the most popular 3D printers around because it's cheap and produces decent ABS and PLA results WHEN it's working.
Once I added gantry stabilisers (commonly referred to as the "Z-axis mod") and the bed was levelled correctly and I found the right bed+filament temperatures for my unit I was producing great small prints.
When I tried printing a larger model, I smelled something burning and the unit reset itself.
Turns out that the socket to the motherboard can't handle the amperage required to heat the hotbed and burns out.
The fix was to replace it with an external MOSFET which I did and things went well for a while.
Then the filament stopped flowing from the nozzle so I bought the Swiss metal hot end for it, which was another recommended upgrade.
The filament was still not moving through the nozzle and I found that one of the wires to the heating unit had actual broken inside the sheathing so I cut the other wire too and connected small spade connectors to both.
This worked for a little while but then the prints were failing, ending up as a bird's nest of filament wrapped around the nozzle and being dragged over the build plate.
Investigation revealed that the build plate was now bowed which is not unusual, it's aluminium and get's heated up at different rates in different spots (similar to how the base of cheap saucepans get warped).
I bought a glass build plate to sit on top of the aluminium build plate, another common solution since glass is flat, but couldn't manage to level the bed.
No matter how much dicking around with the bed levelling screws I did, I found that one corner could never be lowered enough to give the nozzle 0.1mm of clearance.
This turned out to be an issue with the plate under the build plate - there's a spring between this plate and the build plate at each corner and a screw is used to raise or lower the corner so that the bed can be levelled.
The lower build plate is made of thin aluminium which has now bent at the corners making bed levelling a nightmare; I needed to bend the offending corner of the lower plate down and re-level again.
I ordered an aftermarket heavier-duty version of the lower plate, yet another common mod for this machine, and gave up trying to do more prints in the mean-time because I just can't get the bed level anymore, even after adjusting the machine's Z-axis.
it seems that some owners are EVENTUALLY happy with the WanHao i3 V1.2 machine for ABS and PLA but only after they've made all the modz I described above and it usually takes about a year since most only upgrade the machine when it stops working.
When it's working it's great - when it doesn't, you just curse the Chinese "make-it-cheap" mentality because it WILL break and it WILL take time and $$$ to fix.
I've ordered the next generation Prusa printer, due for shipment next month since I don't want to deal with finding+fixing the next problem with my WanHao printer.
Saving a few hundred dollars on the Chinese version of a 3D printer is just NOT worth the grief and time+$$$ to make it actually work reliably so DON'T do it, spend the extra $$$ on the genuine version of the printer and know that it WILL work reliably.
Eh, I spent the money on the genuine thing and it still wasn't reliable. my recommendation would be to either save up for a legit *** machine (>$2k) or get in on a cheaper machine with a good aftermarket. Every sub 2k printer is going to have some sort of growing pains getting used to it and getting it to work right. If you're going to have to spend the money on upgrades anyway, you might as well not waste it up front. For instance I could have gotten a mk2s and had a better printer that worked reliably out of the box for $200 cheaper than my mk3. Then I could have spent that $200 on upgrades and had a better printer overall. I would start by looking at what the best people are printing with, and their prints. If their printers can make exceptional prints, so can you with the same printer (eventually). That's the thing about this technology, every one of you could do what I do with access to the same programs and machines.
^
The Original Prusa i3 MK2/S 3D printer is the successor to your printer and has won many awards, they learned from their original design and improved it.
The next generation follows that same philosophy, as opposed to the "make it cheaper Chinese philosophy" so I expect it to be a decent home 3D printer.
They even sell components and kits to upgrade their printers with newer/better components, they don't just leave it to the user community.
If I wanted to commercially produce a lot of products, I'd definitely recommend something more industrial (and expen$ive), but for home use, I just can't justify spending $2,000+ on it.
I plan to keep trying to get my WanHao printer going again because when it works, it produces decent prints - I just have to fix all of its deficiencies :(
I'd NEVER recommend it though!
With the money, time and frustration I've spent on it already, I'd recommend the Prusa i3 MK2/S 3D printer instead at nearly twice the price.
Predecessor, and yeah that was the idea, I'm saying they didn't improve on it. They rolled it out with new updated features that they didn't test thoroughly and I received a barely functional machine that I've had to disassemble until it's pretty much a mk2 to get it to function.
I'd recommend spending the money, even for a home printer, you'll be happier in the long run with a printer that makes spectacular prints reliably and will continue to lead the market for years instead of aging into worthlessness. Alternatively buying cheaper and knowing you're going to have to upgrade parts, so buying lower than needed and upgrading to get where you want.
For the radio delete, ship it in a regular yellow or a padded envelope You'll be looking at about $3,50-4, including the price of the envelope. Write "Photos, Do Not Bend' with a black marker on both sides of the envelope, that usually get them to wake up a bit and pay attention instead of stuffing it into small apartment mail boxes in a zombie-like fashion.
Also, USPS online and, oddly, USPS through PayPal is cheaper (and much easier) that paying at the Post Office, but you are probably well aware of that. And you do get tracking numbers for 1st class mail when shipping online.
I'll look into the padded envelopes for the radio deletes, I'd just really hate for them to get broken in transit.
I knew you could save a few cents using a shipping hub instead of the post office, but didn't know about online, I'll check that out too, thanks
Makes life much easier, believe me. And no lines at the Post Office. Print a label, put it on the envelope/box, drop it off or give to your postal worker. All on USPS,com and all free (unlike Stamps.com and other services that charge monthly). I've been using it for good 10 years now.
What about some canards that replace the oem side markers. Utilizing the 2 screws and the oval shape. It would have the side marker shape as a base, but a canard body on top, it wouldn't require drilling holes. You could have a backing plate for extra support.
That works even better for me, my local PO is in the middle of a construction zone with no parking right now, have to park illegally, run in, and hope nobody writes me up.
Brainz, that's a pretty solid idea man. Would probably require running a bolt through the screw holes to the backer plate instead of the screws, but I like it. I'll add that to the measurements to pull. Can anyone direct me to a canard angle of attack write up? I imagine it's variable. Not hard to make several variations at different angles though, so maybe customizeable.
Update on some parts I've been making custom:
Apparently I can fit 2x 2.6" gauges and still fit a 52mm gauge including space for their bezels on one radio delete. Mildly impressed honestly. Custom text for labeling gauges on demand.
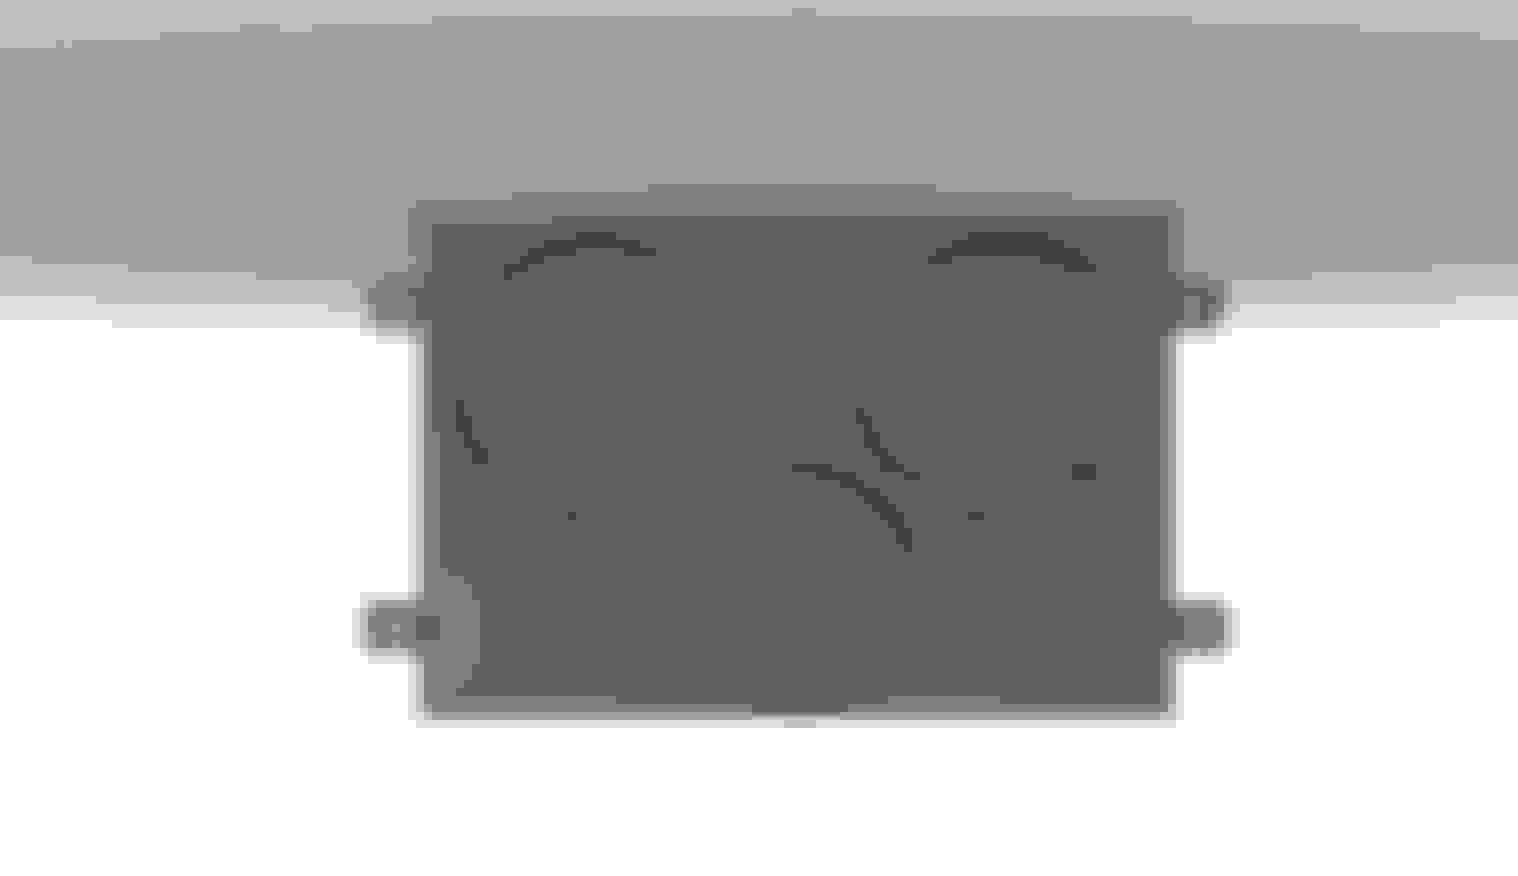
Warning light box for steering column mount. I guess later NA cars have an access panel, this sits in it (hopefully) and mounts on top allowing a clean wiring solution and highly visible warning lights.
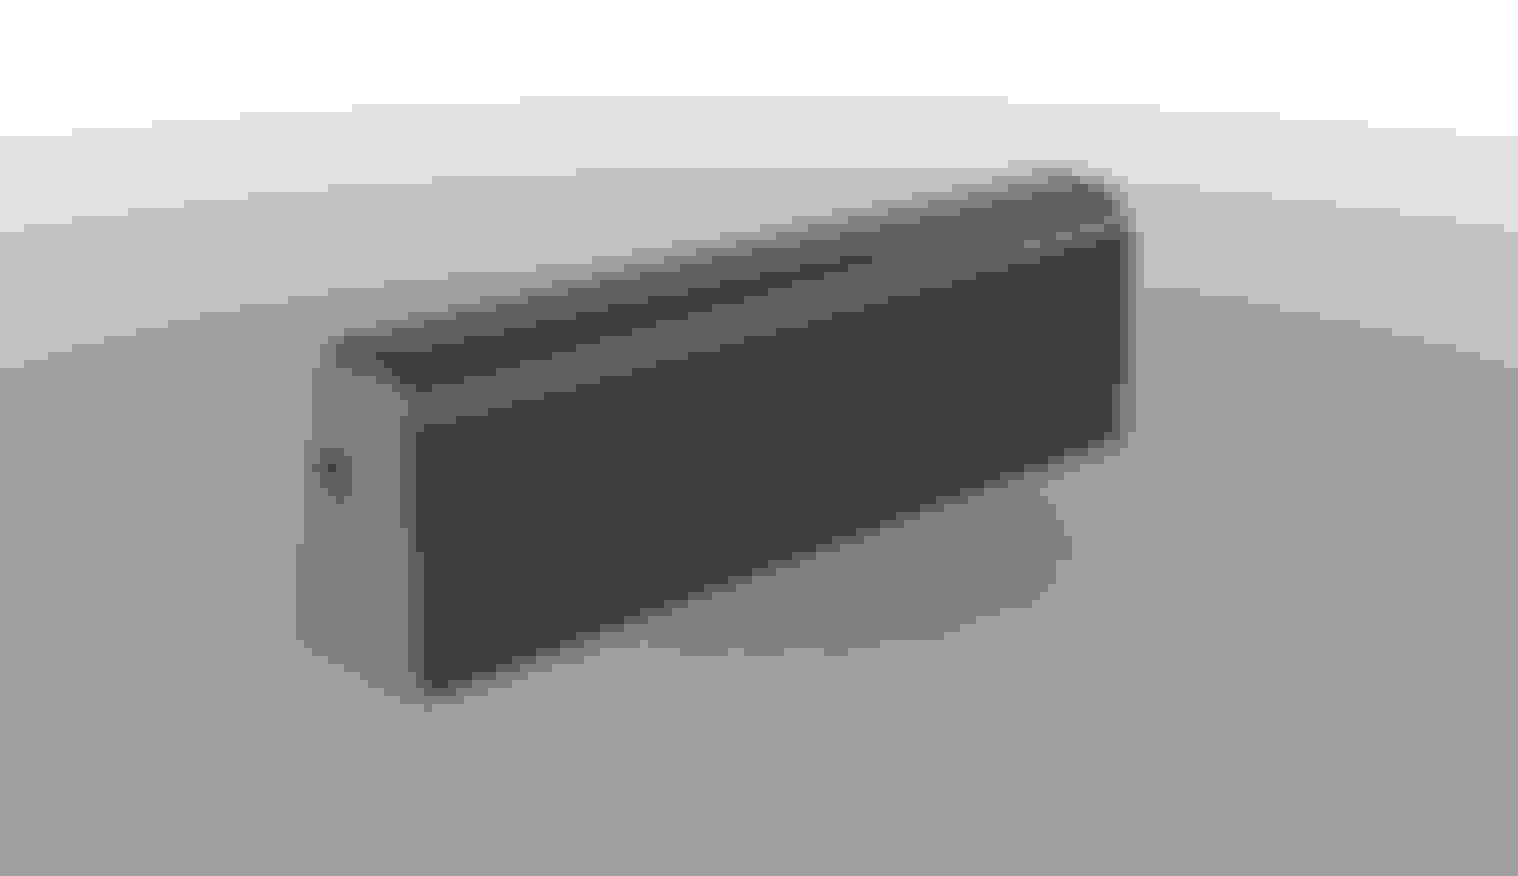
First prototype of the NA tombstone endcap, since revised to use factory holes and shortened for shifter clearance. Pretty simple. Still need an NB for fitment, it would be quite different.
Also made a flat plate as an option (inspired by: Centre Console Update & TSI � omgpham?) requires cutting mounting tabs off of the tombstone though. Literally just a flat plate with 4 holes and round corners.
Actual printed parts of the same, unfinished with lots of stringiness.
trunk/gas lever cover going out, my painting skills are not exceptional just FYI. Bad cans of spray paint do not help. This one might be getting sanded down and re-done, I'm quite annoyed with it. "high build primer" my ***.
:
trunk/gas lever cover going out, my painting skills are not exceptional just FYI. Bad cans of spray paint do not help. This one might be getting sanded down and re-done, I'm quite annoyed with it. "high build primer" my ***.
:
Try using Black Vinyl Dye rather than paint. On most plastics, including PLA and OEM pastic, I use 4-5 thin coats (the first 2 will look like like absolute crap but after that will look better than paint and will hold up better than paint since it wont chip or flake because the dye seeps into the plastic).
Brainz,
Good ideas, I'll prototype it soon, give y'all an idea of what I'm thinking and see what feedback you have.
I don't have cruise or the hole, you want to pull some measurements of it for me? Need width and height, whether there are rounded corners, and firewall thickness in the area. I can design and print that in probably an hour total, call it 2 bucks and I'll add them to any order already going out..
Loki,
That looks like a good idea, seems pricey though, where do you source yours?
Just a heads up, I just got that package today. (I was in San Fransisco all week)
I'm hoping I can take a look at it tonight, after I get all the bags unpacked and things put away.
I will update shortly.


 0
0