
MINI scoop MINI hood MINI placement MINI
 05-10-2011, 11:28 PM
#1
Cpt. Slow

Thread Starter
iTrader: (25)
Join Date: Oct 2005
Location: Oregon City, OR
Posts: 14,189
Total Cats: 1,135
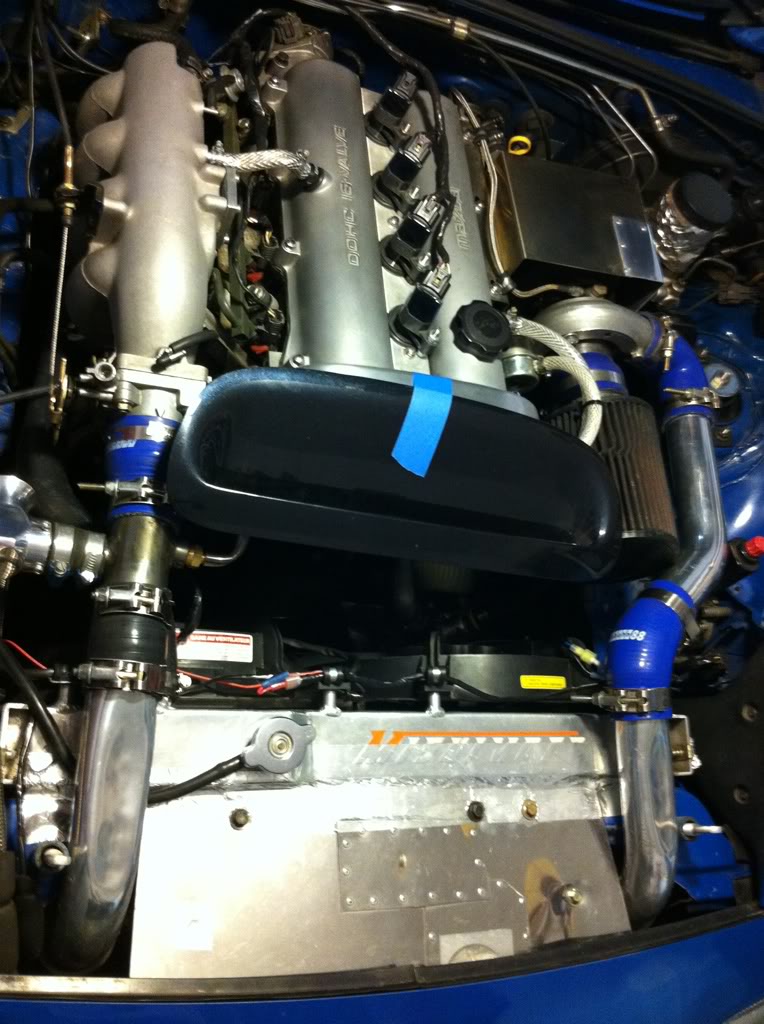
Is there any kind of consensus as to how far I should be mounting this in the hood? I can only go 13" back from the front of the hood, as shown here. Any further back hits the valve cover. Is this far enough back to help with heat extraction?


Reply
 0
0

0
05-11-2011, 12:29 AM
#2
Former Vendor
iTrader: (31)

Join Date: Nov 2006
Location: Sunnyvale, CA
Posts: 15,442
Total Cats: 2,099
If you ever plan on 1.8 swapping, put it far enough forward for that. Otherwise, as far back as you can go. There's a picture floating around of pressure on the hood at speed - pick the spots that have the lowest pressure - IIRC this is basically as far back as you can go with a 1.8 valve cover.
Reply
0
0
05-11-2011, 06:27 AM
#4
Elite Member
iTrader: (21)

Join Date: Jun 2007
Location: Rochester, NY
Posts: 6,593
Total Cats: 1,259
Do a search, noob!
Actually this was covered a while back. I don't have time to find the thread, but the consensus was that you can't go any further back than the hood bulge without a lot of farting around to get it to sit flush.
Since I got mine that same time you got yours, I was wondering who would be first to take the plunge. Personally, I plan on moving it forward from where you have it by about 1.5-2 inches. Just so the back edge is at the front of the hood bulge.
Reply
0
0
05-11-2011, 09:17 AM
#6
Elite Member
iTrader: (21)
Join Date: Jun 2007
Location: Rochester, NY
Posts: 6,593
Total Cats: 1,259
Yeah, I got it. I haven't found the thread, but I will, and post a link.
I think you get lower pressure in the front, so it works either way. Quite frankly, I'm not looking for absolute perfection as far as efficiency, and making it fit well is important so it doesn't look cobbled. Mine has some tabs broken off, so I'm not quite sure how to fasten it down.
I think you get lower pressure in the front, so it works either way. Quite frankly, I'm not looking for absolute perfection as far as efficiency, and making it fit well is important so it doesn't look cobbled. Mine has some tabs broken off, so I'm not quite sure how to fasten it down.
Reply
0
0

 05-12-2011, 02:52 PM
#12
Elite Member

Join Date: Jul 2005
Location: Anacortes, WA
Posts: 2,478
Total Cats: 144
Bob
Reply
0
0
05-12-2011, 05:47 PM
#13
Cpt. Slow
Thread Starter
iTrader: (25)
Join Date: Oct 2005
Location: Oregon City, OR
Posts: 14,189
Total Cats: 1,135
Can't say that again. I helped poor Pusha out a bit.
Ok, that's perfect, as it'll let me avoid the hood hump. I believe having the forward edge 13" from the front of the hood is roughly 3-4" behind the stock fan shrouds, I'll probably mount it towards the short side of that variable.
Further forward will extract better. Lowest pressure area on the exterior of the hood is near the leading edge. at some point though I think when you get too far forward it wont make the corner well as it exits the back side of the radiator but it has to get pretty extreme for that to be the case like with the opening forward of the radiator. In reality you can sort of think of the under hood air flow to behave more like a pressurized box than having much aerodynamic flow characteristics to it. Put the exit where the pressure is lowest on the outside of it and it will flow more out. The opening placed just an inch or two behind the fans is good.
Bob
Bob
Reply
0
0
 05-13-2011, 02:56 PM
#15
Junior Member

Join Date: May 2010
Posts: 88
Total Cats: 0
These diagrams I had previously saved might help you out with placement. IIRC V8Roadsters did the pressure testing. That pressure diagram, I don't recall where I found that originally so unfortunately cannot provide appropriate credt to the source.
Reply
0
0
 05-13-2011, 04:29 PM
#18
Tour de Franzia
iTrader: (6)
Join Date: Jun 2006
Location: Republic of Dallas
Posts: 29,085
Total Cats: 375
Do yourself a favor and rather than fab-up that Mini scoop, riven on a carbontrix vent.
Reply
0
0
05-13-2011, 06:29 PM
#19
Elite Member
Join Date: Jul 2005
Location: Anacortes, WA
Posts: 2,478
Total Cats: 144
The darker red area on the hood is where you want the vent it is both high velocity and low pressure. It will suck air out of the engine compartment and reduce front end lift on the car.
Bob
Reply
0
0
05-16-2011, 11:48 PM
#20
Cpt. Slow
Thread Starter
iTrader: (25)
Join Date: Oct 2005
Location: Oregon City, OR
Posts: 14,189
Total Cats: 1,135
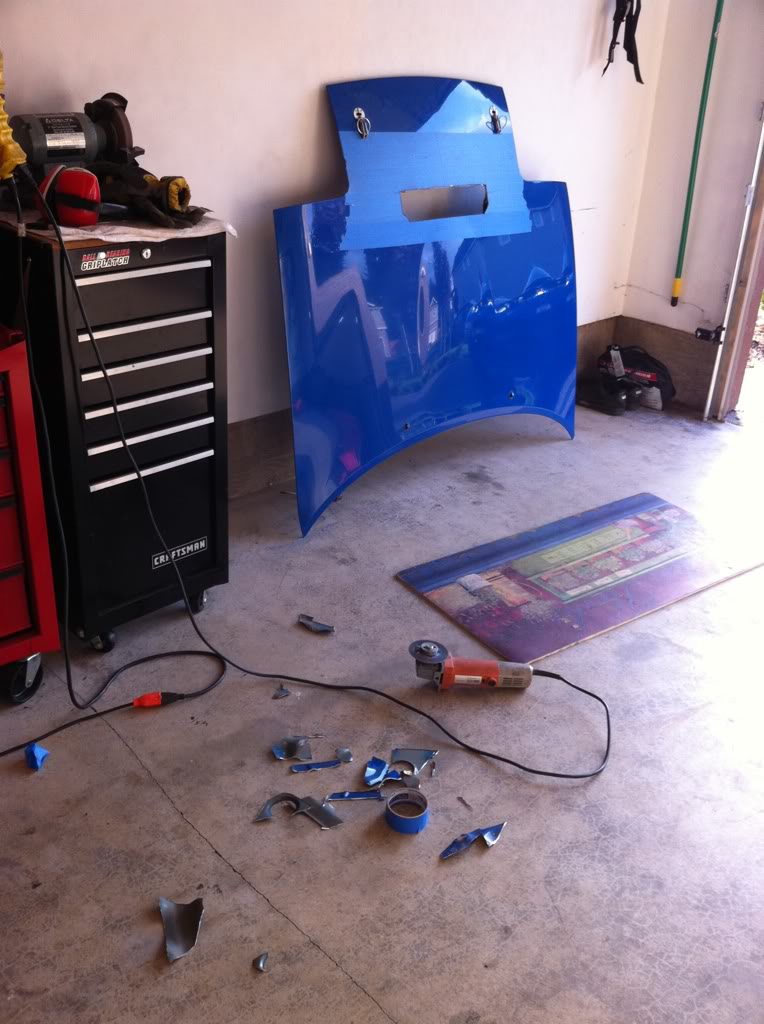
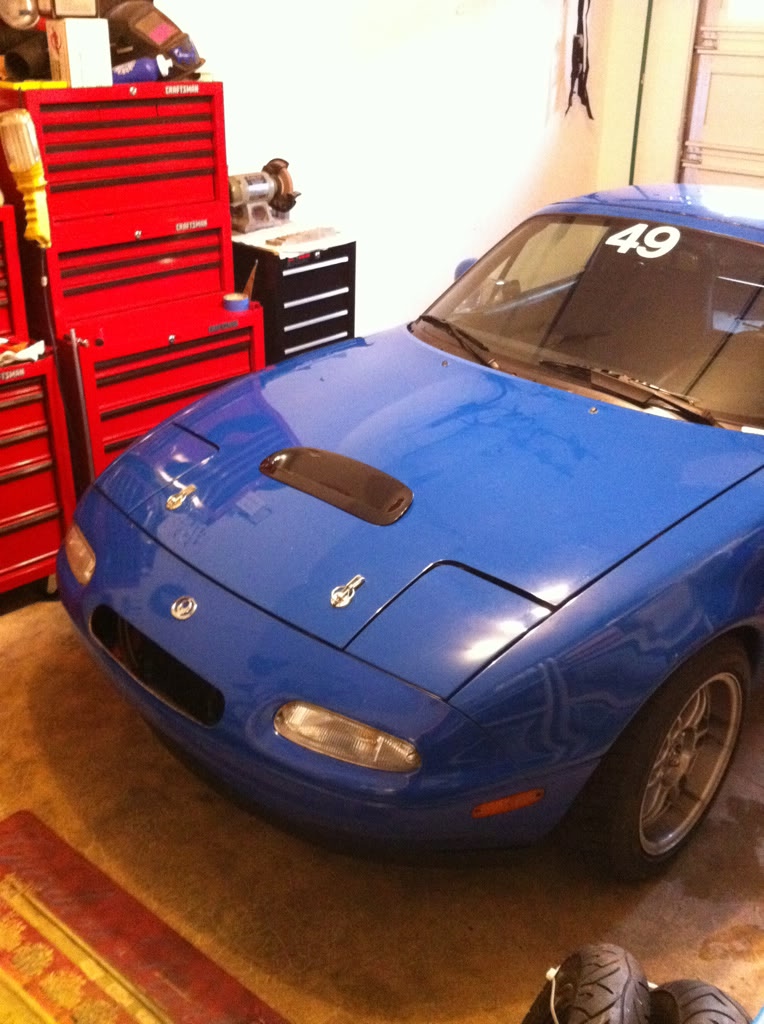
Cut and placed, still need to bolt it in. God I hate aluminum dust.
During cutting:
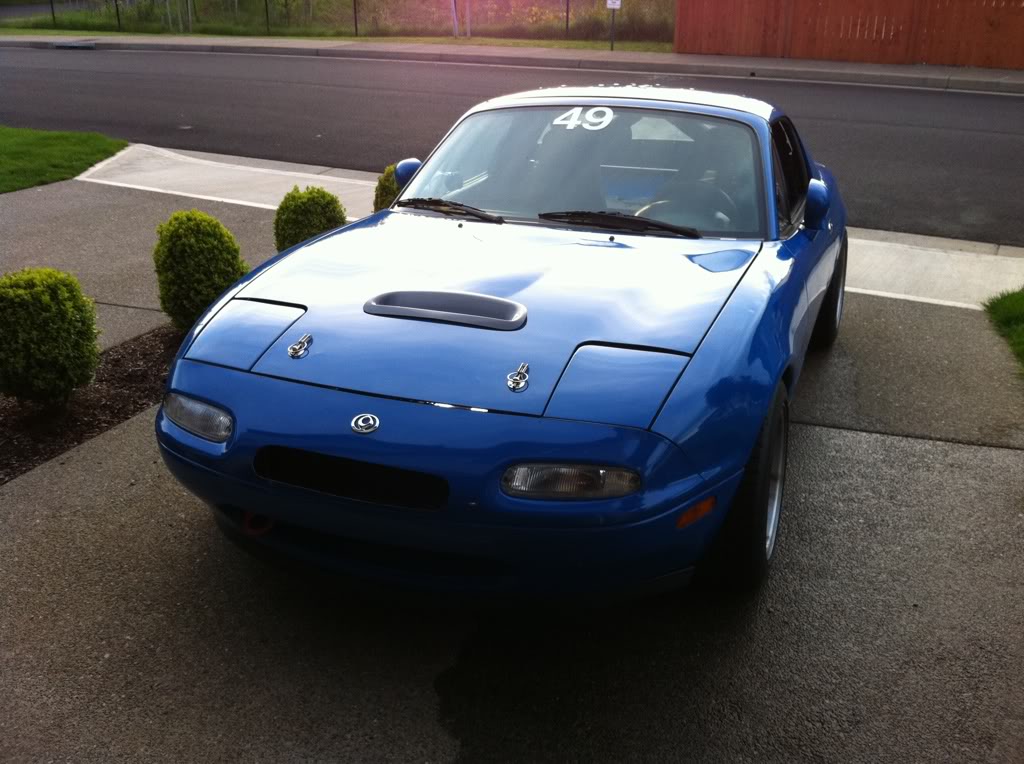
Shitty outside photos trying to capture location:
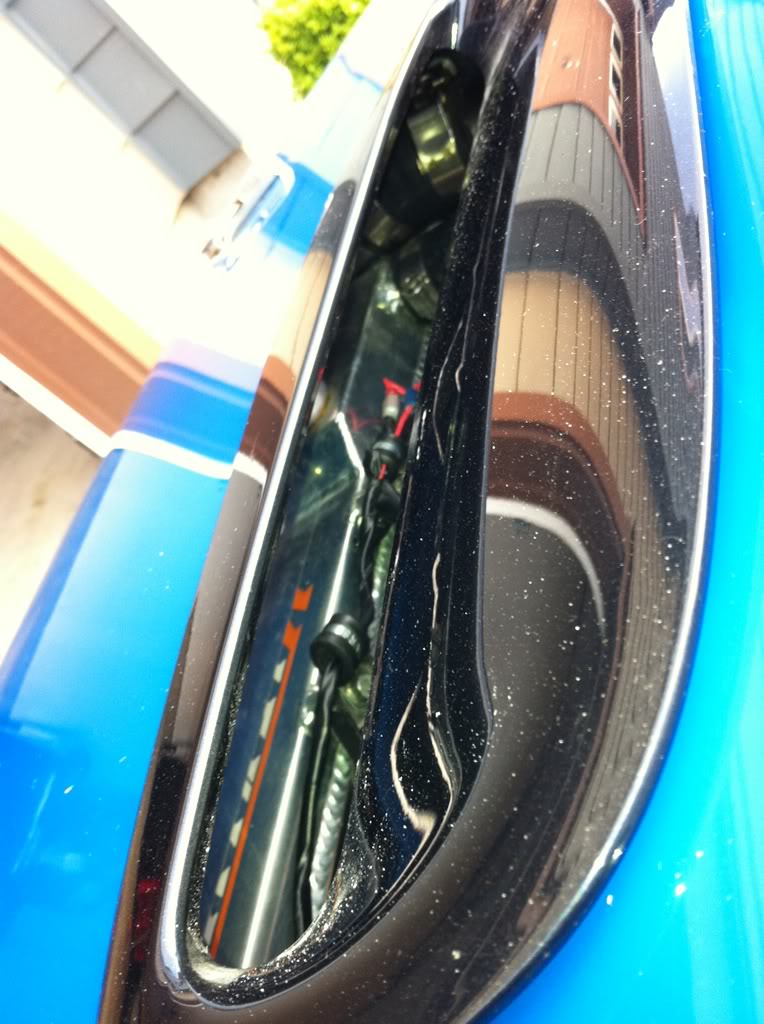
Shitty inside photos trying to capture location:
Say hi to Jack
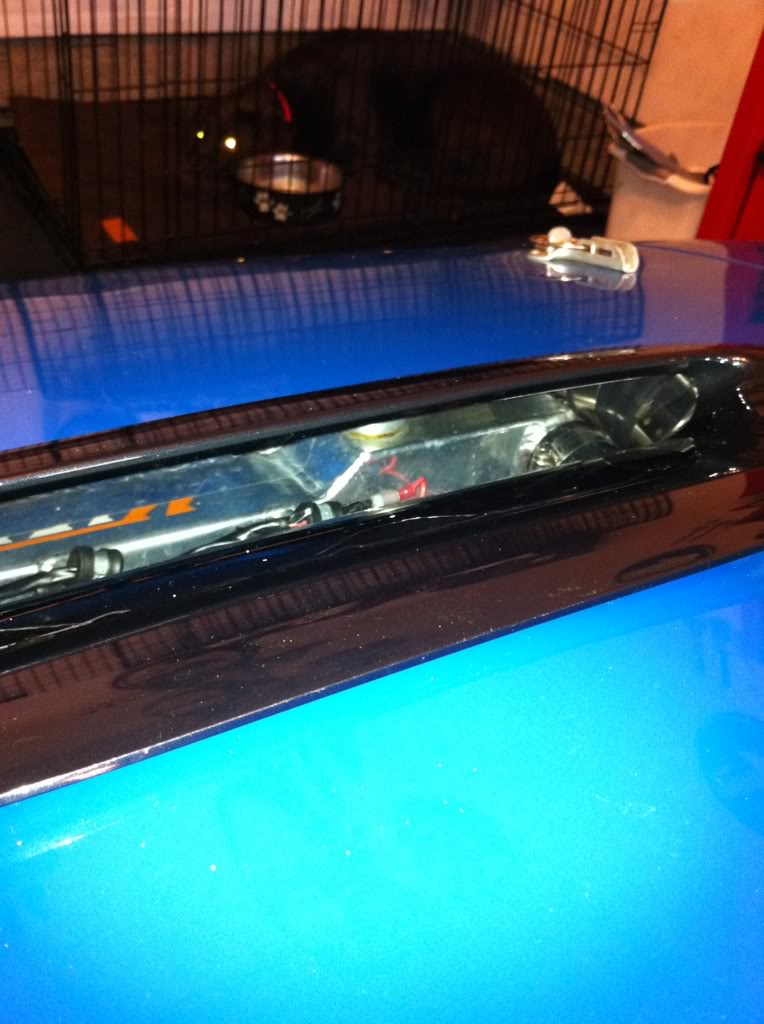
Underside shot showing a lot of the layers if you look closely that I had to cut through, it was a major pain to get it as clean as I did. Luckily all mistakes are hidden by the scoop itself.
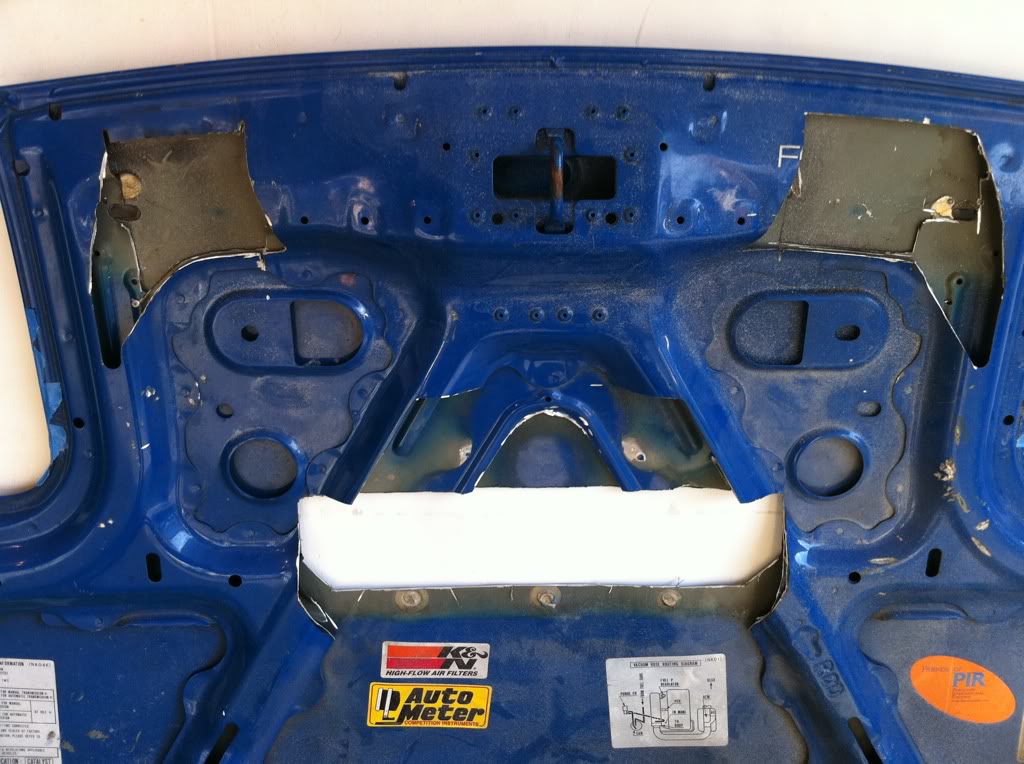
I have about 6.5" from the leading lower edge of the scoop to the back of the radiator. With a small trim of the back edge I could get another .5". Don't know if I care that much. Just need to trim the front bracket off the scoop which I was using to hold it in place in the pictures, and I can drill some holes for bolts. Woot me.
During cutting:
Shitty outside photos trying to capture location:
Shitty inside photos trying to capture location:
Say hi to Jack
Underside shot showing a lot of the layers if you look closely that I had to cut through, it was a major pain to get it as clean as I did. Luckily all mistakes are hidden by the scoop itself.
I have about 6.5" from the leading lower edge of the scoop to the back of the radiator. With a small trim of the back edge I could get another .5". Don't know if I care that much. Just need to trim the front bracket off the scoop which I was using to hold it in place in the pictures, and I can drill some holes for bolts. Woot me.
Reply
0
0


