
Post your DIY aero pics
 05-08-2014, 08:37 PM
#721
Senior Member

Join Date: Aug 2009
Location: melbourne aus
Posts: 515
Total Cats: 92
Zossy, I did sell it. Just thought I would post up pics of the last time I took it out. I am going to Winton next weekend. And the subbie nats are on up there in a month or so. Not sure if I can get there yet. Would be good to take the WRX up.

Reply
 0
0

0
 05-09-2014, 02:36 AM
#723
Senior Member
Join Date: Aug 2009
Location: melbourne aus
Posts: 515
Total Cats: 92
I did a 1:50.1 at Phillip Island in the 1.8 MX5. And my first run at Phillip Island with the WRX not set up was a 1:52.2, and never having driven anything other than MX5's it was a learning curve. And I only did 7 laps as I had some trouble with the intercooler pipes. I am sure it would do around a 1:48 now.
First proper track day with the WRX setup at Sandown was a 1:24.4, but the brake pads were ****. So only did 20 laps. Best I did in the 1.8 MX5 was a 1:27. And the best time in my old 1.6 turbo MX5 at Sandown was 1:24 as well. And Sandown is a hp track.
I think the WRX isn't as slow around corners as most MX5 people think. Went over the data, and the corner speed minimums are pretty close. Once I get the WRX dialled in and get used to driving it, it will easily be faster at all tracks. 1.8 MX5 had 90+rwkw's. 1.6 turbo had 120rwkw's. WRX has about 150awkw's.
Reply
0
0
05-09-2014, 03:43 PM
#724
Junior Member

Join Date: Mar 2012
Posts: 323
Total Cats: 23
So I did exactly this over the last couple days, with an insulating foam the doesn't melt from paint or adhesives. Forum member 99Racer (my dad) can chime in on what melts and doesn't melt.
Last fall I built a splitter for my DD while AuoX'ing it, though never got time to finish more than the basic plywood shape before the season ended.
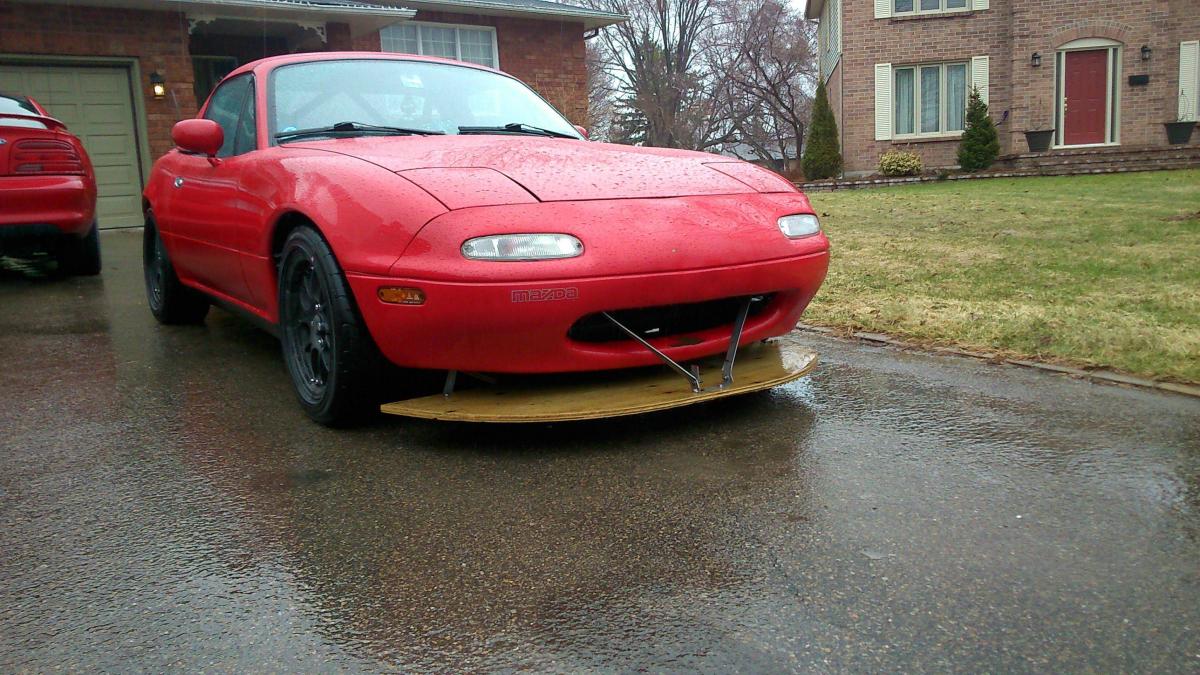
I needed to bridge the gap between the splitter and the plywood, original design was vertical sheet metal as many have done. Then expanding foam was suggested, but ended up deciding on rigid insulation foam 1-1/2" thick.
I cut two pieces to about the contour of the bumper using a jig saw, which gave a surprisingly smooth finish. I glued them together using PL. IF you do this, take of the metal foil on the glue side of the foam, it would have made shaping it so much easier.
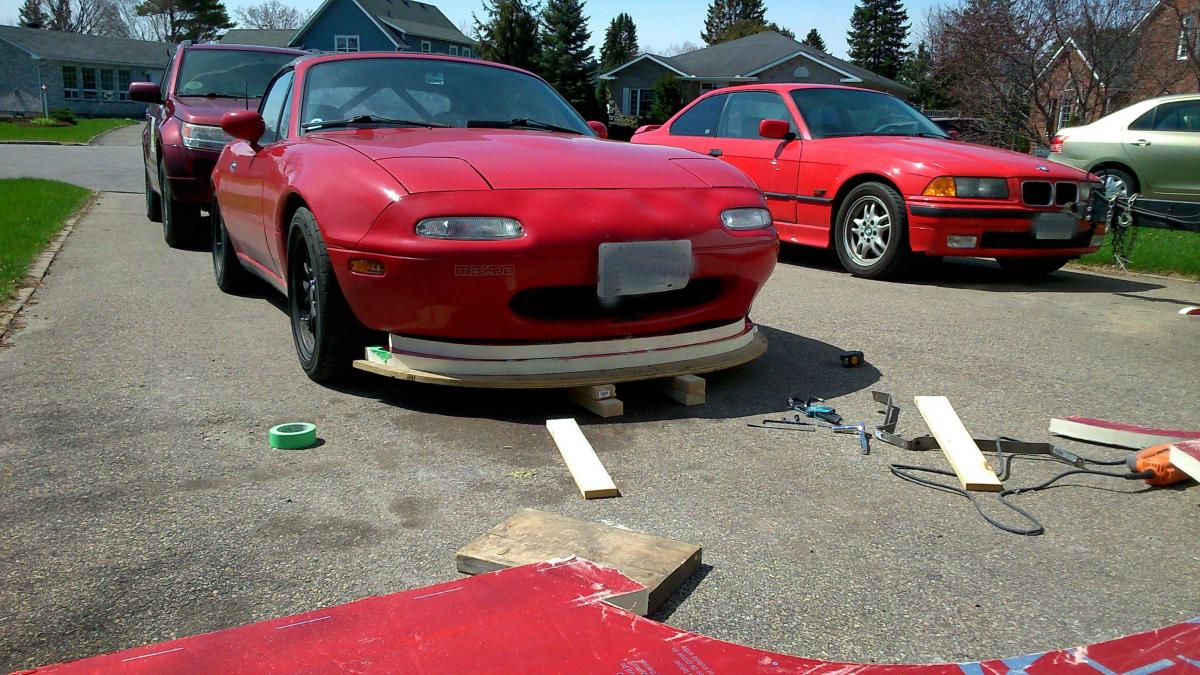
I set the upper one back to give the spacer a bit of a rake, may eventually shape it into a curve.
Here it is cut, I cut it using a hack saw blade (no handle) and a body file to smooth it out somewhat (it's still not smooth).
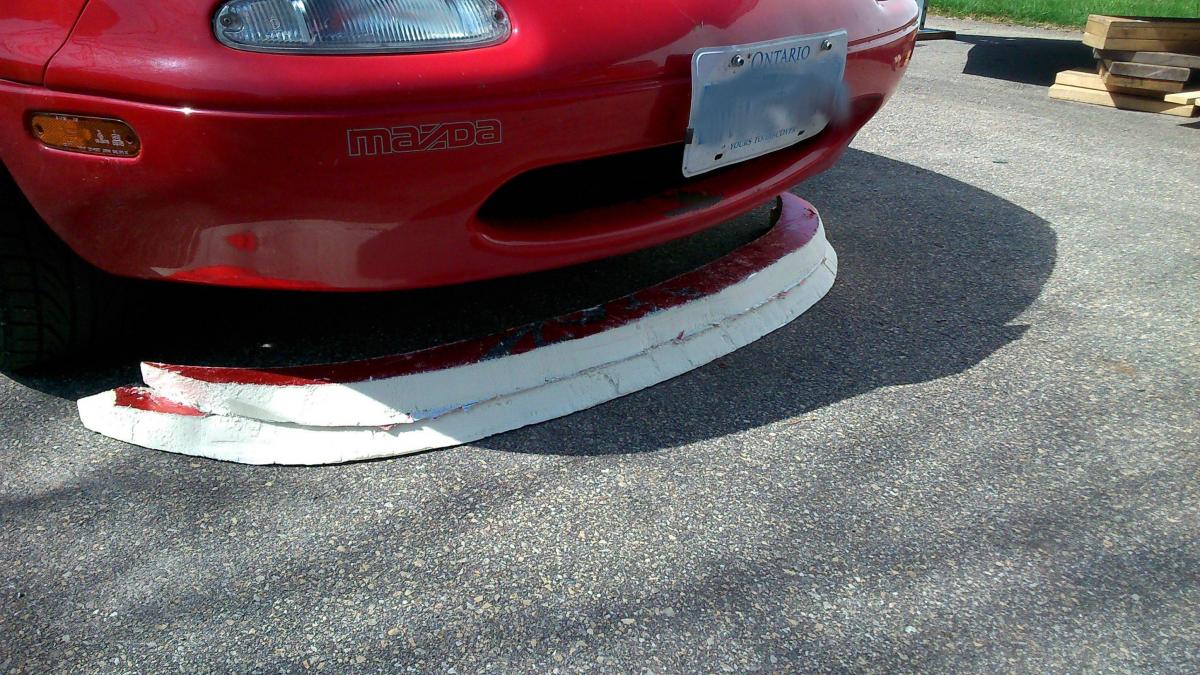
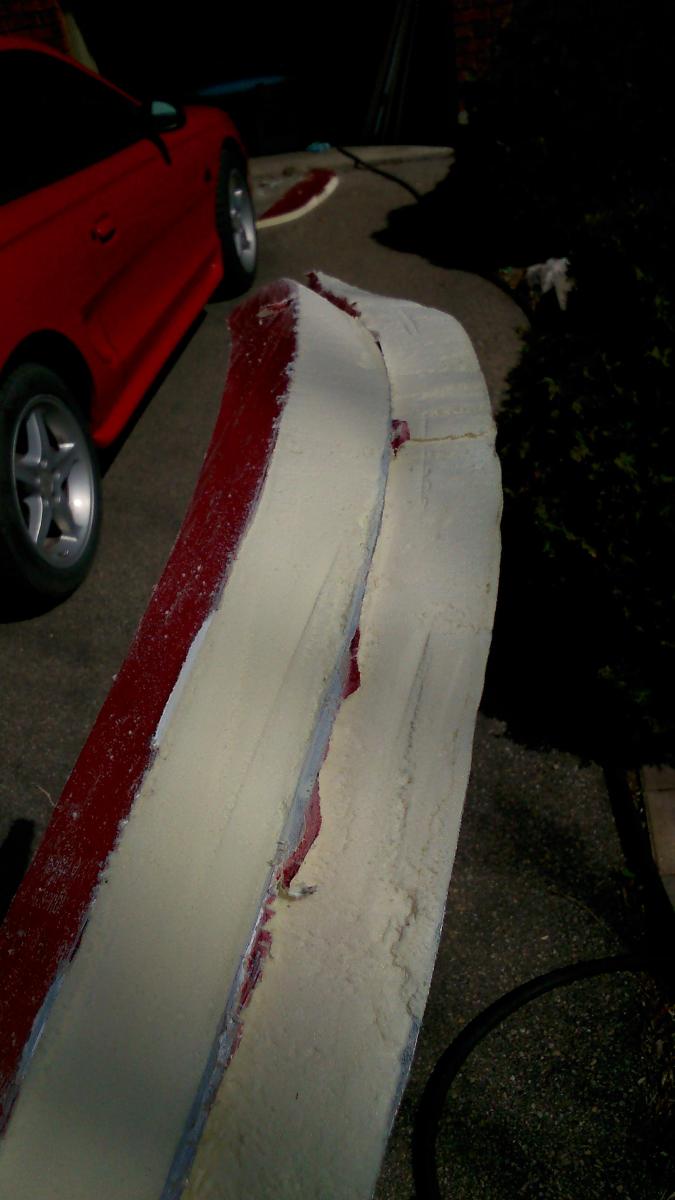
The first AutoX of the season is this Saturday so for now, the whole assembly just received a shot of flat black spray and was put on.
Future play are to cover the plywood and foam in fibreglass to have a nicer smooth finish.
Last fall I built a splitter for my DD while AuoX'ing it, though never got time to finish more than the basic plywood shape before the season ended.
I needed to bridge the gap between the splitter and the plywood, original design was vertical sheet metal as many have done. Then expanding foam was suggested, but ended up deciding on rigid insulation foam 1-1/2" thick.
I cut two pieces to about the contour of the bumper using a jig saw, which gave a surprisingly smooth finish. I glued them together using PL. IF you do this, take of the metal foil on the glue side of the foam, it would have made shaping it so much easier.
I set the upper one back to give the spacer a bit of a rake, may eventually shape it into a curve.
Here it is cut, I cut it using a hack saw blade (no handle) and a body file to smooth it out somewhat (it's still not smooth).
The first AutoX of the season is this Saturday so for now, the whole assembly just received a shot of flat black spray and was put on.
Future play are to cover the plywood and foam in fibreglass to have a nicer smooth finish.
Last edited by M.Adamovits; 05-09-2014 at 04:10 PM.
Reply
0
0
05-09-2014, 04:46 PM
#725
Junior Member

Join Date: Feb 2012
Location: near Ottawa Ontario Canada
Posts: 60
Total Cats: 21
IF you plan fiberglass with polyester resin (cheaper than epoxy) to add strength over the shaped foam (plug), then urethane based foam board (polyisocyanurate) is best. Lowes Canada sells foil wrapped construction insulation board in many thicknesses. What was used retails here for about $35 for 4'x8' x 1.5". Polyisocyanurate at Lowe's Canada
Something similar is likely available in other building supplies… HD racing here in Canada however only seems to sell styrene based material.
Polyester resin will eat "styrene" based foam. If you must use a styrene plastic, protecting it from the polyester resin is necessary. Options include: plastic food wrap, drywall plaster (mud), body filler, etc. Test the foam and its covering first or risk losing the shape of your foam based plug.
M.Adamovits and I have been racing together for some 14 years (first karts and now cars). And yes, the 99 Racer and the silver #51 in Mikes signature line are the same car… we endurance raced it as a team for 2 years. Road racing is hold for now as I build up a new business.
Reply
0
0
05-09-2014, 04:47 PM
#726

IF you plan fiberglass with polyester resin (cheaper than epoxy) to add strength over the shaped foam (plug), then urethane based foam board (polyisocyanurate) is best. Lowes Canada sells foil wrapped construction insulation board in many thicknesses. What was used retails here for about $35 for 4'x8' x 1.5". Polyisocyanurate at Lowe's Canada
Something similar is likely available in other building supplies� HD racing here in Canada however only seems to sell styrene based material.
Polyester resin will eat "styrene" based foam. If you must use a styrene plastic, protecting it from the polyester resin is necessary. Options include: plastic food wrap, drywall plaster (mud), body filler, etc. Test the foam and its covering first or risk losing the shape of your foam based plug.
M.Adamovits and I have been racing together for some 14 years (first karts and now cars). And yes, the 99 Racer and the silver #51 in Mikes signature line are the same car� we endurance raced it as a team for 2 years. Road racing is hold for now as I build up a new business.
Reply
0
0
 07-10-2014, 06:18 PM
#728
Elite Member


Join Date: Feb 2007
Location: Columbus, OH
Posts: 1,539
Total Cats: 747
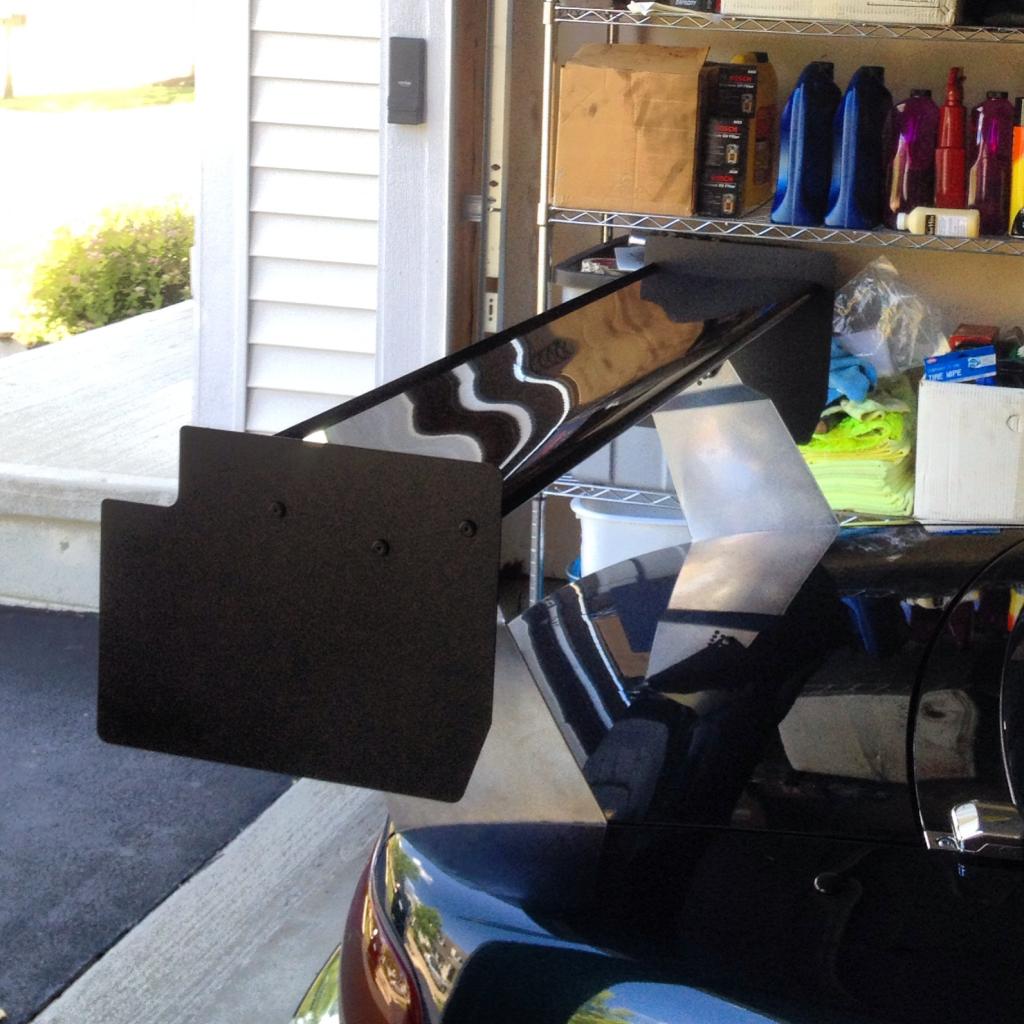
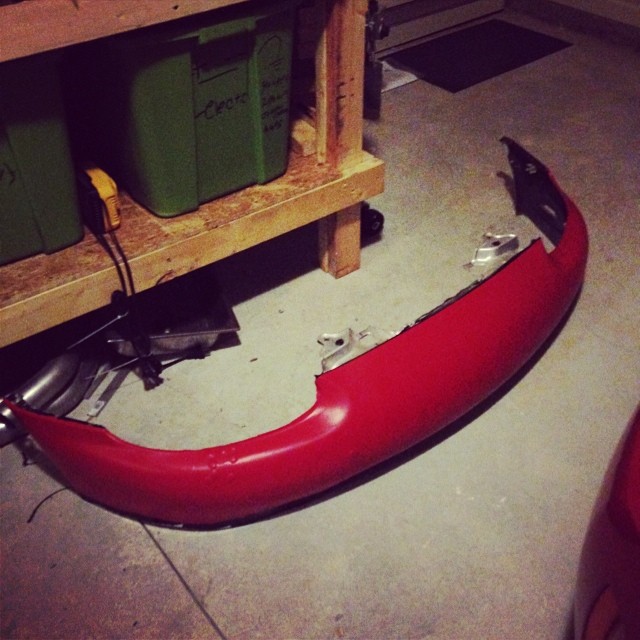
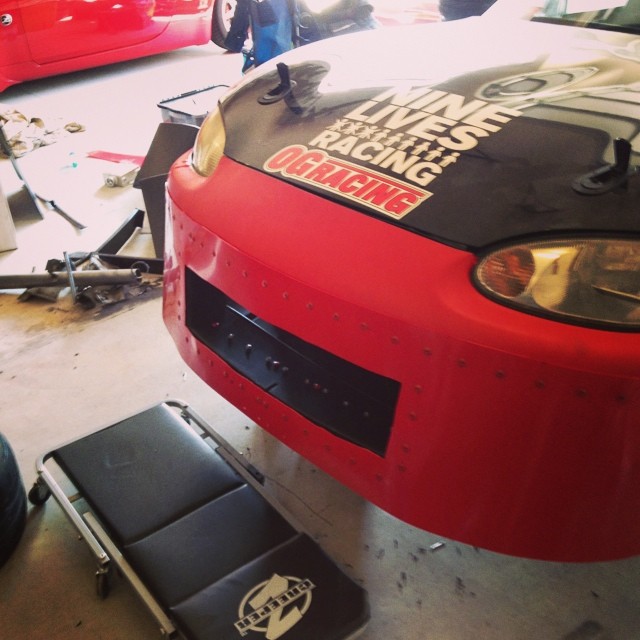
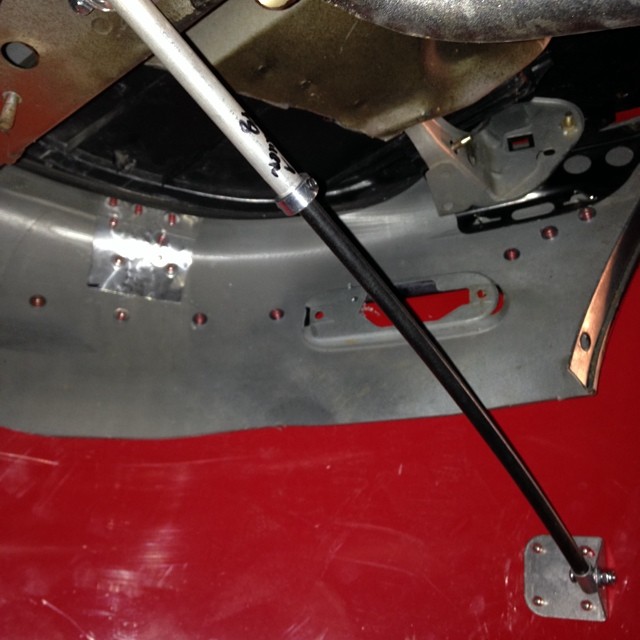
I had a Car of Tomorrow wing fall in my lap and quickly threw some front end stuff together to balance it out.

NASCAR CoT wing
Flyin Miata mounts
Blackbird Fabworx endplates
DiY undertray/splitter
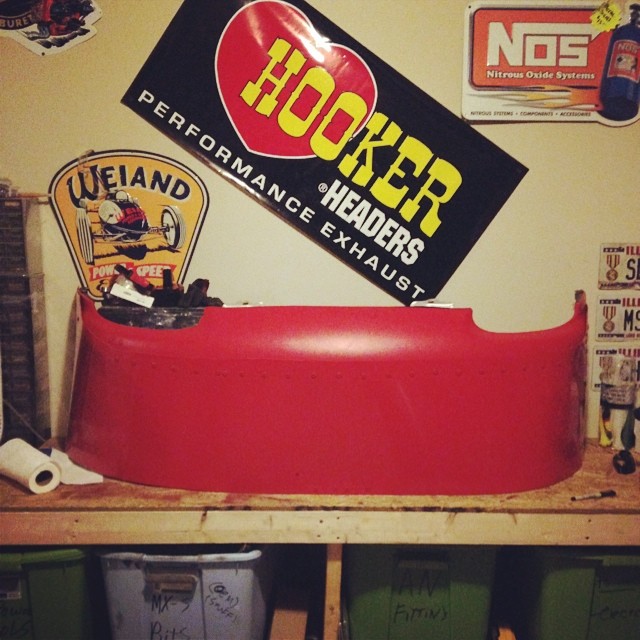
GarageVary copy front lip
CarbonTrix extractor vent in spare hood
Dollars spent: ~800 including shipping, paint, jigsaw blades, etc
Hours spent: 4-5
How effective: 2(because I havent tried higher wing angles)
0=slower, 1, no improvement, 2 =slightly better,3= big improvement
Materials used: 1/4" HDPE, angle aluminum, carbon fiber.
Bracket location: Radiator support and subframe, rear quarter panels.
Tracks tested on: Mid Ohio Sports Car Course, multiple autocrosses.
Race/TT class built for: DE's, casual TTD.
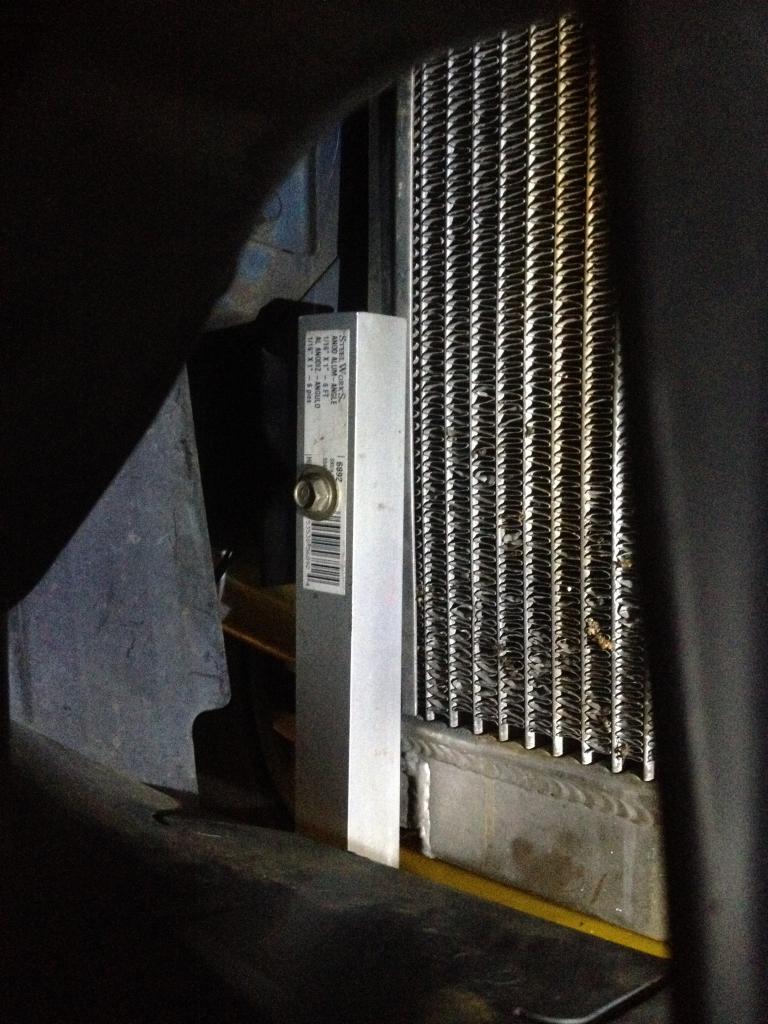
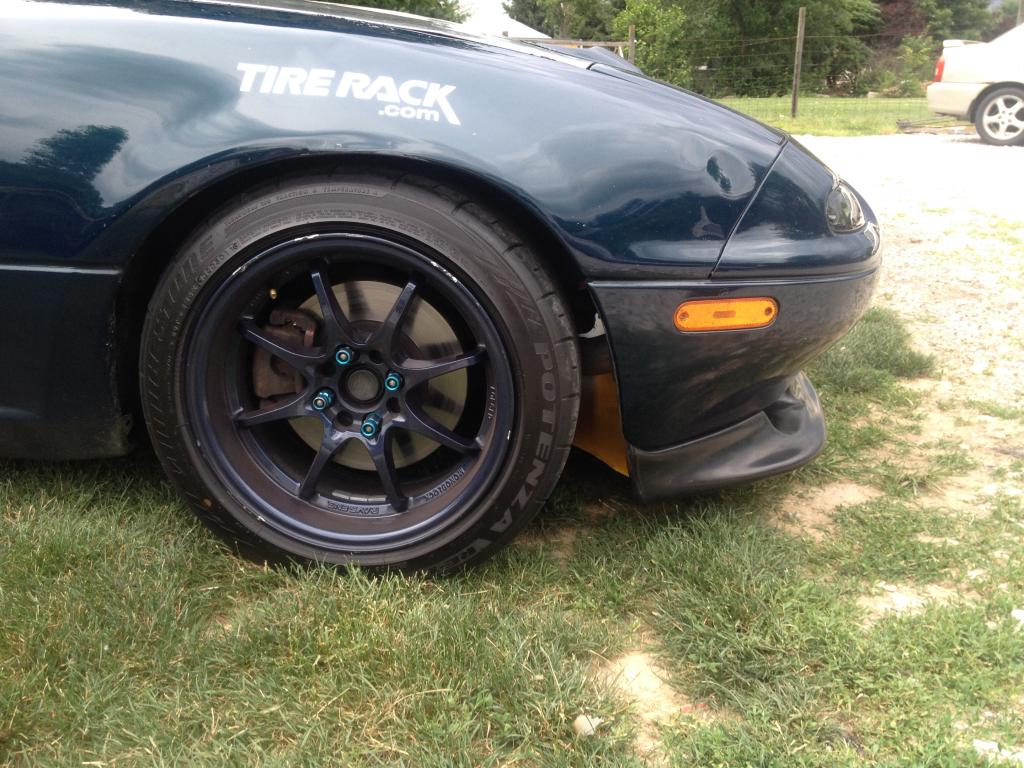
The 'splitter' slides into the flange on the underside of the lip. I originally cut this piece to fit perfectly in an authentic GV piece. I've since destroyed the real lip and this piece doesn't fit as well in the eBay copy. It pushes the outer corners of the lip out, effectively covering a smidge more tire by straitening the lip. The black 1/8" aluminum pieces nut and bolt to the angle aluminum coming down from the radiator support, sandwiching the undertray material.
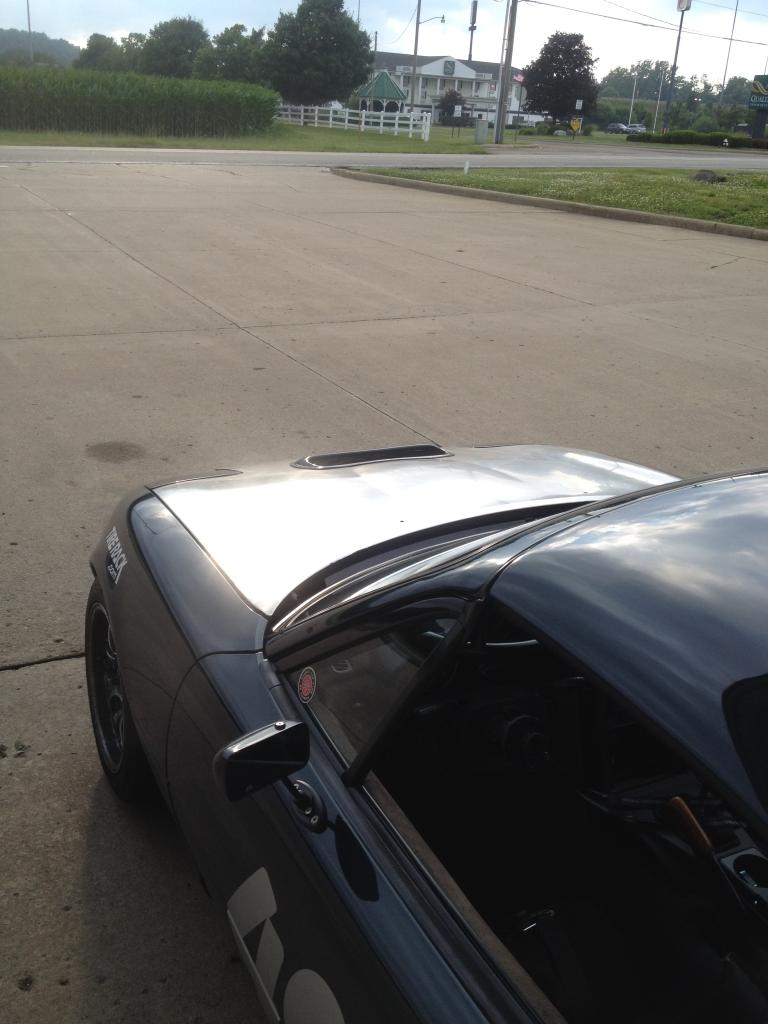
The hood vent is CarbonTrix, painted Montego and simply riveted onto a spare gutted hood. Gutting the hood causes it to flap around a bit. It stays pressed down up to 65-70mph, but above that begins to lift off the back of the headlights covers a bit. I believe some aerocatches are in my future to solve this issue. I may also just try it on my original hood and leave the webbing in place.
Out back its pretty much standard issue meta-Miata aero: CoT wing on FM mounts and some of Moti's endplates. Apparently I lucked out, my wing came with a carbon L shaped gurney, which gives me two gurney height options:
I didn't expect much from the front end stuff, so ran the wing -1� with no gurney. Car was loose and I didn't have an allen set with me(never needed it before lol) so I couldn't play with it at all. Next chance is ~a month away, same track, same tires, we'll see what a few more degrees does. I'll take the gurney flap too.

NASCAR CoT wing
Flyin Miata mounts
Blackbird Fabworx endplates
DiY undertray/splitter
GarageVary copy front lip
CarbonTrix extractor vent in spare hood
Dollars spent: ~800 including shipping, paint, jigsaw blades, etc
Hours spent: 4-5
How effective: 2(because I havent tried higher wing angles)
0=slower, 1, no improvement, 2 =slightly better,3= big improvement
Materials used: 1/4" HDPE, angle aluminum, carbon fiber.
Bracket location: Radiator support and subframe, rear quarter panels.
Tracks tested on: Mid Ohio Sports Car Course, multiple autocrosses.
Race/TT class built for: DE's, casual TTD.
The 'splitter' slides into the flange on the underside of the lip. I originally cut this piece to fit perfectly in an authentic GV piece. I've since destroyed the real lip and this piece doesn't fit as well in the eBay copy. It pushes the outer corners of the lip out, effectively covering a smidge more tire by straitening the lip. The black 1/8" aluminum pieces nut and bolt to the angle aluminum coming down from the radiator support, sandwiching the undertray material.


The hood vent is CarbonTrix, painted Montego and simply riveted onto a spare gutted hood. Gutting the hood causes it to flap around a bit. It stays pressed down up to 65-70mph, but above that begins to lift off the back of the headlights covers a bit. I believe some aerocatches are in my future to solve this issue. I may also just try it on my original hood and leave the webbing in place.

Out back its pretty much standard issue meta-Miata aero: CoT wing on FM mounts and some of Moti's endplates. Apparently I lucked out, my wing came with a carbon L shaped gurney, which gives me two gurney height options:

I didn't expect much from the front end stuff, so ran the wing -1� with no gurney. Car was loose and I didn't have an allen set with me(never needed it before lol) so I couldn't play with it at all. Next chance is ~a month away, same track, same tires, we'll see what a few more degrees does. I'll take the gurney flap too.
Reply
0
0
07-10-2014, 06:28 PM
#729
I'd consider changing that aluminum mount, I had square aluminum tubing of about the same wall thickness mounted to the frame rail above that rad mount taby thing you're bolted to and just from hitting cones and bottoming out I managed to bend the aluminum tube enough that it bent that mouting tab to the point where it was touching the radiator core and bent some of the fins. I think a couple more auto-x's like that and I would have had a very bad day, so a few trips on the rally line could probably put that aluminum angle through the radiator. You can bolt/screw/weld it to the outside of the frame rail and be clear of everything, as an added bonus the outside of the frame rail is more or less perfectly vertical, unlike the front.
Reply
0
0
07-12-2014, 05:49 AM
#730
Senior Member
Join Date: Aug 2009
Location: melbourne aus
Posts: 515
Total Cats: 92
Made up a new aero package on Brendan's car. Still needs a couple more days work but ran out of time.
Should have seen the massive rooster tail in the wet morning session.

how to take a screen shot
Should have seen the massive rooster tail in the wet morning session.
how to take a screen shot
Reply
0
0

 07-14-2014, 05:44 AM
#733
Senior Member
Join Date: Aug 2009
Location: melbourne aus
Posts: 515
Total Cats: 92
Still a work in progress. The flat floor has not yet made any noticeable difference. Once it is fully finished, and we get some time to make adjustments, there should be some noticeable difference. The wing is actually triple element, but couldn't find the bolts for the third element. Next time out is Winton, so we can crank on a ton of downforce.
Reply
0
0
07-14-2014, 09:01 AM
#734

throw my hat into the ring


should finish it up, and set her down tonight.
should finish it up, and set her down tonight.
__________________
OG Racing
Your Source For Motorsports Safety Equipment
WWW.OGRACING.COM
800.934.9112
703.430.3303
info@ogracing.com
OG Racing
Your Source For Motorsports Safety Equipment
WWW.OGRACING.COM
800.934.9112
703.430.3303
info@ogracing.com
Last edited by OGRacing; 07-14-2014 at 04:05 PM.
Reply
0
0
 07-14-2014, 09:20 PM
#736
I am now in a position to start building a Crusher front and undertray for the blue beast. But I am limited to not going outside the outer edge of the existing bodywork of the nose with front aero, which means I can't actually run a splitter with the Crusher nose.
With that in mind, I see that some have run the undertray level with the bottom of the flat front, and others (I think including Emilio) have run the flat front lower than the undertray, creating a lip on the flat front running under the bottom surface of the undertray. Which is better, and if a lip is better, how much of a lip is ideal?
With that in mind, I see that some have run the undertray level with the bottom of the flat front, and others (I think including Emilio) have run the flat front lower than the undertray, creating a lip on the flat front running under the bottom surface of the undertray. Which is better, and if a lip is better, how much of a lip is ideal?
Reply
0
0
07-14-2014, 10:26 PM
#737
I am now in a position to start building a Crusher front and undertray for the blue beast. But I am limited to not going outside the outer edge of the existing bodywork of the nose with front aero, which means I can't actually run a splitter with the Crusher nose.
With that in mind, I see that some have run the undertray level with the bottom of the flat front, and others (I think including Emilio) have run the flat front lower than the undertray, creating a lip on the flat front running under the bottom surface of the undertray. Which is better, and if a lip is better, how much of a lip is ideal?
With that in mind, I see that some have run the undertray level with the bottom of the flat front, and others (I think including Emilio) have run the flat front lower than the undertray, creating a lip on the flat front running under the bottom surface of the undertray. Which is better, and if a lip is better, how much of a lip is ideal?
__________________

Reply
1
1
07-15-2014, 11:34 PM
#739
Elite Member
Join Date: Feb 2007
Location: Columbus, OH
Posts: 1,539
Total Cats: 747
I am now in a position to start building a Crusher front and undertray for the blue beast. But I am limited to not going outside the outer edge of the existing bodywork of the nose with front aero, which means I can't actually run a splitter with the Crusher nose.
With that in mind, I see that some have run the undertray level with the bottom of the flat front, and others (I think including Emilio) have run the flat front lower than the undertray, creating a lip on the flat front running under the bottom surface of the undertray. Which is better, and if a lip is better, how much of a lip is ideal?
With that in mind, I see that some have run the undertray level with the bottom of the flat front, and others (I think including Emilio) have run the flat front lower than the undertray, creating a lip on the flat front running under the bottom surface of the undertray. Which is better, and if a lip is better, how much of a lip is ideal?
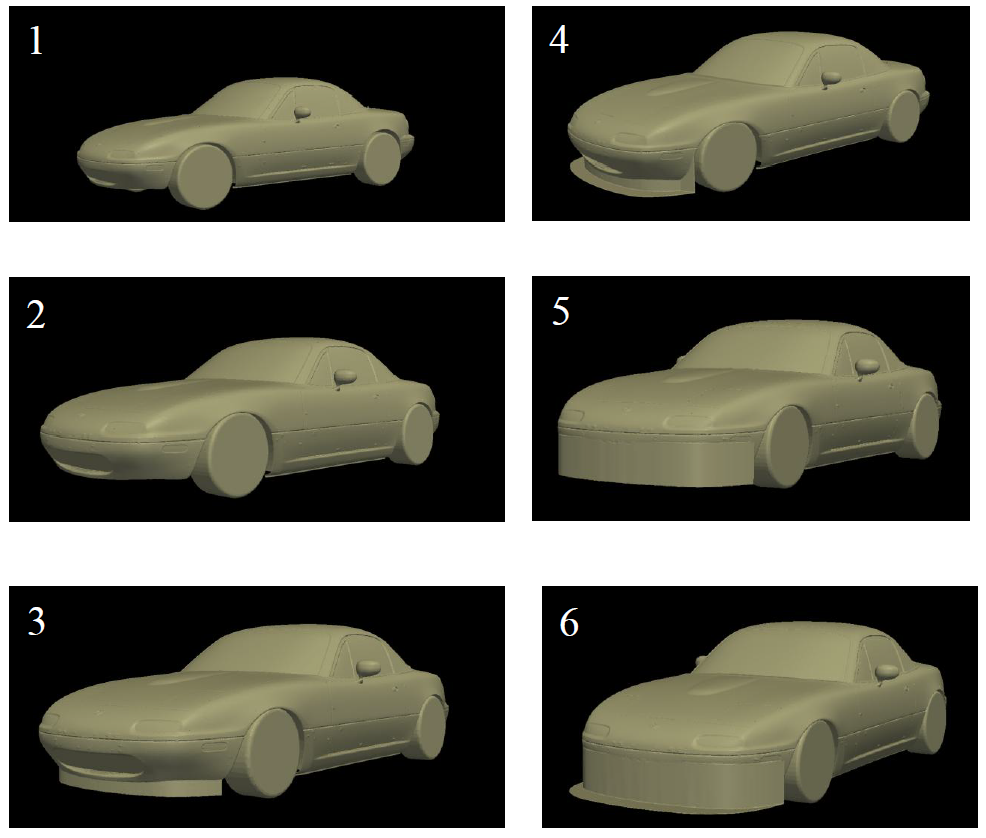
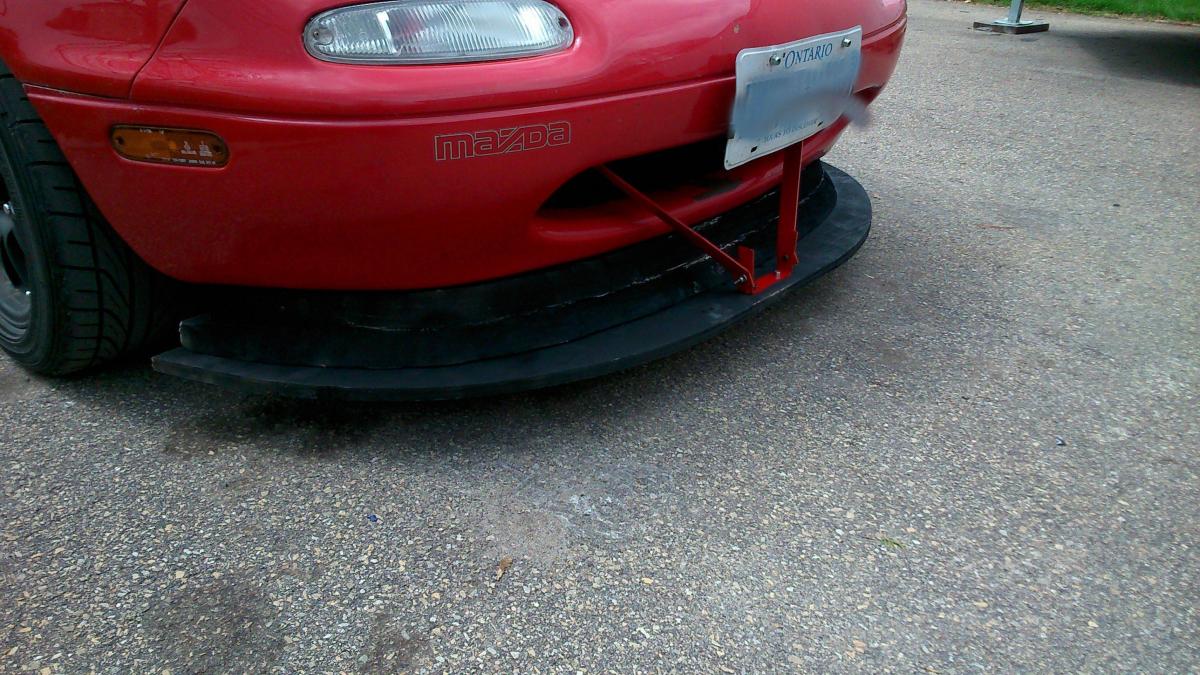
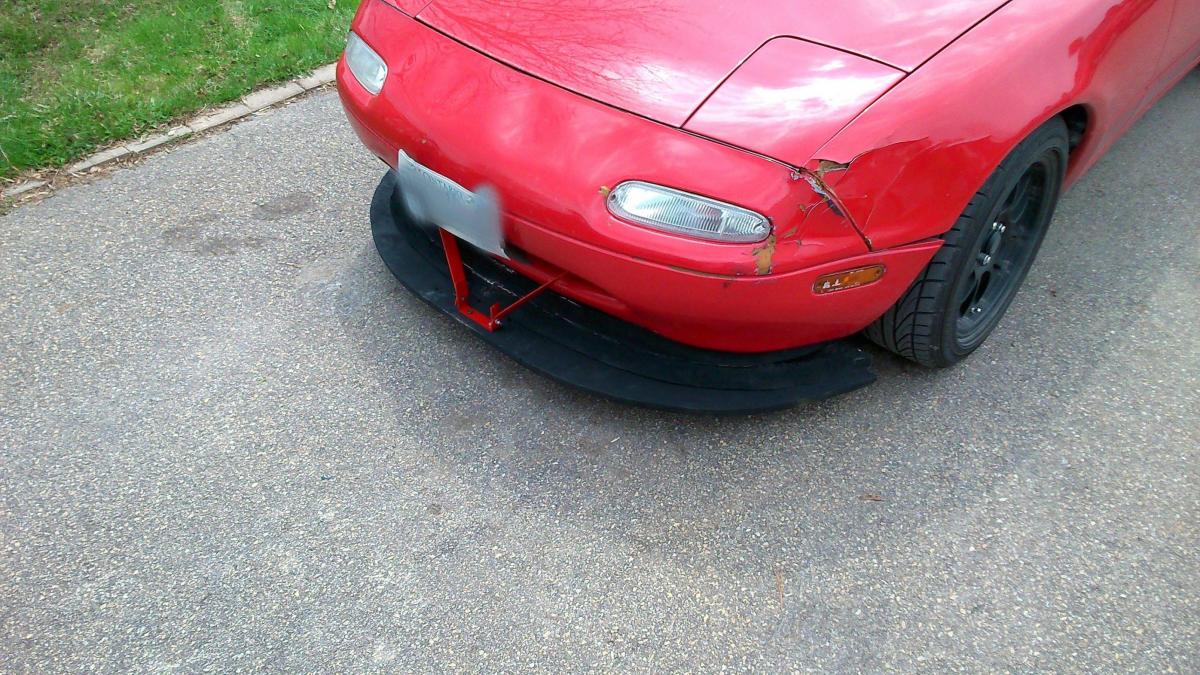
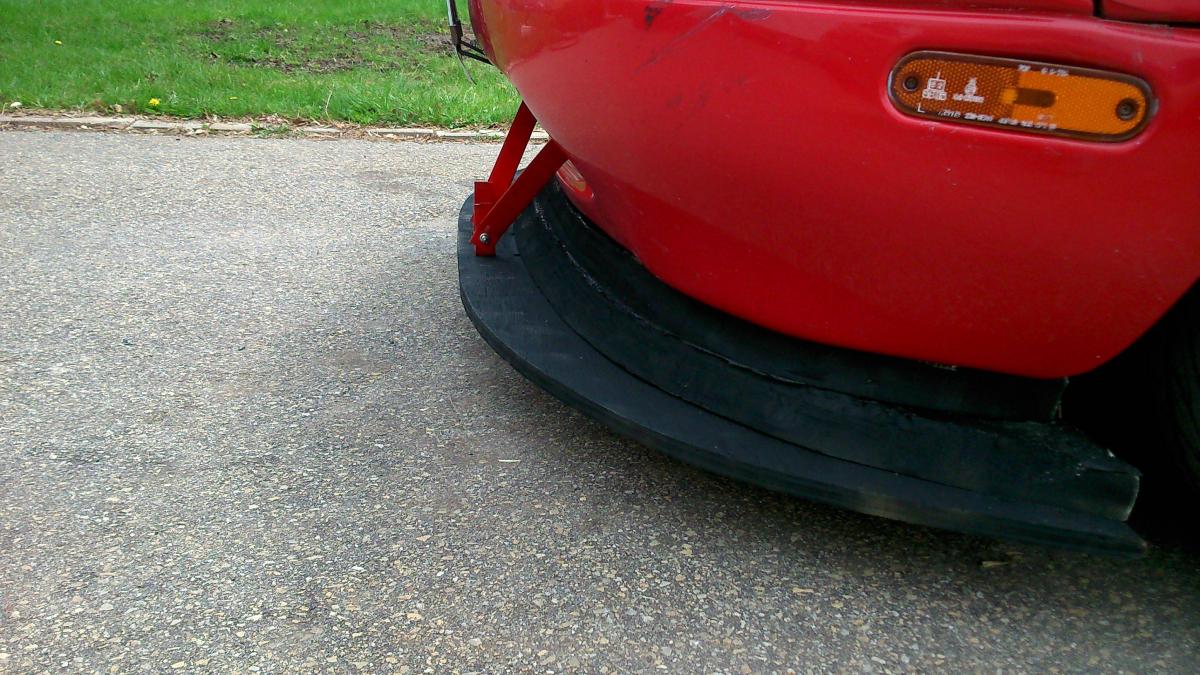
While "Crusher Style" is shown in #5, there is something in between 4 and 5 that could work.
I have been planning it for a while for our junkyard toy. I angled the airdam out to try and cover more tire and it is now outside the outer edge of the nose, but it could be hung totally vertical allowing a 4" splitter out front, as mine is. The splitter depth would either trail off towards the wheels, or you could keep a 4" splitter all the way around and need a 4" wide tire spat to cover the tire, just like #4. Keep in mind, my setup is built to shroud a 13x8.5" et0. 9" et36 would have a way narrower track width.
Please excuse my dark garage potato photos.


Reply
0
0
07-16-2014, 03:44 AM
#740
While "Crusher Style" is shown in #5, there is something in between 4 and 5 that could work.
I have been planning it for a while for our junkyard toy. I angled the airdam out to try and cover more tire and it is now outside the outer edge of the nose, but it could be hung totally vertical allowing a 4" splitter out front, as mine is. The splitter depth would either trail off towards the wheels, or you could keep a 4" splitter all the way around and need a 4" wide tire spat to cover the tire, just like #4. Keep in mind, my setup is built to shroud a 13x8.5" et0. 9" et36 would have a way narrower track width.
I have been planning it for a while for our junkyard toy. I angled the airdam out to try and cover more tire and it is now outside the outer edge of the nose, but it could be hung totally vertical allowing a 4" splitter out front, as mine is. The splitter depth would either trail off towards the wheels, or you could keep a 4" splitter all the way around and need a 4" wide tire spat to cover the tire, just like #4. Keep in mind, my setup is built to shroud a 13x8.5" et0. 9" et36 would have a way narrower track width.
Reply
0
0


