When you click on links to various merchants on this site and make a purchase, this can result in this site earning a commission. Affiliate programs and affiliations include, but are not limited to, the eBay Partner Network.
Ok I�ve had this thing on my desk for a month and a half, I�ve installed GT500 injectors & done a full retune.. 70mm eBay pulley from machine shop in Hungary goes in TODAY
Looks like a fun DIY build. Checked out your Meet/Greet page, but couldn't quite get a sense of the routing. It seems like:
Intake near driver's side (cool area)
Across bay to SC.
Out the handmade outlet (facing up once mounted).
Out back across the front radiator.
Up back to the driver's side to the IM Manifold
Is there an intercooler? Even the smaller M45s, with a turning ratio like that you had to pull quite a bit of timing at the higher rpms.
I wanna see a vid of this when it's running!
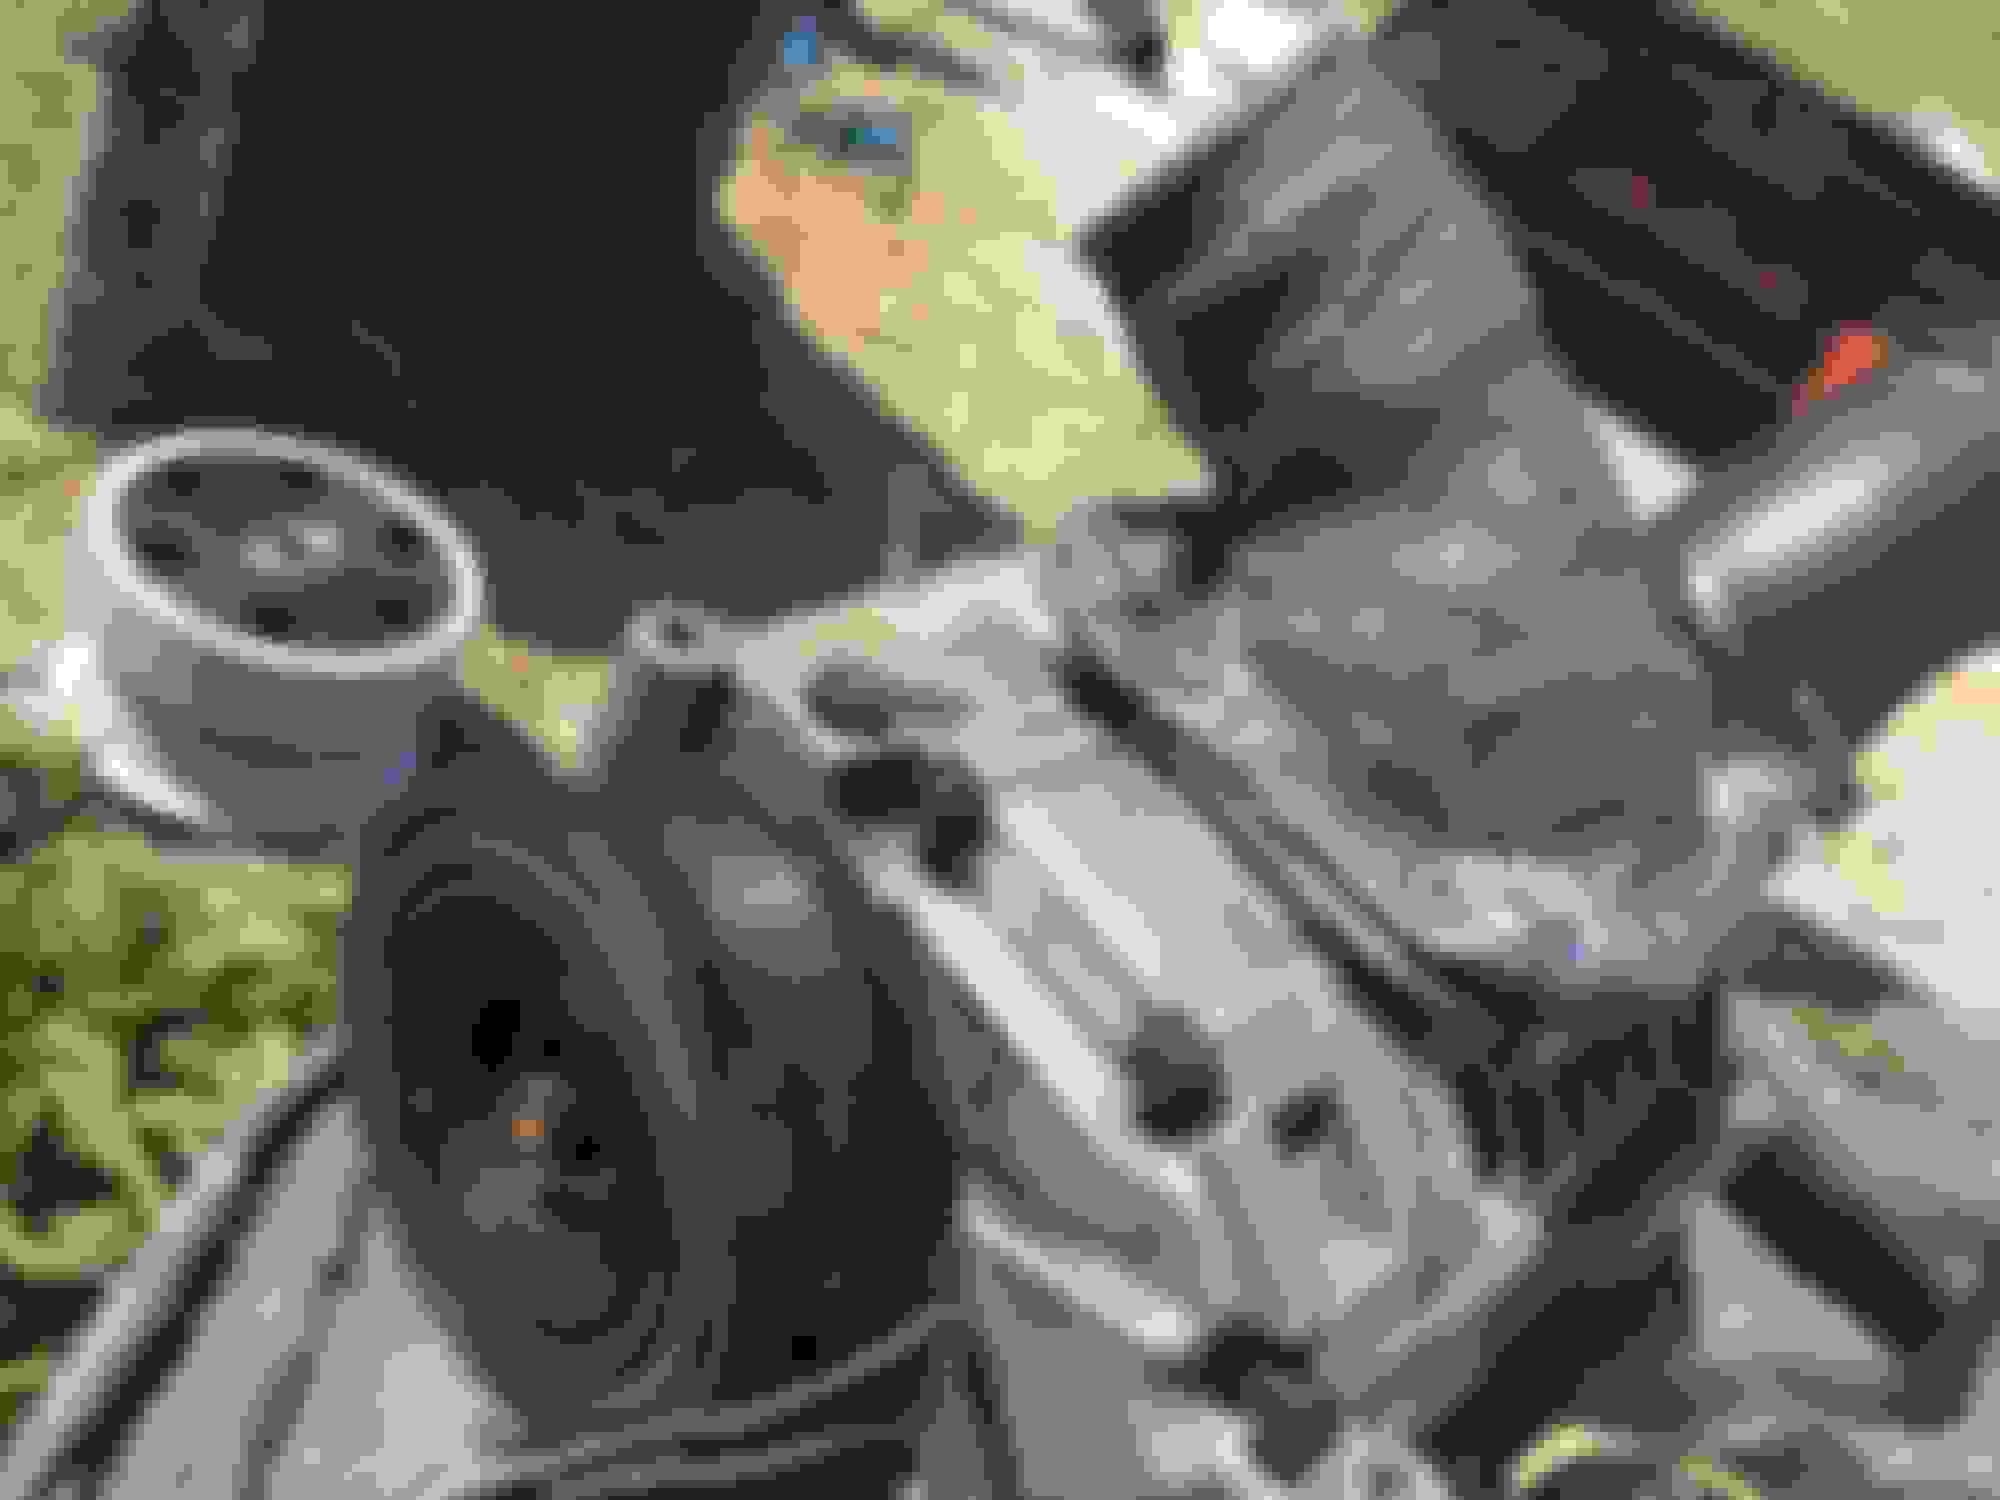
That is correct I have a Spectre cone filter isolated off to the driver side wheel well with a Honda airbox LOL. I then run a 2 1/2 inch plastic pipe to the supercharger intake manifold. The output goes around the radiator to a decent Chinese intercooler. All boost pipes are 2 inches. Throttle is in original location, this is somewhat controversial but I have been running this way for over a year. I meant to go to the 38 mm recirculation valve but in the interest of money and time I have decided to add yet another Bosch recirculation valve for a total of three. This may sound kind of insane but two work quite well for a seven psi system, drivability is excellent and throttle response is immediate. Oh yeah the drive pulley is a track dog racing 150 mm overlay
OK I spent a couple days sorting out belt slip And boost pipe couplers popping off.. Intake temps are up about 20�, weather has been hot, about 94�, intake temps 110� to 134�. Not too bad I guess. A little bit of residual boost in the intake pipe on high rev cruise
situations, but not too scary max three or four psi. I�m going to wait until it cools off a little before I try some serious pulls, although �Melanie Mazda� is becoming a little difficult to drive on the street flat out LOL.
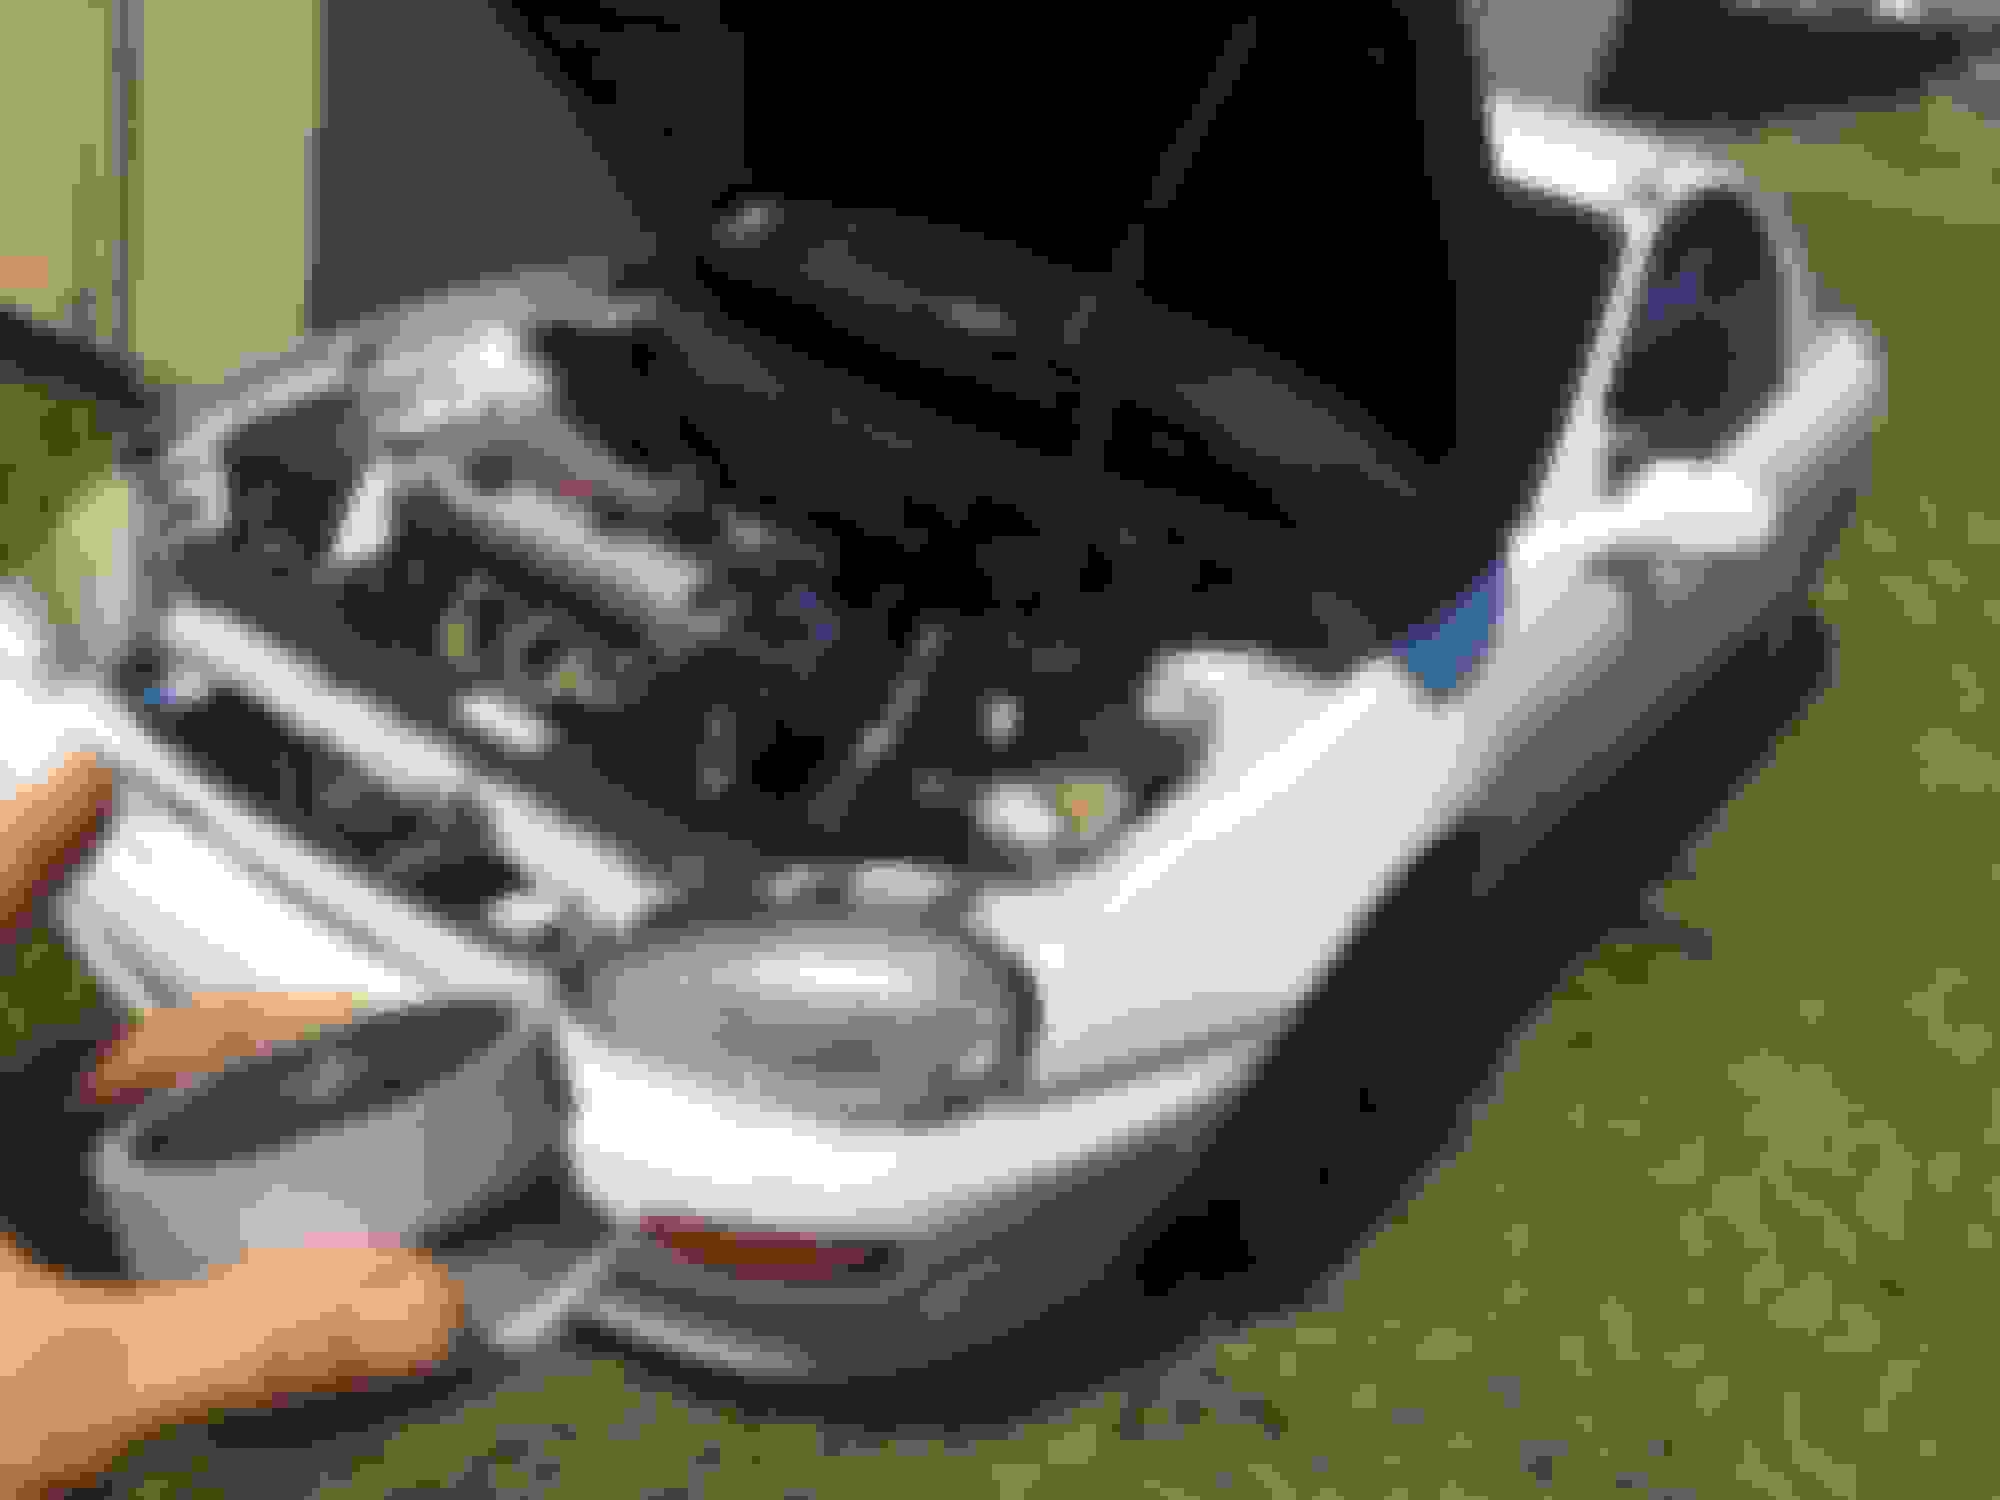
At first glance witith the hood popped up, those headlight housings looked just close enough to a 99-00 Miata to make me confused and concerned for about 2-3 seconds there.
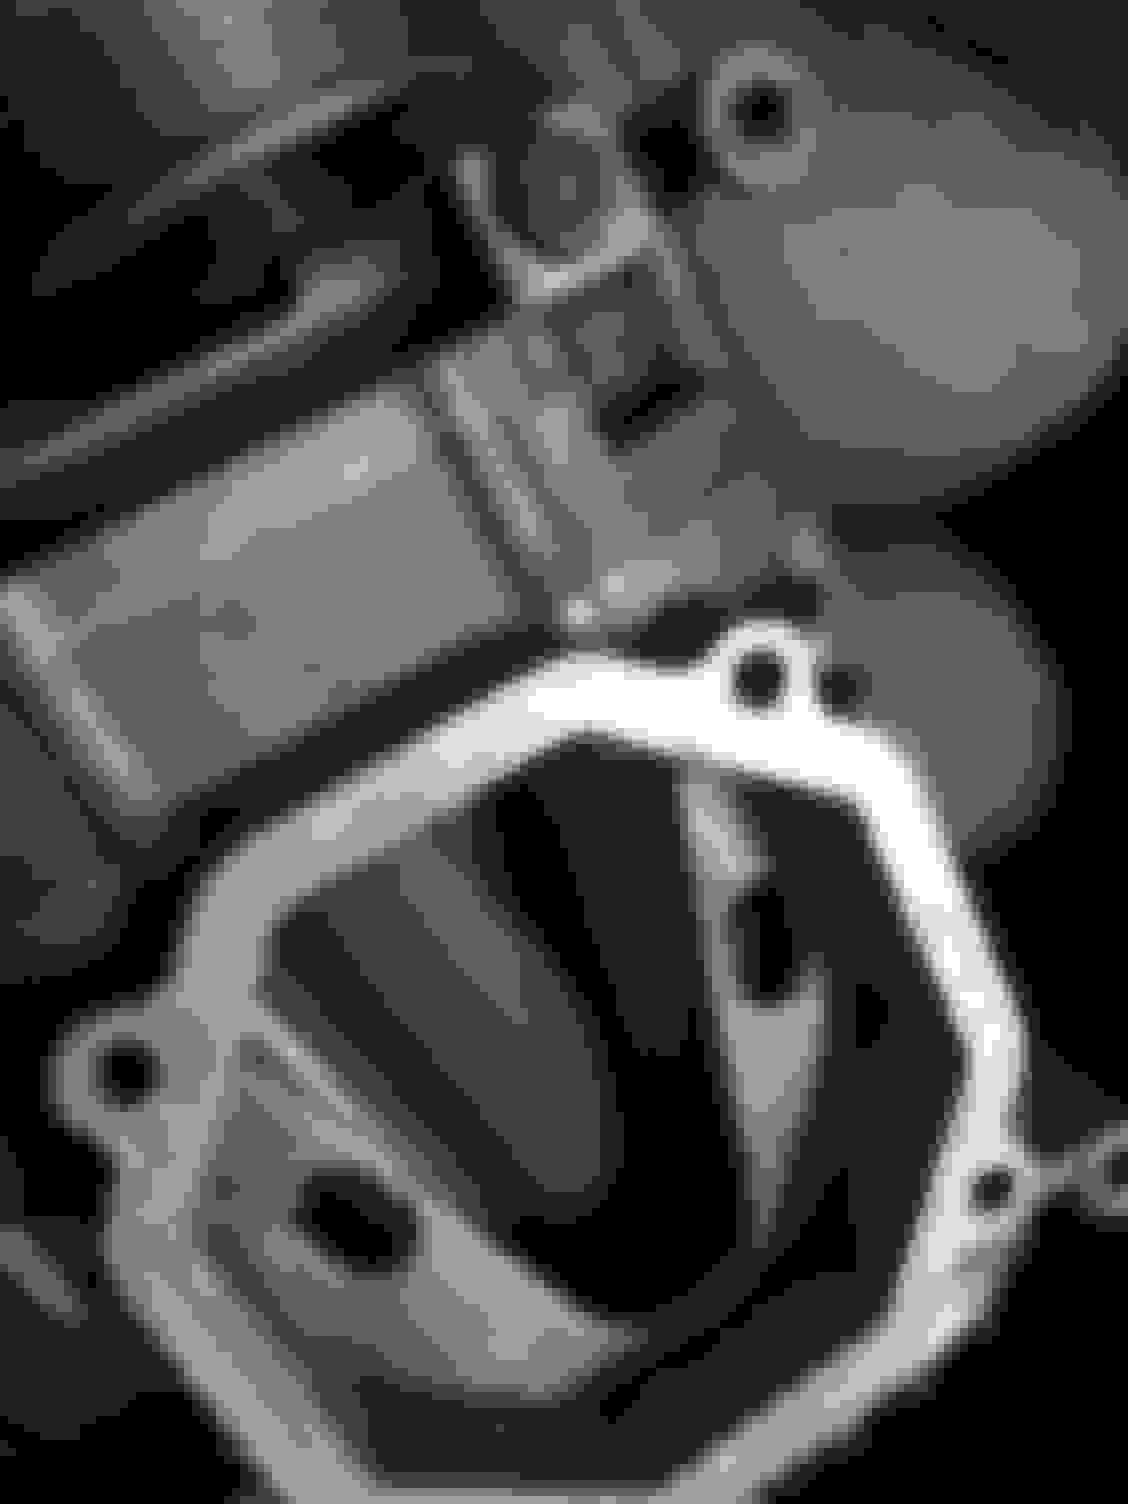
I�m updating to remind potential DIY candidates of the reality of this sort of thing, I mean if you�re so inclined then by all means do it but I don�t want to give the impression that it just comes together smoothly all the time. The smaller pulley pushed me to 10+ psi, but I imediately experienced belt slip, solved by the pictured tensioner upgrade, a modified junkyard screw down. Once I got the belt to hang on, I am mediately experience clutch slip. I guess that shouldn�t surprise me I was still on a stage one, ACT is no longer available for this platform so I bought a Spec 2. So far so good, broke in nicely. Car is faster than hell from 0 to 60 but seems to choke a little in the high end so now I�m working on opening up the airflow a bit, I guess I�ll expand this build thread and post some more stuff on that later as I go. (The home paint job pic is just an extra LOL. No seriously don�t do this it�s a pain in the *** but I think it�s going to end up looking OK😓 I had flipped the supercharger over for that fiberglass outlet to work, the outlet has held up well for a couple thousand miles but for some reason the M 62 seems to knock a little bit in that in alignment So part of the next wave is a complete redesign of the aluminum bracket.
Next up porting the M 62, remember I paid $92 for my supercharger originally, I�m not necessarily suggesting everybody do this at home LOL. We will see how this works out, I have basically copied some trusted sources with a little more experience
New charge pipe and hire flowing intercooler from Holley�s �Frostbite� line going in. I am eliminating
a lot of bends from the junkyard stuff I had in there, and it is actually nice to do stuff that looks cool for once LOL.
Is that a JB weld top hat with scrap metal for washers? funniest thing ive seen in a while.
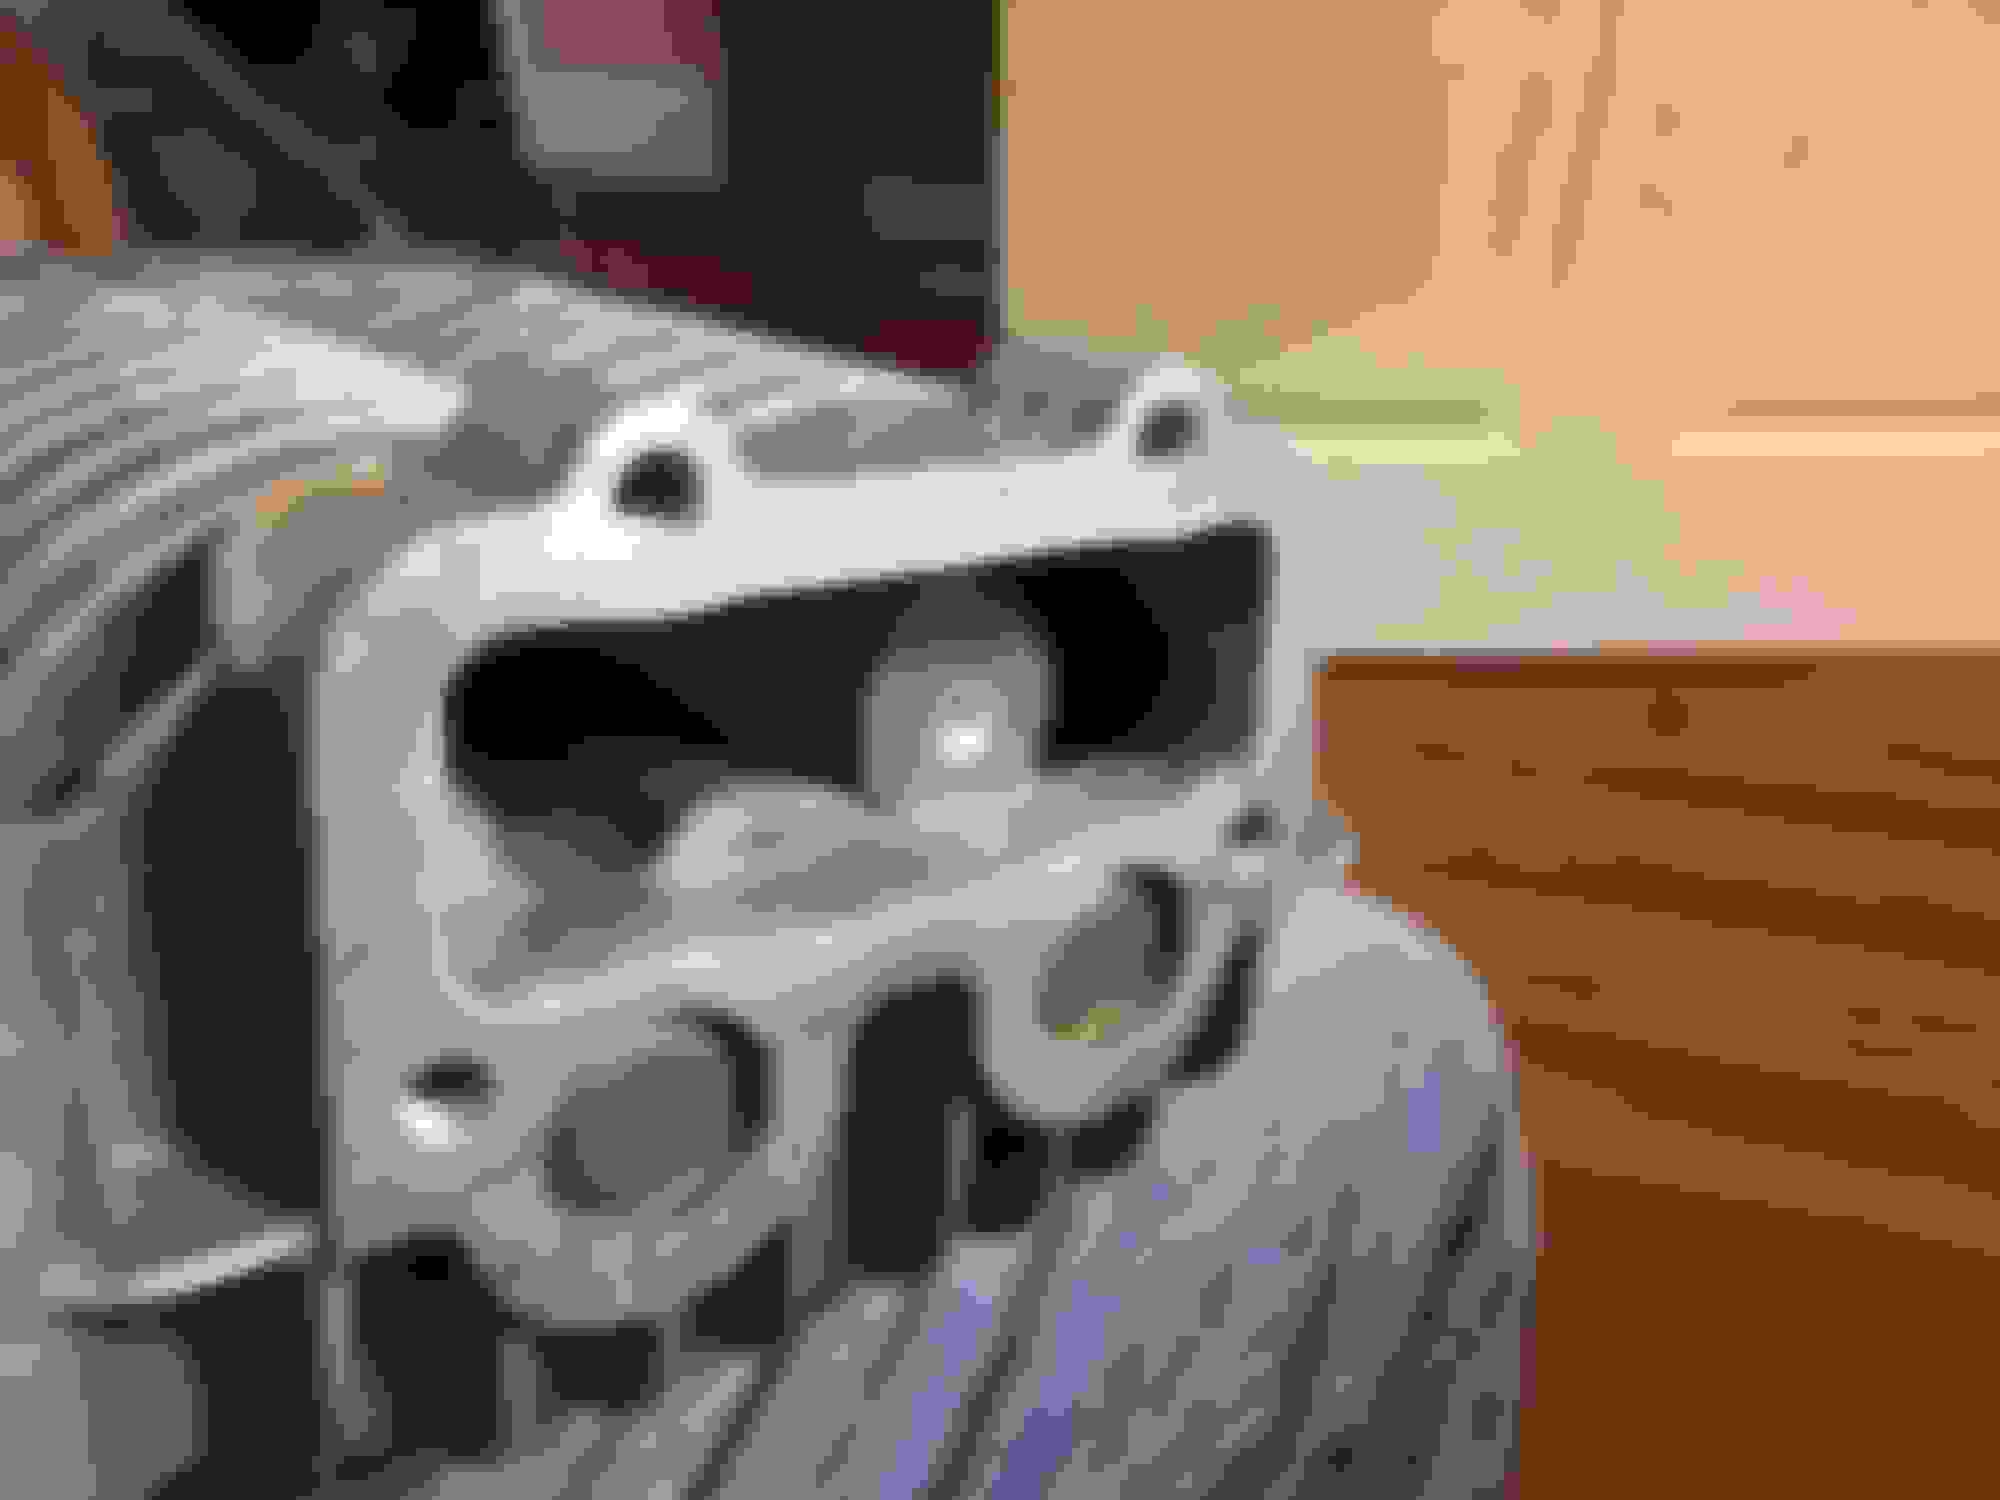
LOL yes that would be constructed of fiberglass whetted in good old JB Weld. (redneck engineering was it kind of makes sense because JB is a high temp epoxy) The thing held up fairly well under 10+ psi in the manifold, but it has dropped some tiny chips and scratched my charger a bit so it has to go. I am welding up a flange for this round.
I will be replacing my interesting but fragile composite manifold with a welded quarter inch flange and 3 inch pipe. Over this will go a 3 inch to 2 inch silicon reduction elbow
If you run a pre-throttle supercharger it is critical to have adequate blow off. When I ordered this 38 mm Turbosmart I thought it was a plum back unit but it actually vents to atmosphere. I am on MS2 so
shouldn�t matter but I�ll bet she gonna be loud LOL
FWIW, mini supercharger bypass valves, are pretty cheap. ~$45 and up brand new, and $15 and up for used.
These flow quite well, and are simple to hook up.


 1
1


 I had flipped the supercharger over for that fiberglass outlet to work, the outlet has held up well for a couple thousand miles but for some reason the M 62 seems to knock a little bit in that in alignment So part of the next wave is a complete redesign of the aluminum bracket.