When you click on links to various merchants on this site and make a purchase, this can result in this site earning a commission. Affiliate programs and affiliations include, but are not limited to, the eBay Partner Network.
Foreword, This is a stupid idea and no one should do this. You are risking your life and the lives of other by messing around with your brakes. If you do this and end up running down a group of nuns holding orphaned babies, I take no responsibility for your actions. This is for informational and theoretical purposes only. Do not attempt. Your mileage may vary, etc...
Hi All,
My name is Christopher Lewis with Shakydog Racing https://www.facebook.com/ShakyDogRacing/. I have spent about 8 months working on an ABS system with 3DM Motorsports www.3dmmotorsport.com and Racing Harness Technologies https://www.facebook.com/RacingHarnessABS/. Together, we have created a basic package to allow this awesome system to be installed into a Miata. This system is targeted at the track oriented crowd and like all other performance parts and upgrades, you are doing this at your own risk.
3DM and RHT have compiled a basic guide overviewing the generic installation into any car.
In this thread I will show you what I have gathered about installing the Teves Mk60 ABS system into a Miata. My experience is with 1999 Miata�s so you might need to adjust accordingly to your car if a difference should arise.
The basic concepts should carry over to all NA and NB vehicles though.
Also, there There is a wealth of info in this thread related to the Mk60 system:
I have copied some of the parts lists from that above referenced thread for the following list.
The install all consists of four basic parts;
1. Installing the various sensors
2. Installing the ABS pump unit
3. Plumbing the lines
4. Filling and bleeding the system.
There are a number of parts you will need for an installation. I have tried to list them below with part numbers but again, verify what you need before you buy.
The above parts are available through 3DM Motorsports. Additional parts needed to complete the installation are;
Brake Line and assorted fittings and tools . I use all 3/16� brake lines. The only issue is finding 12mm brake line fittings for the abs unit. Not hard to find but just be aware most of them are for 1/4� lines.
Front Non-ABS spindles with undrilled ABS sensor bosses
Rear ABS uprights with sensor brackets. (You can make non-abs rear uprights to work with a bit of fabrication)
I will go into more detail about specific line fittings during the detailed sections later.
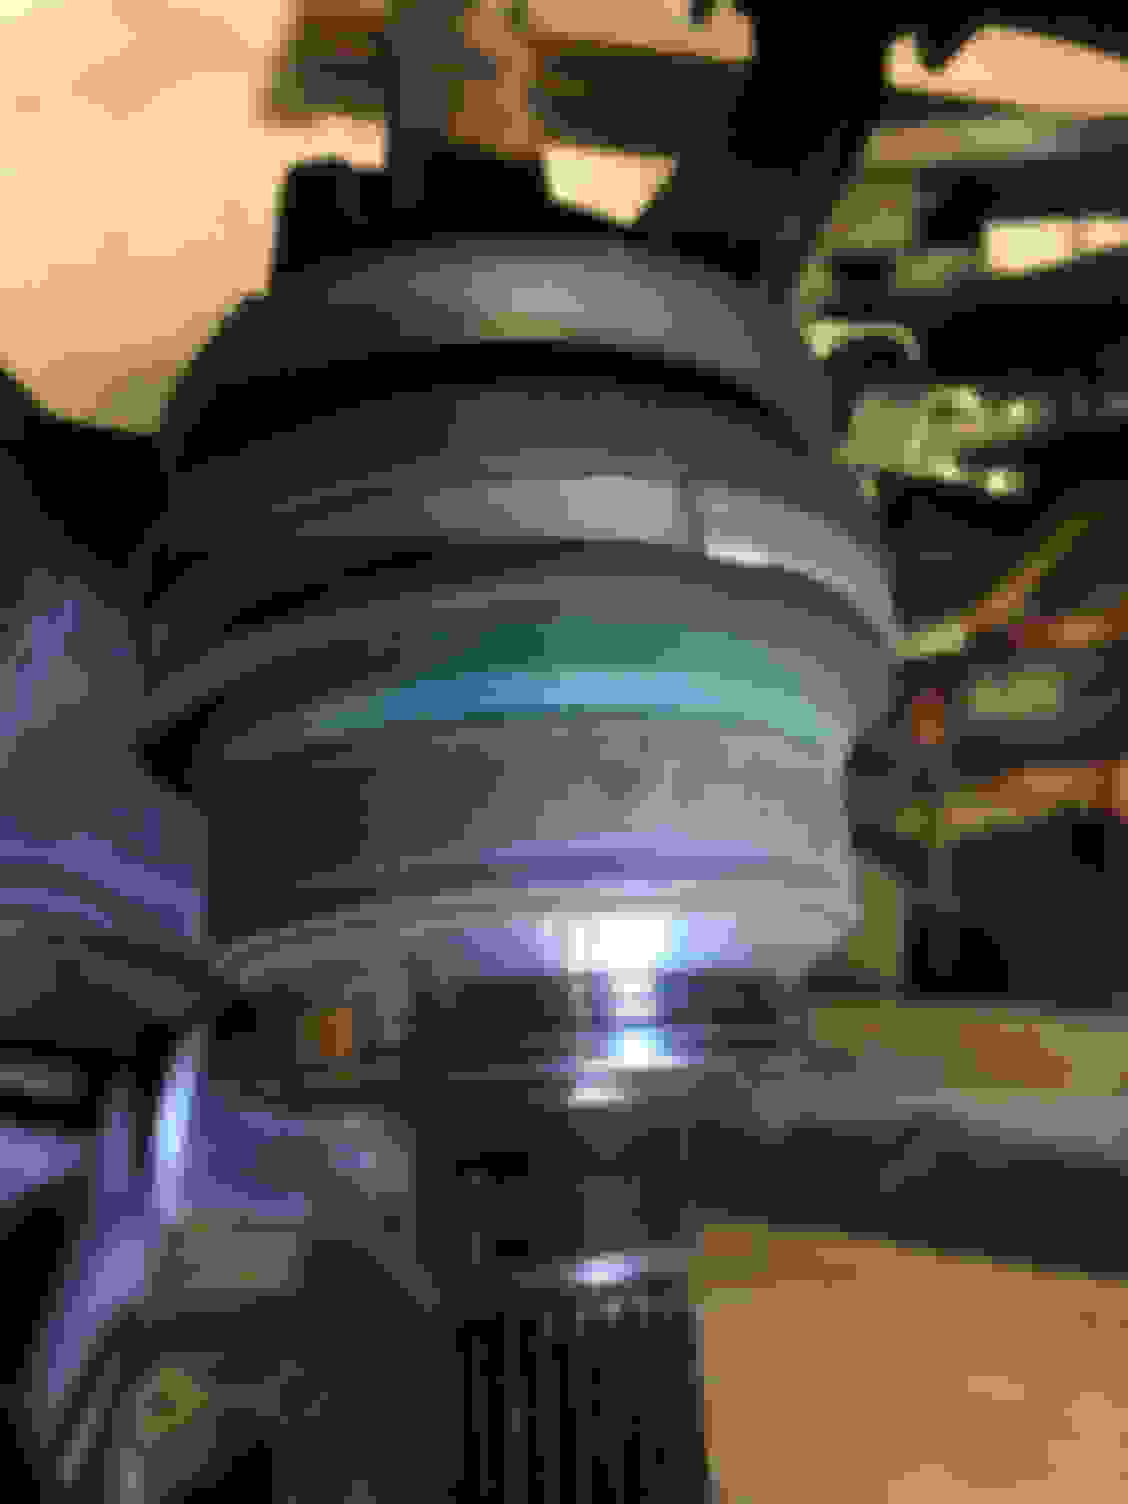
Let’s start with the tone rings on the half shafts. First, there are a couple different styles of half shaft so make sure that you can press the tone rings onto the ones that you have or just go buy abs half shafts.
Here is is a factory half shaft with the flat area for the tone ring.
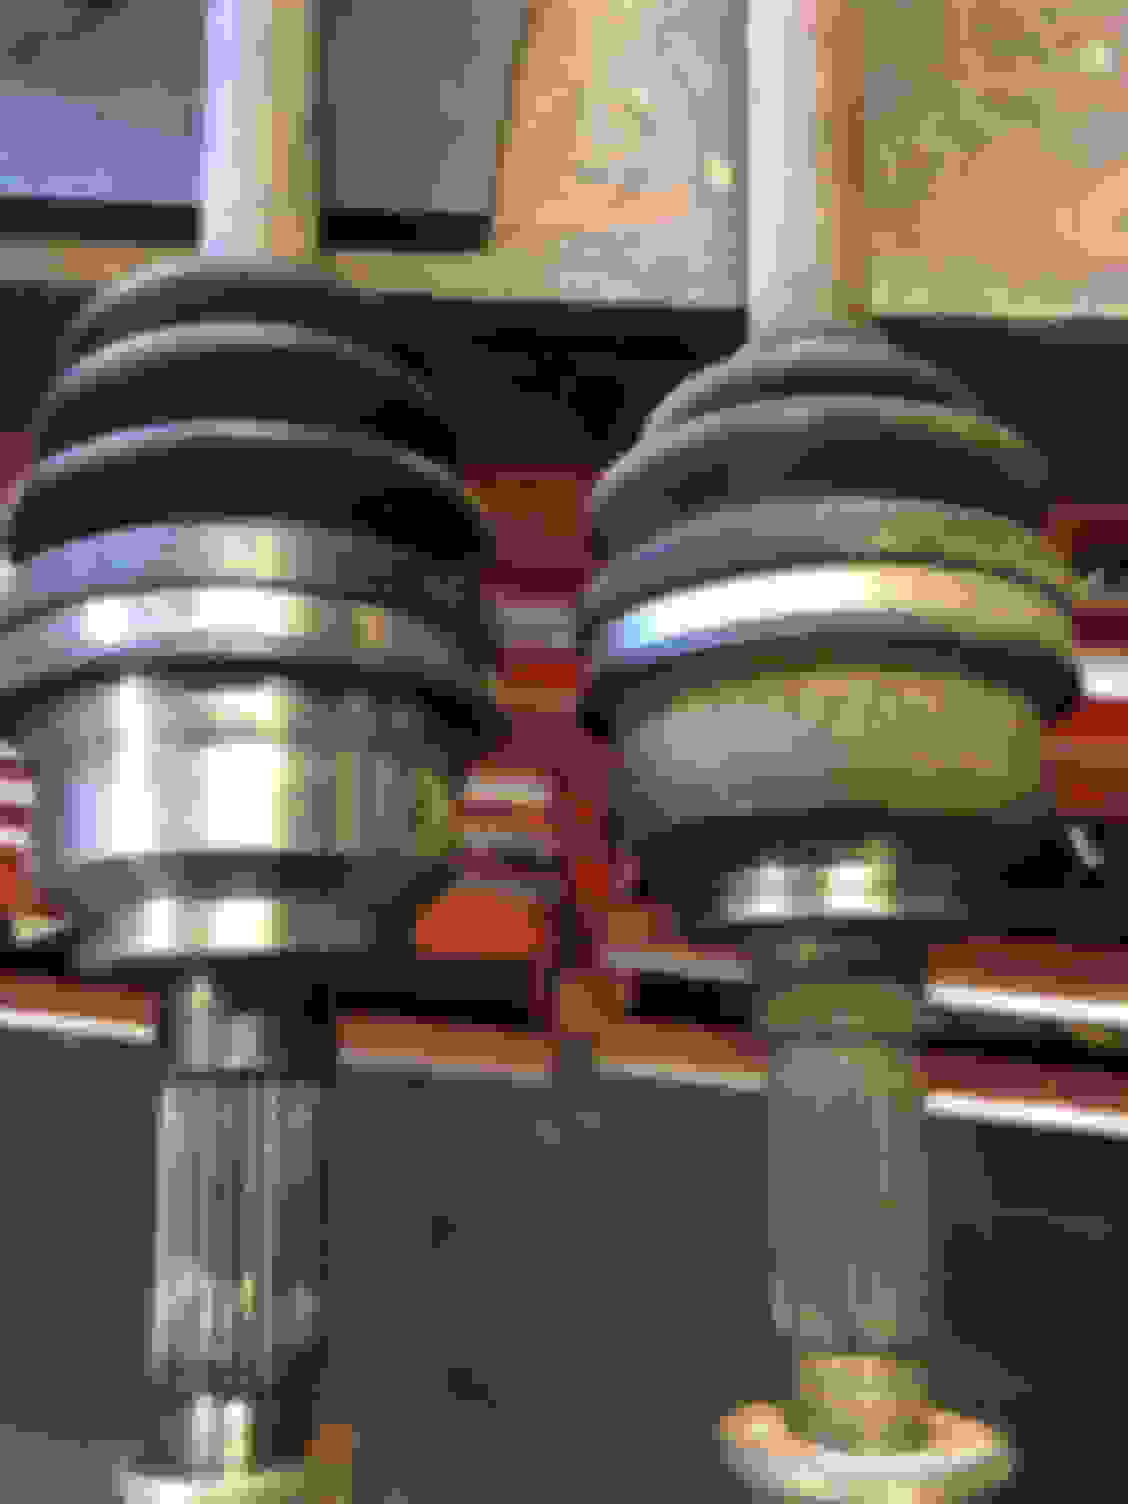
Here are are two other half shafts,. The one on the left is from Autozone and hlso has provisions for a tone ring. The one on the right is a factory half shaft but is too large in diameter and lack the flat area for the tone ring.
I have found that using a piece of 3 1/2” pipe about 3 inches long make a good press for installing the tone rings.
The rings will will go on farther than necessary so be careful about getting positioned.
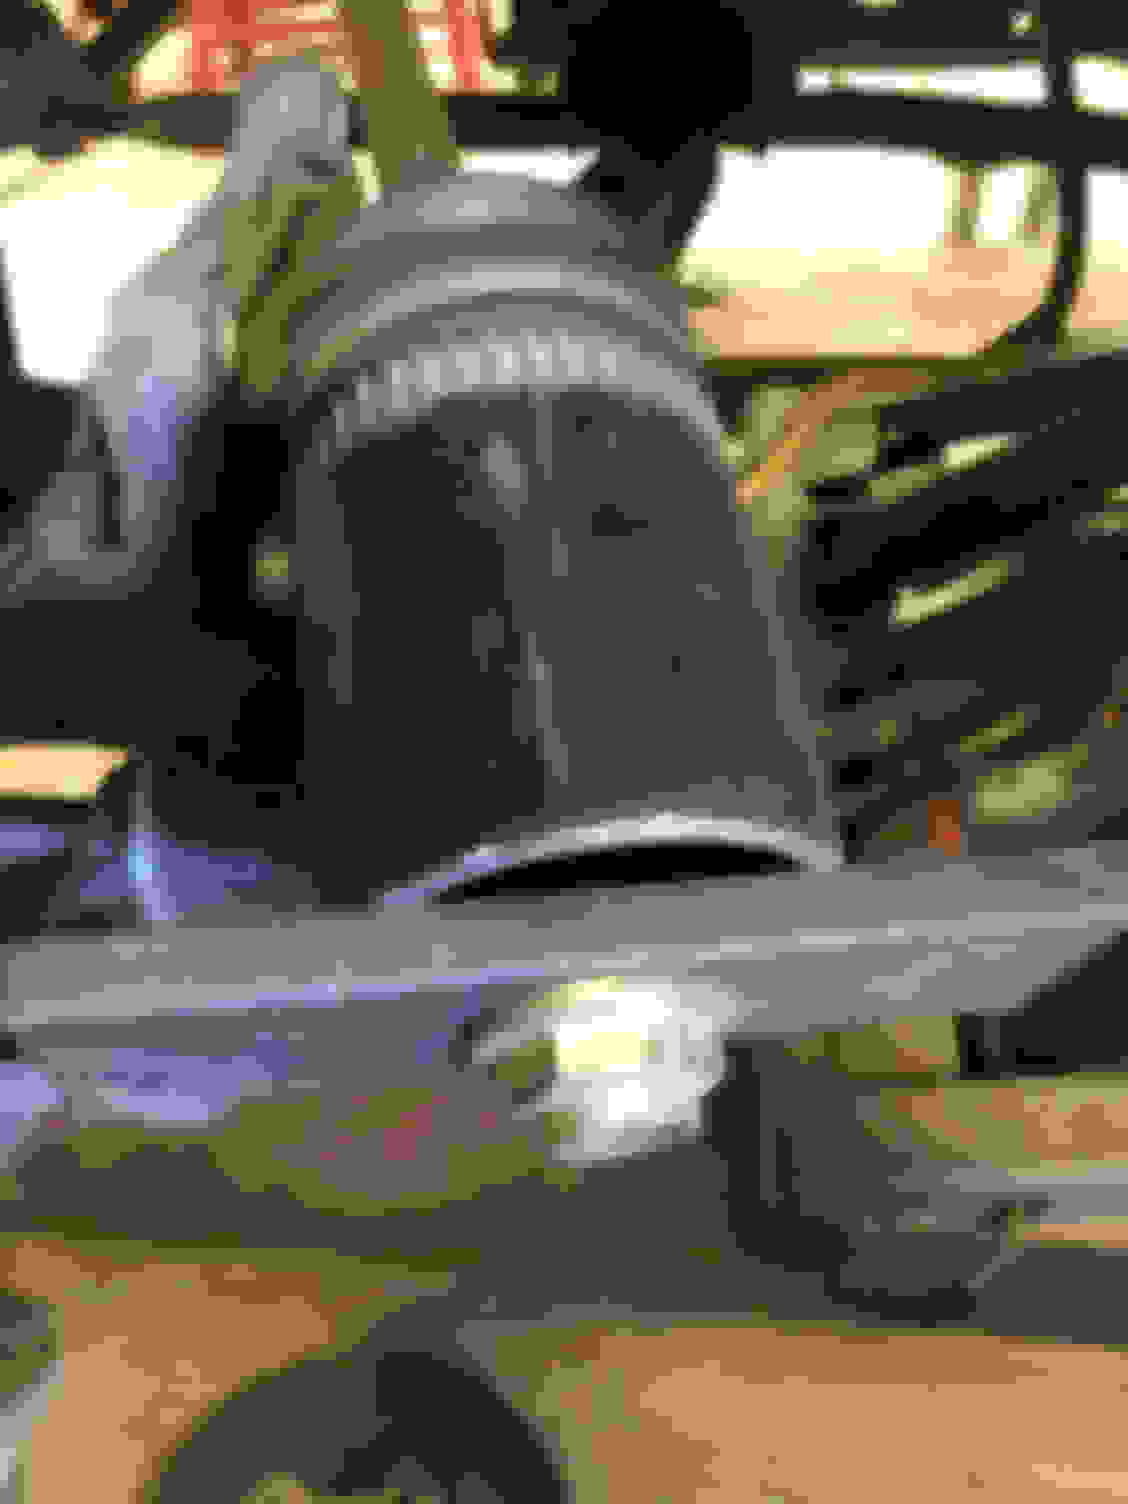
Here it is pressed on too far
This is correct
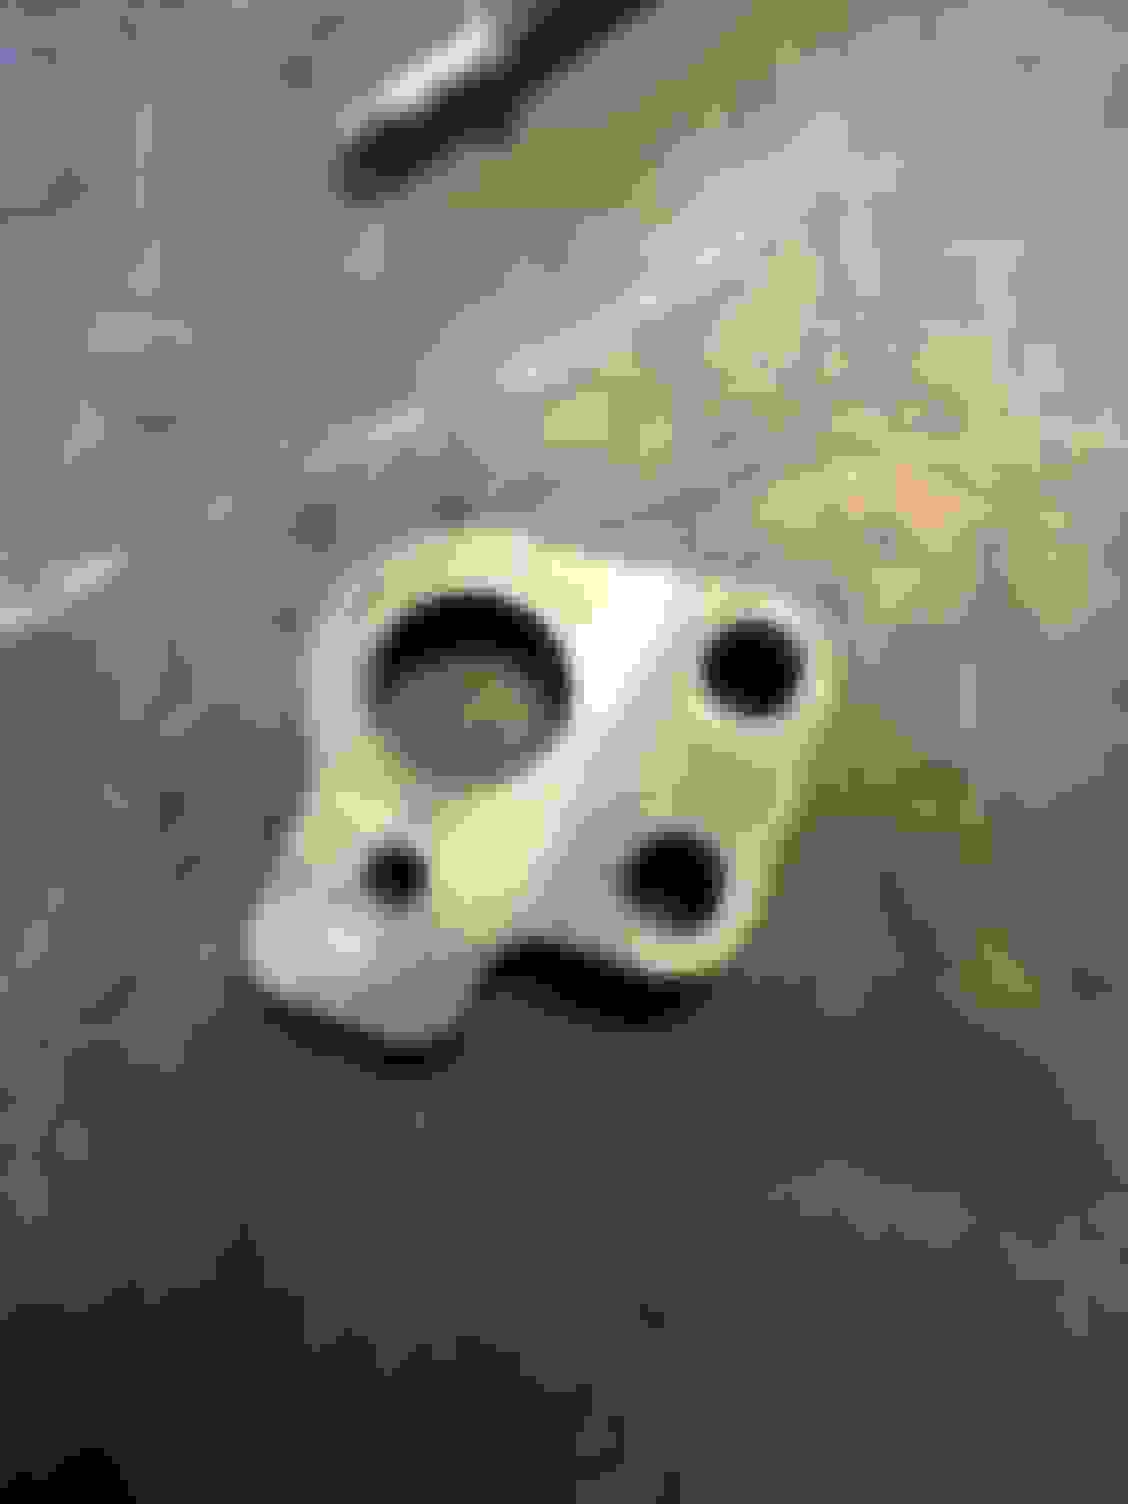
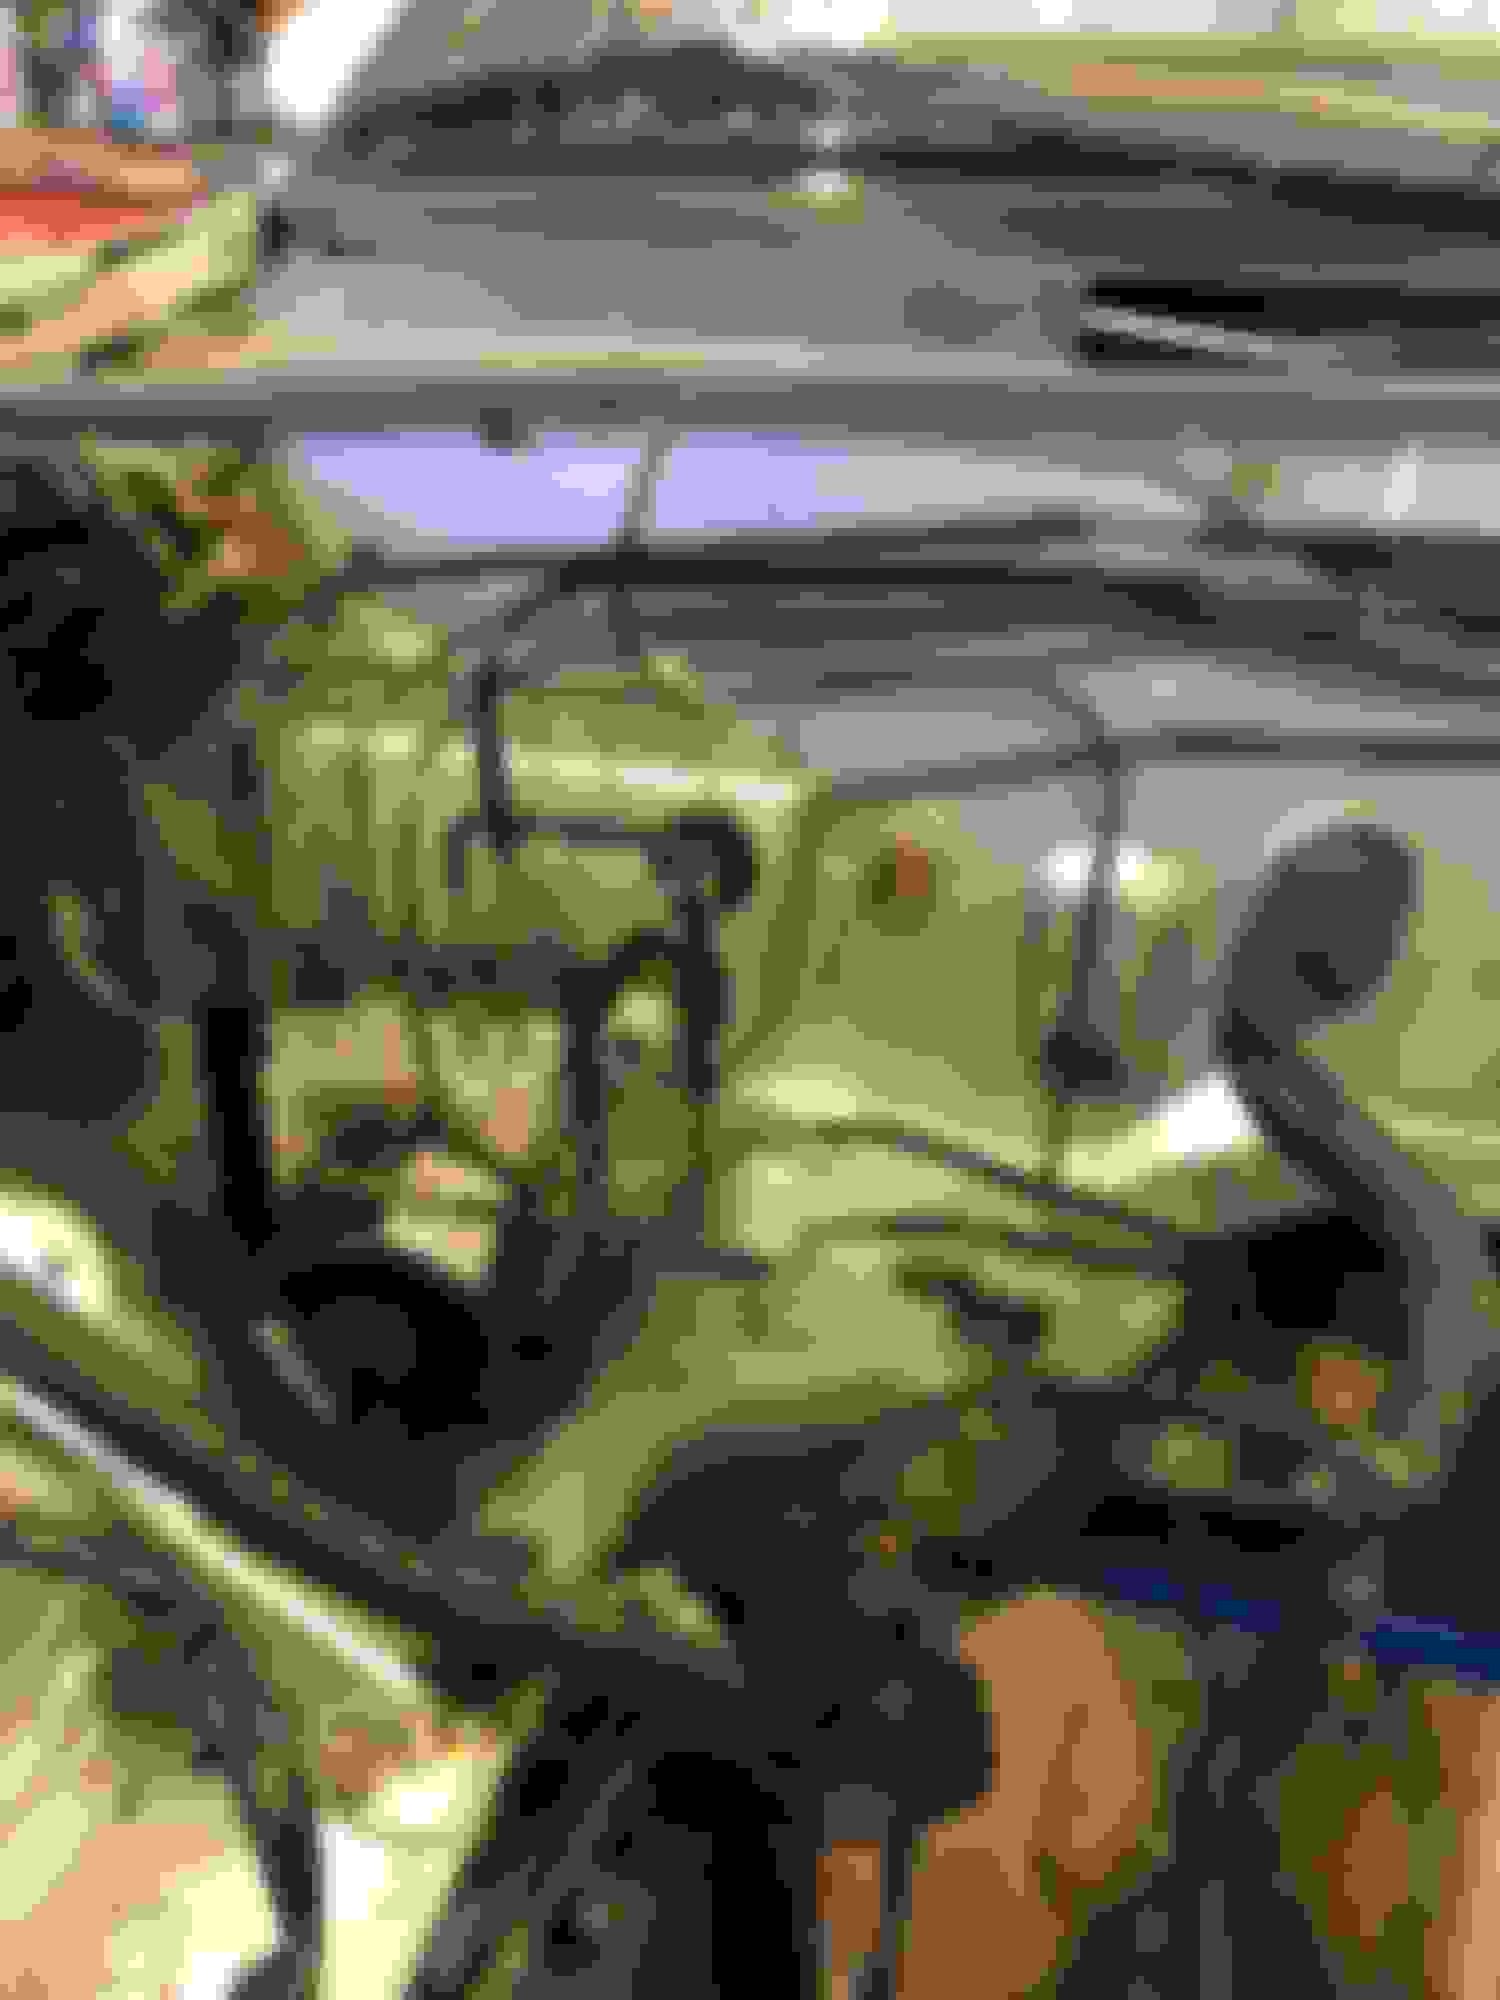
So now let’s talk about the rear uprights. You are going to need some off of an ABS Miata along with the sensor brackets. They look like this
Once you get them cleaned up and prepped and installed as you would any other rear upright, you need to modify the sensor bracket. Remove it and red loctite a bolt into the hole where the single Allen head bolt is in the above photo. Once the loctite is set, cut the head off the bolt filling the hole. Then mill off the surface of the sensor until the end of the sensor is .040-.060” from the tone ring. Locate where the sensor bolt should be located and drill and tap it for a 6mmx1.00 bolt
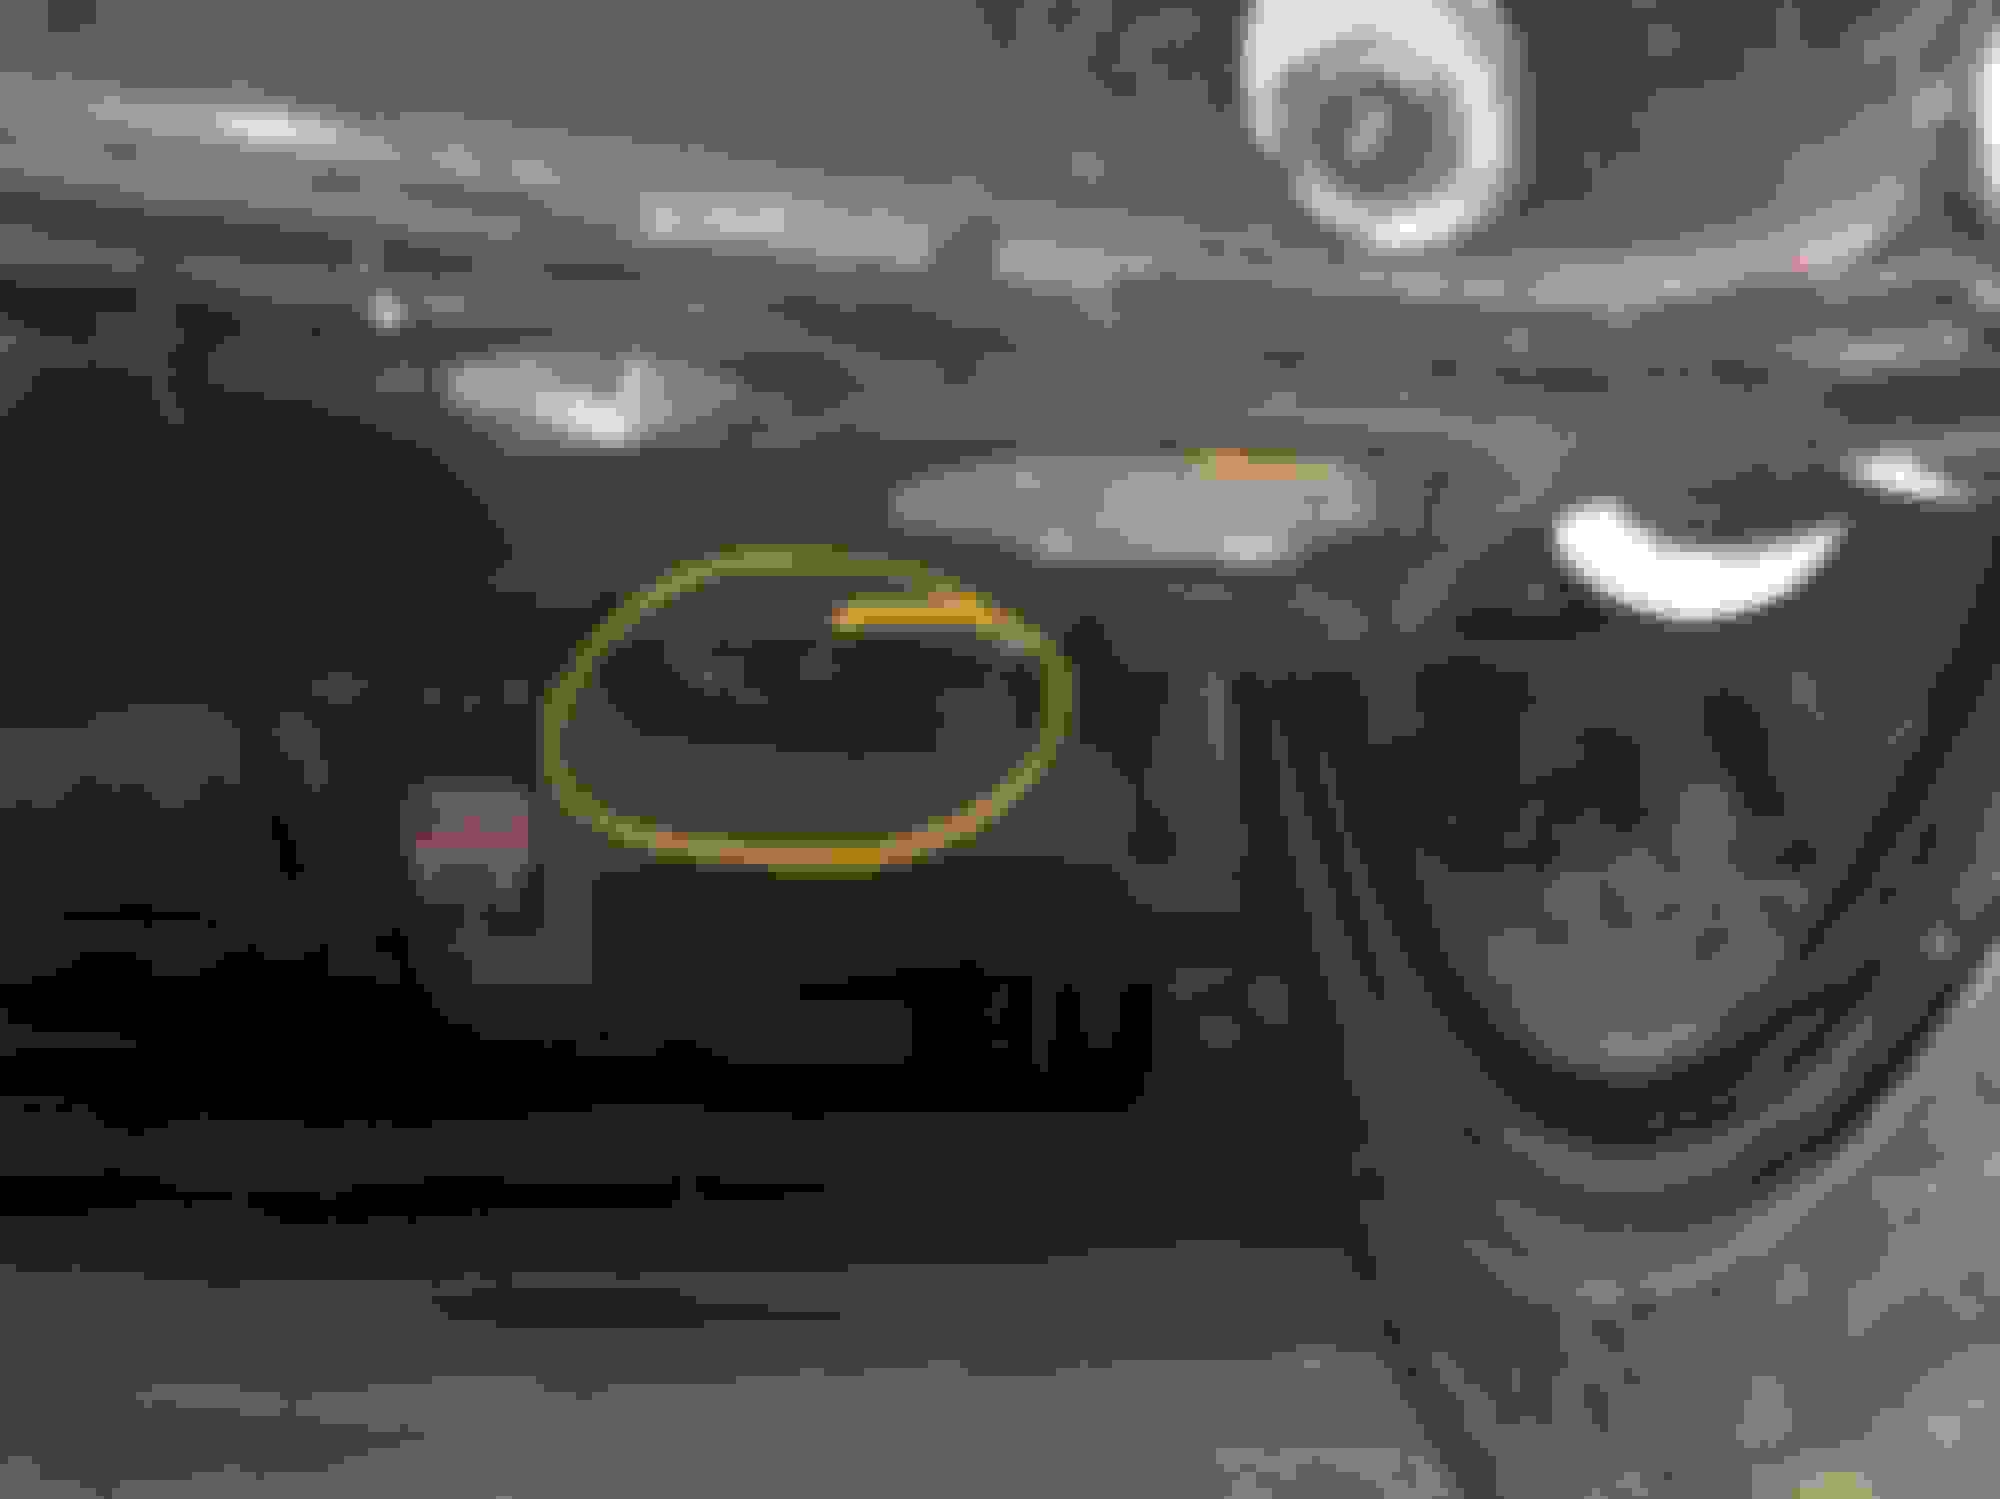
Once the the sensor is installed, secure the sensor wire to the upper control arm and route it toward the front of the rear wheel well.
The routing of the sensor wires is forward to the front of the wheel wells where I have mounted some BMW sensor plug holders. I got these off of some cars at the pull-a-part. All the bmw’s of this era seem to use some variation of them. I just trim the mounting ears off the back and rivet them in place. They make for a nice neat installation. With these these in place, you are done with the rear sensors. Just route the harness down the PPF and plug into the sensors.
Now for the fronts. This is easy. Just send me your undrilled front spindles. I will machine them for the proper hole placement and send them back to you. You install them using hubs with tone rings and bolt the sensors in. Now depending on what hubs you are using, you will have to shim the sensors to have them properly located over the tone rings. You can simply use a stack of washers.
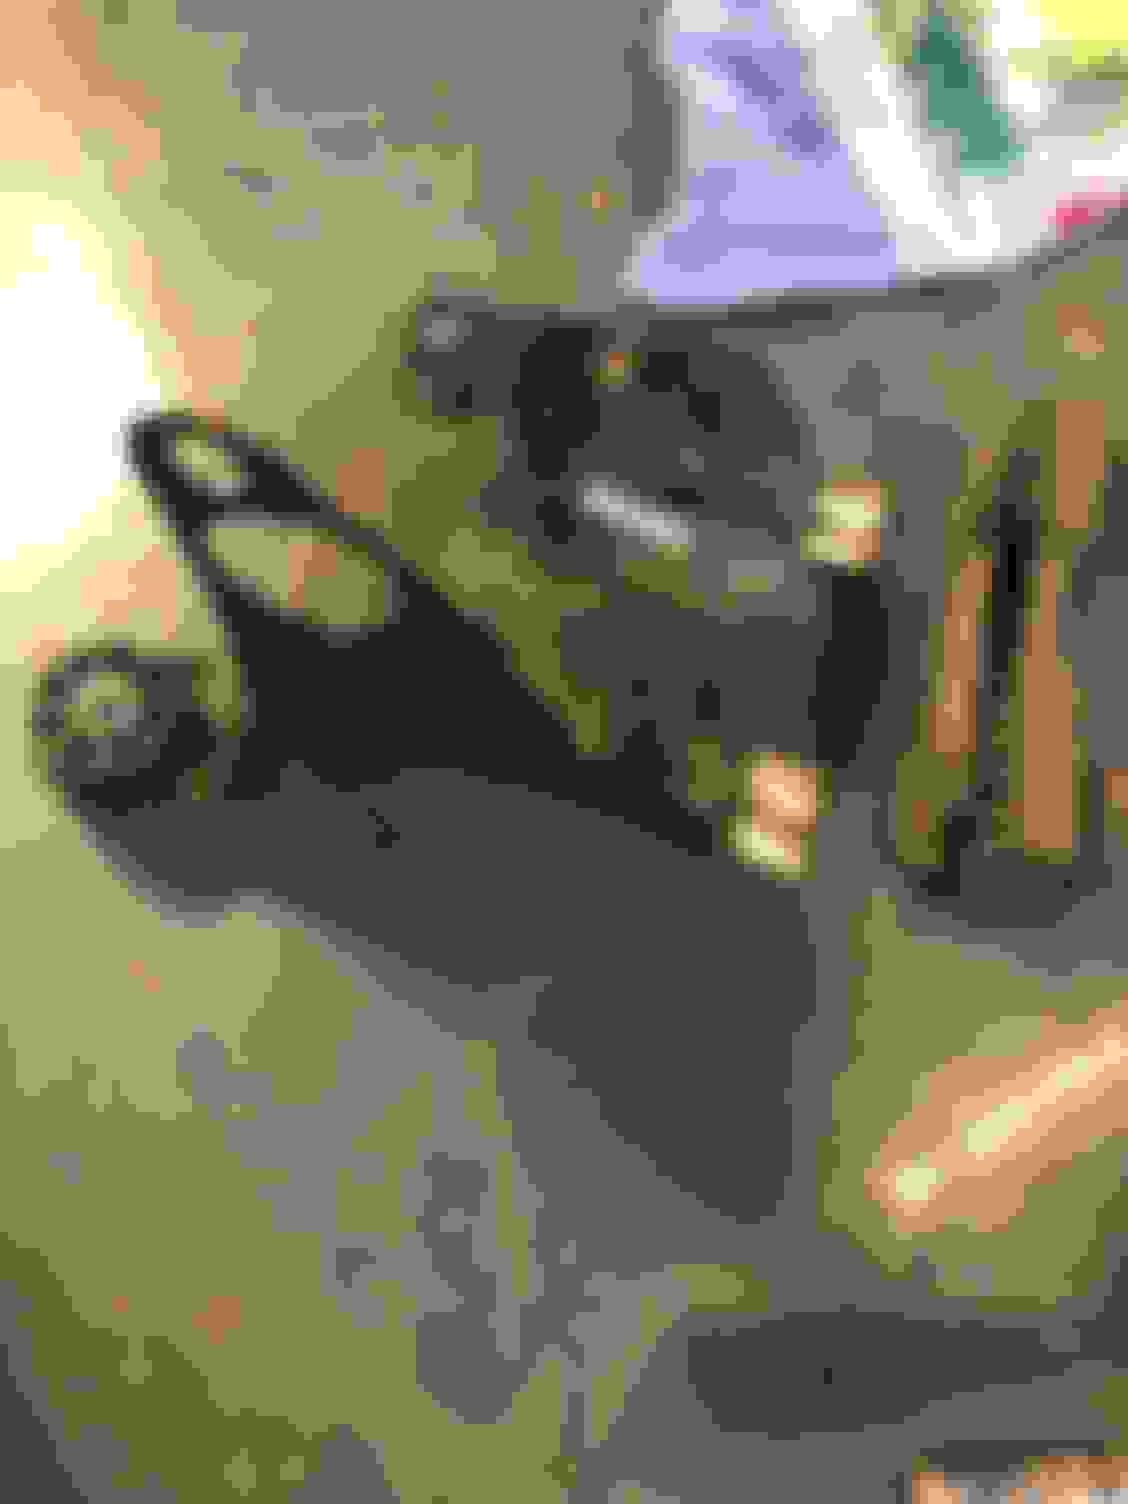
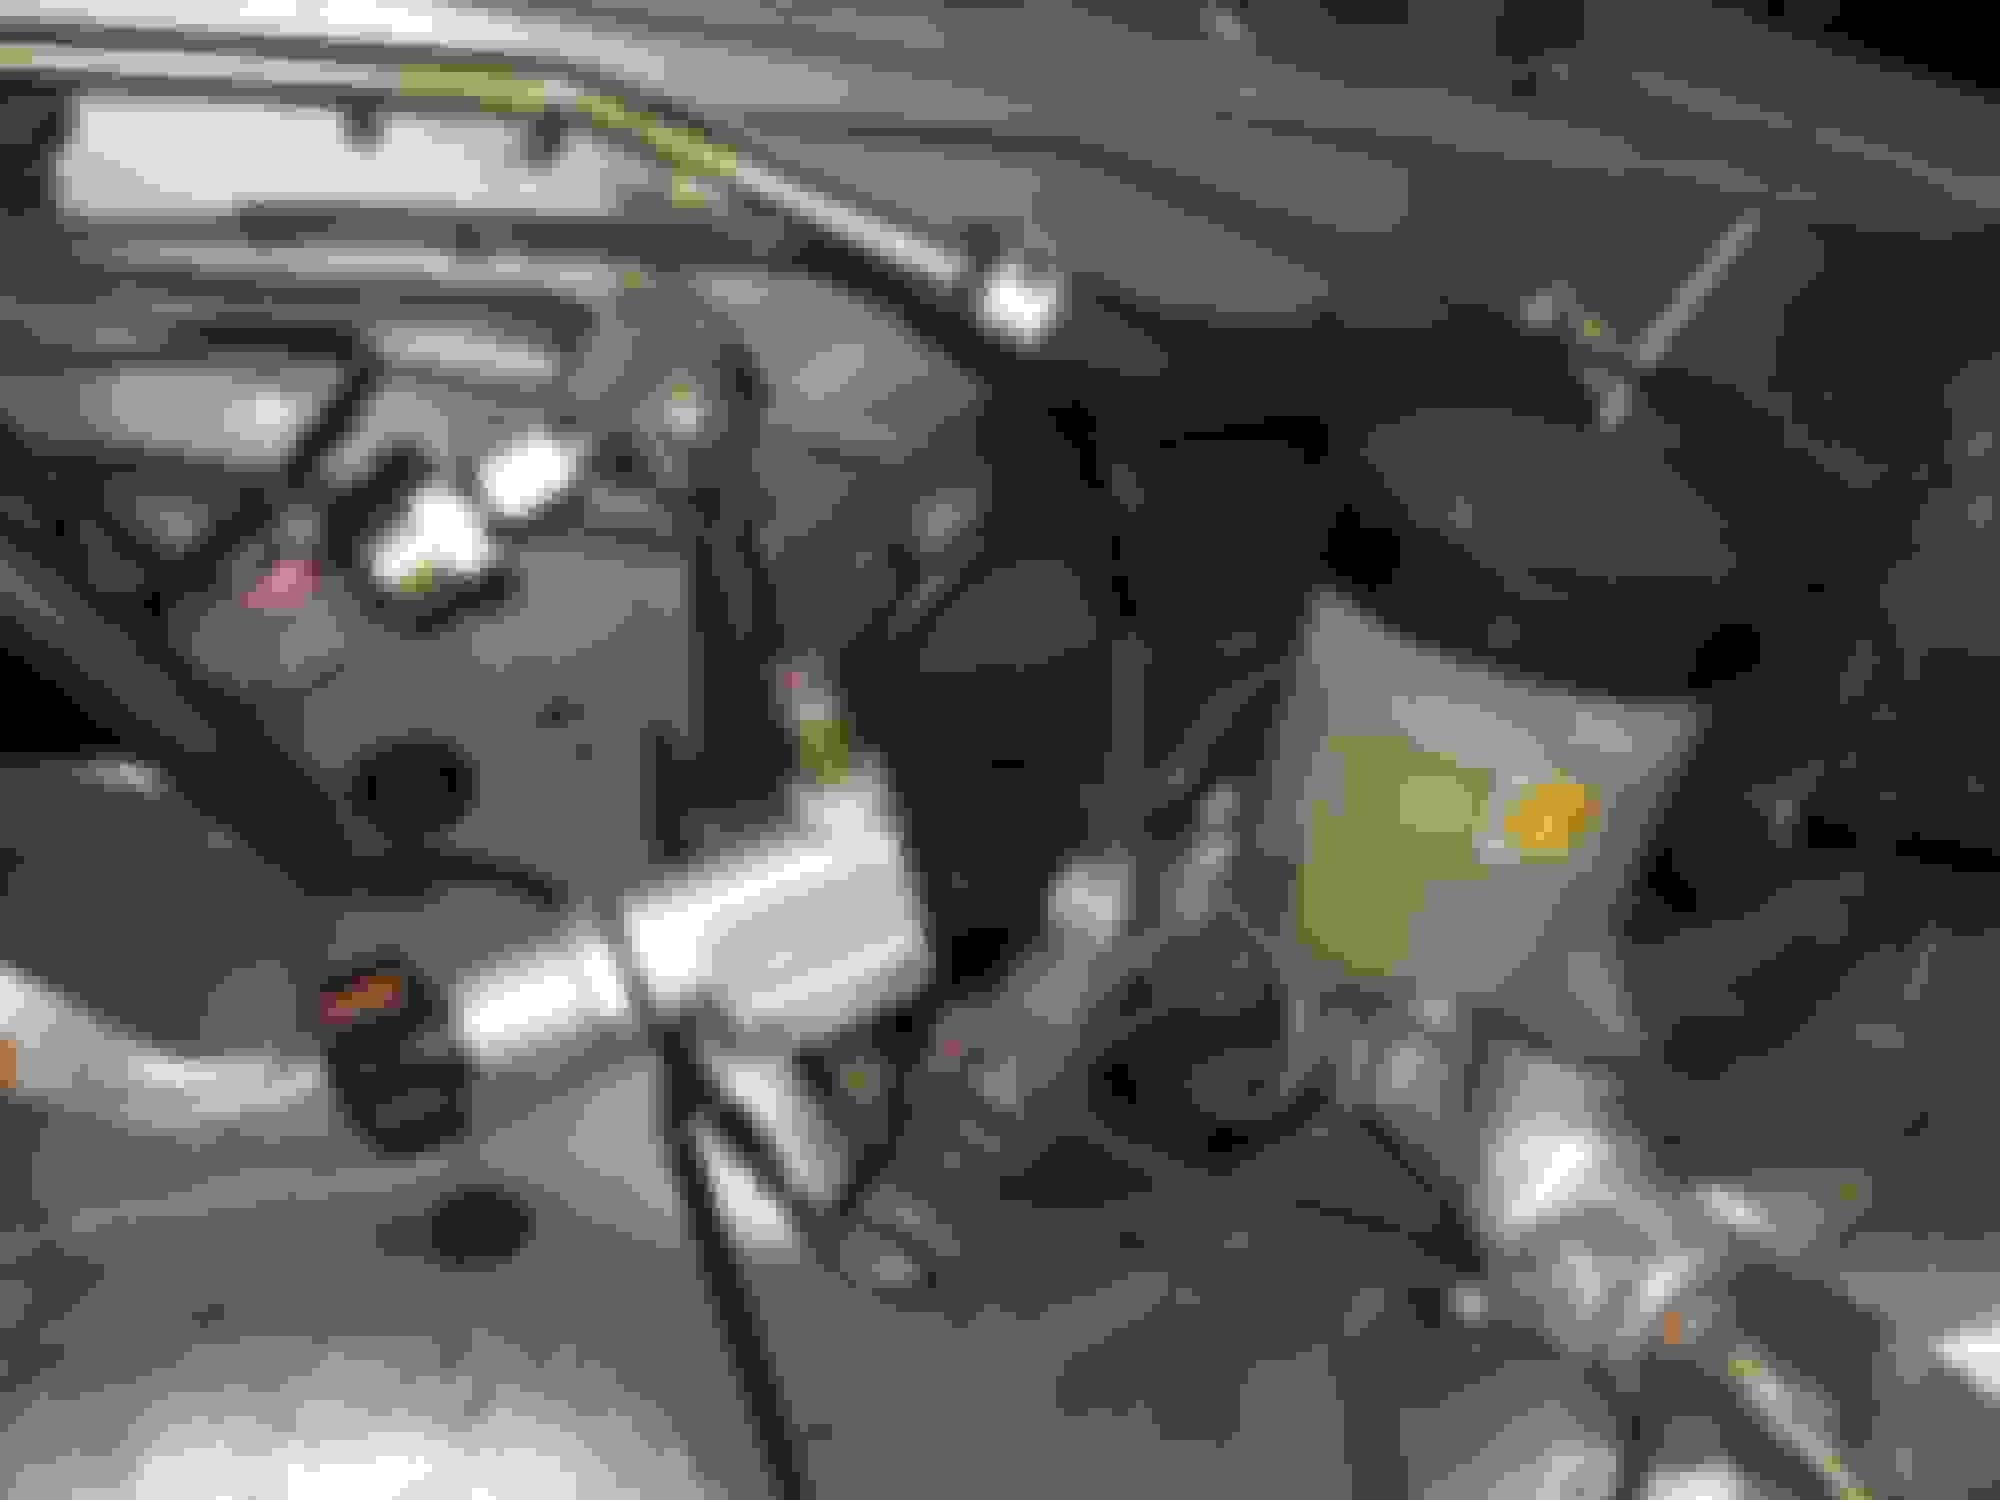
We decided to utilize the stock location for mounting the ABS pump. So the harness has its sensor lengths based off of that location. If you decide to use a different location, you will need to alter the sensor lengths to suit.
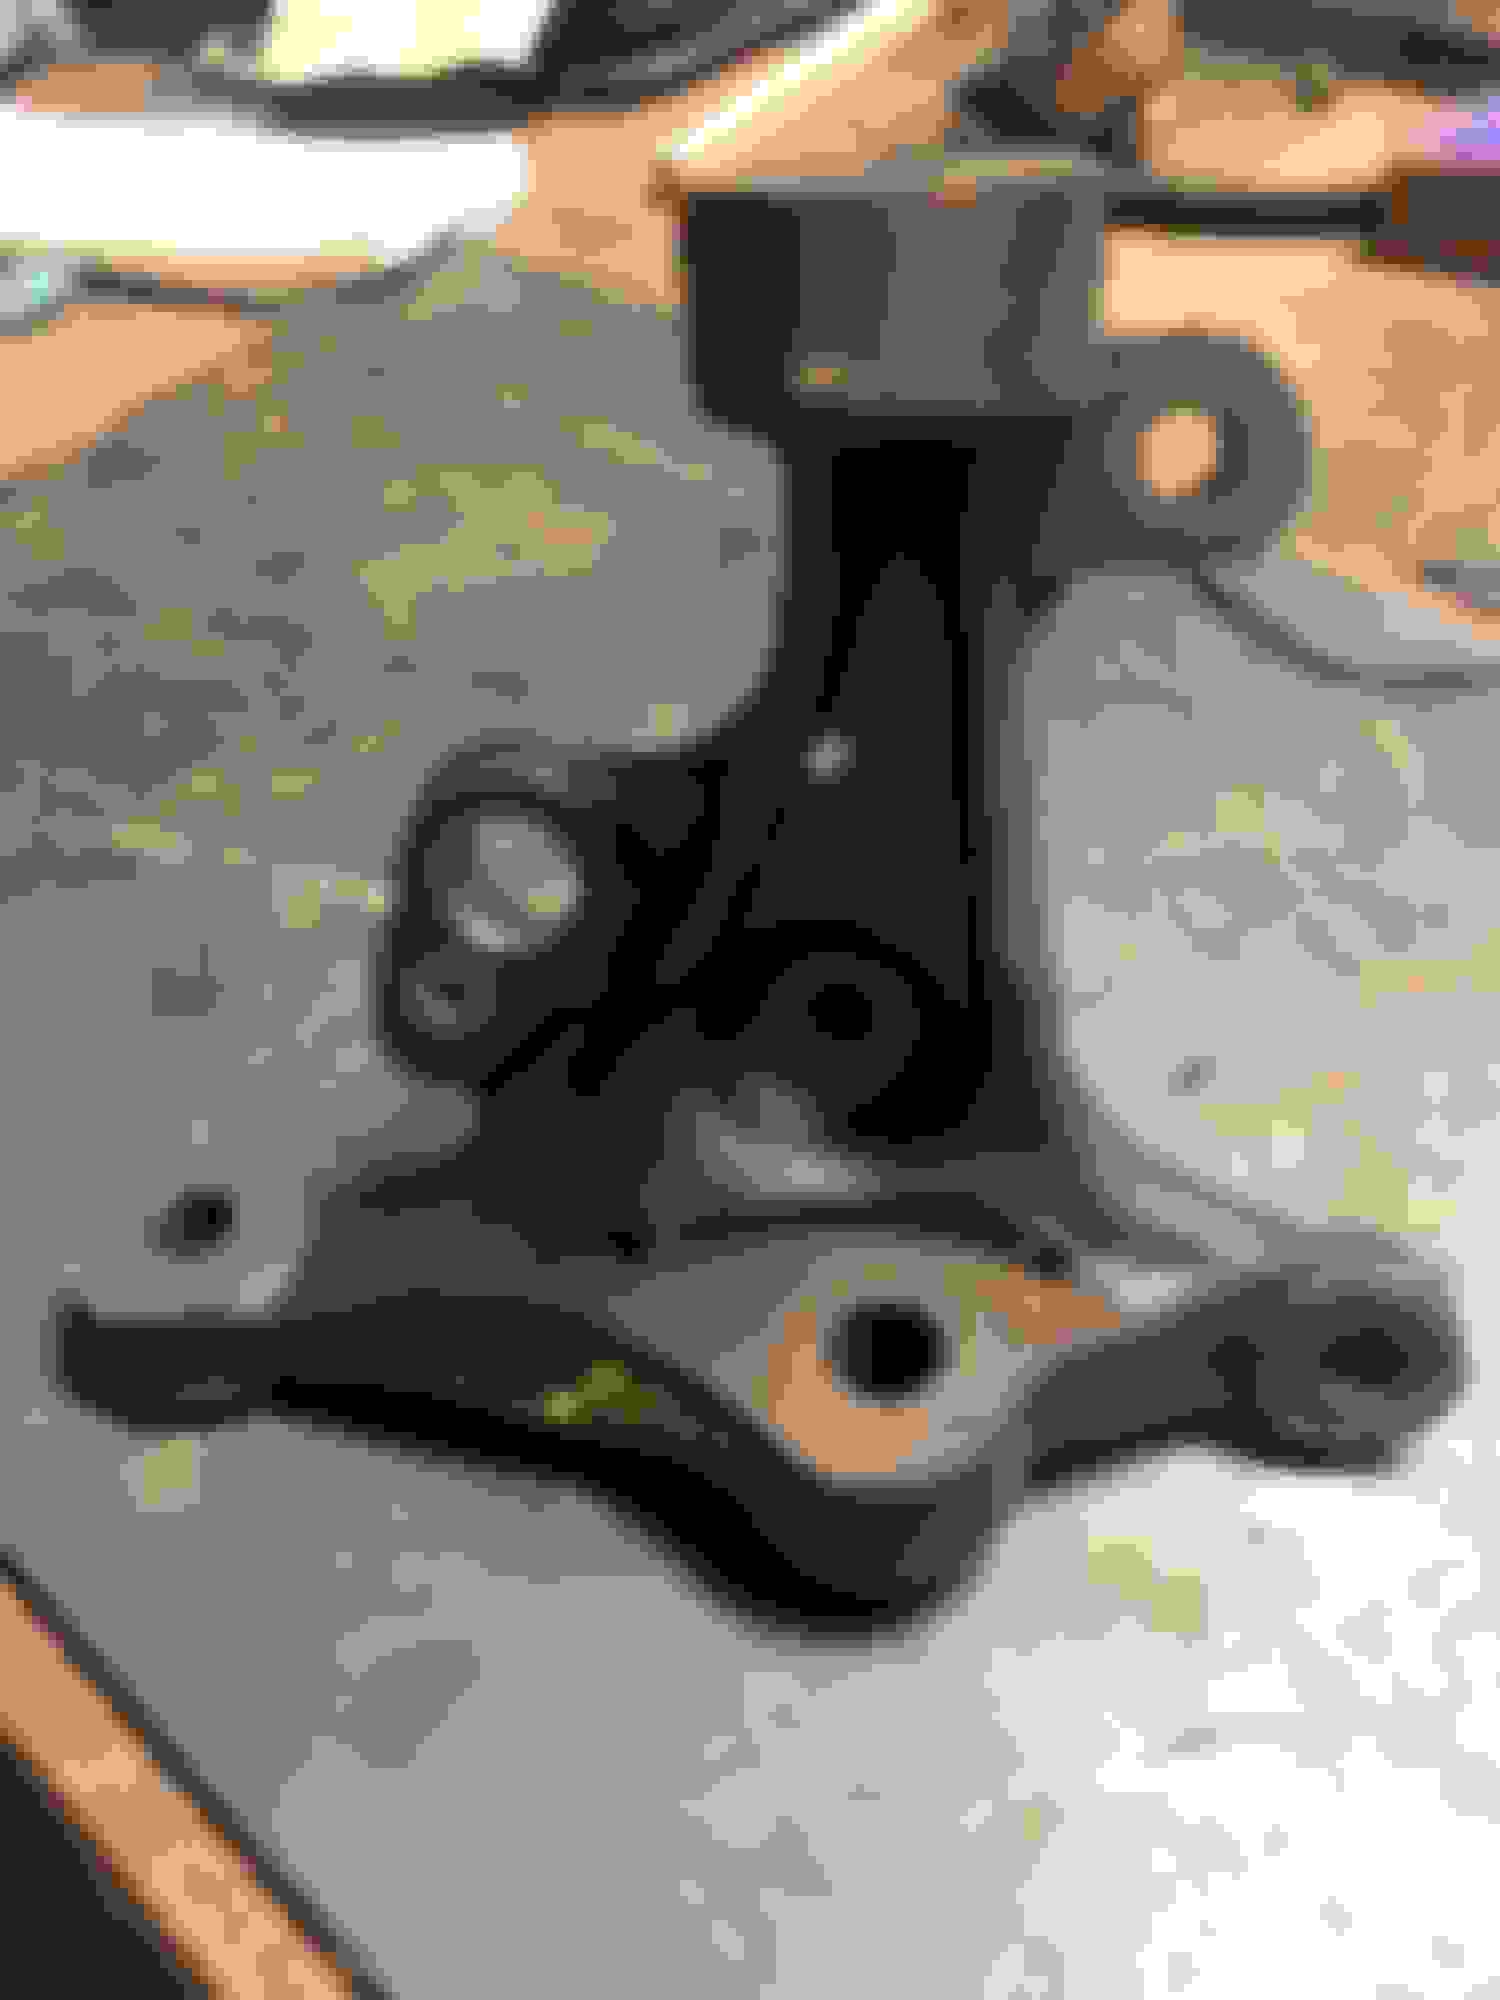
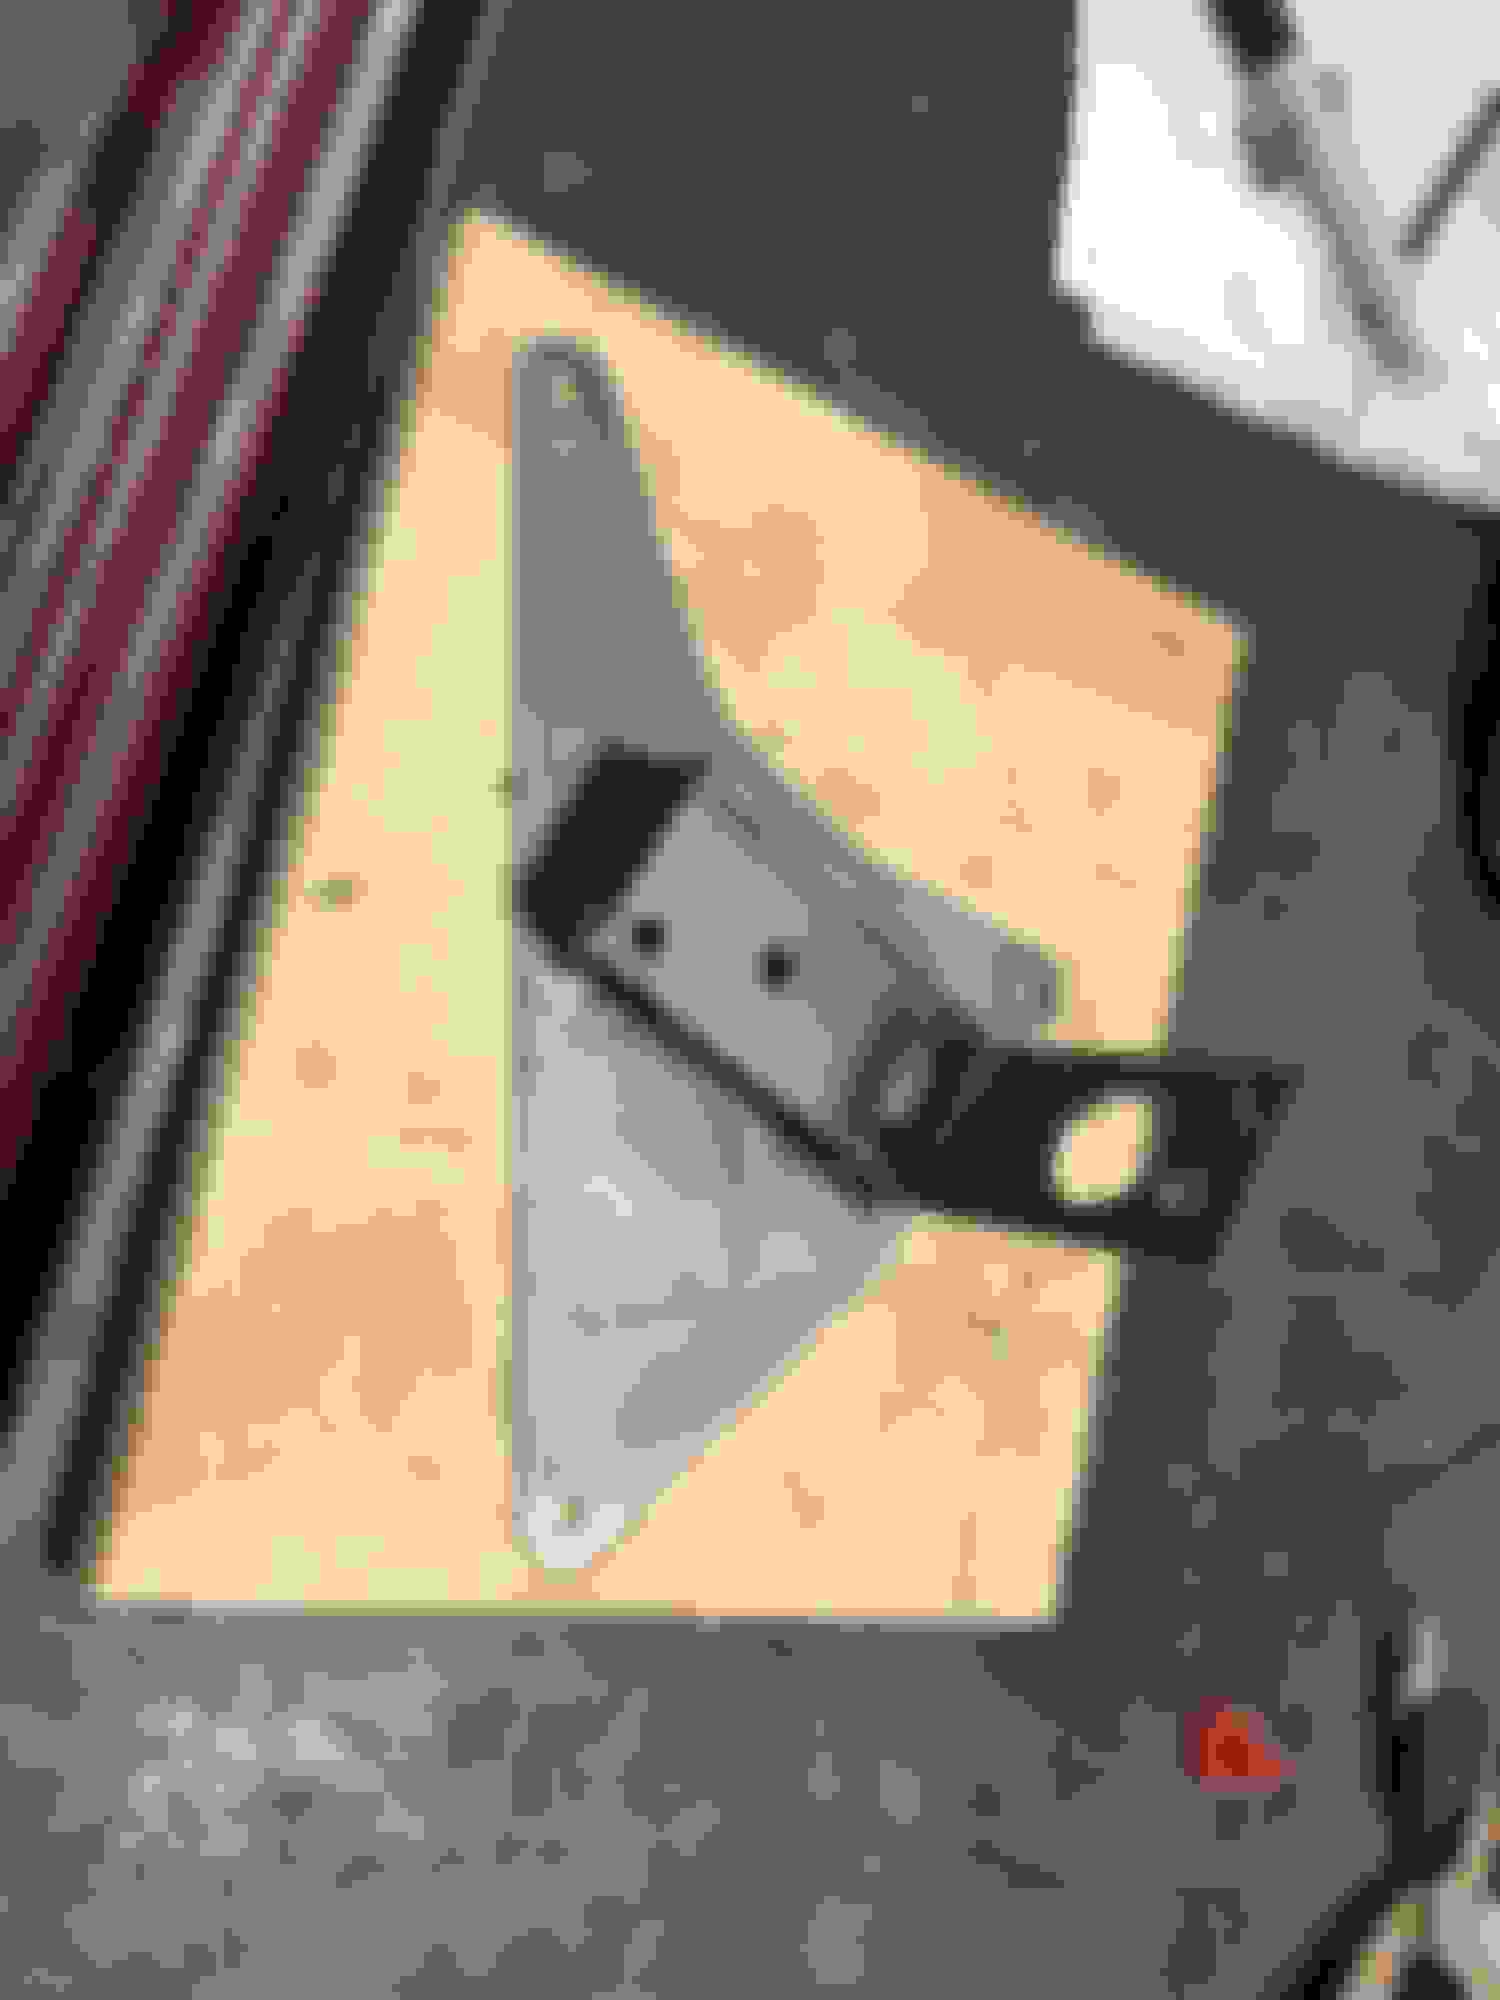
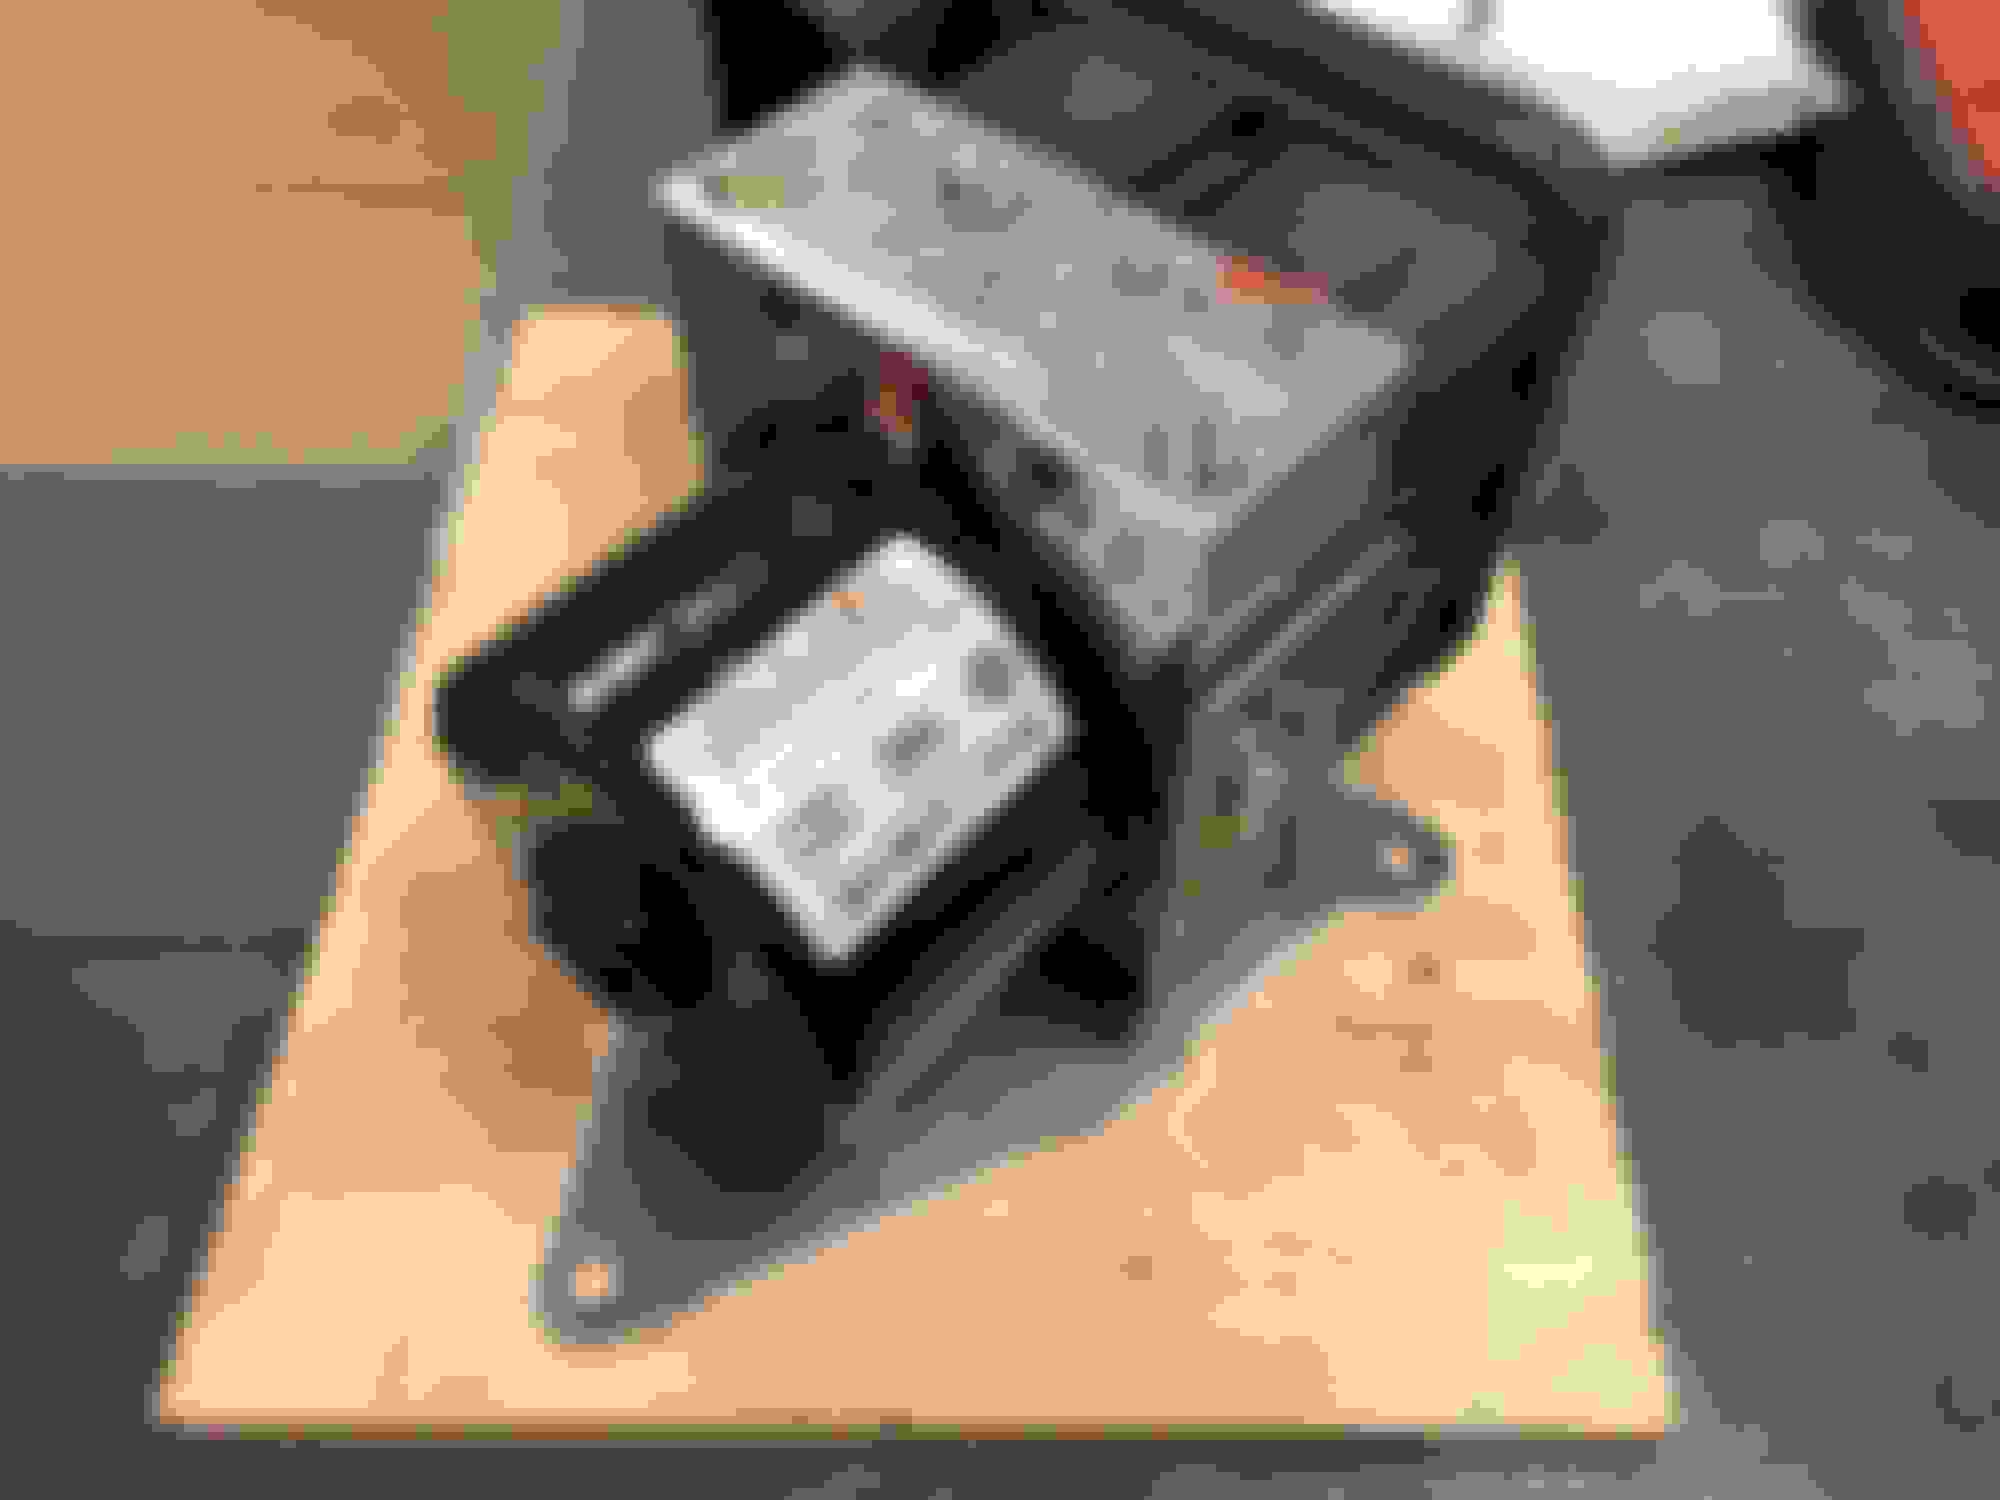
This is is the design of the pump bracket that we came up with. It is a bit low and hard to install the harness on it. But it has worked with any problems. We are trying some different designs and will post up our results later.
Here are a few pics from our latest bracket design. It uses the stock bracket with the rear legs cut off and welded to a base plate. It bolts into several of the stock threaded holes.
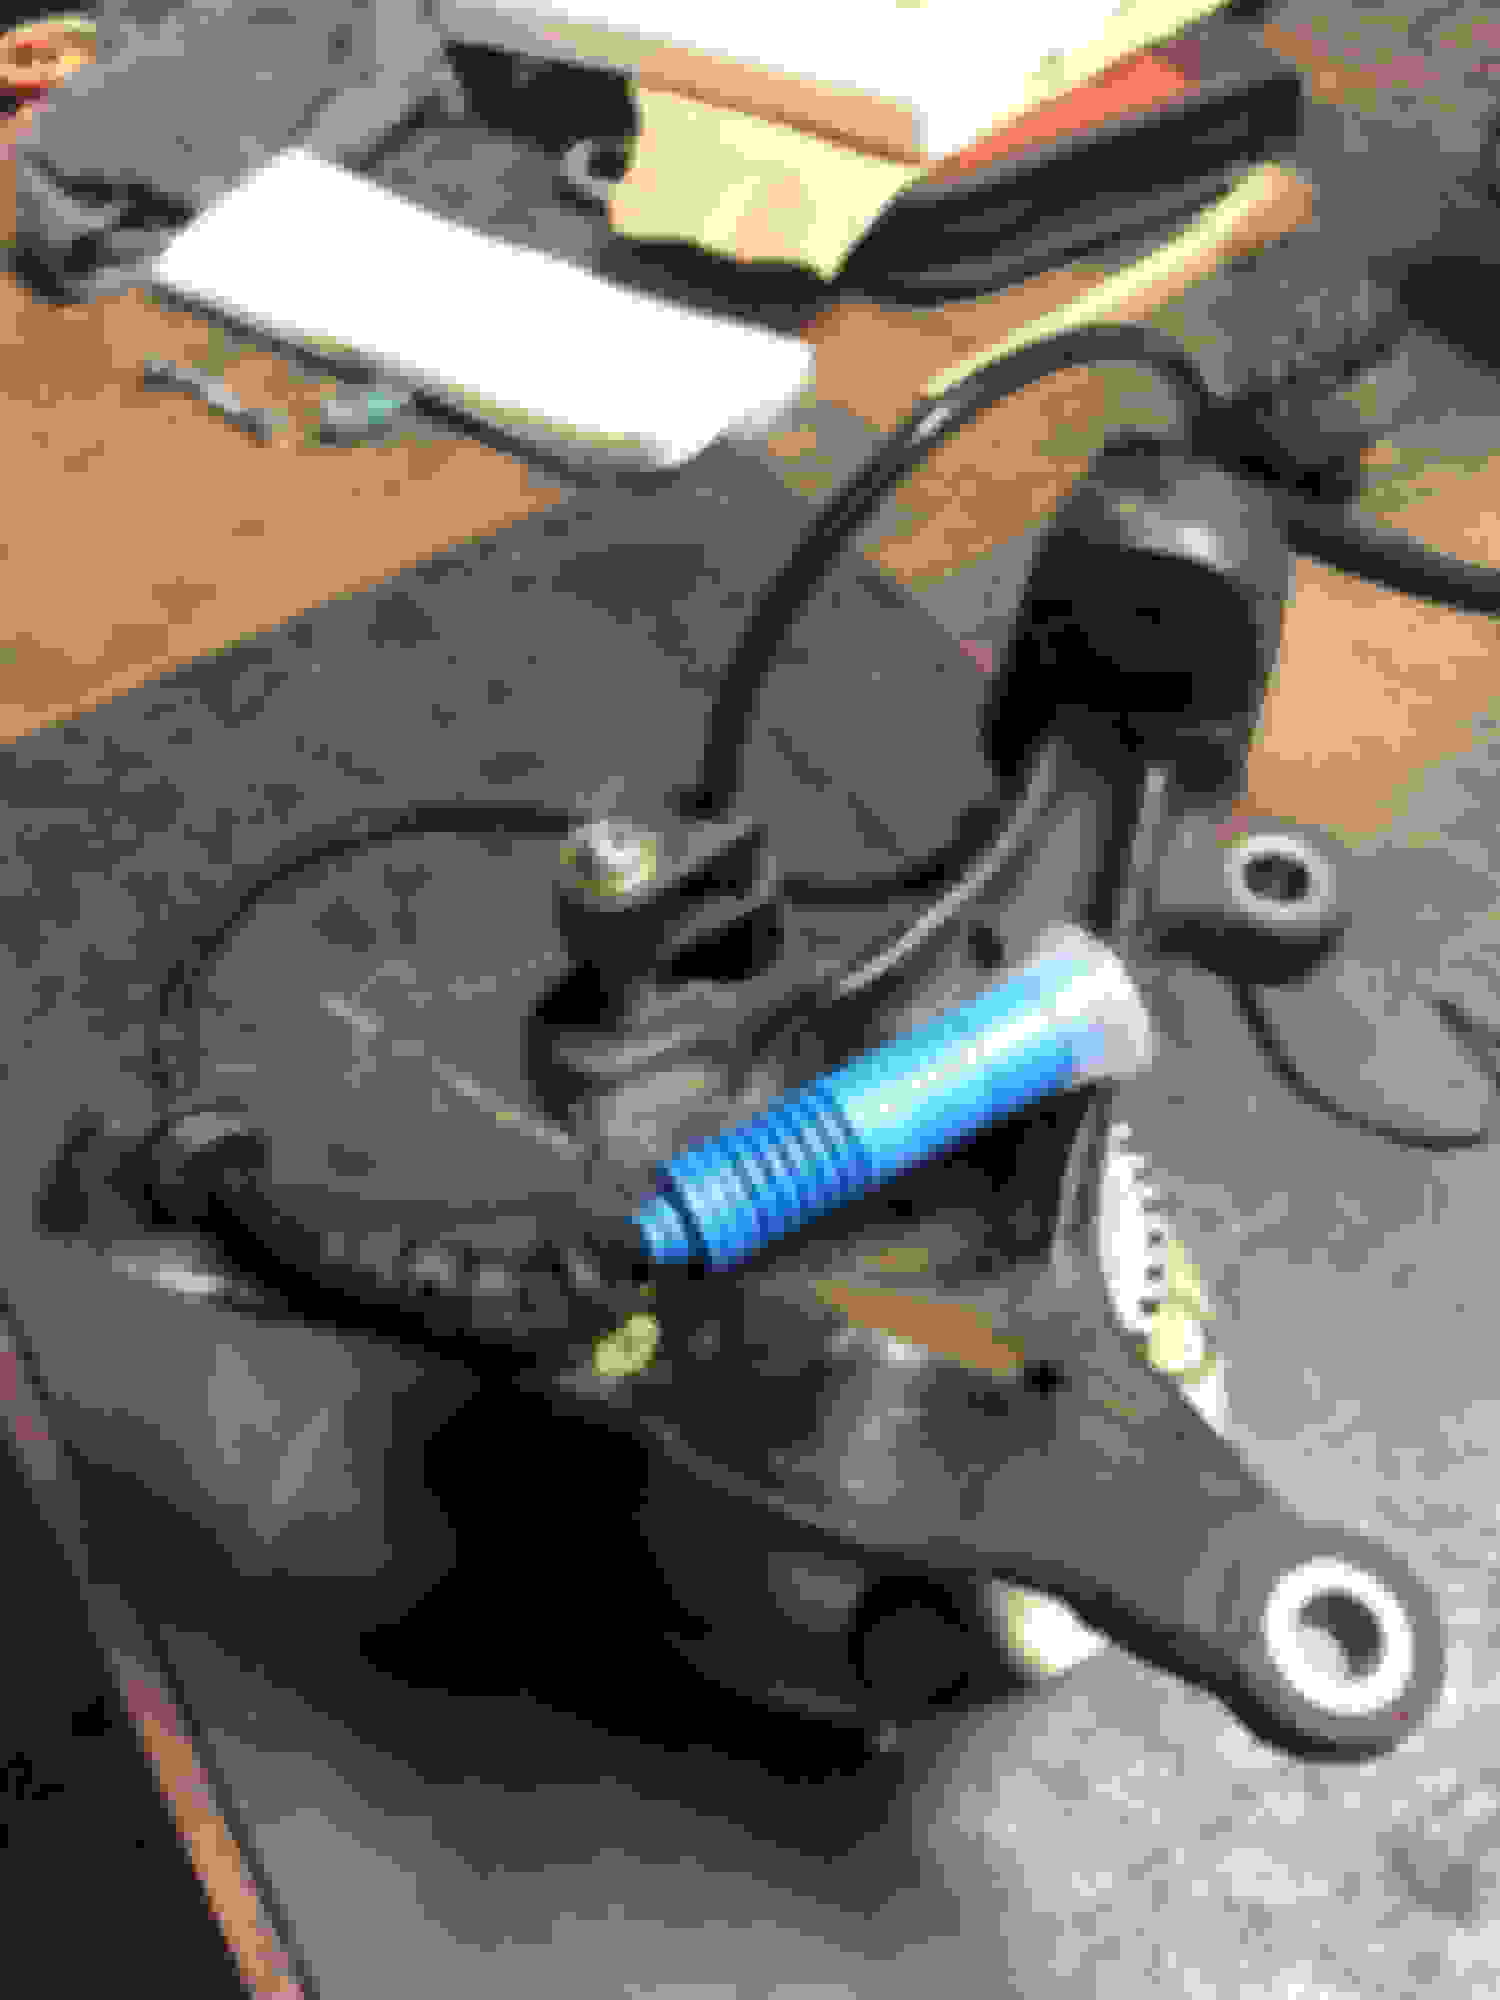
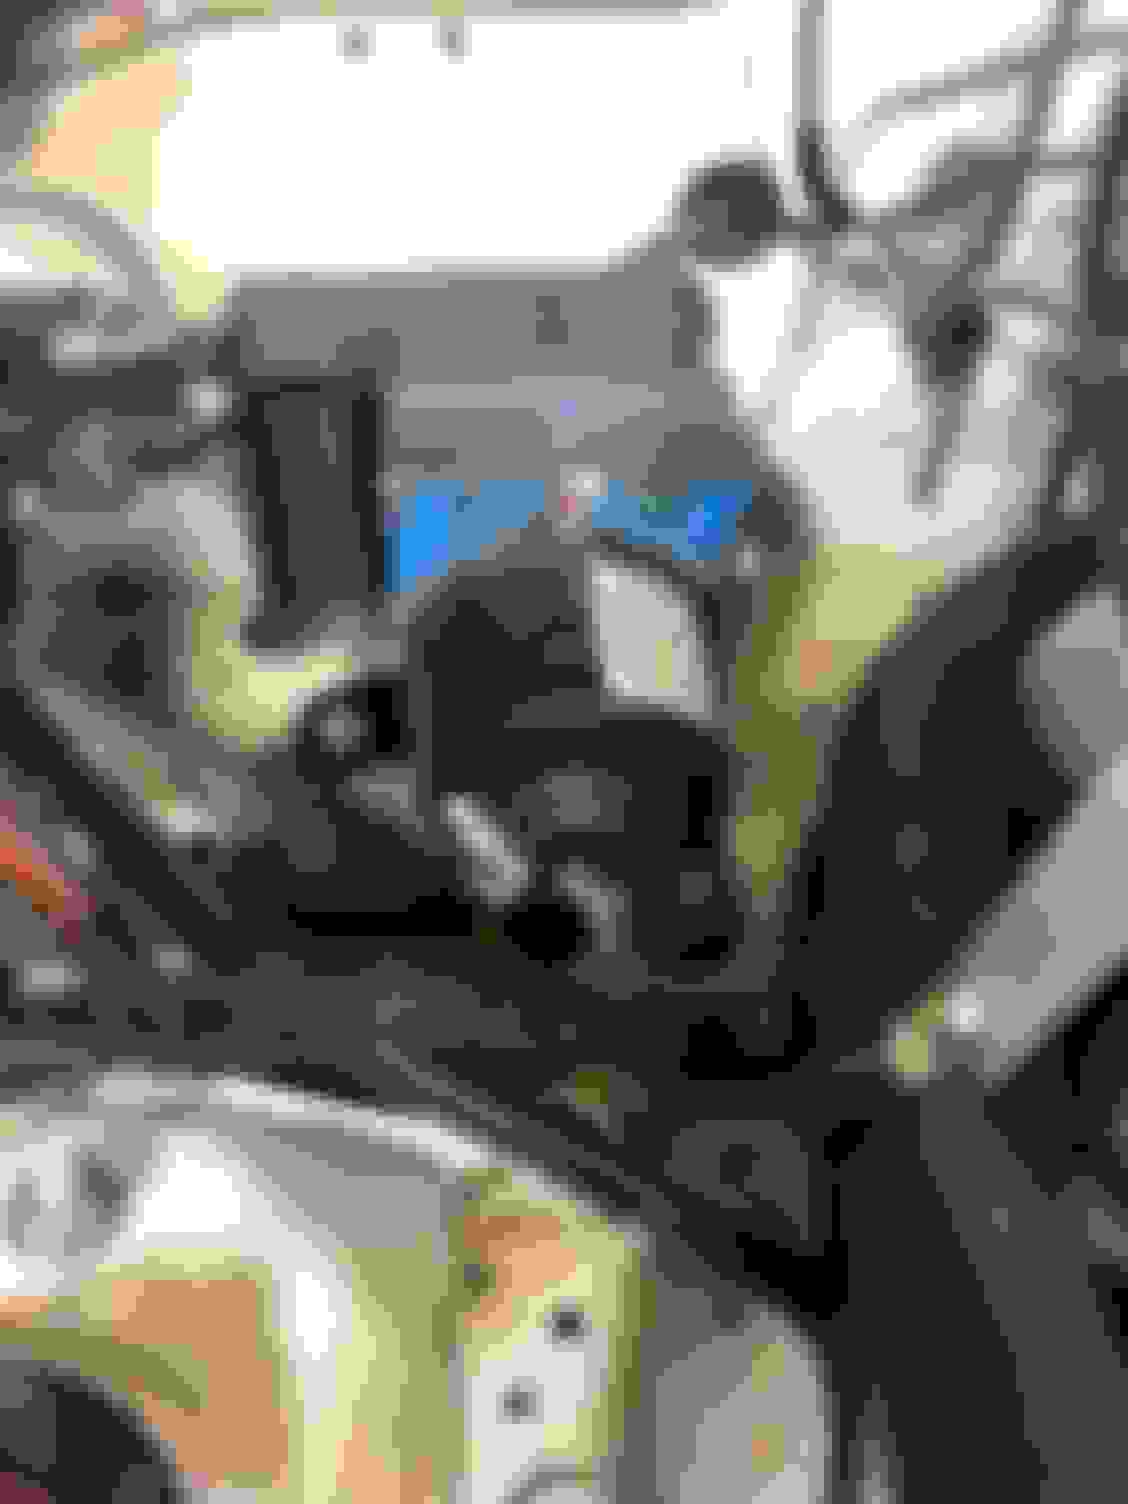
So once you get the unit mounted, it’s a simple matter of plumbing it up. Just remember that the markings are in German so V means front and H mean rear. Right and left are the same. I suggest that you REALLY concentrate on getting the plumbing in the right way. Switching the front and rear will give you a car that brakes fine until you go into ABS and then wants to kill you.
Here you can see how we mounted the pressure sensors in the lines coming from the master cylinder. Also you can see the plug in the side of the master cylinder where the second front brake line used to exit. You could mount the pressure sensor in that location and is probably what we will do with our next install. For this one we used 10mm tees with 12mm to 10mm adapters. Part numbers are brakequip bq44 for the pressure sensor adapters and bq91A tee fitting. Plumb the sensor for the rear line in after the proportioning valve.
Did you use the front BMW sensors because they were easy to make work or because you thought you had to? And was the Accel/yaw and pressure sensors to keep the error light off or does the stock programming work better with them?
We’ll be doing this soon on our NA in LDRL, but with the Motorsports flash and no Accel/yaw/pressure sensors.
Did you use the front BMW sensors because they were easy to make work or because you thought you had to? And was the Accel/yaw and pressure sensors to keep the error light off or does the stock programming work better with them?
We�ll be doing this soon on our NA in LDRL, but with the Motorsports flash and no Accel/yaw/pressure sensors.
We used the BMW sensors because they were easy, cheap, proven, available and robust. As far as the pressure sensors and the DSC sensor, it is my understanding that the unit will work without the sensors but will not perform at an optimum level.
They are very easy to install. From what I�ve read, the ABS unit really needs these sensors to know what�s going on to properly regulate pressures to the individual wheels
I work with Curly. We've done this install on a number of BMWs and Porsches as a standalone unit with no pressure or yaw sensors but with the motorsport software and have been planning on running it on the Miata for a long time. We will report back on our install and hopefully add more data to this thread. Props for doing this!! Really pumped to see this stuff finally trickle down to Miatas. Anxiously awaiting to see more photos.
I work with Curly. We've done this install on a number of BMWs and Porsches as a standalone unit with no pressure or yaw sensors but with the motorsport software and have been planning on running it on the Miata for a long time. We will report back on our install and hopefully add more data to this thread. Props for doing this!! Really pumped to see this stuff finally trickle down to Miatas. Anxiously awaiting to see more photos.
May I ask what the reasoning is with not installing the sensors? They are extremely simple to install.
Very relevant to my interests. Thank you for making the actual implementation clear - the concept is great but knowing how someone has done it successfully is incredibly useful.
If you've got a mill, why not just mill the rear mounts from stock? Maybe I'm just a nerd with a mini-mill, but that seems more straightforward to me.
Do you know of a part number for the ABS pump/controller electrical connector? The off-the-shelf universal harnesses are just hideously expensive for work I'm happy to do myself. I assume, perhaps incorrectly, I can buy a crimper for the terminals for less than the price of a harness.
I have made the rear sensor brackets from scratch using plain stock. If you have the original sensor brackets, its just much quicker and easier to just mill them down.
I have seen a listing somewhere on the BMW forums that list the part number. You could go down to the pick a part and just grab one off a car for like $5. I think the real trick is knowing what kind of wire to use for the sensors and whether its twisted pair and all the various connectors and pins, etc...
I have learned in all my years to just go do what I do well and make the money to buy from someone who does their thing well. Doug Wardell does harnesses well. Without guys like him around, this probably wouldn't be a thing
I have seen a listing somewhere on the BMW forums that list the part number. You could go down to the pick a part and just grab one off a car for like $5. I think the real trick is knowing what kind of wire to use for the sensors and whether its twisted pair and all the various connectors and pins, etc...
I was thinking that I'd never seen an E46 in the Pick-N-Pull around here, but a quick search tells me they're not uncommon. I'm really surprised. Definitely the way to go. I'll have to look at the types of wires BMW used.
I have learned in all my years to just go do what I do well and make the money to buy from someone who does their thing well. Doug Wardell does harnesses well. Without guys like him around, this probably wouldn't be a thing
If I was running a business, absolutely. But I'm a nut who enjoys screwing around with his car(s). If I'd only done what I know well fifteen years ago, I never would have picked up a wrench and had all the fun I've had in the intervening years. I may end up down the buy-a-harness route, but I'll probably screw up a few times before I get there
For those few of us who are using the Keisler Automation Spindles and the Toyota MR2 integrated hub, bearing, abs sensor would you be willing to disassemble a front hub and see if there is a way to integrate the BMW sensor onto the internal tone ring of the MR2 hub?
OH baby! 2019 is turning out to be a good year for Miatas.
E46 ABS and K24Z swaps slot nicely into TT/ST4.
NASA 2019 Rules:
6.4.3 ST4 Anti-Lock Braking Systems (ABS) Anti-lock braking systems may only be OEM or offered specifically for the car model (any trim model or generation) as a factory option. No OEM systems offered for a different car model or aftermarket systems are permitted, with the exception that the BMW E46 MK60 ABS (including Teves/ATE standalone) may be used on any vehicle.
I'm seriously interested. I was planning to swap the NB2 ABS full system over the winter, but this makes a lot more sense with ST4 in mind. I can see at least half a second a lap between a proper 4 channel system and the NB2 "it's nice in the rain and doesn't flat spot your tires" ABS. My buddy with a Ford Motorsports ABS module in his TT3 Mustang always surprises me how late he can brake. This gets us a bunch closer to any of the competitors with modern brake systems (M3 and Evo 10 come to mind).
How is this whole process going to work? Like will it all be listed on the 3DM website? Is there a Miata specific harness, or would be using the universal one? It sounds like this will be a Miata specific harness. I wouldn't mind paying for a complete wiring solution (assuming it's similarly priced to the other harness' listed on their site), but I'm not going to spend $1k on a what becomes a very expensive flying lead harness. Also what's the time frame?
Last edited by engineered2win; Sep 7, 2019 at 10:26 PM.
[QUOTE=TNTUBA;1548151]For those few of us who are using the Keisler Automation Spindles and the Toyota MR2 integrated hub, bearing, abs sensor would you be willing to disassemble a front hub and see if there is a way to integrate the BMW sensor onto the internal tone ring of the MR2 hub?[/QUOTE
Check and see if the mr2 sensor are active. If so you can use them.
For those few of us who are using the Keisler Automation Spindles and the Toyota MR2 integrated hub, bearing, abs sensor would you be willing to disassemble a front hub and see if there is a way to integrate the BMW sensor onto the internal tone ring of the MR2 hub?[/QUOTE
Check and see if the mr2 sensor are active. If so you can use them.
They work with the Miata ABS system, so I am assuming they aren't active.
Just wanted to share a little feedback about the ABS system that I received from a driver. He joined us at our race this last October at Hallett for the WRL race. Also, the car he was driving is currently leading the WRL overall season points in no small part to this system.
It's not that I don't appreciate the power of technology, it's just that there are some things I'd rather do myself. You say your automated manual transmission shifts faster, gets better gas mileage and contributes to a better lap time around the Nordschleife? I think that's great, for you, but I prefer to shift for myself because I enjoy doing it thank you. I don't care if it makes my lap times slower.
All this to say that while I came into my weekend in Tramp with it's fancy ABS braking system carrying a healthy dose of skepticism, I was soon won over. The system itself is unobtrusive, which was a relief since I recall back in the mid '90's when I first drove a Miata factory equipped with ABS and found the pedal feel much compromised compared to my experience with earlier NA's. So a pedal with good feedback was a nice surprise, but when you start using the brakes hard is when you really realize the benefits!
The best illustration of the system's capability came early in the weekend while working to pass faster cars with slower lap times. First a bit of background is in order. As anyone who has spent any time on track in a Miata will be able to relate to, the cars (particularly well prepared cars like Tramp and Moose) turn fantastic lap times considering how little horsepower they pack. But this means that when a driver of a lesser car (or a driver with lesser capabilities) but with more power presents themselves in your windscreen, they can be hard to pass since they simply motor away down every straightaway. This leaves you with the challenge of getting around them in the twisty bits and building a sufficient gap before the next straightaway to prevent them from passing you again to continue their rolling road block. So on Saturday morning I started off having the typical Miata experience of closing on the "fast" cars while running Hallett "backwards" (clockwise) through turns 9, 8 and 7 only to have them pull away slightly down the back straight before getting in my way again at turn 6. Turn 6 makes for a real opportunity zone for a pass under late braking since it is a long turn of significantly more than 90 degrees. If you can make your pass coming into the corner, you can scrub a bit of speed mid corner and get back onto a proper line before the corner exit so you can start your run up the short uphill straight. That sets you up to make your escape through turns 5 and 4 putting enough daylight between you and the car you have passed to keep them from horsepowering on by you on the run down the hill into 3, and then hopefully put a still larger gap on them to make them nothing more than a memory when you start the climb out of 2 (sorry for the run on sentence, I got a little excited there, call it red mist). Getting back to the point at hand, passing under braking into 6 can be a tricky business in the no-tech braking system cars I am used to driving. Locking a wheel or getting the car otherwise a bit out of shape all while trying to get turned in can easily make your heroic pass look like more of an amateuristic blunder. With the amazing ability of this system you can dive under most anyone in the braking zone, staying on the gas well after you see your challenger's taillights flair and car take a stance on it's nose as you fly by, then after getting fully in front of them you can go hard on the binders with no thoughts of finesse, turn in wherever you like and the car just slows and turns as if the hand of God reached in to make you the hero you always knew you were. Hallett's notoriously bumpy surface is even a non-issue since they system almost magically brushes that off and takes it in stride.
Later in the race day when the pads started to go off, the pedal started to go soft and the travel got longer, the ABS provided a nice safety net/comfort level that the brakes would be there when you really needed them. The pedal actually seemed to get firmer when you stomped hard enough to actuate the ABS. It was just the kind of reassurance you need to keep running good lap times in an endurance racing environment. In fact, while the ability to make passes you might not even attempt to make otherwise is a major advantage, perhaps the most important benefit of this system is that it can help prevent driver fatigue and provides a safety net that is much appreciated during a long stint on an even longer weekend!
So now the challenge is moving back to my own non-ABS equipped Miata track car. I'm afraid Tramp has made me lazy! So, tell me more about this PDK in your Boxster??? (Just kidding.) --
Sent from a touch screen device so please pardon my typos!


 6
6