

Quick Cheap (possibly temporary) stiff motor mounts.


Thread Starter
Junior Member
Joined: Jan 2007
Posts: 281
Total Cats: 0
From: EXTREME Southern Illinois
When I dropped my engine back in, I installed what I THOUGHT were stiffer motor mounts, but they ended up feeling just like OEM. I had wanted to just fill in the mounts with 3M Super Fast Urethane (Windo-Weld) like I did on my DSM, but because of the metal cup, I didn't have good access to the rubber, and you can't pump windo-weld through a hose, though I certainly tried. So I was laying under the car waiting for the oil to drain and staring at the mount when I had an idea. I went over and grabbed a scrap piece of urethane mudflap material (1/8"), folded it in half, and it fit nice and snug between the engine side of the mount and the metal box meant to contain it in case of a failure.
Sooo, I cut out 8 little squares, about 1.125"x2.5", and grabbed a tube of windo-weld. I made little PU sandwiches, ran a large thick bead of it down one of the long edges,and coated each side, then stuck the end with the bead on it into the top and bottom edges of the mounts. They were just tight enough that I had to give them a good push to make them go all the way in, and they squished just enough Urethane goo out that I could smooth it over the top. I sprayed it with a little water (it's moisture curing) and let it cure all day.
After it was good and cured I took it for a drive and I'm very pleased with the results. The whole car vibrates a little with the engine now, but not nearly as bad as the one with solid mounts I had a ride in. My shifter doesn't move at ALL now, which is a real accomplishment with my on/off 6-puck clutch.
After a couple hours of hammering on them a bit, they don't show any signs of seperating or moving. I've use the Urethane goo before and I don't expect it to let go anyway, it's tough stuff. I imagine if I got tired of them, I could probably work them out with a screwdriver, some elbow grease, and maybe a little torch action since windo-weld gets a little melty before it burns.
Reply
 0
0

0

Newb
Joined: May 2010
Posts: 43
Total Cats: 1
From: Scandinavia
I've been thicking along somewhat similar lines. Good to hear of your good results. I bet your motormounts also last much longer now that they have less load to bear with all the support they are getting.
Reply
0
0


Thread Starter
Junior Member
Joined: Jan 2007
Posts: 281
Total Cats: 0
From: EXTREME Southern Illinois
Umm, not much to see really, it's all jammed down inside of the shell. I'll try, but it's gonna look like a motor mount with some black goo on it except for my first one that has the pieces cut to the wrong size and they stick out a little, lol.
Reply
0
0
Thread Starter
Junior Member
Joined: Jan 2007
Posts: 281
Total Cats: 0
From: EXTREME Southern Illinois
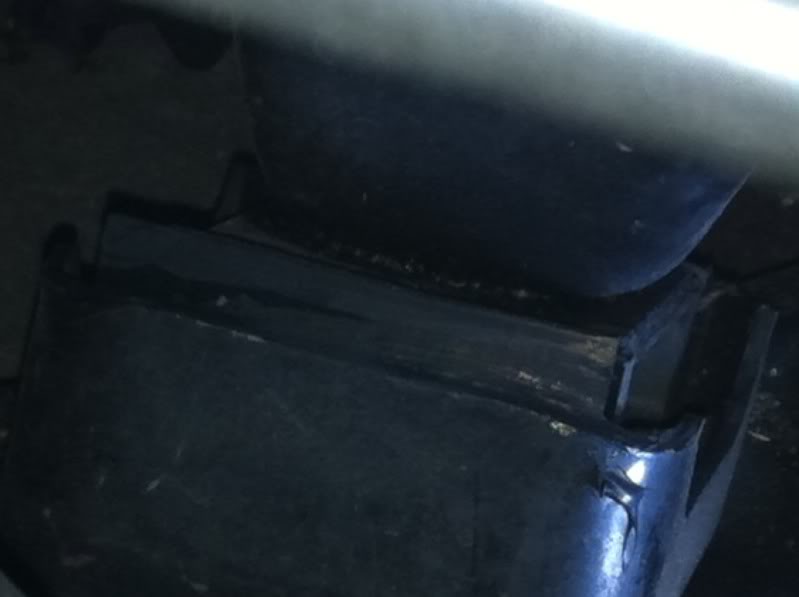
OK, here's a pic on the side you can see without crawling under the car. The top there was my first try and the urethane material was too tall. The rest of them aren't sticking out above the metal cup.
Reply
0
0

so, you made a sandwich out of mudflap and goo, and jammed it in the space between the mount itself and the cup?
If I recall, I had to disassemble my mounts to get them out, what say you? As it seems the cup and mount are now one piece.
If I recall, I had to disassemble my mounts to get them out, what say you? As it seems the cup and mount are now one piece.
Reply
0
0
Thread Starter
Junior Member
Joined: Jan 2007
Posts: 281
Total Cats: 0
From: EXTREME Southern Illinois
You do not have to disassemble them to install or remove. They were actually stuck together the first time I did a swap and I didn't even know they came apart. The new ones (sans mudflaps and goo) hadn't relaxed and didn't fit right to go back in, and I removed the passenger side bracket from the motor to get it together. In a worst-case scenario, that would always work.
Reply
0
0

Thread
Thread Starter
Forum
Replies
Last Post
stoves
Suspension, Brakes, Drivetrain
5
Apr 21, 2016 03:00 PM
Greasyman
General Miata Chat
2
Sep 28, 2015 10:44 AM


