

Rusty Shell Swap


Thread Starter
Newb
Joined: May 2016
Posts: 29
Total Cats: 5
A little background info...
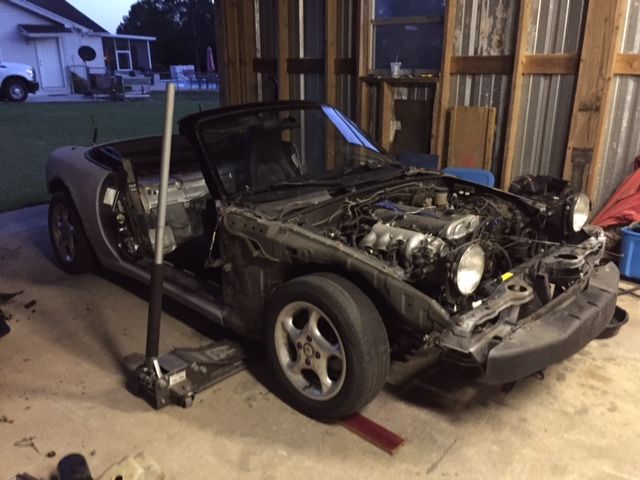
I purchased a super healthy '96 from my old man about a year ago, helped him with all the maintenance while he still owned it so I knew the condition of the car. I was still pretty new to miatas so I didn't know to check for rust in the rockers. Come to find out there's no rocker panel left, just rust. Tried to deal with it for as long as I could but daily-driving the car was becoming sketchy as it flexed a LOT over the smallest bumps in the road. So I finally manned up and decided to swap everything into the clean, rust-free shell I had sitting in my shed.
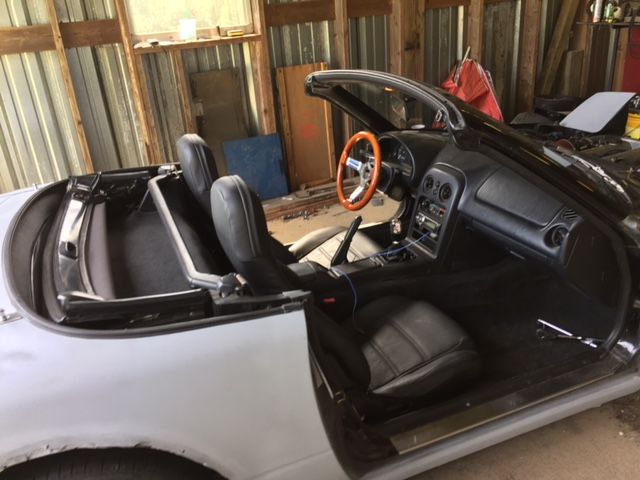
I started by removing the little bit of interior that the previous owner graciously left me
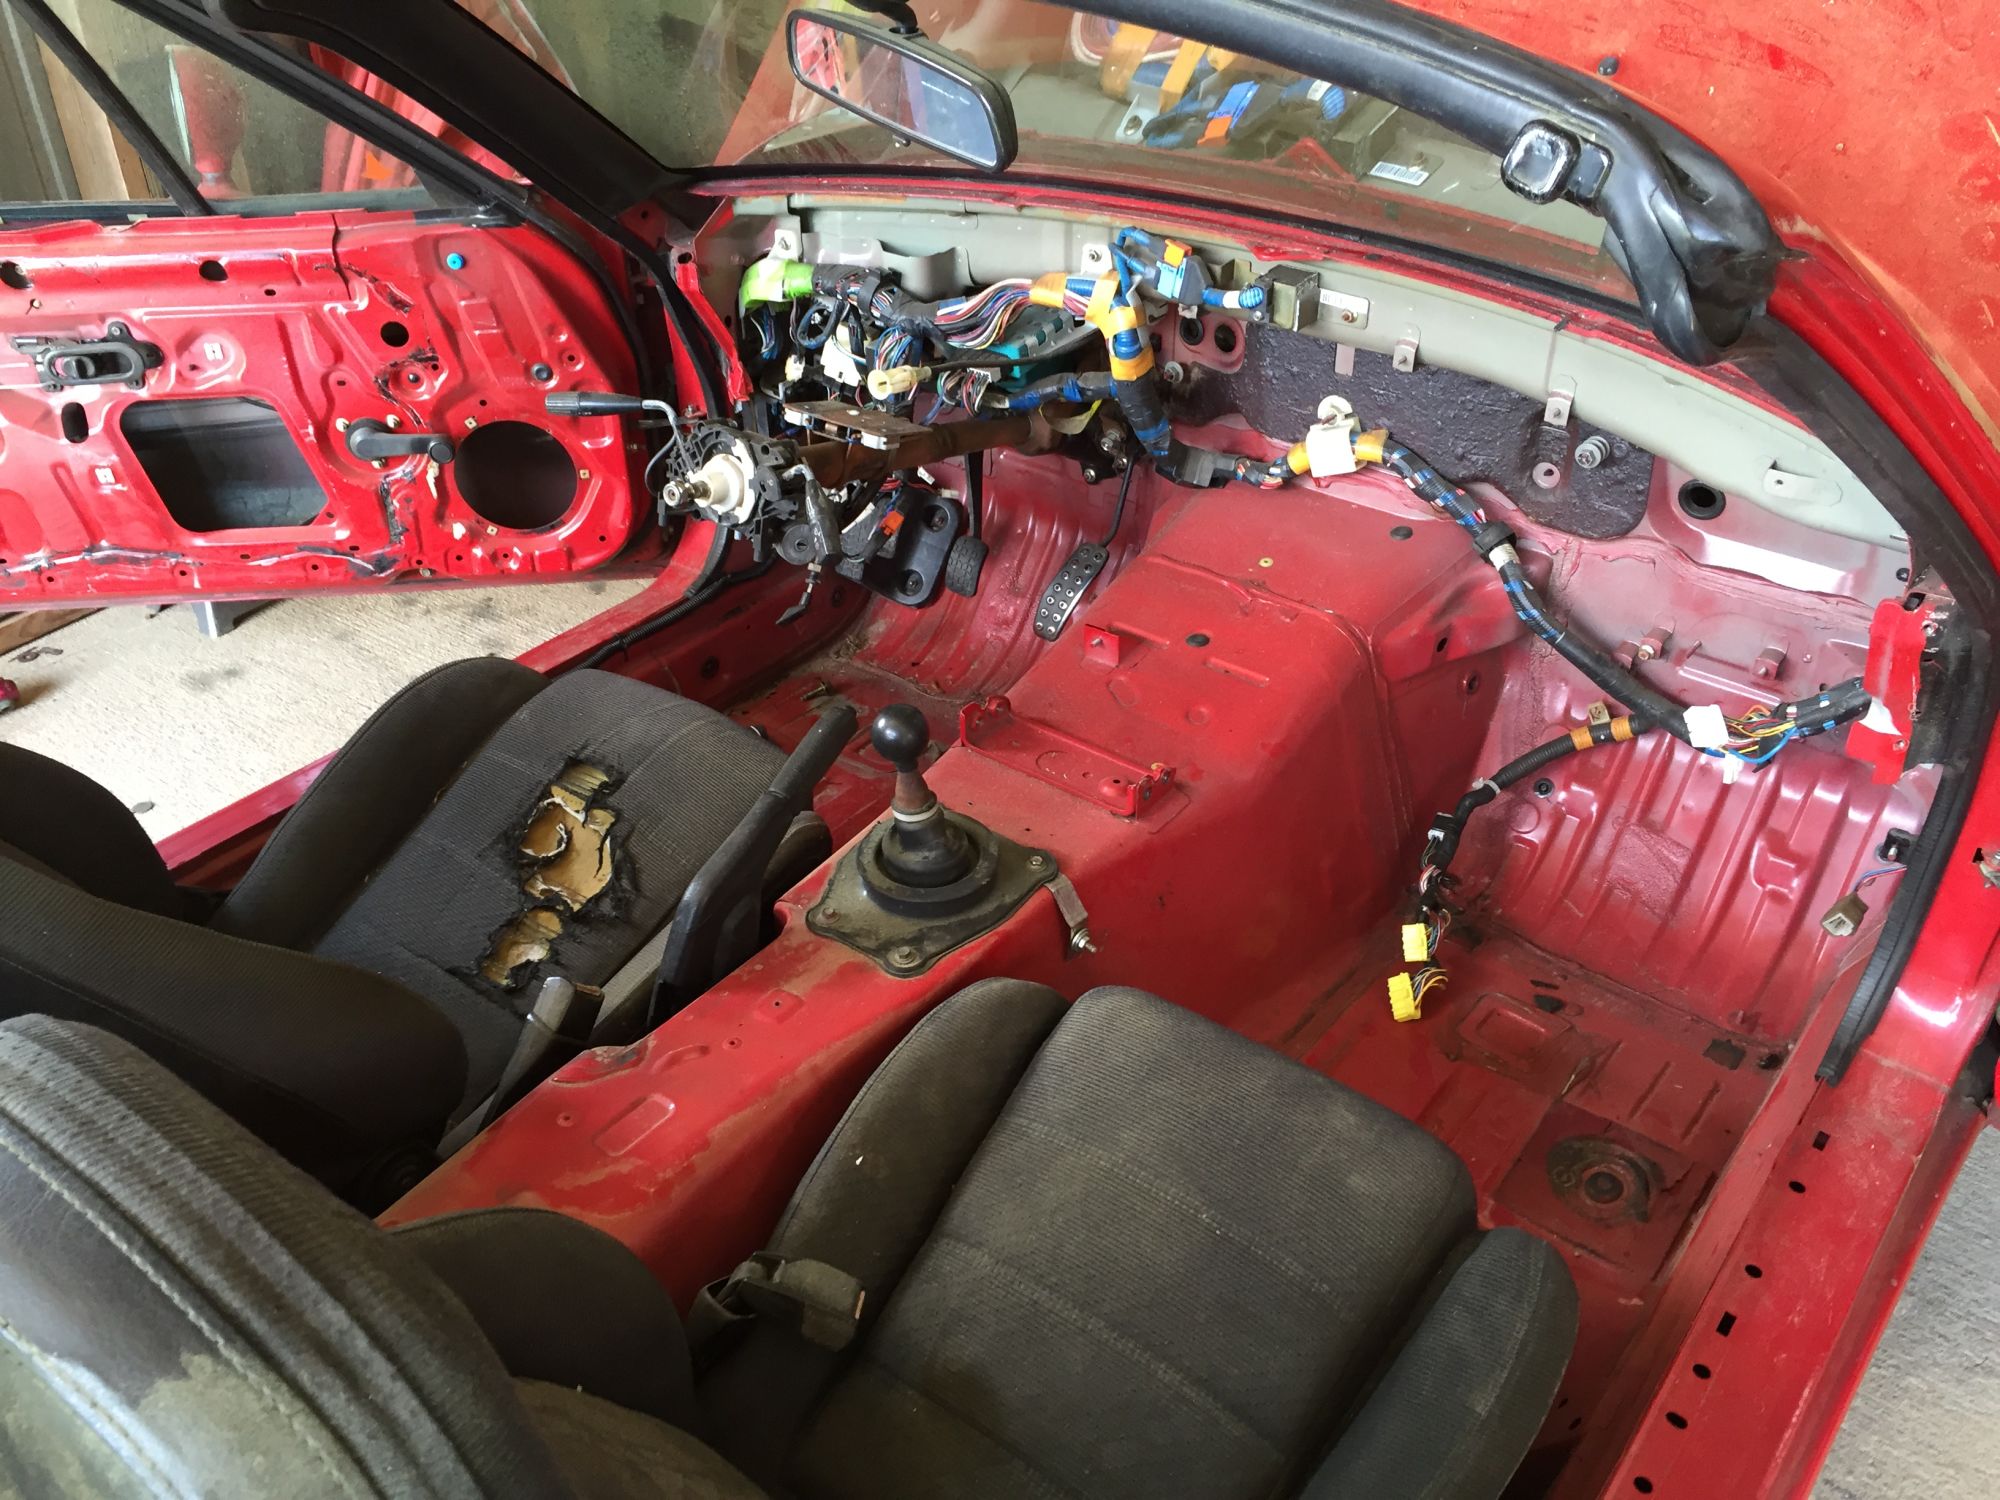
Next up was to remove the wiring harness and everything else underneath the dash
I purchased a super healthy '96 from my old man about a year ago, helped him with all the maintenance while he still owned it so I knew the condition of the car. I was still pretty new to miatas so I didn't know to check for rust in the rockers. Come to find out there's no rocker panel left, just rust. Tried to deal with it for as long as I could but daily-driving the car was becoming sketchy as it flexed a LOT over the smallest bumps in the road. So I finally manned up and decided to swap everything into the clean, rust-free shell I had sitting in my shed.
I started by removing the little bit of interior that the previous owner graciously left me
Next up was to remove the wiring harness and everything else underneath the dash
Reply
 1
1

1
Thread Starter
Newb
Joined: May 2016
Posts: 29
Total Cats: 5
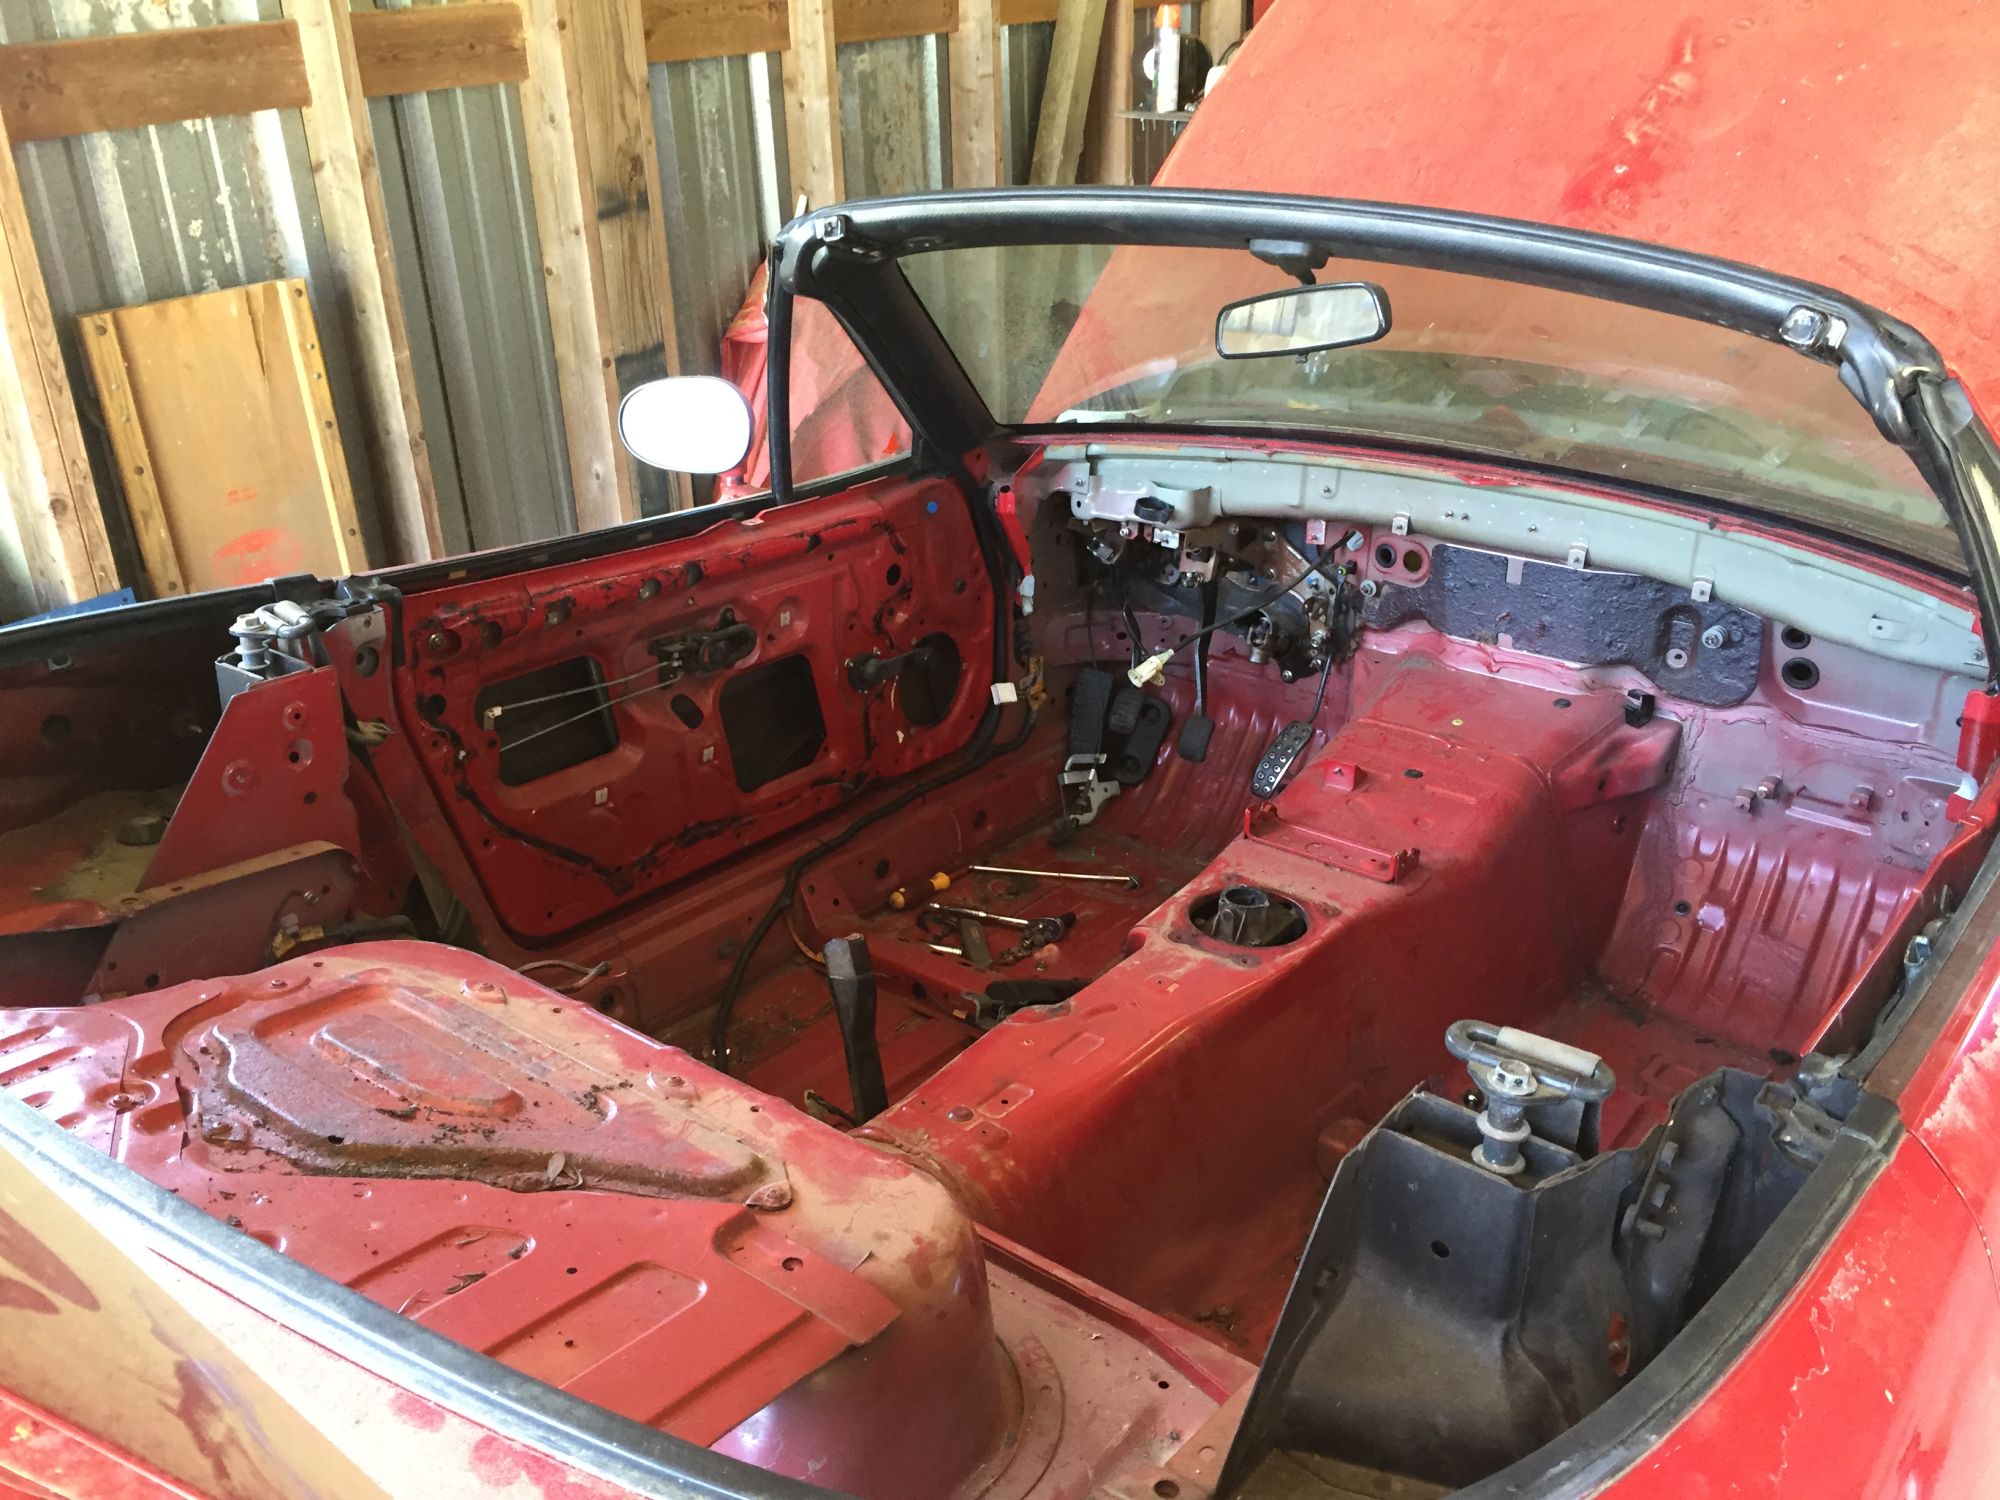
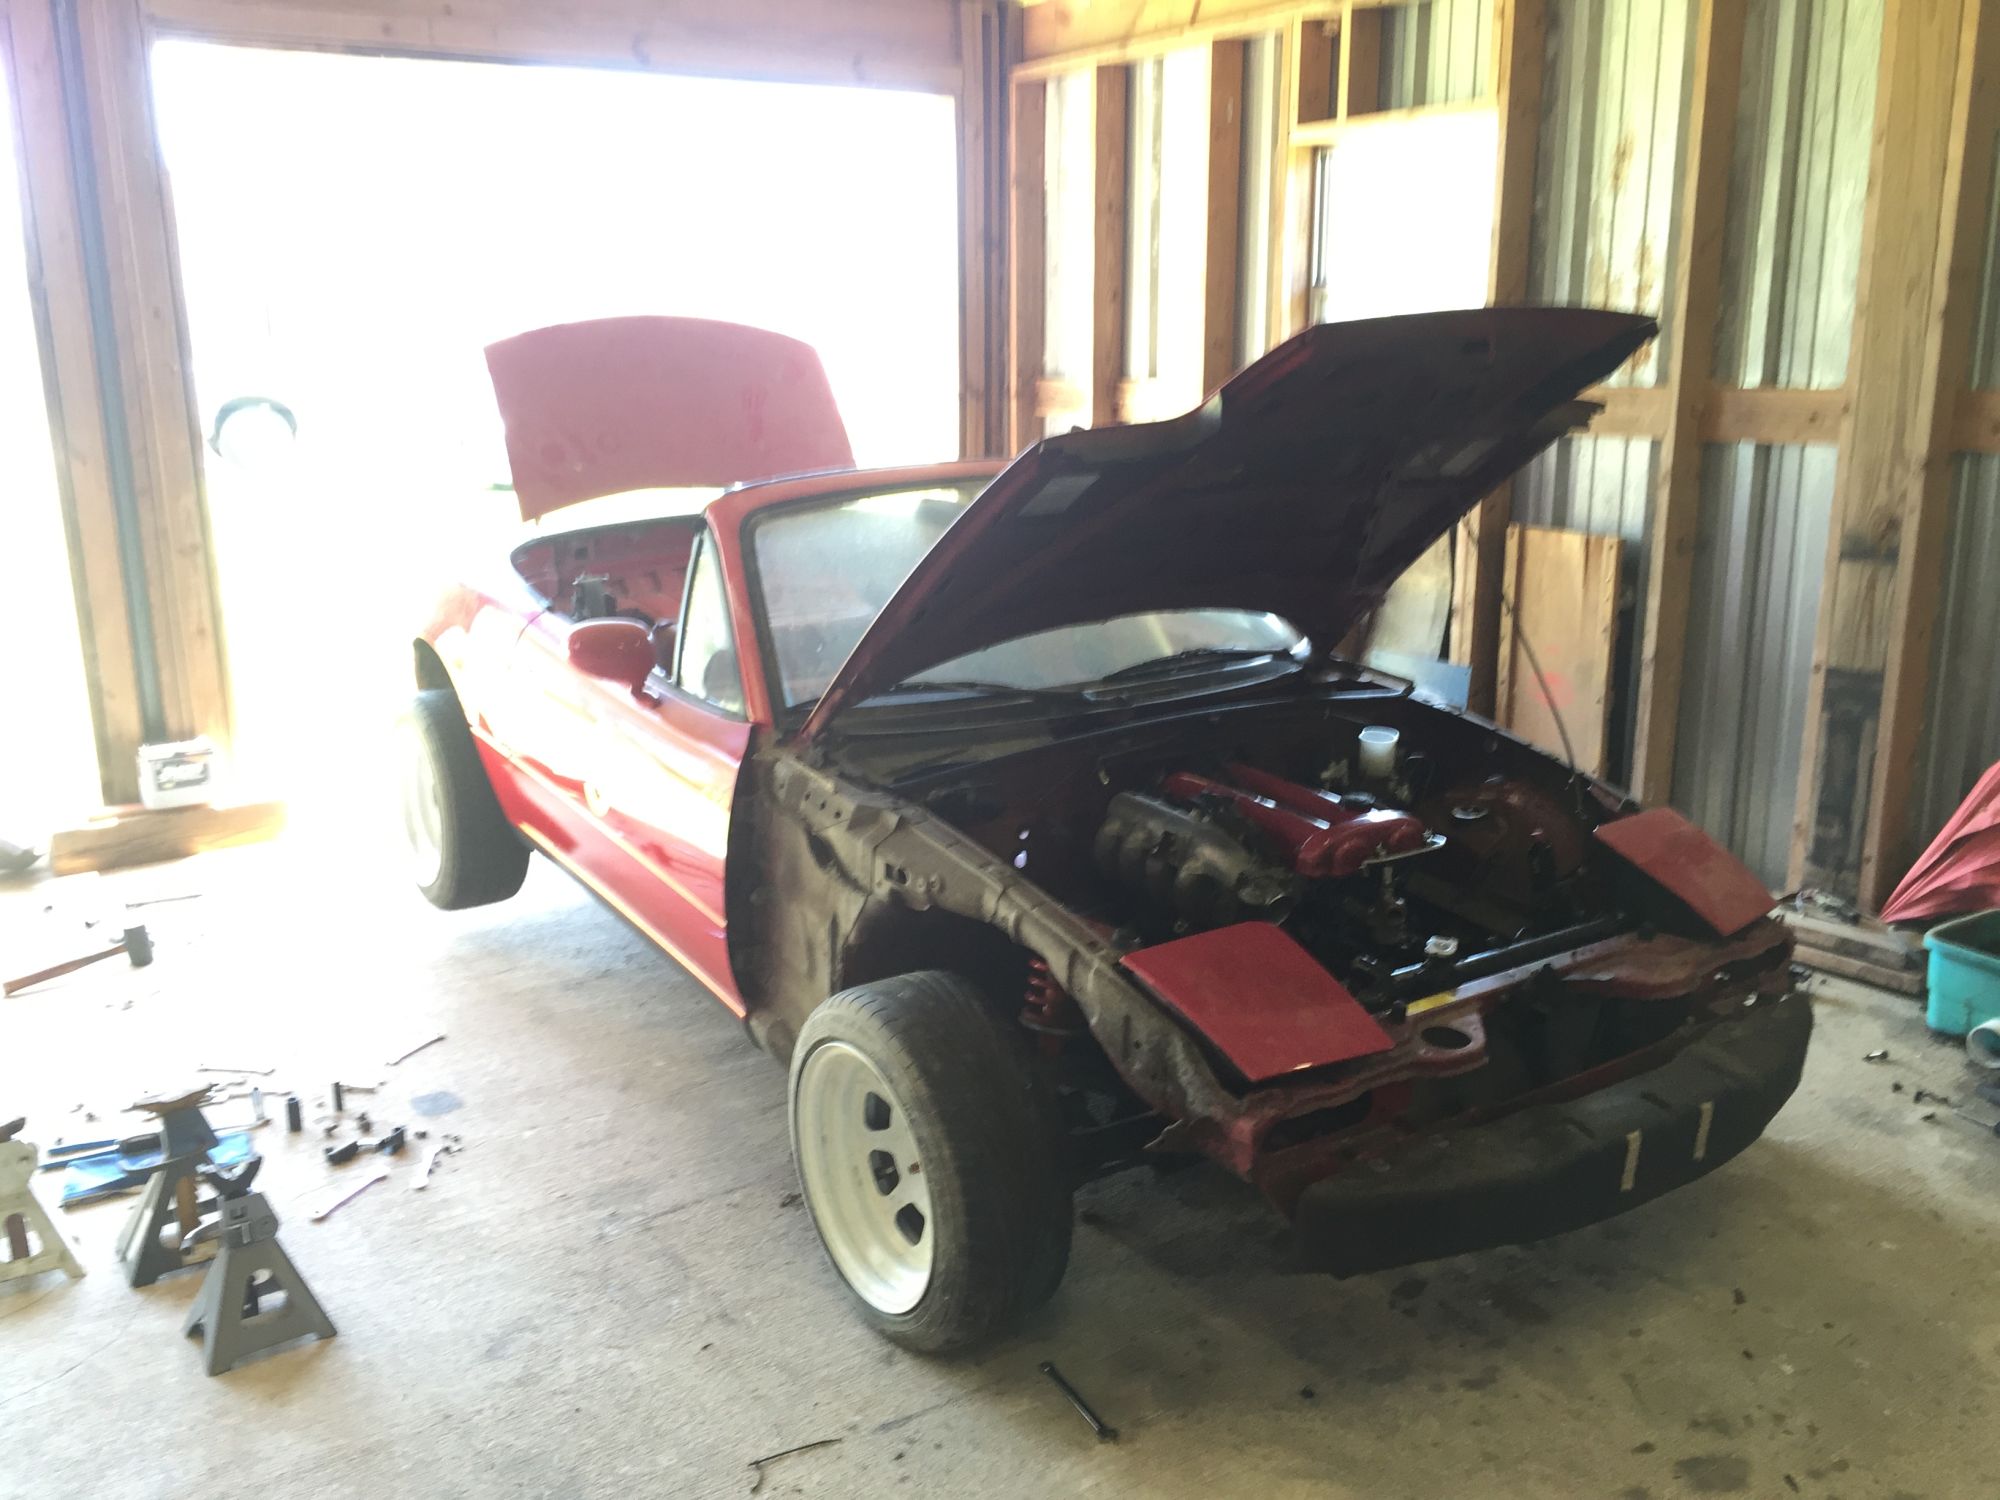
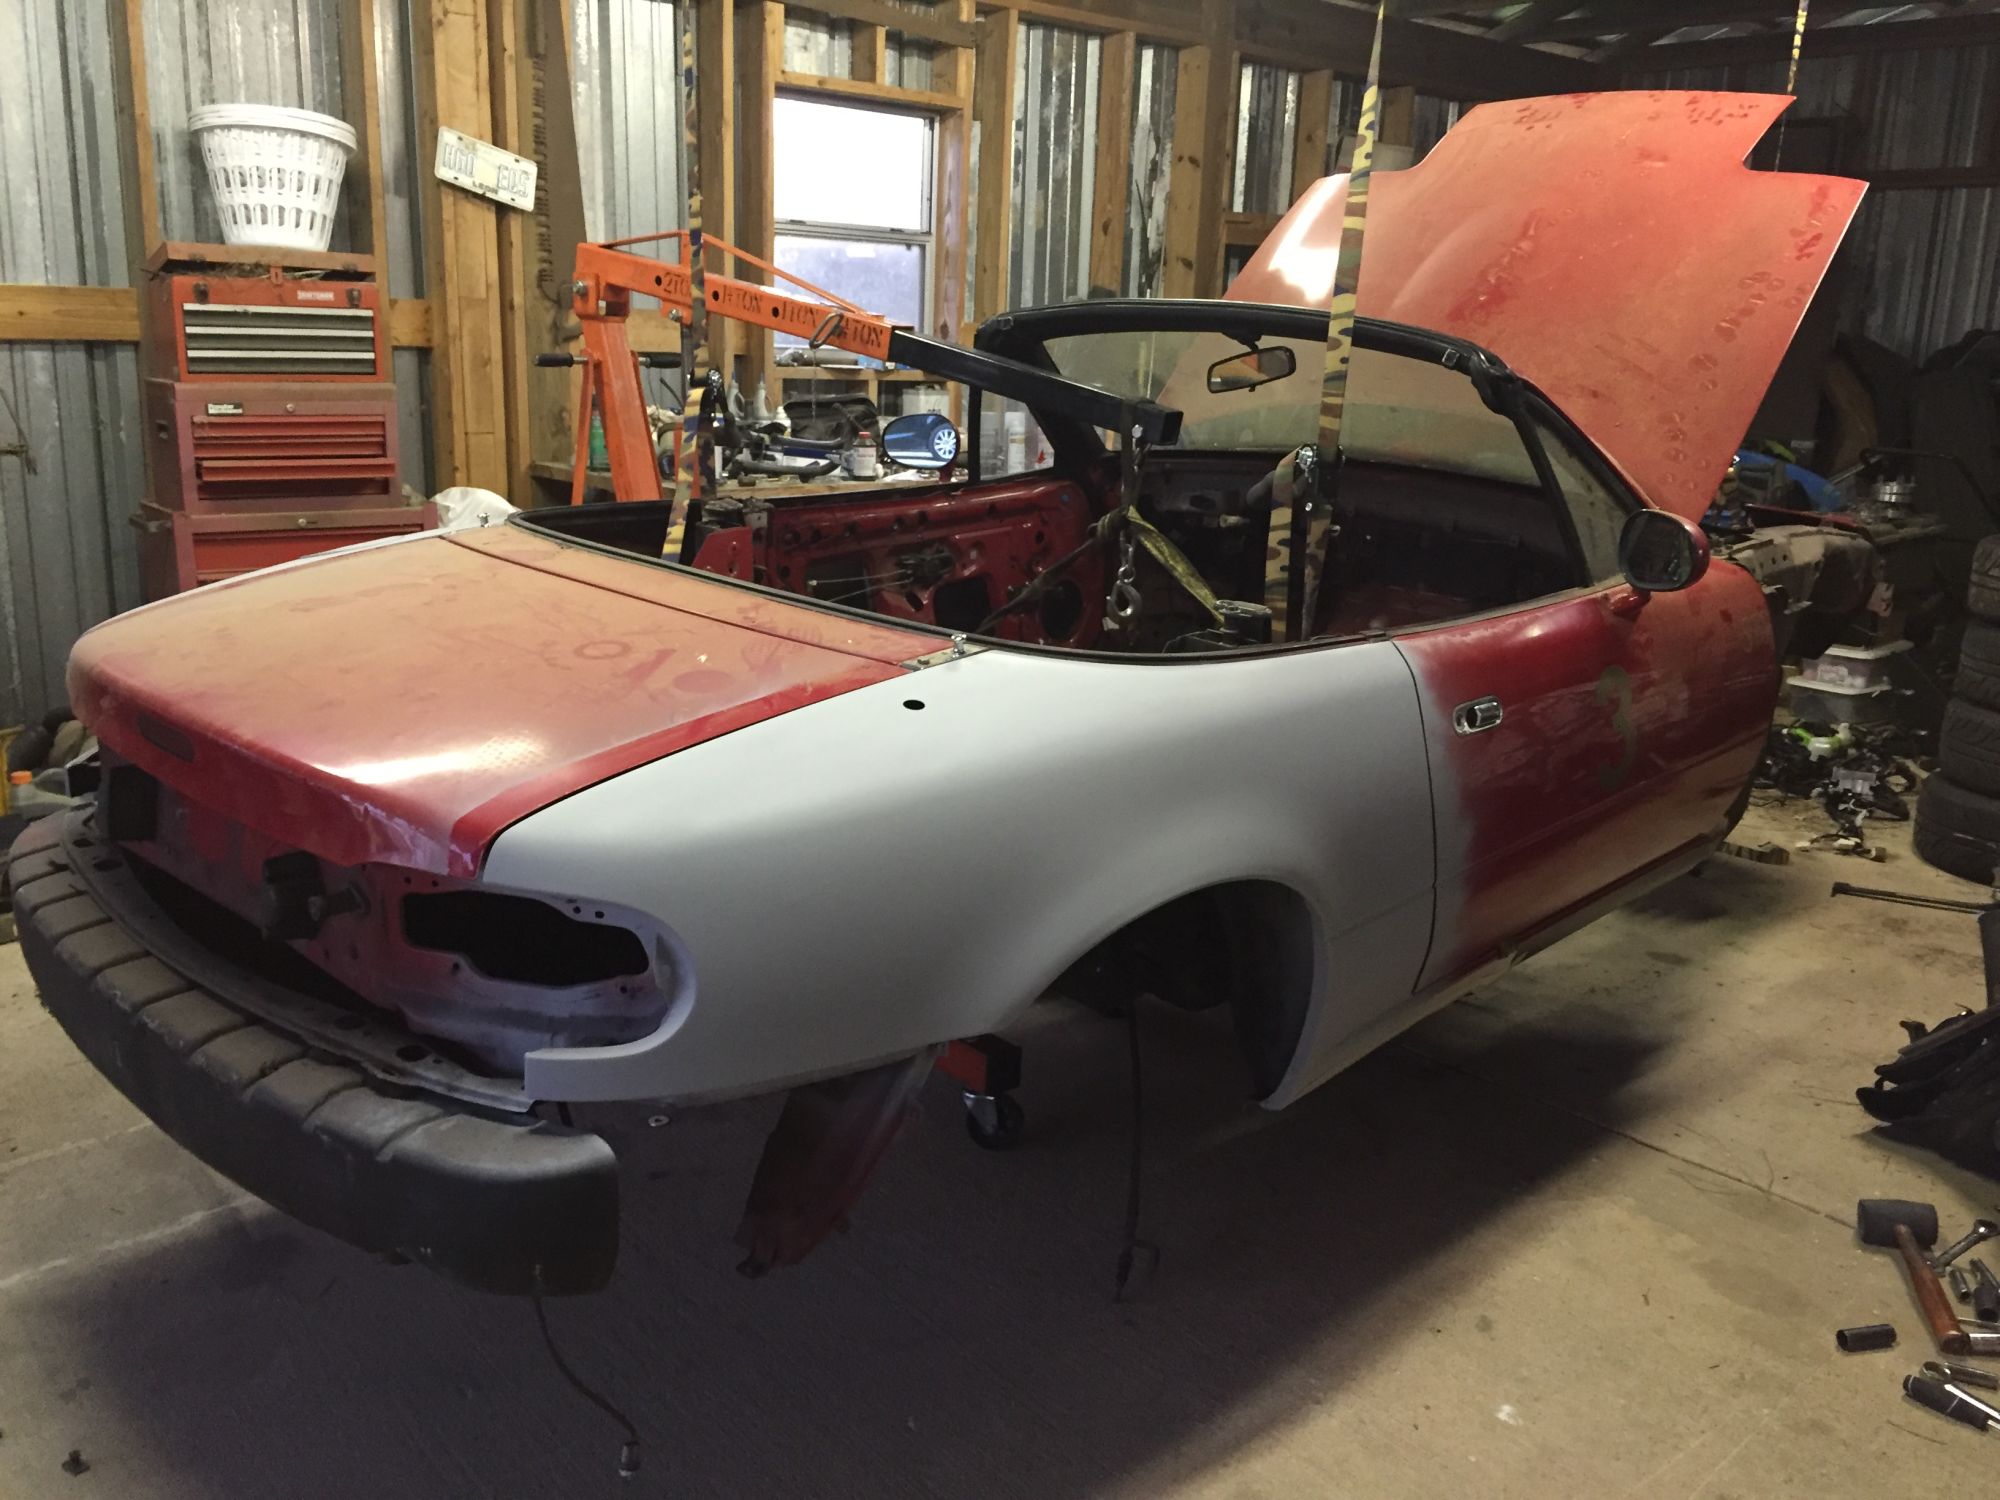
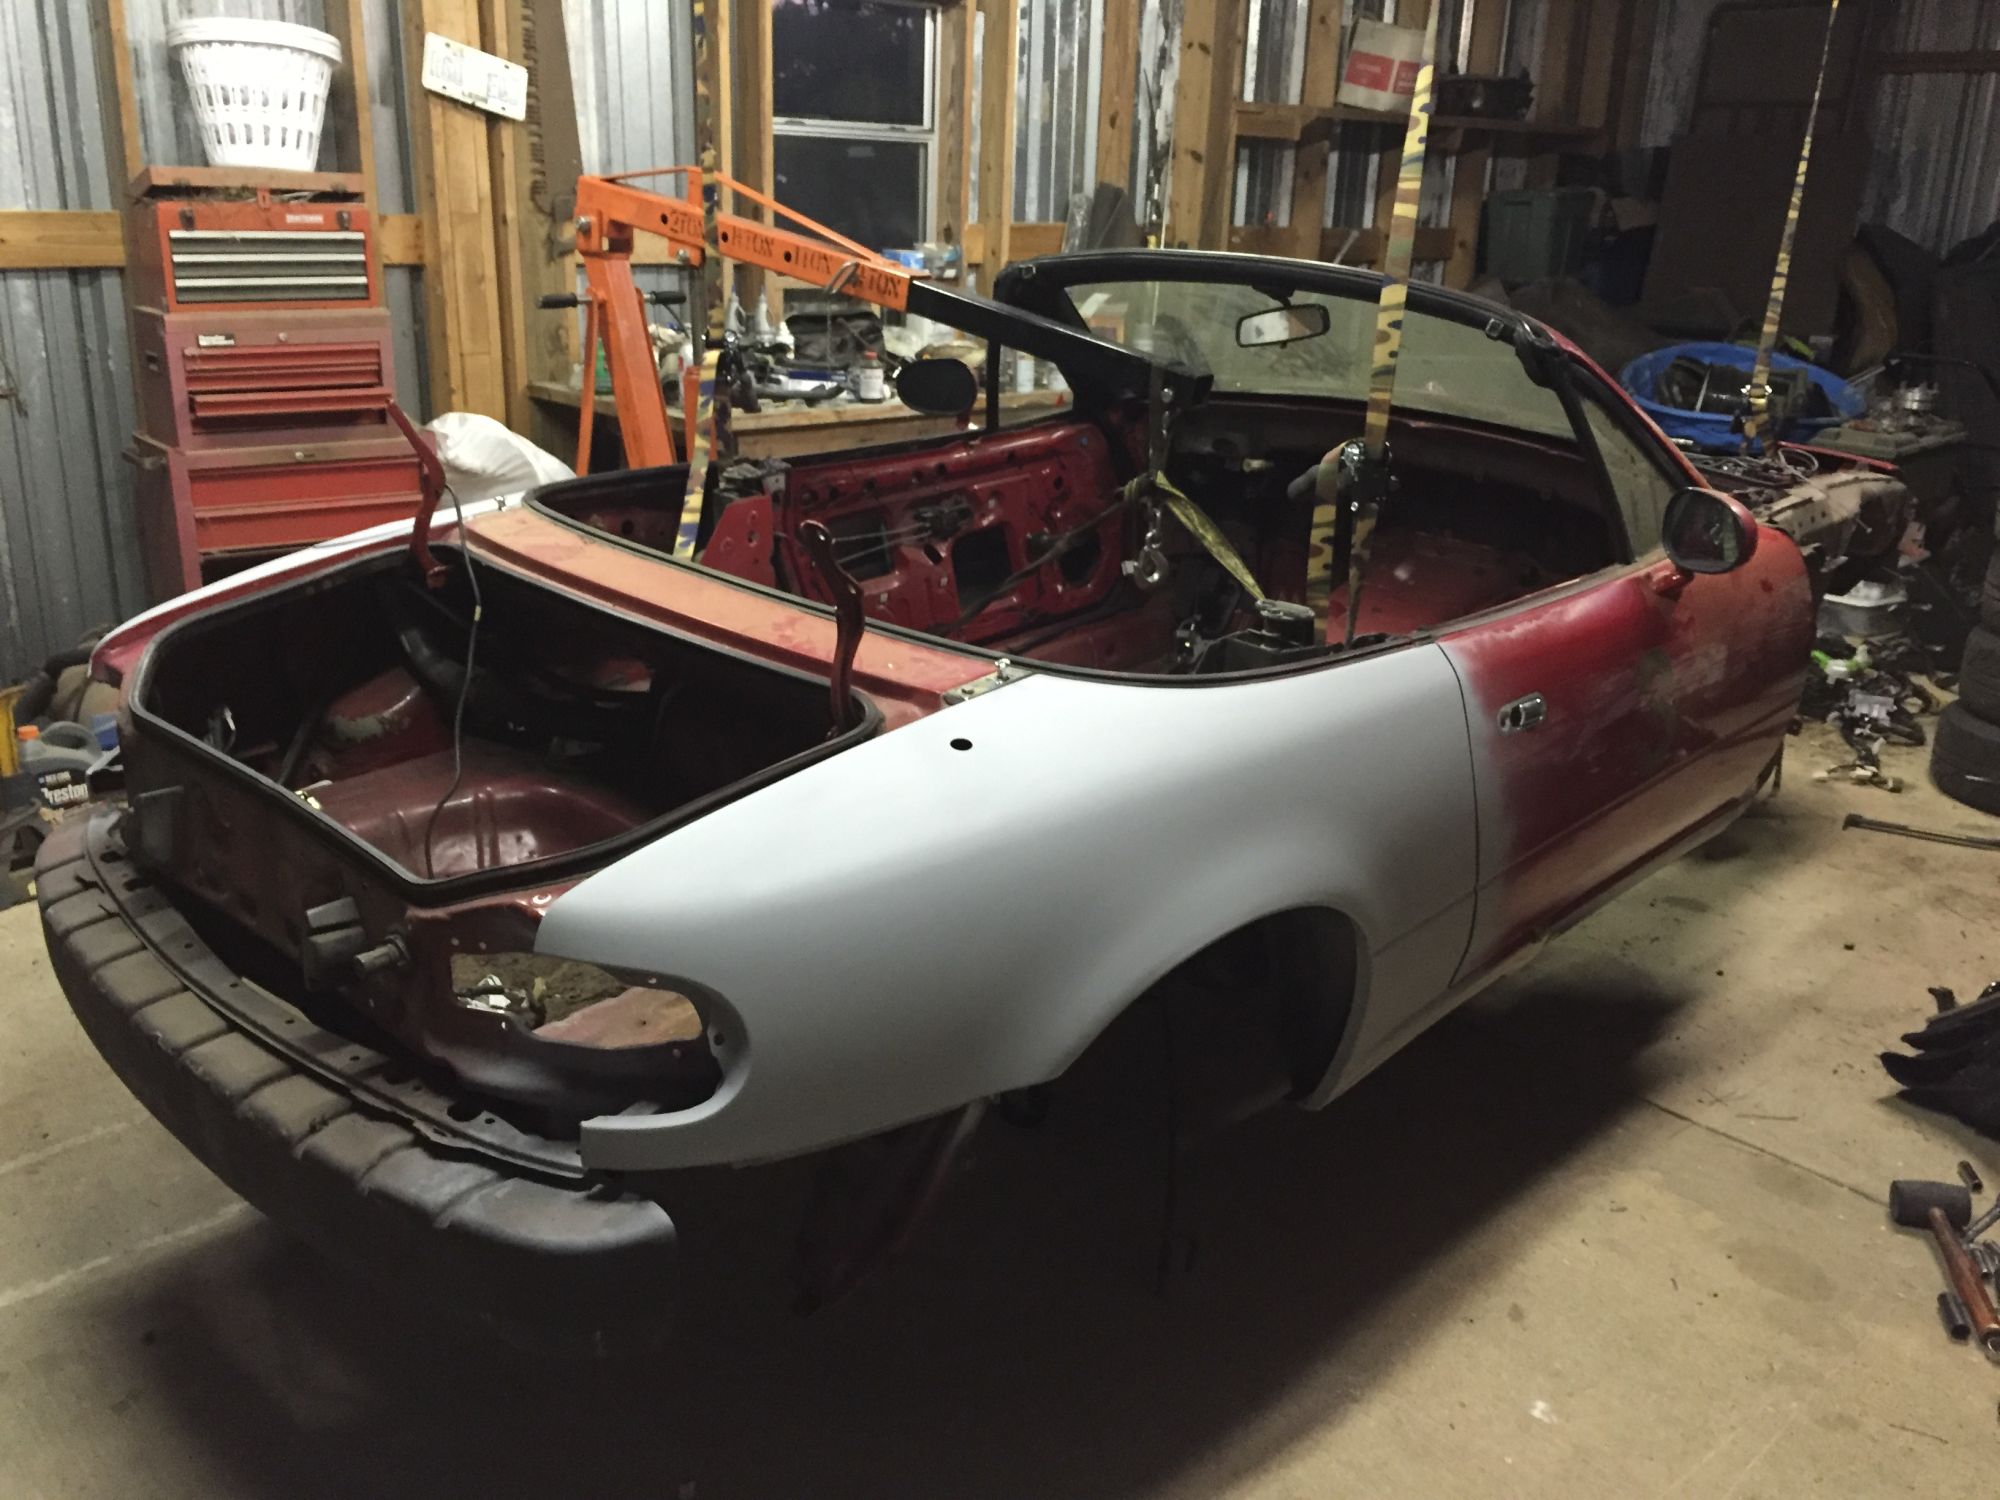
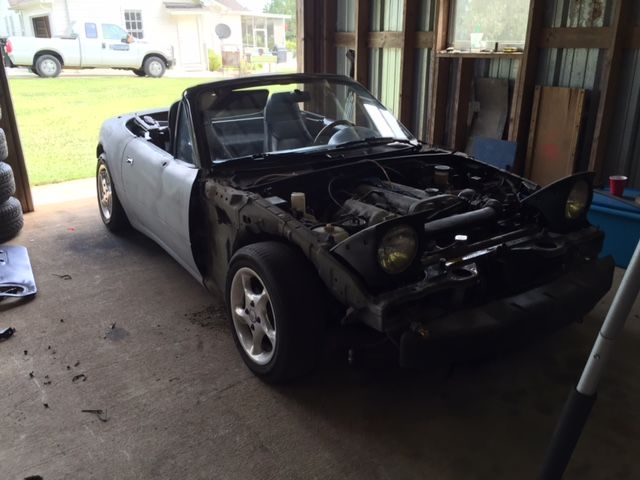
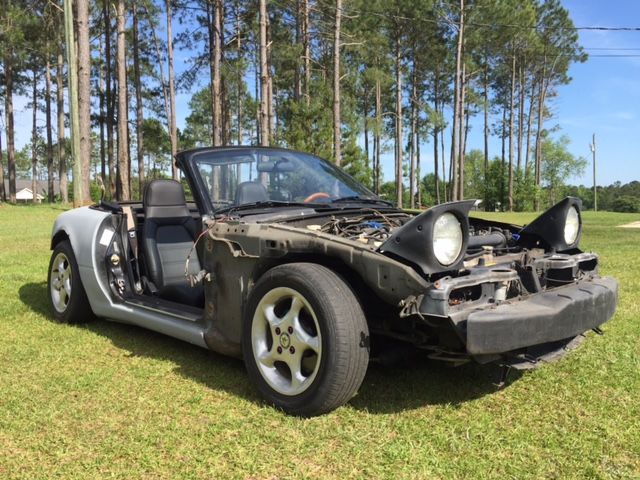
I pulled the bumper and fenders off so i could get all the wiring out of the way. I forgot to pop up the headlights before i pulled the wiring (facepalm) but i managed to pull the harness by taking the motors out and holding the lights up long enough to fish the wires out.
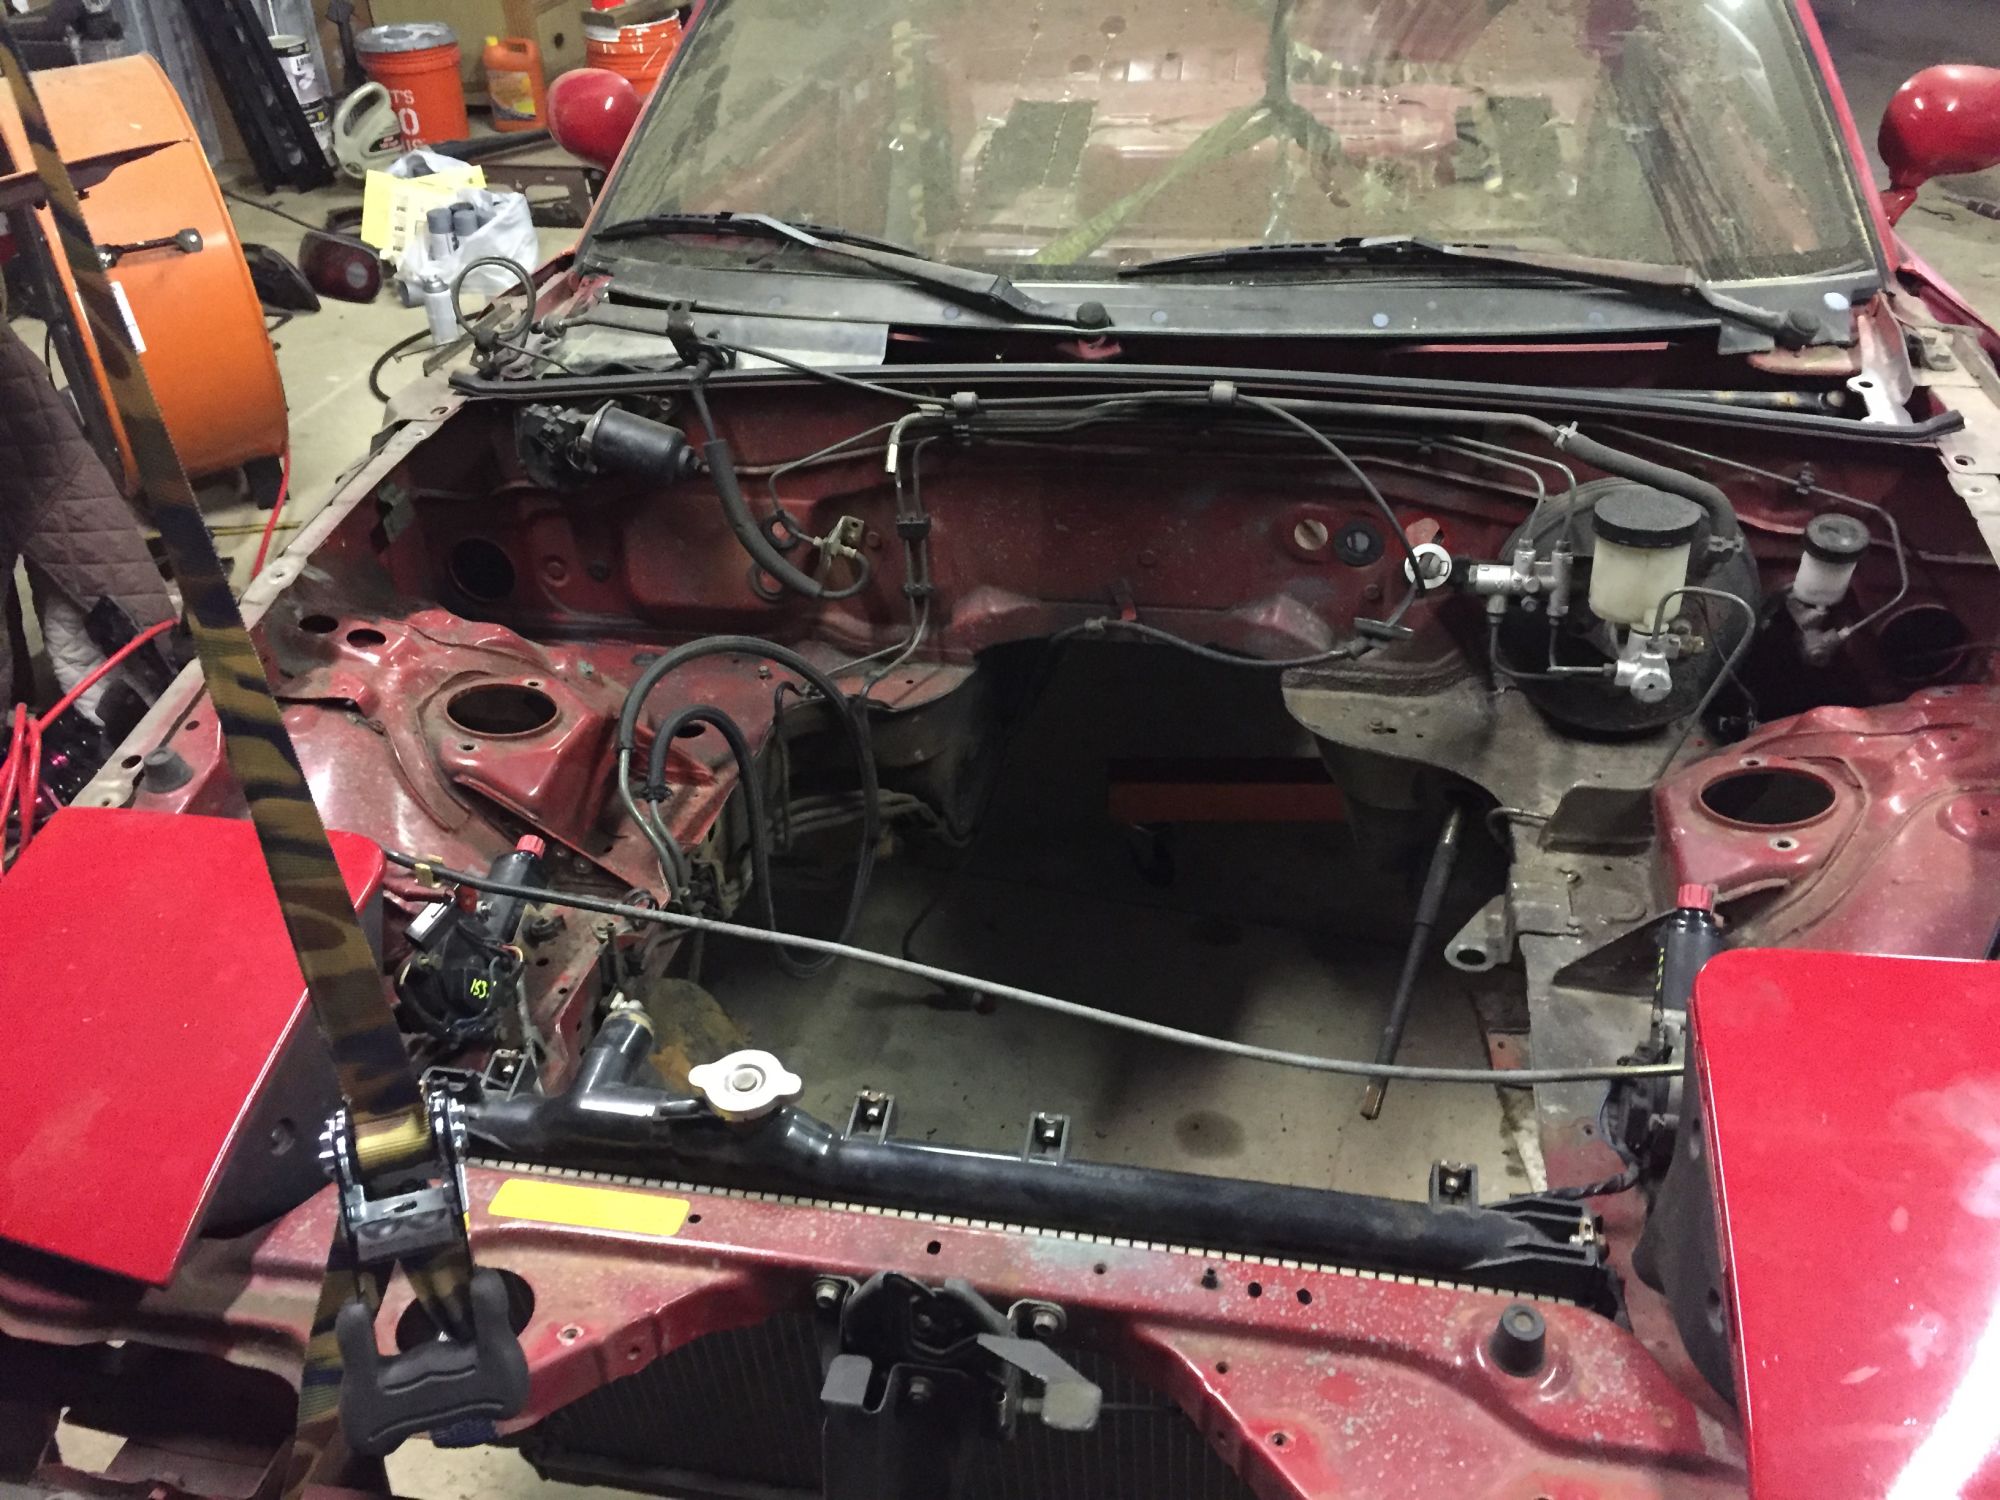
Next I pulled the soft top out and started un-doing the brake and clutch lines and the remaining wiring left underneath the car
Next I pulled the soft top out and started un-doing the brake and clutch lines and the remaining wiring left underneath the car
Reply
1
1

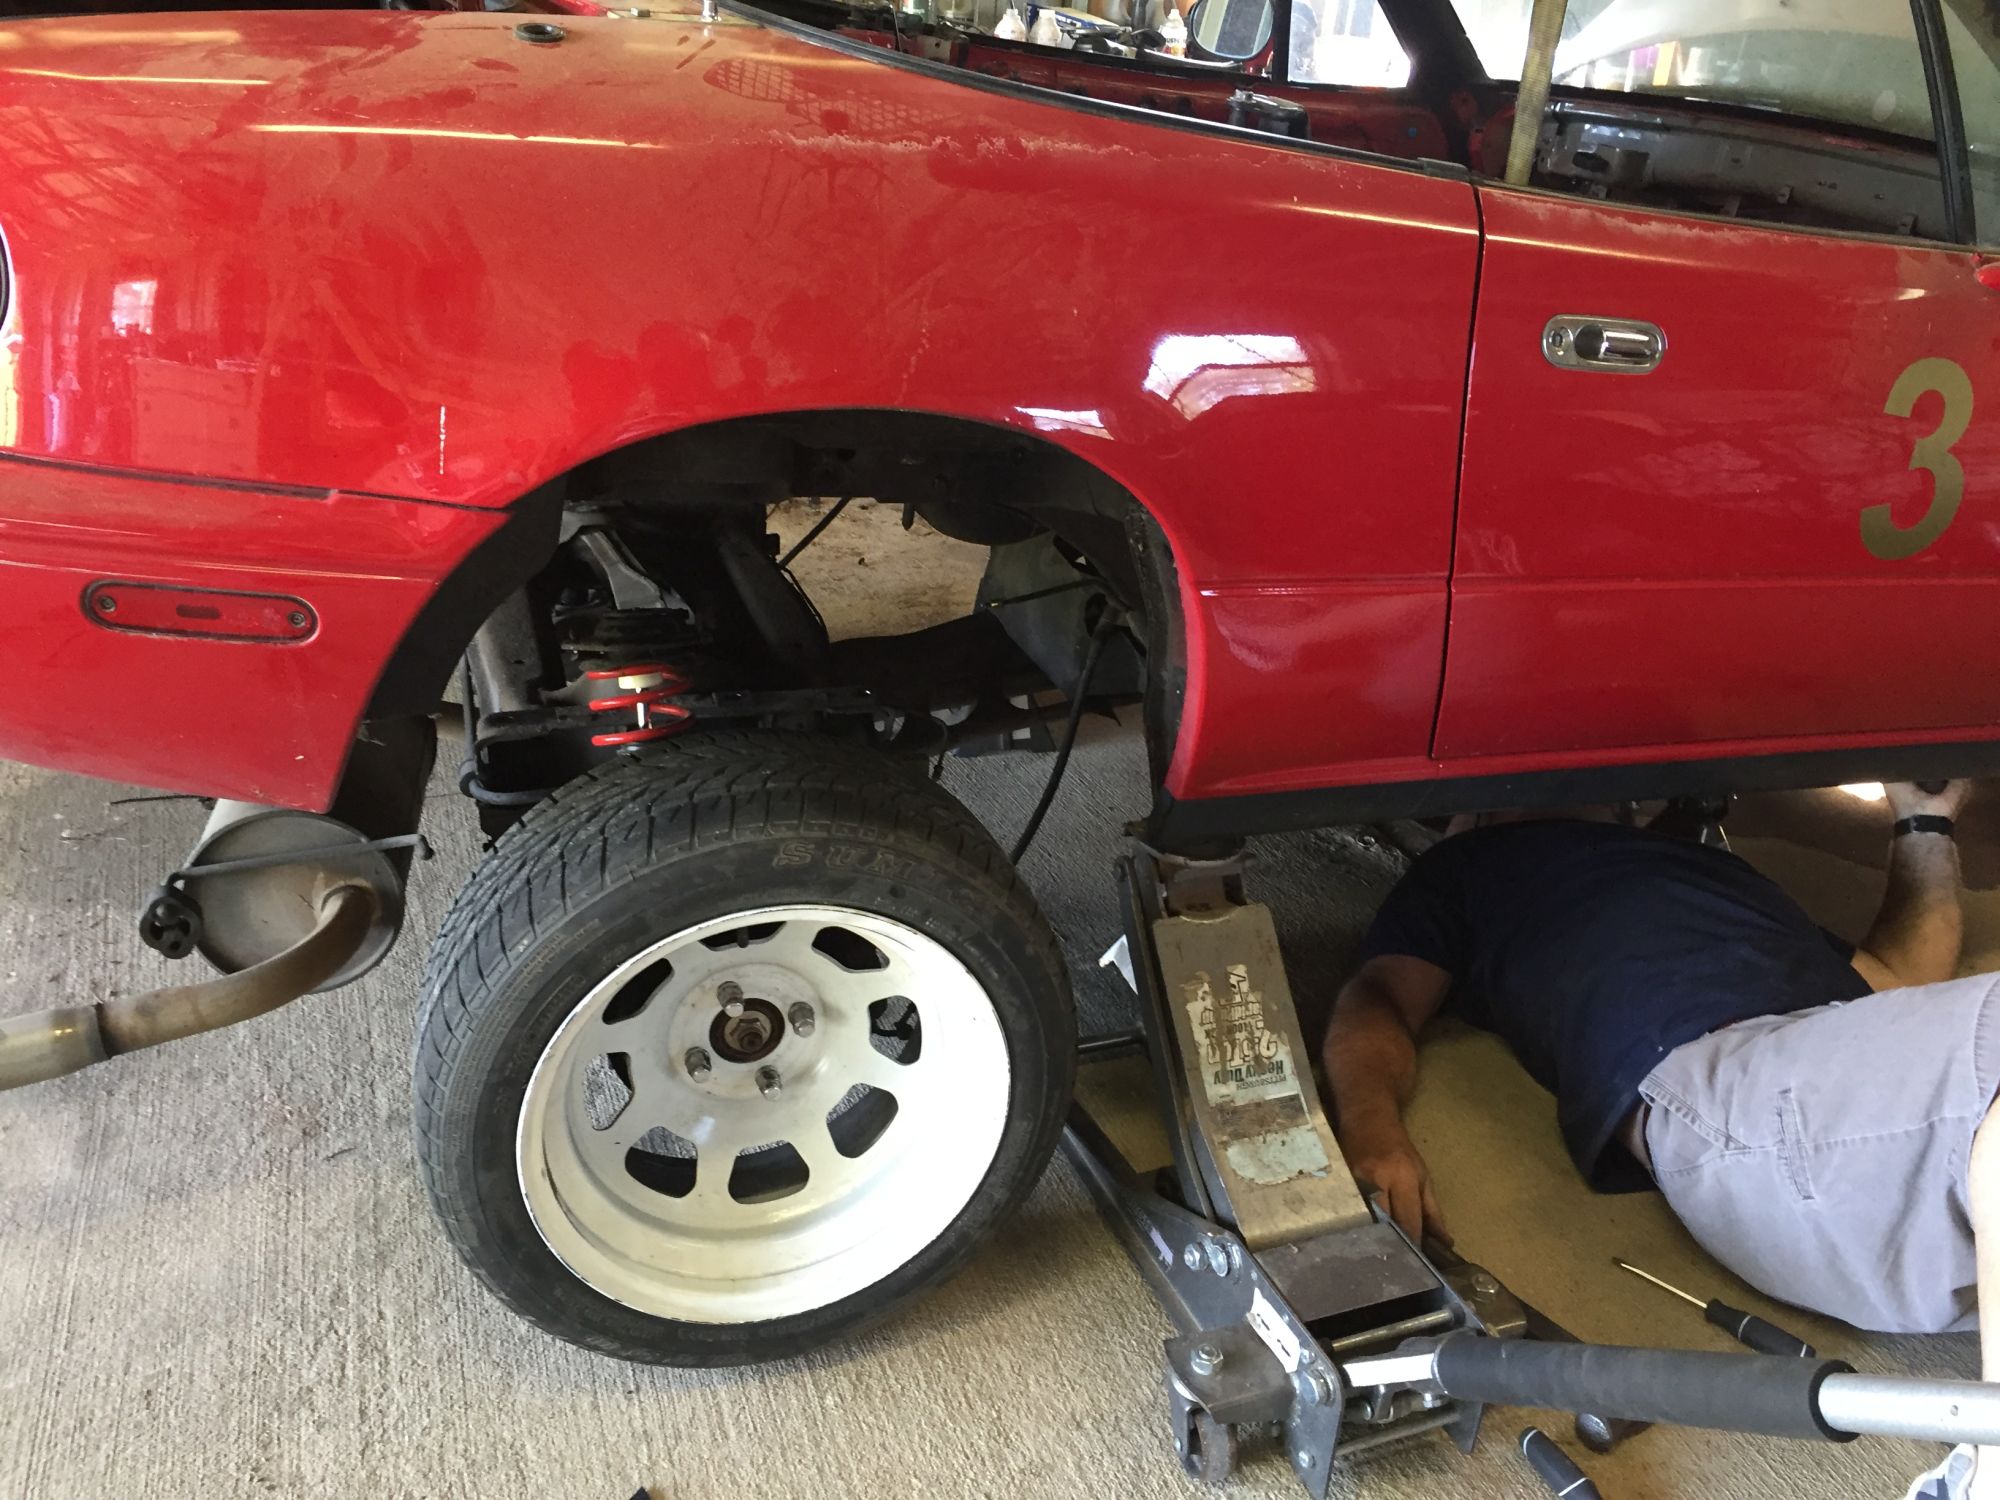
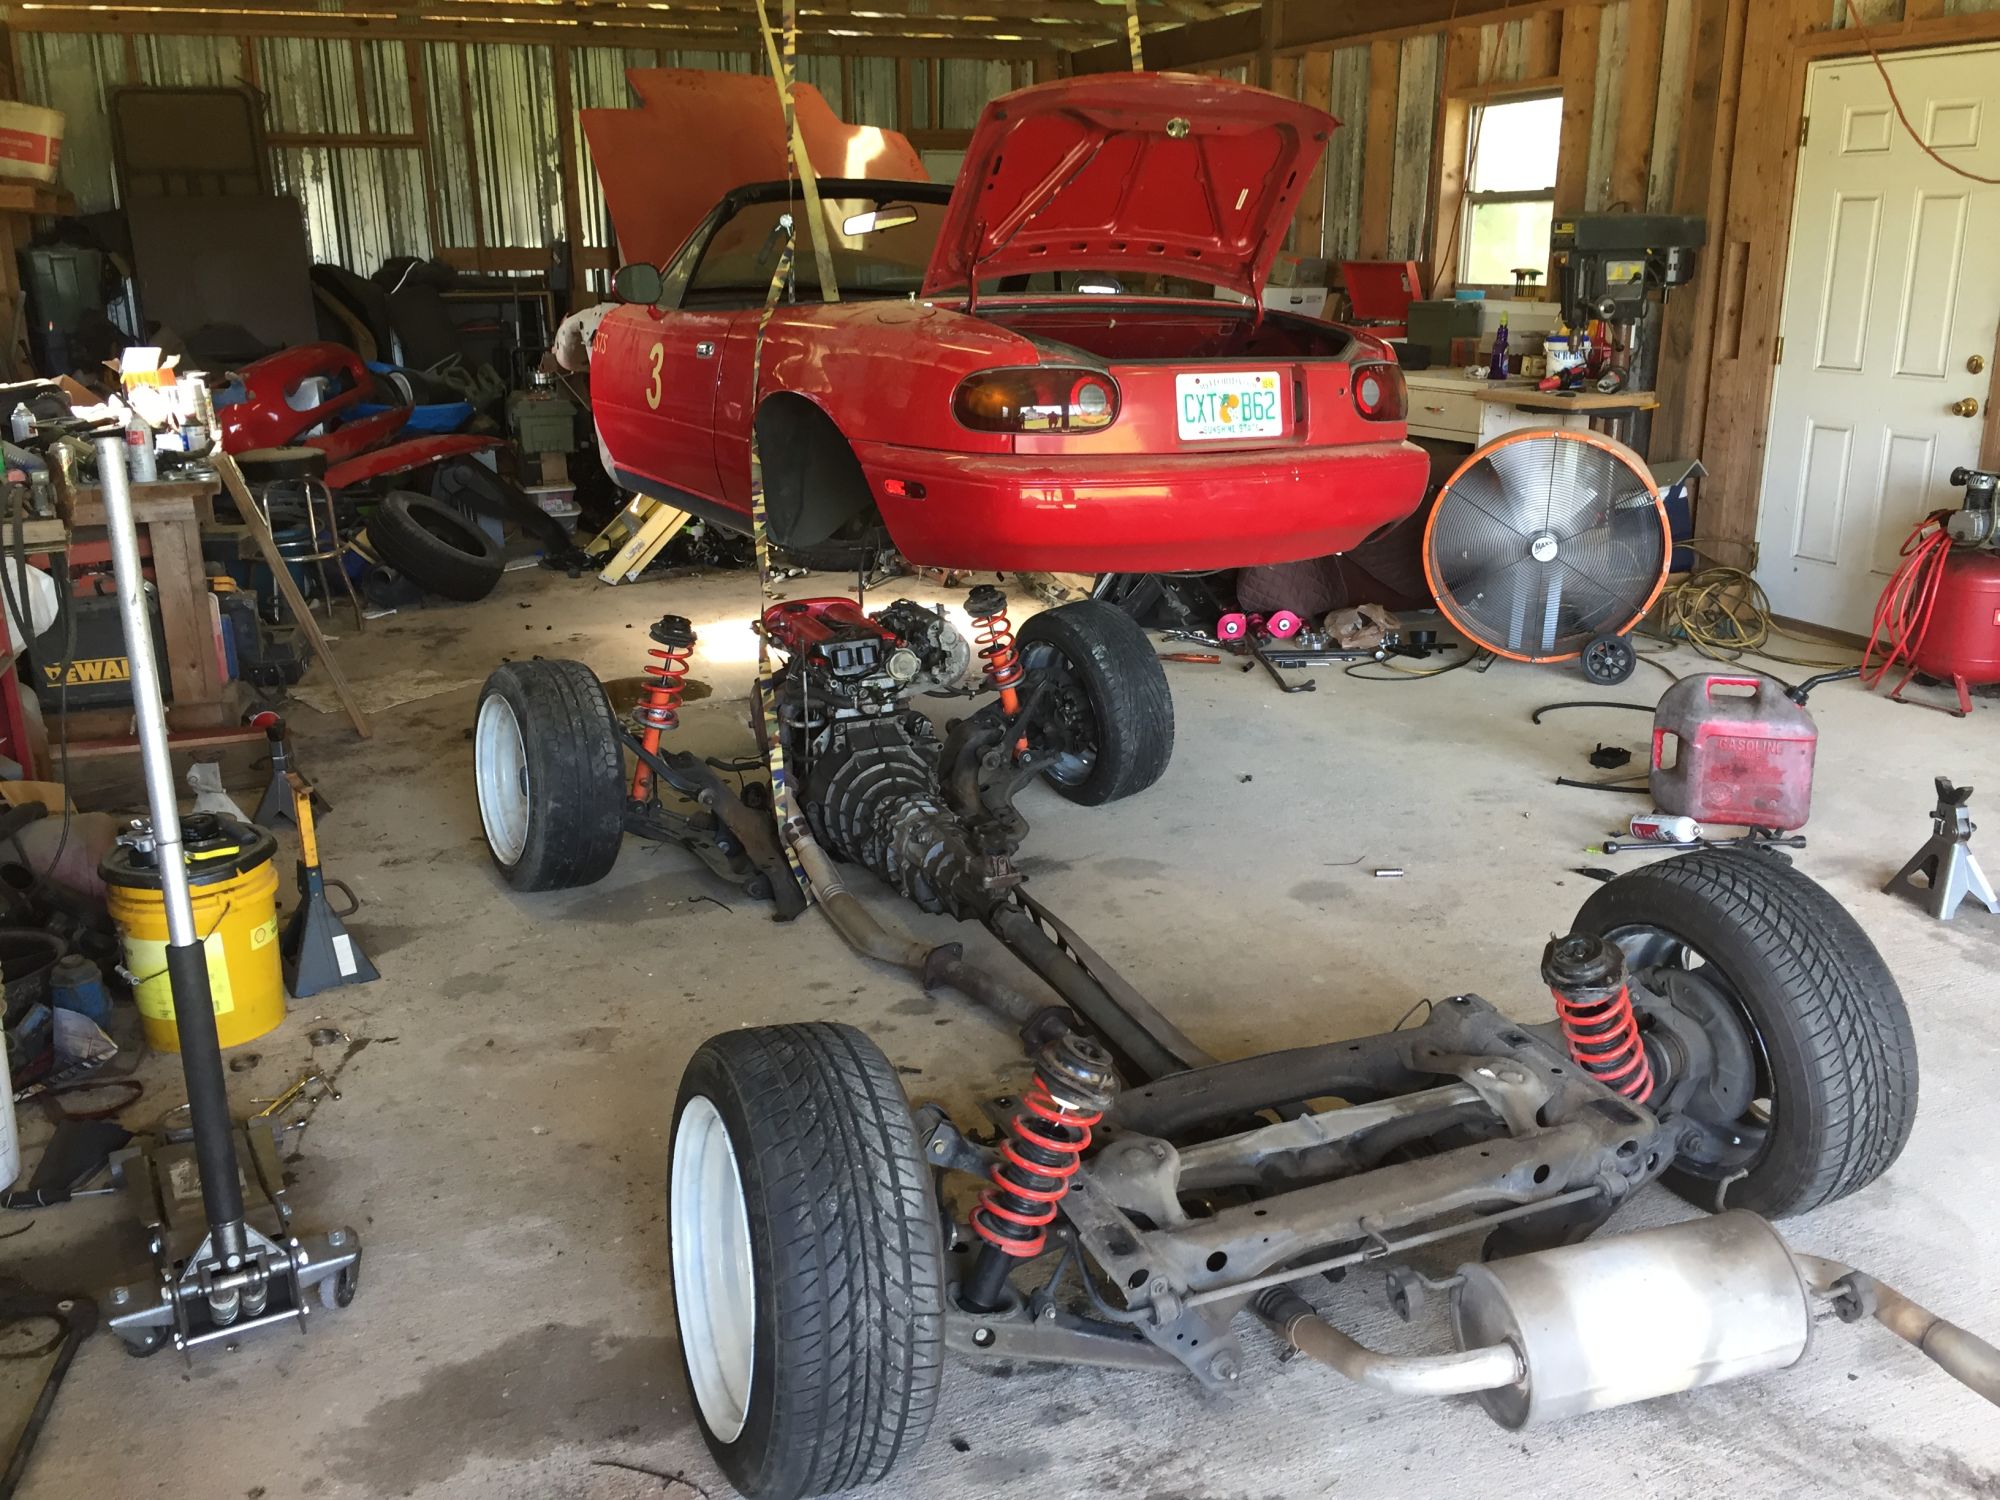
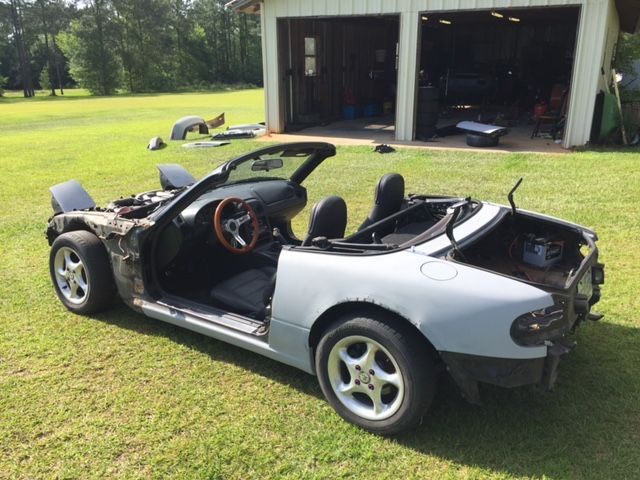
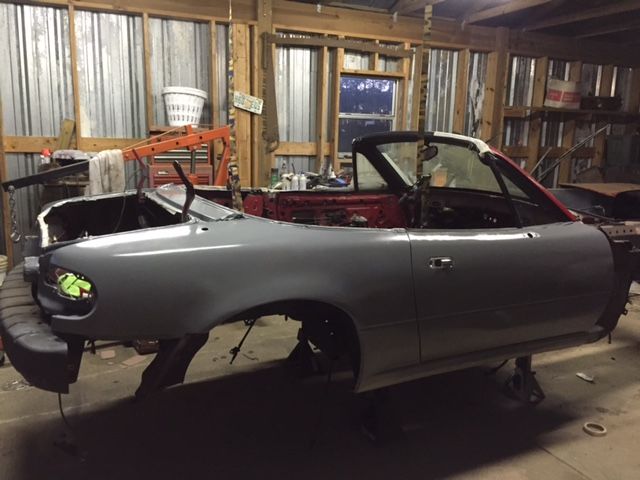
This is where I am in my build. How far do I want to go with these suspension and such frame bits to send it to the body shop only to swap chassis /frames later.
I'm wondering if it'll be more worthwhile to keep things as is and just hunt for a shell and have that prepped over winter.
I'm wondering if it'll be more worthwhile to keep things as is and just hunt for a shell and have that prepped over winter.
Reply
0
0
Thread Starter
Newb
Joined: May 2016
Posts: 29
Total Cats: 5
This is where I am in my build. How far do I want to go with these suspension and such frame bits to send it to the body shop only to swap chassis /frames later.
I'm wondering if it'll be more worthwhile to keep things as is and just hunt for a shell and have that prepped over winter.
I'm wondering if it'll be more worthwhile to keep things as is and just hunt for a shell and have that prepped over winter.
Mine started in the quarter panels and spread all the way up the rocker to the front of the car. It's way beyond saving lol
Reply
1
1
Mine is the front driver rocker. The fender had no attachment point. I just worry that once the body shop peels the layers back, it'll just be far more compounded then what is externally visible. I just wish I could spray POR15 in all the nooks and crevices behind stock rockers and fenders and doors from the inside.
Reply
0
0
Thread Starter
Newb
Joined: May 2016
Posts: 29
Total Cats: 5
Mine is the front driver rocker. The fender had no attachment point. I just worry that once the body shop peels the layers back, it'll just be far more compounded then what is externally visible. I just wish I could spray POR15 in all the nooks and crevices behind stock rockers and fenders and doors from the inside.
Reply
1
1


Thread Starter
Newb
Joined: May 2016
Posts: 29
Total Cats: 5
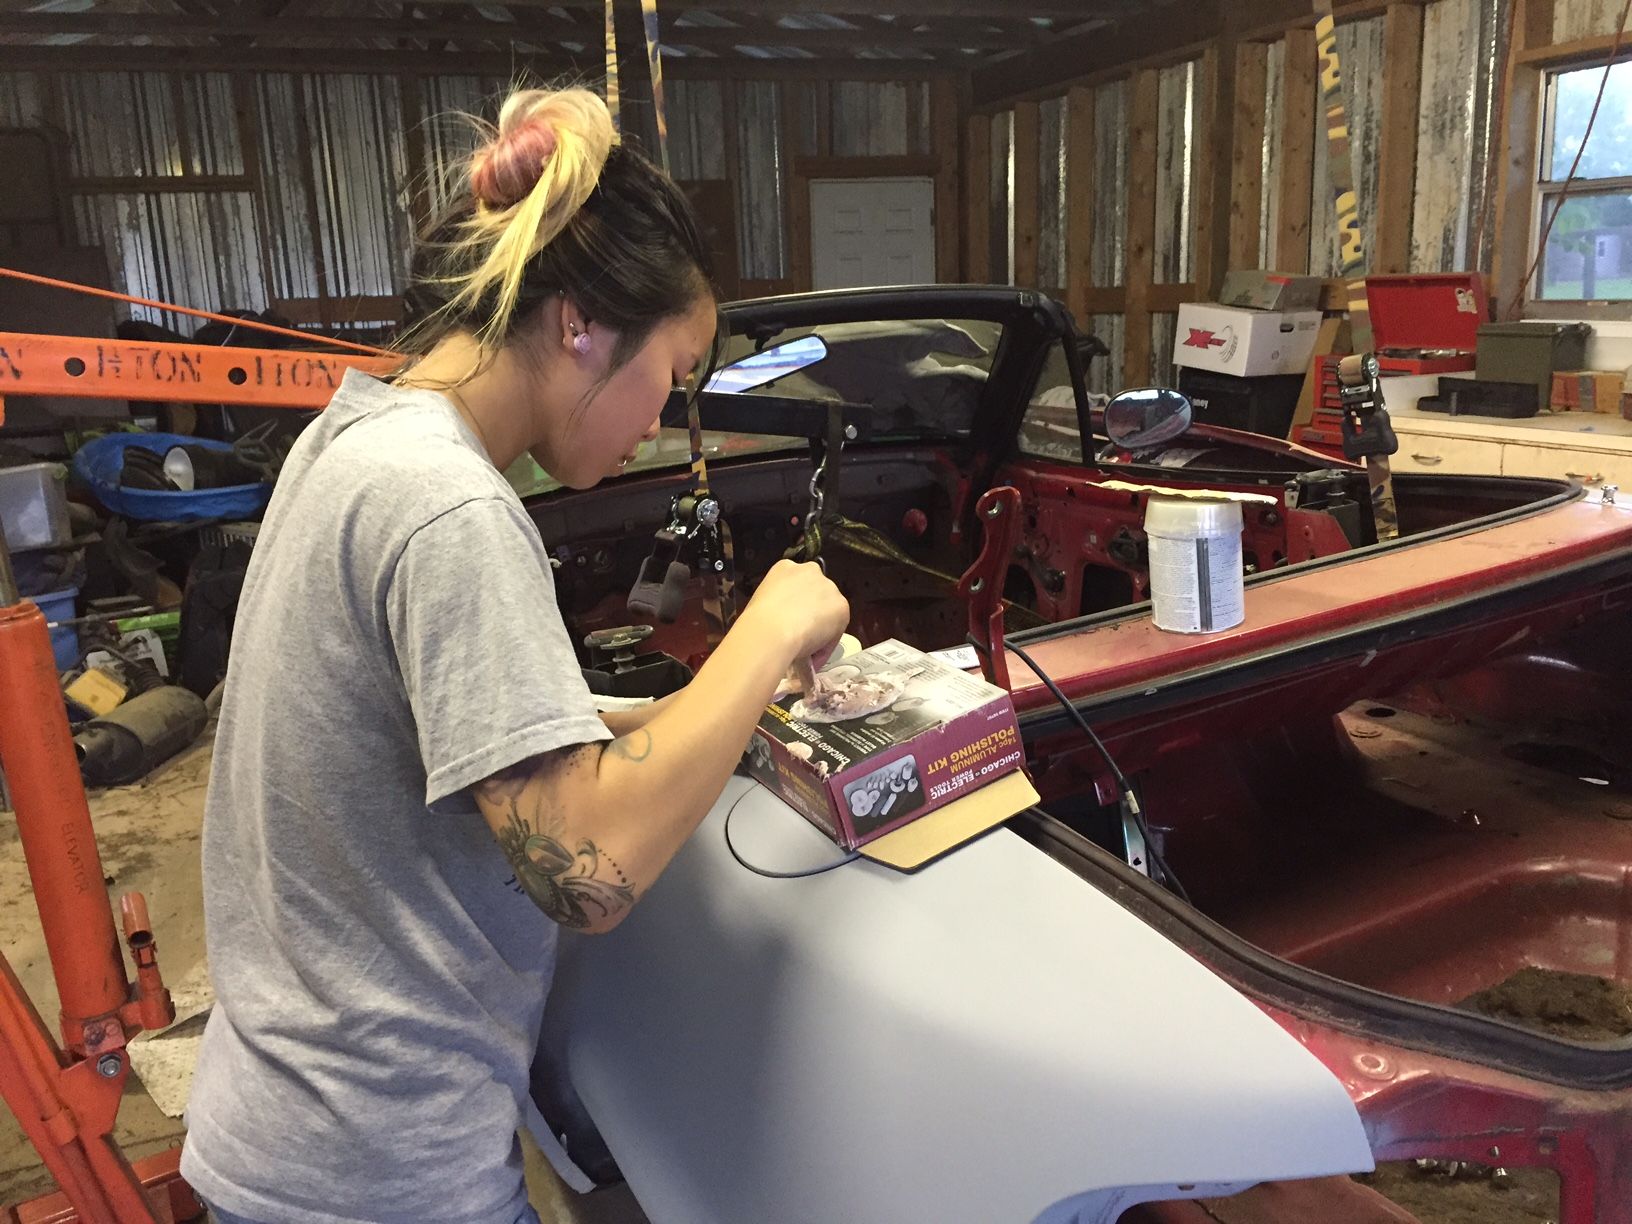
I haven't made a whole lot of progress this week as I have to drive 30 minutes to my parents house whenever I want to work on the car. Last night my wife and I started sanding down a few panels and sprayed some primer on the quarters, front fenders and rear bumper. The hood, trunk and passenger door are coming off of the already primered car so atleast that stuff is done.
Reply
0
0
Thread Starter
Newb
Joined: May 2016
Posts: 29
Total Cats: 5
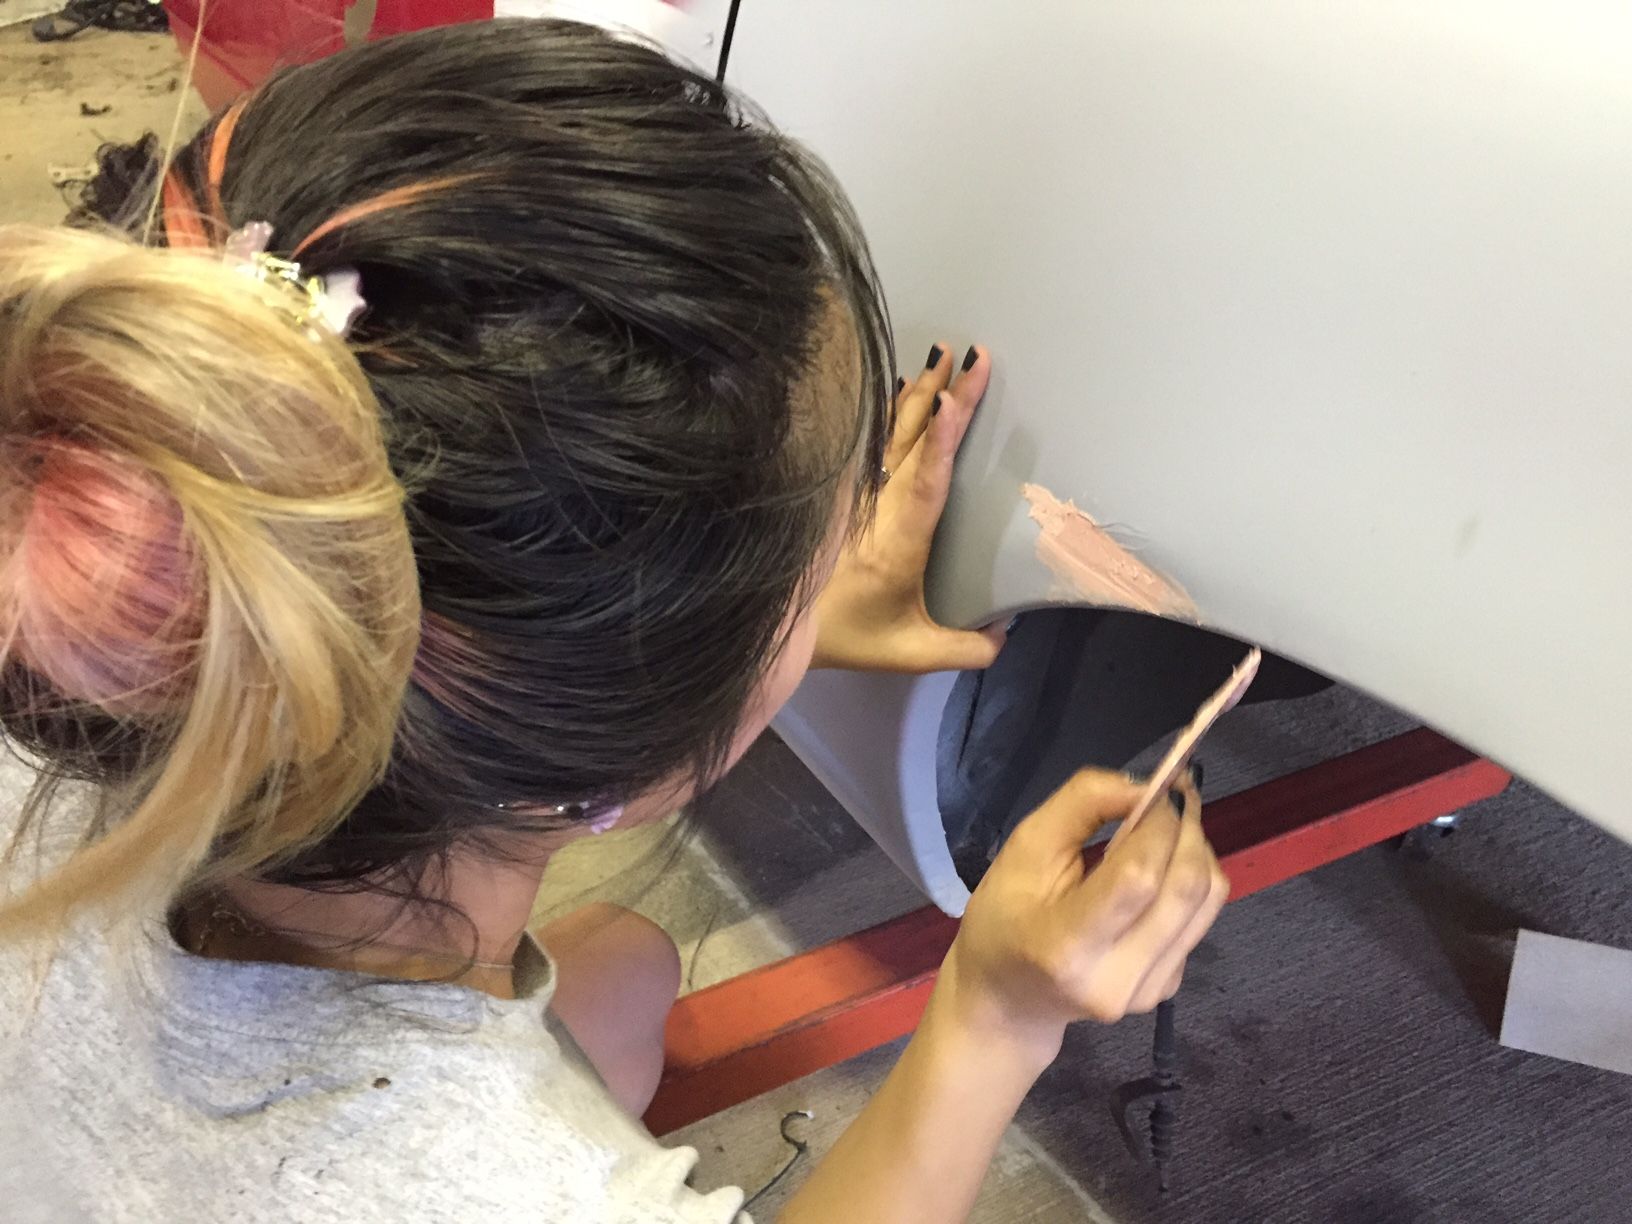
I apparently suck at Bondo-ing so my wife doesn't let me do it lol pretty damn cool having her help me on big projects like this. There were a couple long dents on the quarter from the P.O. but they're all taken care of now. Paint should be done tonight and I can finally start swapping over everything from the 1.8l car
Reply
0
0
Thread Starter
Newb
Joined: May 2016
Posts: 29
Total Cats: 5
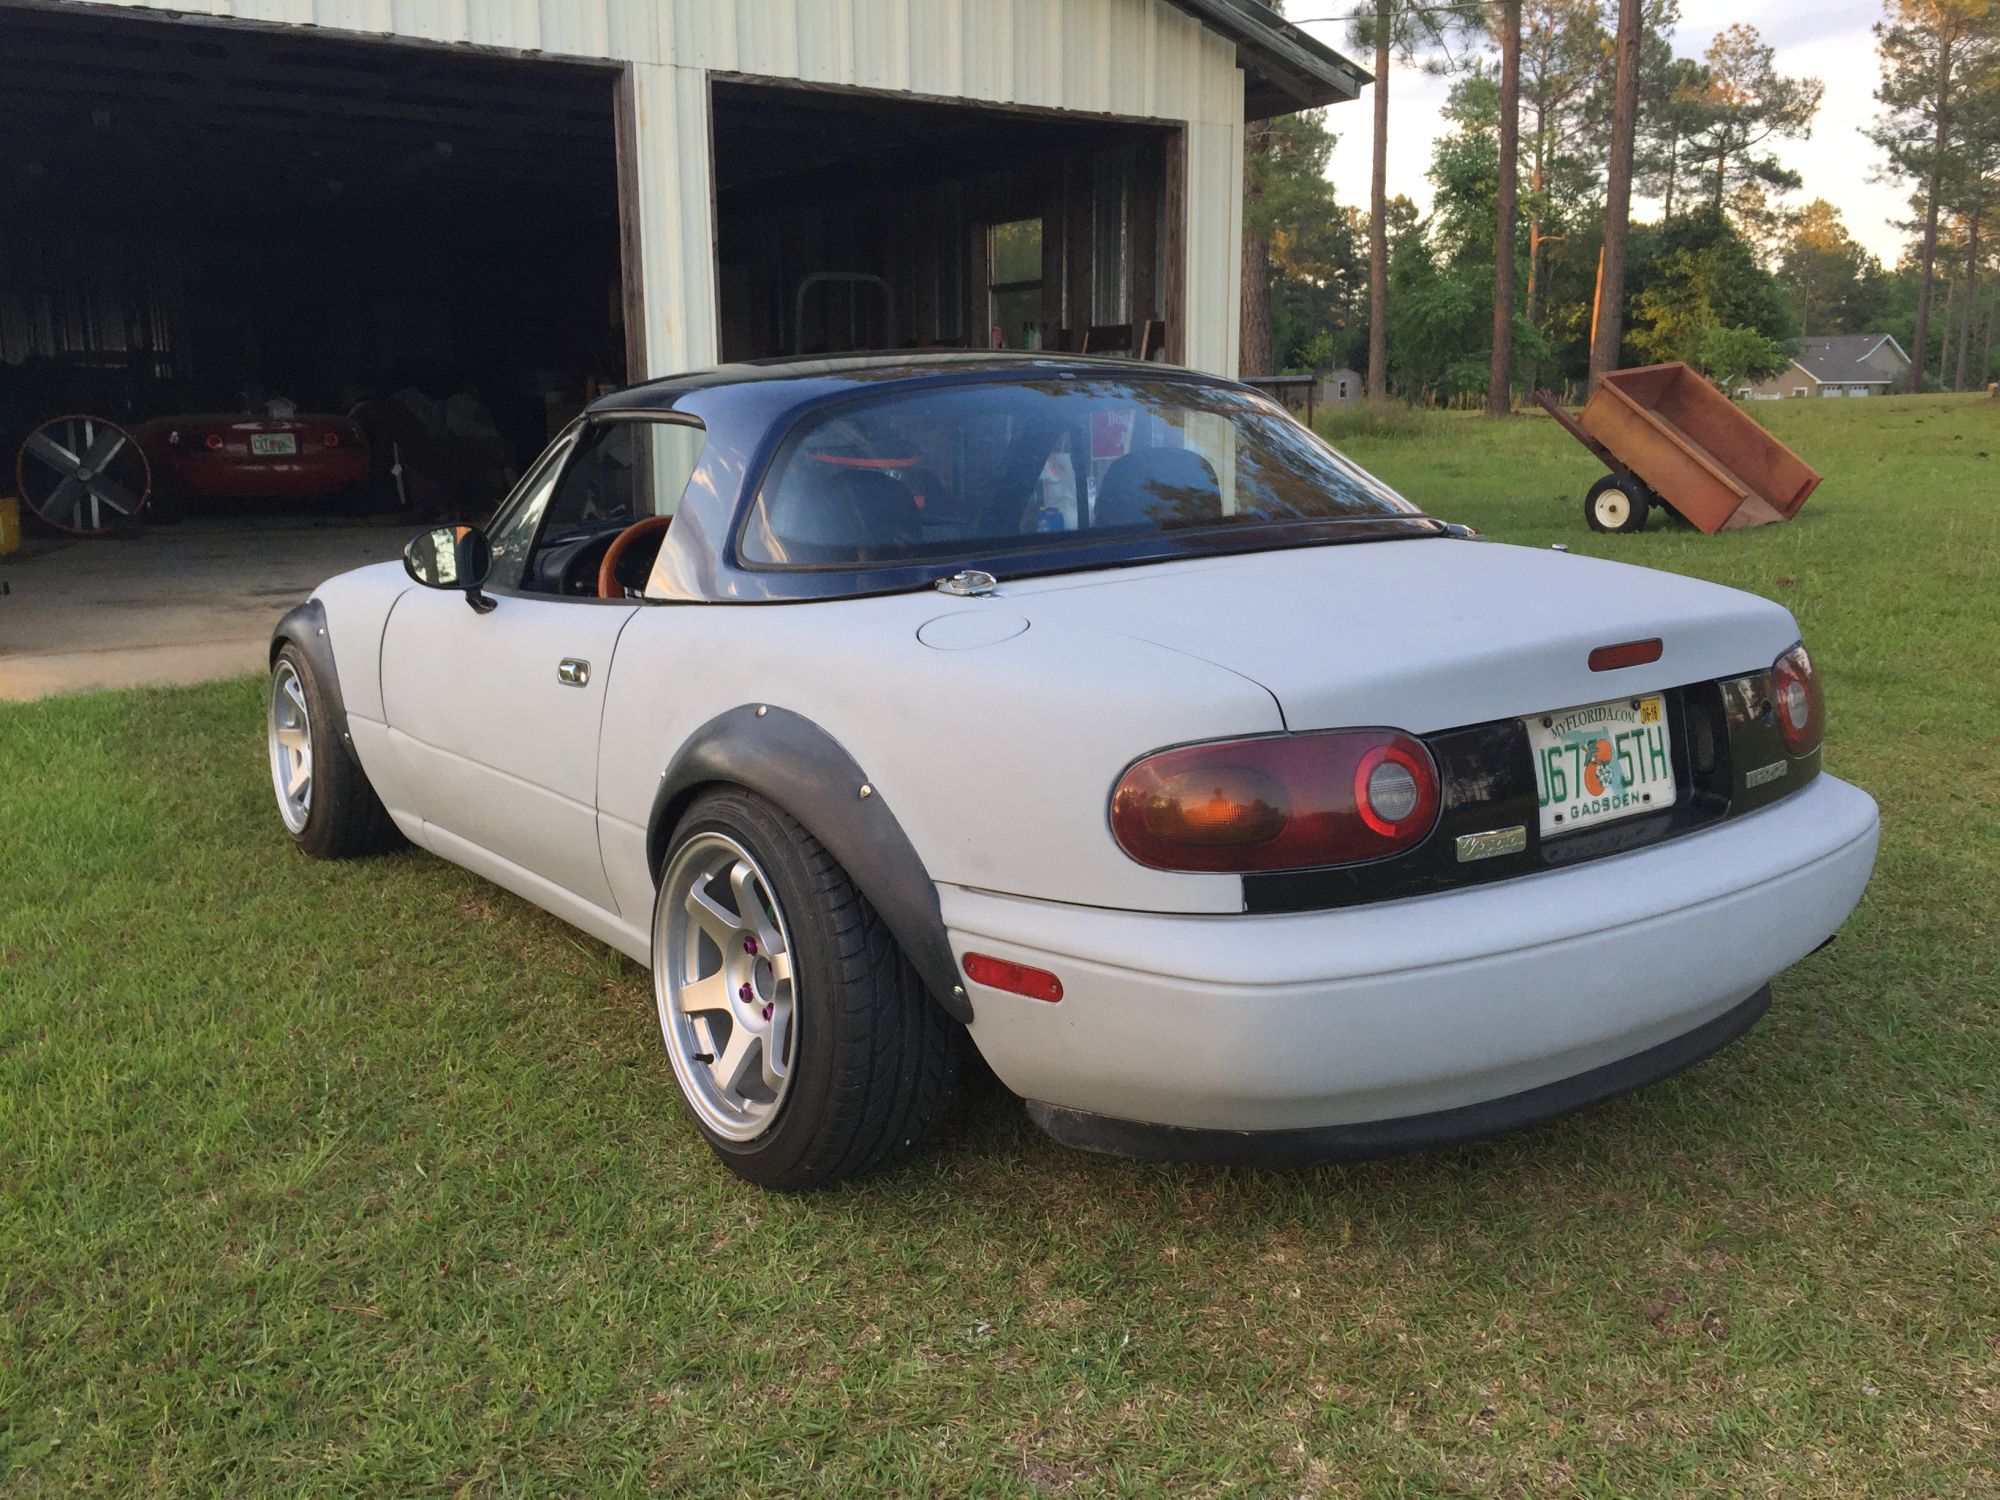
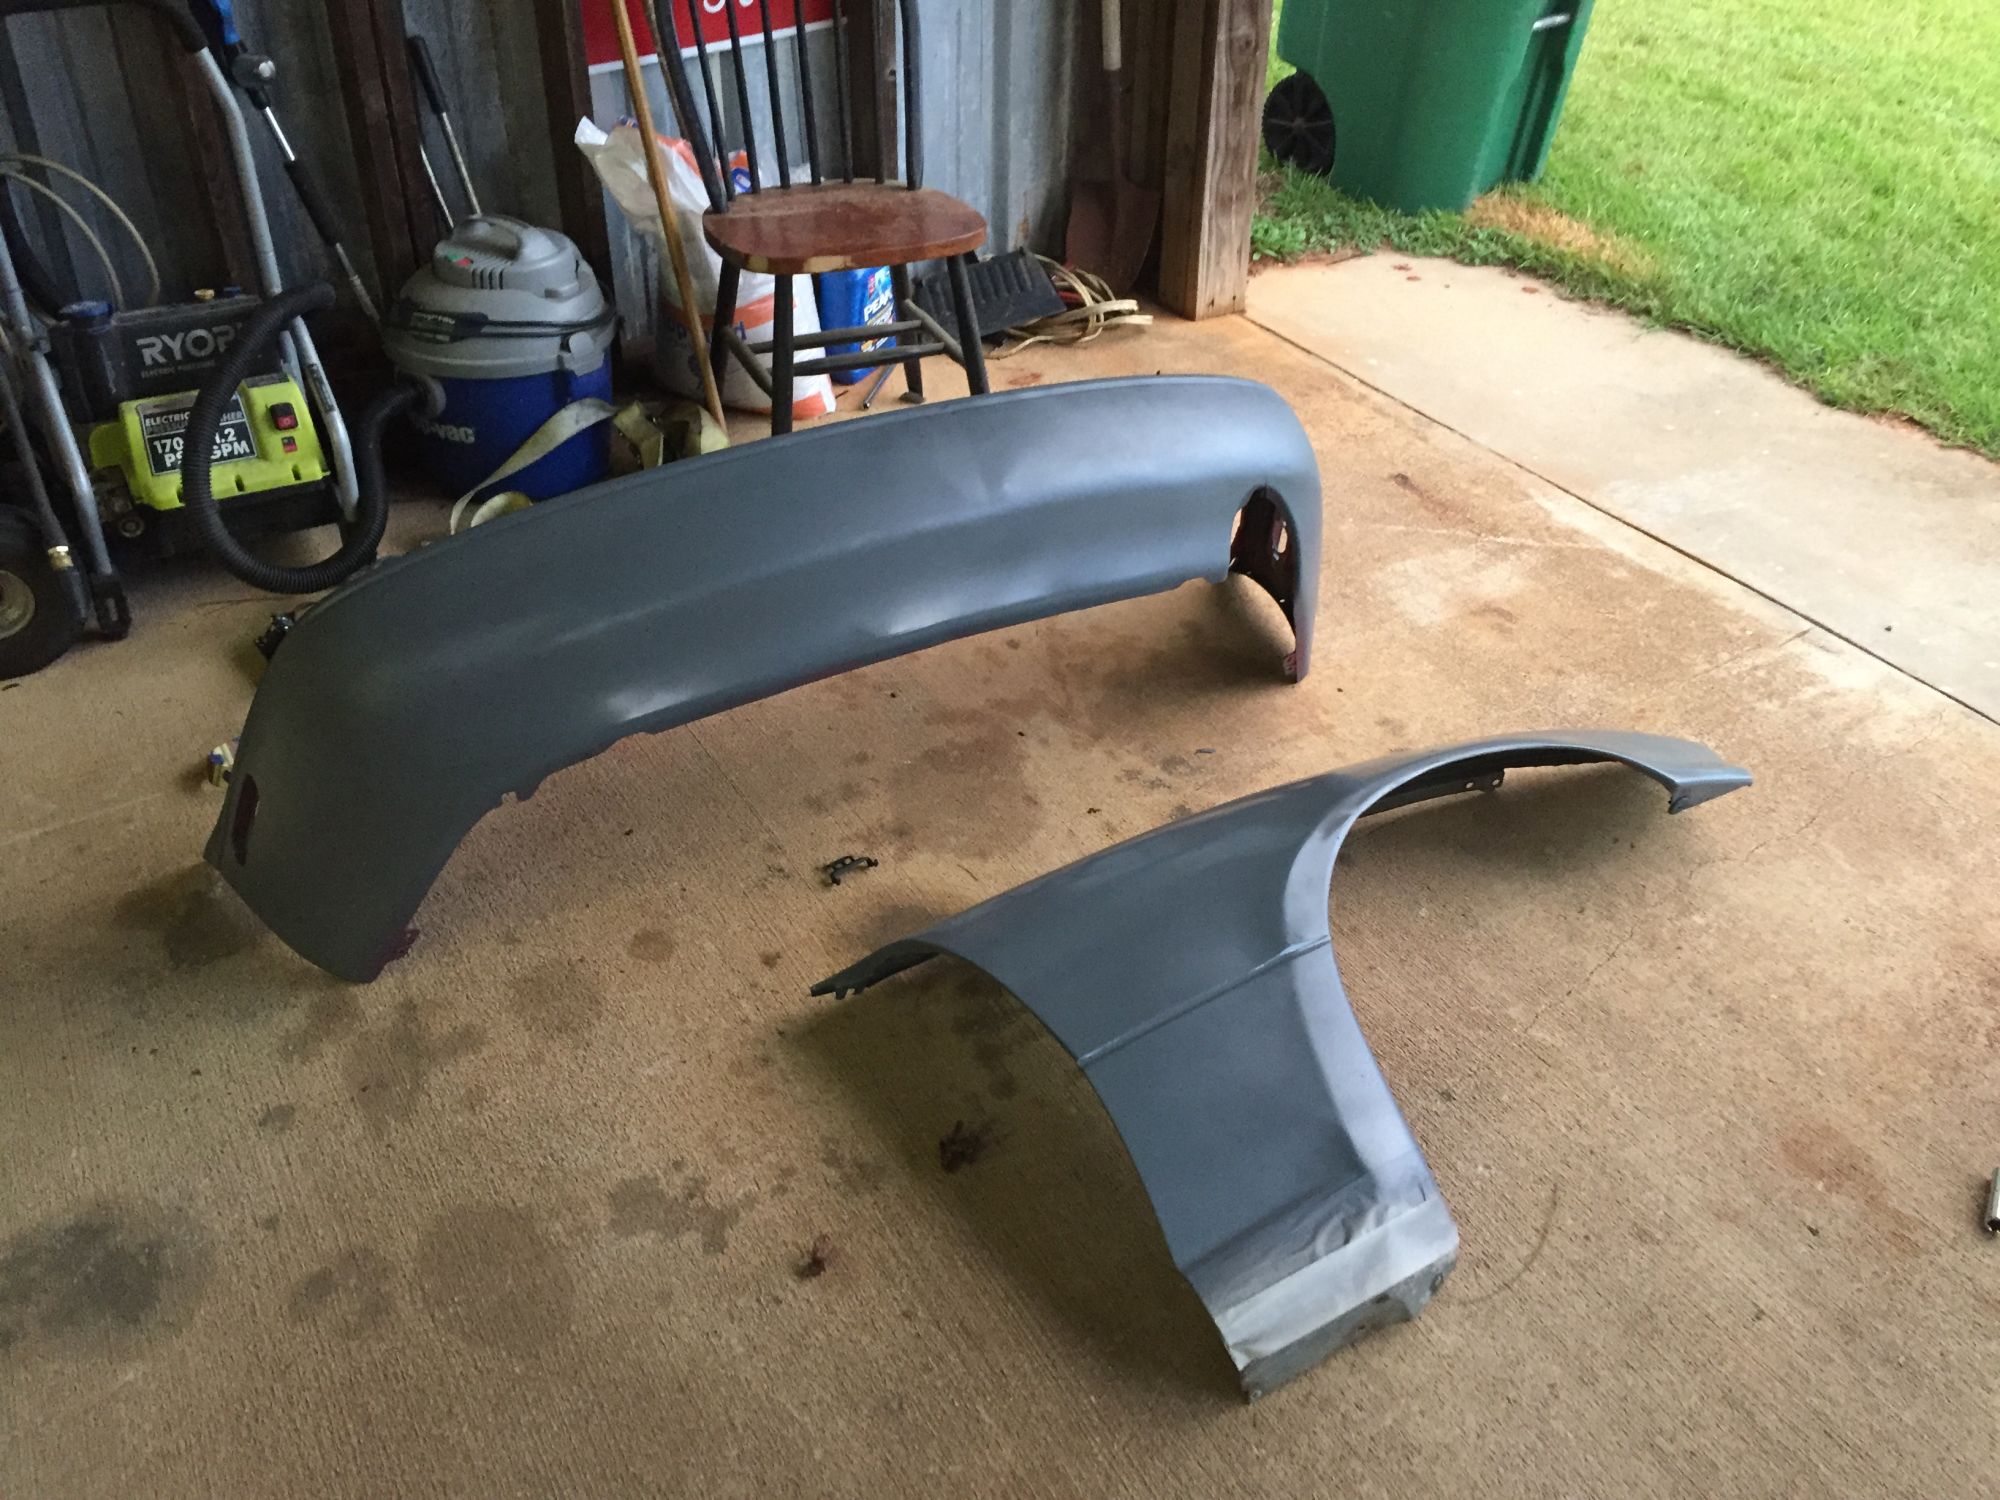
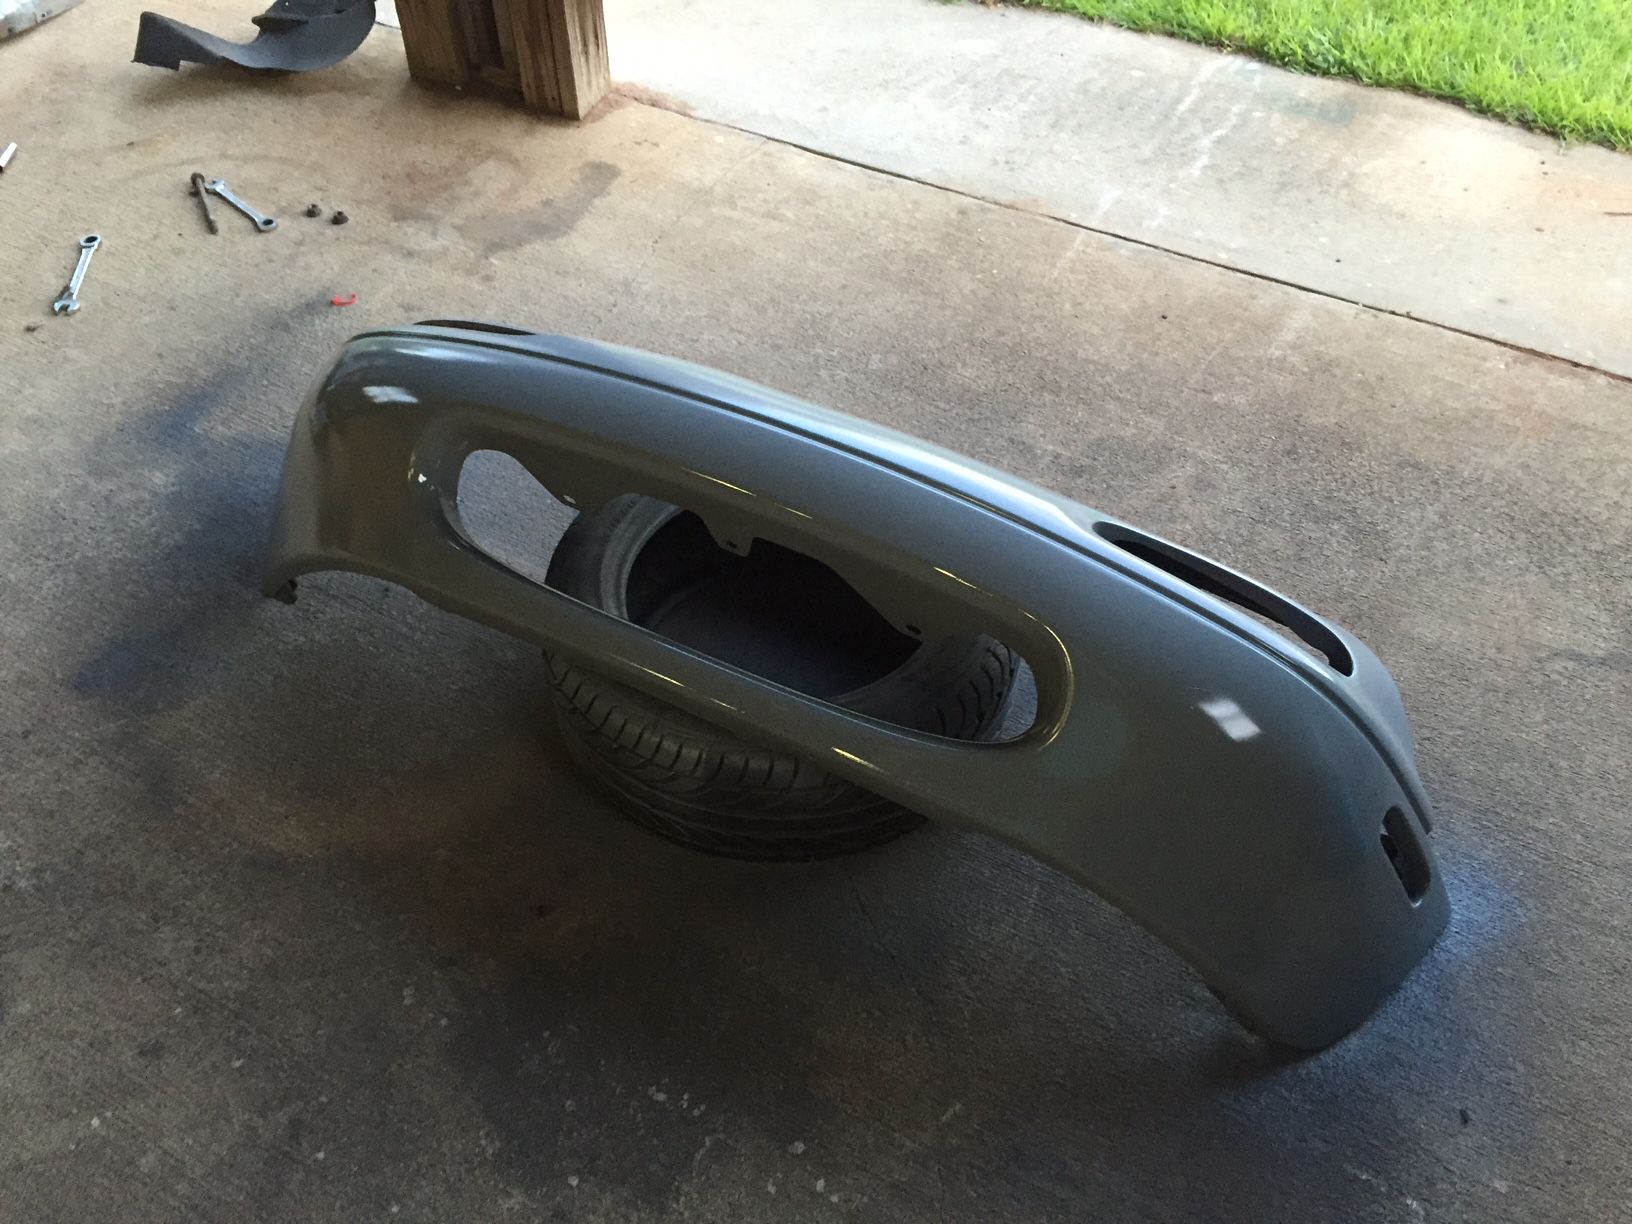
Here's the final color I decided to go with. Not expecting any crazy good results from my rattle can paint job but i'm happy with it so far! Got both bumpers and the front fenders fully painted last night. I leave for Hong Kong/Japan on Wednesday and only have 2 weeks to finish everything once I get back so I've really got to kick it into gear
Reply
0
0
Thread Starter
Newb
Joined: May 2016
Posts: 29
Total Cats: 5
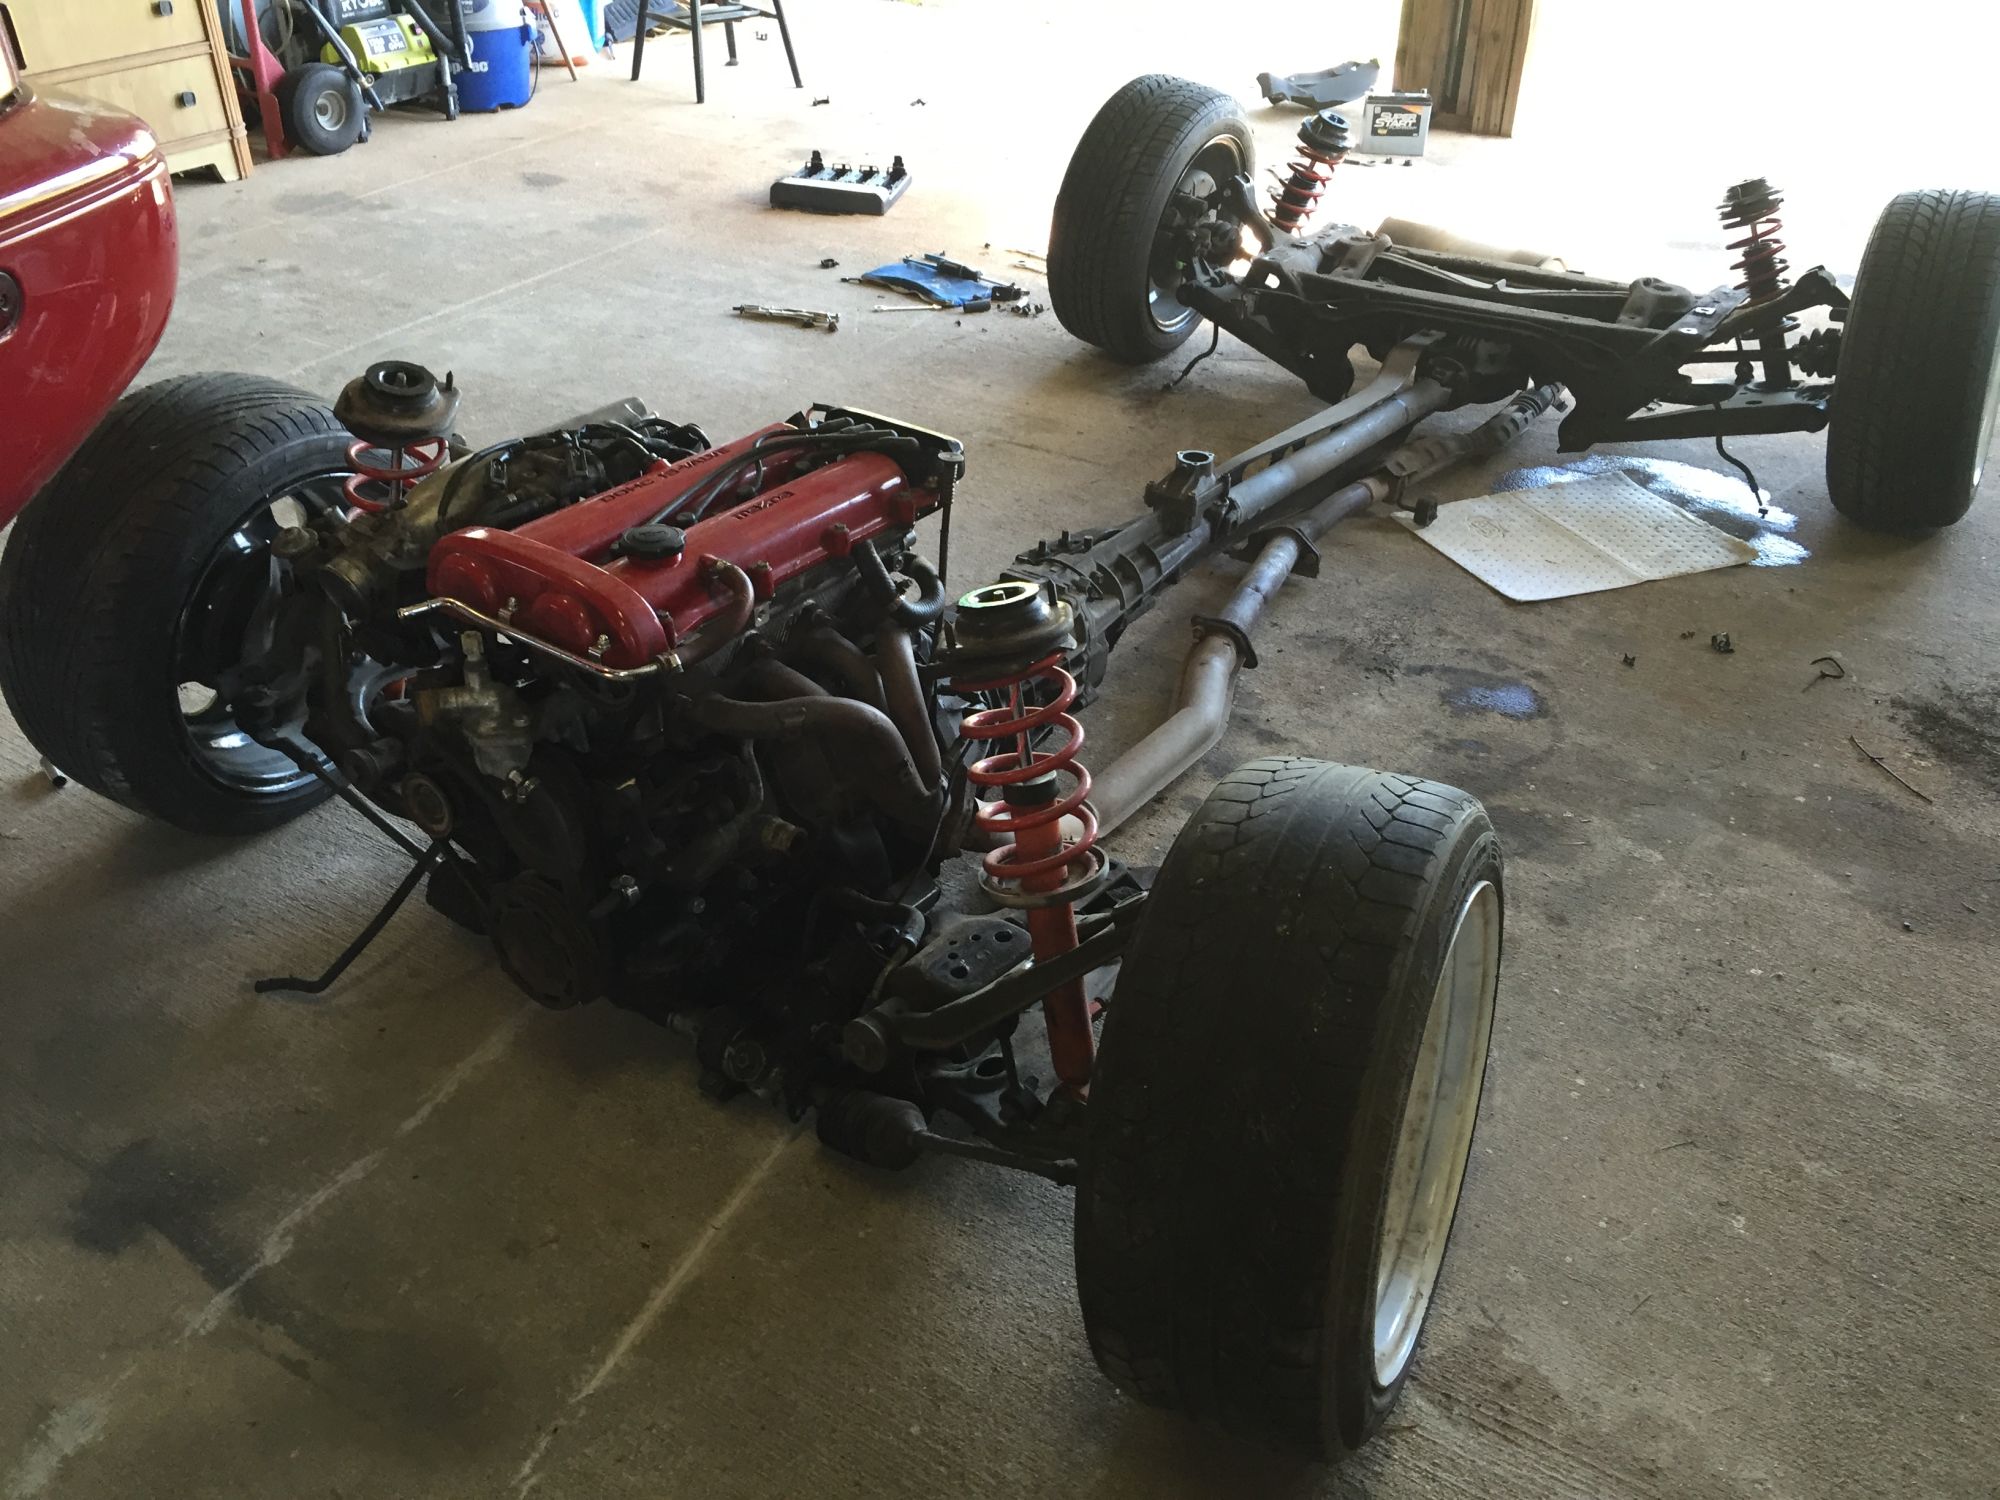
So this past weekend was a lot of fun and I got a decent amount of work done. I was hoping to get the driveline out of the 1.8 car but a few other things had to come first
I started stripping it down and pulling wires but then an idea occurred to me...
I started stripping it down and pulling wires but then an idea occurred to me...
Reply
0
0
Thread Starter
Newb
Joined: May 2016
Posts: 29
Total Cats: 5
and back to work I went.. pulled the rest of the interior and eventually got the dash out as well. I'll start transplanting the interior wiring harness in a few weeks when i'm back in the country. Here's how it'll sit until then..
Reply
0
0
Thread Starter
Newb
Joined: May 2016
Posts: 29
Total Cats: 5
I've got every piece of the car painted except the hood. It'll need to be wet sanded as there are a couple rough spots but overall i'm happy with how it turned out
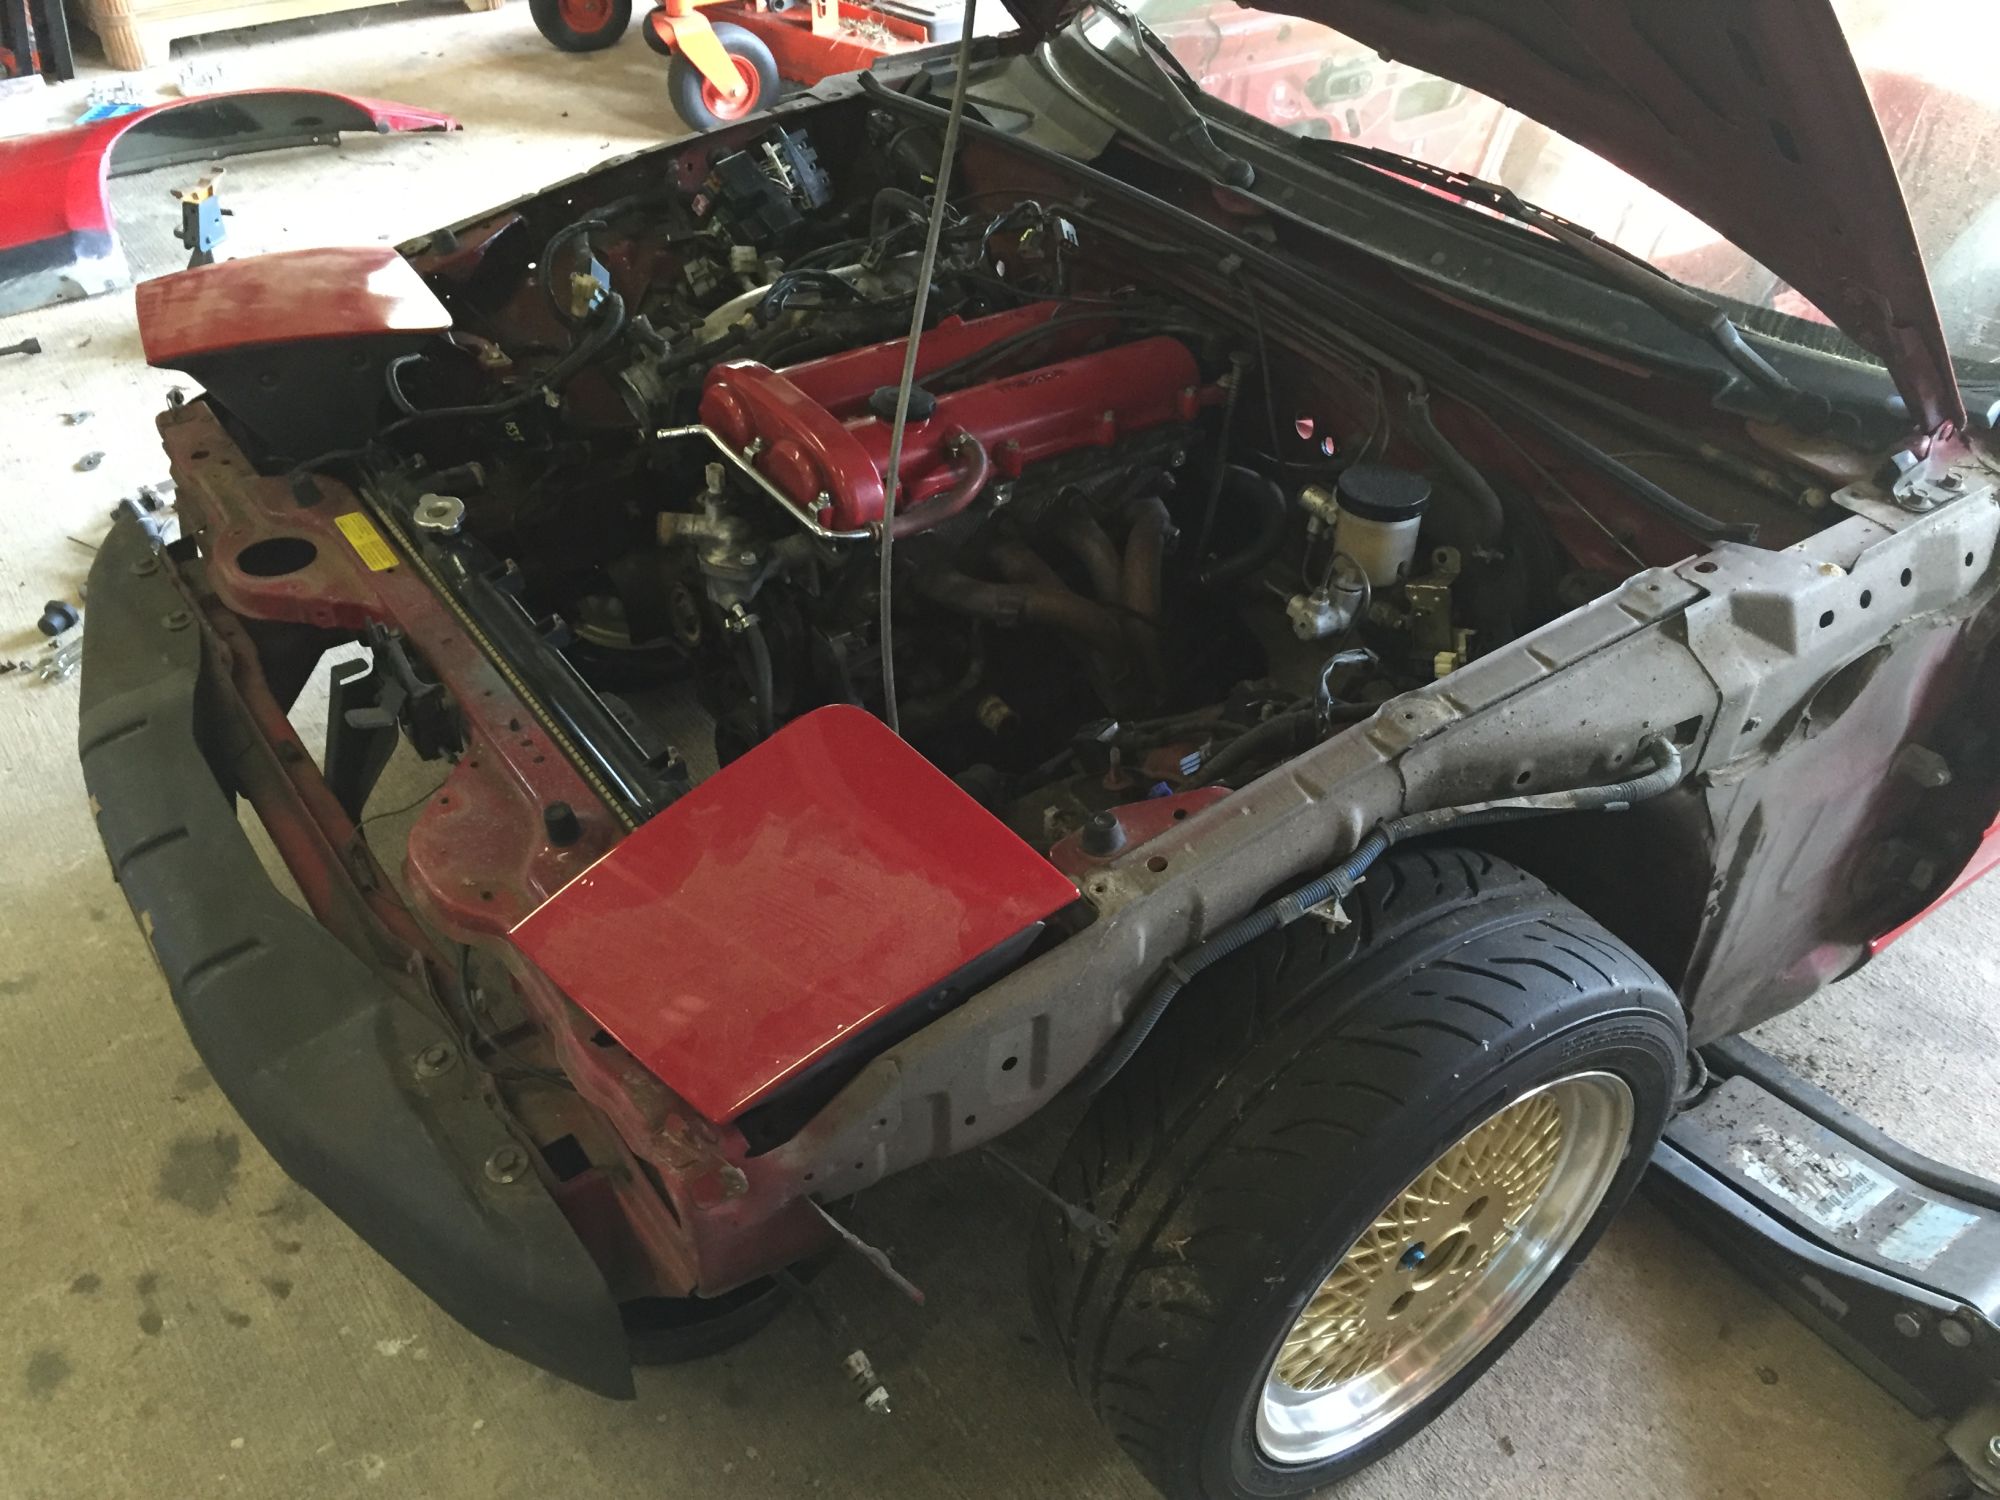
I cleaned the engine bay as best as I could and started spraying it down. This is where I really could have benefited from a pressure washer :/
but regardless it turned out pretty good
I cleaned the engine bay as best as I could and started spraying it down. This is where I really could have benefited from a pressure washer :/
but regardless it turned out pretty good
Reply
0
0


