When you click on links to various merchants on this site and make a purchase, this can result in this site earning a commission. Affiliate programs and affiliations include, but are not limited to, the eBay Partner Network.
Working from home today and due to it being December my workload is really light. Decided to take advantage of the extra time.
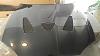
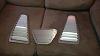
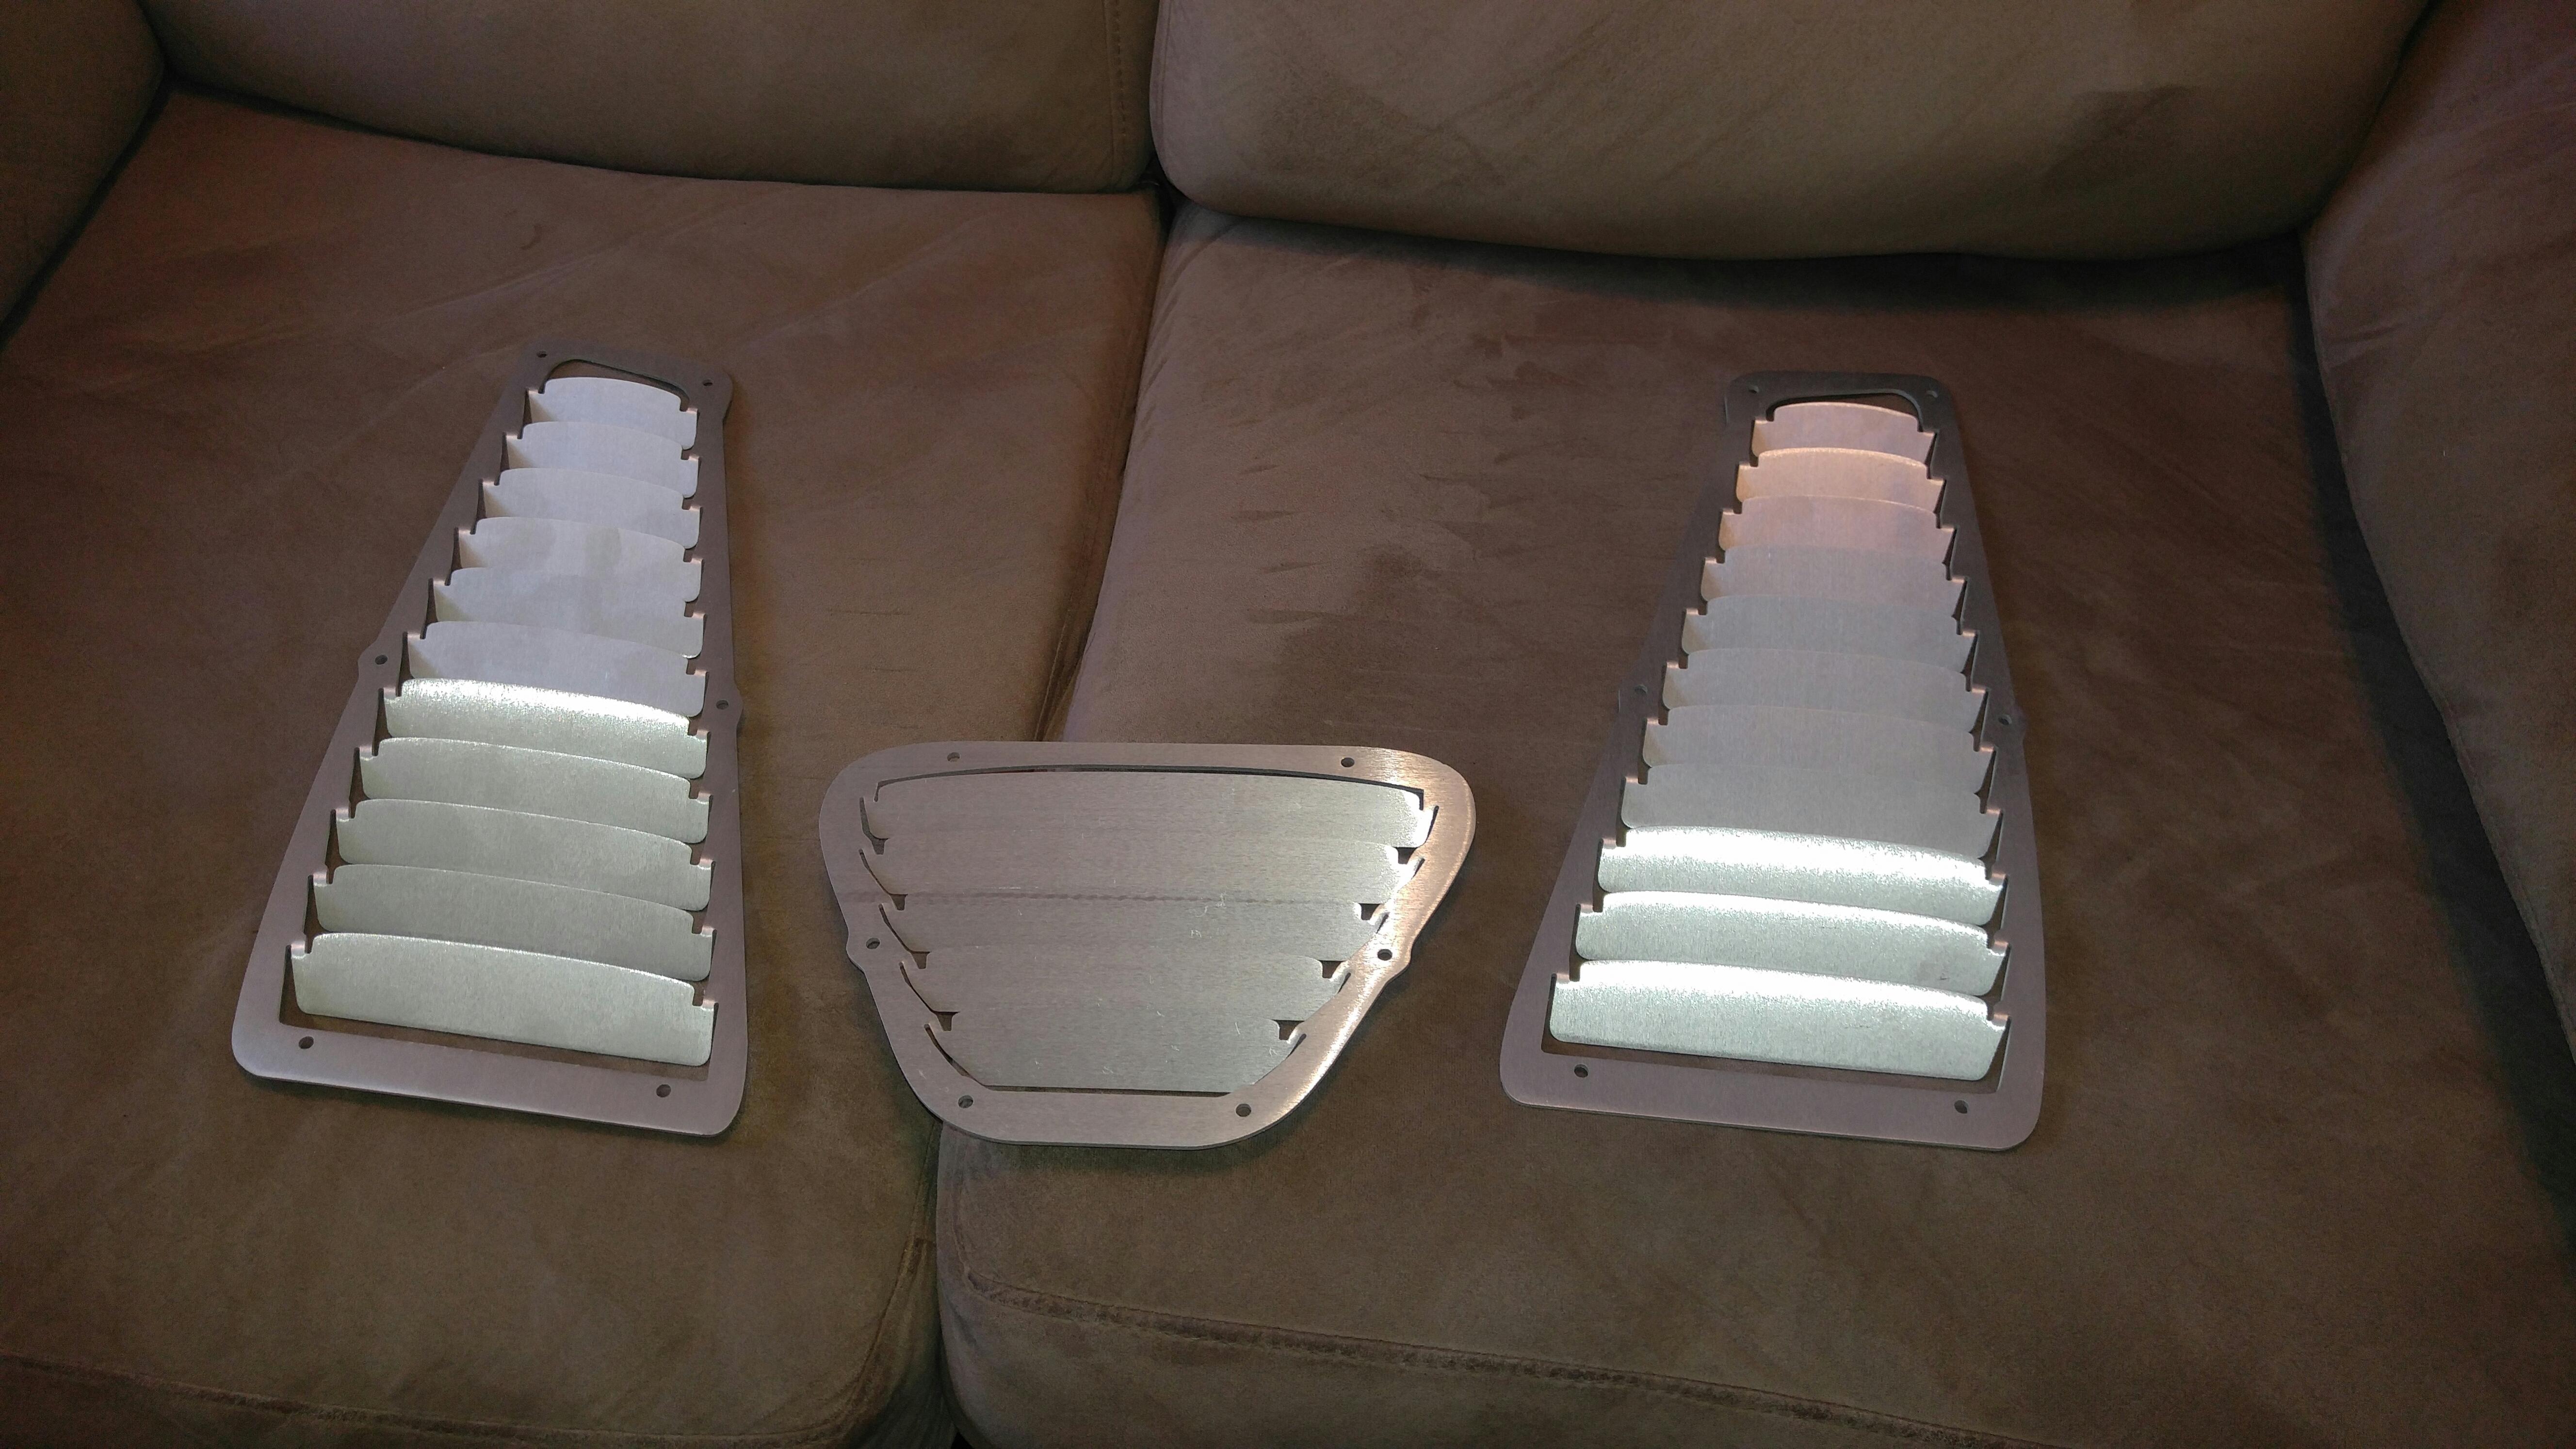
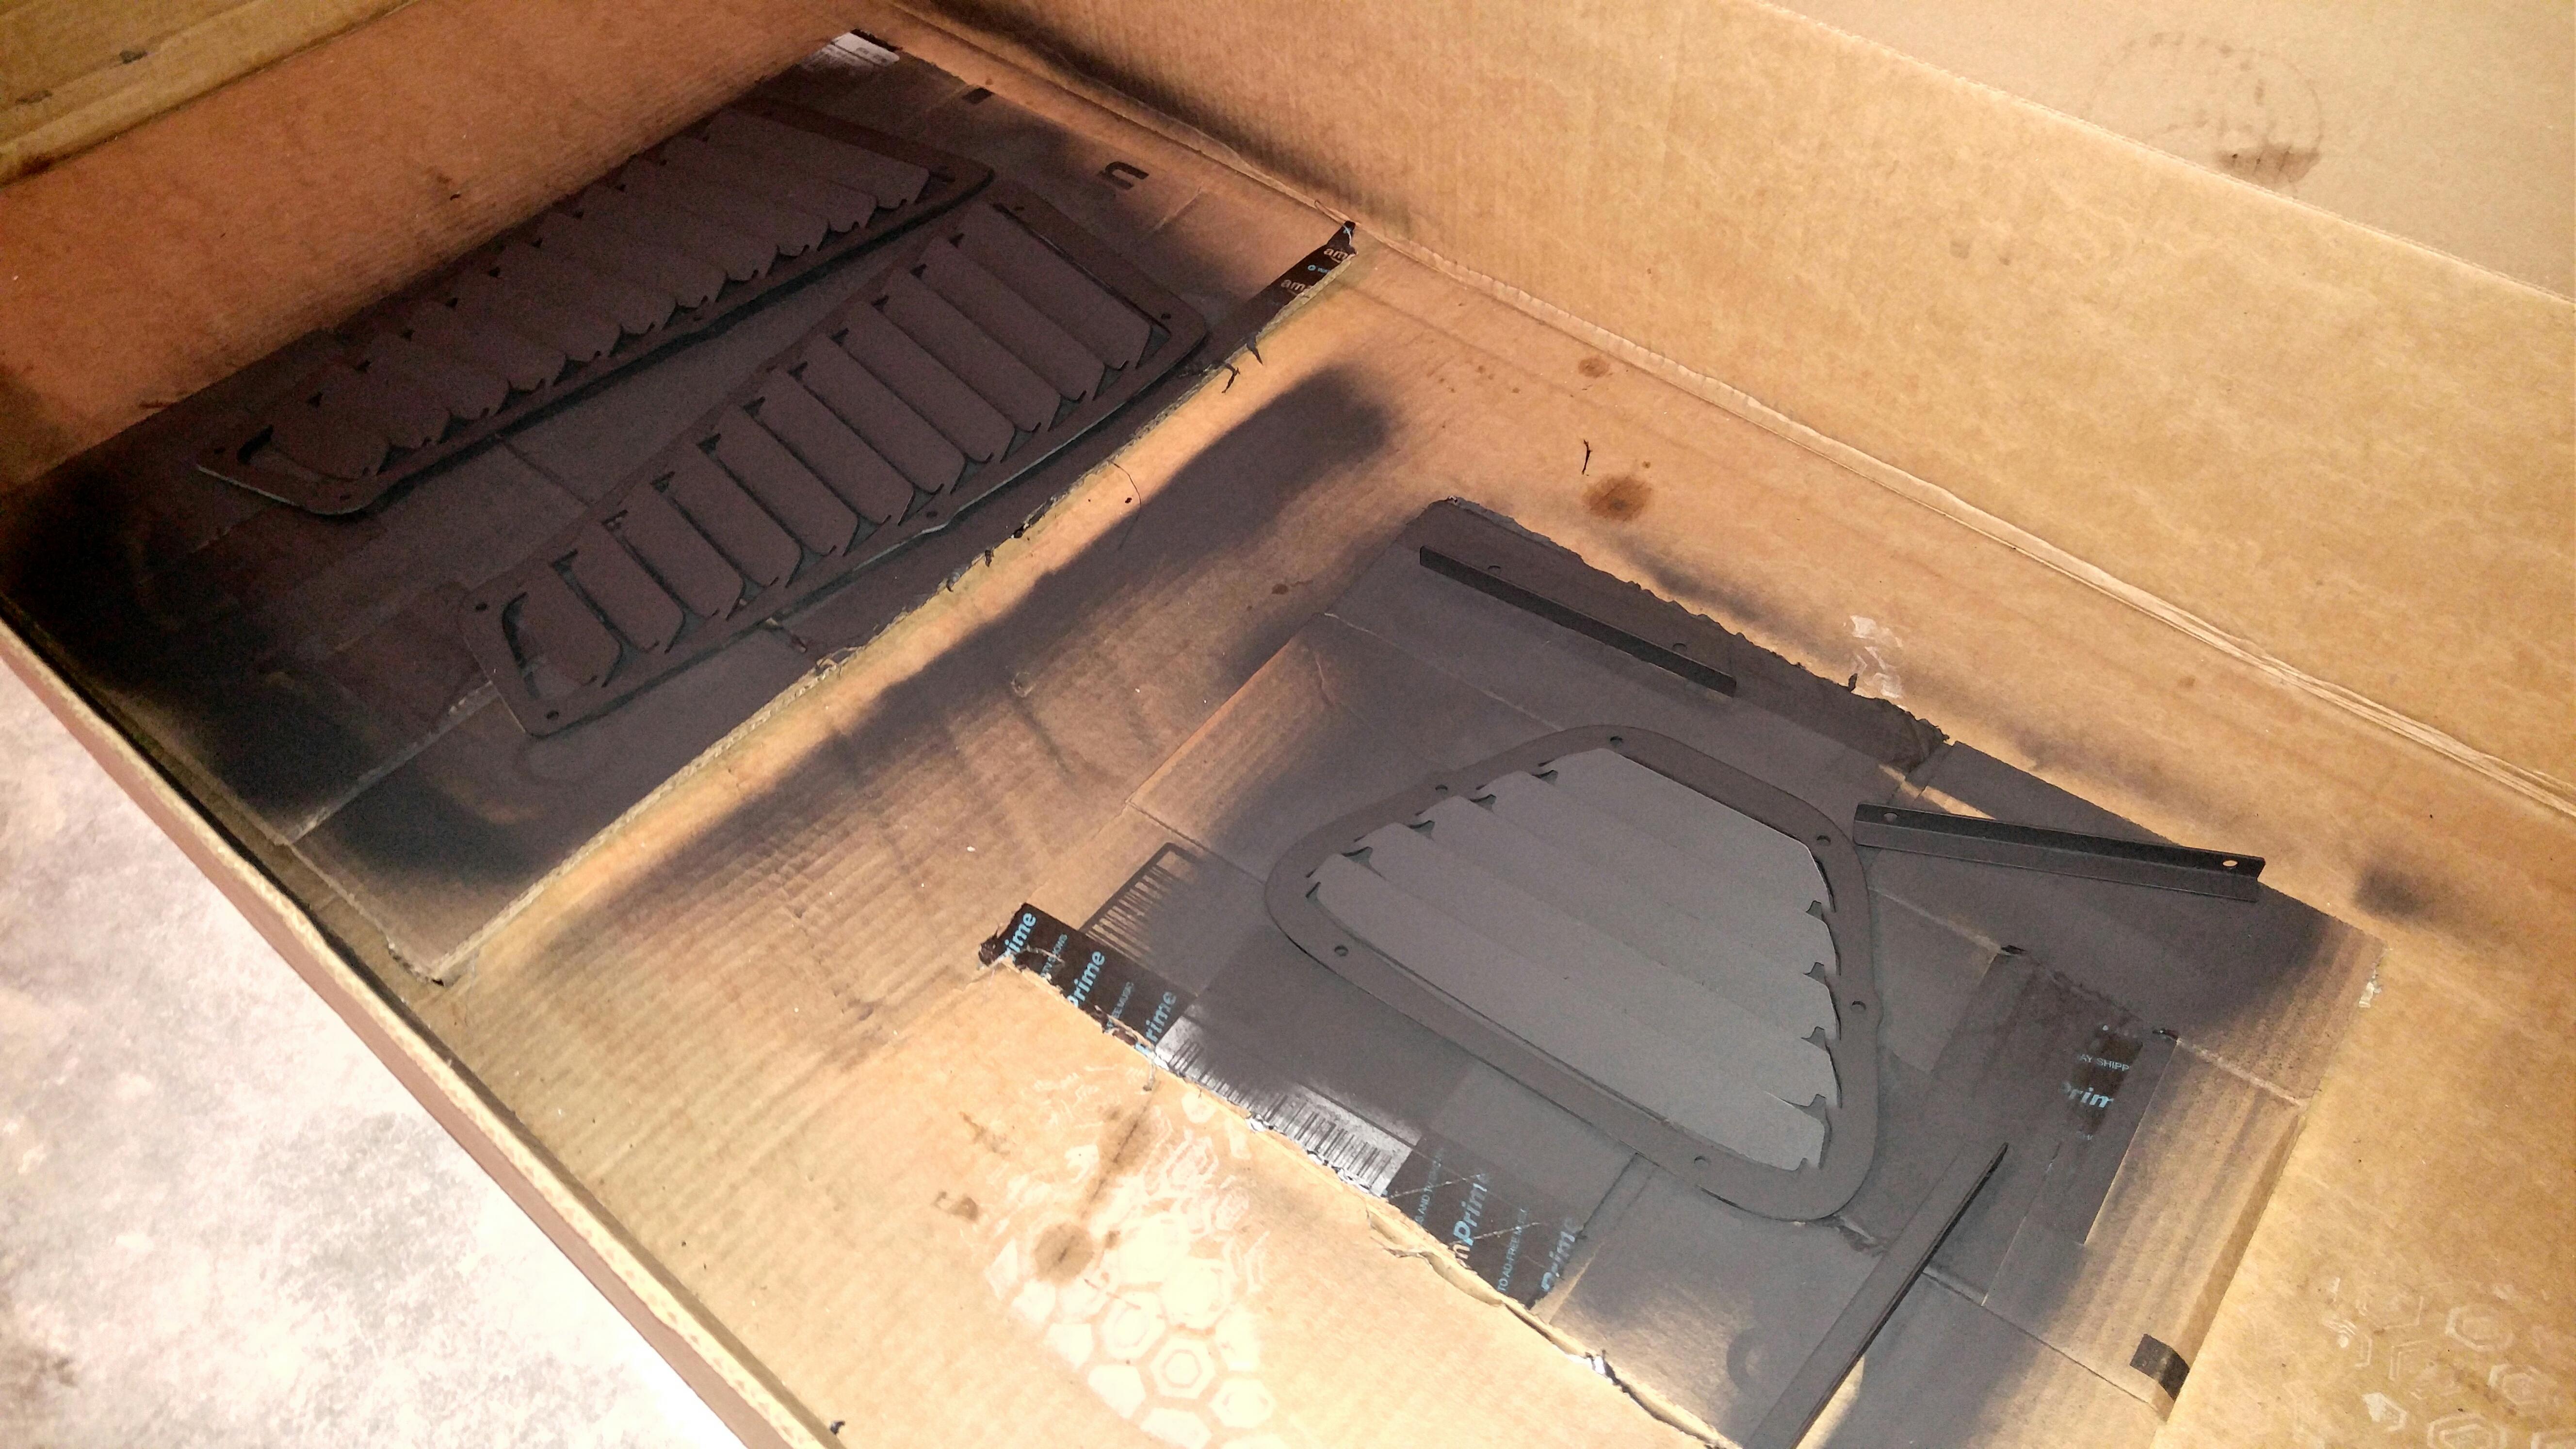
Good louvers all bent 45 degrees and ready to be degreased for painting
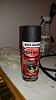
Painting them a matte black with some high temp rustoleum
Painted.
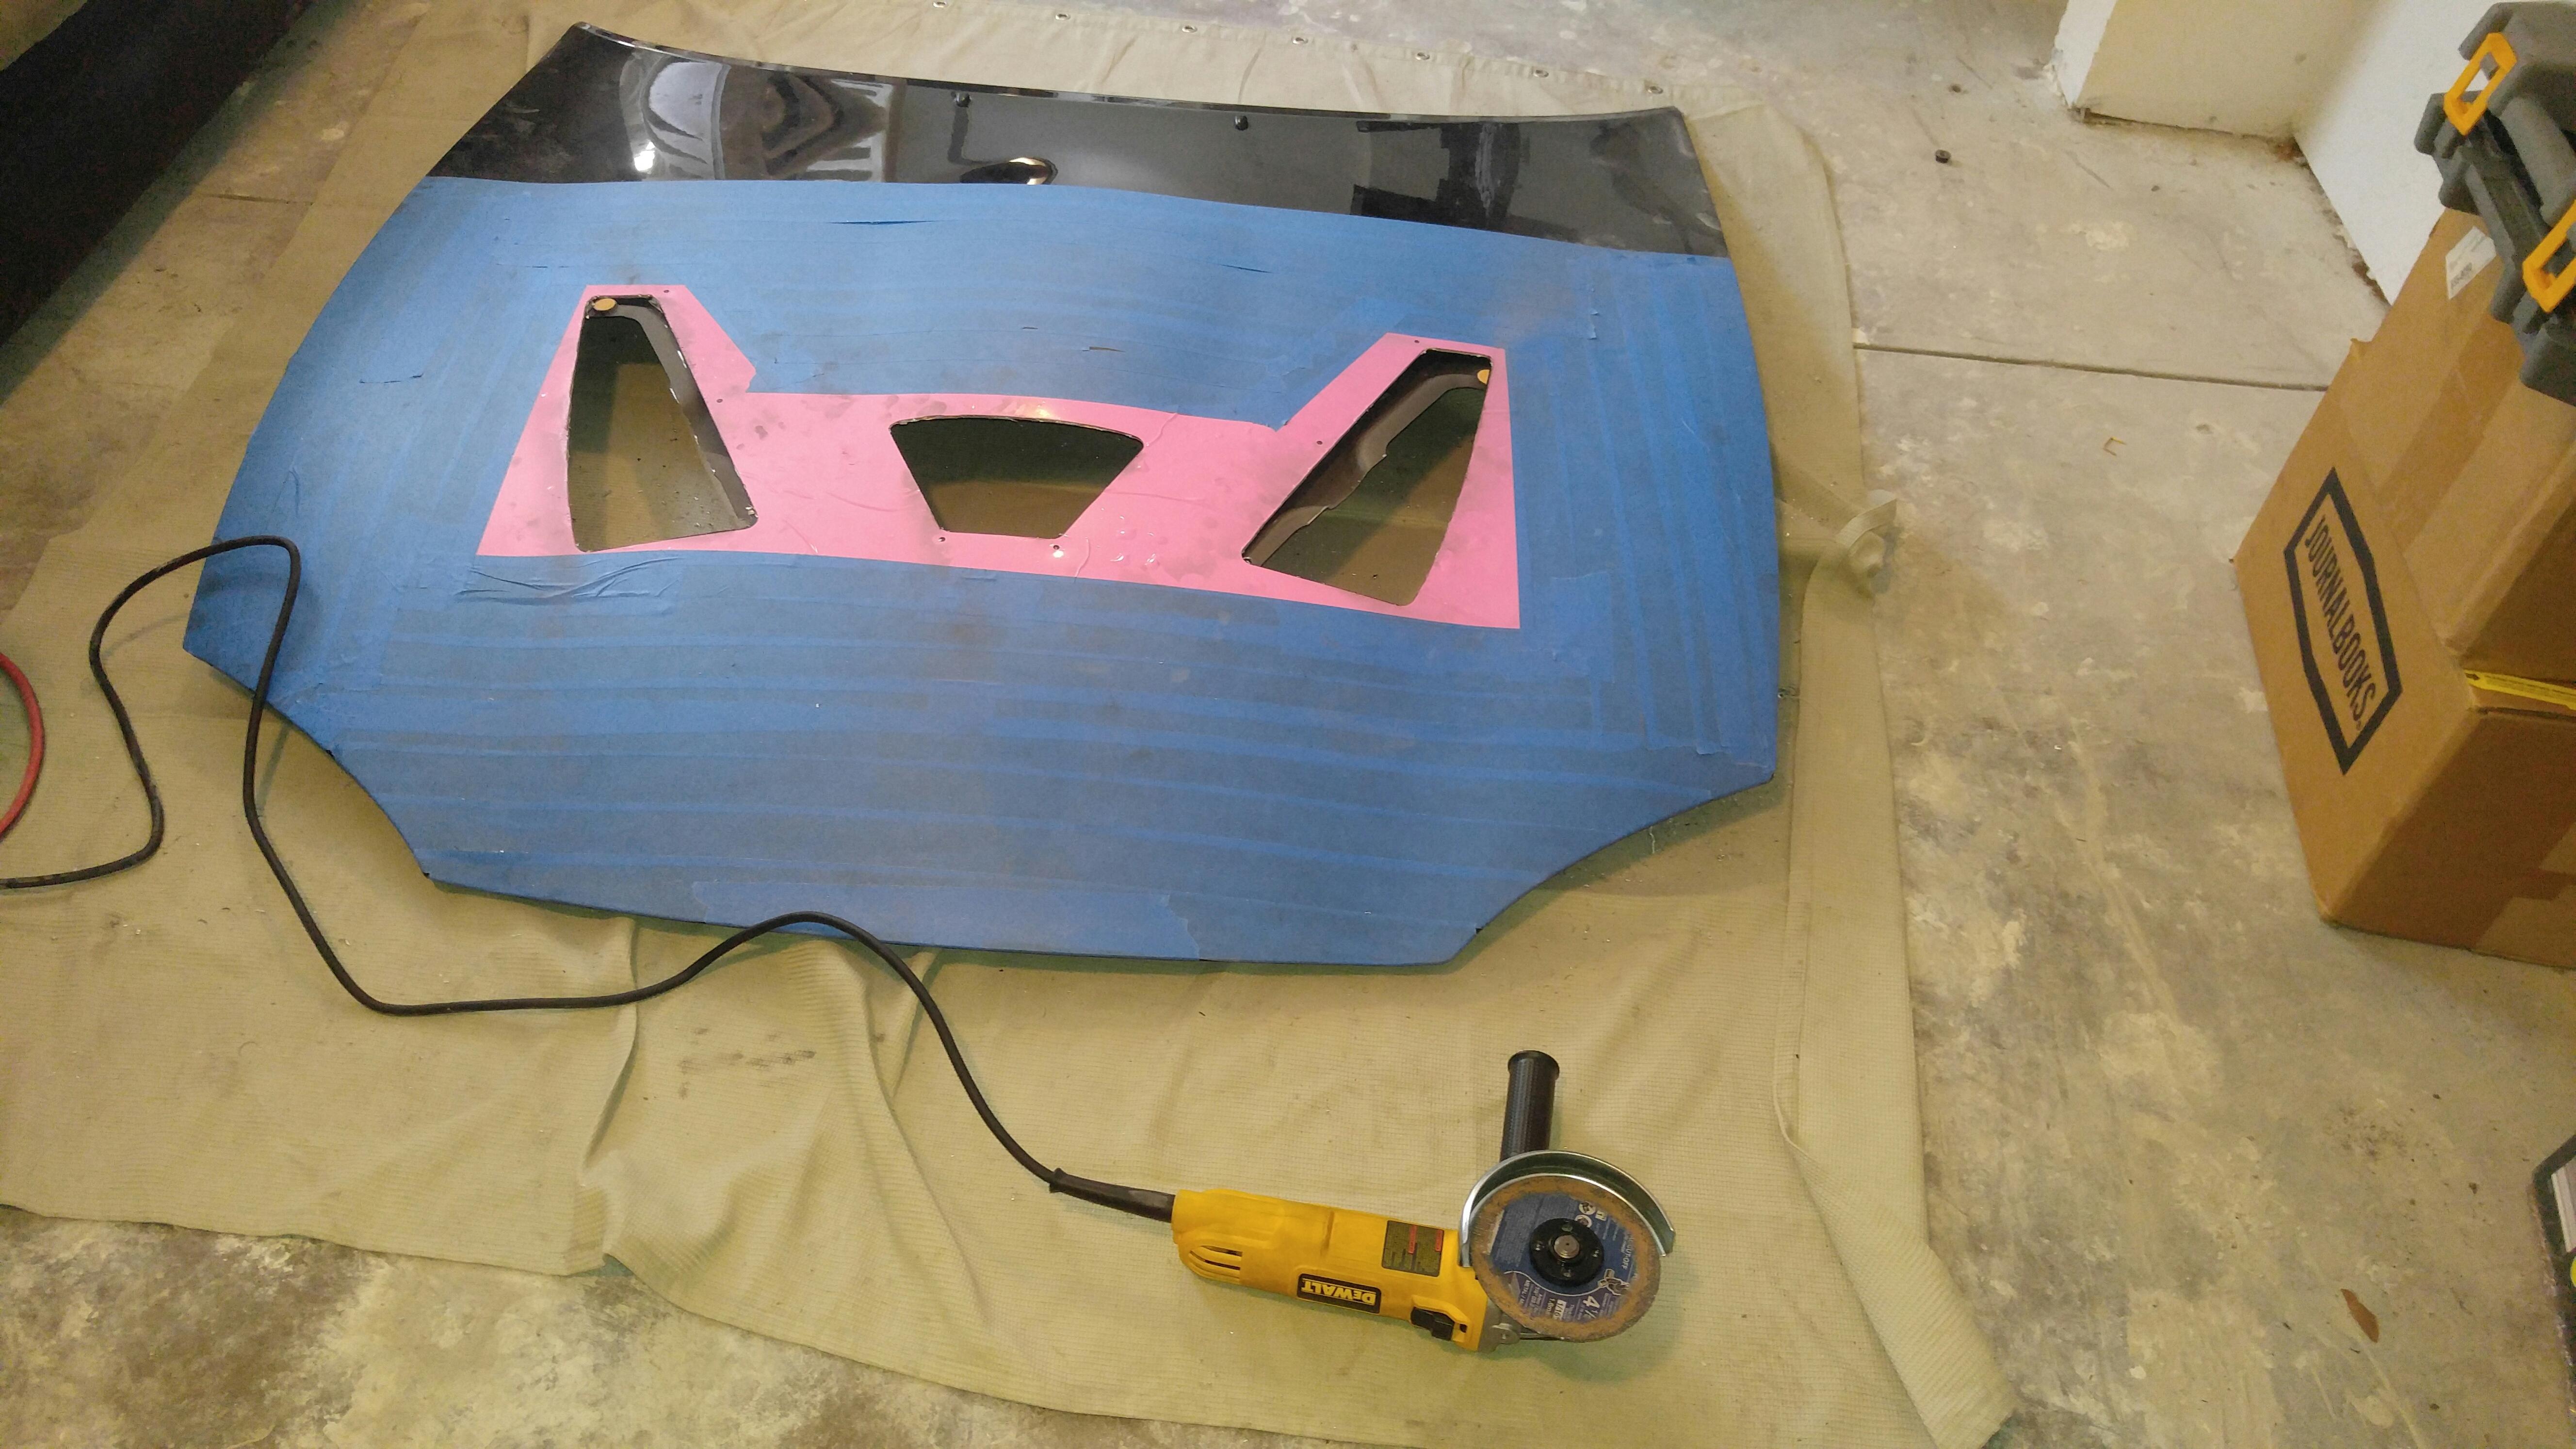
Then Sixshooter dropped by and peer pressured me into doing a thing.
All in all the angle grinder was very easy to use as long as I braced both arms on a hard surface to keep them steady. Cut through the aluminum like butter. We used a step bit to drill the corners and then connect the dots. I still need to clean up the edges and drill the final holes for rivets but the major cuts are all done.
I just took the car out for her inaugural drive. Meeting up with Sixshooter for some brew and then taking him for a ride. Clutch holds above 5.5k rpms now! More to follow.
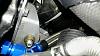
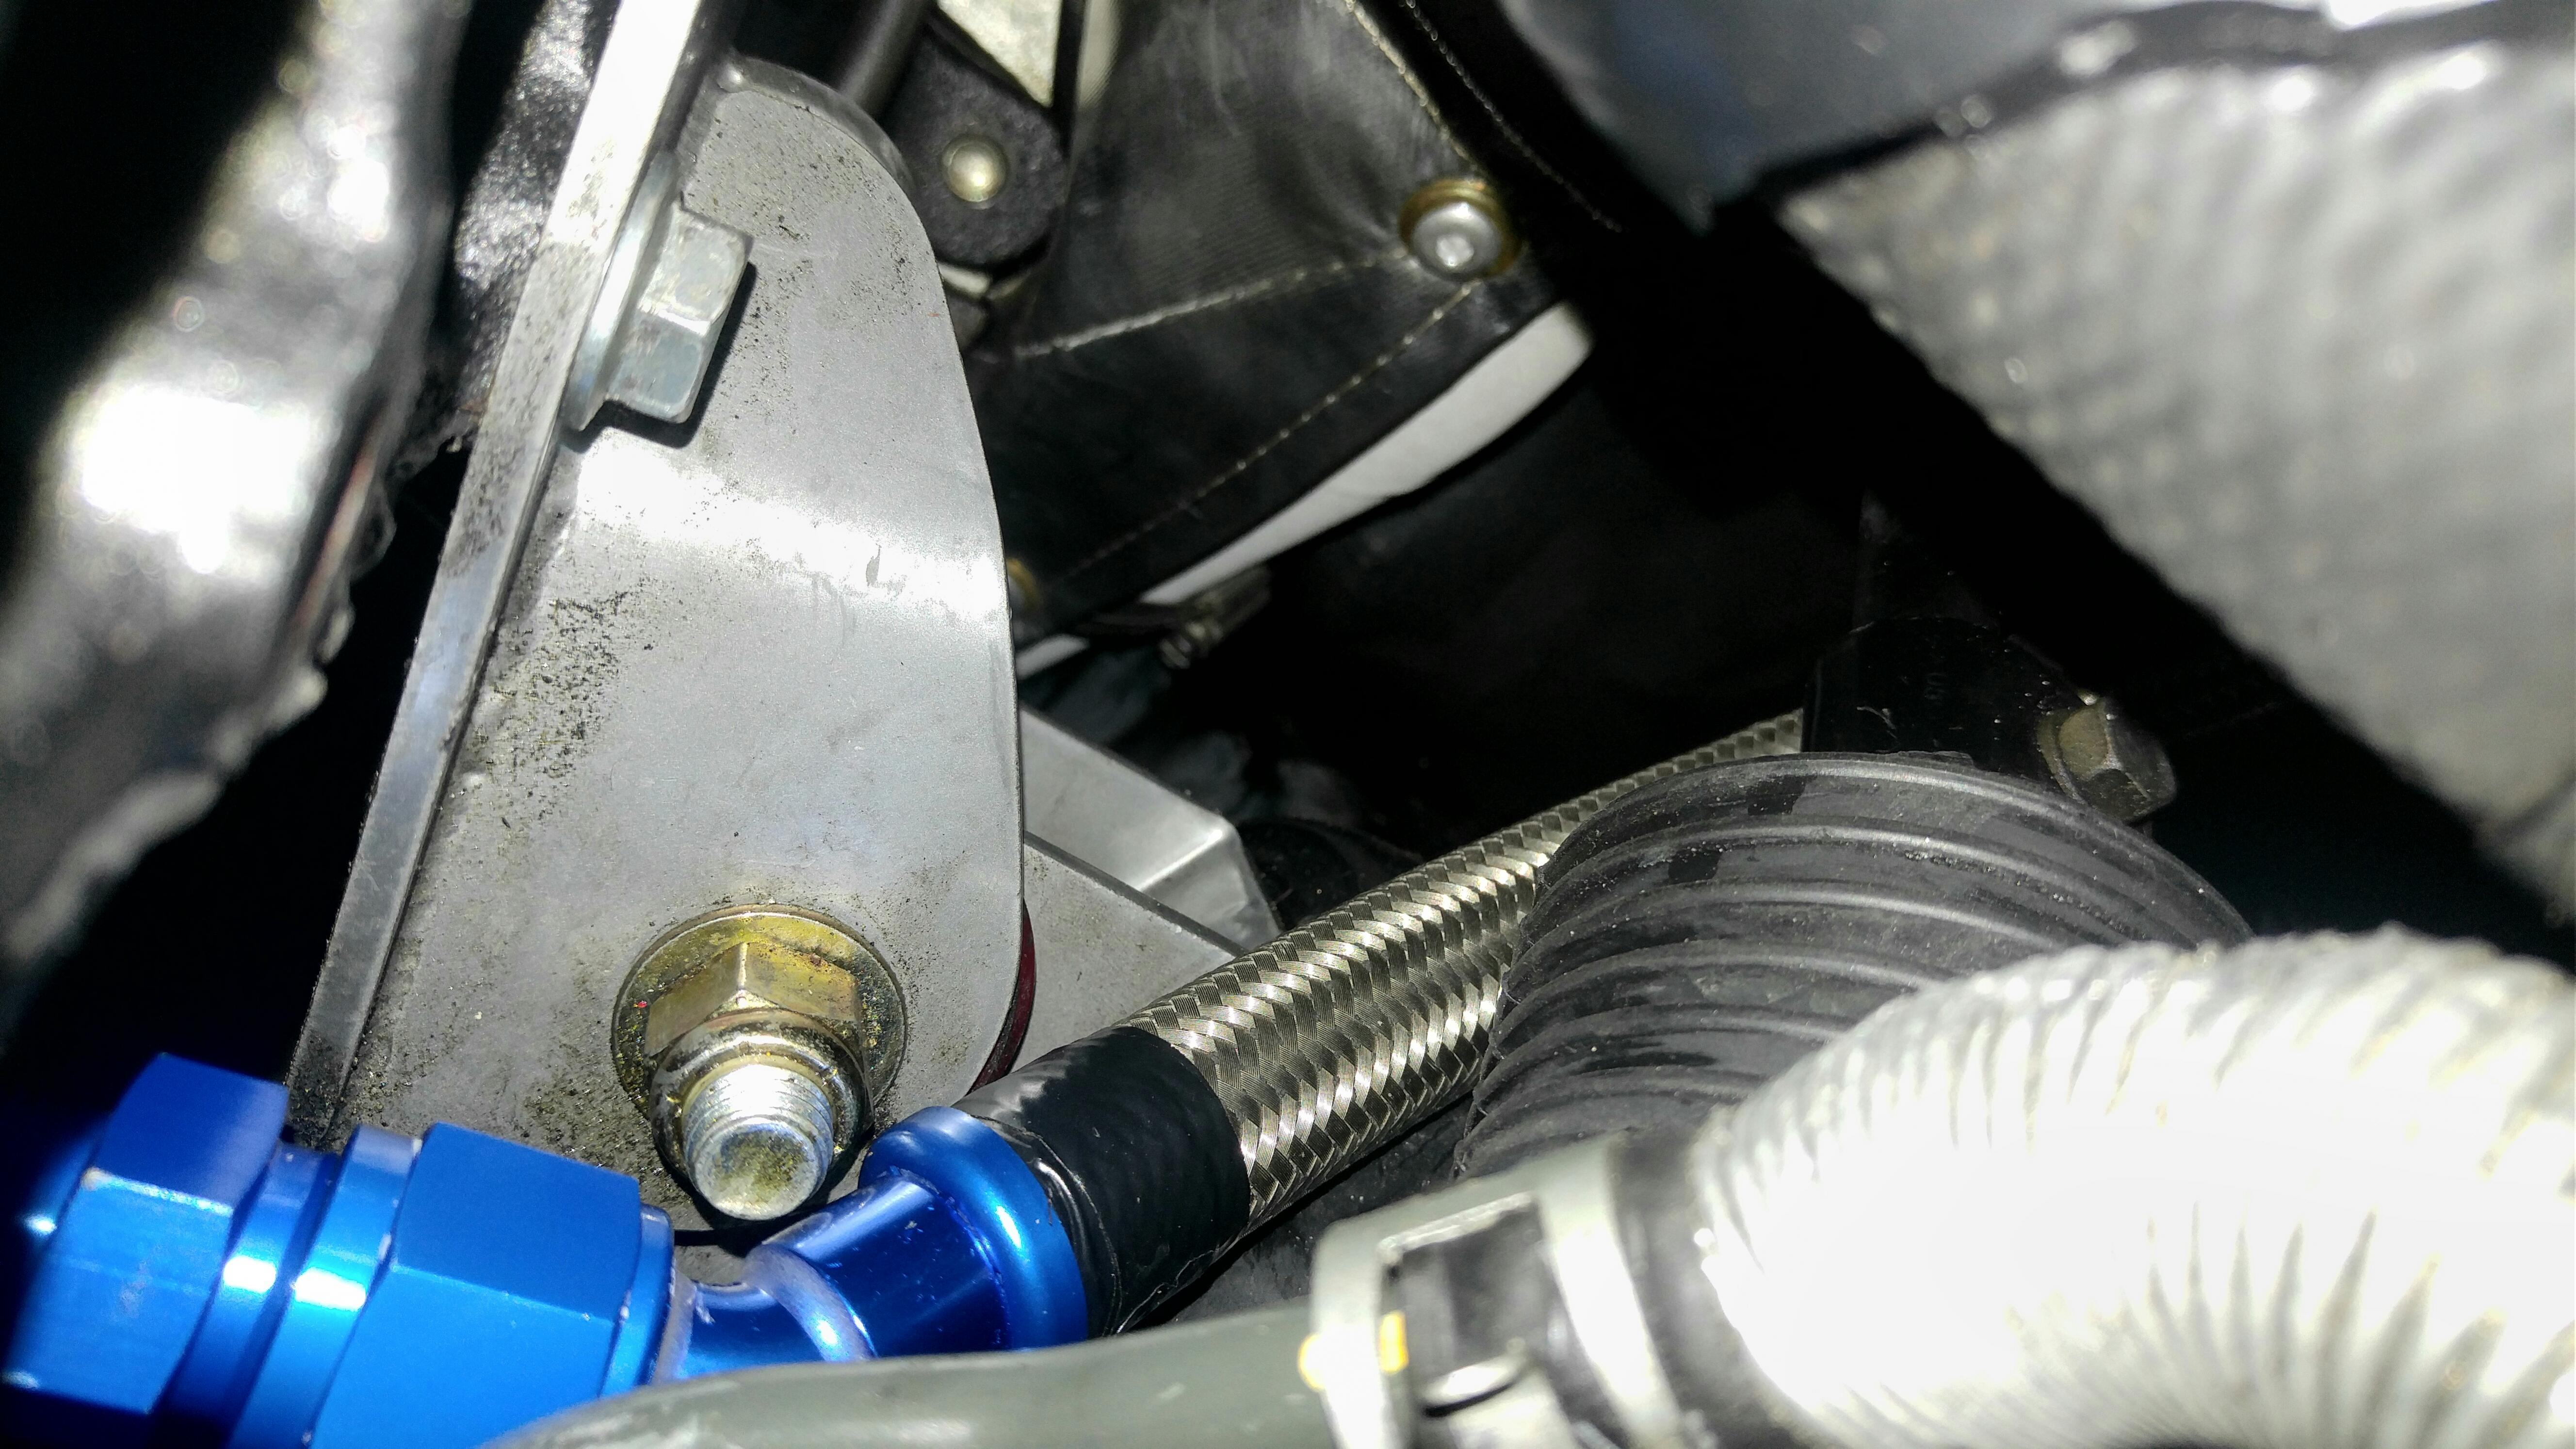
I drove the car to Sixshooter's place and we found a few issues that need to be fixed. I have an oil leak out of the back of my valve cover that needs to be taken care of as it is coming out pretty steadily. We also noted that the turbo is still leaking oil out of the intake side. This was really upsetting as I thought I had taken care of this issue but I decided to take another look at my oil drain. BW suggests a minimum of a 1/2" line for the turbo oil drain on EFRs. I thought this is what I was running but I wanted to be sure. I pulled off the oil drain like and the brass fitting on the block and used calipers to check. Everything was indeed 1/2". The line was ever so slightly obstructed the looped power steering line and Sixshooter thought this was causing a slight kink in the line which was adding some restriction. I decided to take a look online to see if anyone else was having this issue and I found this thread on the Focus ST forum:
TL;DR: This guy was having oil make it into his exhaust creating smoke and I also believe he had some come out of the intake side as well. He messed with his 1/2" (-8AN) drain line for a while before switching to 5/8" (-10AN) which completely fixed the issue. So I decided to man up and step up my own oil drain as well. I just picked up a straight 3/8" NPT to -10AN fitting and a 45 degree -10AN to push lock barb connector. I have some 5/8" braided stainless line (courtesy of Sixshooter) that I will be using. I am really hoping this is the problem. I have the car apart in my garage and will be fixing the valve cover at the same time tomorrow. With any luck I could still make Sebring.
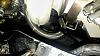
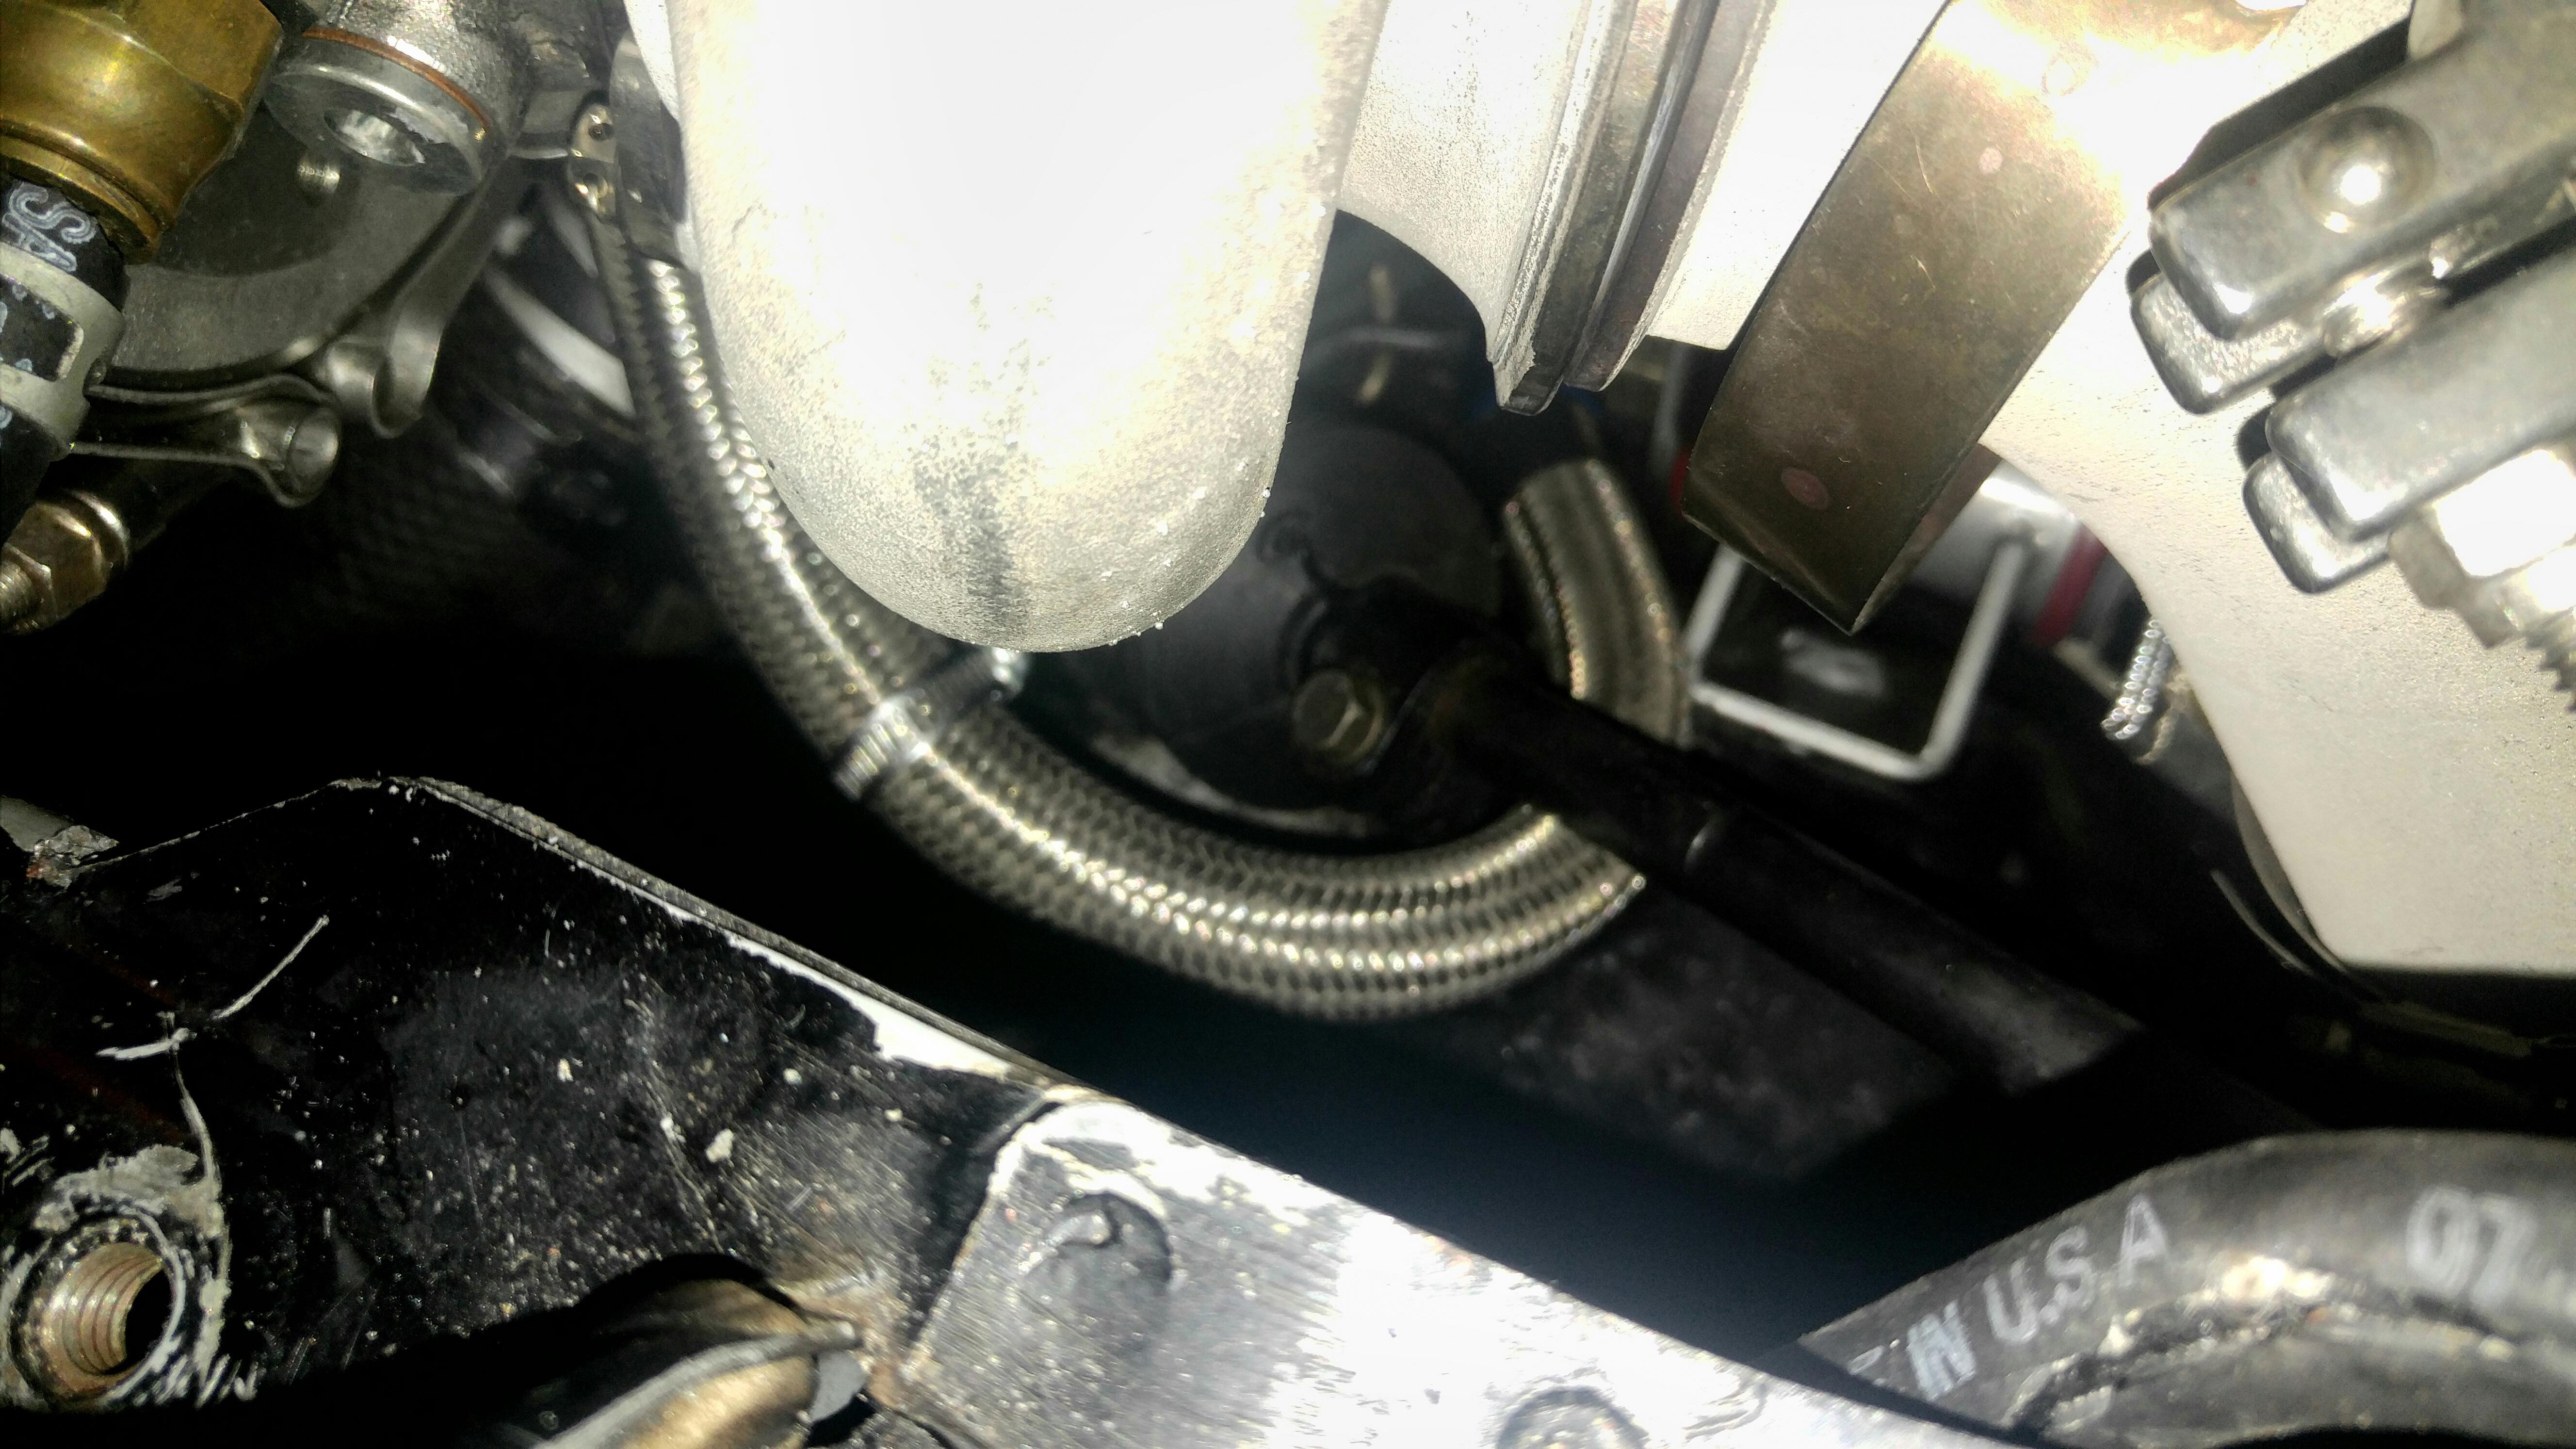
Worked on the car today. The fittings for the new 10AN drain line required a new routing. I had to go under the steering rack and back to the turbo. This actually worked well and there are no kinks and a nice steady downhill too the oil pan.
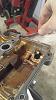
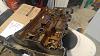
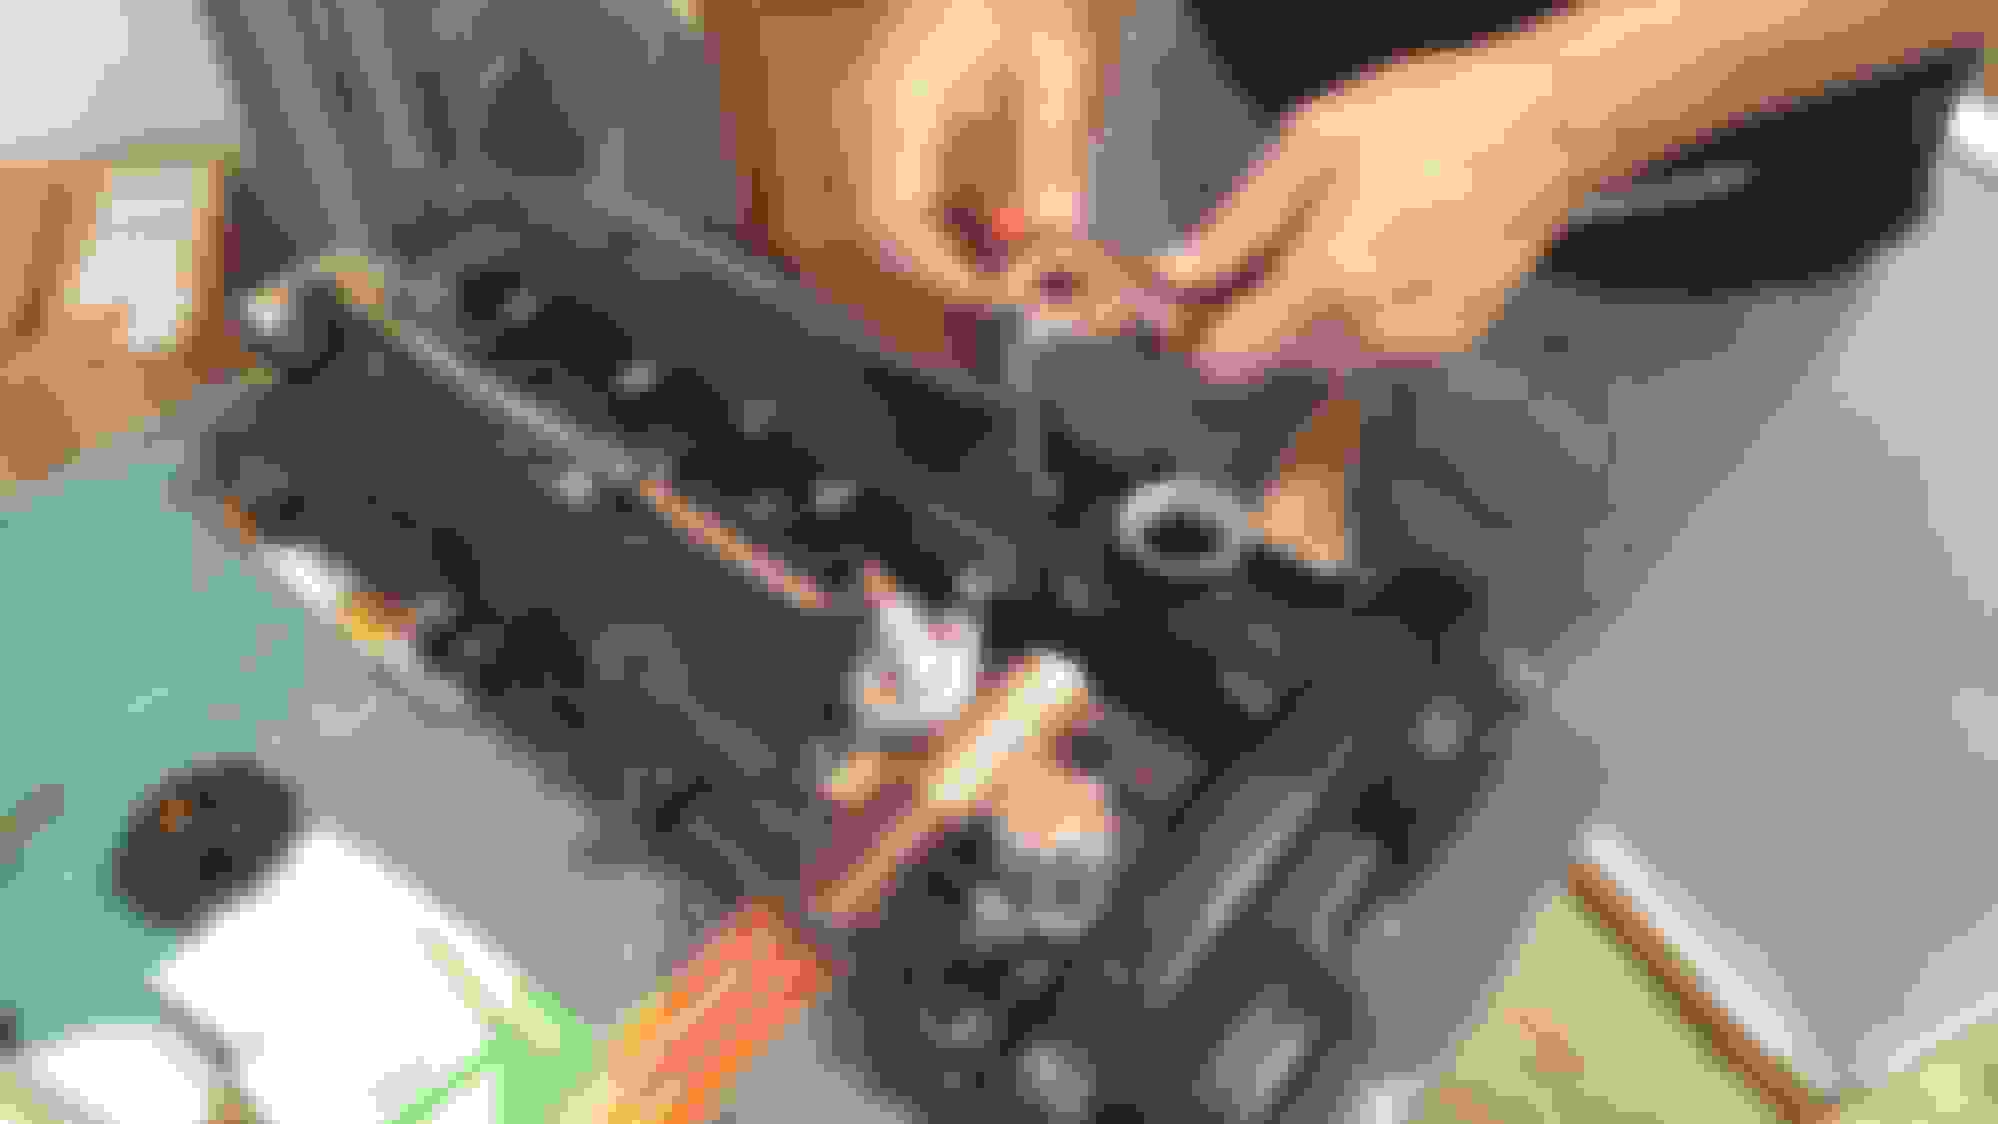
I then moved on to the valve cover. I think I found the issue...
Got a new gasket from advanced auto and all was well.
I also cleaned out the intake piping with brake cleaner to get rid of the residual oil. The car did not like this on first start up so it took quite a lot of cranking and then a small amount of rough idling to start purring again. Valve cover leak is fixed for sure. Was going to drive around to check the new oil drain before I realized that I had a small exhaust leak from the vbands on the turbo. Clearly I was in too much of a hurry to get it all back together. Letting that cool down so I can fix those later.
Yes I did. There is a surprisingly small amount of oil that gets trapped there. Almost all of it gets collected in the coldside pipe as it makes the 90 degree upward bend to the intake manifold. There is a dip there to get under the sway bar and it collected all the oil that didn't make it into the intake itself.
So I keep blowing intercooler pipes when I hit around 12psi. I don't have a bead roller and the popular DIY one I have seen here requires welding. I took a different route that just requires a cut off wheel and a file.
Heavy duty wire cutter crimpers from advanced - $20
Marked for surgery
Use a 4.5" angle grinder and cut off wheel to chop off the tip.
Roughly hand file some of the ridges to create room for the pipe and avoid crimping more than you need. Get bored because hand filing takes to long and leave it looking like ****.......because good enough
Then you can hand crimp four beads on the pipe like so. It isn't the prettiest, fastest, or easiest way to do this but it sure is cheap and effective.
Hopefully this stop the pipes from blowing off now so I can get some virtual dyno pulls in and tune the EBC.
You should have said something. I would have gladly brought down my diy beed roller last weekend and given it to you. Mostly because I'm going to buy a real one sometime in the near future.
You should have said something. I would have gladly brought down my diy beed roller last weekend and given it to you. Mostly because I'm going to buy a real one sometime in the near future.
Blah. I love this forum. Everyone really just needs to voice their needs before they do things. Someone can probably help out. Did you check for 99-00 AC compressor/bracket?
Blah. I love this forum. Everyone really just needs to voice their needs before they do things. Someone can probably help out. Did you check for 99-00 AC compressor/bracket?
If he does not have one, I'm almost positive @gesso or I still have one in our collective piles of schei�e
Sixshooter came over today and we finished beading my intercooler piping. We also decided to begin modifying the valve cover to allow for better venting of crankcase pressure. We drilled out and retapped my 3/8 NPT fittings to 1/2 NPT. Then Sixshooter drilled out the interior passage between the center plenum and the driver side plenum. I think this will make a huge difference in the effectiveness of my catch can setup and relieve any excess crankcase pressure.
I still need to get some steel or copper wool in there before I seal it back up. I have fittings on order from summit that should be here sometime this week.
Blah. I love this forum. Everyone really just needs to voice their needs before they do things. Someone can probably help out. Did you check for 99-00 AC compressor/bracket?
I don't have any spare compressor brackets.
 12-15-2016, 04:53 PM


 0
0