Post your DIY aero pics
#1561
Sweet, I have a 93 M3.
My experience with your plan of thicker versus more layers has always been disastrous, with hard to remove air bubbles, not following the shape/core properly etc. I'll let more experienced people offer more but thought I would add my 2c.
Also, photo of M3 for before and after reference necessary (actually, purely selfish grounds).
My experience with your plan of thicker versus more layers has always been disastrous, with hard to remove air bubbles, not following the shape/core properly etc. I'll let more experienced people offer more but thought I would add my 2c.
Also, photo of M3 for before and after reference necessary
 (actually, purely selfish grounds).
#1563
I used foam core(s) from Rocketship Systems/Flying Foam in S1223RTL. I had them put a ~25mm hole throught the chord (spanwise) for an aluminium tube to provide additional strengthening for the mounts. In my last iteration I used turned aluminium inserts for the tube with threaded rod through it, the outer diameter equalling the chord depth - this was tapped to take bolts to hold the endplates (a sensitive subject for me, don't ask). All my wings were done with wet hand layups, with mixed results but usually serviceable.
Endplate mounts need as much, if not more, consideration than the wing mounts, due to the smaller dimensions in play - don't underestimate the bending forces, or the distance an endplate will travel at terminal velocity if it detaches ...
These are the mounts I made for the endplates
Endplate mounts need as much, if not more, consideration than the wing mounts, due to the smaller dimensions in play - don't underestimate the bending forces, or the distance an endplate will travel at terminal velocity if it detaches ...
These are the mounts I made for the endplates
Last edited by Gee Emm; 02-05-2018 at 04:37 PM. Reason: updated with link to endplate mounts
#1564
What usually went wrong during your CF wet layup that only yielded "serviceable" results as opposed to good results? How many layers/thicknesses did you try?
My wing has two aluminum spars going through it. 1" toward the front and a much smaller one toward the rear. For now end plates will be bolted to the end of the wing section. Once a design is settled upon I may bond it to the end of the wing in addition to bolting.
My wing has two aluminum spars going through it. 1" toward the front and a much smaller one toward the rear. For now end plates will be bolted to the end of the wing section. Once a design is settled upon I may bond it to the end of the wing in addition to bolting.
#1568
What usually went wrong during your CF wet layup that only yielded "serviceable" results as opposed to good results? How many layers/thicknesses did you try?
My wing has two aluminum spars going through it. 1" toward the front and a much smaller one toward the rear. For now end plates will be bolted to the end of the wing section. Once a design is settled upon I may bond it to the end of the wing in addition to bolting.
My wing has two aluminum spars going through it. 1" toward the front and a much smaller one toward the rear. For now end plates will be bolted to the end of the wing section. Once a design is settled upon I may bond it to the end of the wing in addition to bolting.
I will edit my post above to include a photo of the fittings used to mount the endplates.
#1570
Junior Member
iTrader: (1)
Join Date: Oct 2015
Location: Metro Detroit, MI
Posts: 397
Total Cats: 36
I'll deff by using one of my "significant rear aero mod" points for the bumper delete with a big 2D wing. Looking forward to noting the changes. I take telemetry every race so I'll see if I can get some real data before and after.
#1574
Elite Member
iTrader: (1)
Join Date: May 2009
Location: Jacksonville, FL
Posts: 5,155
Total Cats: 406
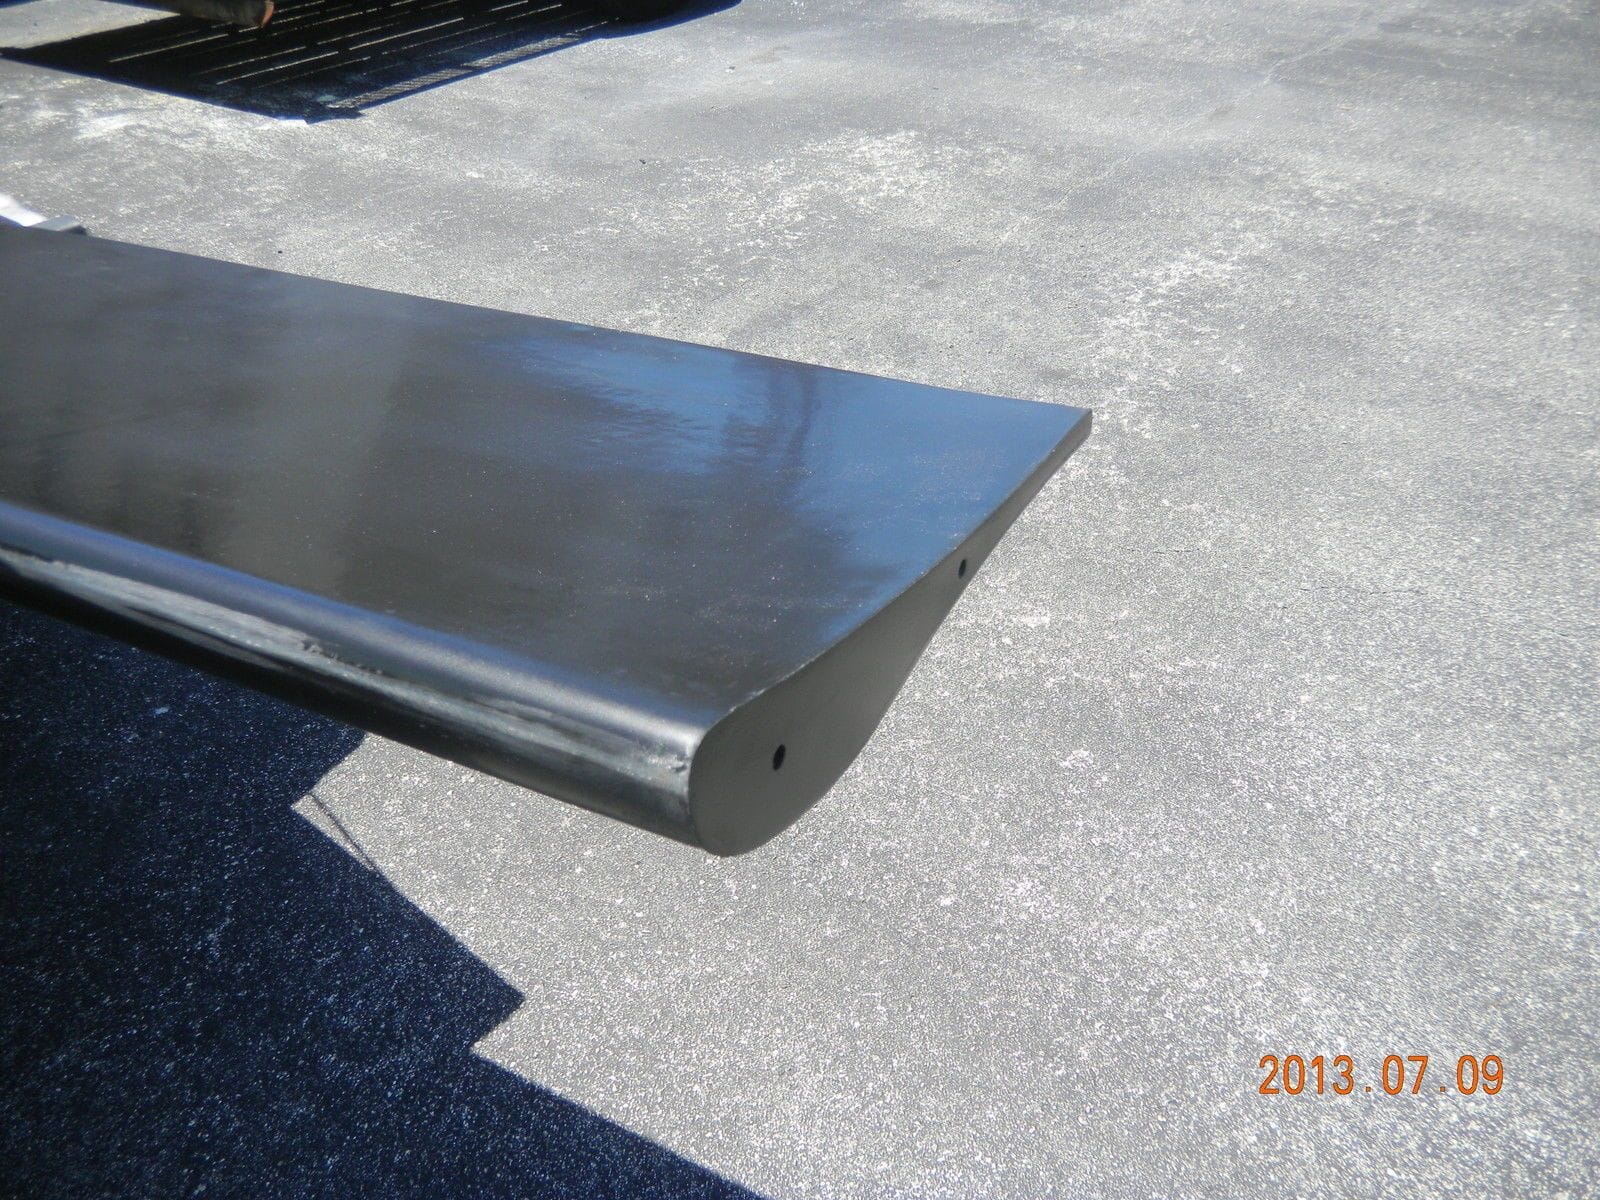
That looks like a reflaxed camber airfoil. I think the intention of that design is to make it work at a wide range of angles of attack, but Im not 100% on that
I wouldnt think it would work particularily well for this purpose. Low downforce, high drag.
I wouldnt think it would work particularily well for this purpose. Low downforce, high drag.
#1577
My Fastbacks have gone into production. It's a great piece to Miata aero efficiency. Lowers drag, allows perfect airflow to an airfoil so the laminar flow is undisturbed unlike a hardtop, or worse, no roof. Lowers the cod as it removes over 48lbs from high up on the car. Changes the look of the car for the better. And it's also weather proof. What more could you want?
And priced from $990 US plus shipping. Full kit is $1400 US.


And priced from $990 US plus shipping. Full kit is $1400 US.


#1578
My Fastbacks have gone into production. It's a great piece to Miata aero efficiency. Lowers drag, allows perfect airflow to an airfoil so the laminar flow is undisturbed unlike a hardtop, or worse, no roof. Lowers the cod as it removes over 48lbs from high up on the car. Changes the look of the car for the better. And it's also weather proof. What more could you want?
And priced from $990 US plus shipping. Full kit is $1400 US.
And priced from $990 US plus shipping. Full kit is $1400 US.


