1990 open "mod" class build.

 04-07-2018, 07:05 PM
#122
Just finished the editing on the cross member video. Pretty happy with this one, got to play around a bit with the new editing software. I probably spent more time editing this video then I did on the project itself. Getting the right shot first and saving some editing time seems to be a better approach at making videos. Might start some light script writing or something to keep better continuity. This project was a great time and I am really happy with the way it turned out. I think building an airdam and better ducting will be next on the bodywork list. I also might wrap the body in the future.

Reply
 0
0

0
08-03-2018, 12:13 PM
#124
Had a great time with Jzilla for Miata's before the Gap. The conditions were wet and soggy with a slight change of poo in the pants. Great stuff and a huge learning experience. I think my Rivals are about toast, though. They still have tread on them but they felt hard. Also in the wet it took me much longer than expected to get them up to temp. I think a bit more aggressive driving early on would do me good.
Reply
0
0
08-13-2018, 03:22 PM
#125
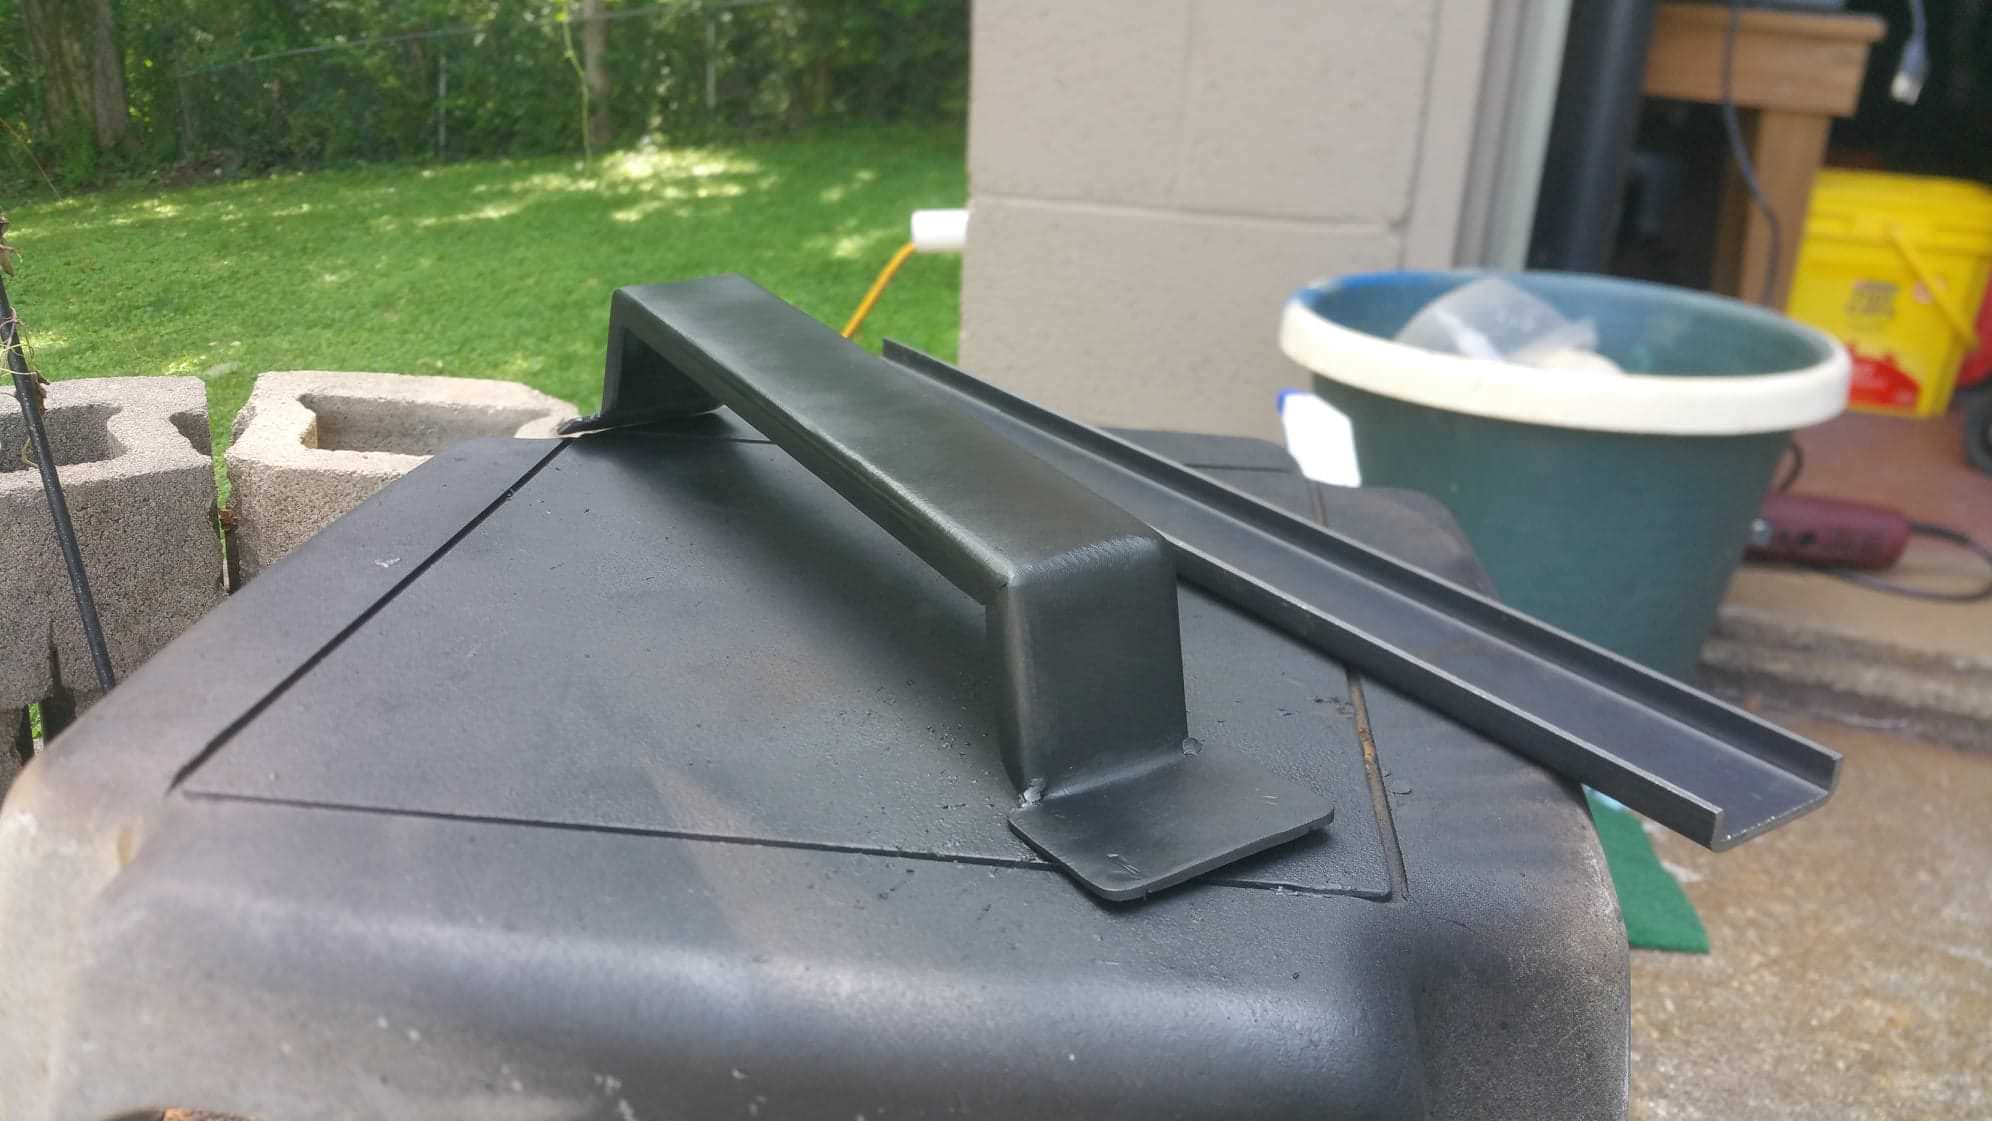
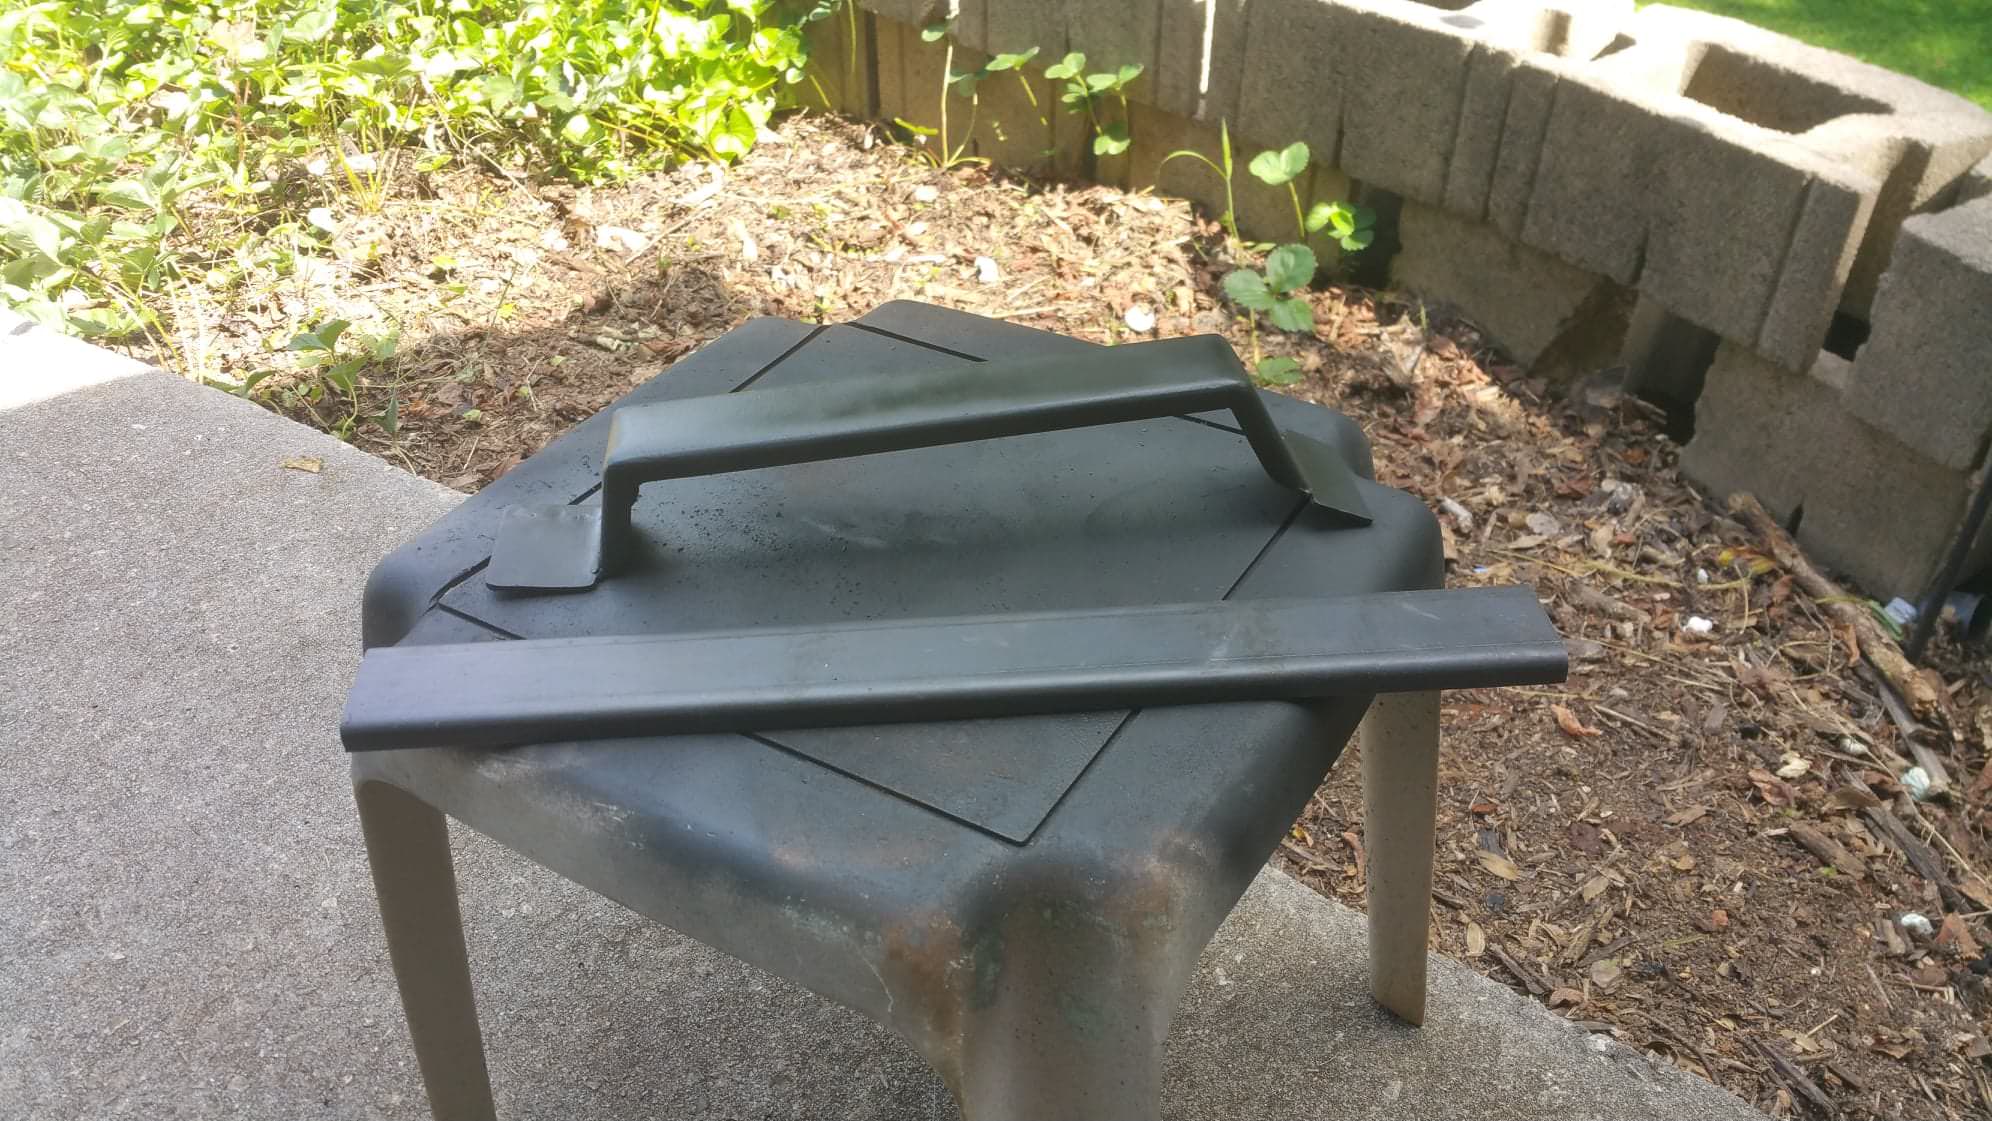
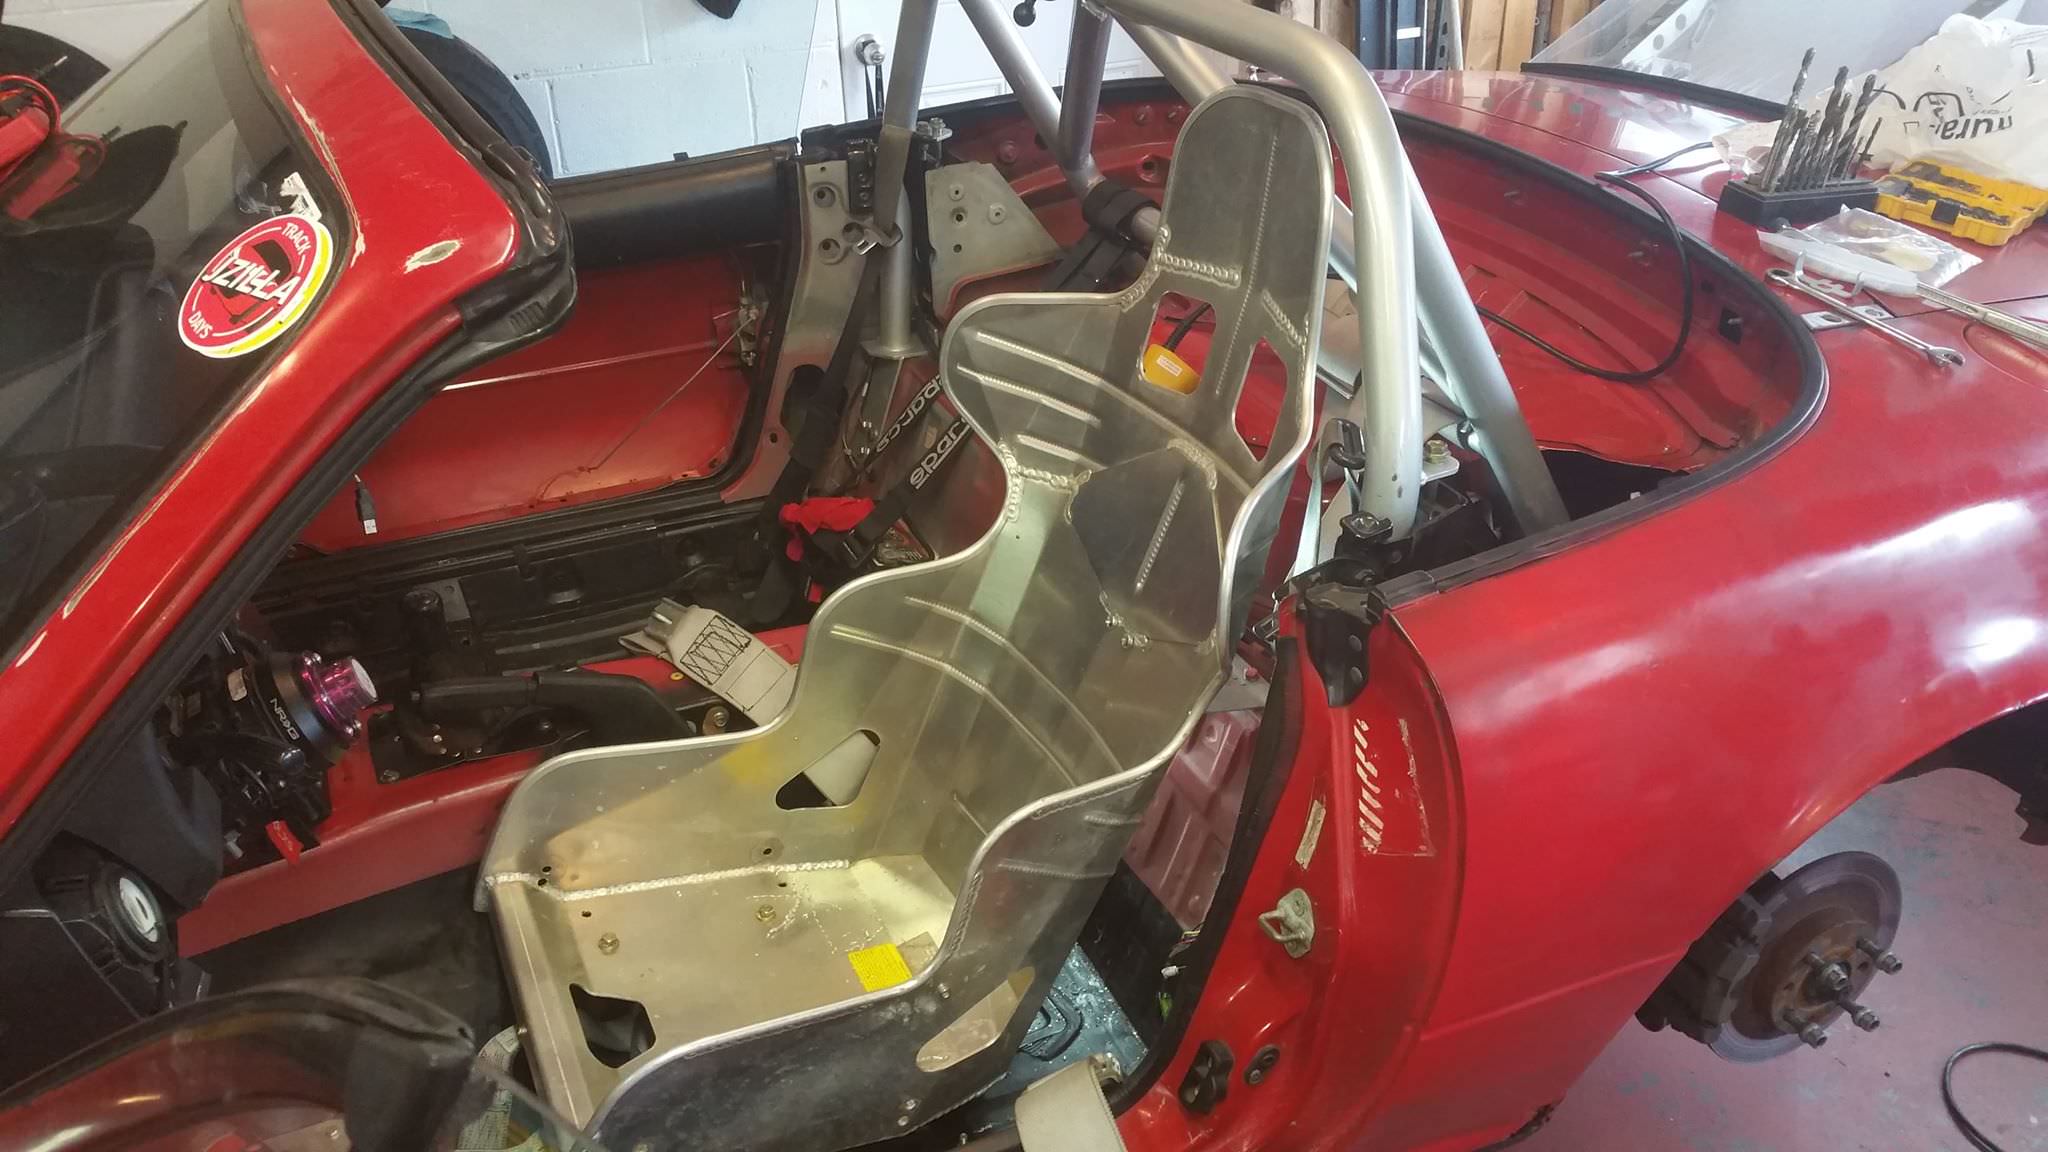
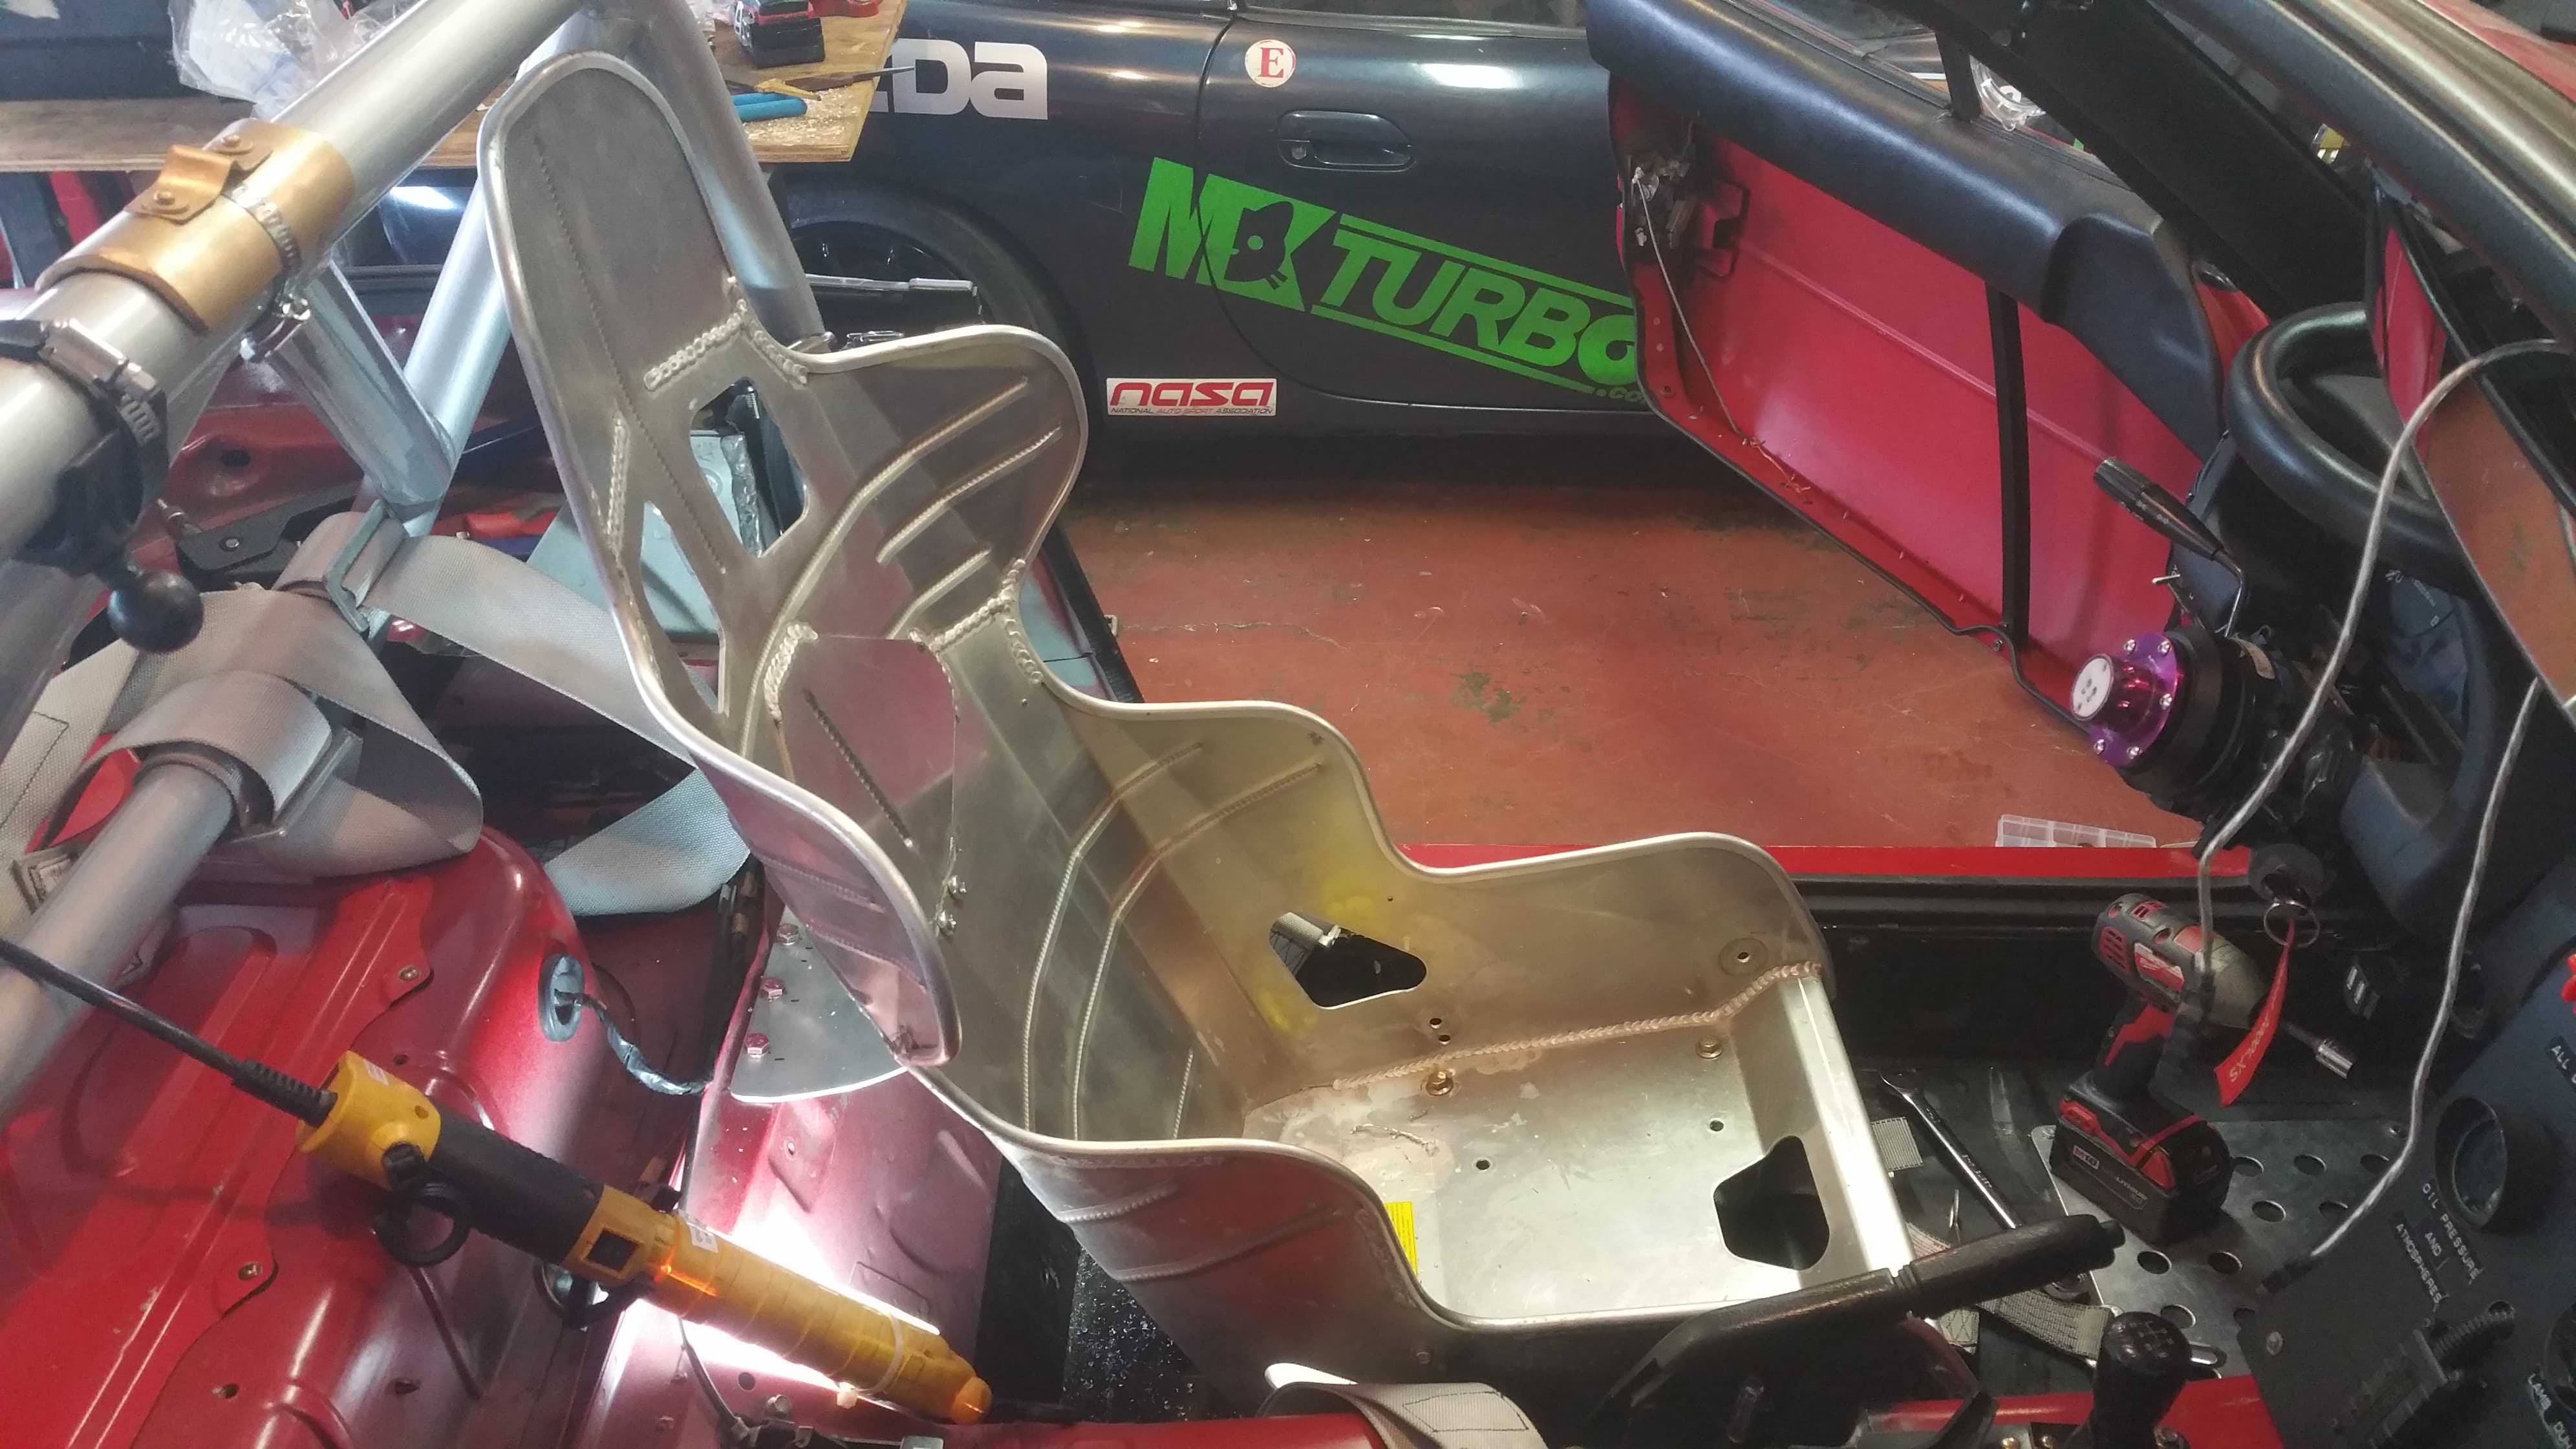
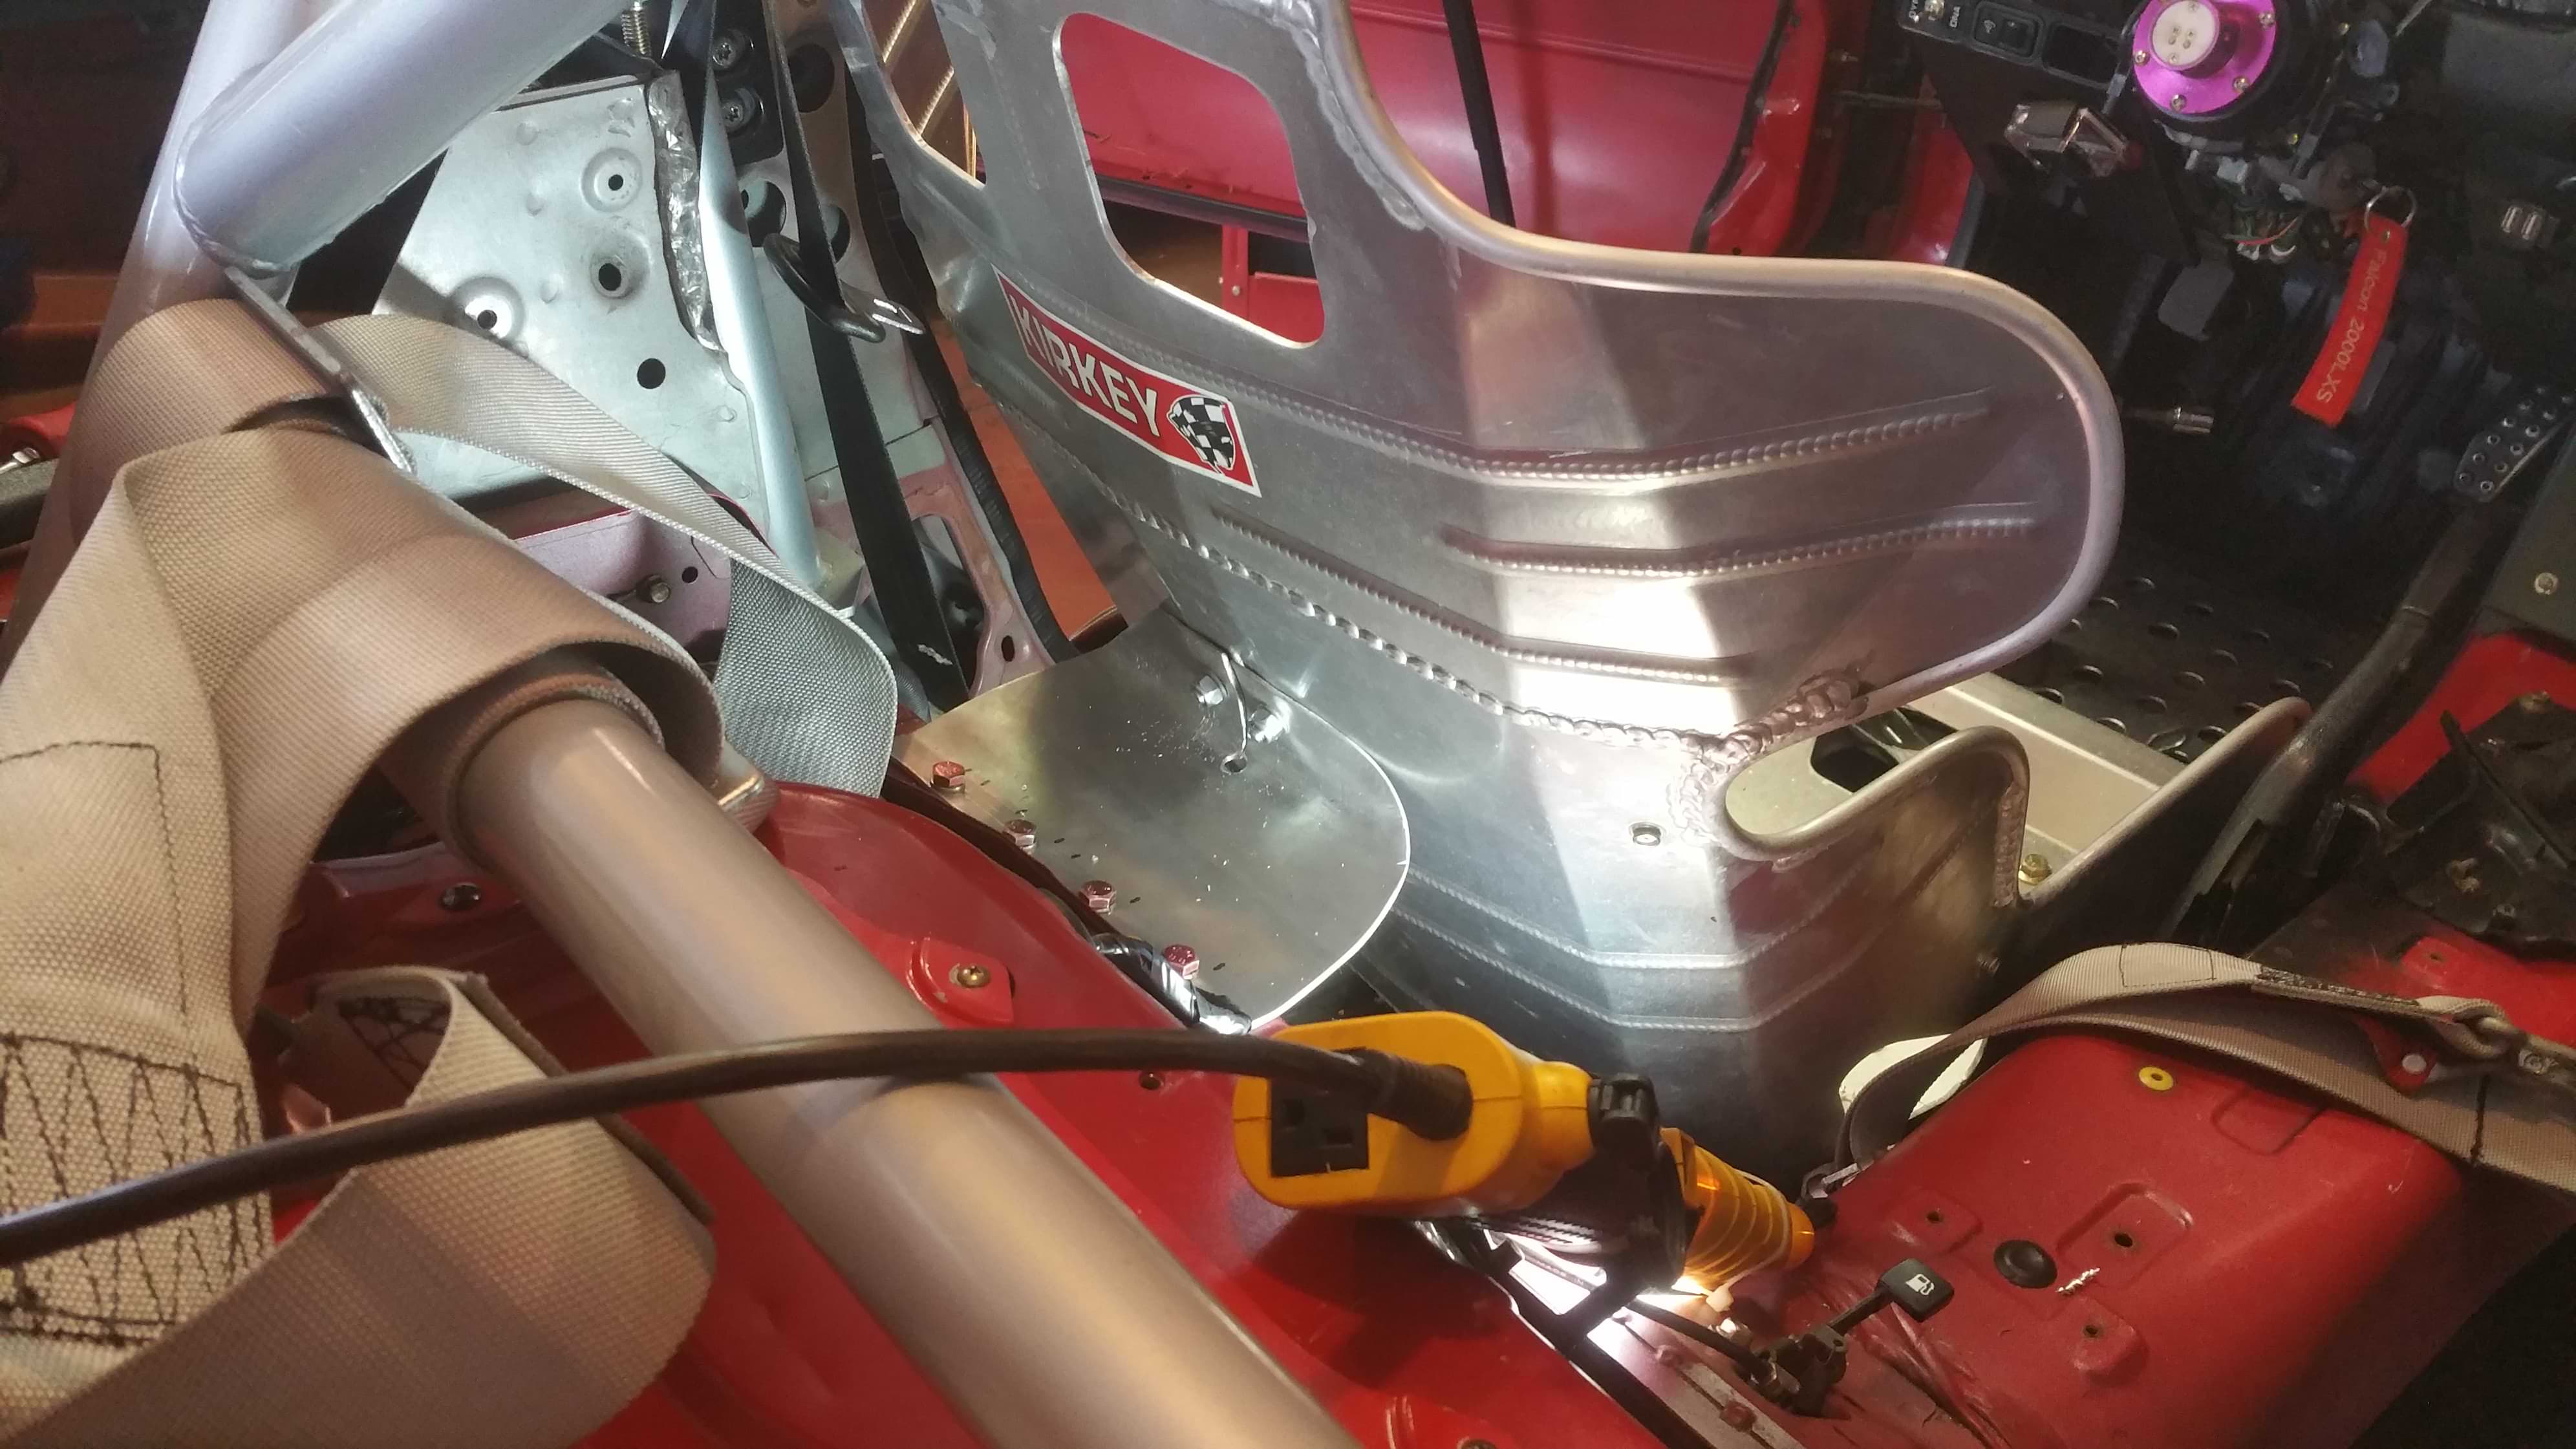
Got back from the event and decided it was time to tackle my new (to me) seat. It's an 18" Kirkey Intermediate race seat. These things really don't fit the Miata very well, but I was able to get it in with a procession percussion instrument on the trans tunnel, blocks of wood, and some C-channel from the Home deathspot.
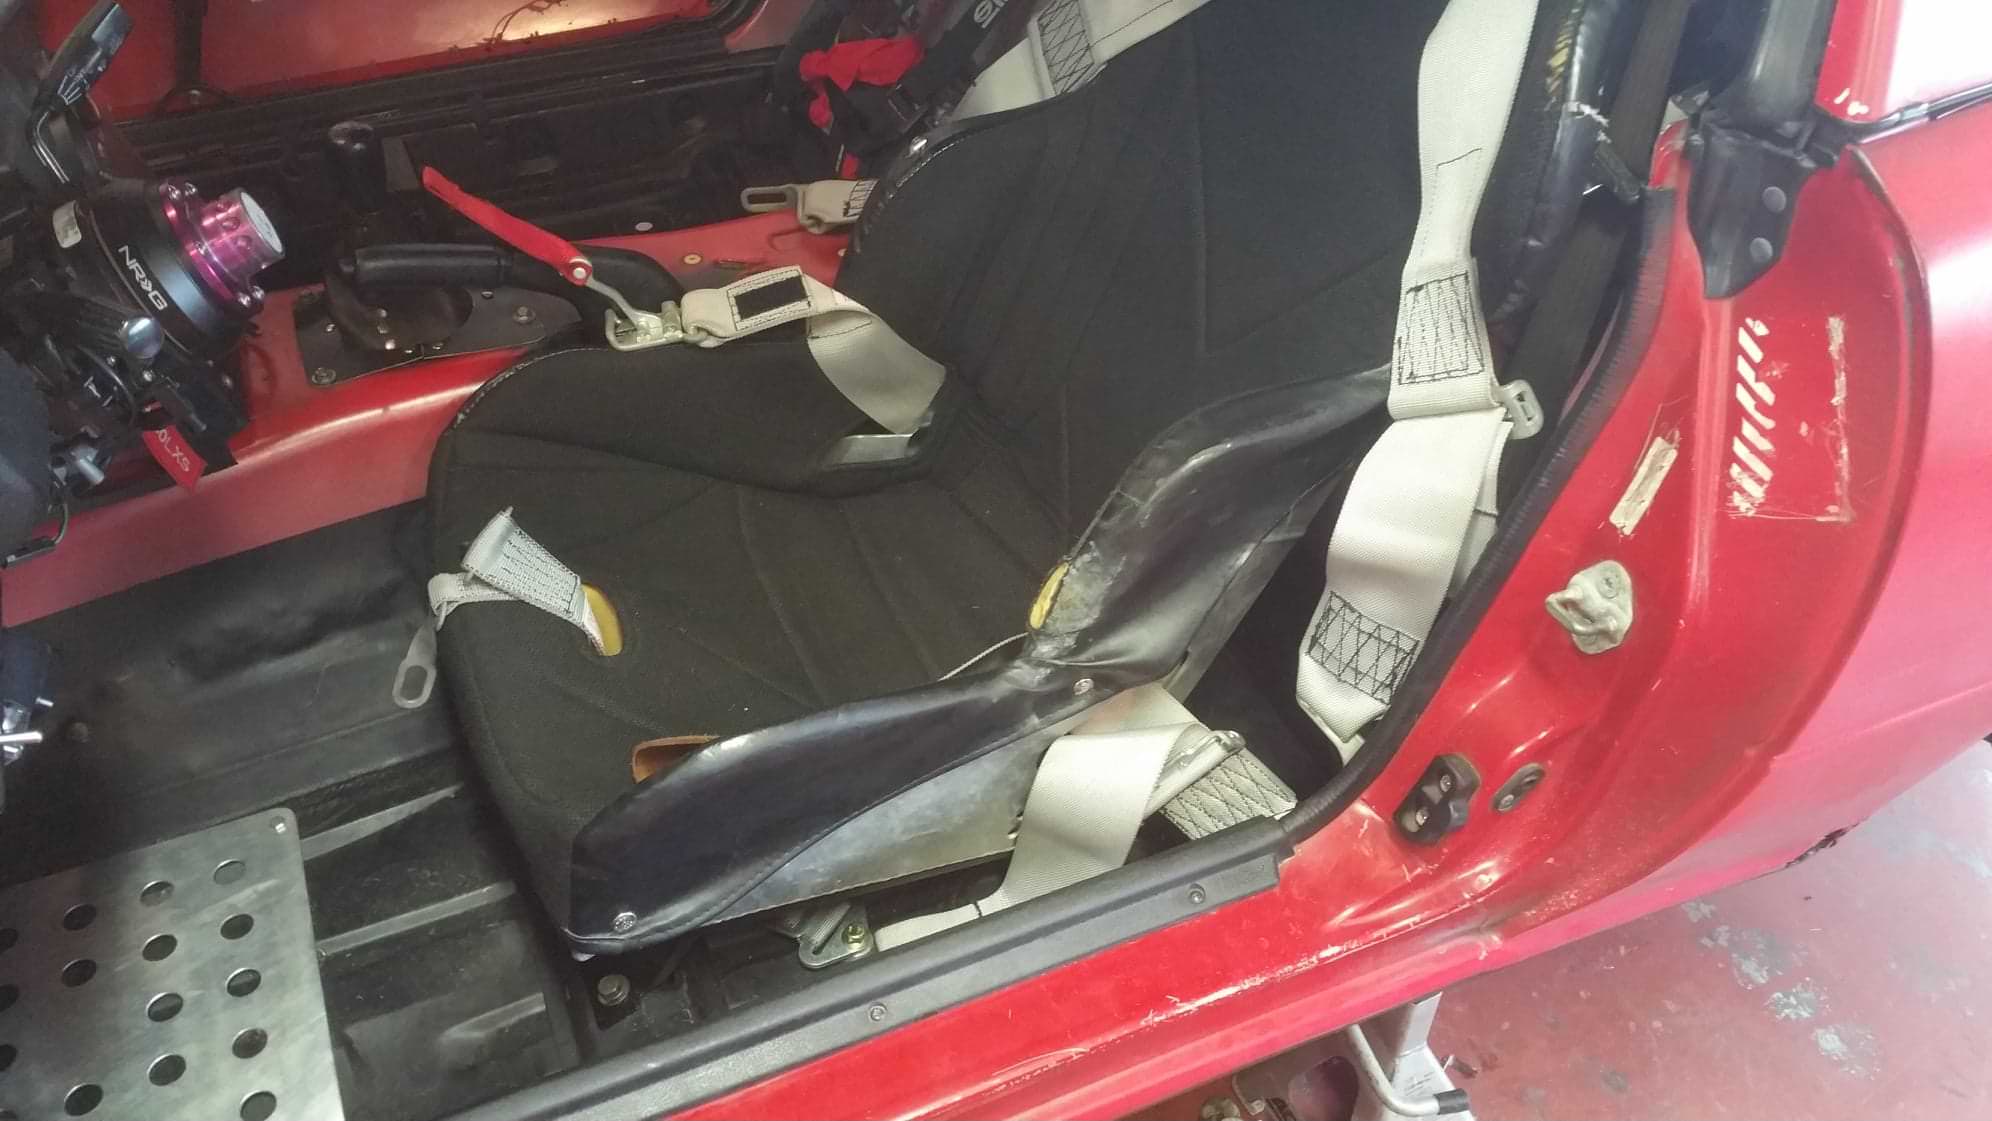
Should be plenty of room for door bars once I get my new welder up and going. Hopefully material isn't outrageous from the recent tariffs.
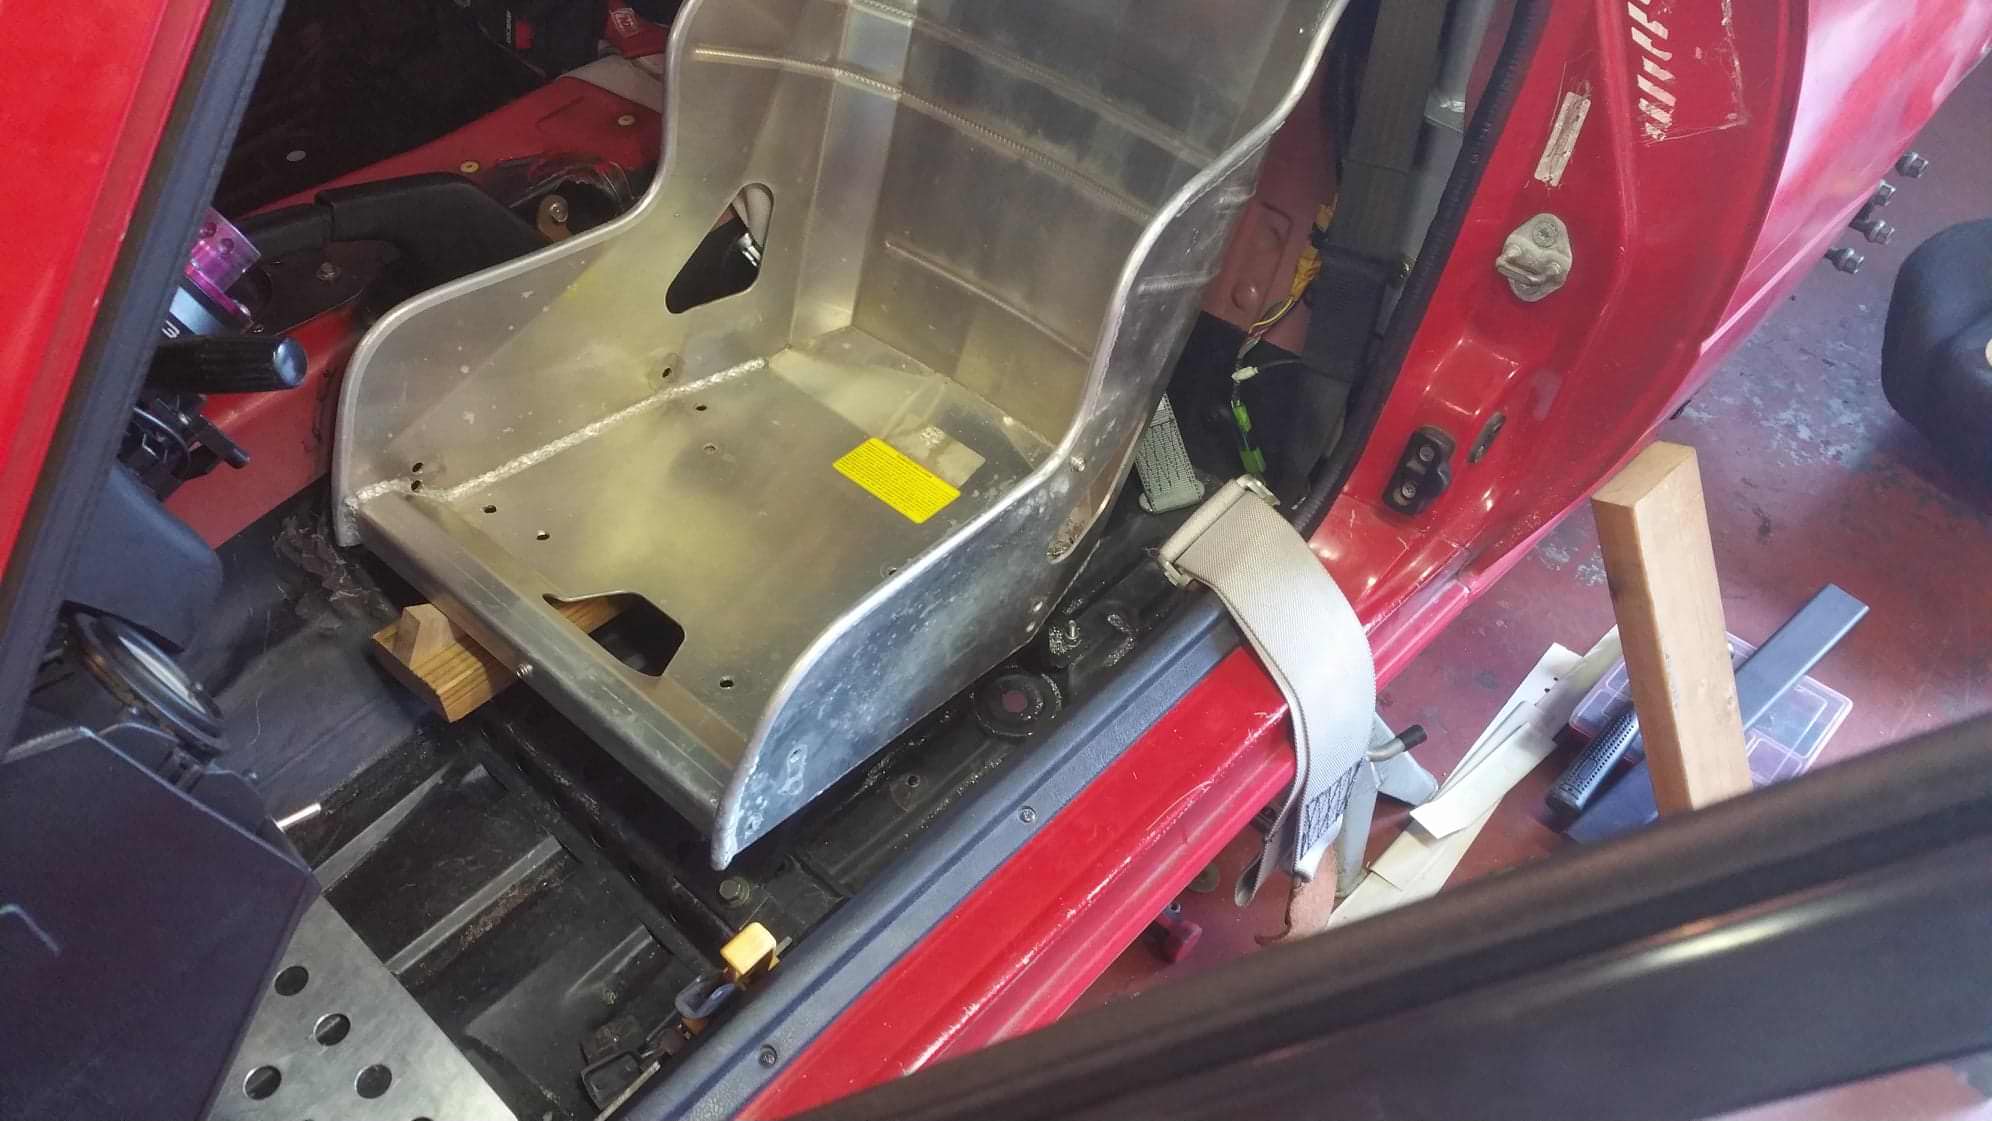
Still need to do some work on the stitching. I got the seat from doing a steering rack de-power. A new cover is about $230 so I will probably just do that once this thing gets a bit worse.
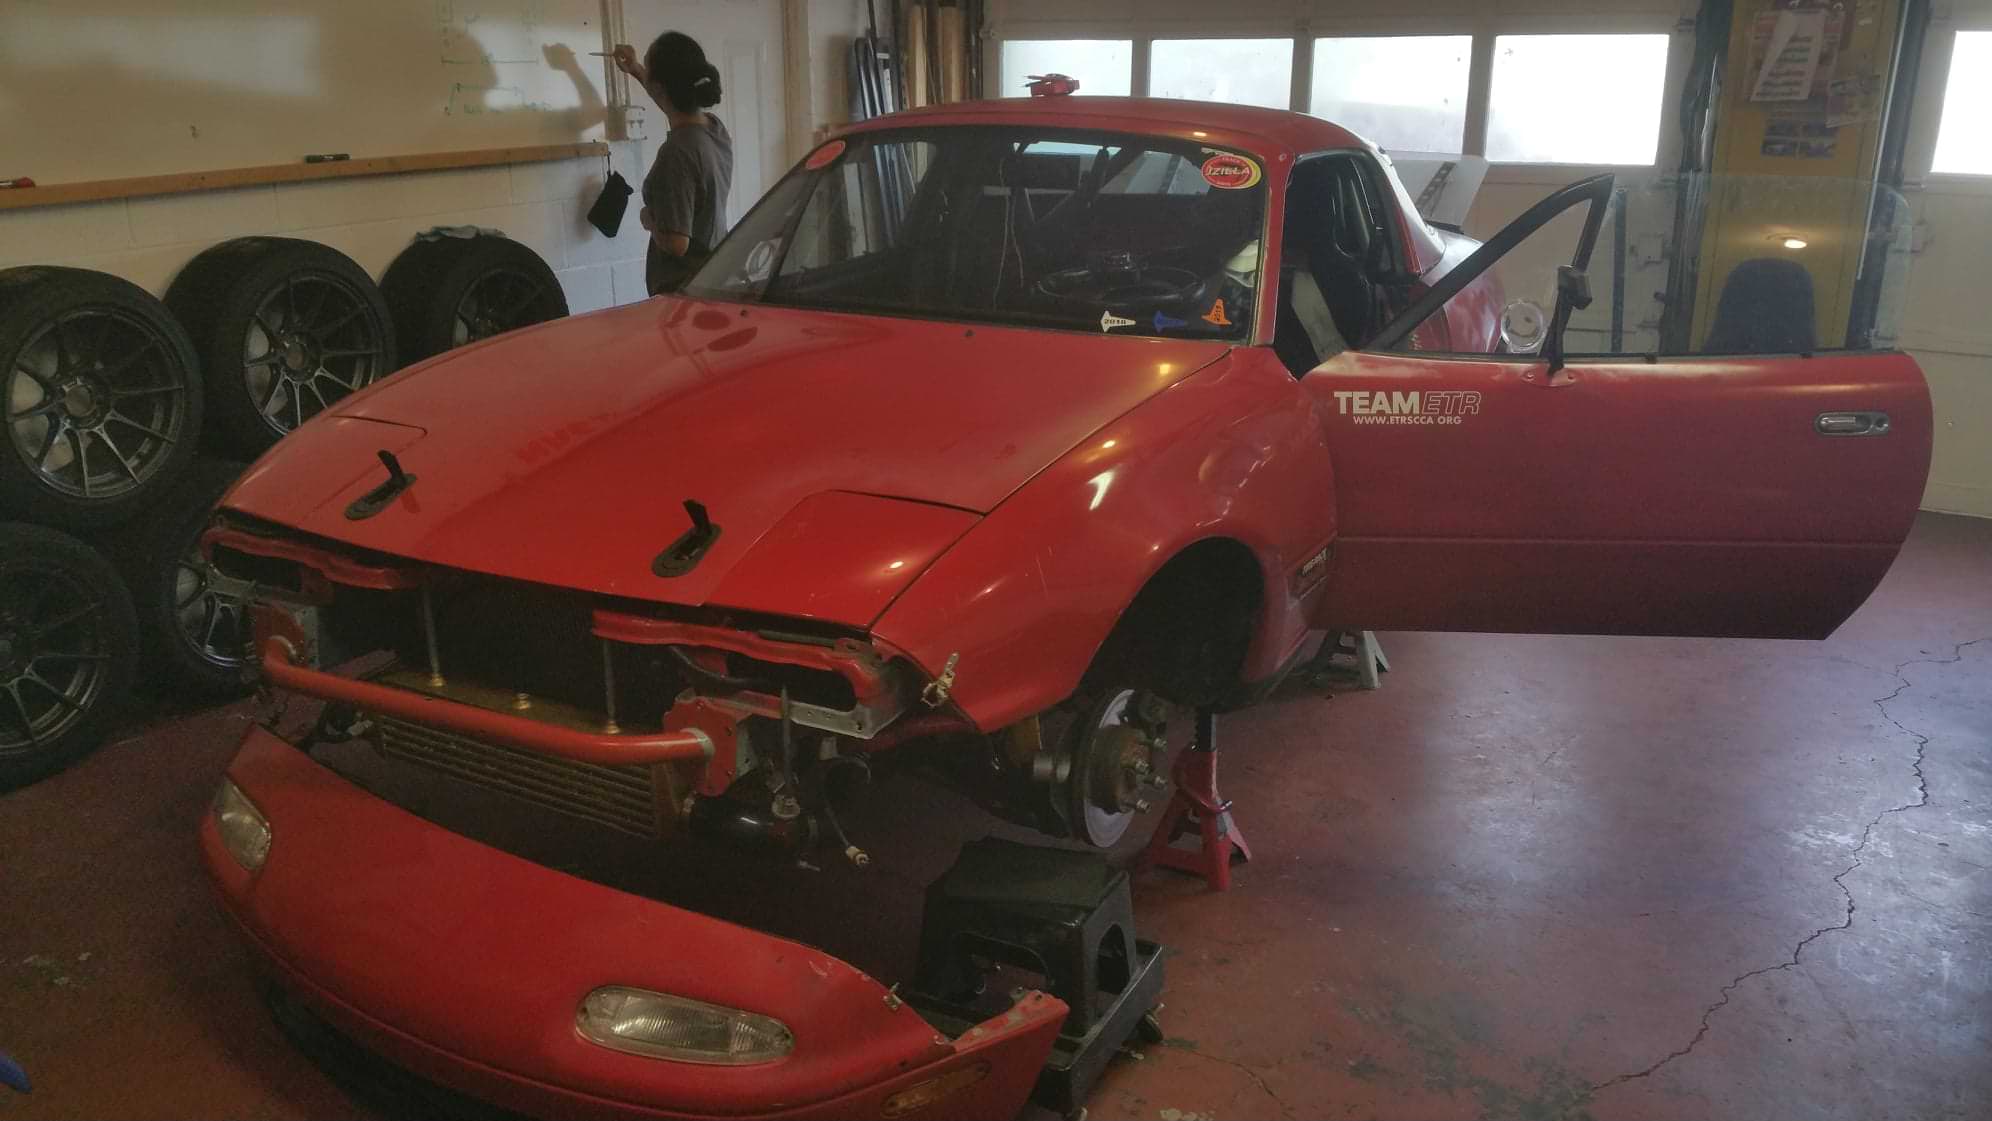
Current state of the car after my last trackday. Nothing wrong with it. I just like to inspect for cracks and clean stuff a bit. Need to lower it some and get the splittler back on. Was having some understeer issues in the wet but feel like it's a combination of the rear spoiler and the increased ride height.
Should be plenty of room for door bars once I get my new welder up and going. Hopefully material isn't outrageous from the recent tariffs.
Still need to do some work on the stitching. I got the seat from doing a steering rack de-power. A new cover is about $230 so I will probably just do that once this thing gets a bit worse.
Current state of the car after my last trackday. Nothing wrong with it. I just like to inspect for cracks and clean stuff a bit. Need to lower it some and get the splittler back on. Was having some understeer issues in the wet but feel like it's a combination of the rear spoiler and the increased ride height.
Reply
0
0
 10-01-2018, 08:04 PM
#127
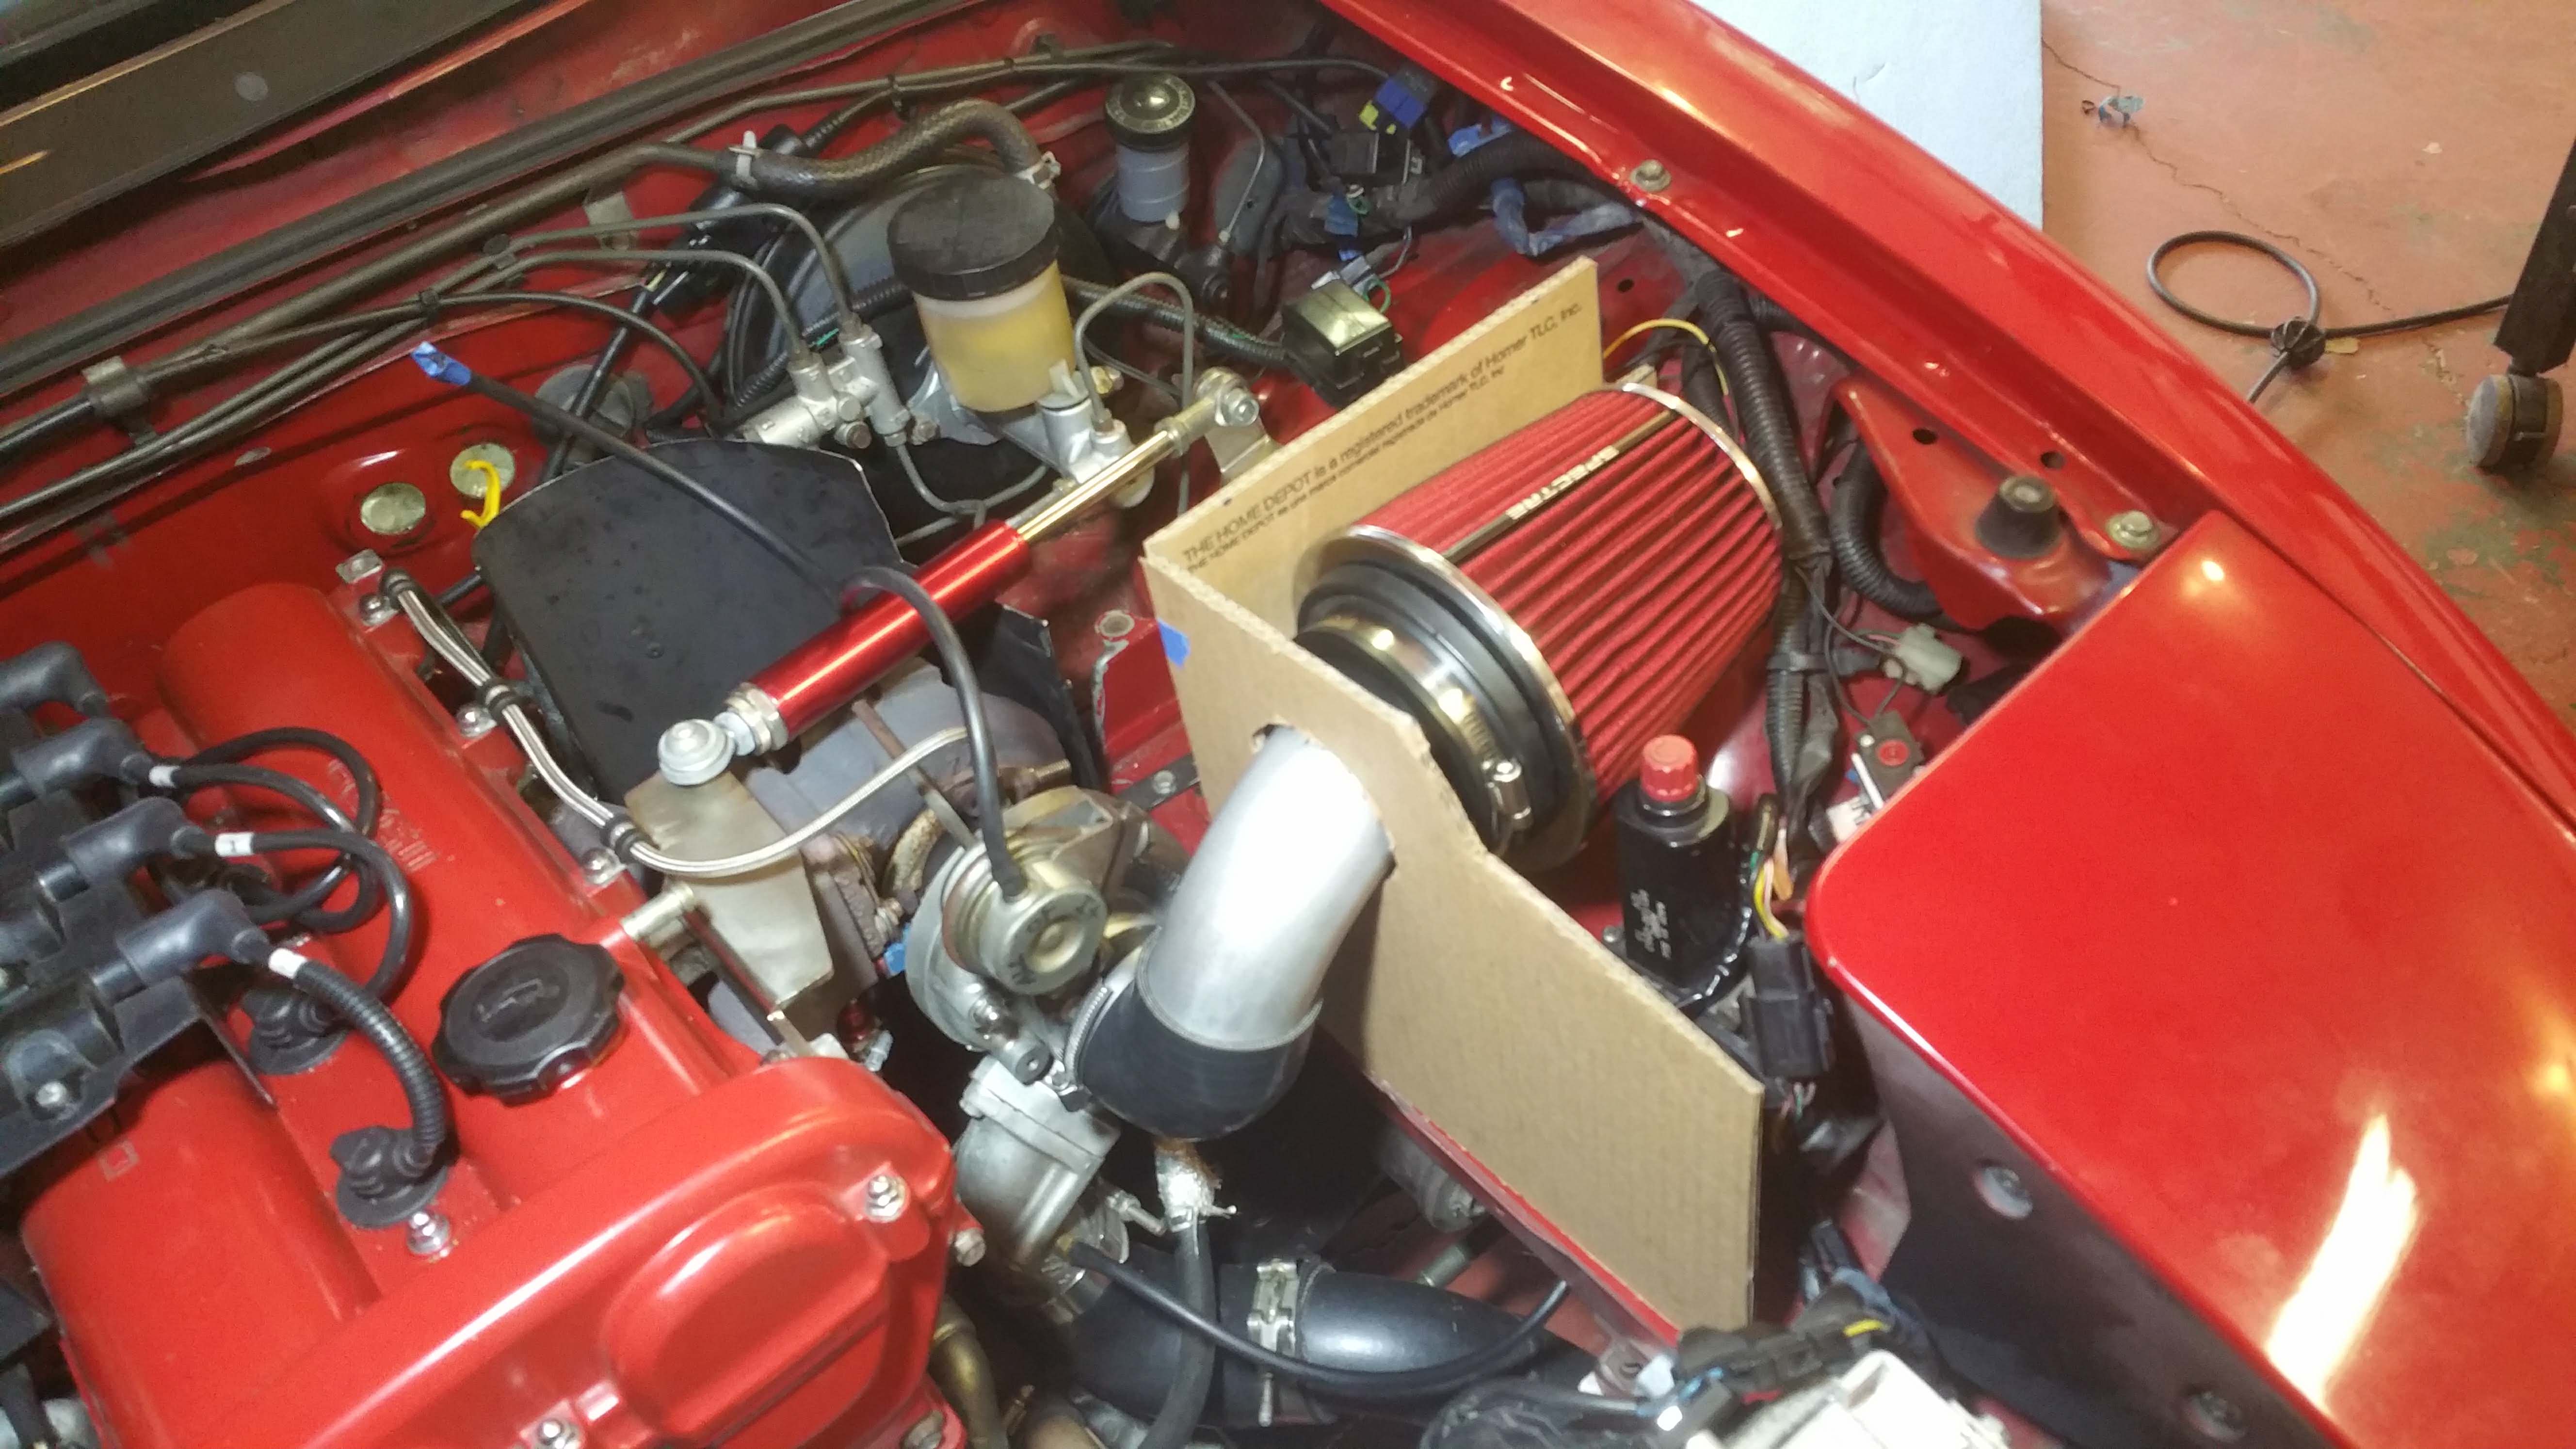
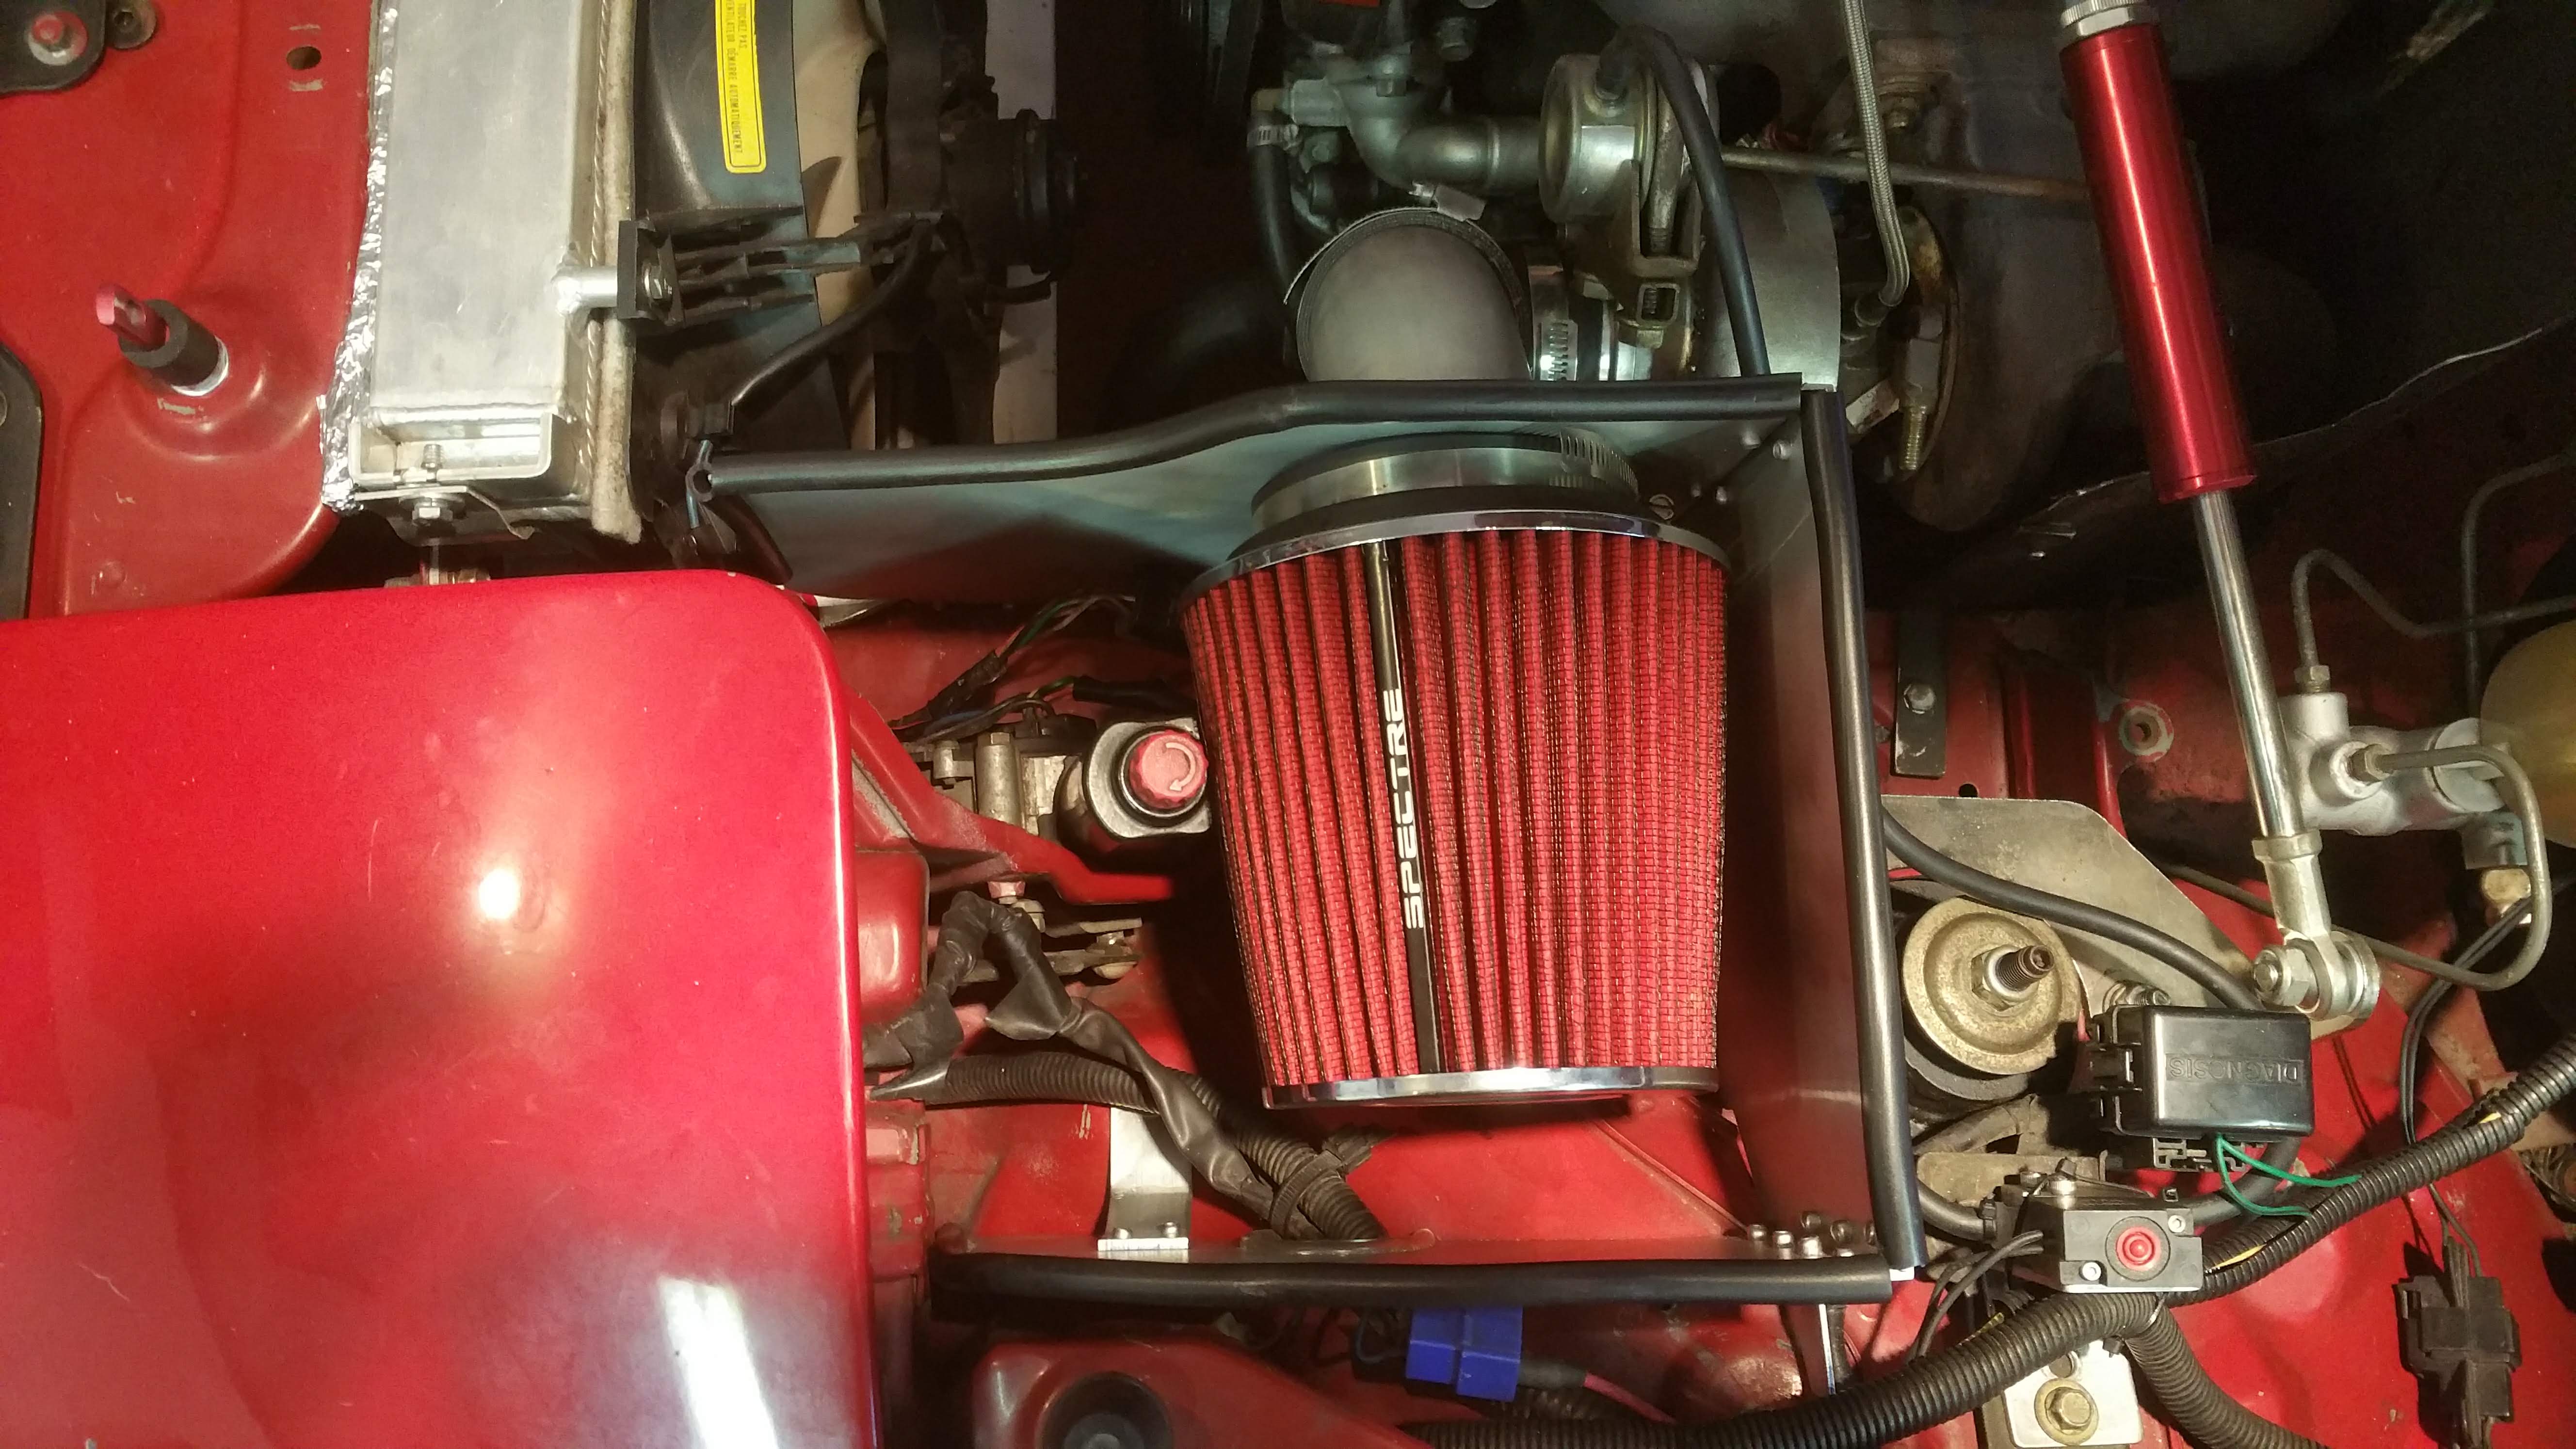
Started on my airbox. I had some issues in August in Bristol during an autocross. It was stupid hot and I had a co-driver. The car started to cut timing pretty hard around the 10th run. It was pretty much just hot lapped and never shut down between runs, we only had about 5 mins to check pressures, water tires, and strap back in before the next driver. I wasn't logging during that time so I am not entirely sure what that issue was. It didn't do it on track a couple weeks back so I am thinking it was just stupid high intake air temps coupled with a nice helping of heat soak. So I am building a box and plan on getting, or making, a naca duct headlamp cover. Hopefully this will drop my IATs a significant amount.
I'll have a video up in a couple weeks on the project. Had to stop about halfway though it today. I need a bit more aluminum to complete the job and have a few others jobs on friends cars before I can get back to this one.
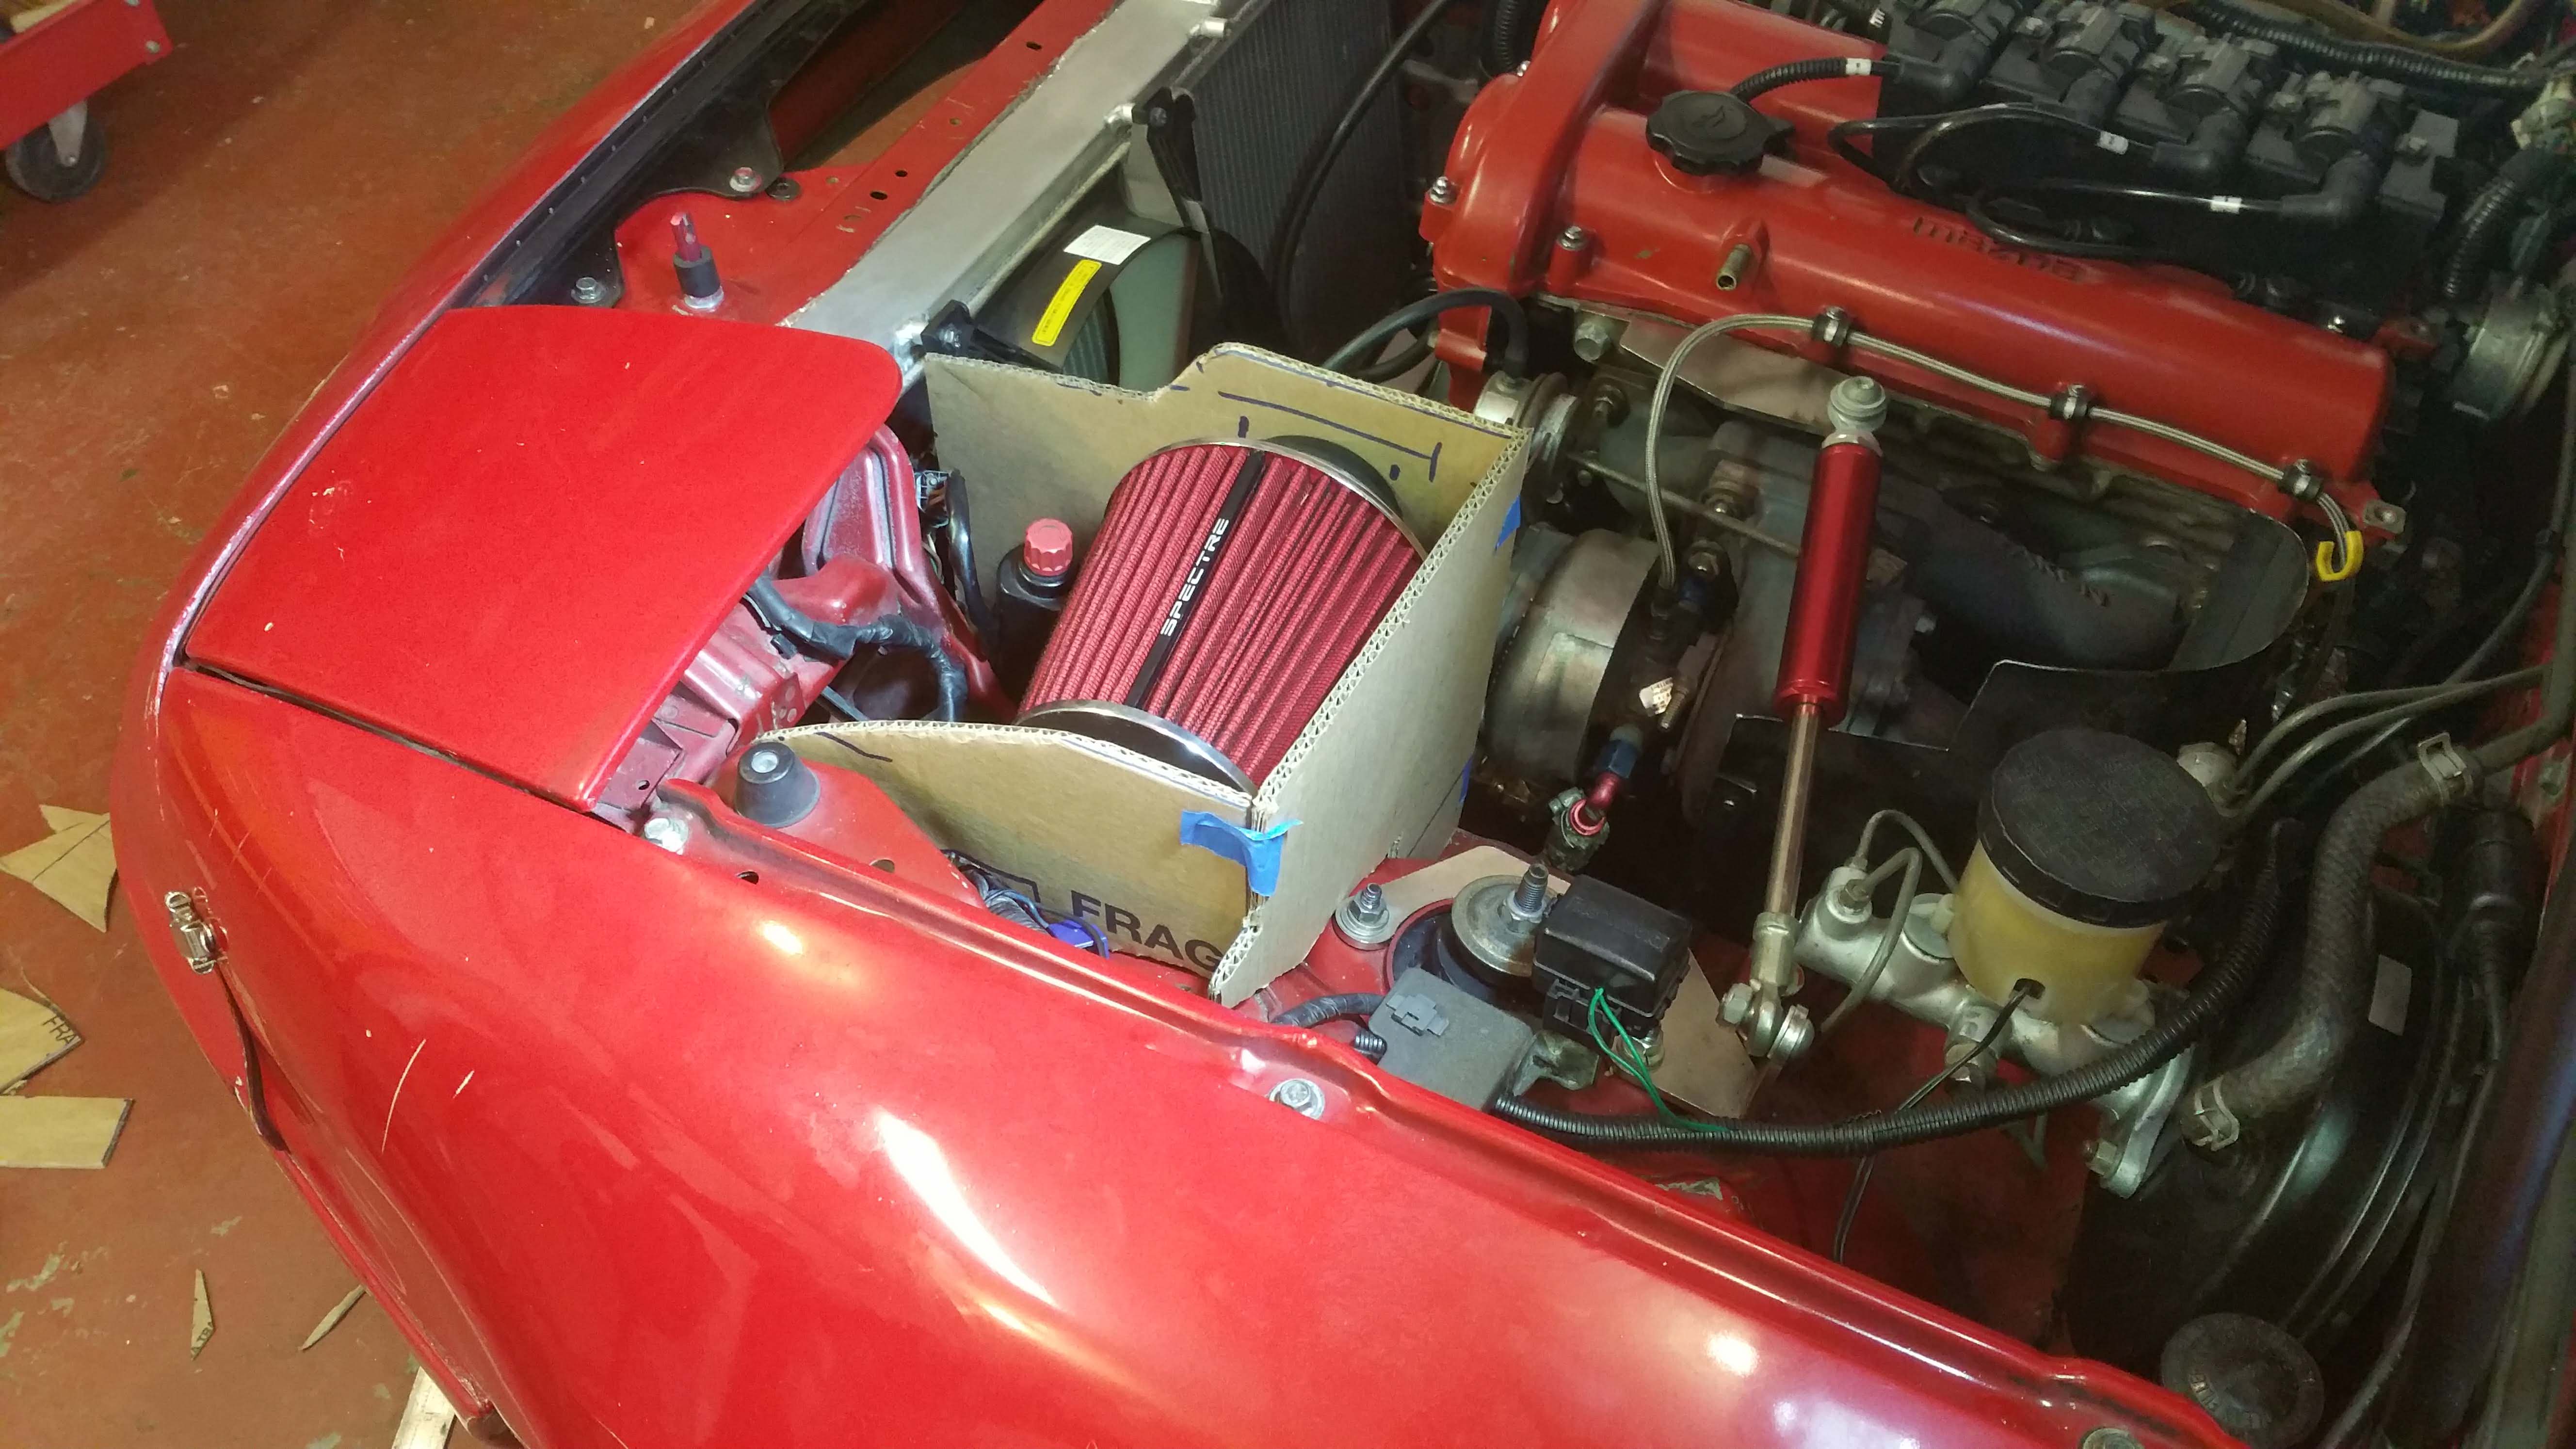
Mocking it up with cardboard. In the future I am just going to buy some thin card stock. Using this cardboard is kind of a pain in the ***. It likes to tear and crease, also it's about 3 times the thickness of the aluminum I am using.
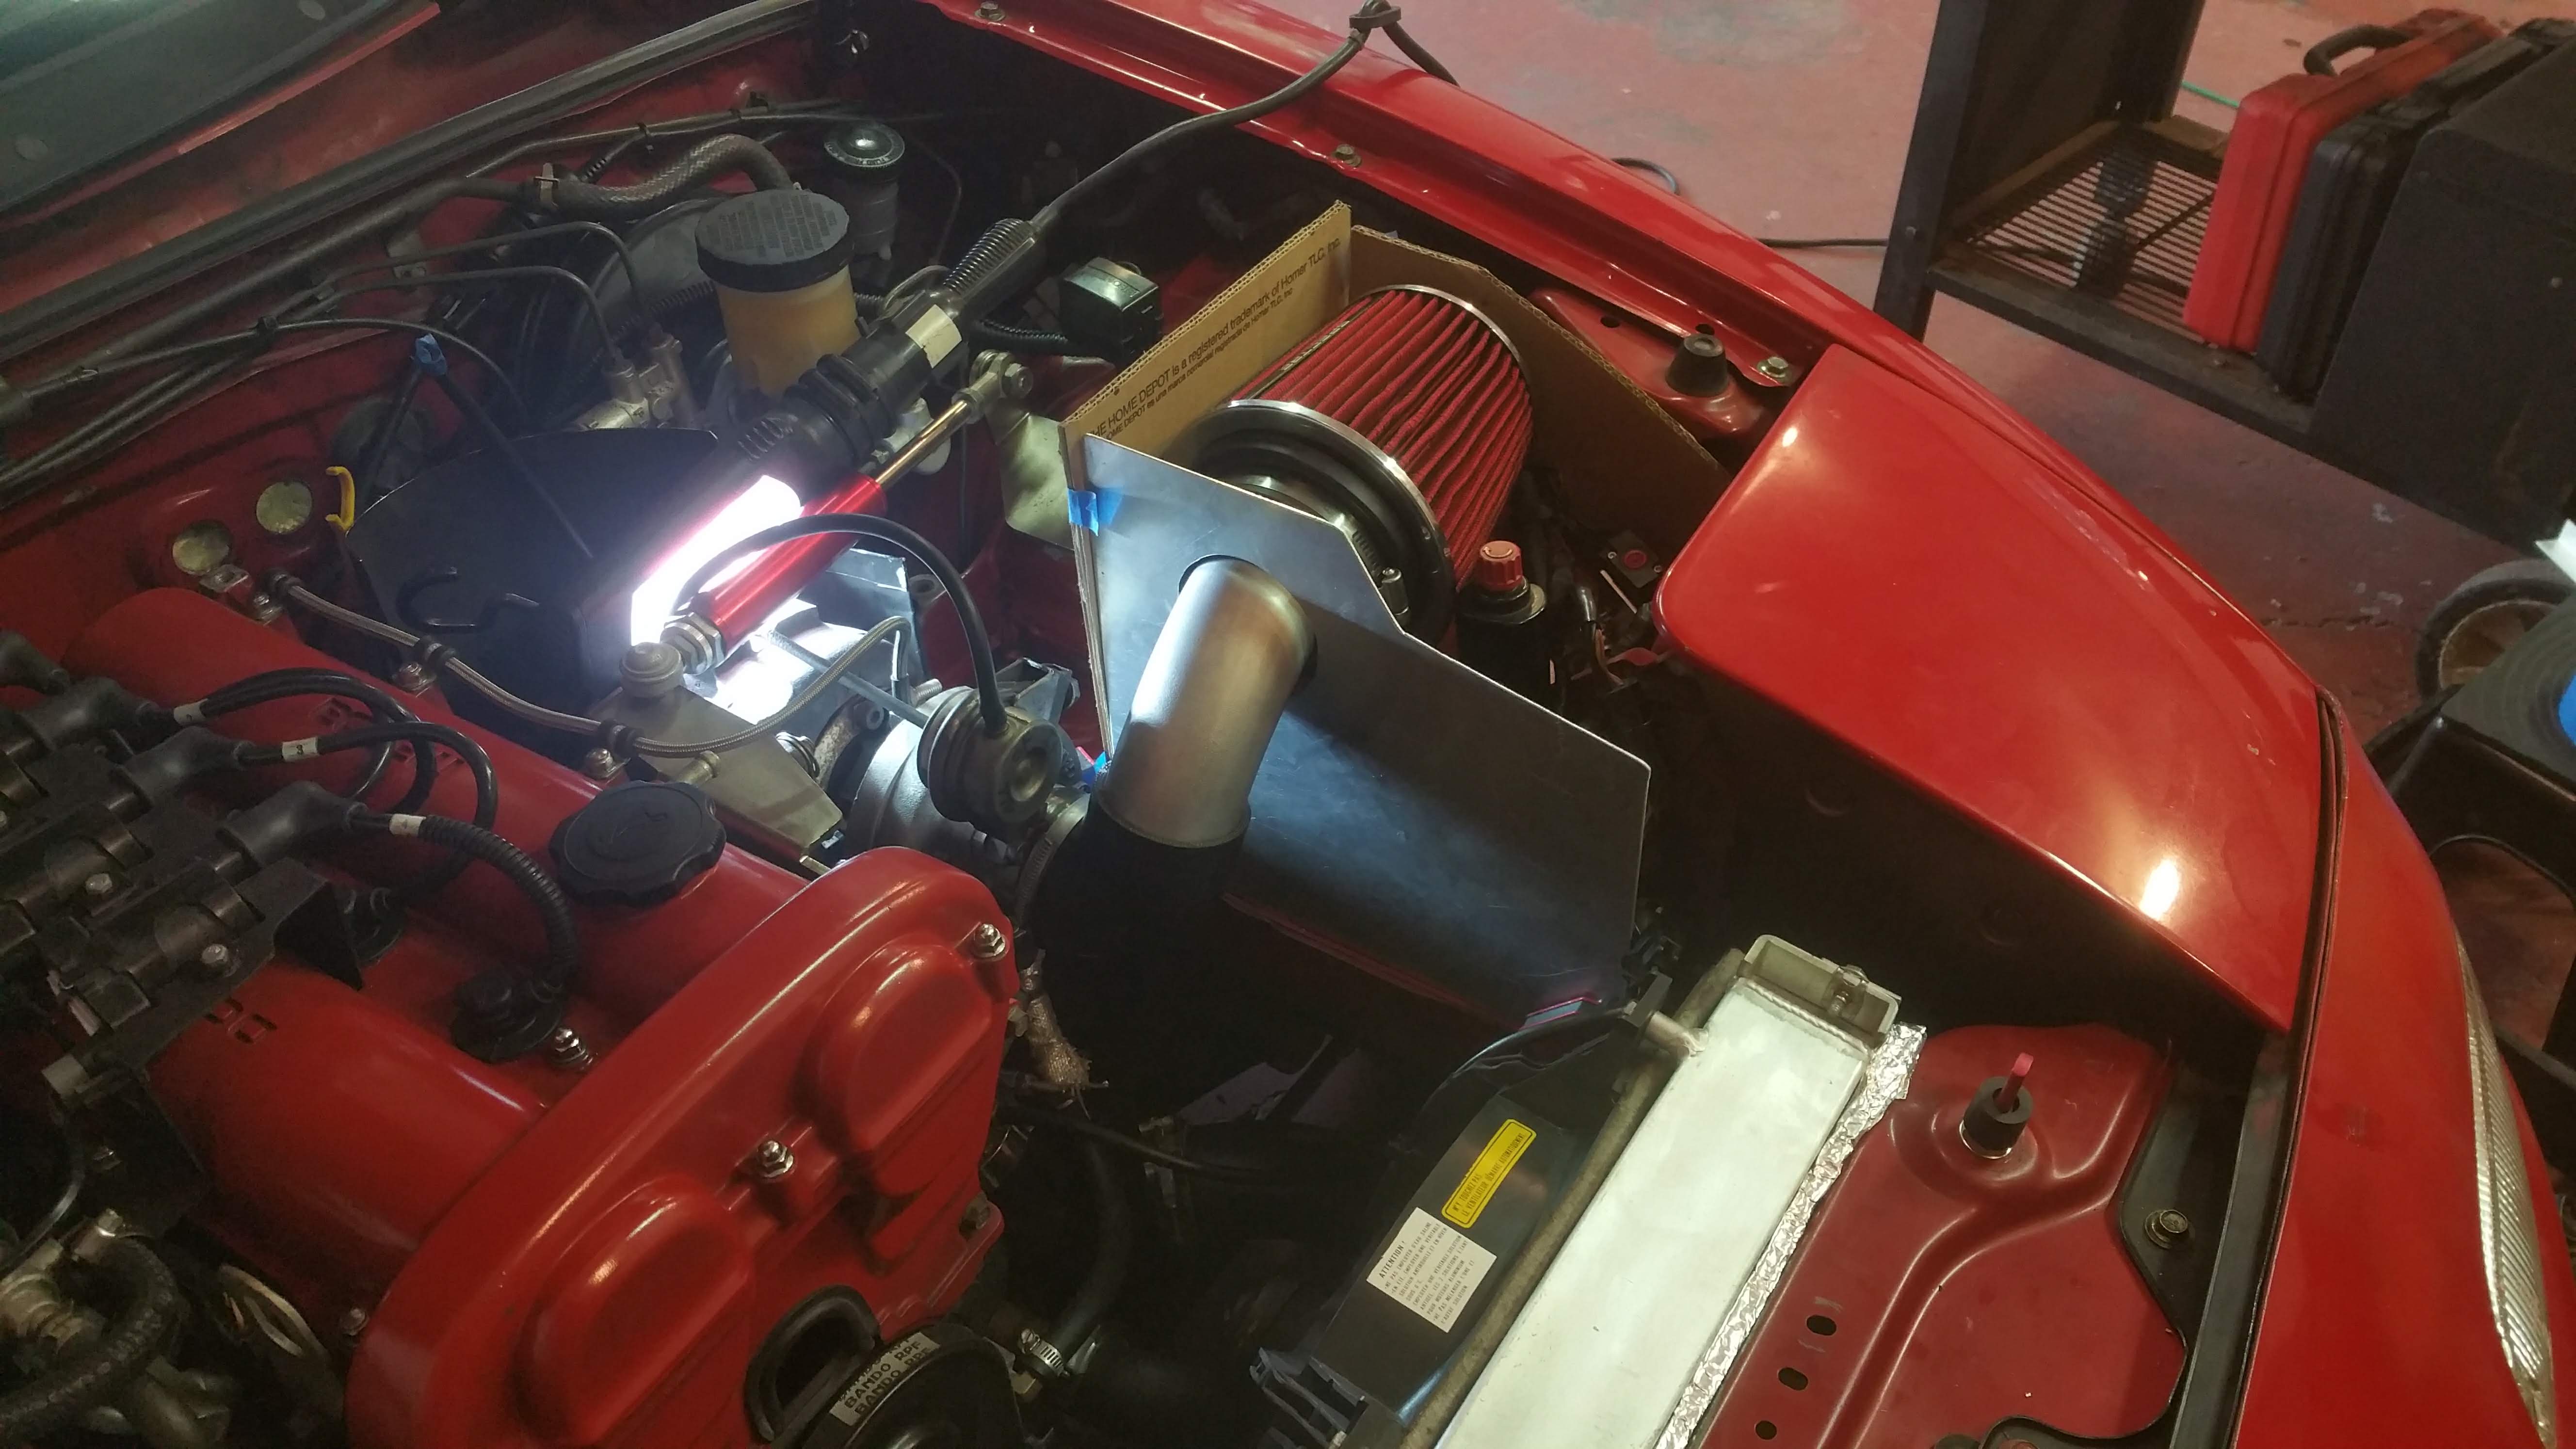
All 3 sides done. Had to move some wiring around and cut a notch for my hood strut.
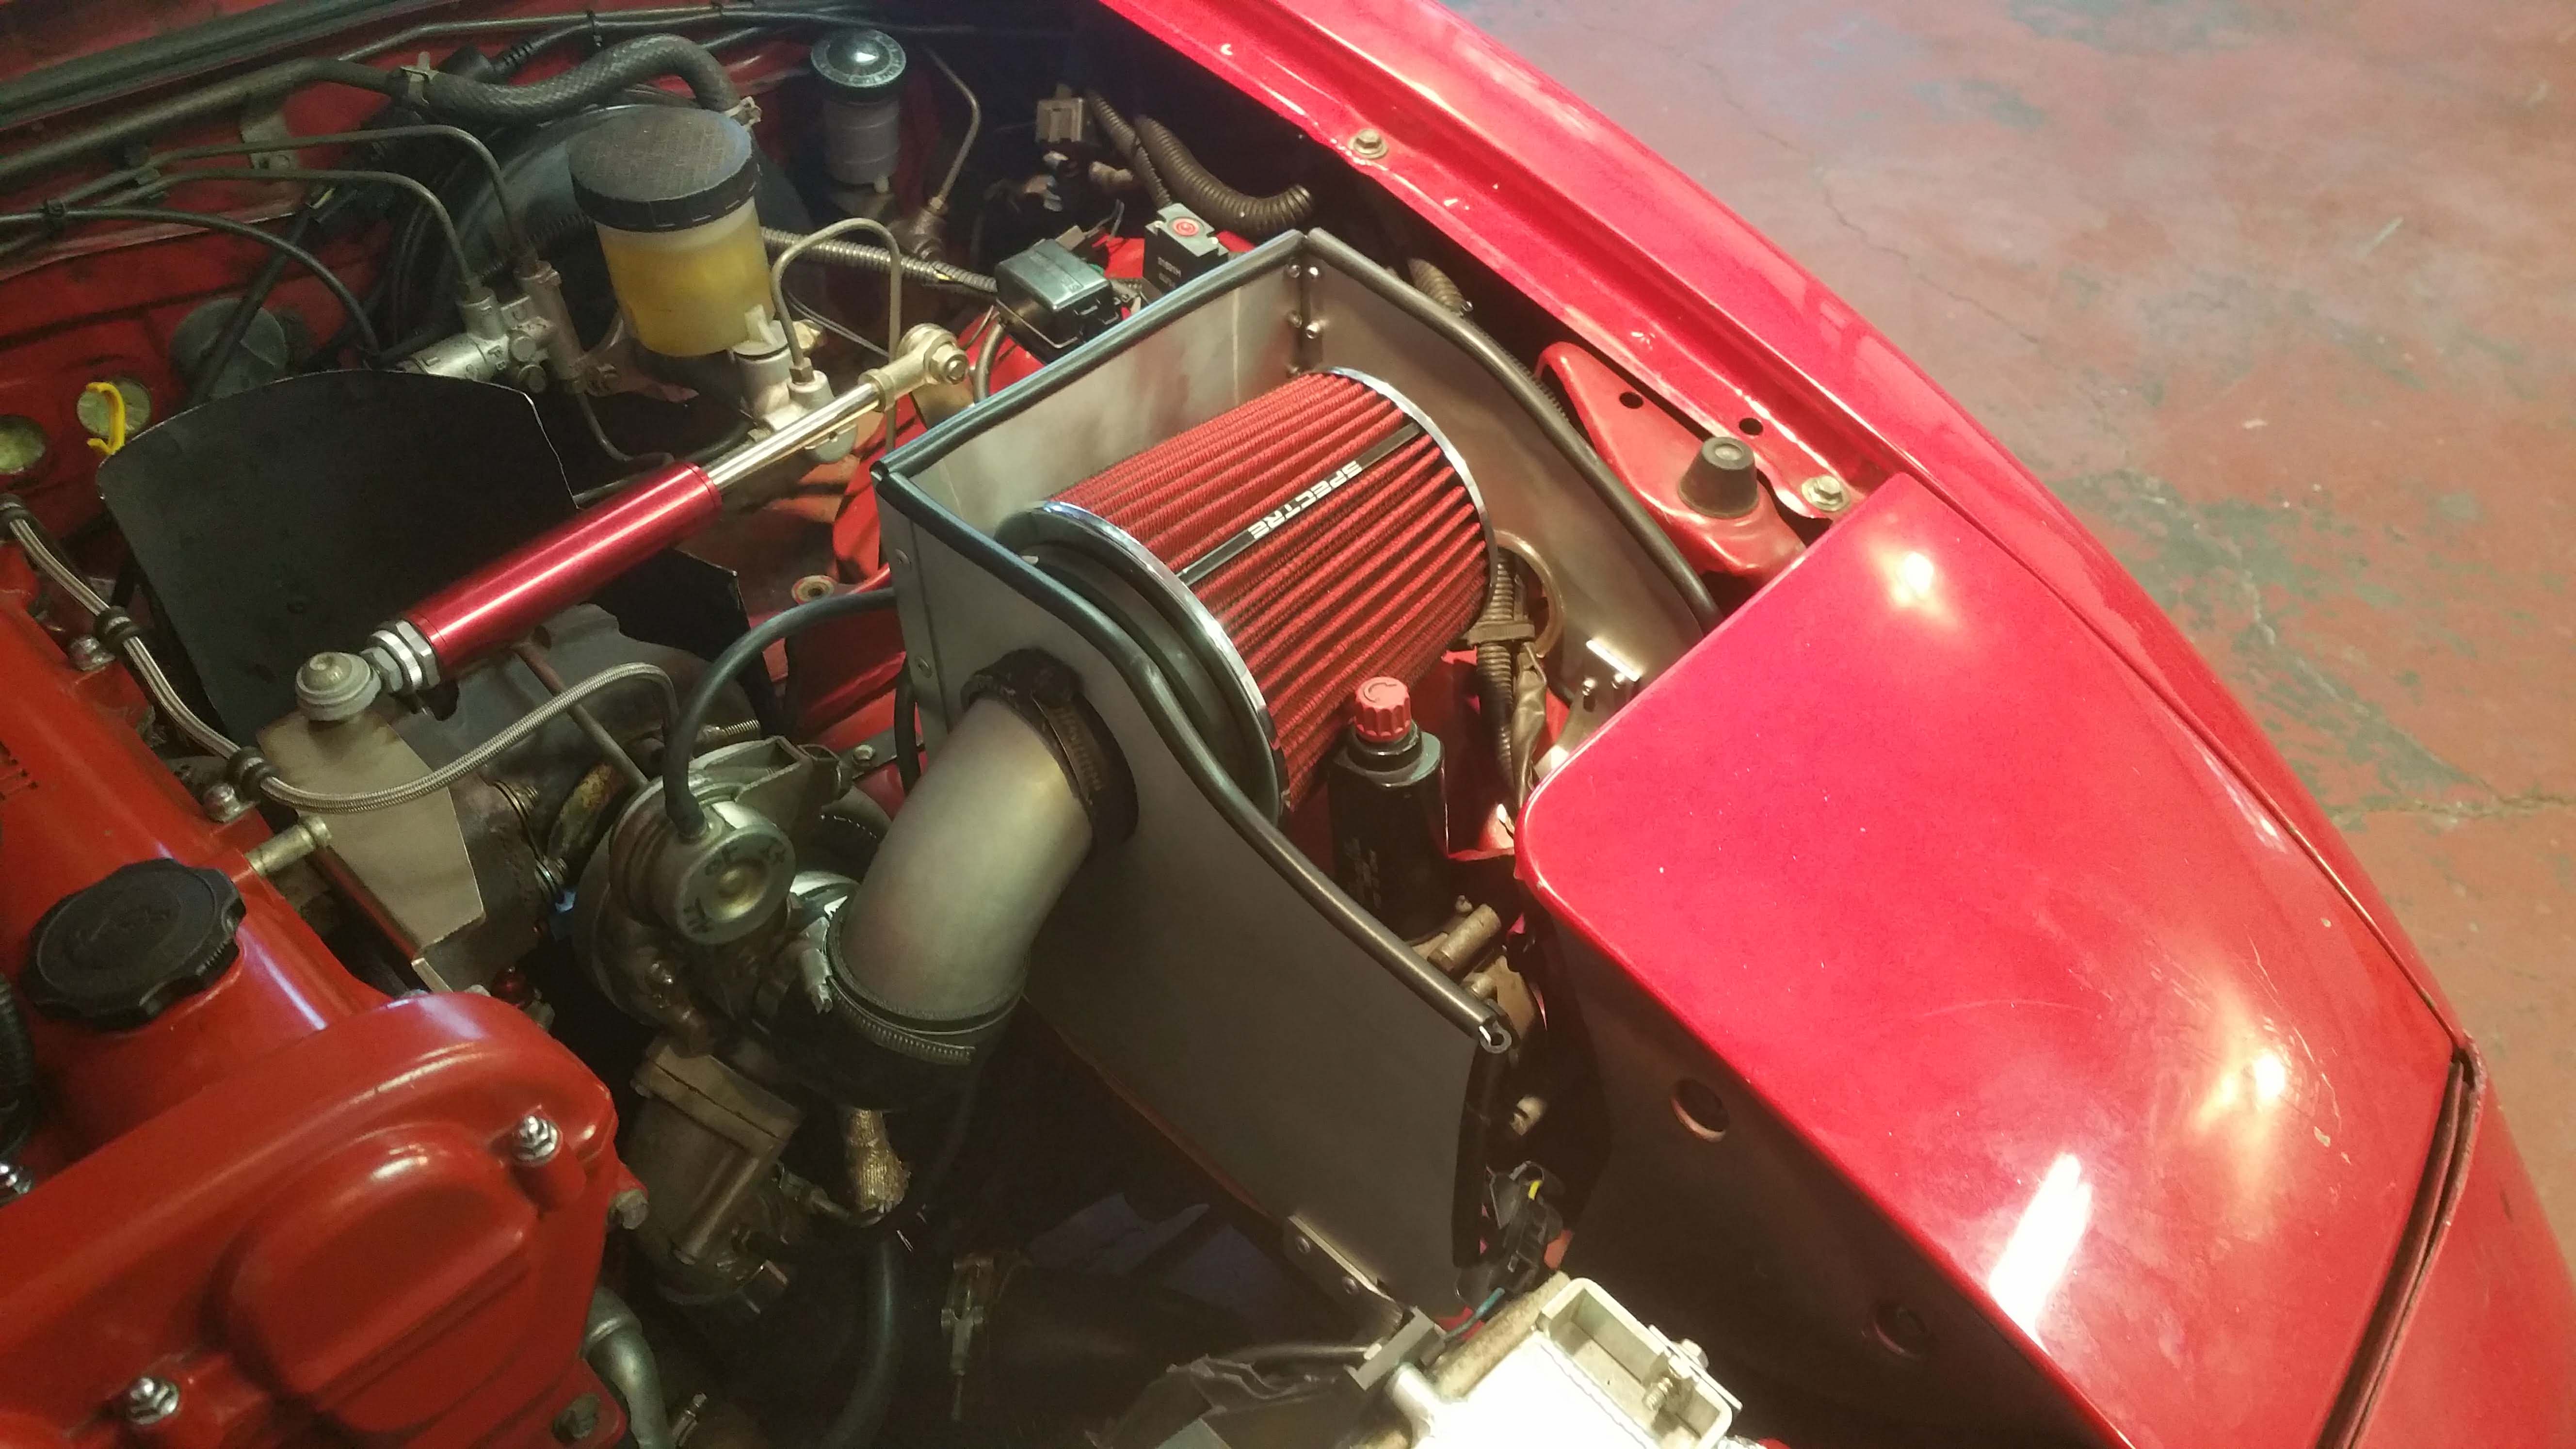
One piece of aluminum cut and shaped. It will fit great with some weather stripping on top of it.
I'll have a video up in a couple weeks on the project. Had to stop about halfway though it today. I need a bit more aluminum to complete the job and have a few others jobs on friends cars before I can get back to this one.
Mocking it up with cardboard. In the future I am just going to buy some thin card stock. Using this cardboard is kind of a pain in the ***. It likes to tear and crease, also it's about 3 times the thickness of the aluminum I am using.
All 3 sides done. Had to move some wiring around and cut a notch for my hood strut.
One piece of aluminum cut and shaped. It will fit great with some weather stripping on top of it.
Reply
1
1

 10-16-2018, 09:33 AM
#132
Elite Member
iTrader: (15)

Join Date: Jan 2007
Location: Murfreesboro,TN
Posts: 2,045
Total Cats: 265
It was just something I had laying around. I think it is something I bought from McMaster-Carr a few years ago for another project (may have even been for a work projection).
Reply
0
0
10-20-2018, 06:41 PM
#133
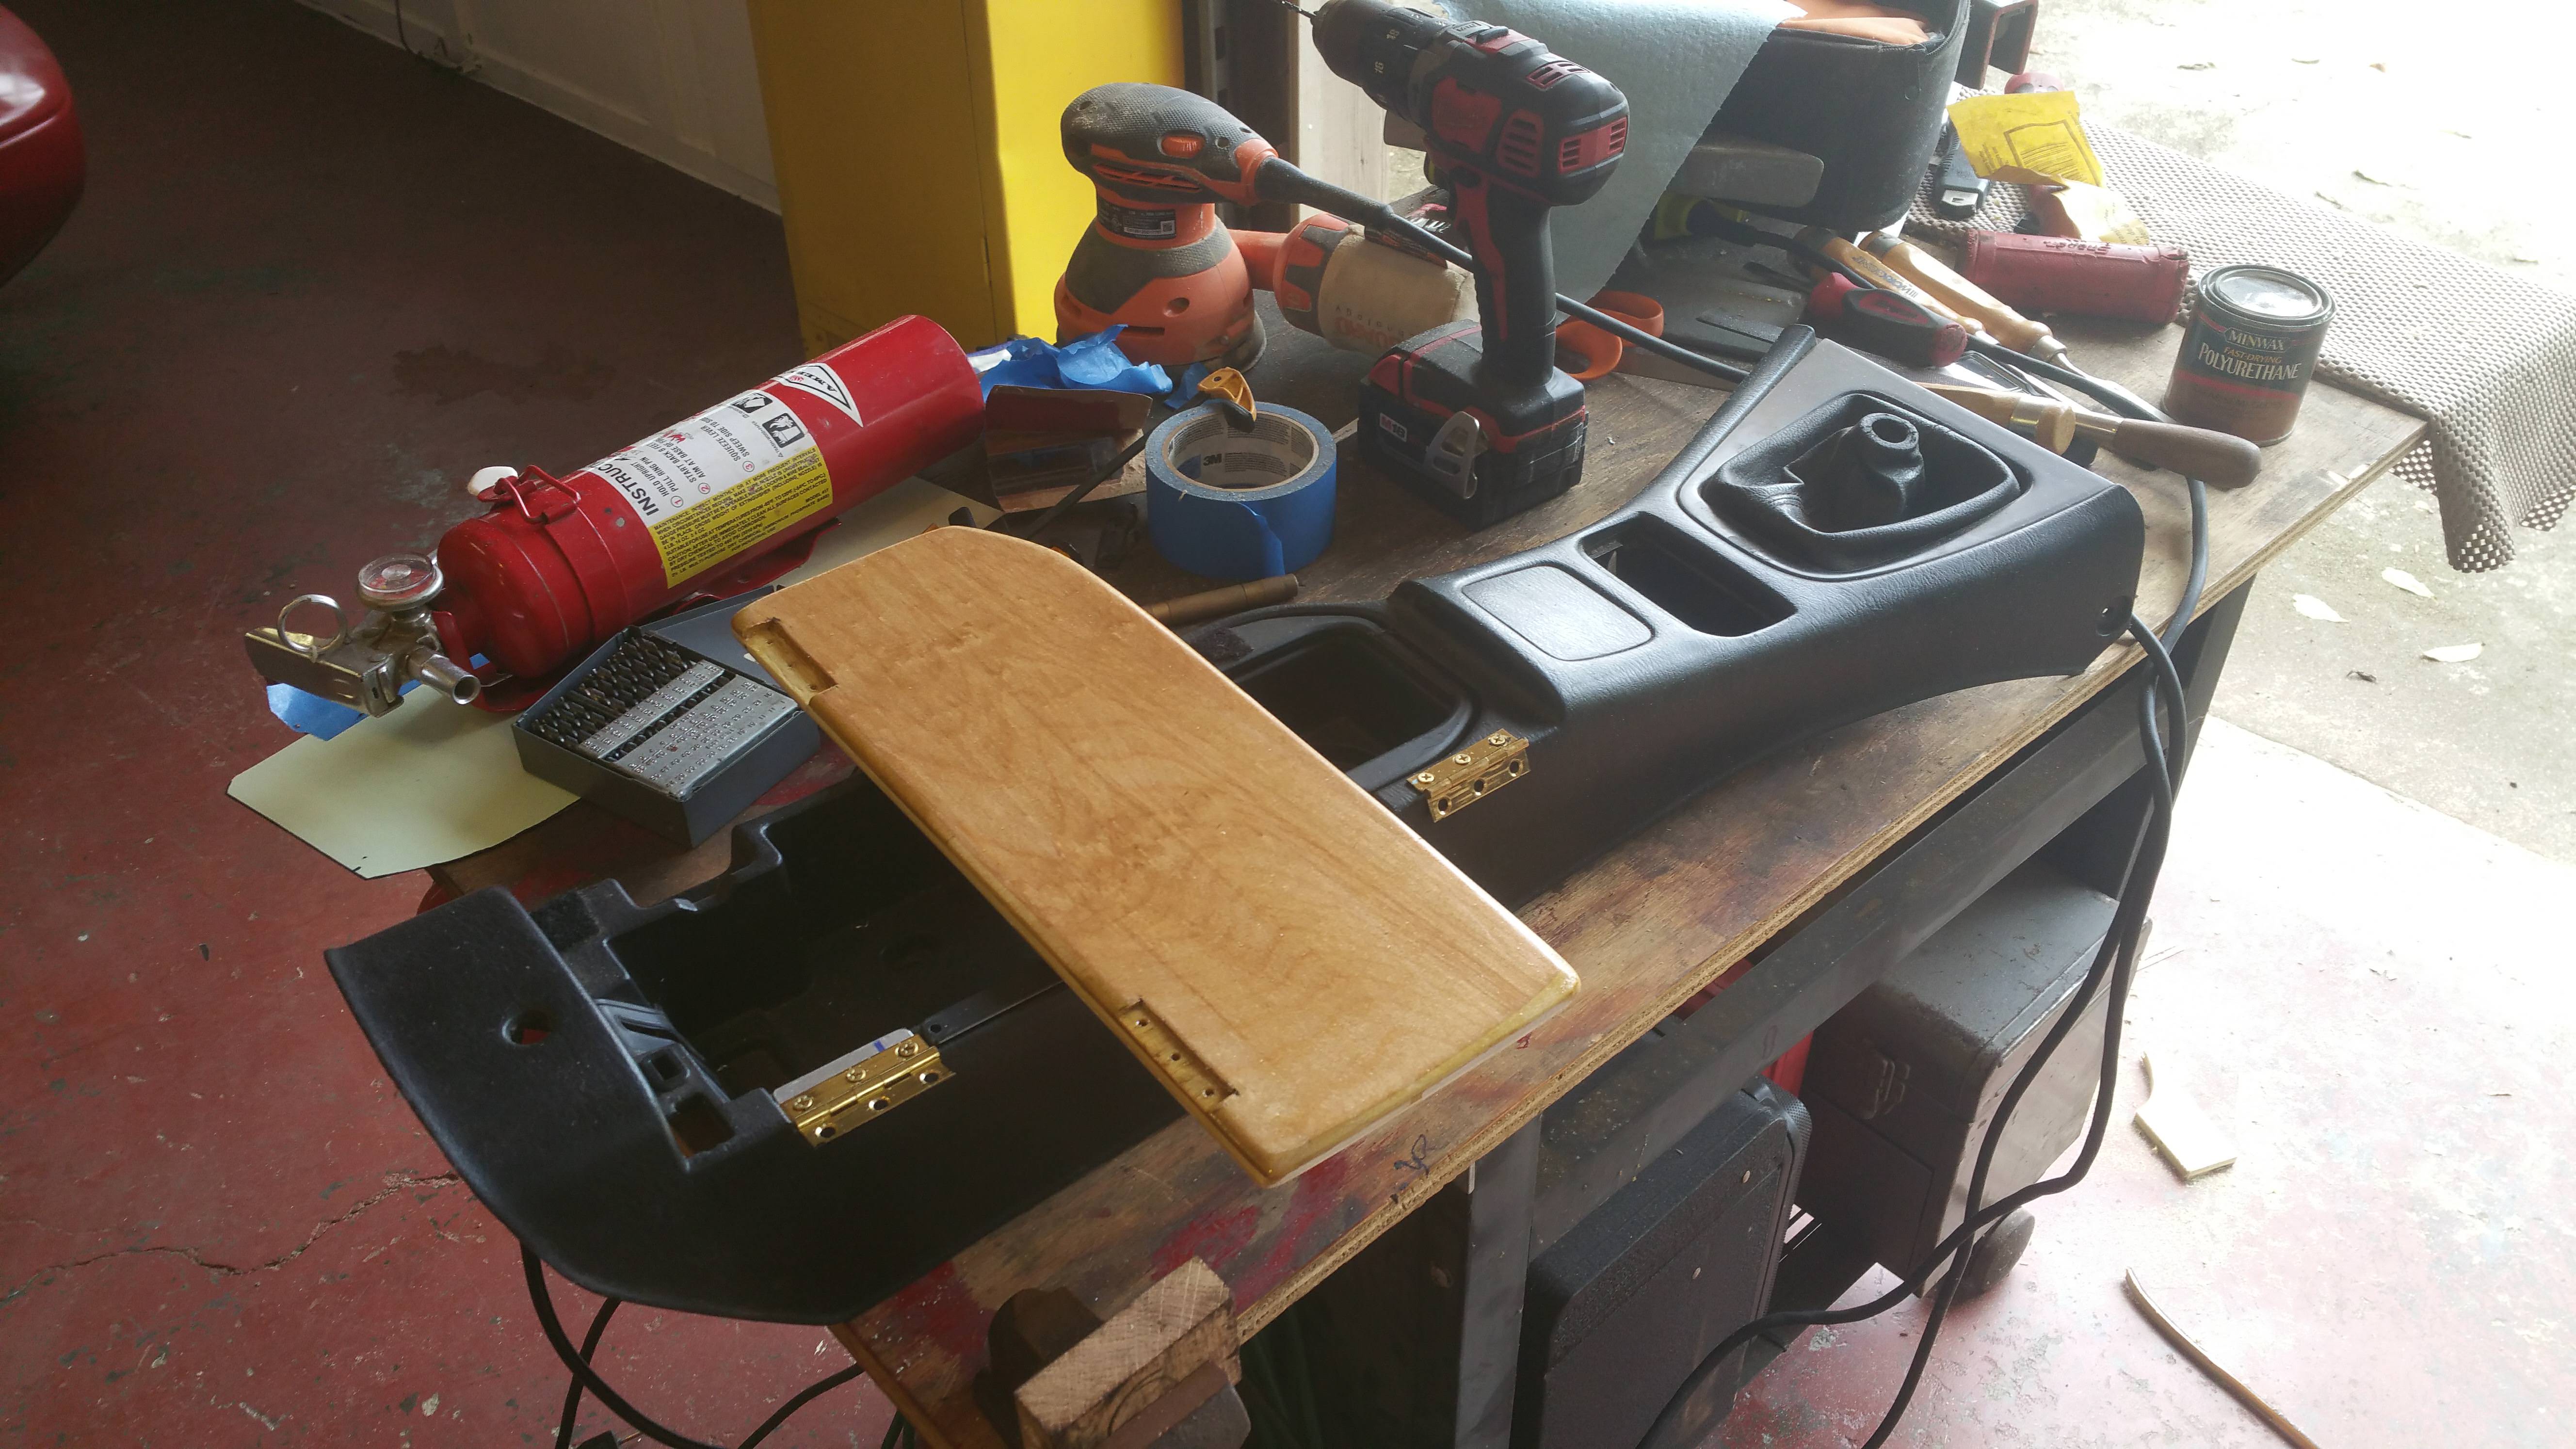
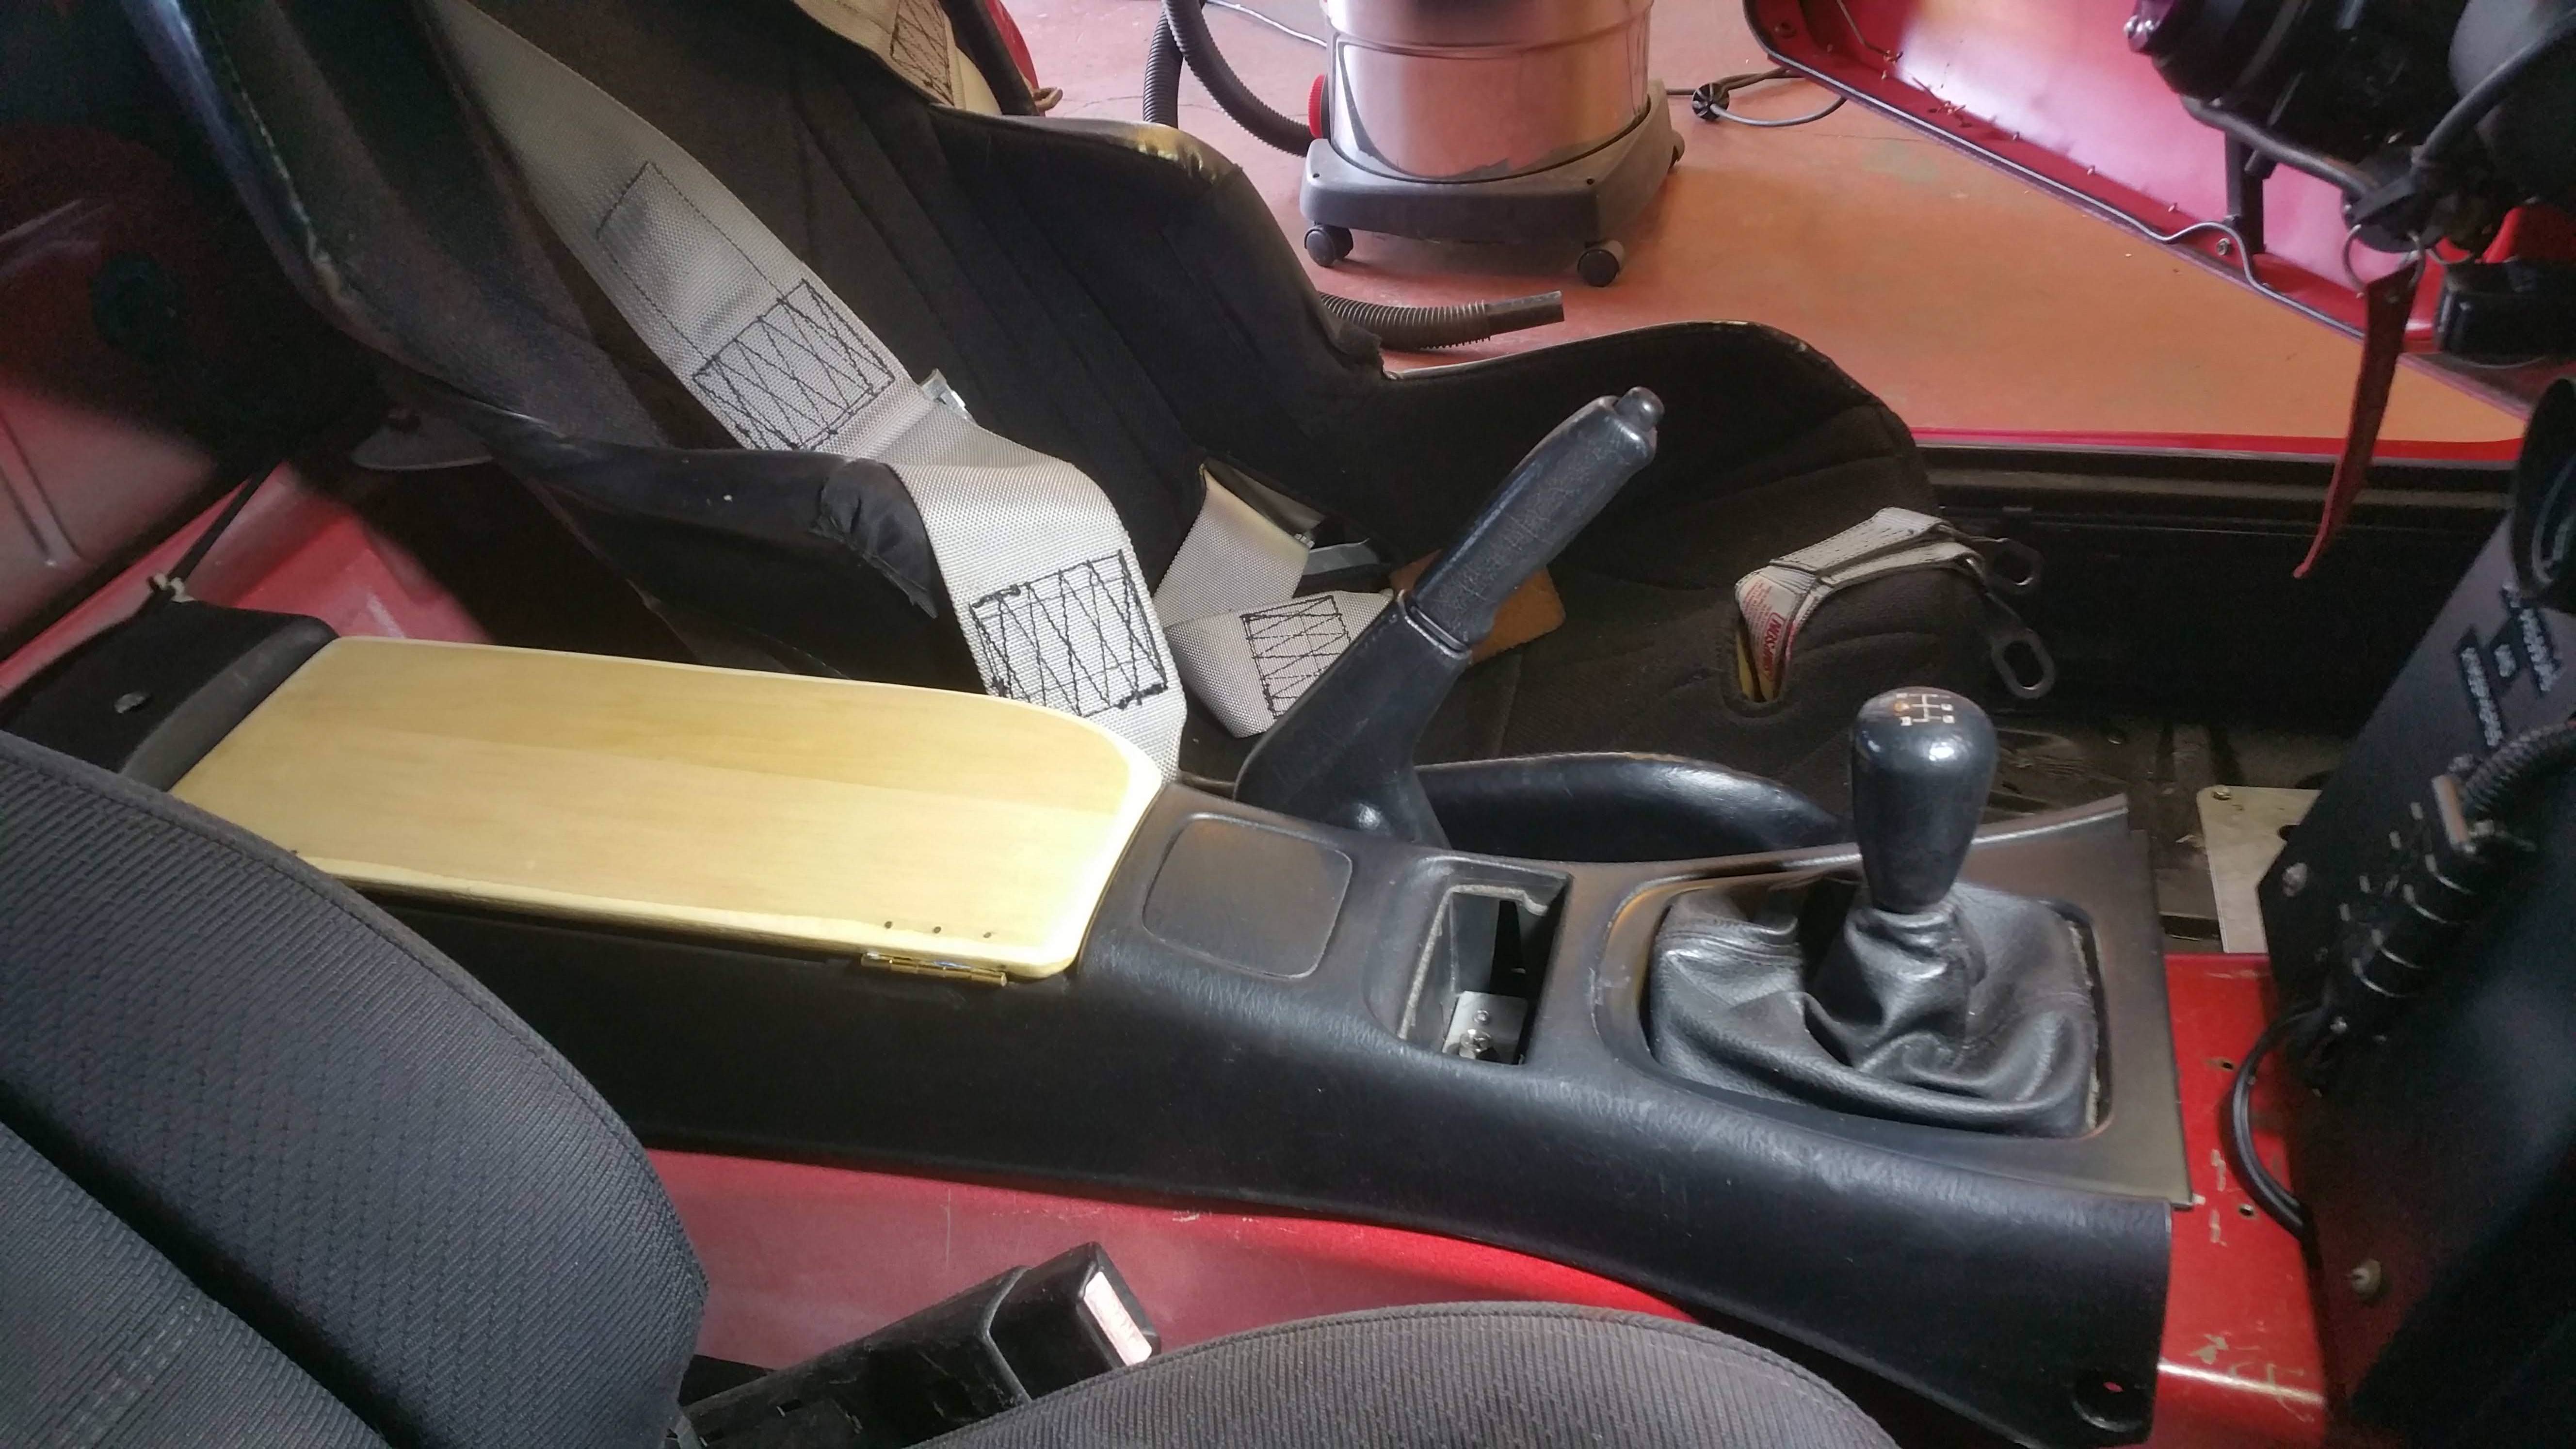
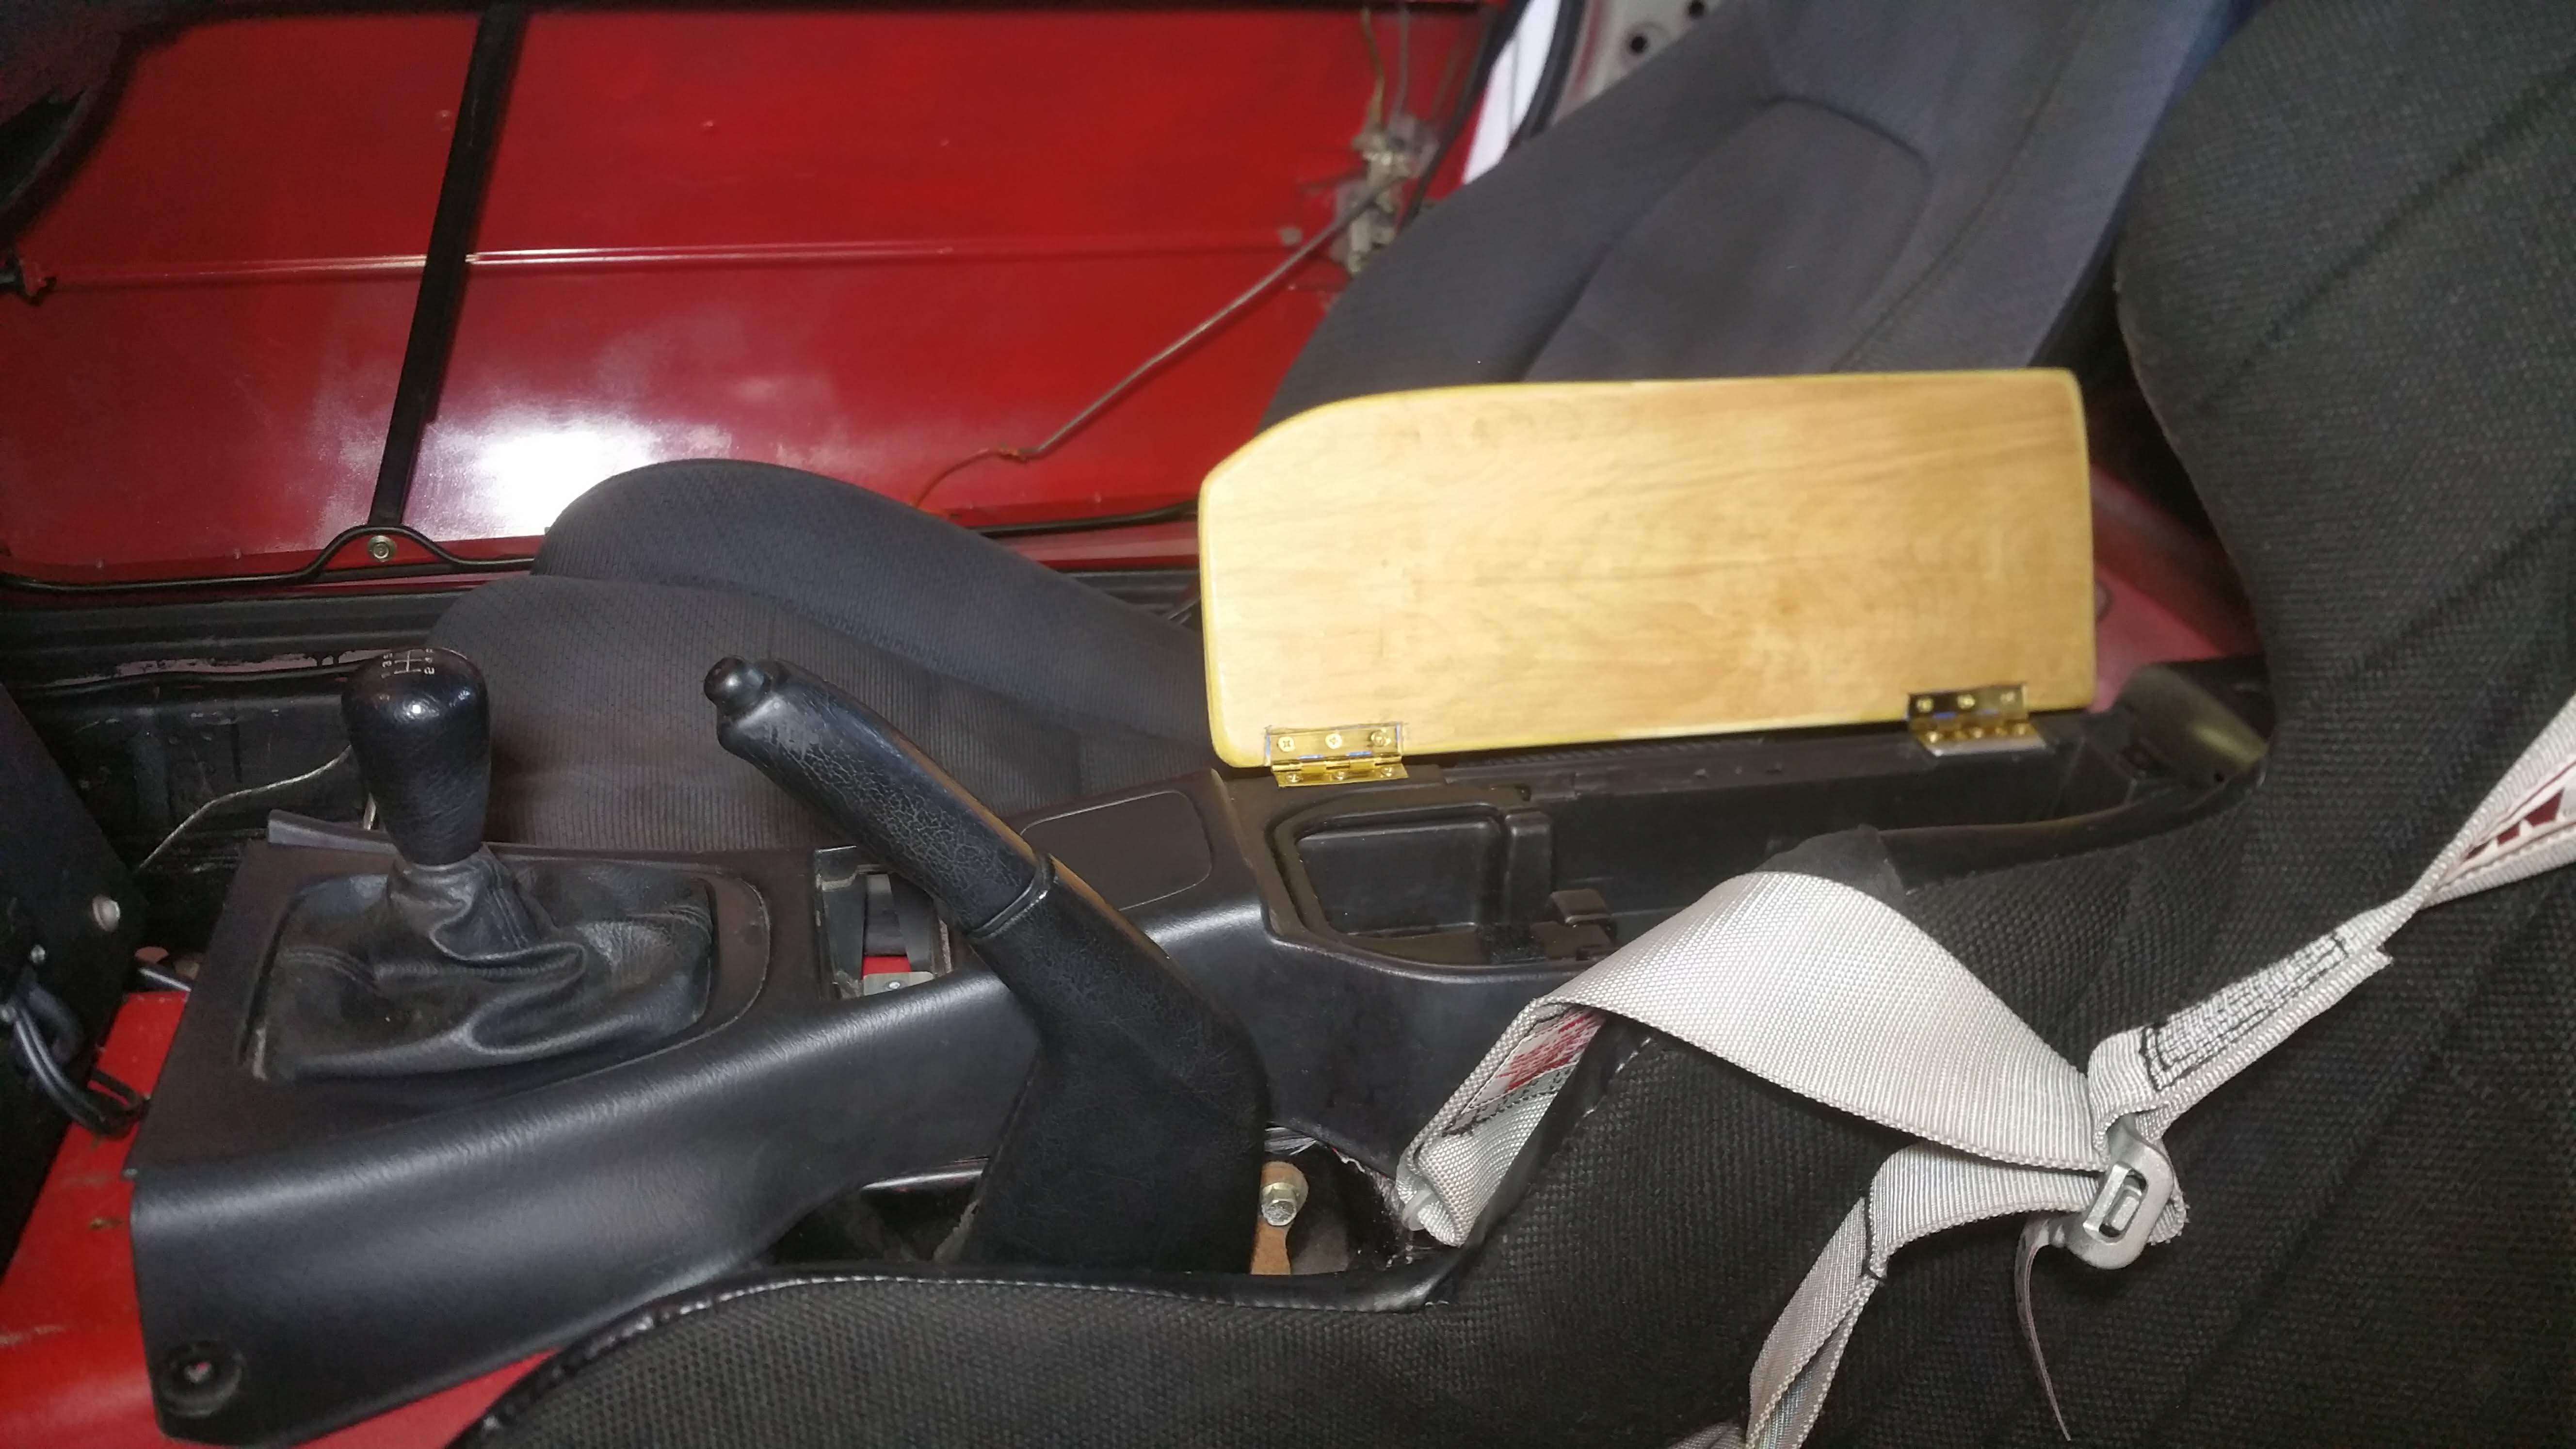
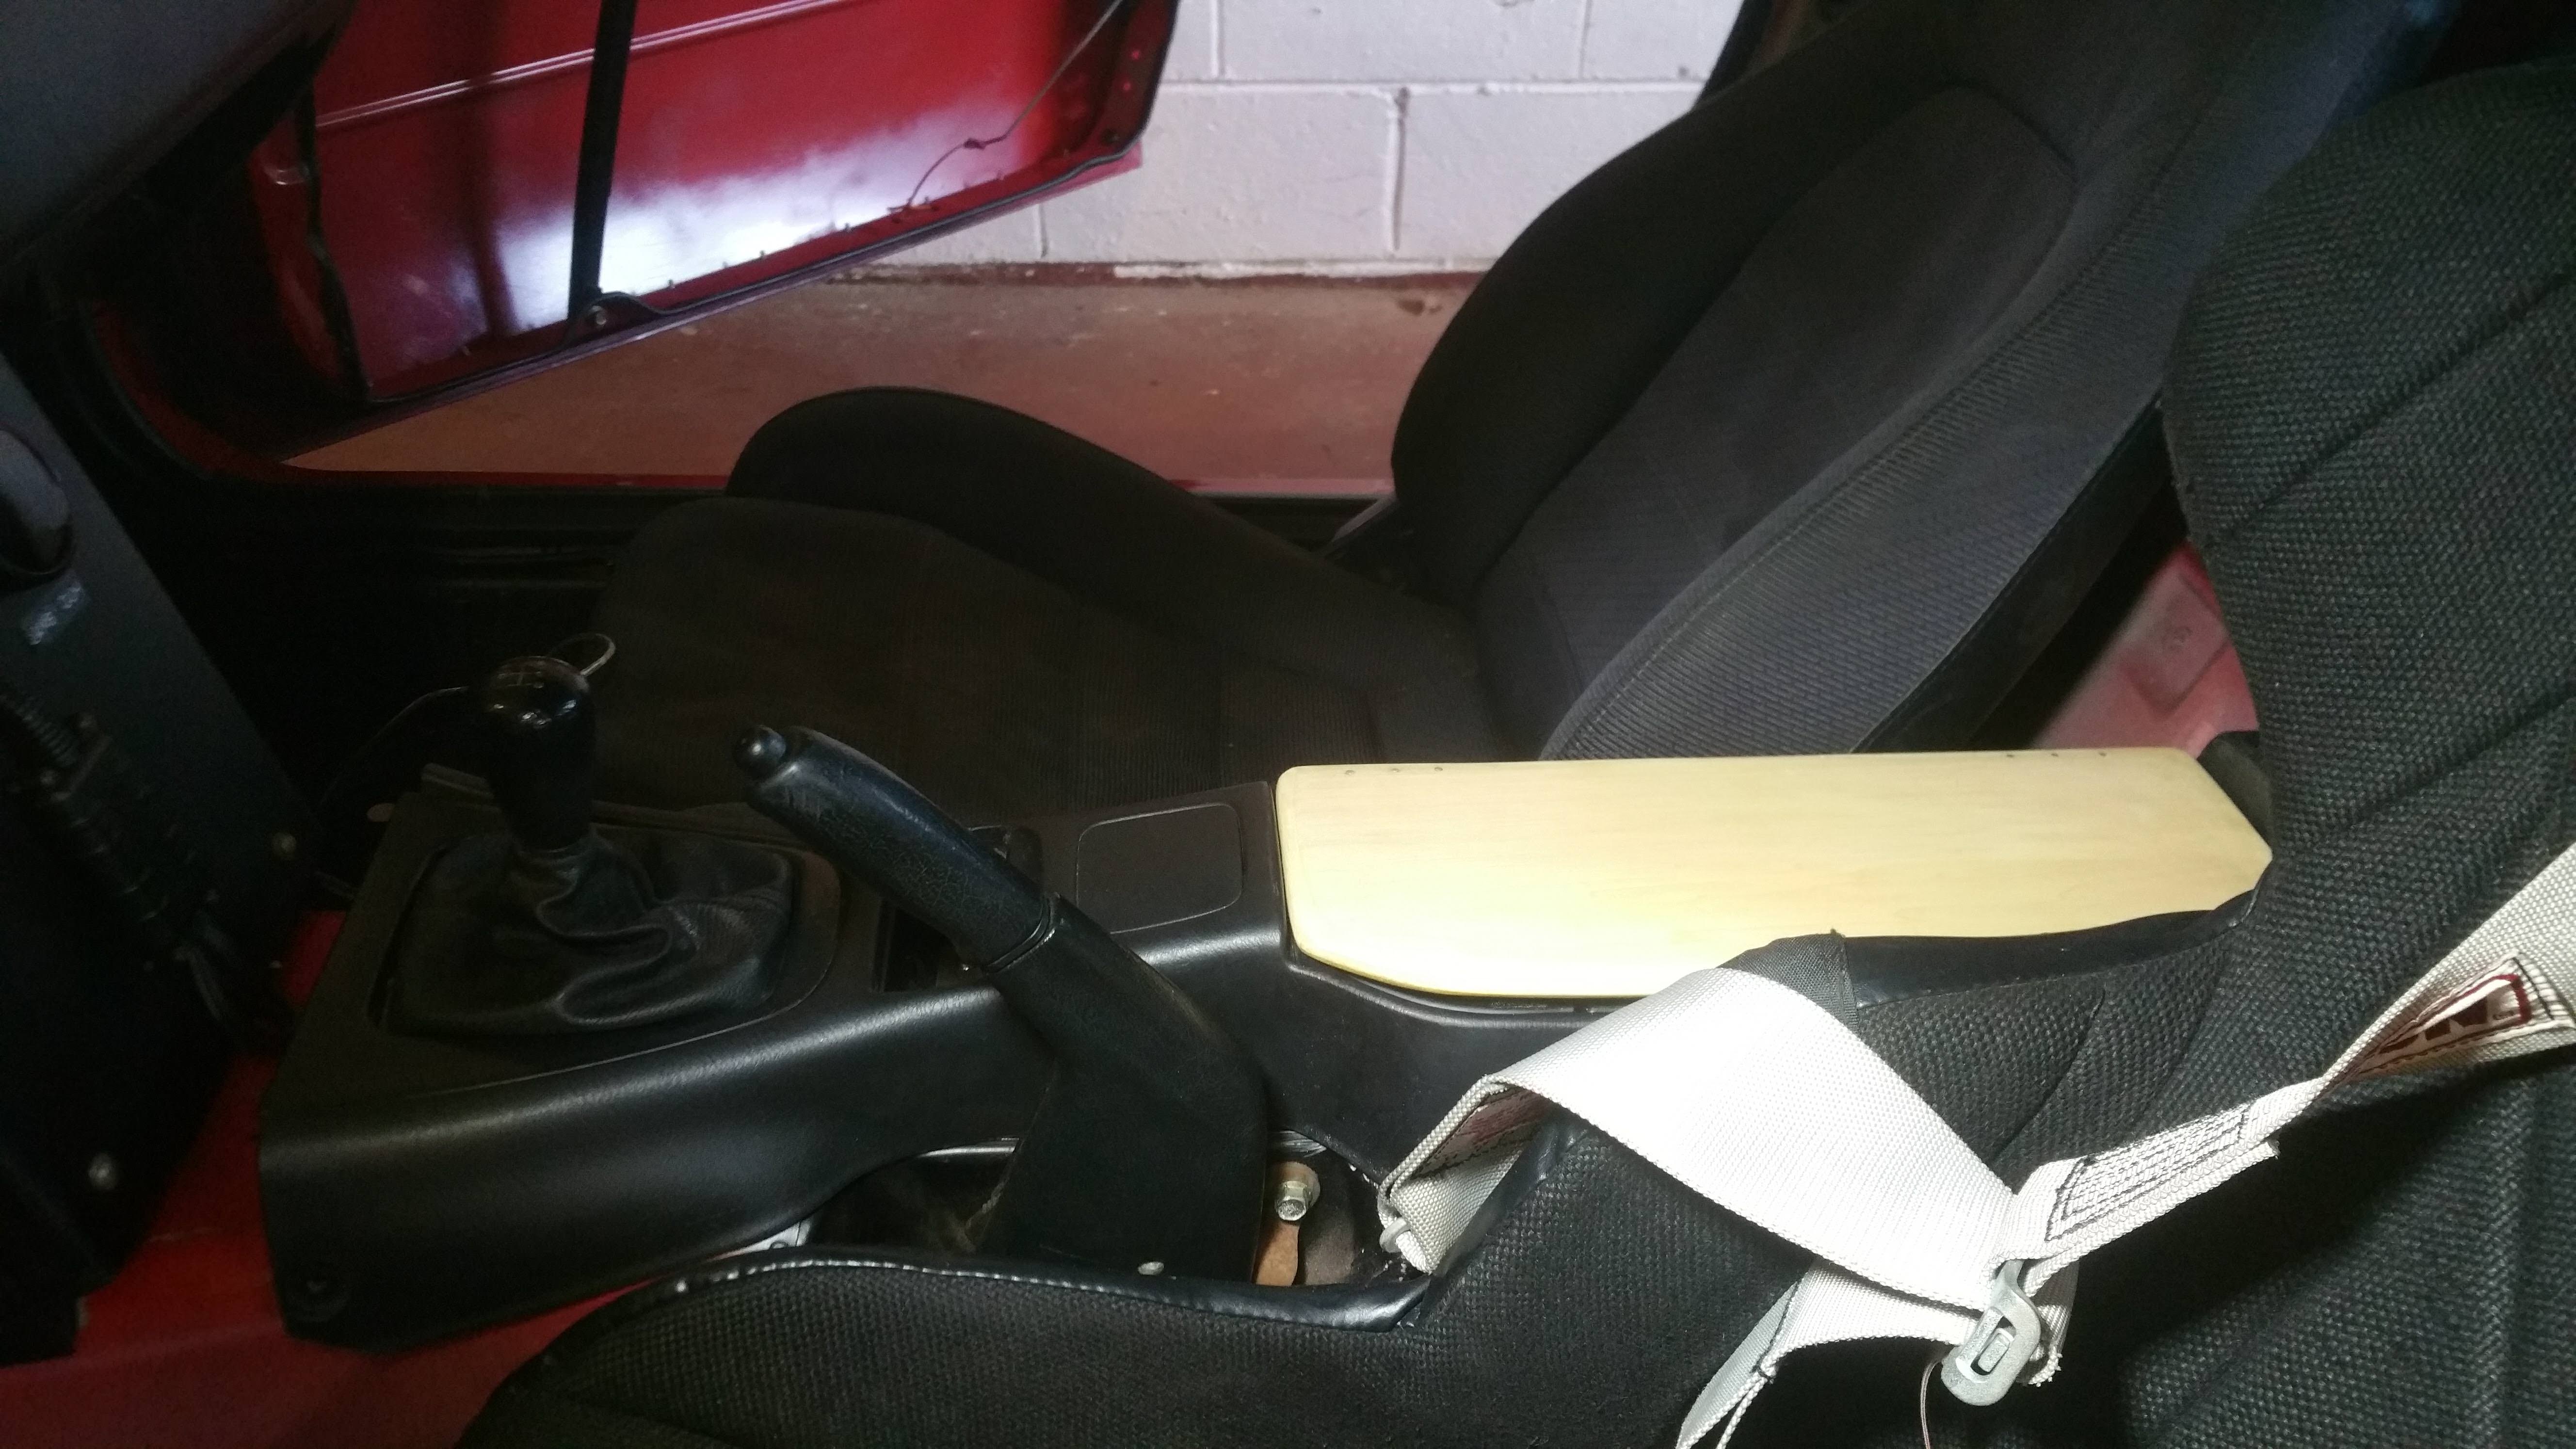
Got a free center console from an NB that had a missing arm rest, surprisingly little modification needed to be done to fit. My car didn't have a center console when I got it and I really didn't care at the time. However since I started doing more track stuff with the car being in it for 3+ hours most of the time, I've wanted some storage. I was tired of not having a cup holder and a place to put my phone and wallet. I looked at the cost of a new arm rest and just decide to make one out of some 1/2" Birch I had left over from my splitter build last year. Picked up some thin brass hinges for a couple bucks and spent about an hour on it. Finished it off with a coat of poly and a light sanding. With my seat on the floor my elbow sit really nice on it, we'll see how it feels after a 3 hour track day drive.
Last edited by 90civichhb; 10-20-2018 at 10:10 PM.
Reply
0
0
 10-20-2018, 10:17 PM
#135
I was going to hit up a local Tandy Leather and see if they had some thin off cuts around. I just don't have a large staple gun and really don't want to buy one right now, not sure how else you would attach leather to it. Once this thing gets a bit grimy I'll probably wrap it up in something.
Reply
0
0
 10-28-2018, 06:45 PM
#138
Since I took out the center hood latch in the car the radiator shroud was no longer good to use. So today I cut up a small one that is riveted onto the bumper. This way I can remove it with the front skin removal. I did, however, make somewhat an oversight. My splitter adjustments are somewhat difficult to get to now. This one is no longer removable like the other one, so accessing anything from the top down requires the whole bumper to be removed. I now have to access everything from the front grill. Maybe some type of access door would be an answer but, honestly, with how little I access the splitter rods for adjustment I'm not super concerned with it at the moment.
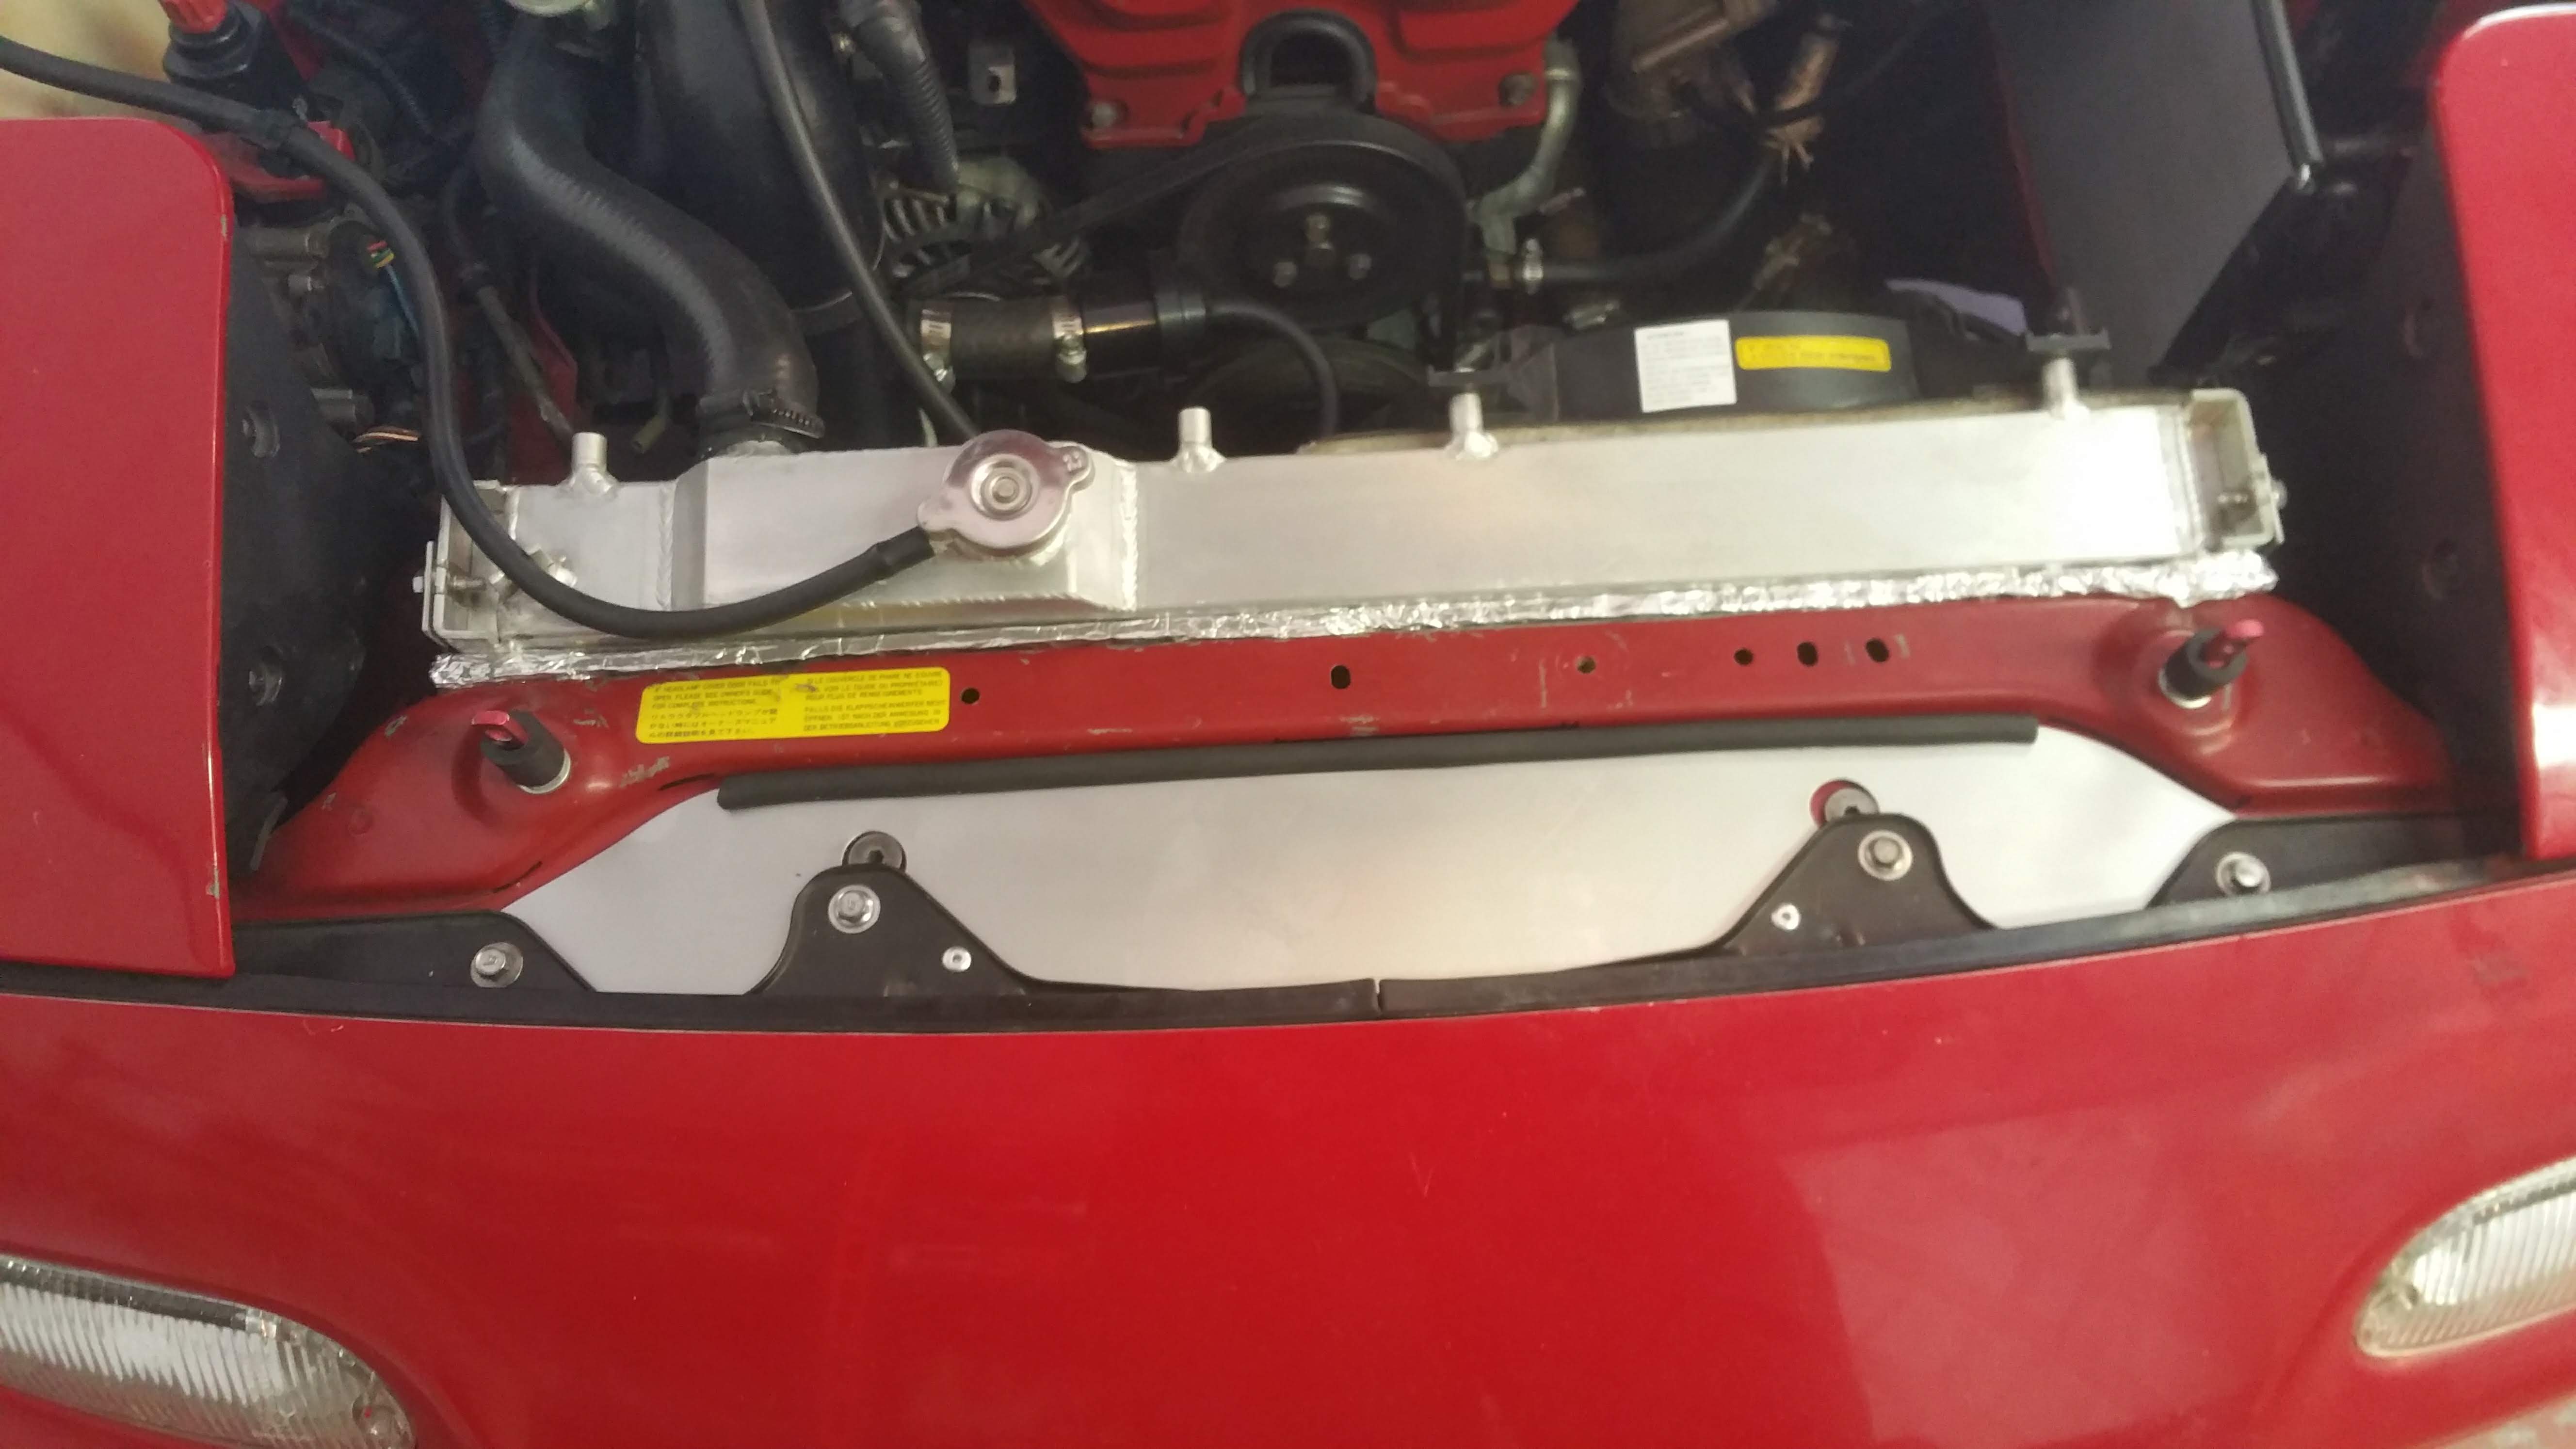
Here you can see the two tapered allen head bolts I used for the front mount supports I welded up about 6 months ago. Just some 3/16 tube with a nut welded to the top and a bolt (matching the intercooler threads) welded into the bottom. Then just ground it all down. They turned out to be great at holding the intercooler and required very little chassis modification.
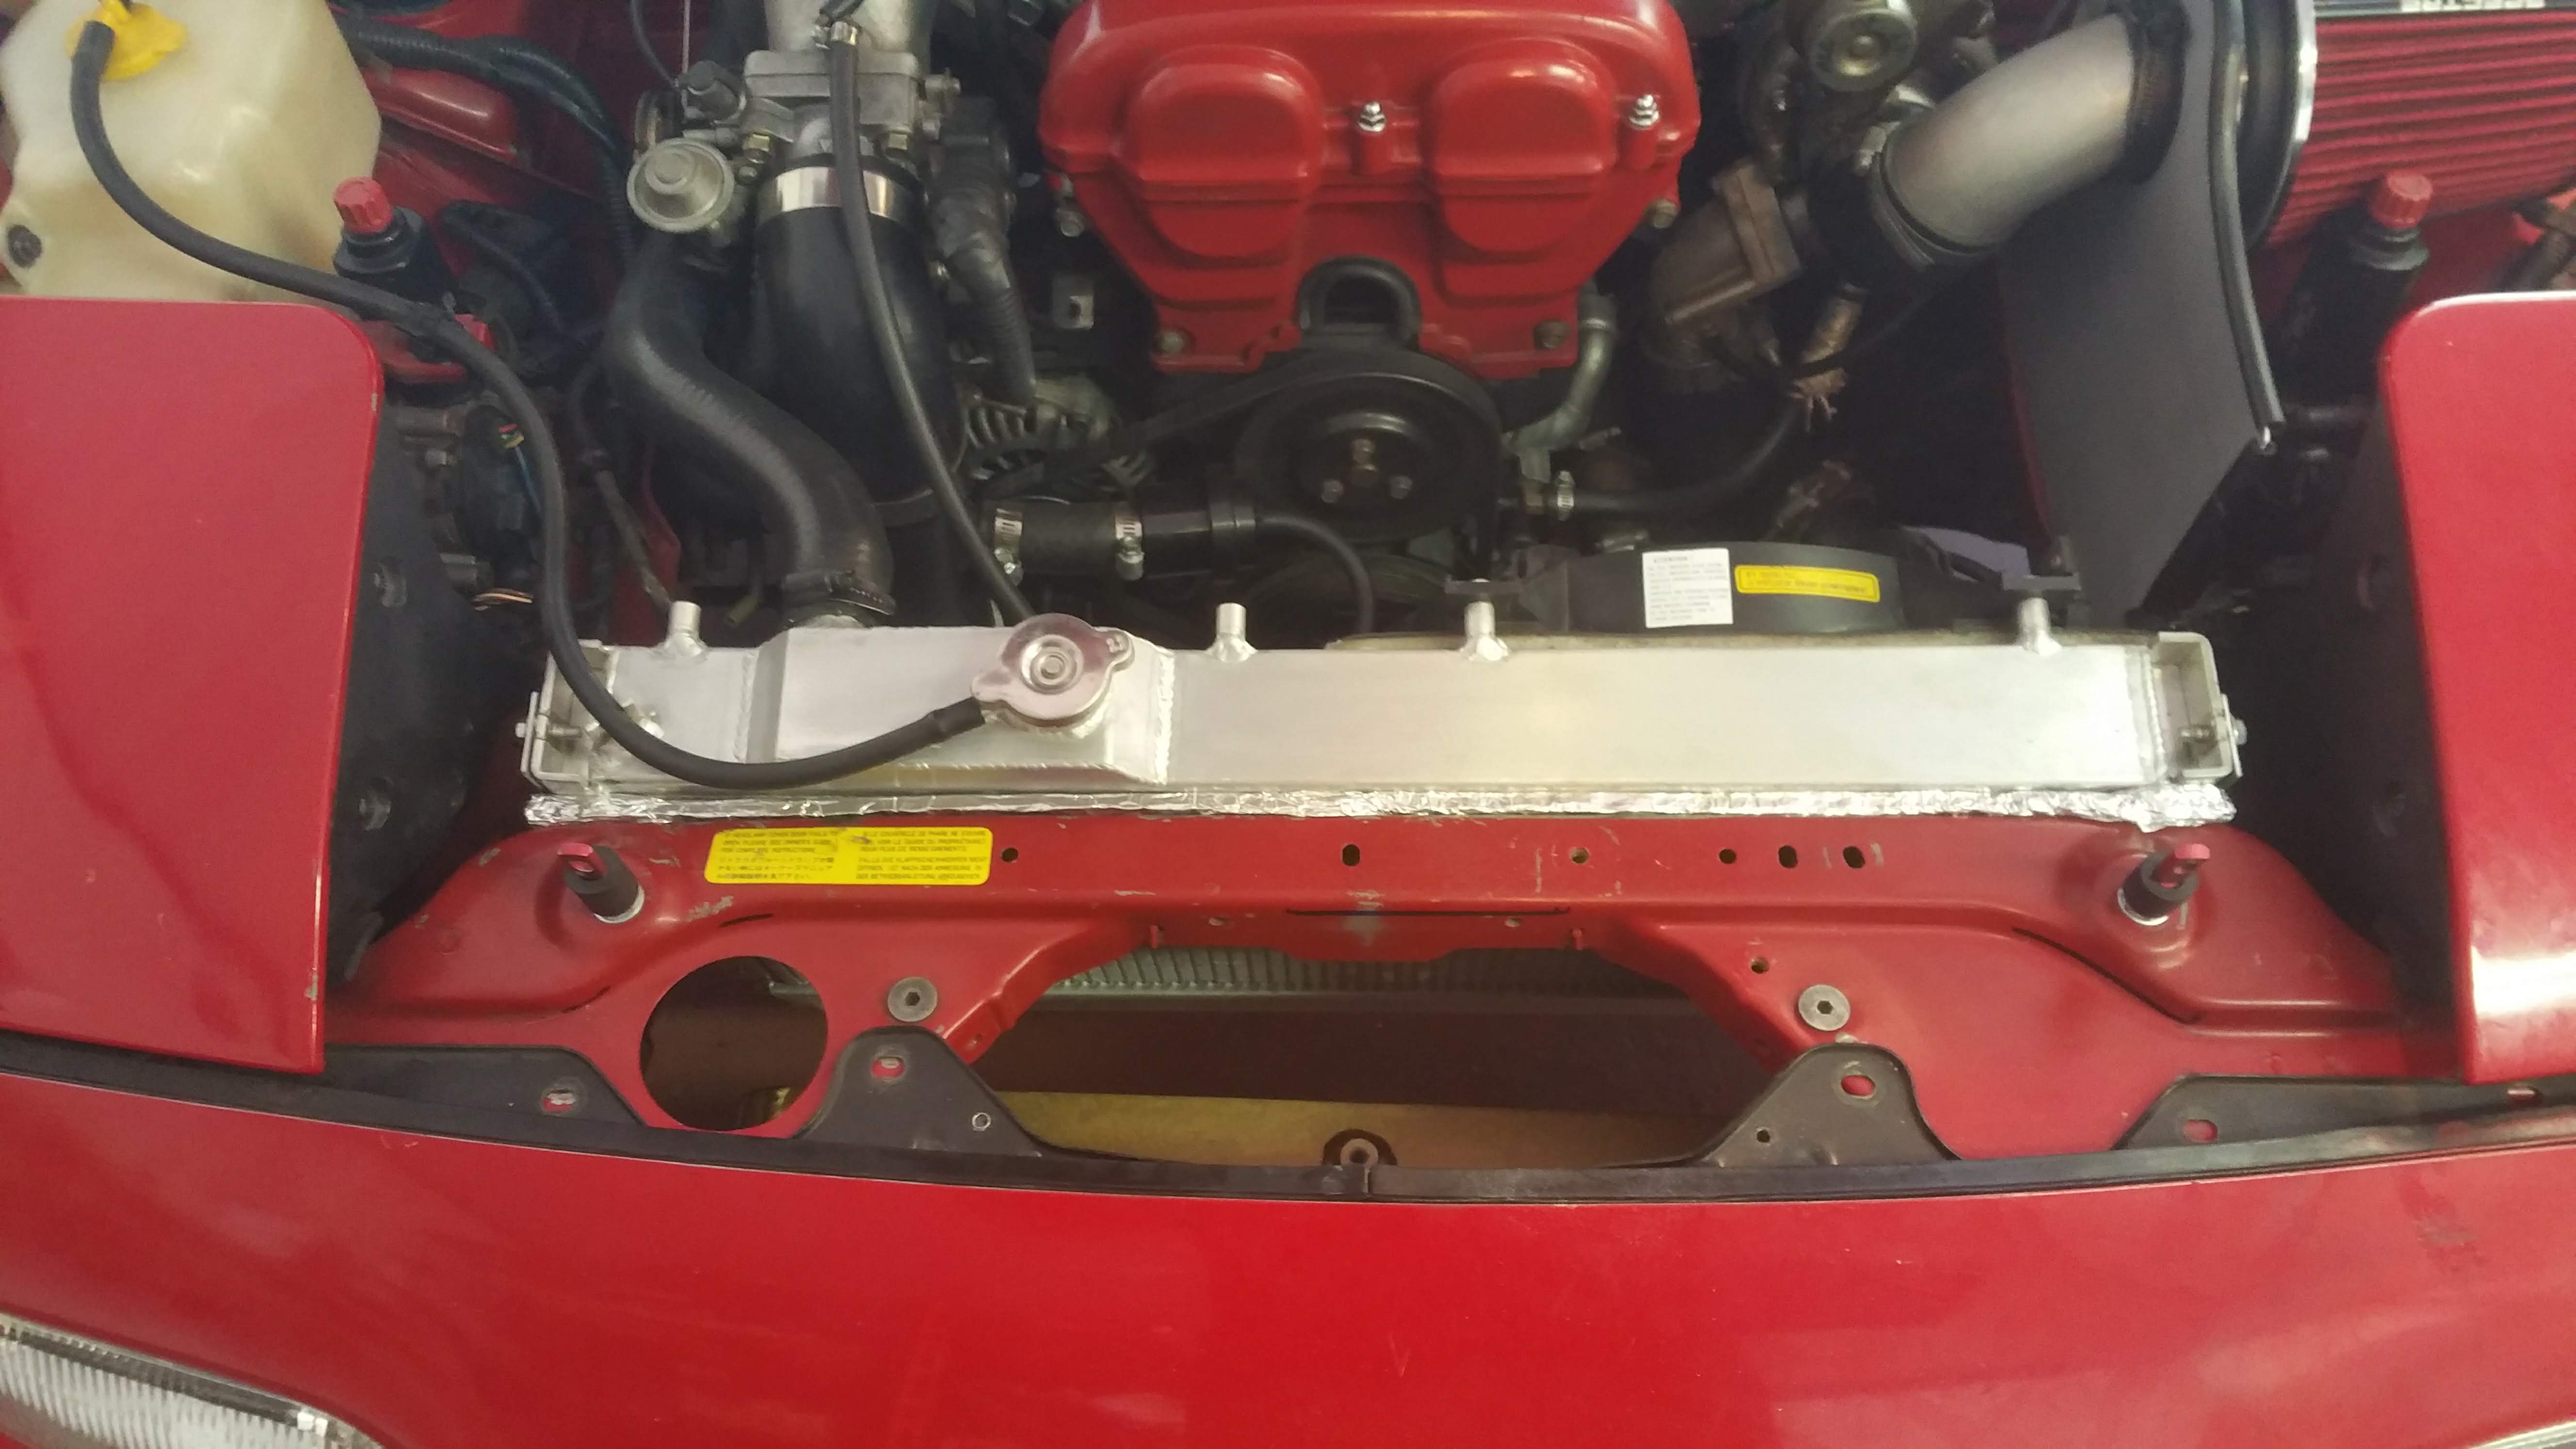
This is cut and brushed aluminum, same thickness as my air intake box. I used a small cut hose as some weather striping along the rear. It's a close fit but not perfect. You can see light passing by the back when you view it from the bottom without the gasket. I think the only way to make it perfect would be to weld it in. I then riveted it to the bumper skin using 3 3/16" aluminum rivets. Easy enough to drill out if I needed but also added some rigidity to the panel in the center. You can also see where I missed the right intercooler support location by about 1/8 of an inch. I think I may have moved the piece in the drill press and not noticed I wasn't on the center punch location.
I think shot some matte clear coat over it after cleaning it.
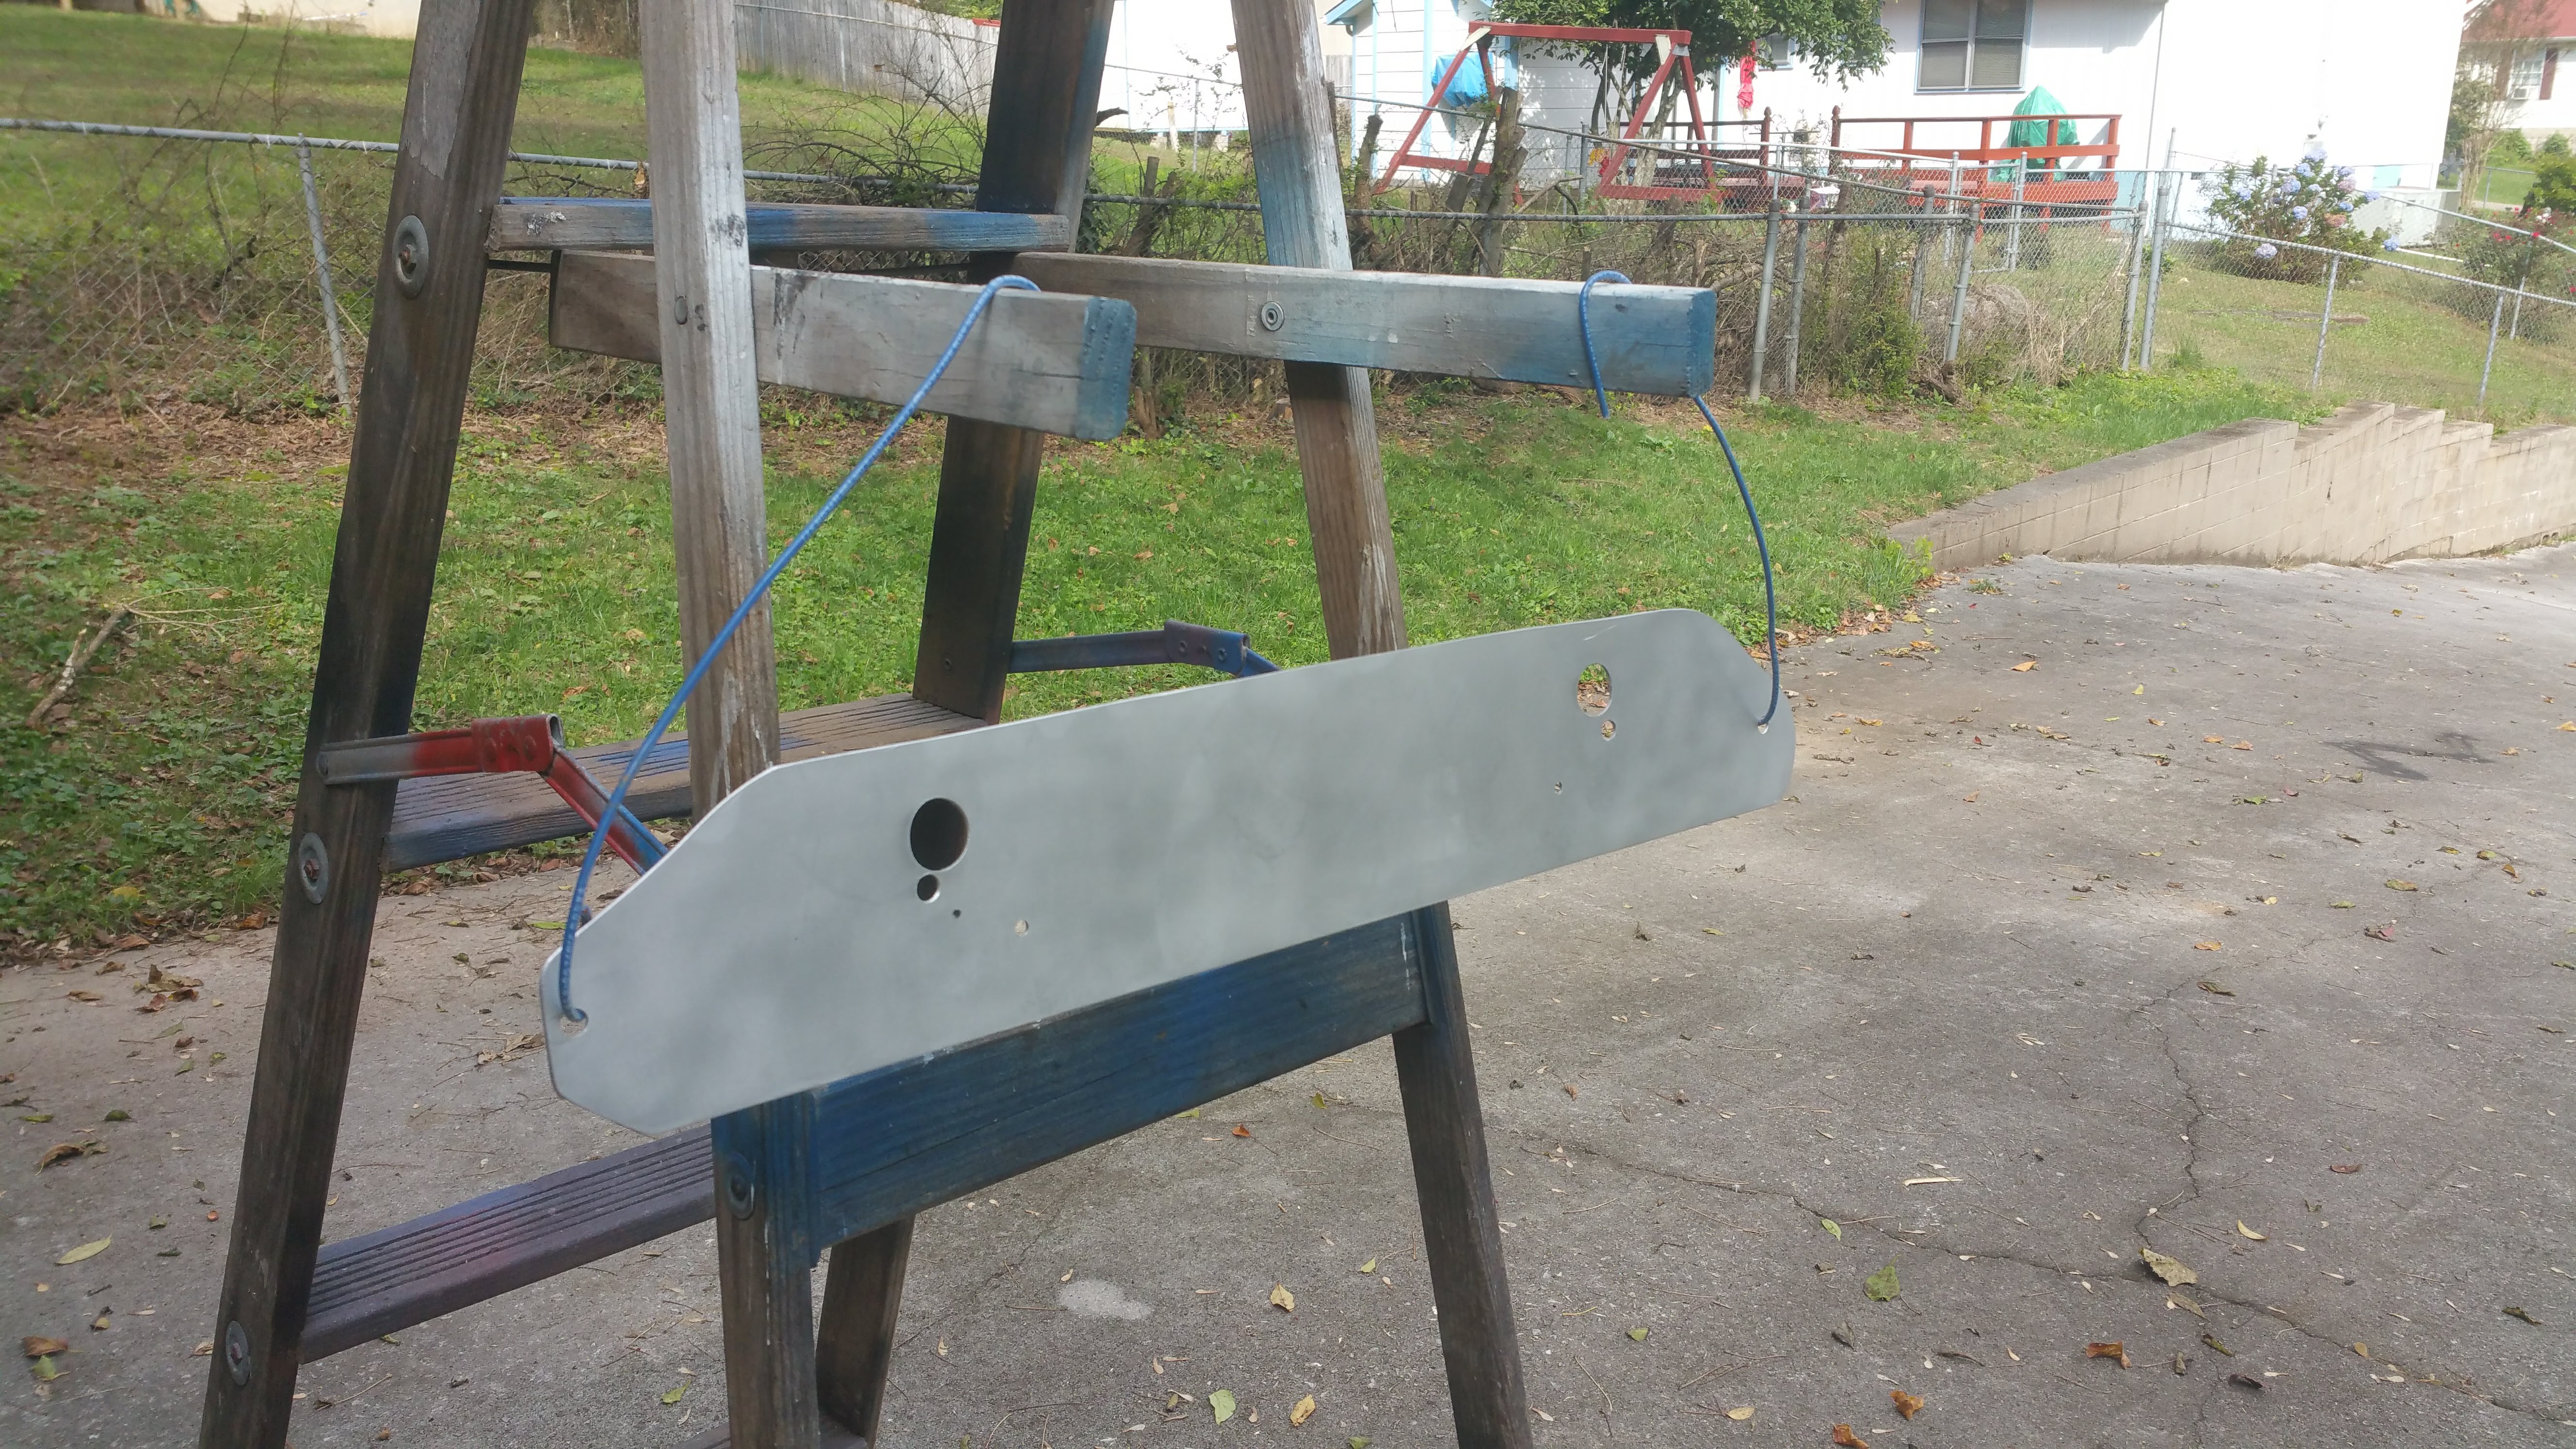
Very happy with the results. Once I do a HDPE front end I will make some proper ducting from the front grill into the heat exchangers. Aluminum is really fun to work with, can't wait to get my TIG going and learn to weld it.
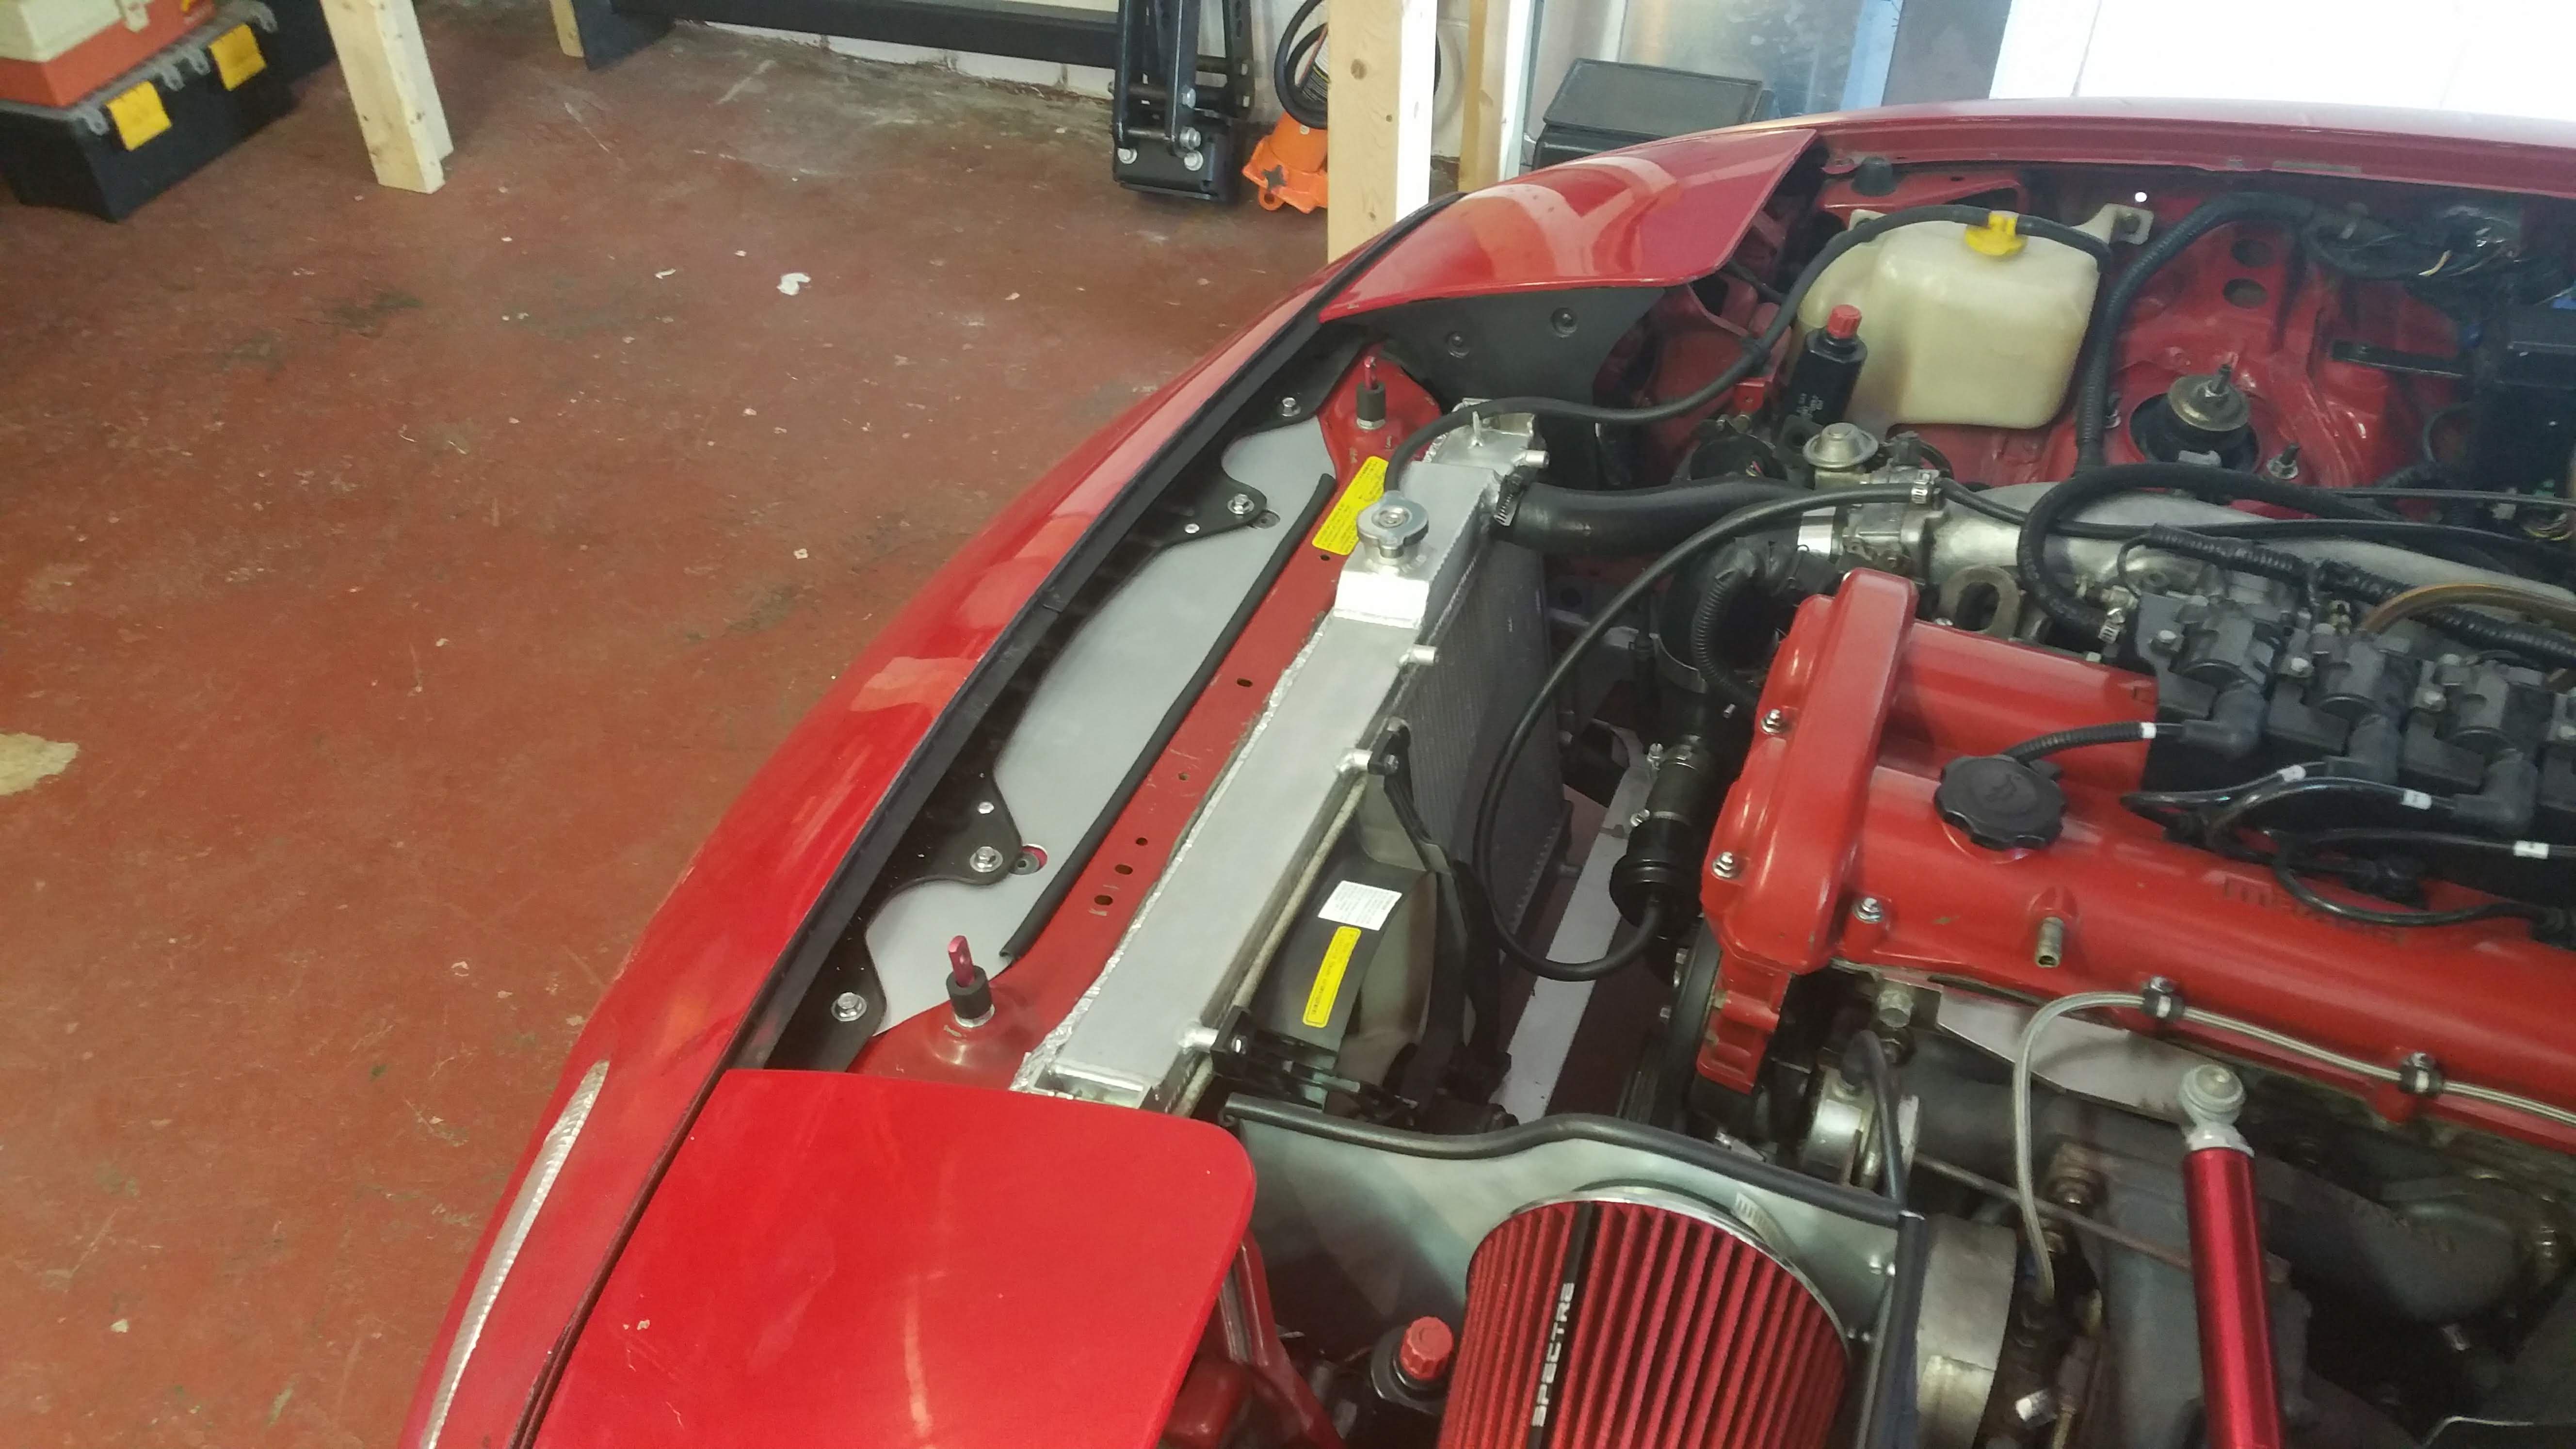
Here you can see the two tapered allen head bolts I used for the front mount supports I welded up about 6 months ago. Just some 3/16 tube with a nut welded to the top and a bolt (matching the intercooler threads) welded into the bottom. Then just ground it all down. They turned out to be great at holding the intercooler and required very little chassis modification.
This is cut and brushed aluminum, same thickness as my air intake box. I used a small cut hose as some weather striping along the rear. It's a close fit but not perfect. You can see light passing by the back when you view it from the bottom without the gasket. I think the only way to make it perfect would be to weld it in. I then riveted it to the bumper skin using 3 3/16" aluminum rivets. Easy enough to drill out if I needed but also added some rigidity to the panel in the center. You can also see where I missed the right intercooler support location by about 1/8 of an inch. I think I may have moved the piece in the drill press and not noticed I wasn't on the center punch location.
I think shot some matte clear coat over it after cleaning it.
Very happy with the results. Once I do a HDPE front end I will make some proper ducting from the front grill into the heat exchangers. Aluminum is really fun to work with, can't wait to get my TIG going and learn to weld it.
Last edited by 90civichhb; 10-28-2018 at 10:26 PM.
Reply
0
0
 10-28-2018, 10:24 PM
#140
It's about 4" from the radiator. Should they be closer together? I was debating on putting the oil cooler between the two. No way I can make it fit behind my radiator with my intercooler piping and BOV placement. In hindsight the BOV placement should have been different.
Reply
0
0


