When you click on links to various merchants on this site and make a purchase, this can result in this site earning a commission. Affiliate programs and affiliations include, but are not limited to, the eBay Partner Network.
Honestly this is why I love this forum. That post seemed to confirm my suspicions about the strength of the pedestal and its threading. A few of my friends suggested I look into a filter plate and filter relocation, but I being stubborn, did not want to complicate or add potential failure/leak points into the system.
I will definitely start researching a more robust solution and report back with the next iteration.
Last edited by Bryan Z.; Jul 30, 2019 at 12:52 PM.
Inspired by all of the custom fabrication in other threads I decided to try my hand at it, albeit, on a much smaller scale.
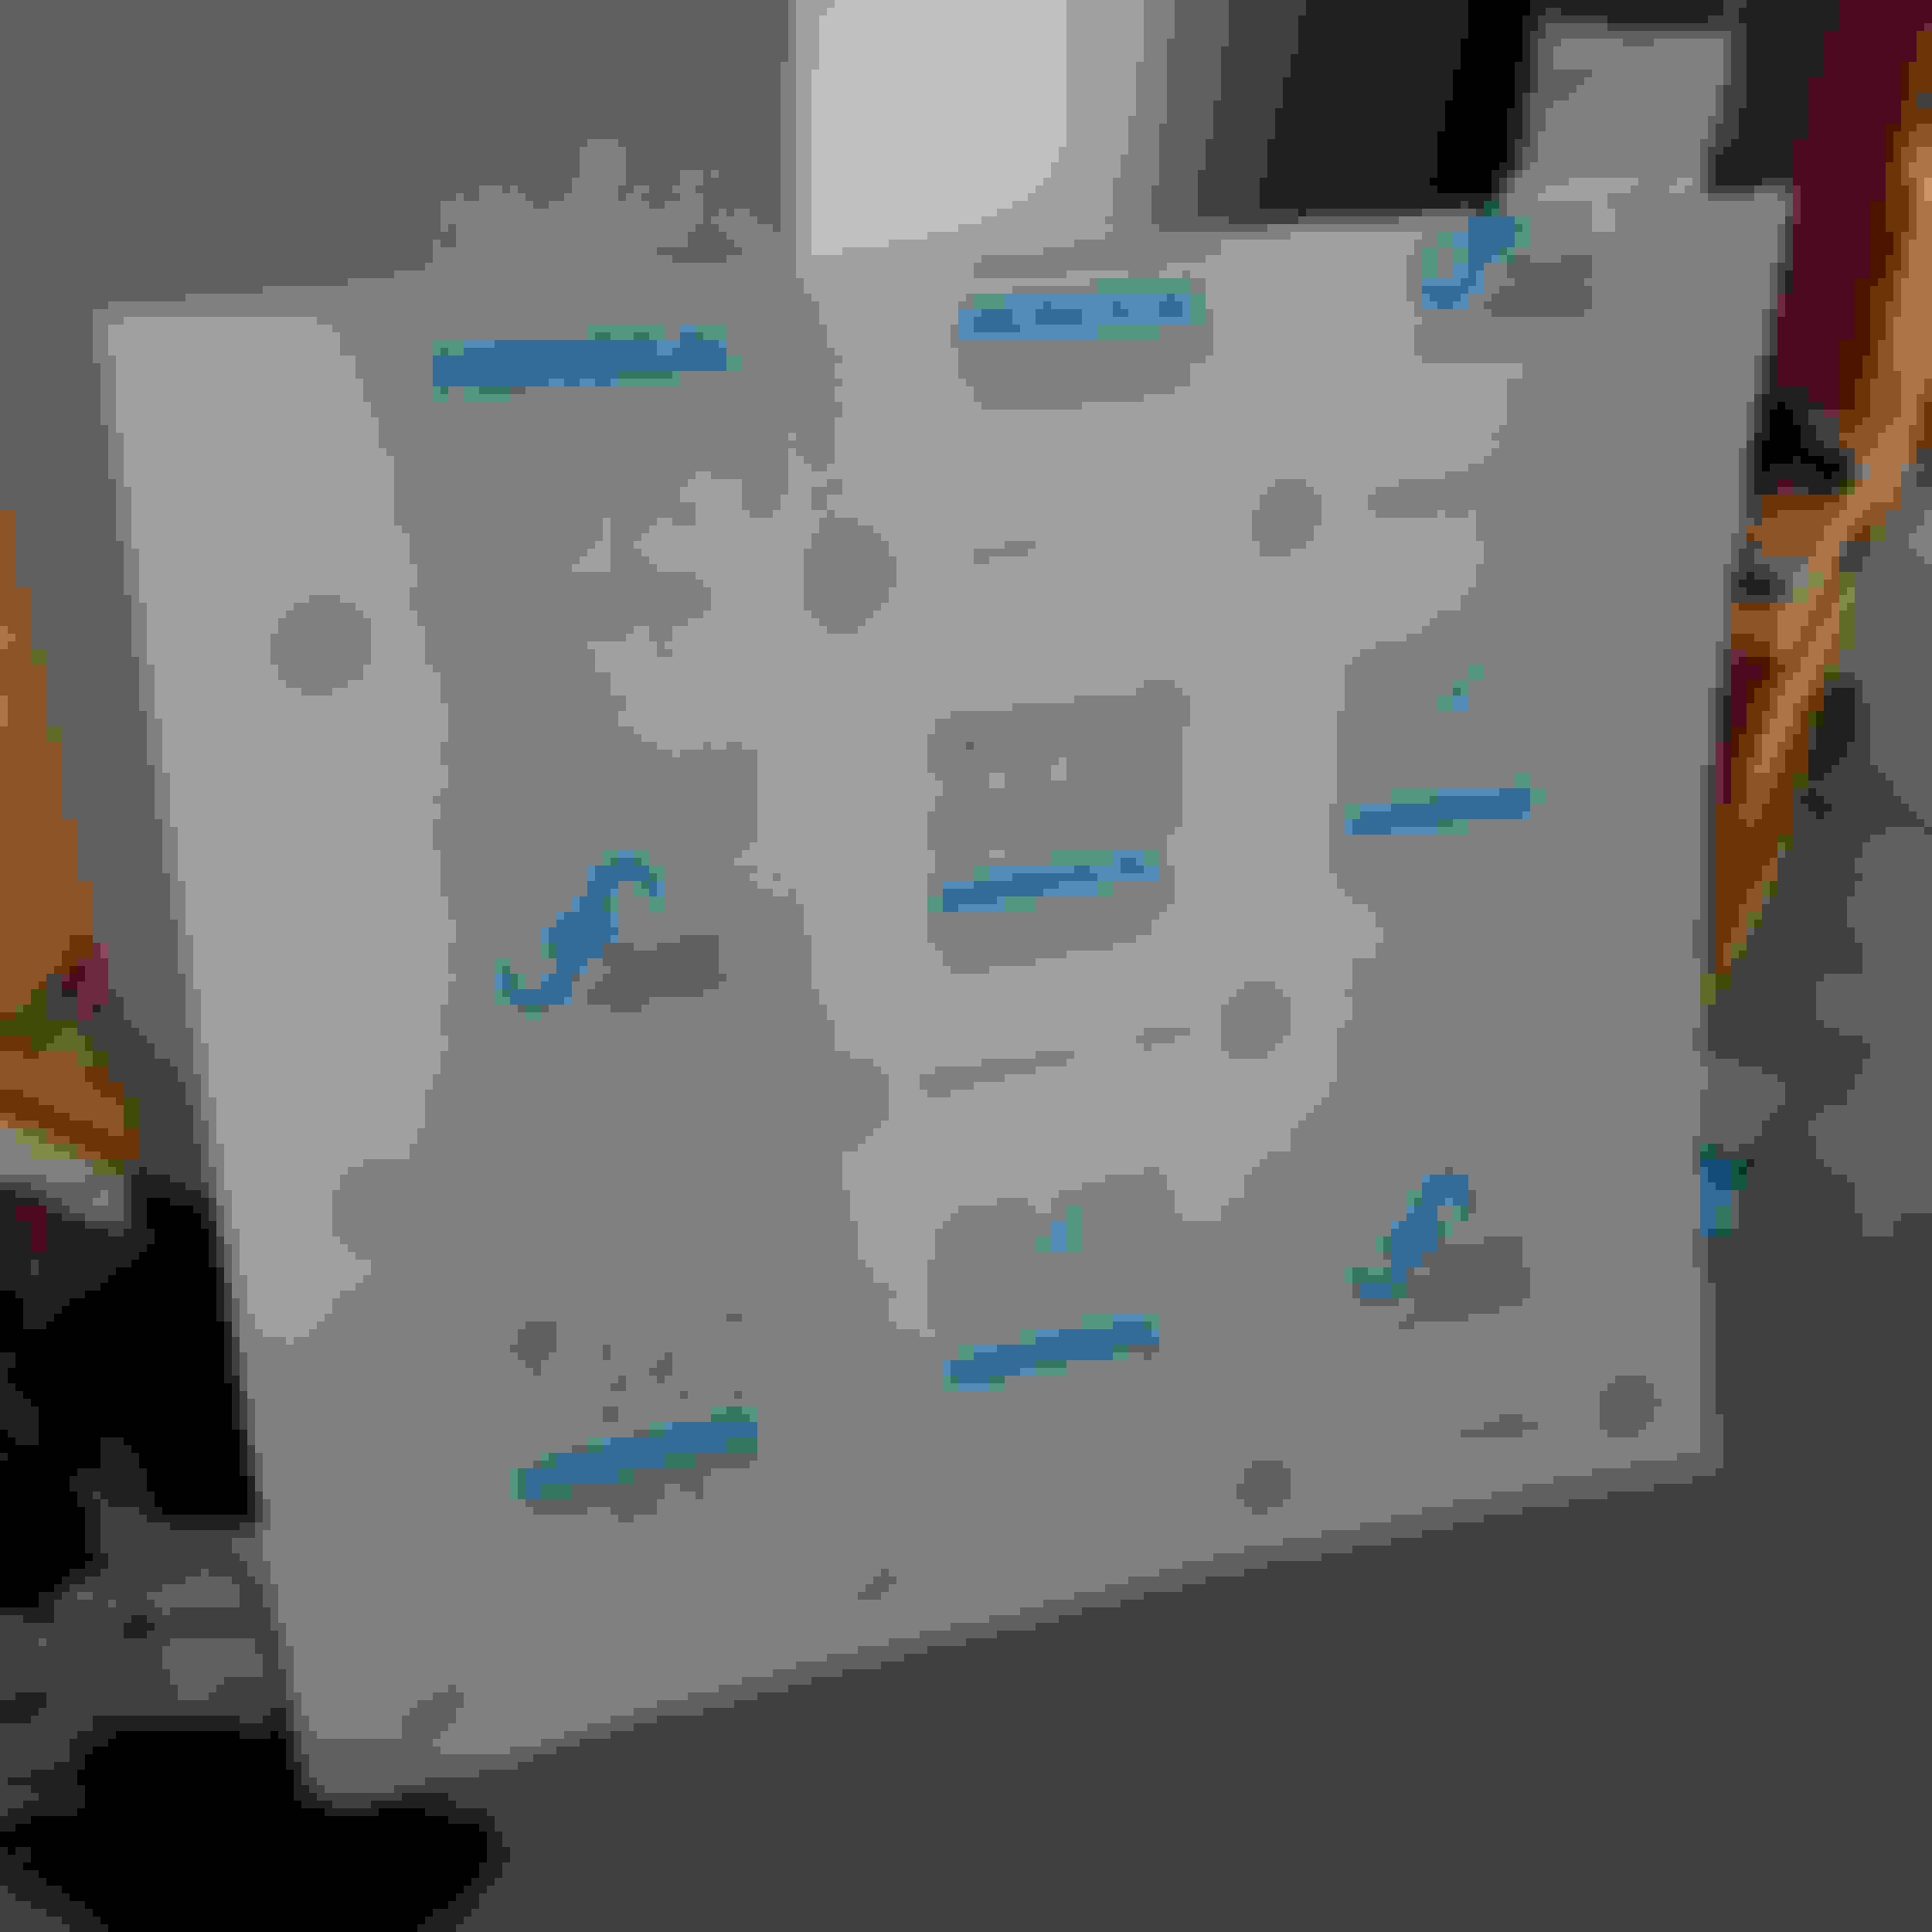
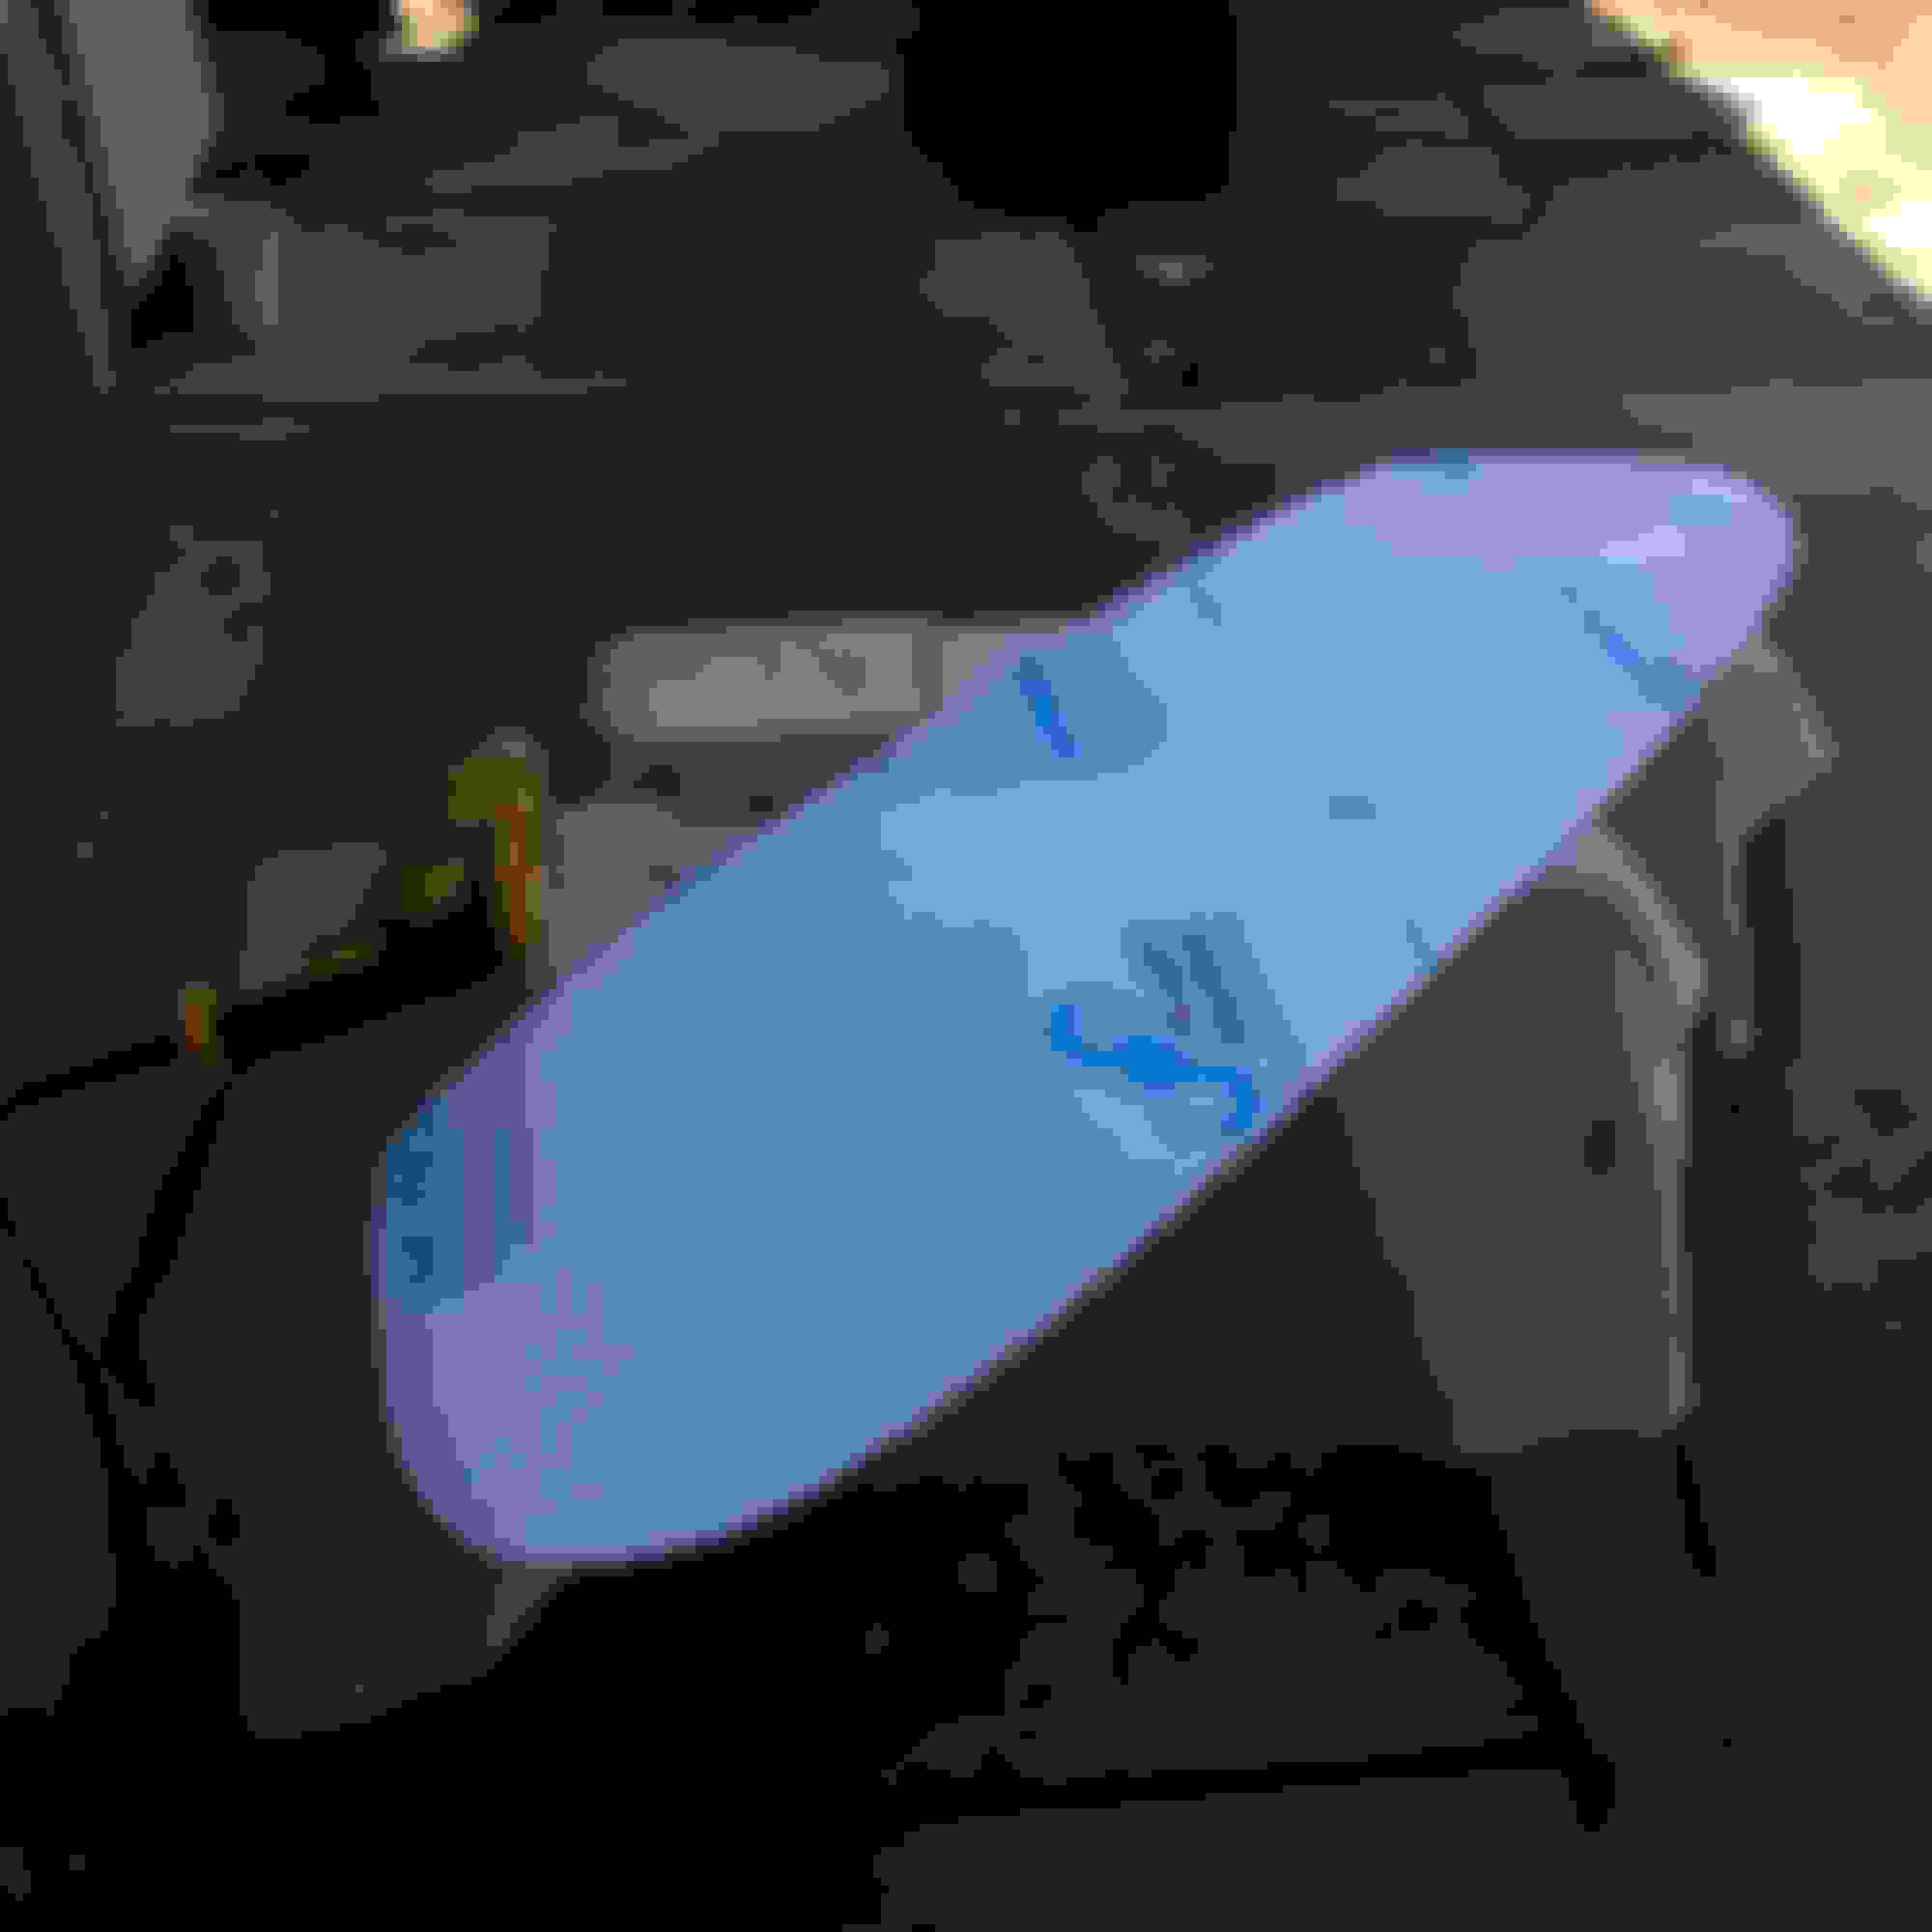
The rear plastic window on my hardtop was cracked and held together with clear packing tape. I already could not see out of the rear, the old plastic was hazy due to sun damage, and many deep scratches. The added wind noise from the tape at speed was the final straw. Looking that DG Motorsports wanted $130+shipping for a replacement window, I called around a few local plastic distributors looking for large plastic sheets. A quick visit to TAP Plastics in Fremont scored me a 4'x6' polycarbonate sheet for a unbelievable $40 (the cashier was extremely generous).
Using the original window as a template, I transferred it to the new sheet.
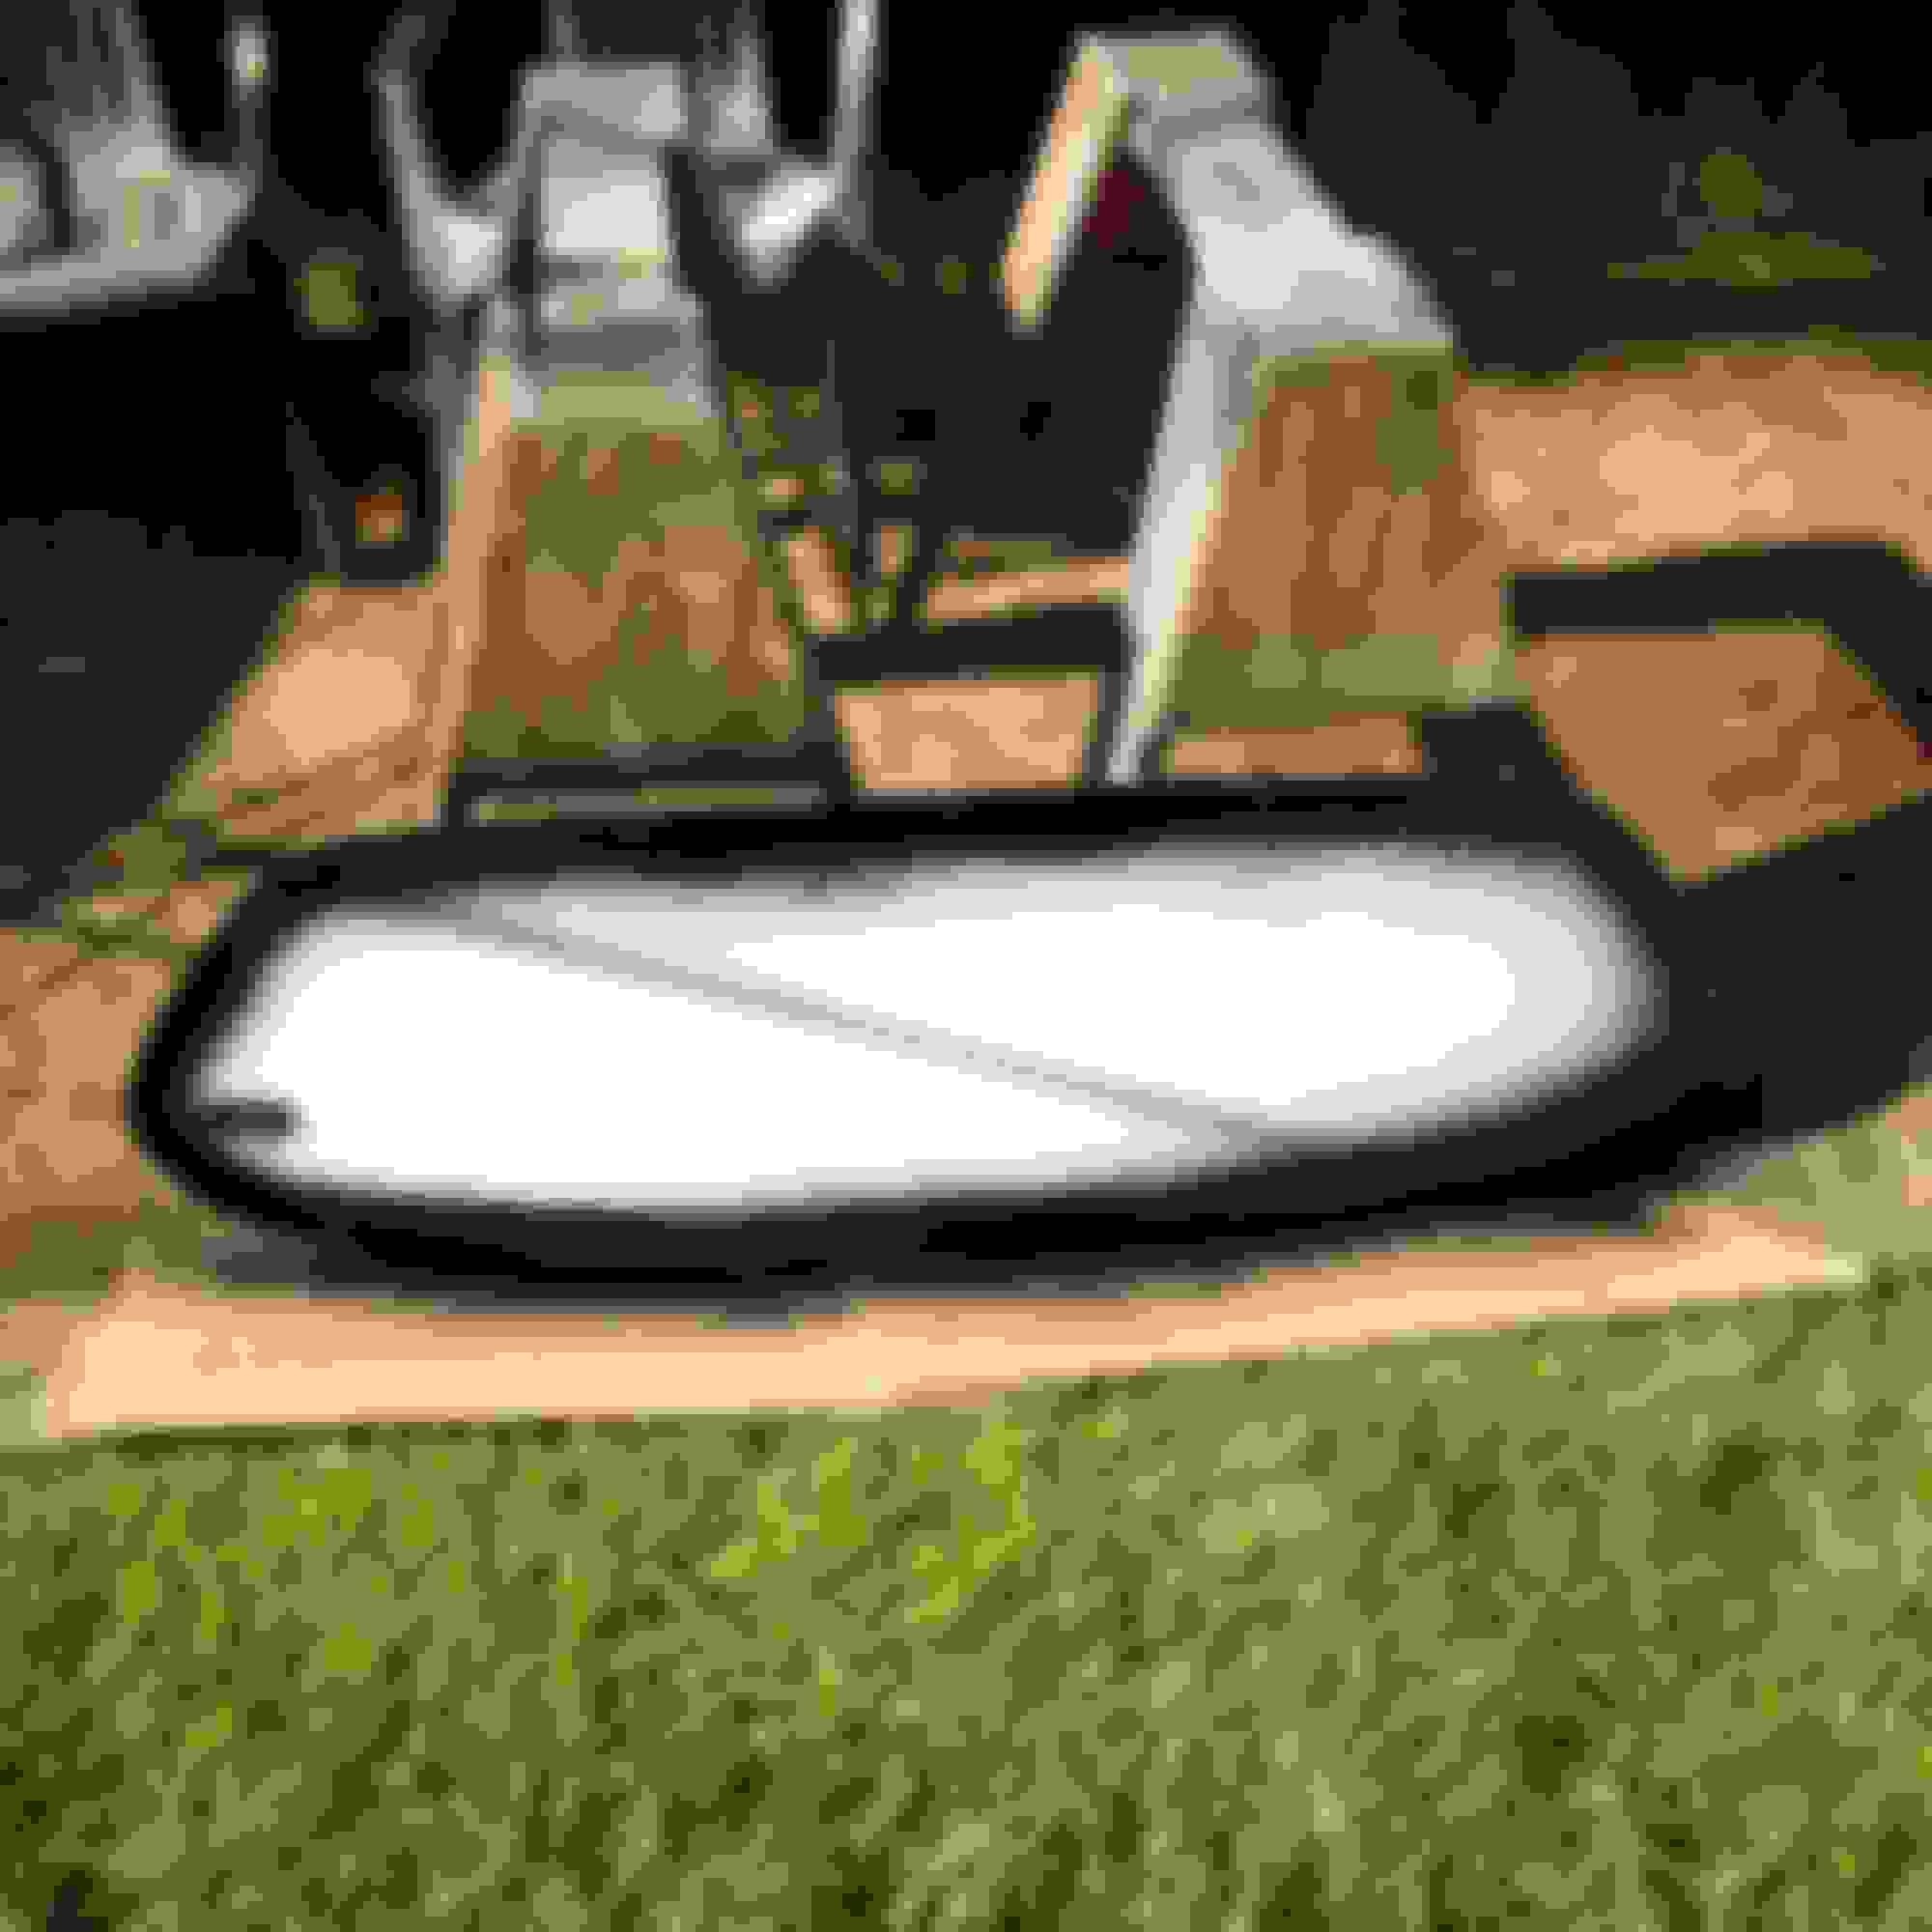
Despite the plastic being almost twice the thickness of the original, a dremel made for quick work of the 1/8'' polycarbonate.
I then trimmed the outer edge of the masking to create a border around the window for a more finished look.
Rustoleum Black rattle can.
I button it all up with stainless button head hardware.
Quality control inspecting my handiwork.
On a more performance oriented note, my next project had to do with heat management. The car came with a Skunk 2 header with no form of heat shielding. The close proximity of the brake lines and the exposed header was not doing anyone any favors. When on track I could feel the fluid beginning to boil in as short as a 20 minute session even when using properly sized brake ducts. I had a feeling the heat from the header was a contributing factor.
Out came the rudimentary tools, cardboard, measuring tape, and a sharpie.
Half an hour later, I had a general shape.
I used existing holes in the chassis to position mounting tabs. At work I rummaged through our scrap metal hoping to find a suitable material to form my final heat shield. A sheet of 20 gauge aluminum should do the trick. Using the bends from my template I placed the cutout in the break we had in the shop to complete my bends.
The inner ricer within me finally decided to show his face.
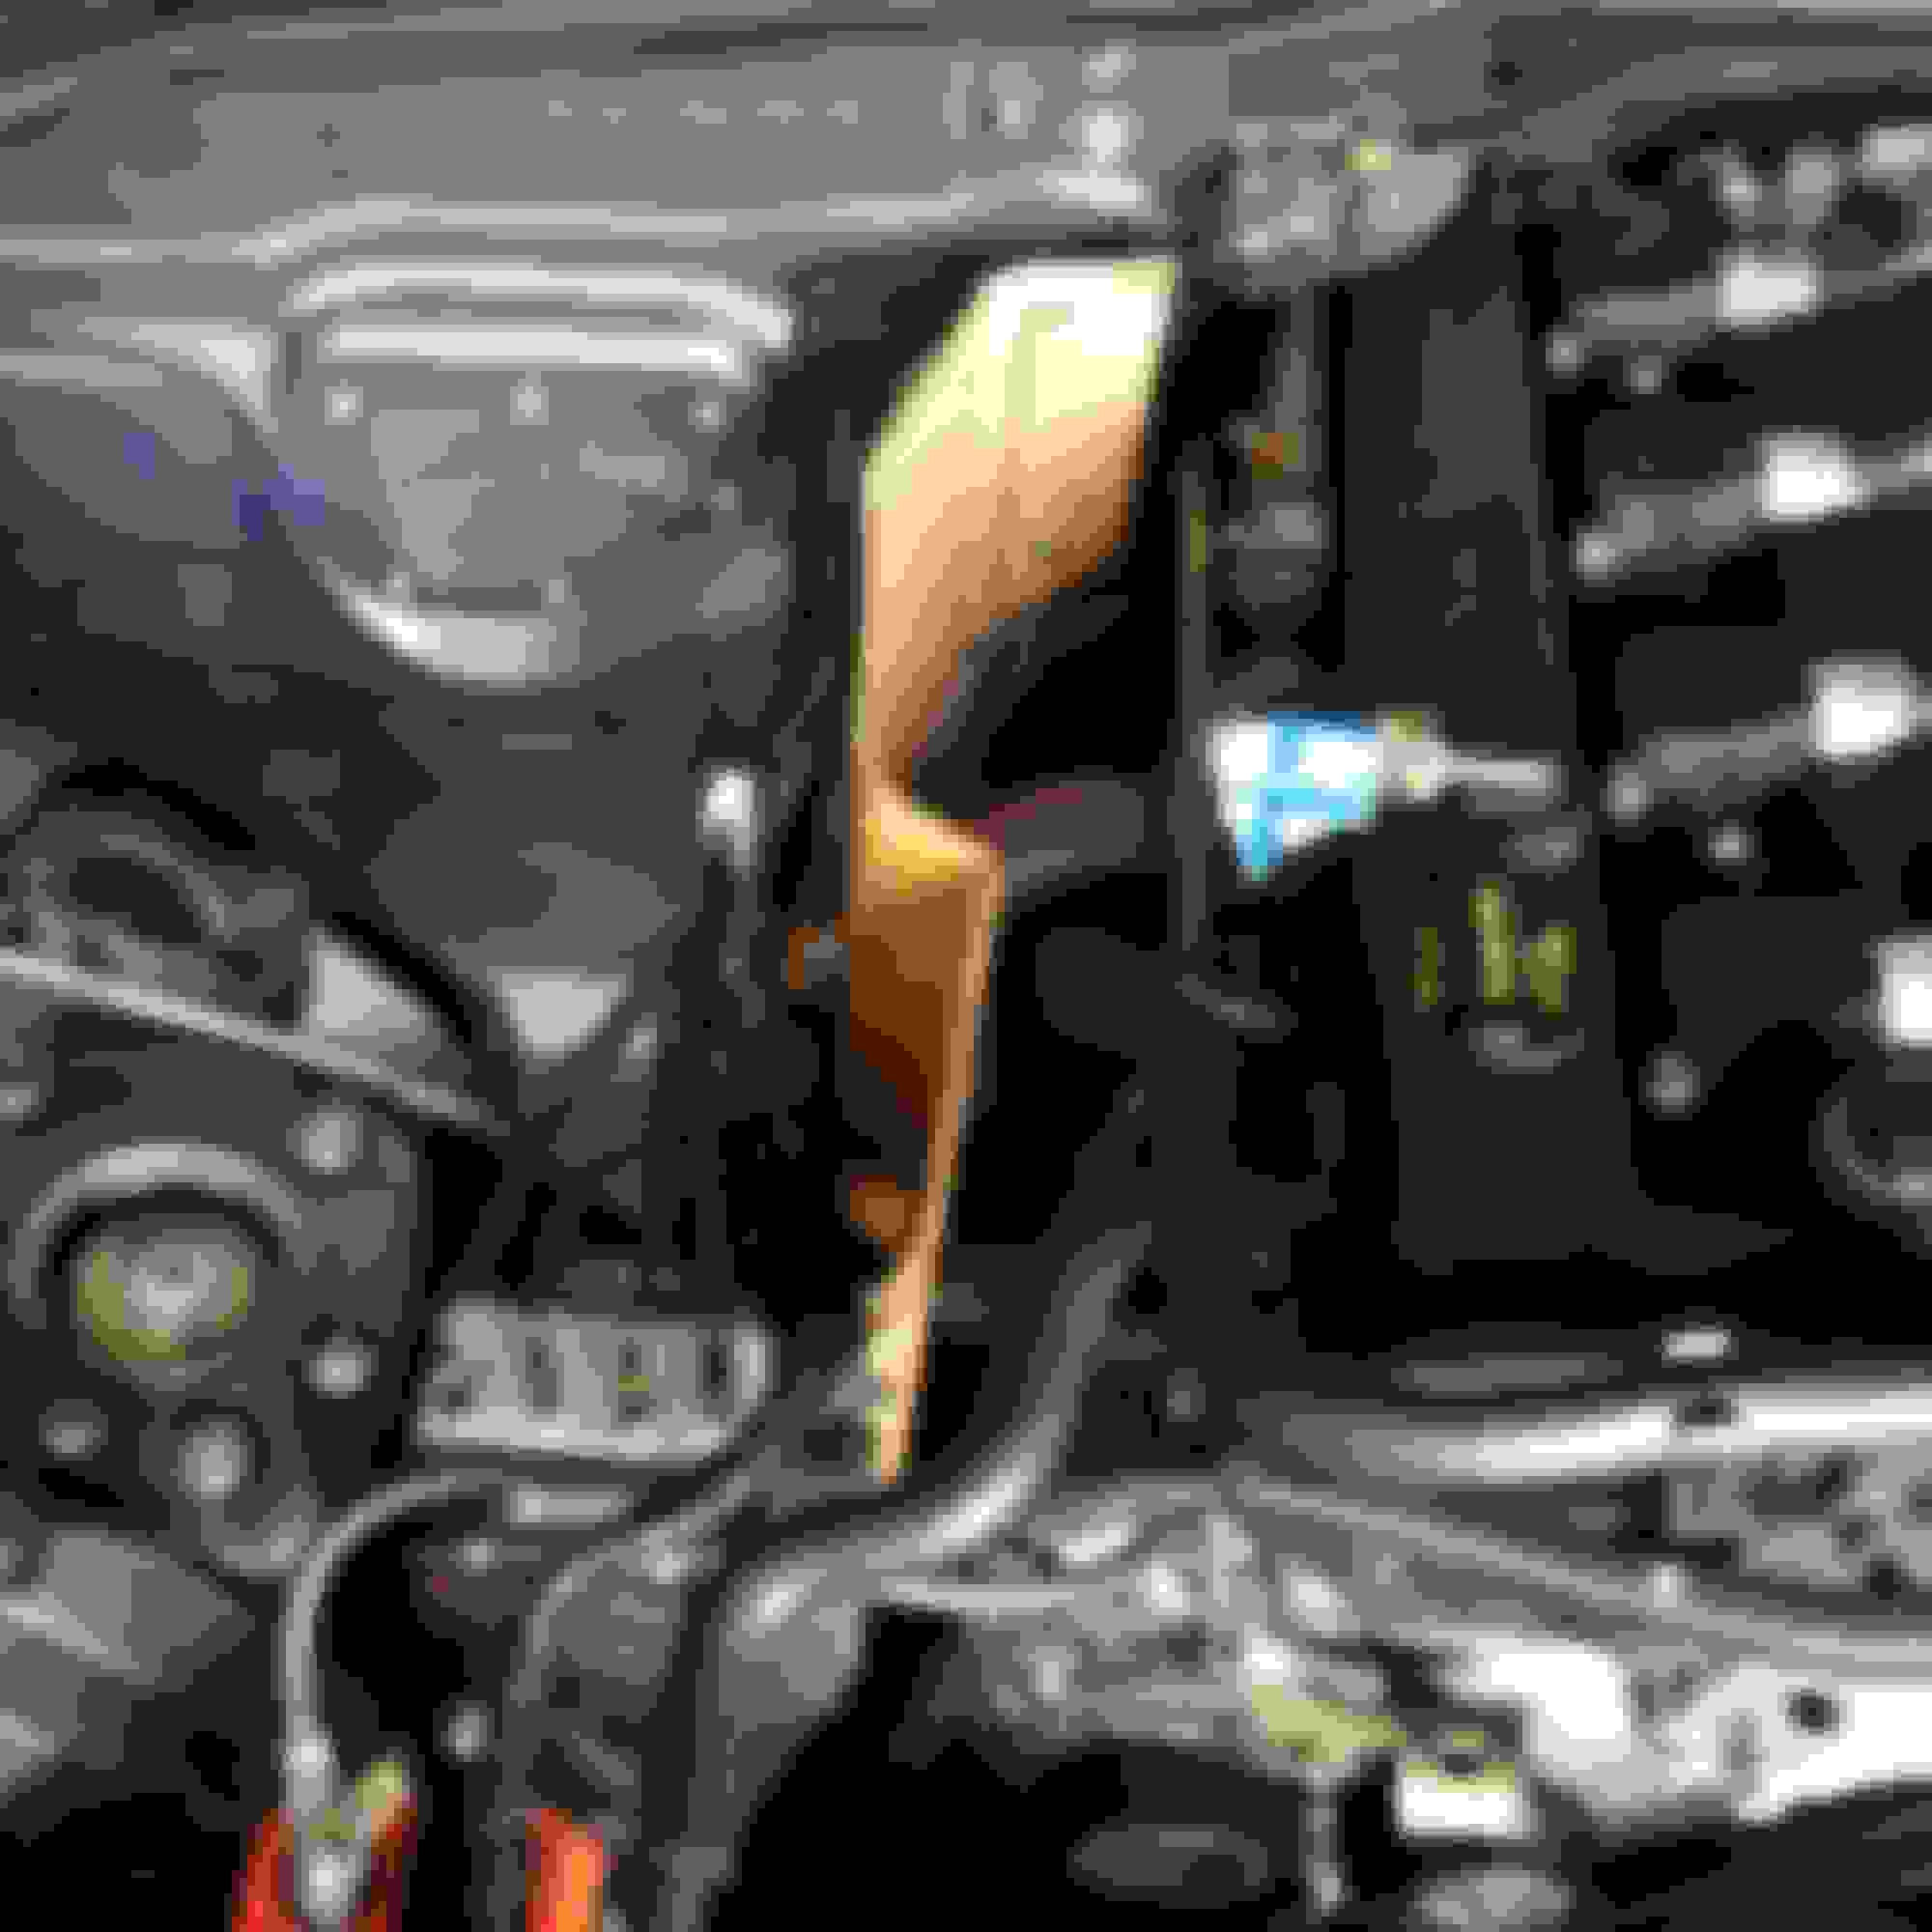
Enter DEI gold tape.
I know it is a small piece, but I am quite pleased with the end result. After a few quite drives I measured the temperature difference on either side of the heat shielding and there was a substantial difference of +/- 50 degrees.
I like to think the gold tape has helped, but realistically I know it really is just the bent sheet of scrap metal.
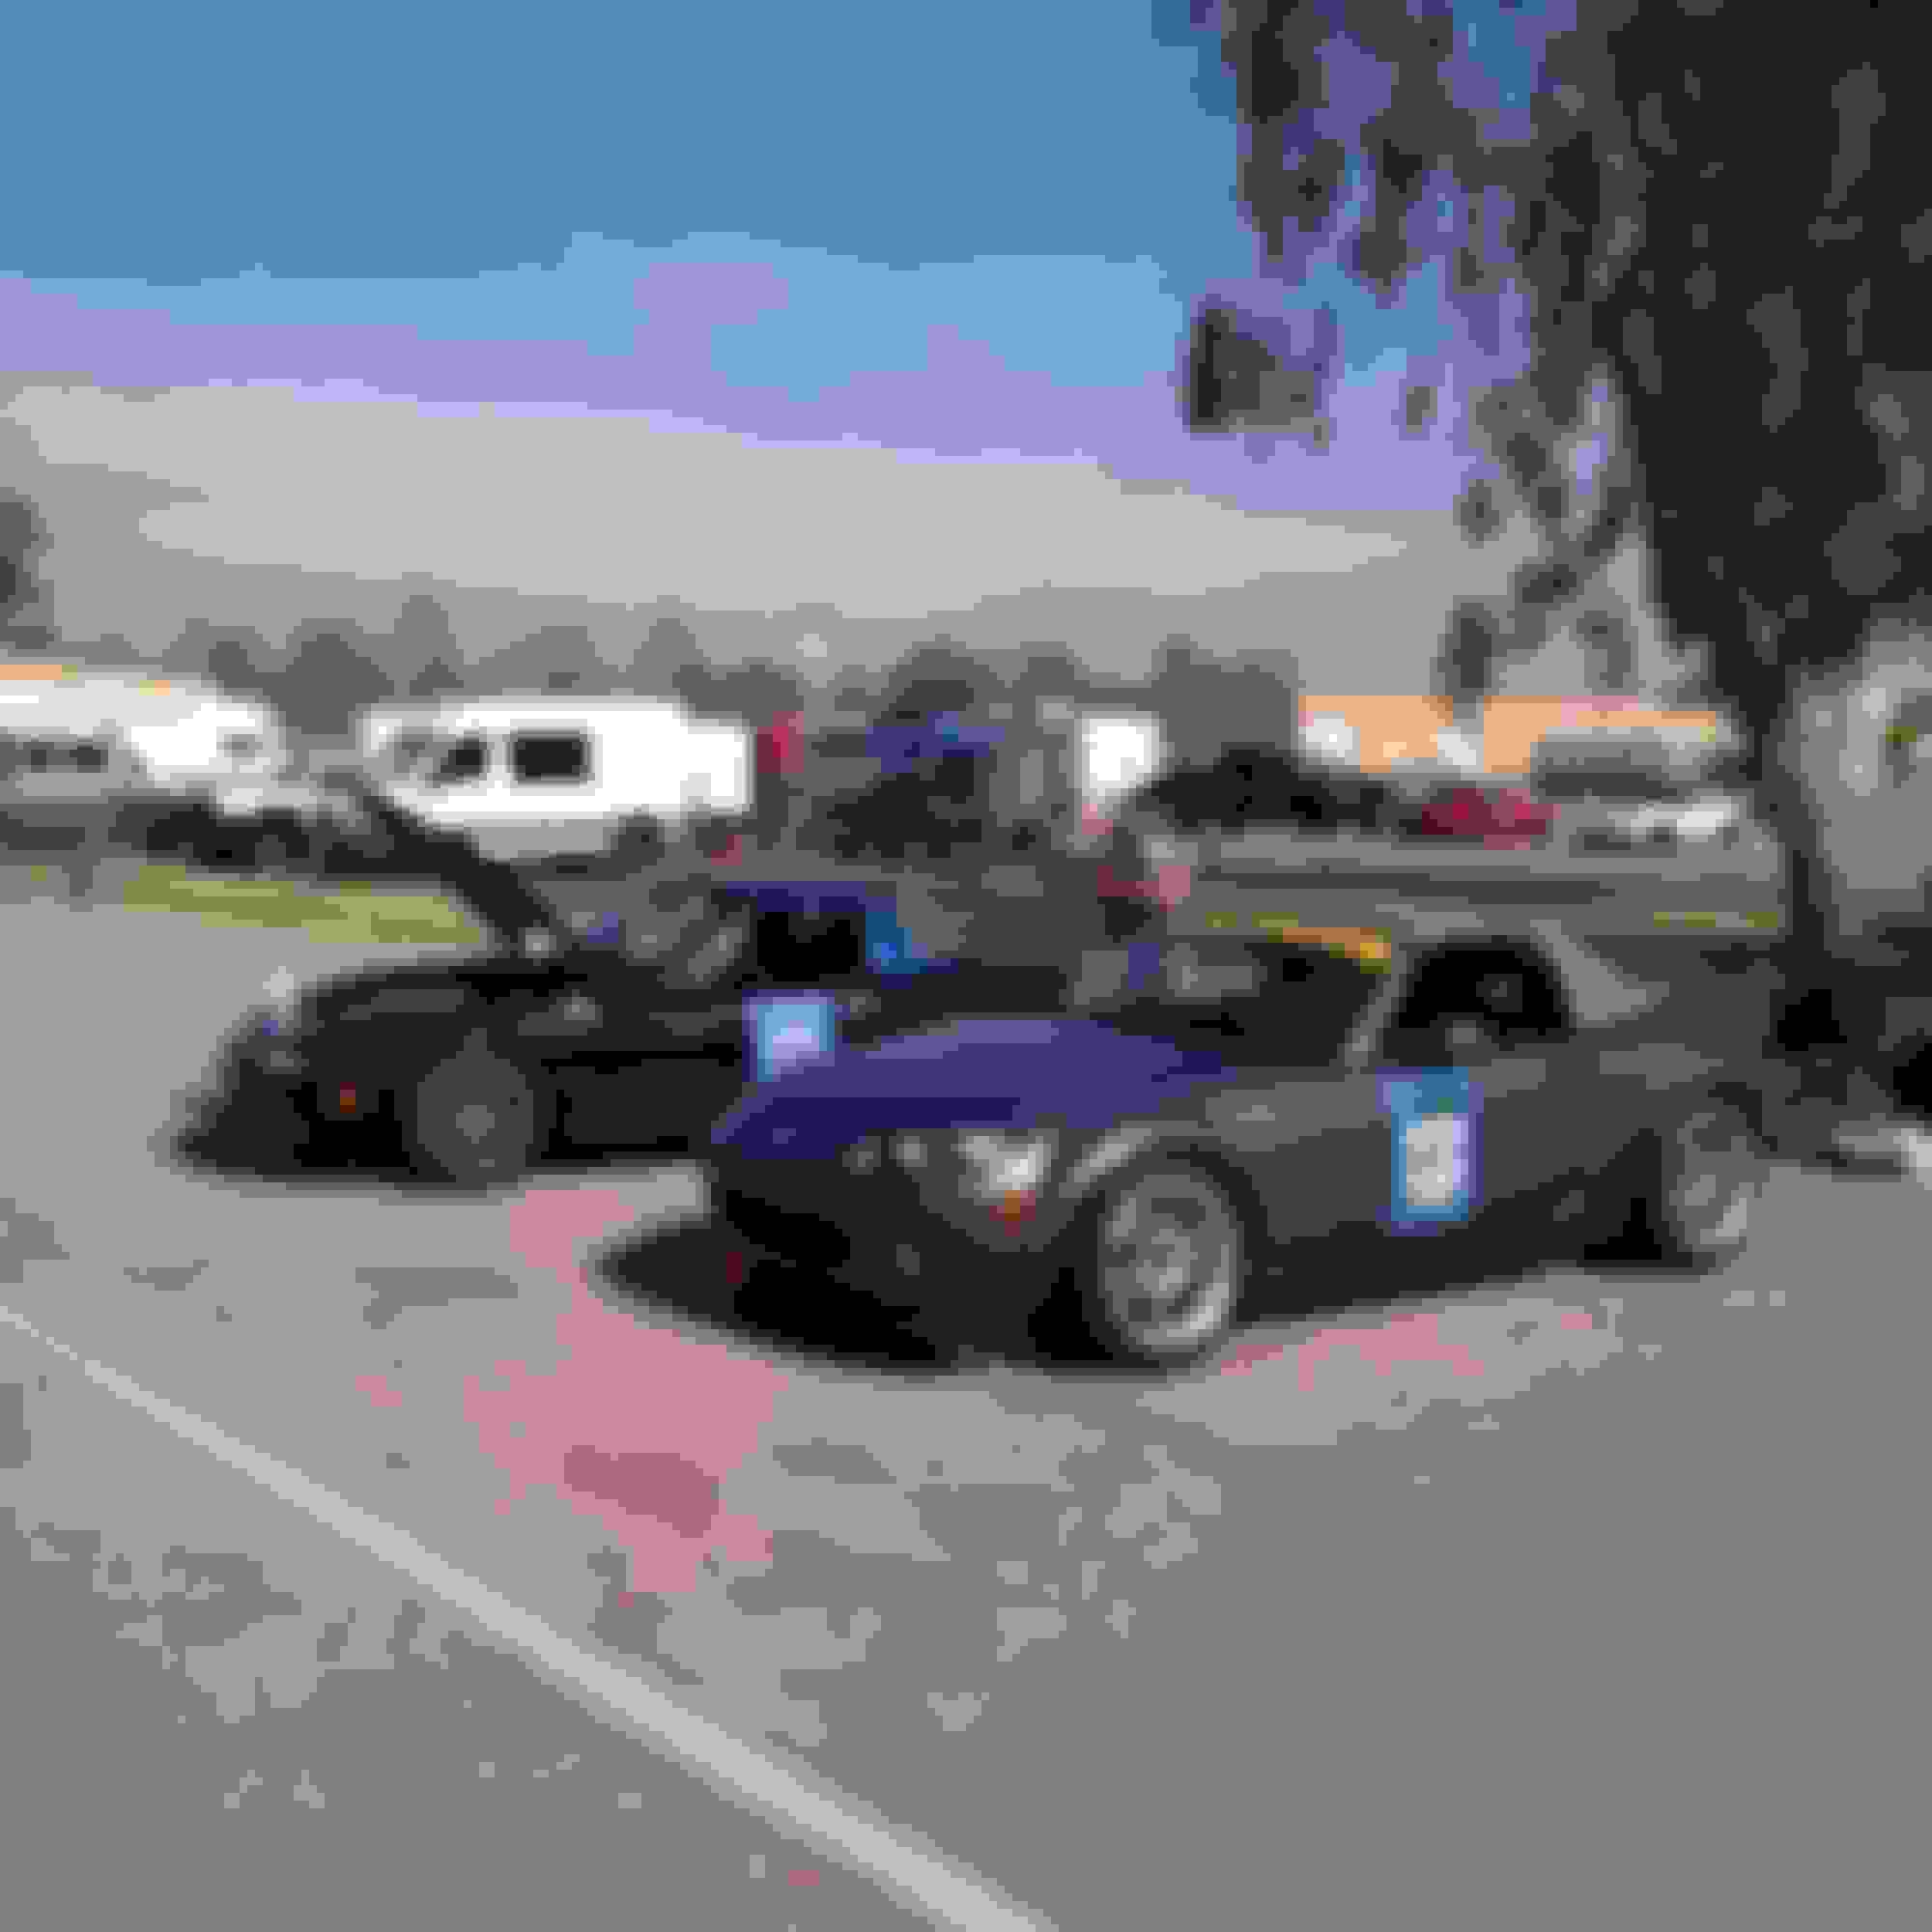
NASA NorCal is usually severely impacted, and this was no exception. There must have been 50+ cars in a single session, and open track was at a premium. I signed up for the low intermediate run group, it being only my third time driving at Sonoma. Sonoma is a fun, yet daunting track. So little room for error, and the consequences are high for getting it wrong, usually ending up in a wall, I chose to take it easy.
Suffice to say, the car ran all day without issue, but was quick to notice the drawbacks of an open differential. Lifting an inside wheel, made for some lack luster drive out of Turn 2. A limited slip differential is a must and now on the shopping list.
Unfortunately I did not get any on track photos.
Most important new modification, tinted tail lights. Easily worth 5+ horsepower.
The NC garnered much attention from the NASA instructors, a few stopping to poke around and ask me questions about the car. What? Are NC's suddenly becoming cool?
The last session of the day I was behind a miata powered Lotus 7 replica and it made for an entertaining final session. The owner was uber cool, and mentioned it weighed in the neighborhood of 1600 lbs wet. The NC is so much faster than what I am accustomed to, and I did not even break a sweat following the light weight kit car. He was pushing the car hard and had to remind myself several times that being in a lower run group that I should take it easy not wanting to pressure people out of their comfort zones.
Still much fun was had.
Towards the end up the session, I began to notice severe knocking sound, resembling a wheel bearing going south, yet felt no vibrations. Only after the session ended I discovered it was rod knock coming from the Lotus 7 I was so closely following. He planned to limp it home, but found him stranded on the side of the highway a couple of miles from the track. I felt really bad for the guy, and even worse that I couldn't offer him a ride with no passenger seat. Hopefully he will have it fixed soon and will see him out there again shortly.
Time to head home.
Overall I had a great time, and the car seems to be handling whatever I can throw at it.
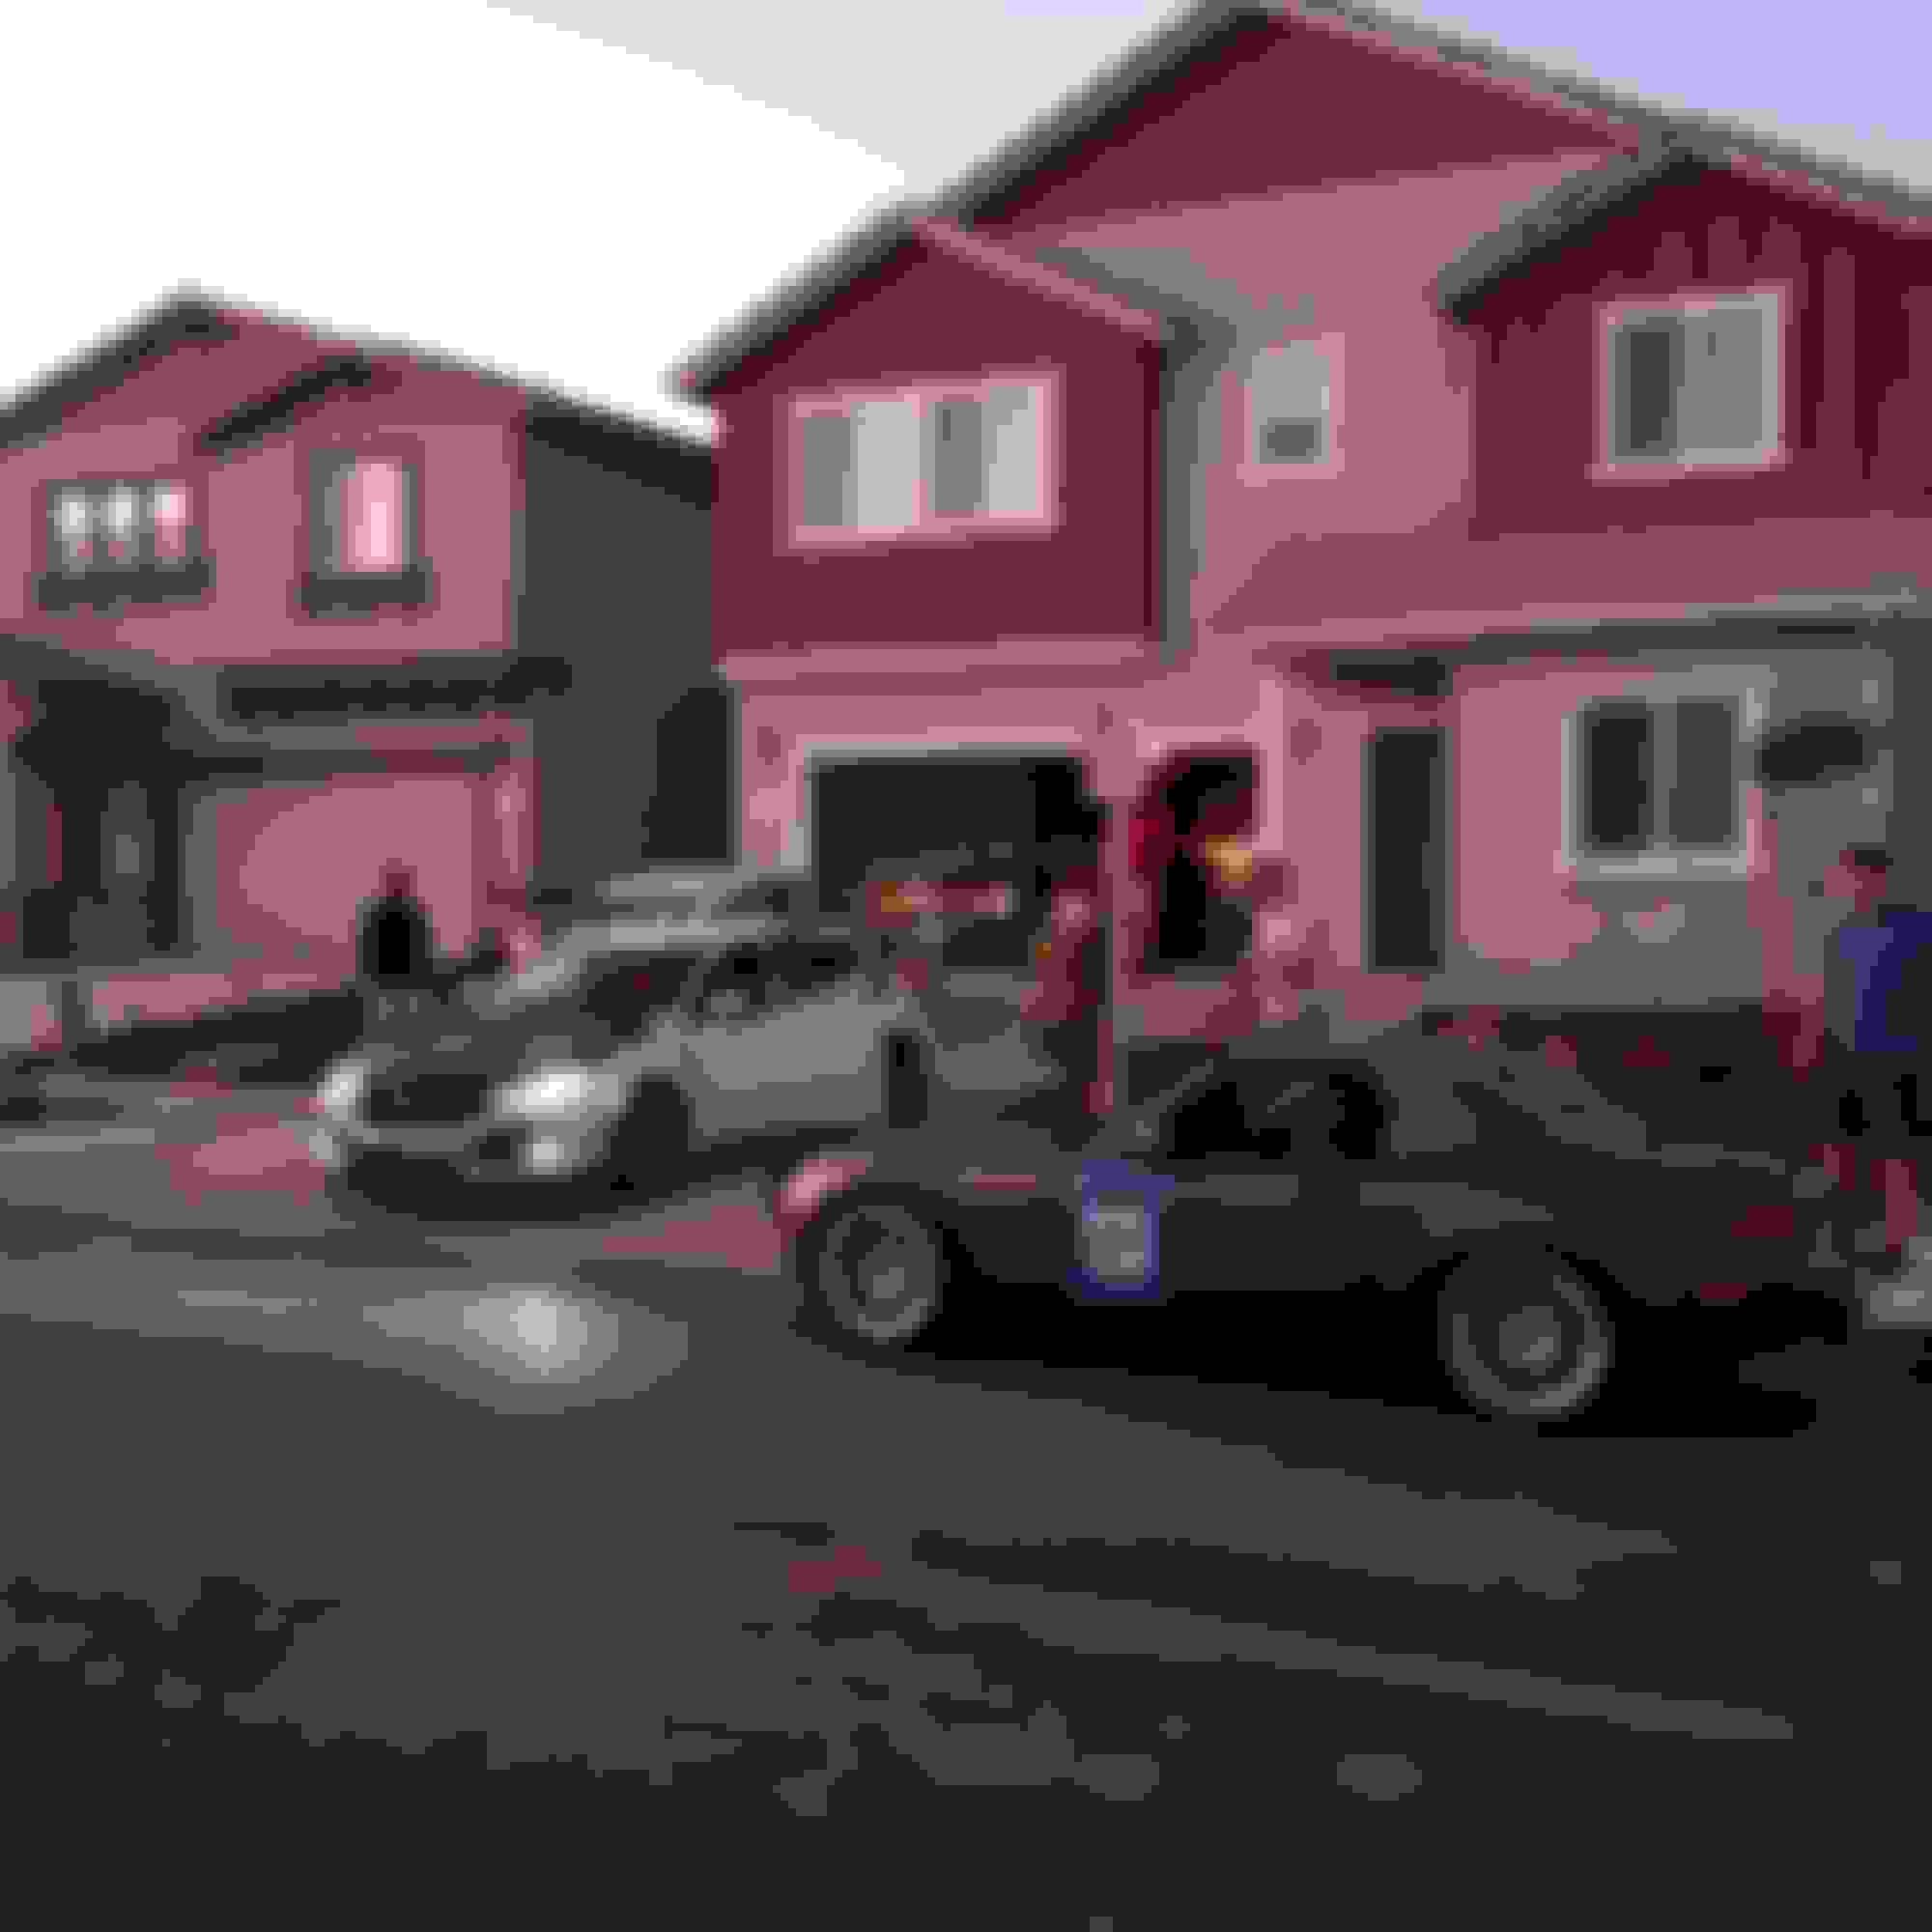
Shortly after, I had another track day at Buttonwillow. I am much more familiar and comfortable there, read no walls to hit, and wanted to compare times with the NB.
It is about a three and a half hours drive in a gutted car in the heat of the summer. Fun times all around. I messaged one of my friends, Sonny who has a black NA, to see if he wanted to tag along. Not long after we find ourselves caravaning down I-5. The drive wasn't too unpleasant and the car handled it like a champ. The forecast for the event was expected to be in the high 90's low 100's. Originally, I had planned to camp at the track, but Sonny was having none of it, and booked a cheap hotel in town. For $22 a night, along with A/C I'm glad we did.
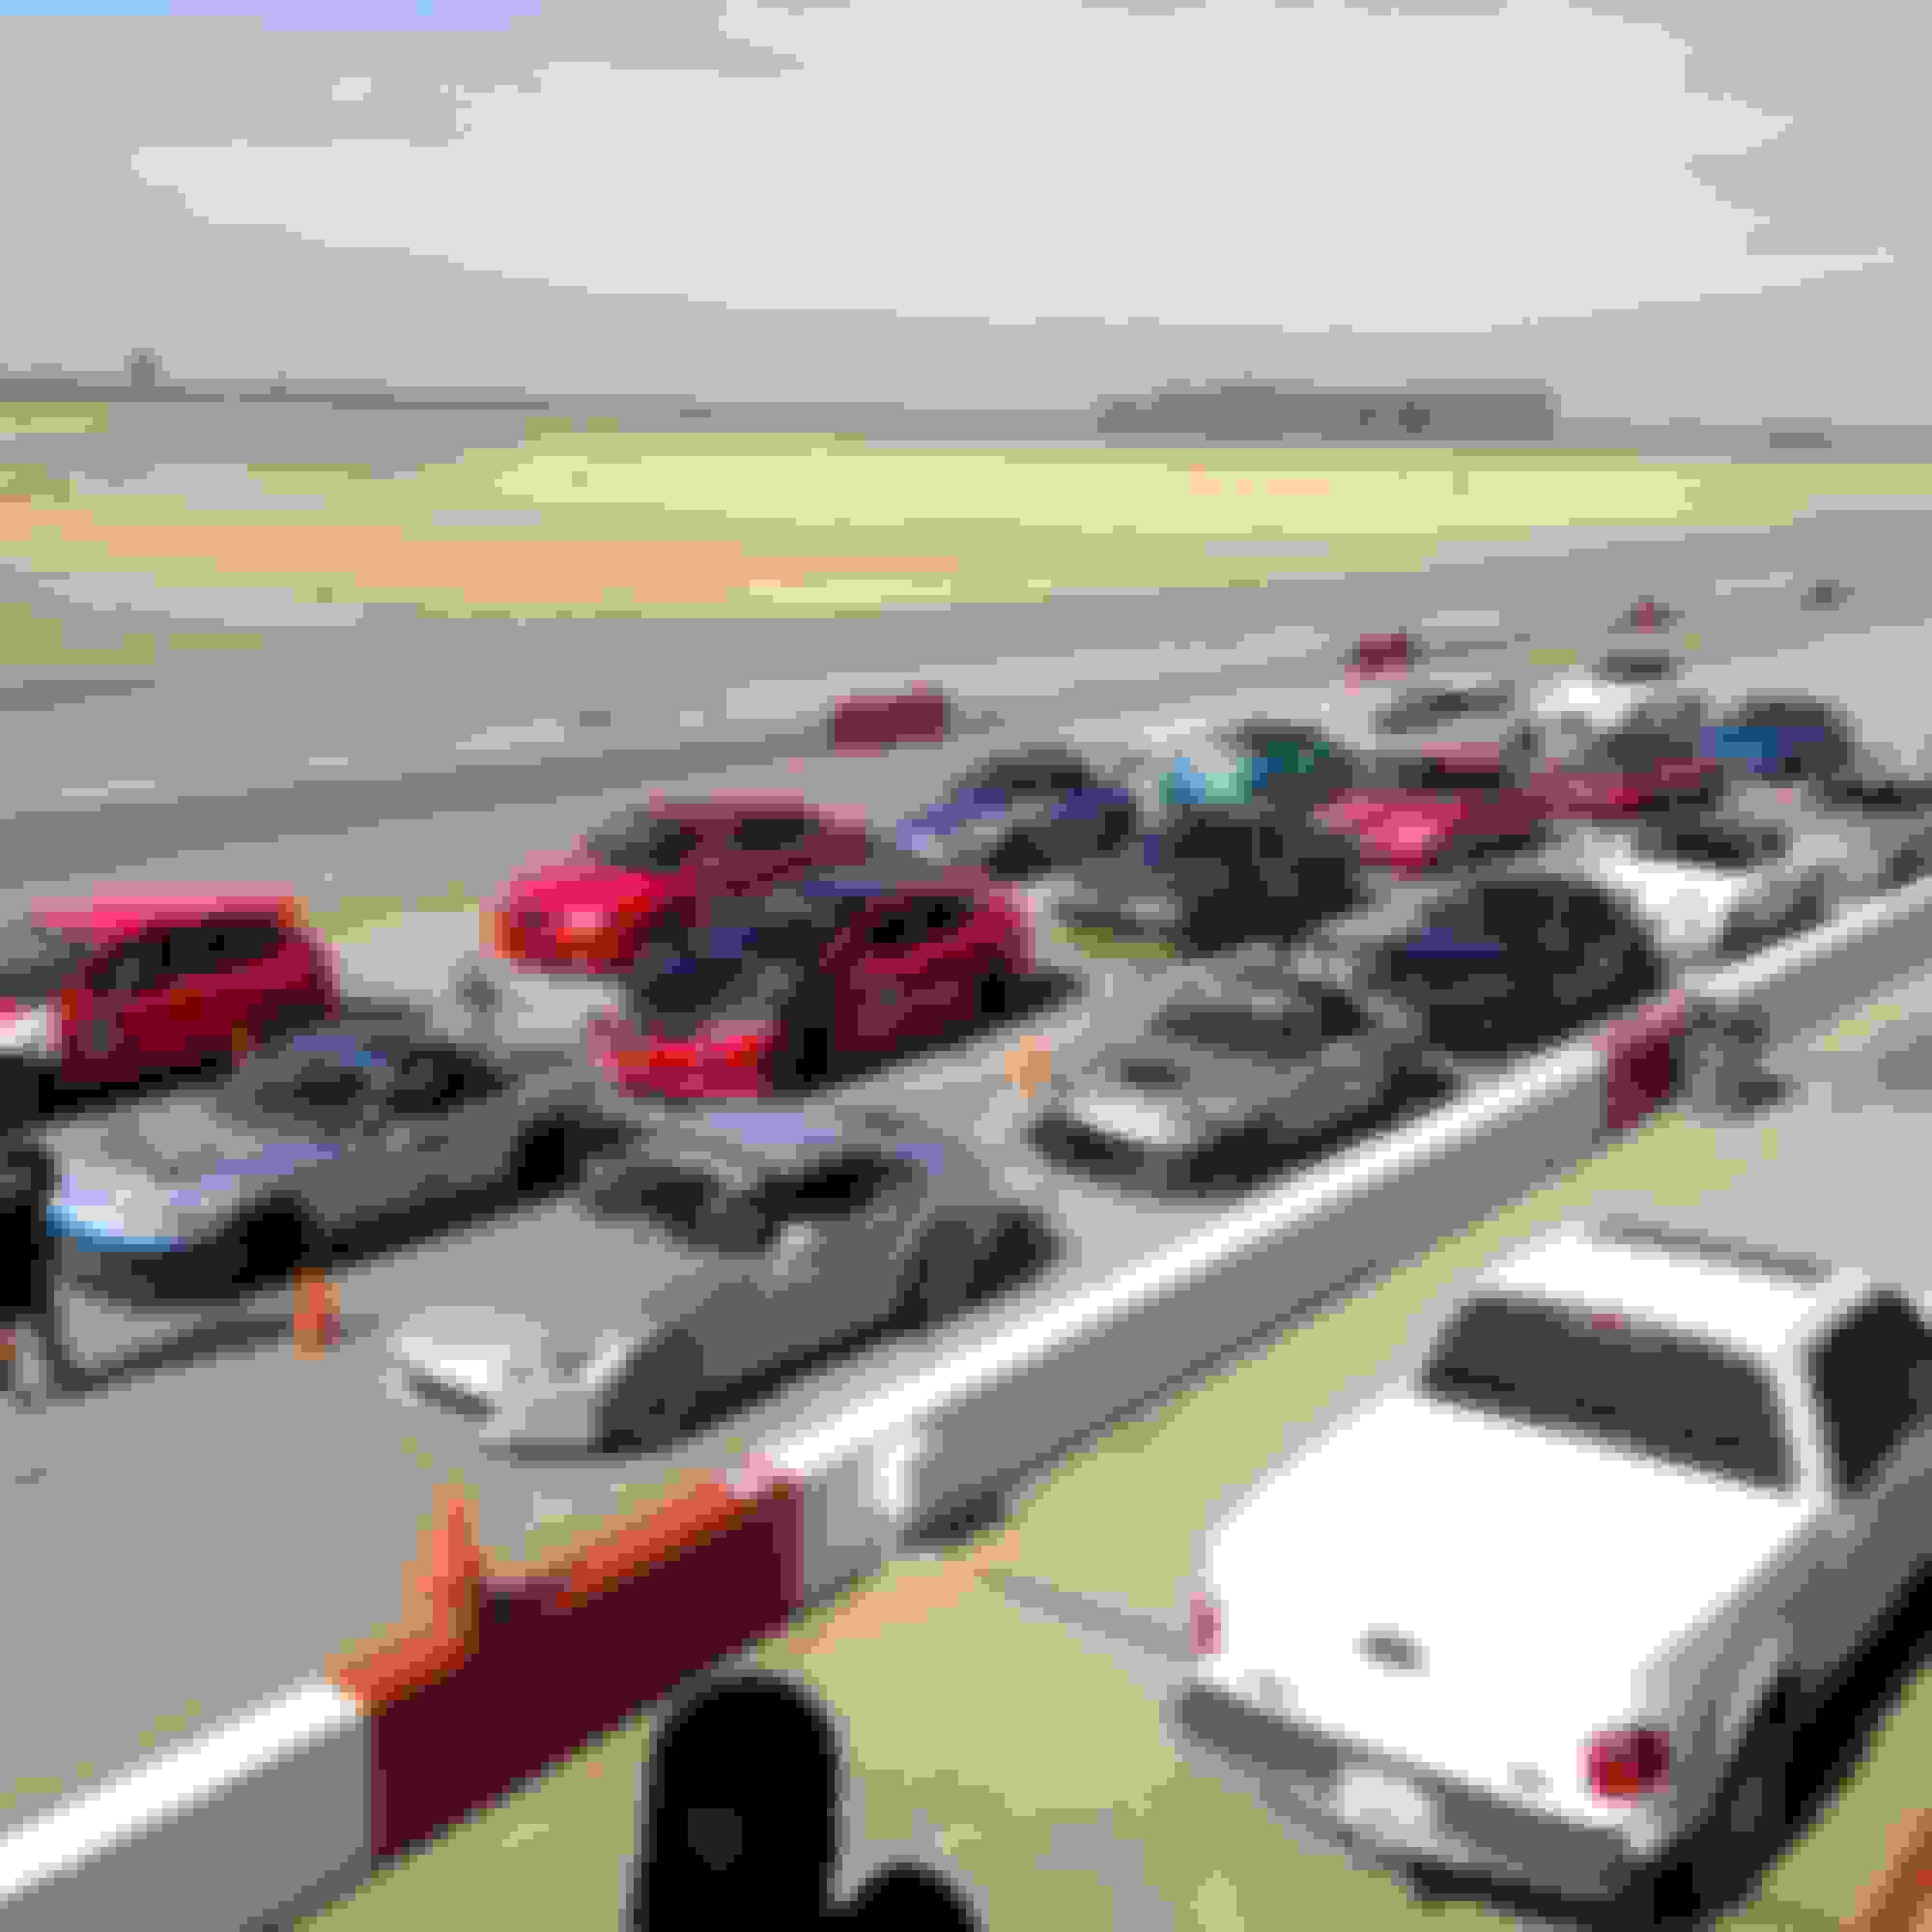
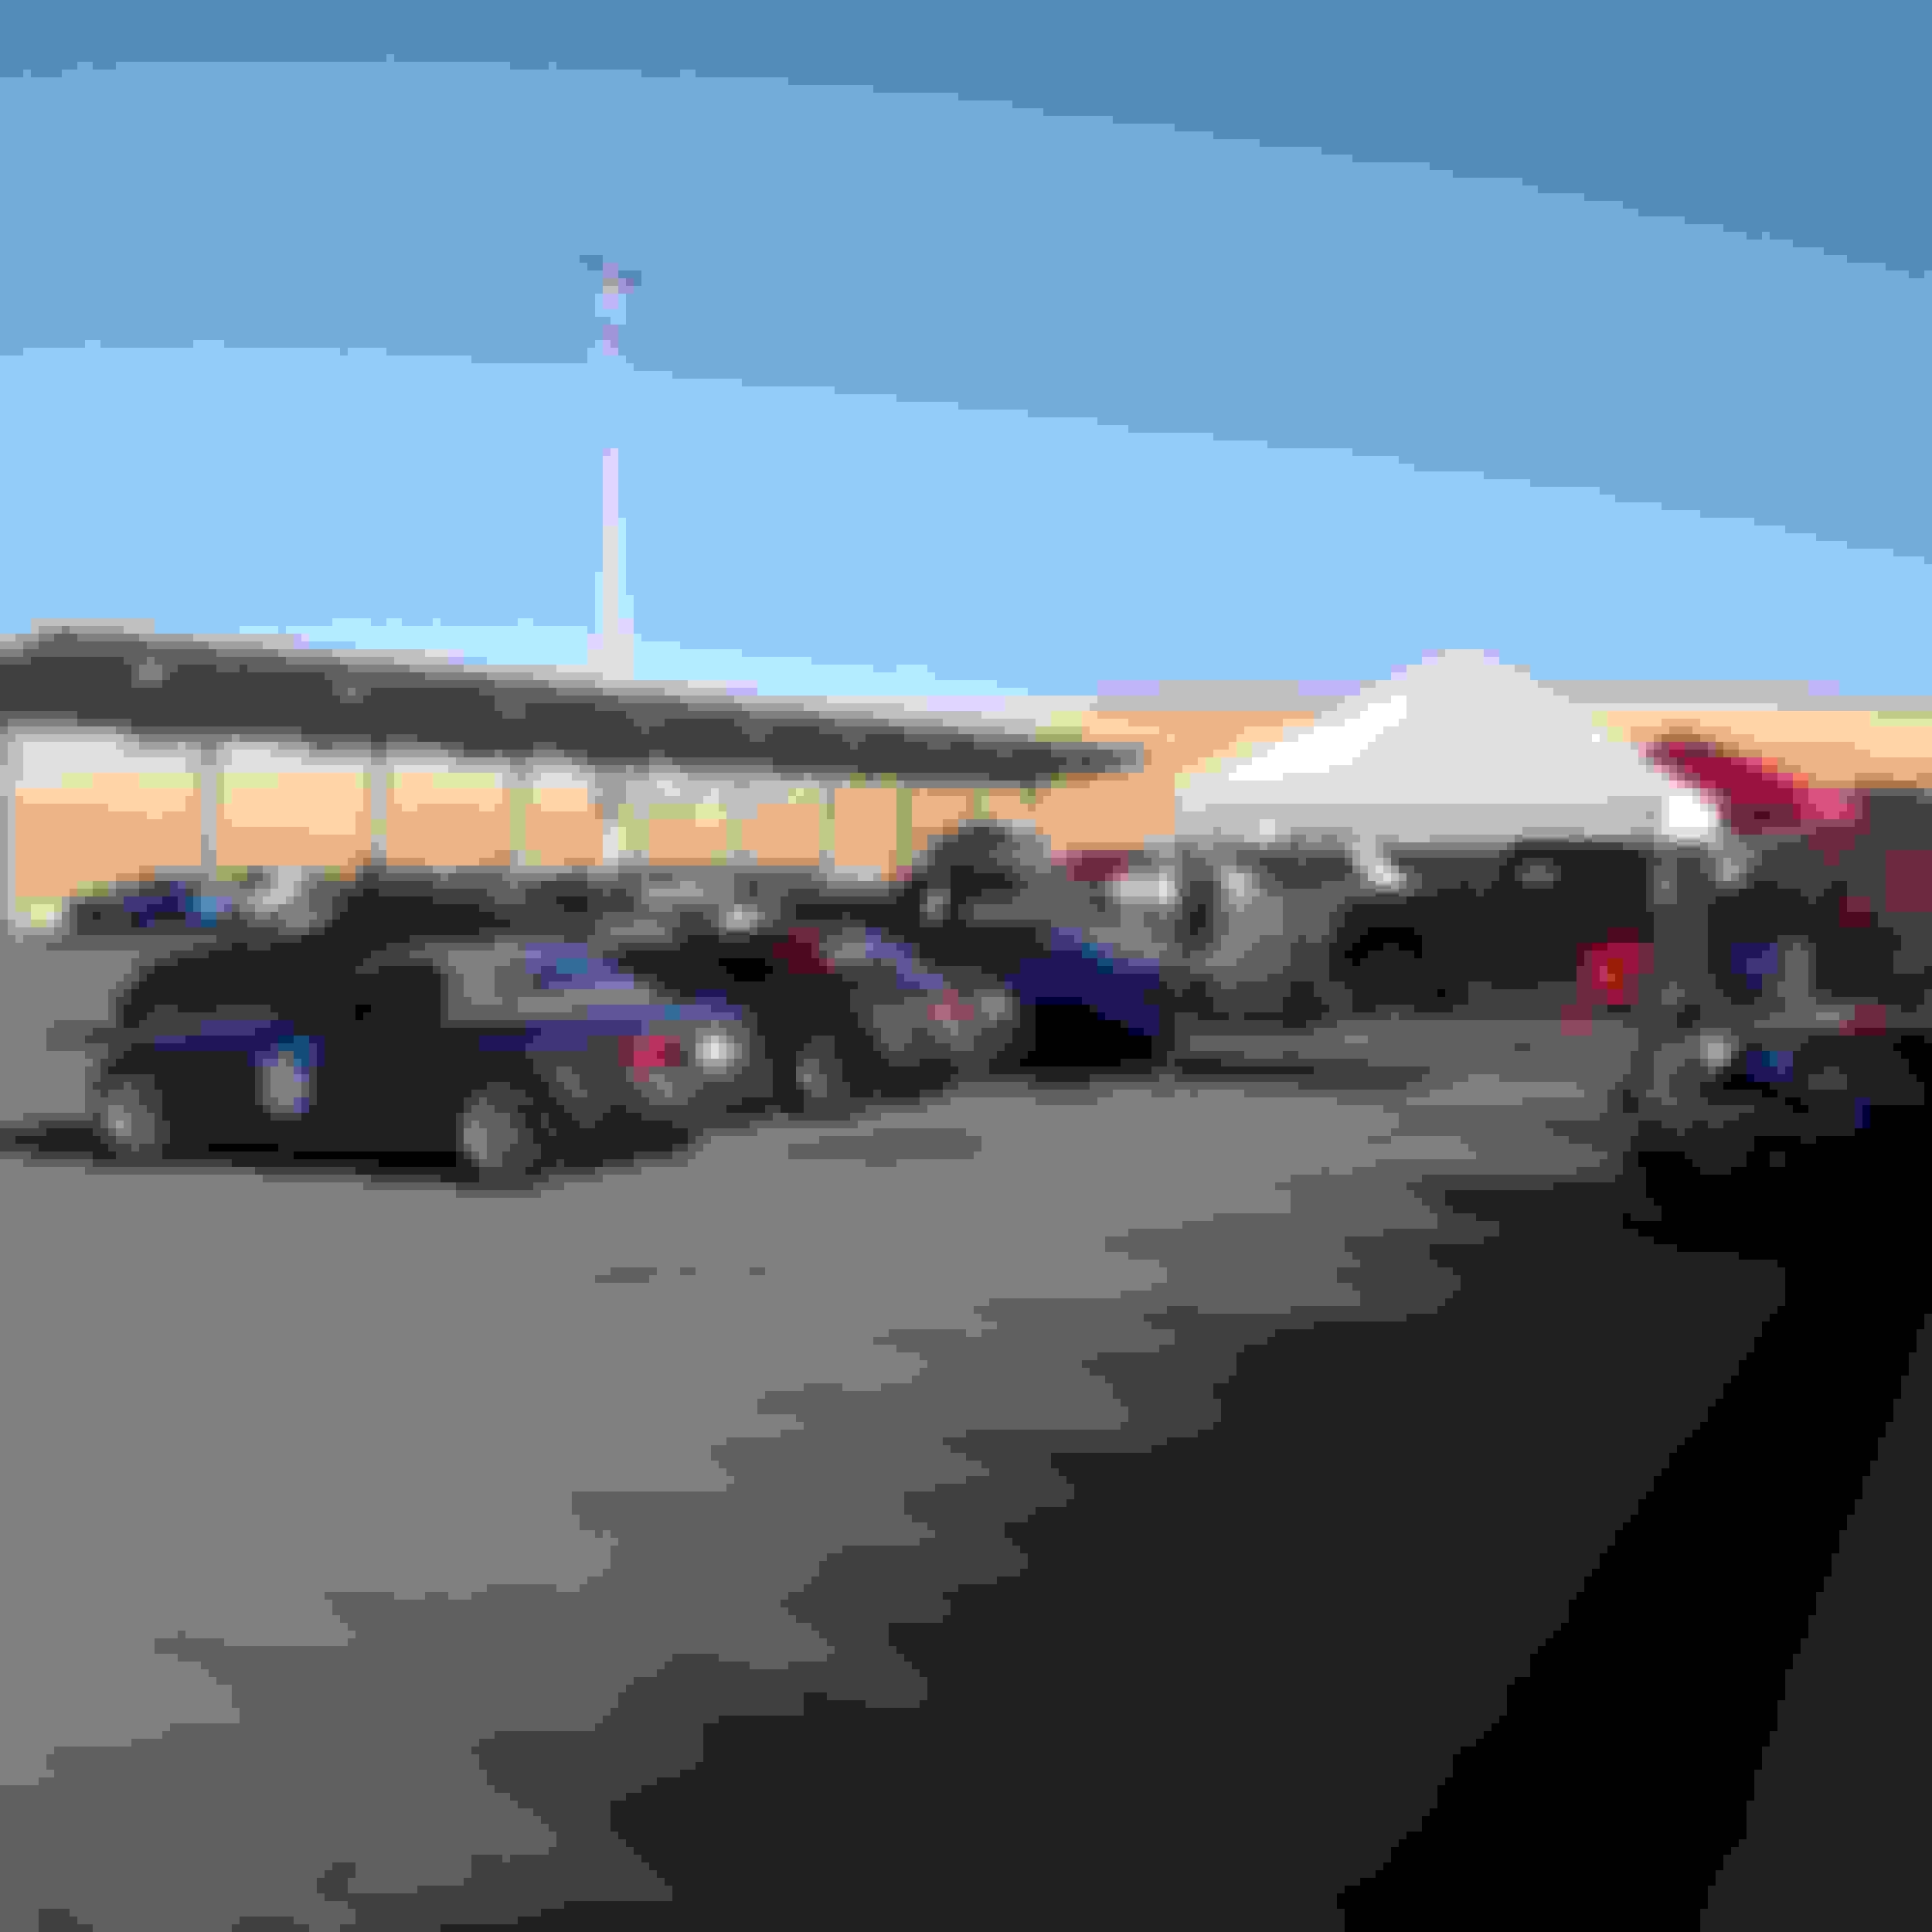
It was another RoadsterCup event and saw many familiar faces.
Sonny and I.
The first session was a circus, cars going off, fiberglass debris everywhere, and ended with a black flag. It must have been the heat.
The next session was better, but far from ideal. I would catch traffic, and believe I did not get a single clean lap. I only managed a 2:10, a good five seconds slower than my heavier, less powerful NB.
Much like the last outing at Sonoma, I was noticing some sort of slipping under acceleration, it was not wheel spin, and thus must be drivetrain related. I started to chat with some of the other NC owners and they pointed me in the direction of the differential. I thought it was the clutch, but after further discussion, I now believed it was diff related instead.
I gave the car a quick once over, and noticed the oil was on the low side. Ever since adding an oil cooler I wasn't sure how much additional oil to add. I topped it up, double checked the torque on the wheels, and was ready for the next session.
Out on track, I now found myself with a new problem. I added entirely too much oil in my "top off". When accelerating I would see huge plumes of smoke billowing out of the exhaust. I single handily covered entire sections of the track in a smoke screen. It looked like a scene out of a batman movie. Immediately I got off throttle and pulled in. It turns out, when completing a 2.5 swap you must substitute dipsticks when swapping pans. The original NC dipstick will not read oil levels correctly and the bottom tick is the full mark on a 2.5. I was a good 2 quarts overfilled. Whoops. Hopefully, no damage was done.
I decided to call it a day, and not risk the car. I hung out for the rest of the event, and helping Sonny with his car.
Sean, Frankie, Colin, and Andrew pictured. And thank you for all the help.
We made it back in one piece, and despite the minor issues, it still was a great time.
A bad day at the track is better than a good day at home.
After perusing Ebay for a few weeks I stumbled across an 2008 OEM Tochigi-Fuji limited slip differential. Judging from the pictures it looked to be very clean unit and was stated to only have a 200 miles. The differential was a few hundred dollars and decided to pull the trigger. It arrived a few days later, well packaged and sealed. The bolts still retained their yellow shimmer of the original zinc coating, impressive.
I also replaced both axle seals, and ordered a set of polyurathane differential bushings to further reduce drivetrain movement. Concerns about added NVH had long gone out the window.
Minty fresh differential.
As goes the classic case of while I was in there, I decided to upgrade clutch and flywheel at the same time. While others suggest I try a different combination, I have been extremely happy with the characteristics of the ACT HD and Fidnaza flywheel combination in my previous cars.
Order placed.
The NC has a center differential support that bolts to the case unlike the NA/NB where the arms are cast into the rear housing. However pressing the bushings out of the support proved to be far more difficult than I had first envision. The outer sleeve of the stock bushing was almost flush with the outside edge of the housing, and supporting the outside edge was tricky. To make matters increasingly difficult one side had an "ear" or a tab not allowing the piece to sit flat.
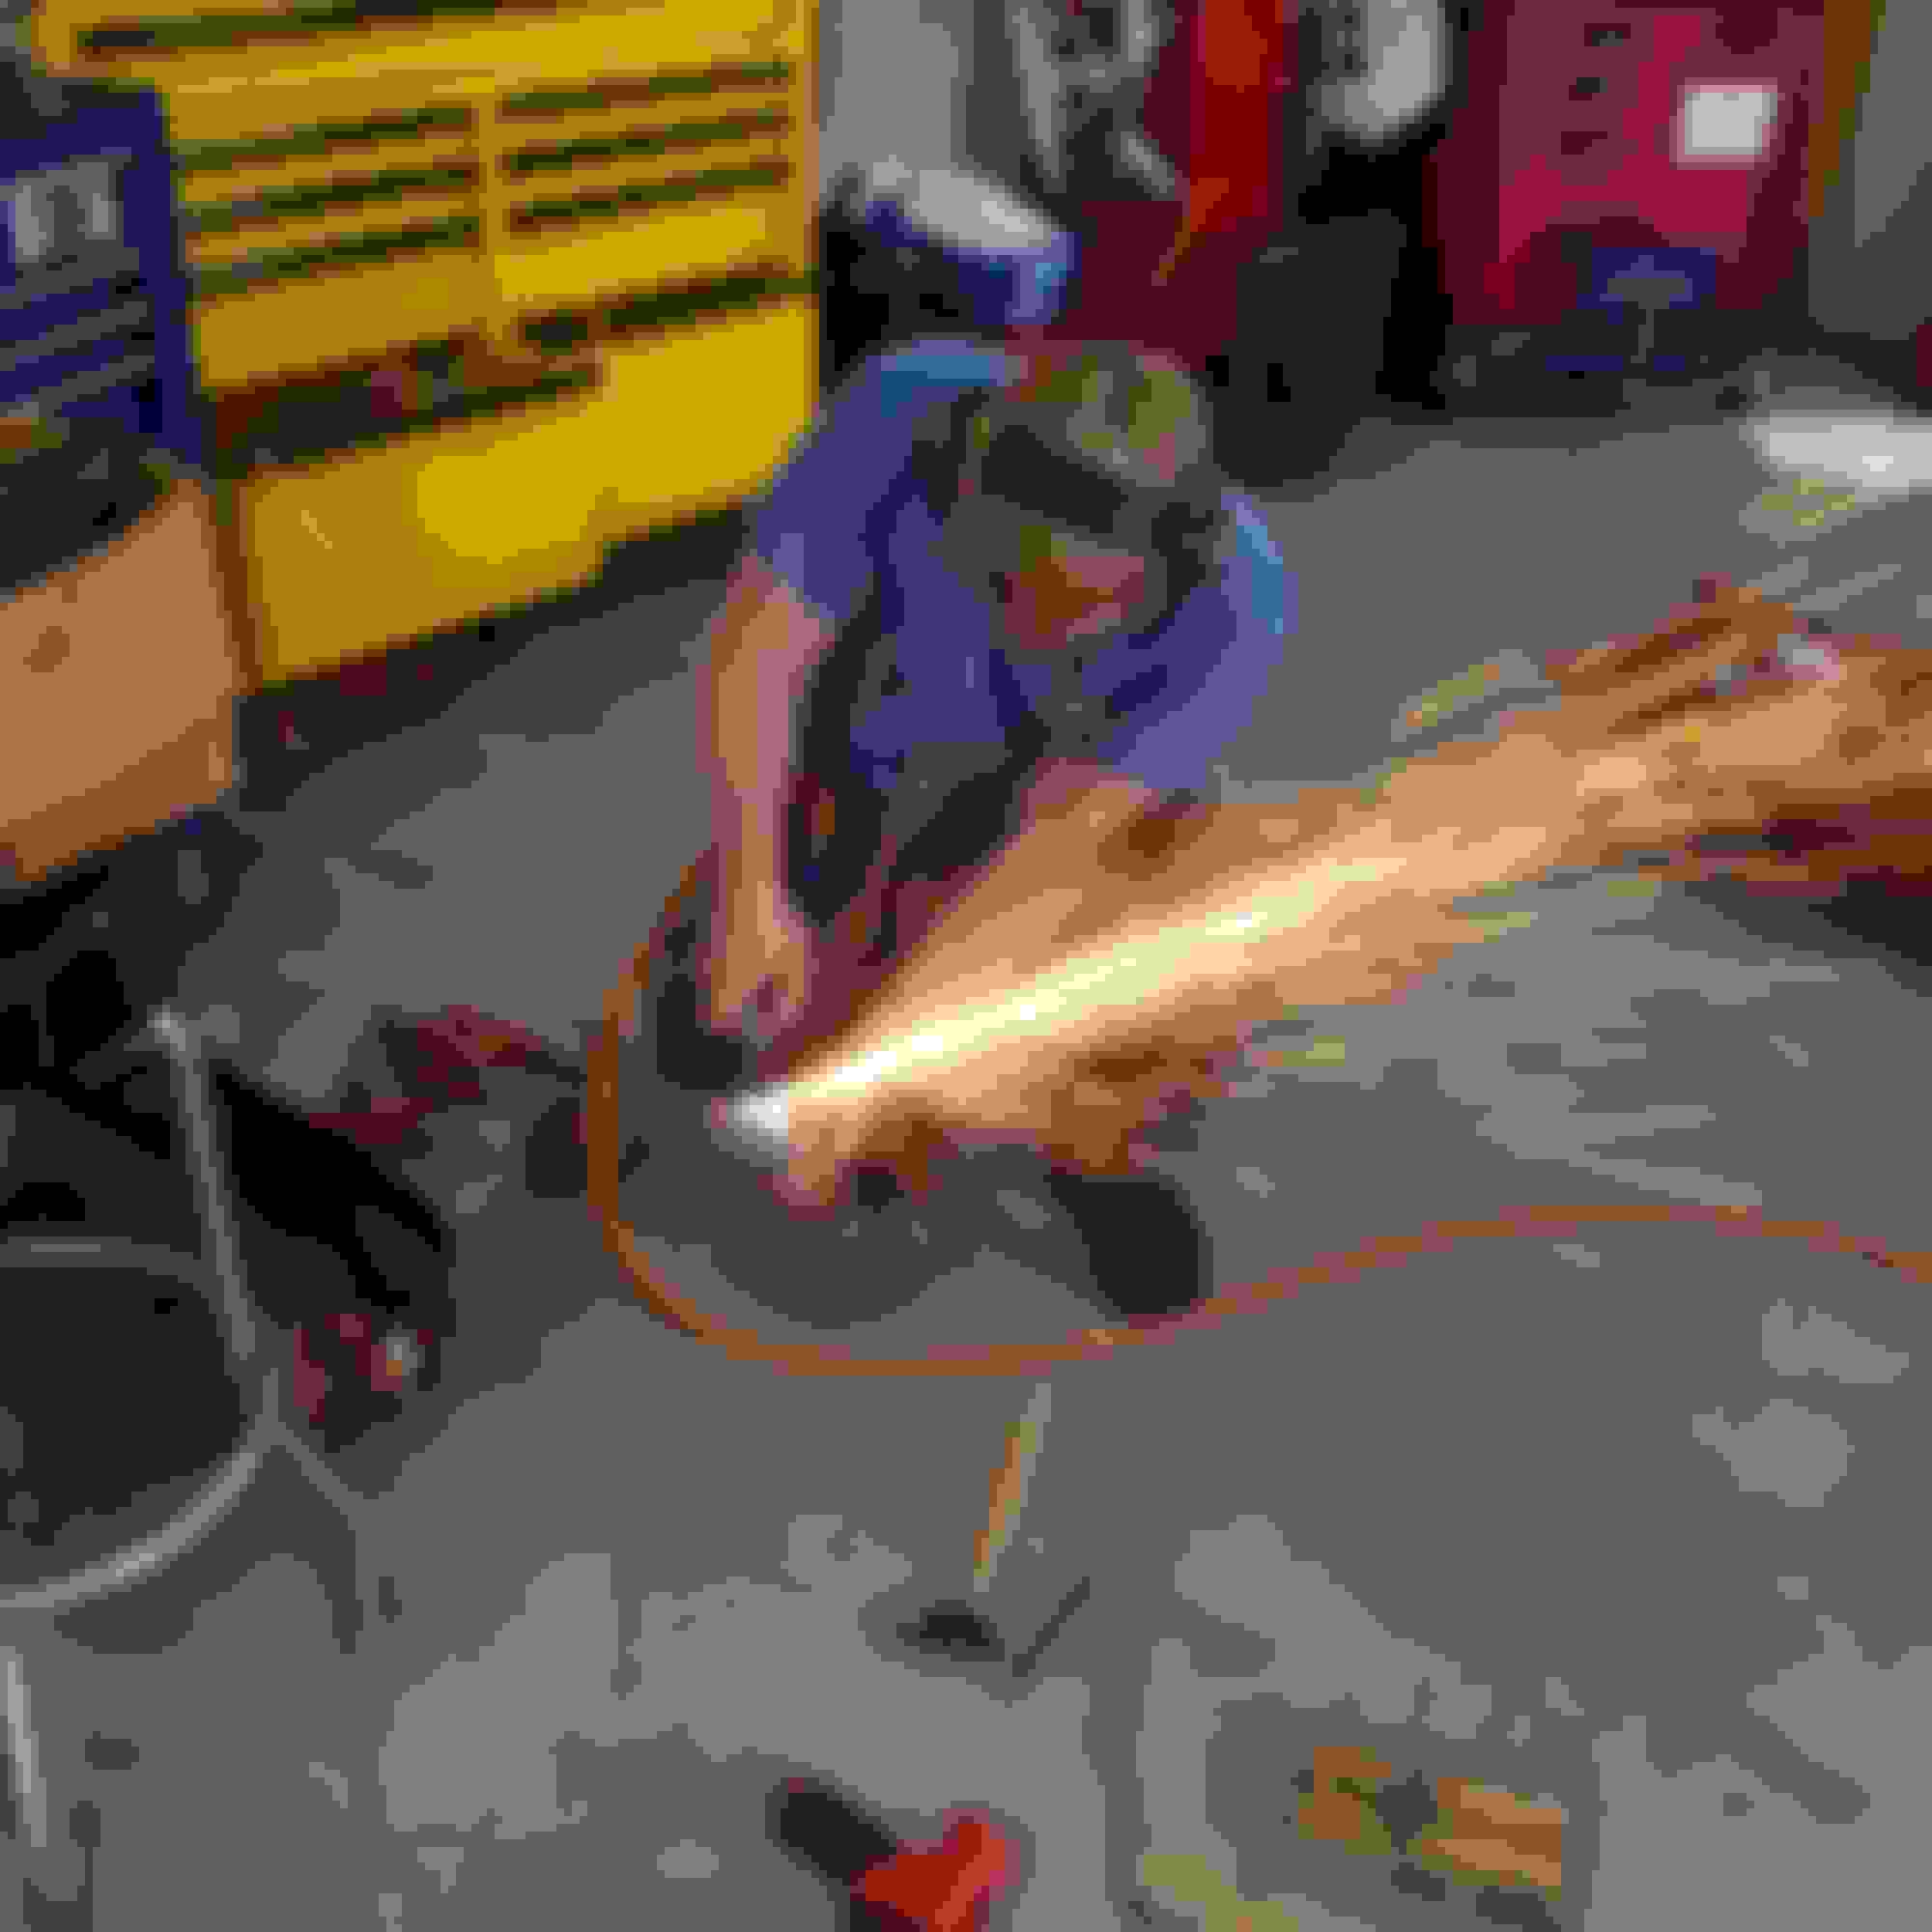
The solution was to modify one of the pressing sleeves to clear the tab. Luckily for me my friends are much more adept at this sort of thing and were kind enough to lend me a hand. Insert cutoff wheel here.
Travis doing Travis things.
Pressing out old bushings with new and improved sleeve.
Note pressing stack on both top and bottom of the bushing.
Modified sleeve on top.
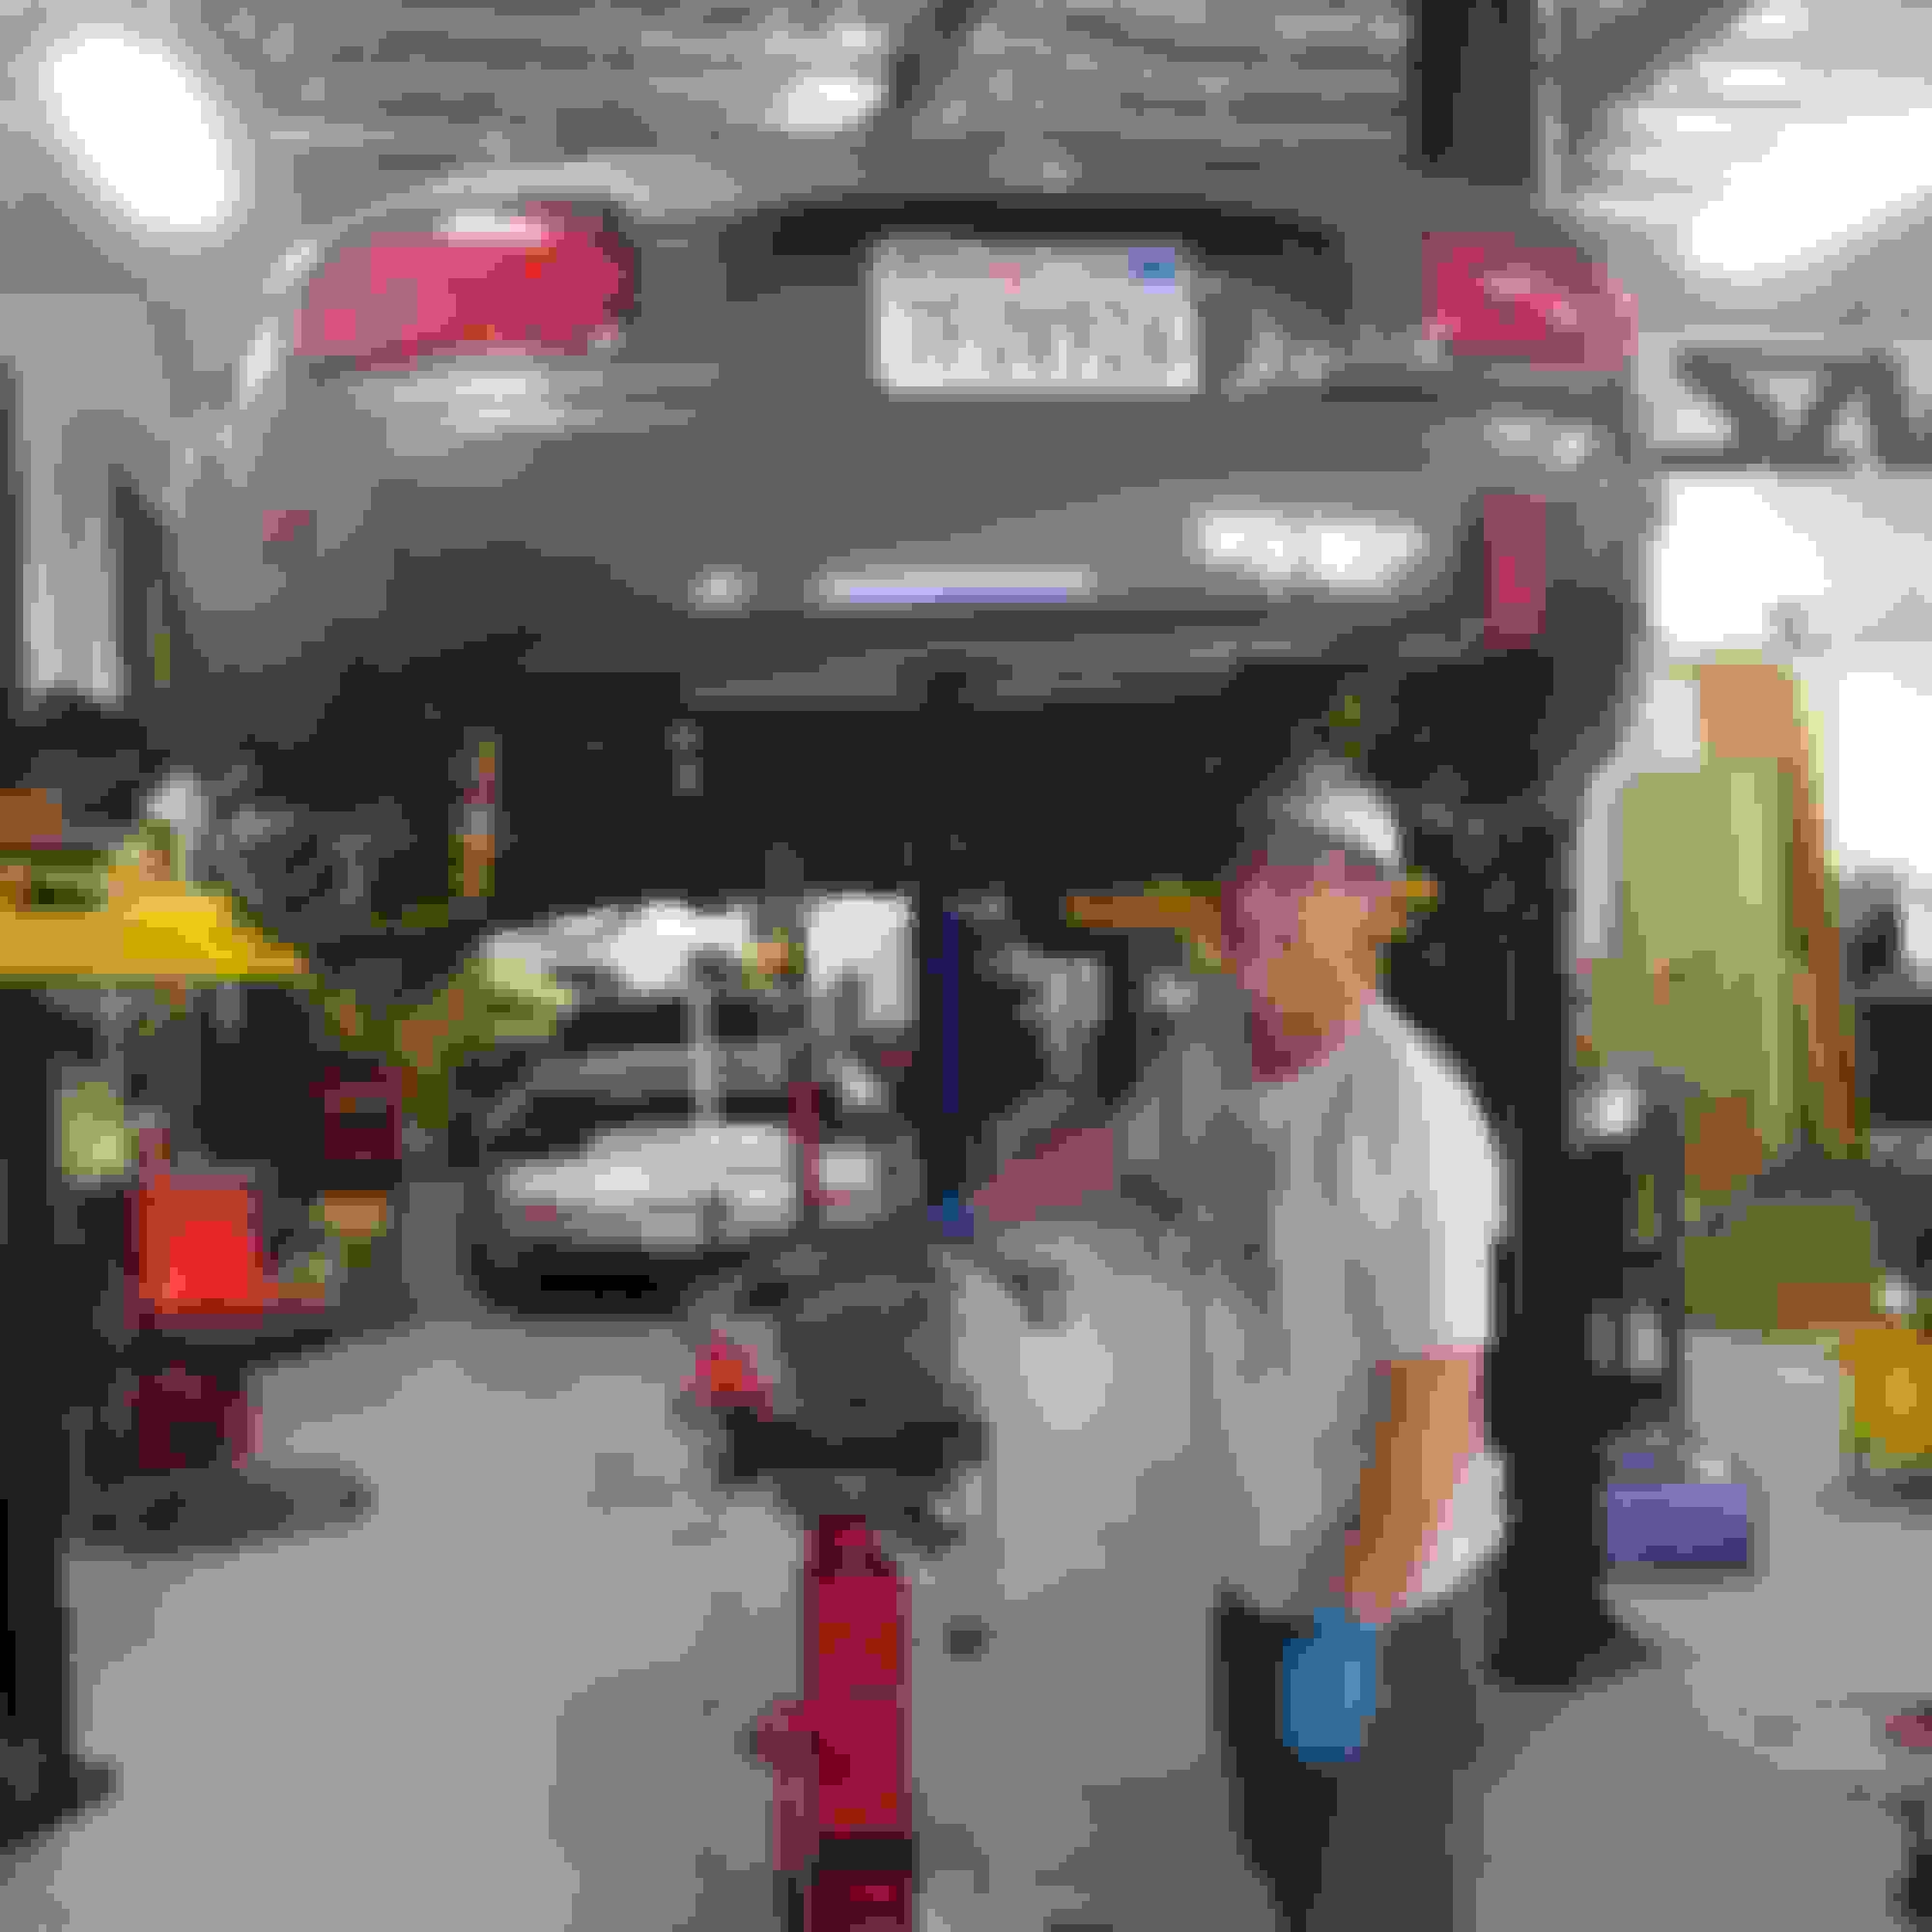
Not only did my friends help me, but my dad offered to lend additional hands with the differential. I could not have done it without them.
My dad hamming it up.
Differential was finally all buttoned up and ready for installation.
Pulling the transmission on an NC is easy. There is much more room for activities inside the transmission tunnel that makes maneuvering around the transmission a breeze. There are also less bolts to remove when compared with the earlier cars. I ditched the ACT throwout and pilot bearings as they tend to fail prematurely and purchased OEM replacements.
ACT HD clutch and 8lb Fidanza flywheel wheel bolted up ready to have transmission stabbed back on.
All of the drivetrain upgrades took about a day with the help of friends. I am so thankful for all the help.
I was excited to test drive the car and wanted to see if it would cure the previous slipping issues I had under hard acceleration on track.
Now to break in the clutch, and soon after get the car on track.
Last edited by Bryan Z.; Sep 29, 2019 at 12:31 AM.
The next outing for the car would be at Thunderhill West. I had only ever driven the East course and had only ever heard good things about the West track. It is a tight, technical track, suiting the miata perfectly.
I was itching to test out all of the recent upgrades and when a few of my friends had informed me they had registered, I could not refuse.
I stayed with a few friends who lived in the Sacramento area and made a mini vacation of it. We then caravan-ed from his house to the track, which was only about a hours drive.
Cool people, and some cool cars. A couple of FK8s, and a NSX hiding in the background.
Only a days before, I had come down with the flu, but I had willed myself to recover for this track day. The morning of, I was feeling a bit off, but did not want it to put hamper the day. I was going to drive within my means, not push the car, and most importantly myself, past their limits. However, after the first session on track, everything suddenly became clear.
I love driving.
Our small group.
As described, West was a fantastic bit of tarmac. The track flowed so well and felt as if I was dancing with the car. Everything was falling into place, and the car was a peach. The differential had transformed the car, most noticeably on corner exit. Previously, getting on throttle would result in the unloaded wheel spinning, resulting in a loss of drive. With the new-to-me differential the cars behavior was now more responsive to throttle inputs and more predictable.
It being my first time at West I registered for the low-intermediate run group. I was glad I did because I was also not feeling myself because of my illness. I spent the majority of the day offering my friends ride alongs and dicing our way through traffic. There was no shortage of cars to play with throughout the day.
The weather was far from ideal, as anyone that has been to Thunderhill at the end of August can attest to, with the temperatures in the low 100's. I did not opt to rent a transponder but my friend offered to time me with his stopwatch. It was not the most accurate, but we guesstimate somwhere in the 1:29-1:30 range. I found myself driving at 7/10ths and the car has so much more time left in it.
After being made aware of the potential failure points on the stock oil filter pedestal I became increasingly paranoid with my current setup. After some research, it seemed that the cast aluminum threads on the pedestal fail due to the added weight and strain put on them by the the sandwich adapter plate and the AN lines. Thanks again to Jpreston for bringing to light the issue.
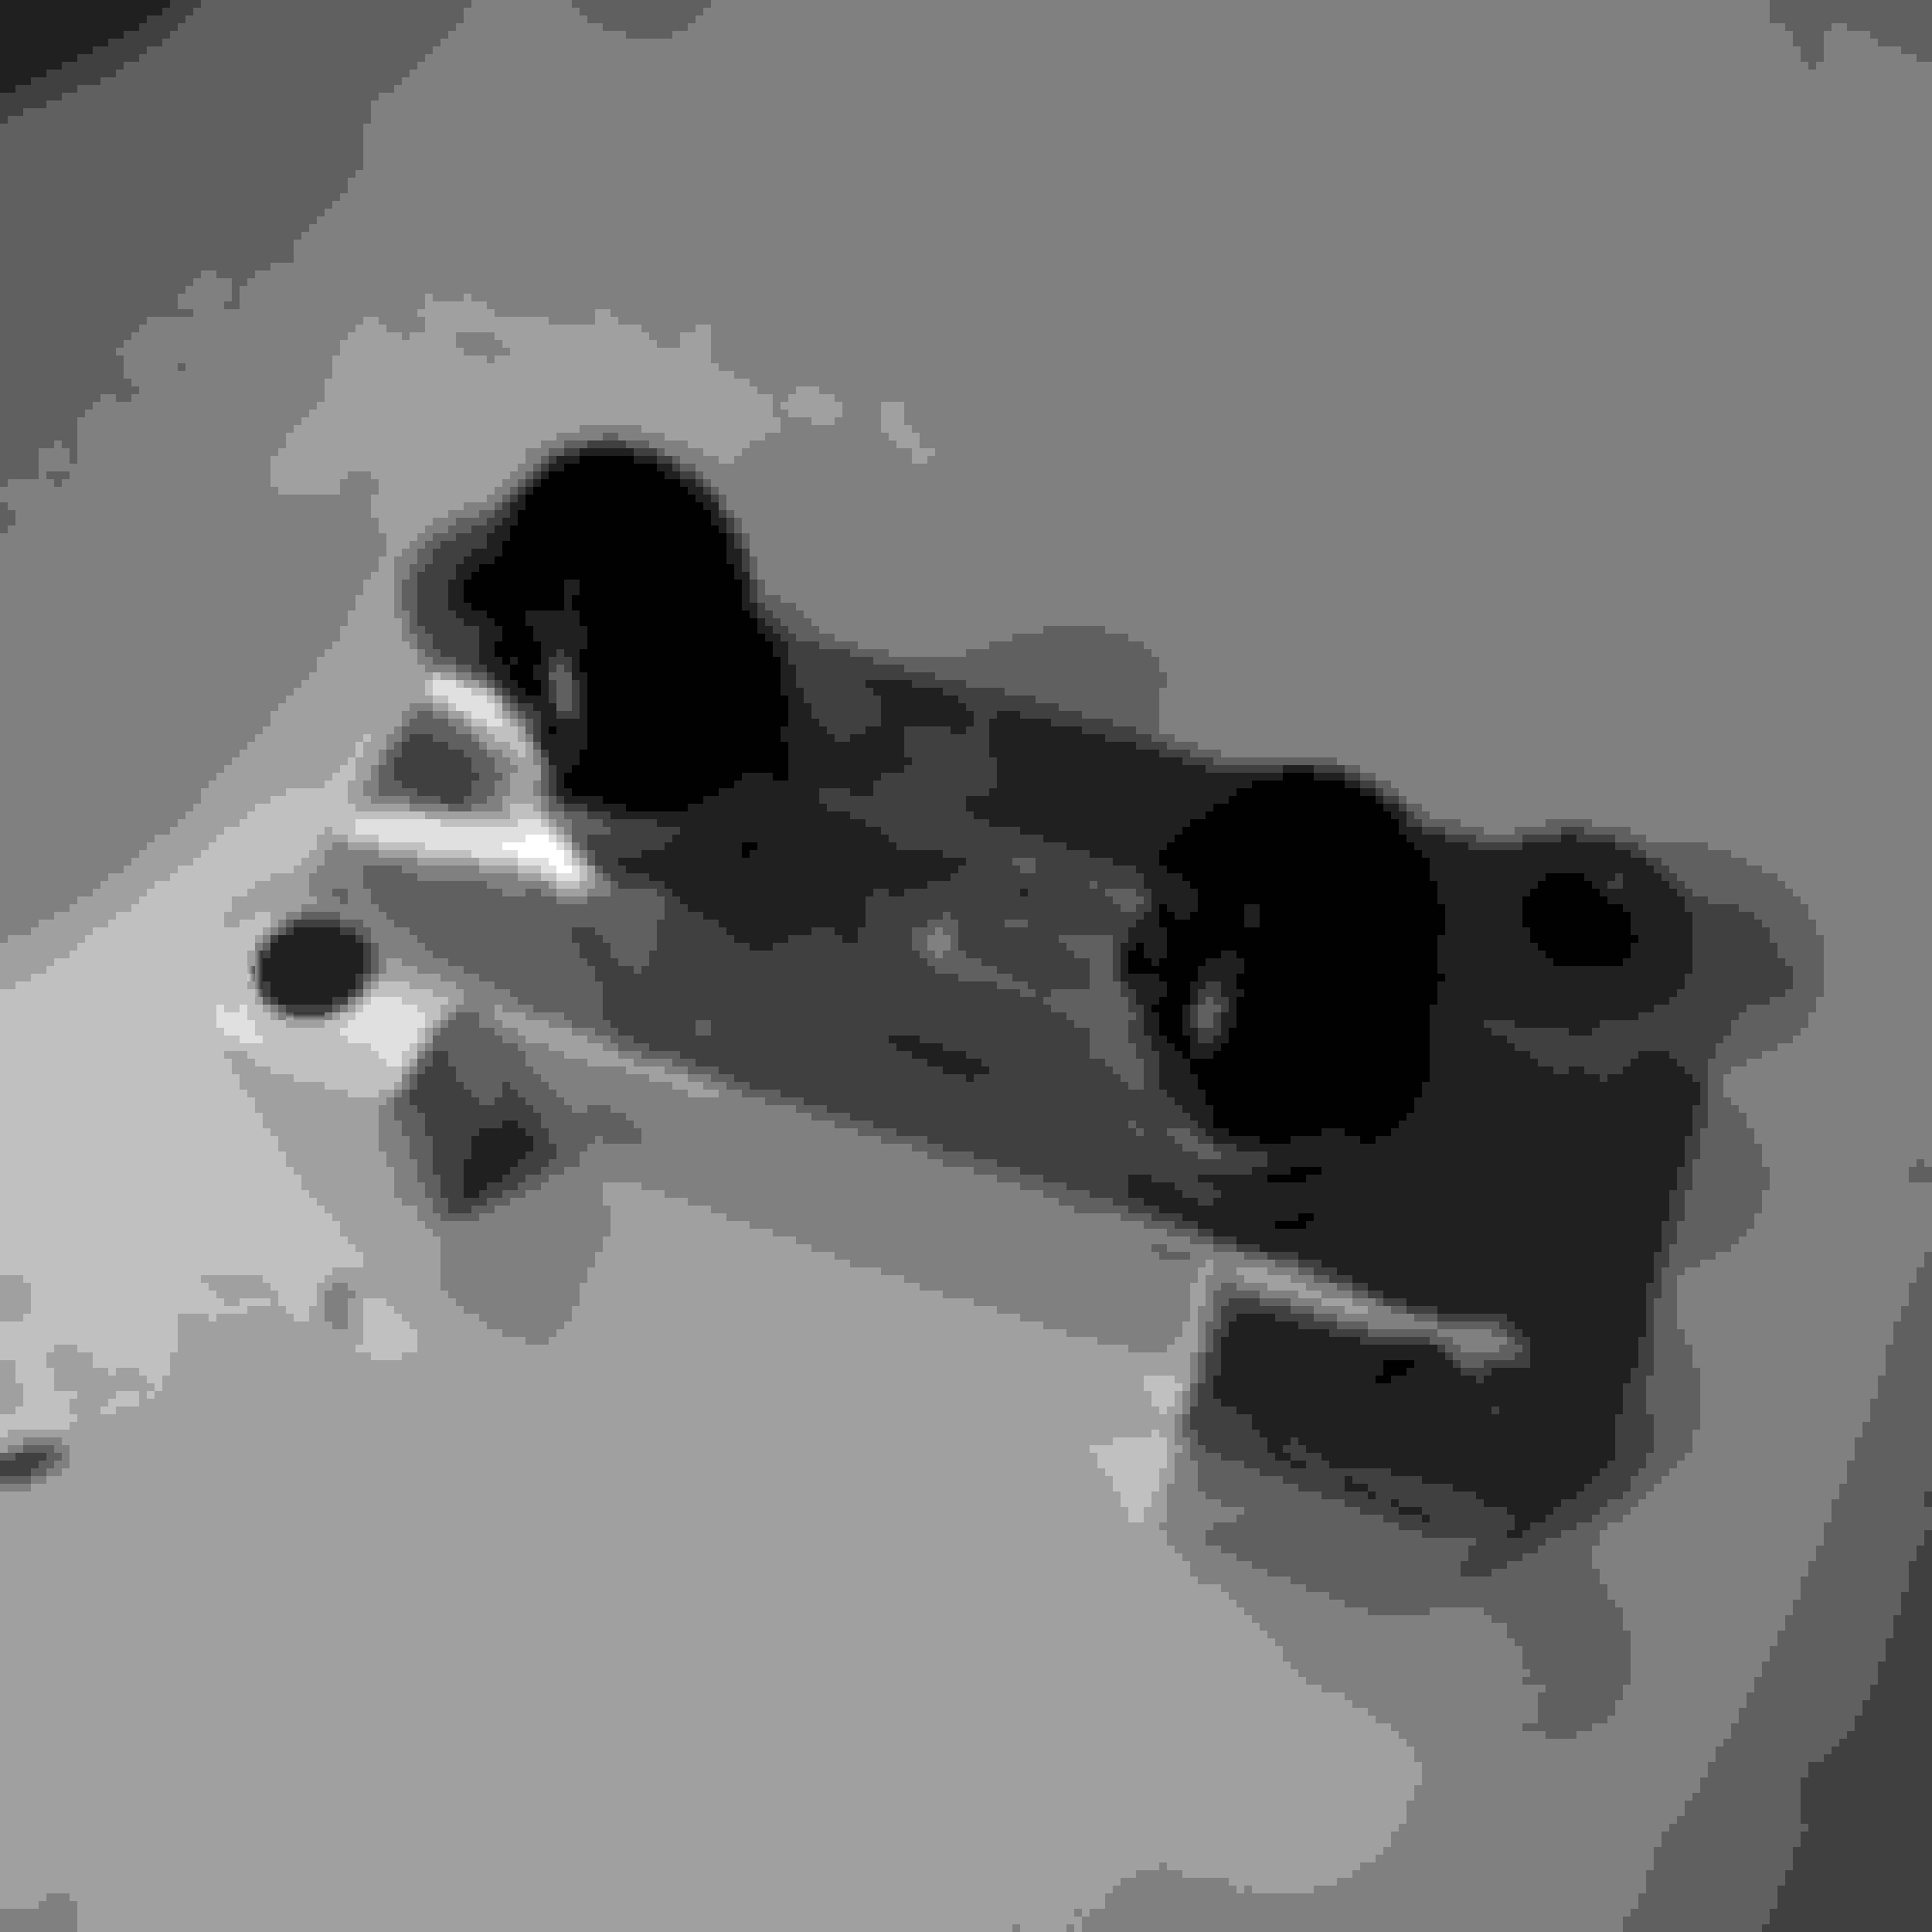
Wanting to eliminate the possibility of a future failure, a take-off plate was needed. Xero-Limit makes just the piece for the MZR/Duratec. It is an aluminum take-off plate with 1/2'' NPT ports to replace the fragile stock oil filter pedestal.
Take-off plate with two Vibrant NPT to 10AN fittings installed.
I still wanted to retain the oil thermostat usually located in the Mocal sandwich plate, but needed to find another solution.
Thank you to Arca_ex, he directed me to the Improved Racing remote thermostat oil filter relocation. It is a quality piece that would allow me to not only retain the oil thermostat, but also the use of a much larger oil filter. As an add bonus, I would not have to dump the entire contents of the oil filter on to the sub frame when changing my oil. It comes with a slew of options allowing you to customize the kit to your liking. I converted to a M22x1.5mm thread pitch and a 205 degree thermostat to help combat over cooling my oil and allow the oil to reach proper operating temperatures.
While the Improved does include a mounting bracket, I wanted to locate the filter relocation on the bar between the two frame rails. Not only was there ample space, it would also simplify oil line routing and make for easy filter changes. A simple bracket was needed.
Mocking up a simple U-shaped steel bracket.
After a few coats of black trim paint.
Looking much better.
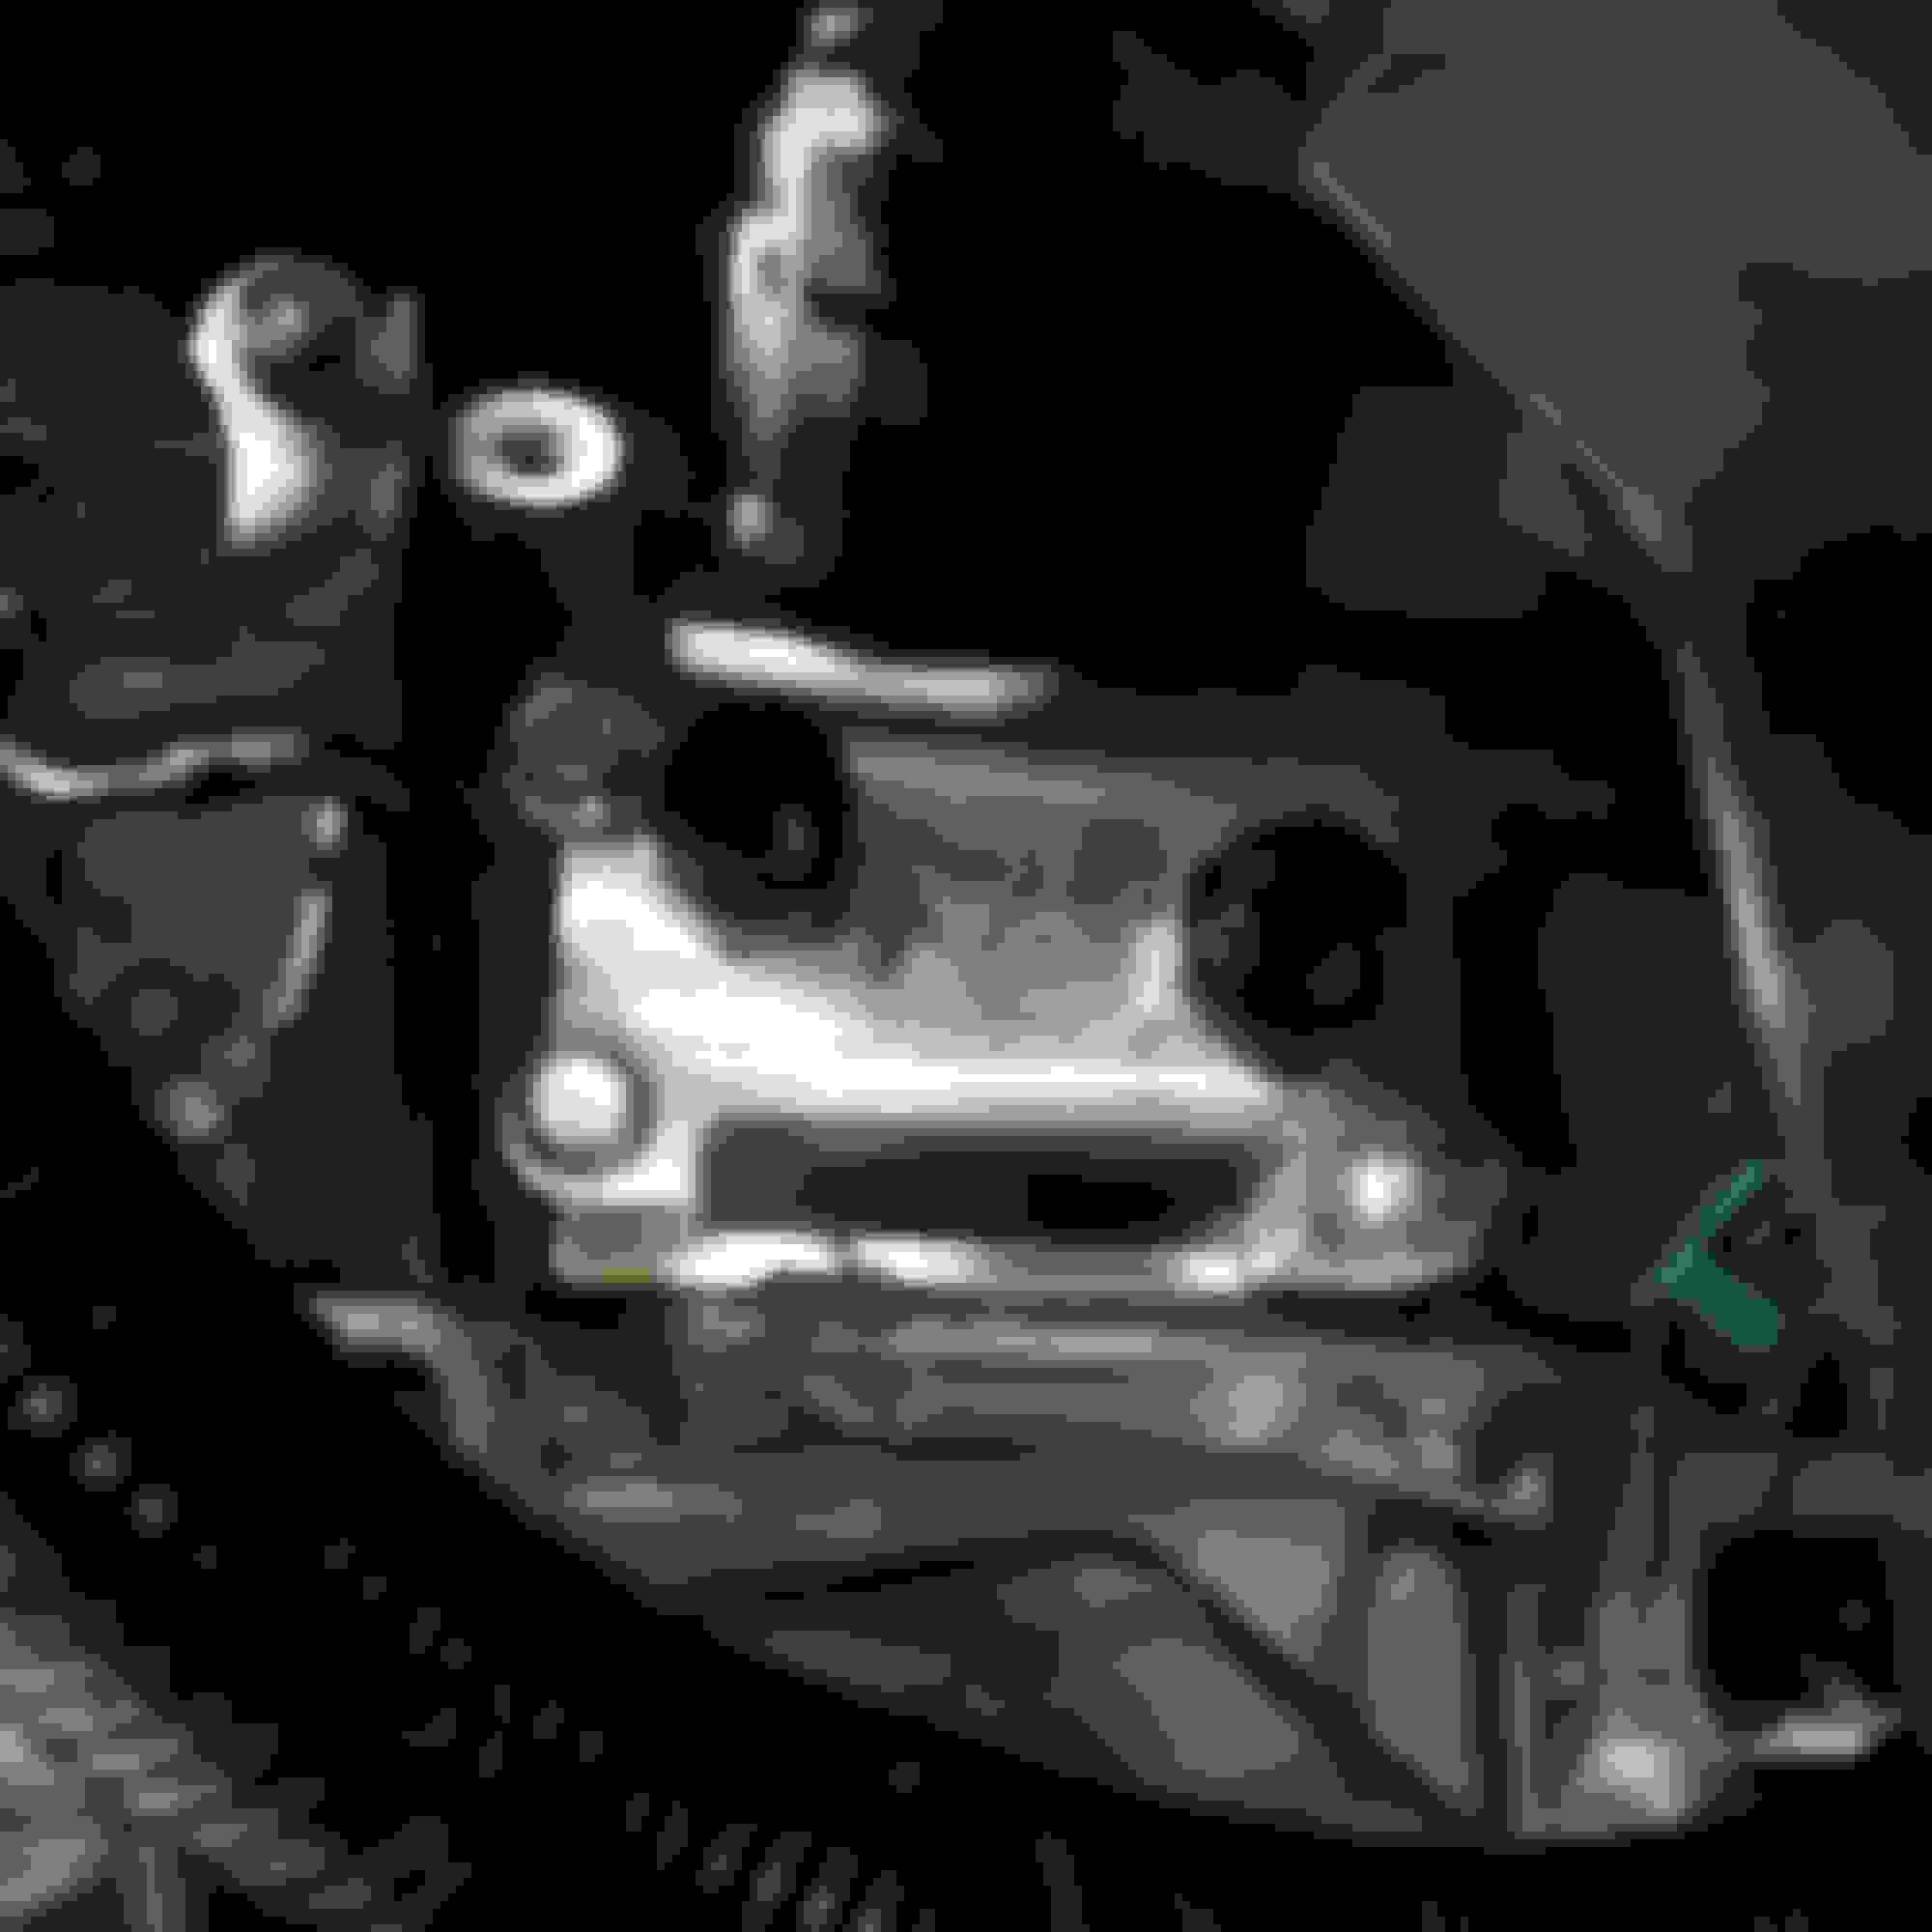
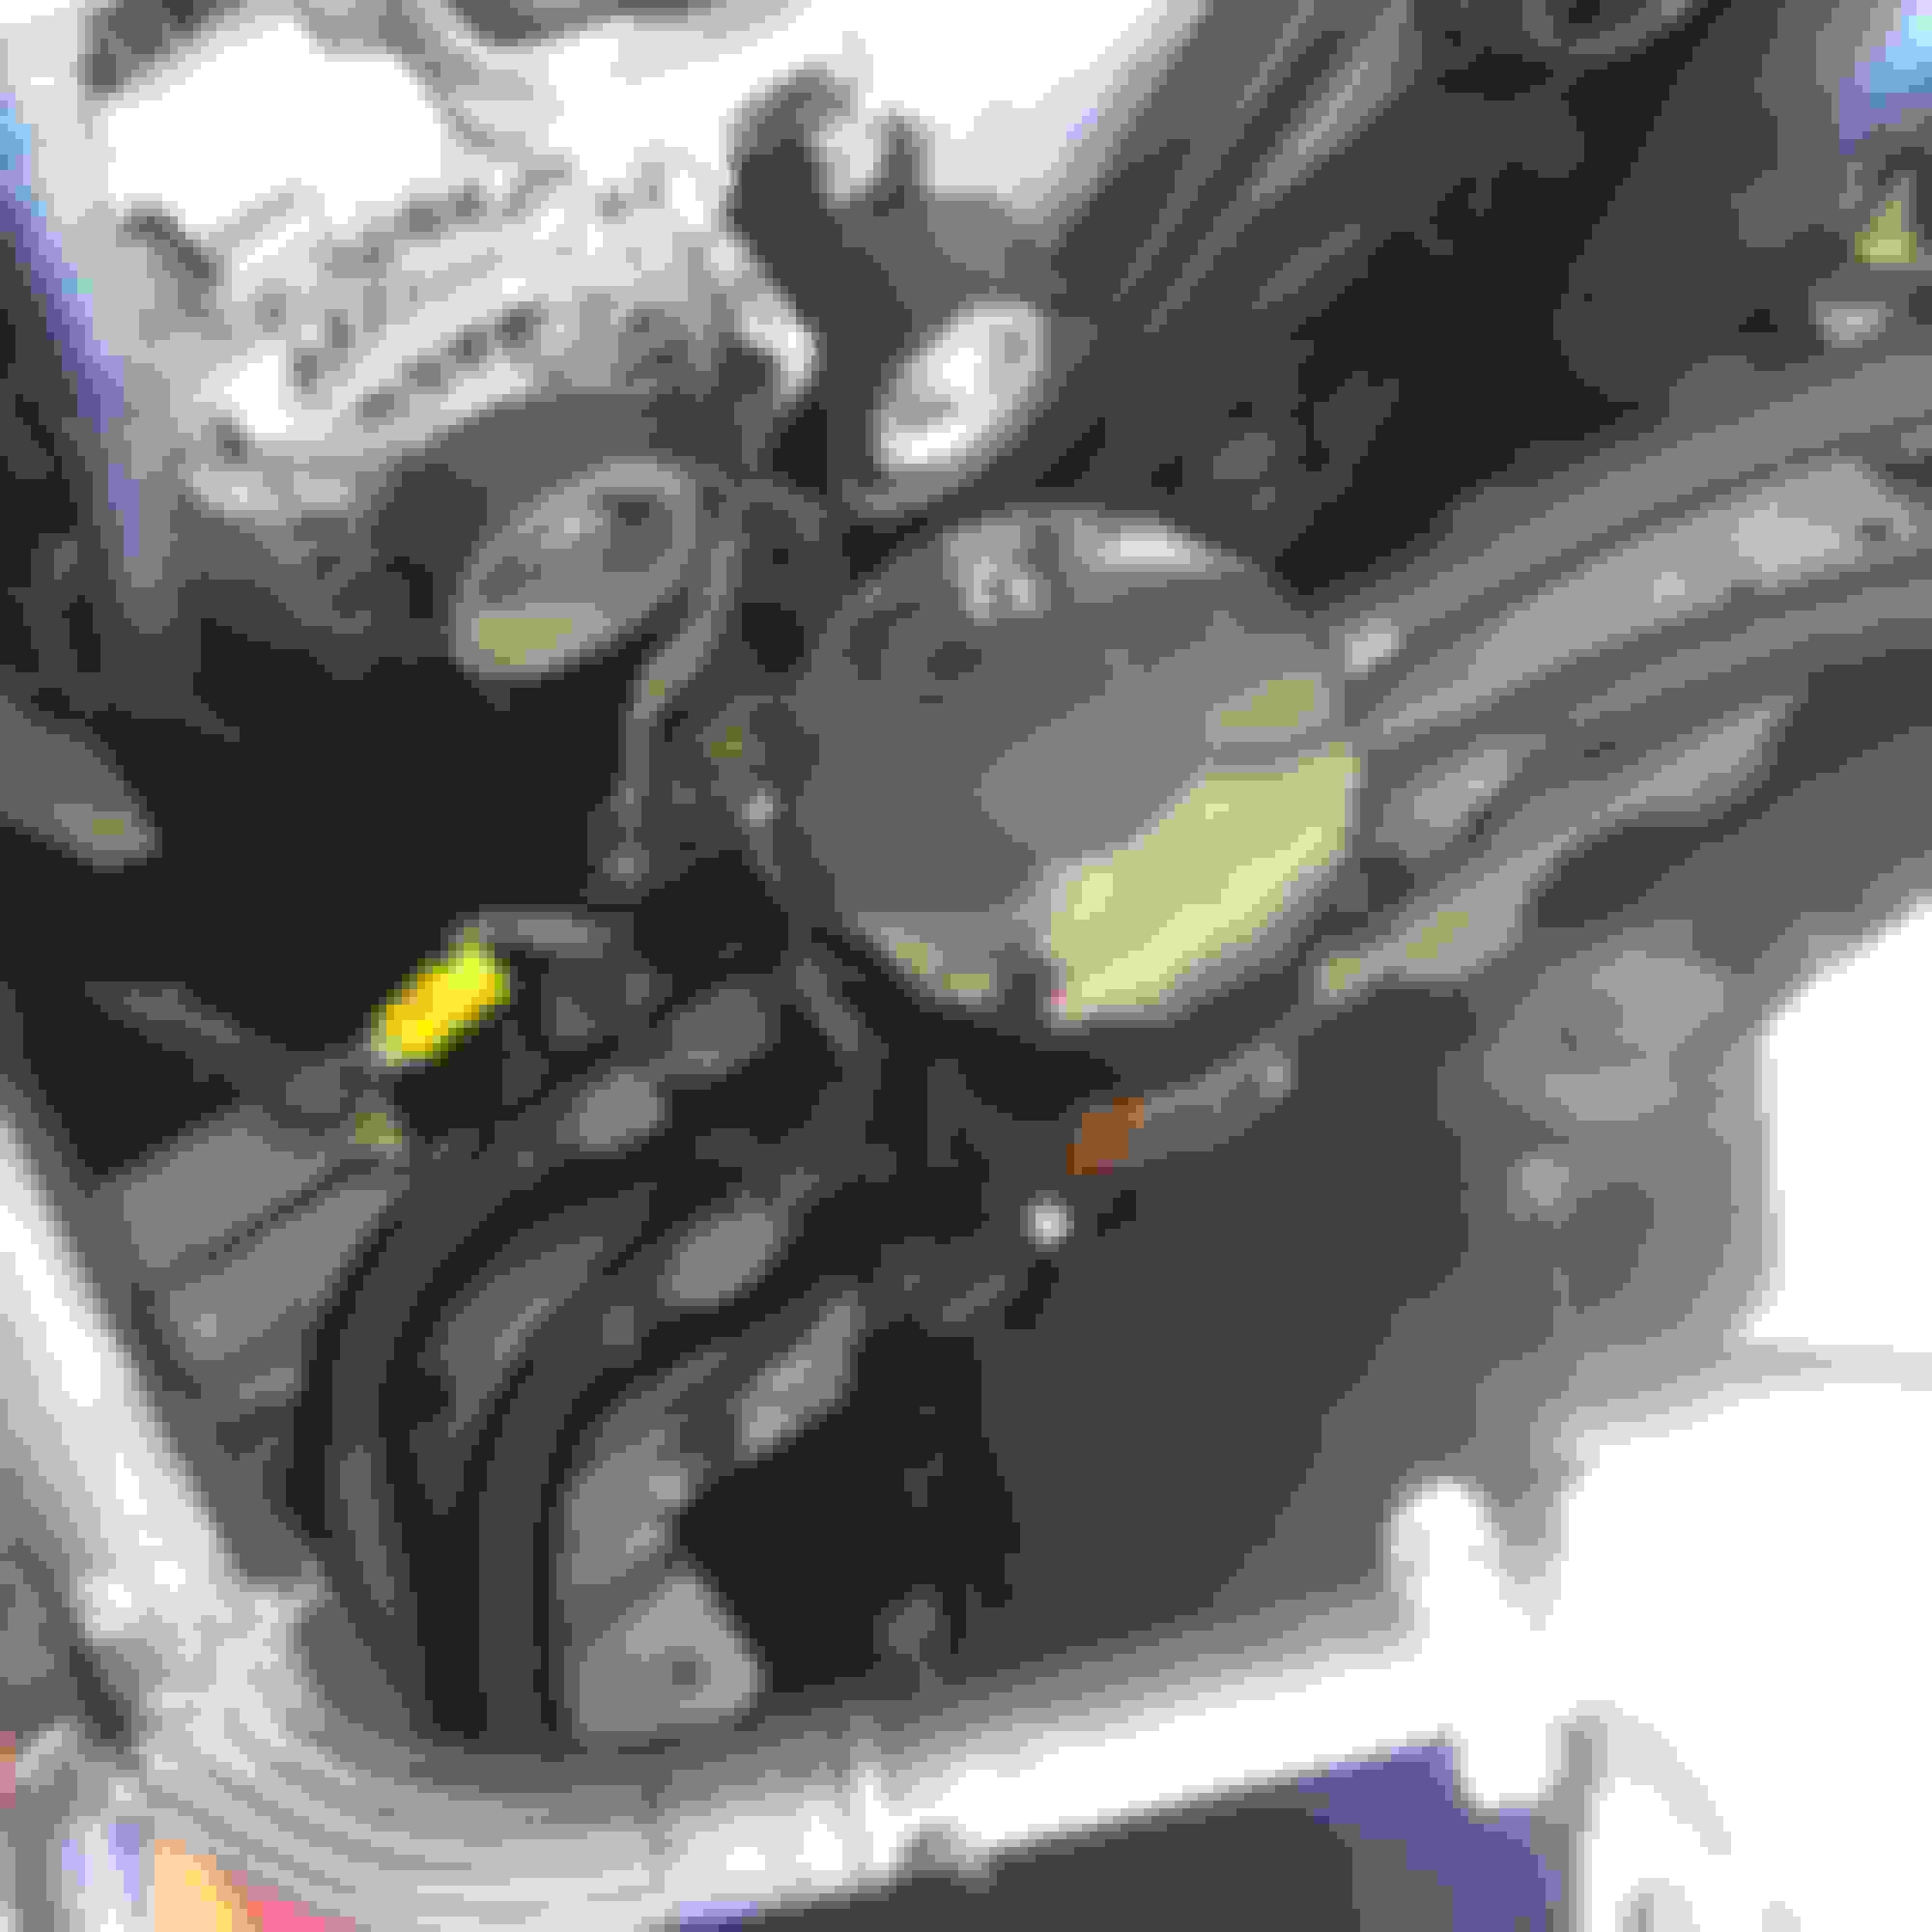
After the I had sketched out a plan, I began assembling the hoses and bolting everything into place. I used Vibrant 10AN straight fittings to the thermostat and 120 degree fittings on the take-off plate. All of the lines were secured to the chassis using rubber isolated p-clamps, and corrugated plastic tubing to further shield the lines from damage.
I did however experience one issue on initial startup. Oil began seeping out from around the take-off plate. The factory oil pedestal utilizes a small metal gasket. I had hoped I could reuse the gasket, but this was not the case. I removed the plate once more and coated both mating surfaces with Hondabond. No further leaks were found.
Improved Racing includes a list of filter to be used with their plate. Cross referencing many filters on the Wix website I chose the one with the closest specifications to the stock oil filter. However, what I did not realize was the difference in physical size. The new filter was massive, and is a filter for a Ford F-250. Pictures do not do the filter justice.
Wix 51372.
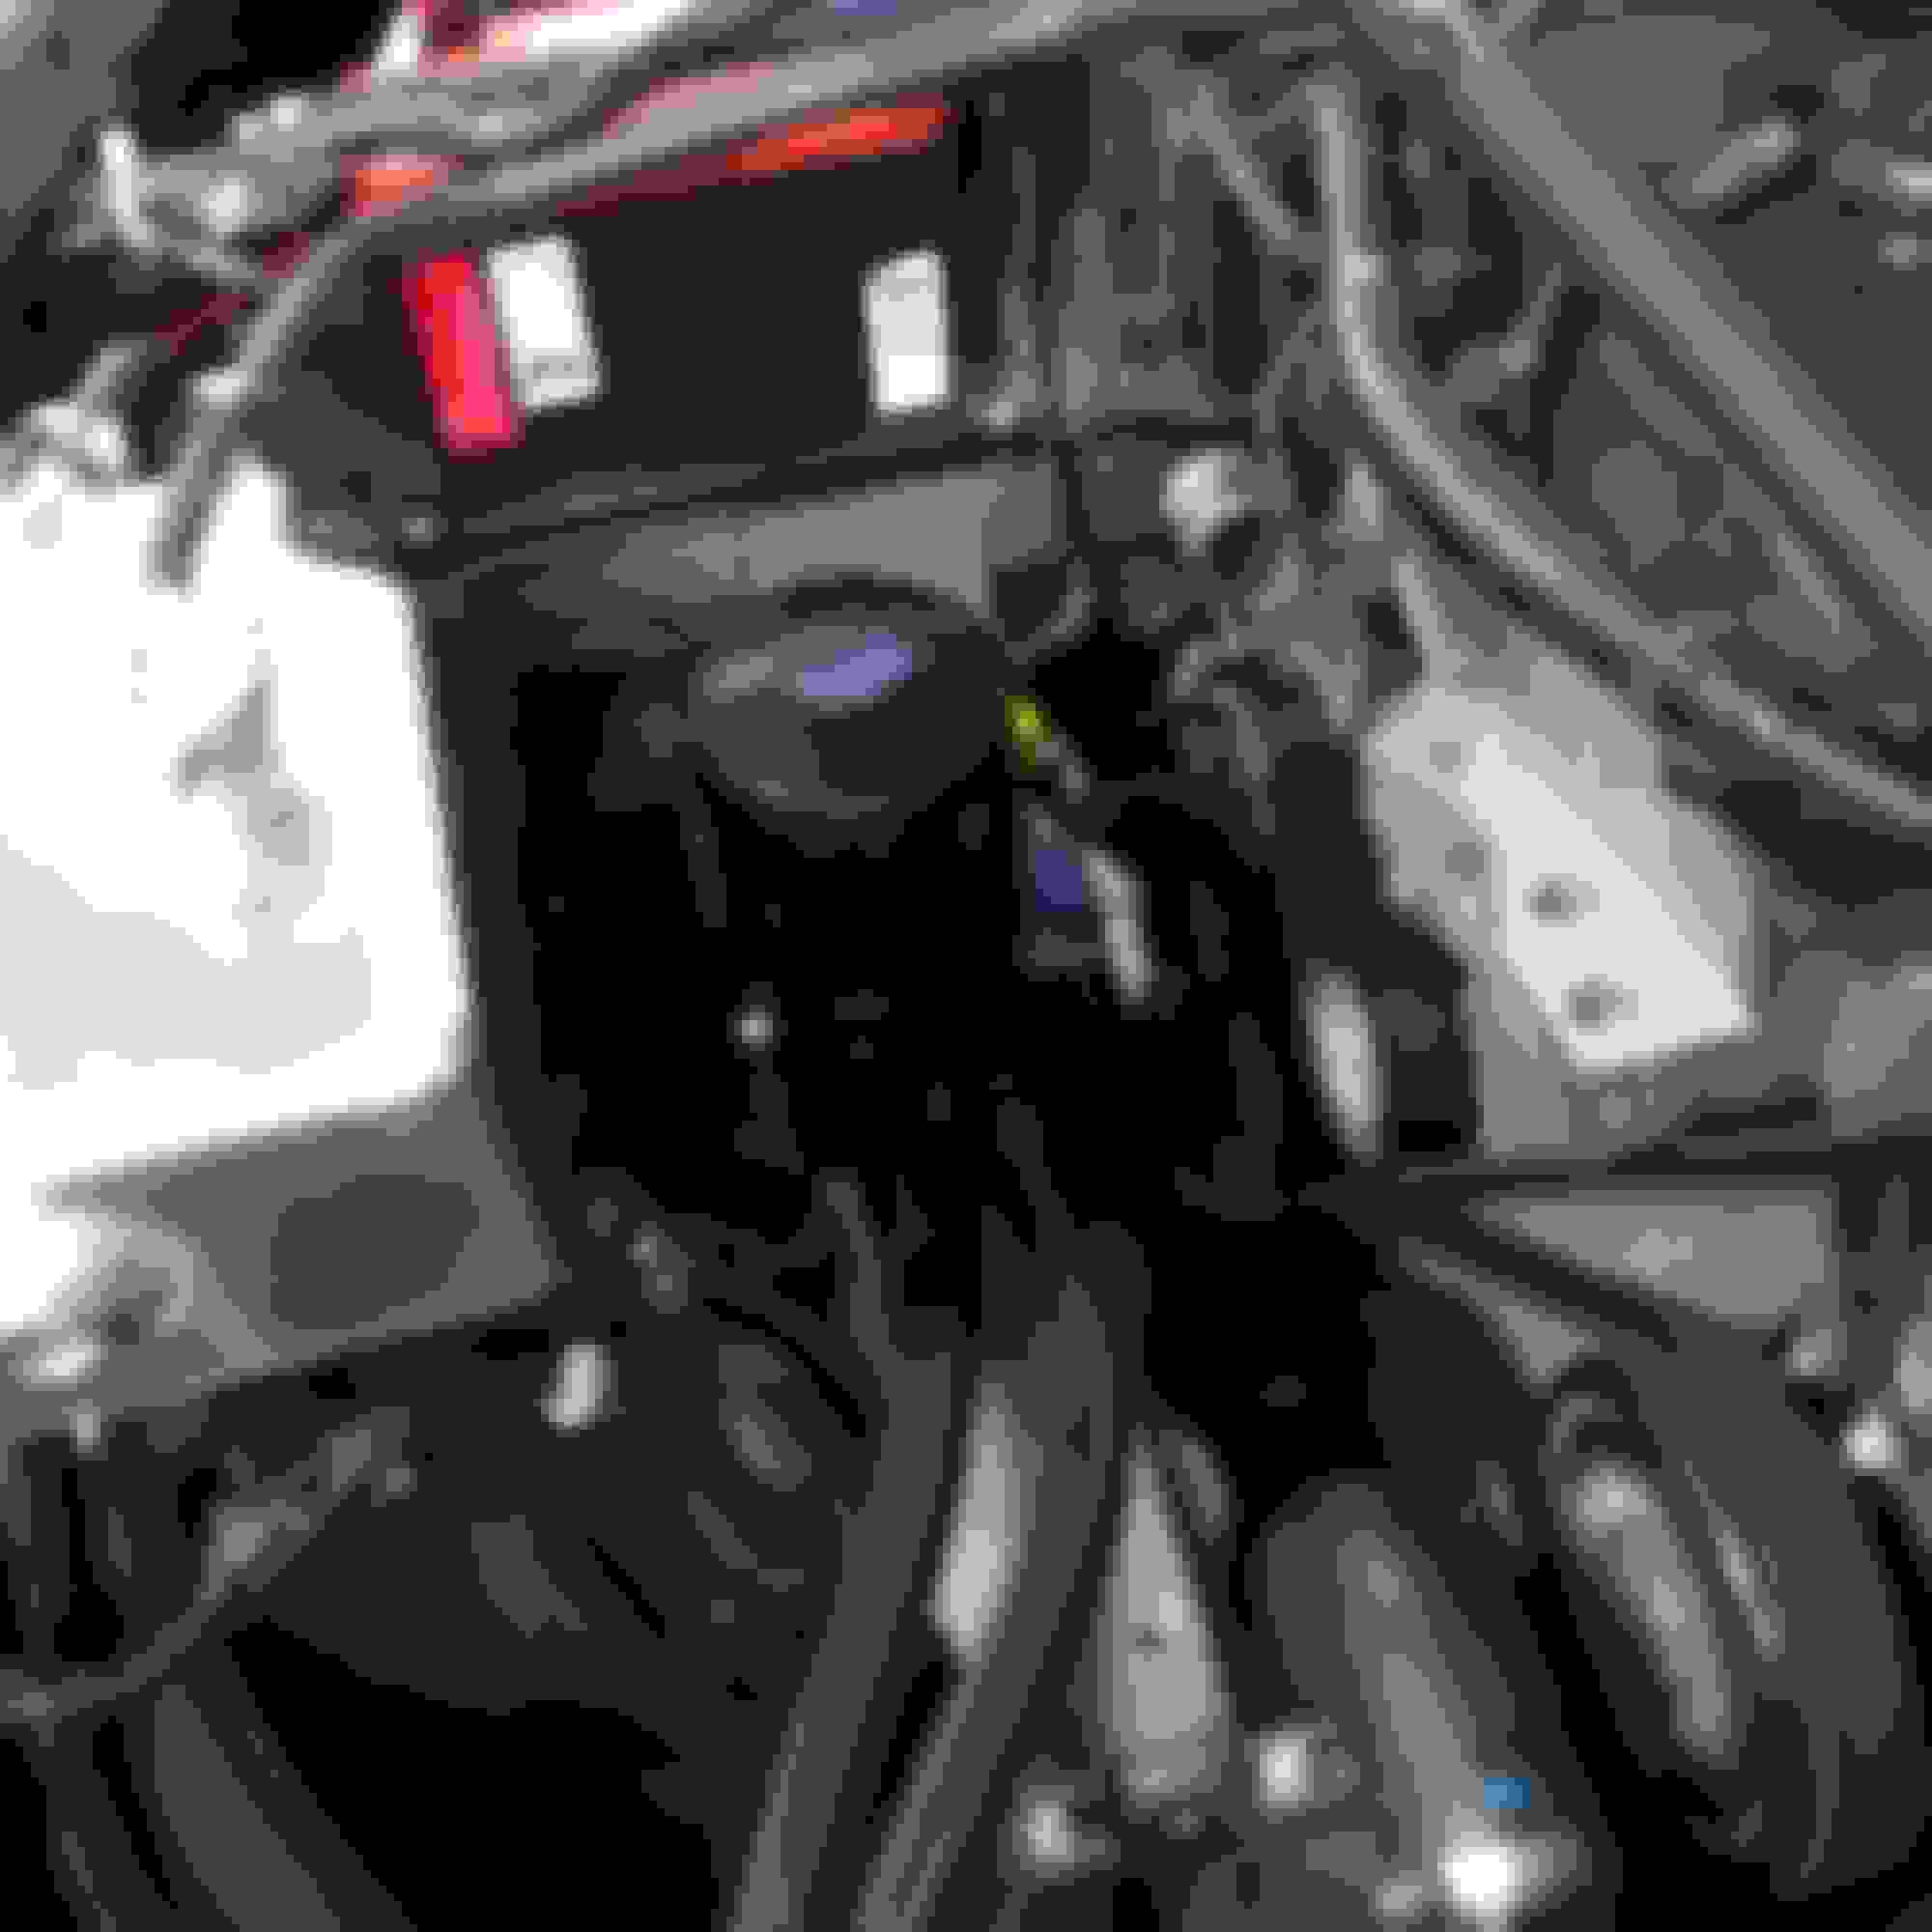
Finished with install.
Another angle.
So much room for activities.
There are still a few changes I wish to make to the bracket and the fittings. Only after installation I found that the bracket does not allow you to easily tighten down the fitting when everything is in place. I will need to modify the corners for access of a wrench to tighten the AN fittings while in-car. I also want to install two different AN fitting closest to the passenger side frame rail to alleviate some of the pressure where the lines meet the fittings. A 120 and 90 degree fitting will be required.
Another thing that became immediately apparent was the need for some sort of oil catch and drain when removing the filter. That will be in the works shortly.
What I forgot to mention was this all took place the night before the Miata Reunion event at Laguna. It was a whirlwind of excitement and pressure.
Although I wouldn't have it any other way.
Last edited by Bryan Z.; Oct 30, 2019 at 04:19 PM.
Maaaaan. Oil is going to get all over with it mounted like that haha. But I'm glad that worked out, makes for nice and neat packaging. That 205 degree t-stat is the same one I've got for the same reasoning, and will be installing during the K swap.
My NB has a Thompson Automotive oil filter relocation kit that mounts the filter open end down just behind the pass headlight and when you drain the oil it pulls it through the lines out of the pan and then when you remove the filter nothing spills. As long as your lines don�t go up at any point you shouldn�t spill anything.
Nice meeting you at GGLC this past weekend. I'll be renewing my membership for next year's autocross season if you want somewhere else to bring out the NC.
The previous owners maintenance schedule still a mystery to me, and I being cautious, prefer to err on the side of safety. I wanted to inspect all of the suspension components to make sure they were up to snuff for heavy track duty in the upcoming weeks.
After some digging, it seemed that many NC owners enjoy the benefit of upgrading to the stronger RX8 front hubs. It is a bolt on replacement for the NC and seemed to be the easy button considering my uses for the car. The NC front hub bolts on with four bolts on the backside of the hub and is a quick and easy replacement.
From the 2009+ RX8 part number: F189-33-04X.
Installed.
I also added ARP extended studs on all four corners to ease wheel changes and also accommodate the use of larger brakes up front. ARP does not provide a specific part number for the NC chassis yet the studs from the 1990-93 miata do in fact press in. They will be used for both front and rear hubs.
ARP 100-7719.
I would also be replacing the rear axle wheel bearing part number: FB01-26-151C and wheel flange part number: NE51-26-240A with the OEM Mazda replacements.
Frozen wheel bearings.
Naked rear suspension.
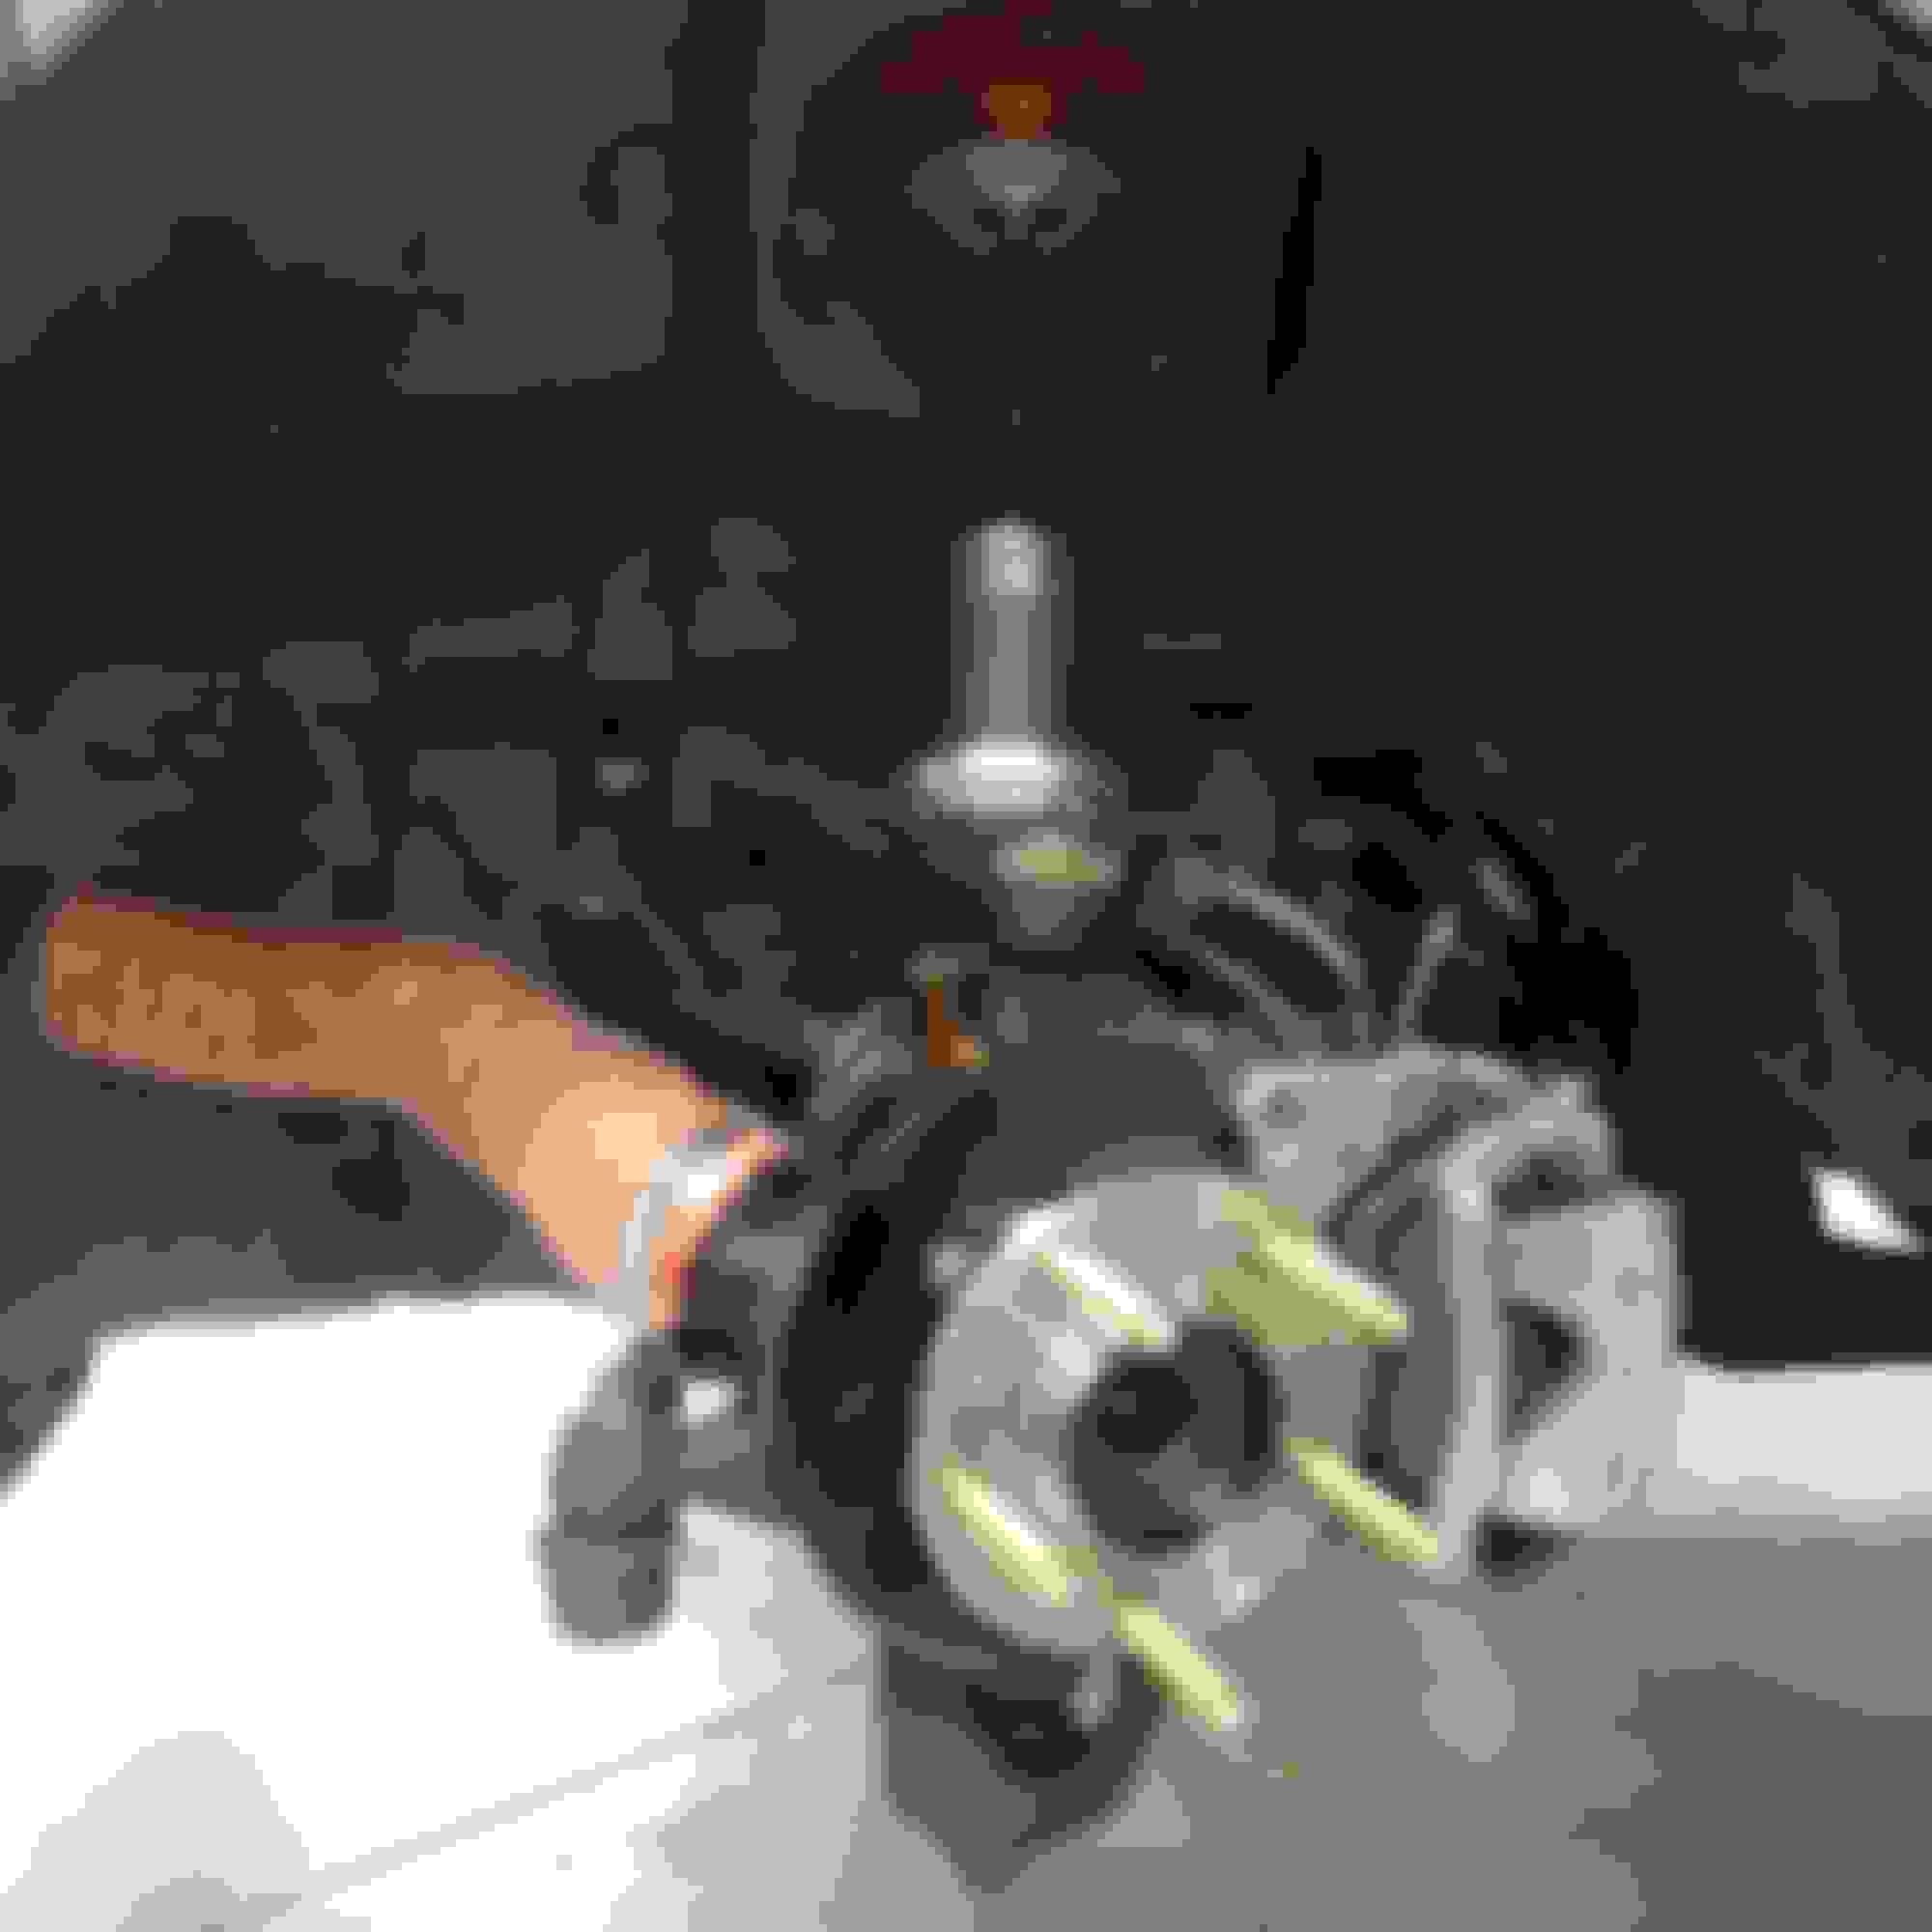
The rear axle is a bit more involved when compared to the front. The NC has multi link in the rear and all of the arms must be disconnected to remove the rear upright from the car. After extracting the old flange and bearing via slide hammer, the new bearing, wheel flange with extend studs and snap ring were installed. It was somewhat tricky maneuvering the awkwardly shaped hub into the press but it did finally fit. I left the wheel bearings in the freezer over night and heated the hub with a propane torch before installation. There are only a few things more satisfying than sliding the bearing into the upright first try.
When in doubt add fire and more fire.
With this chore out of the way it was now time for a few more interesting modifications.
Pebble undergoing major surgery just days before the Miata Reunion event.


 1
1


 Nice work man