
2000 SE Turbo


Joined: Oct 2007
Posts: 6,029
Total Cats: 305
From: The coal ridden hills of Pennsylvania
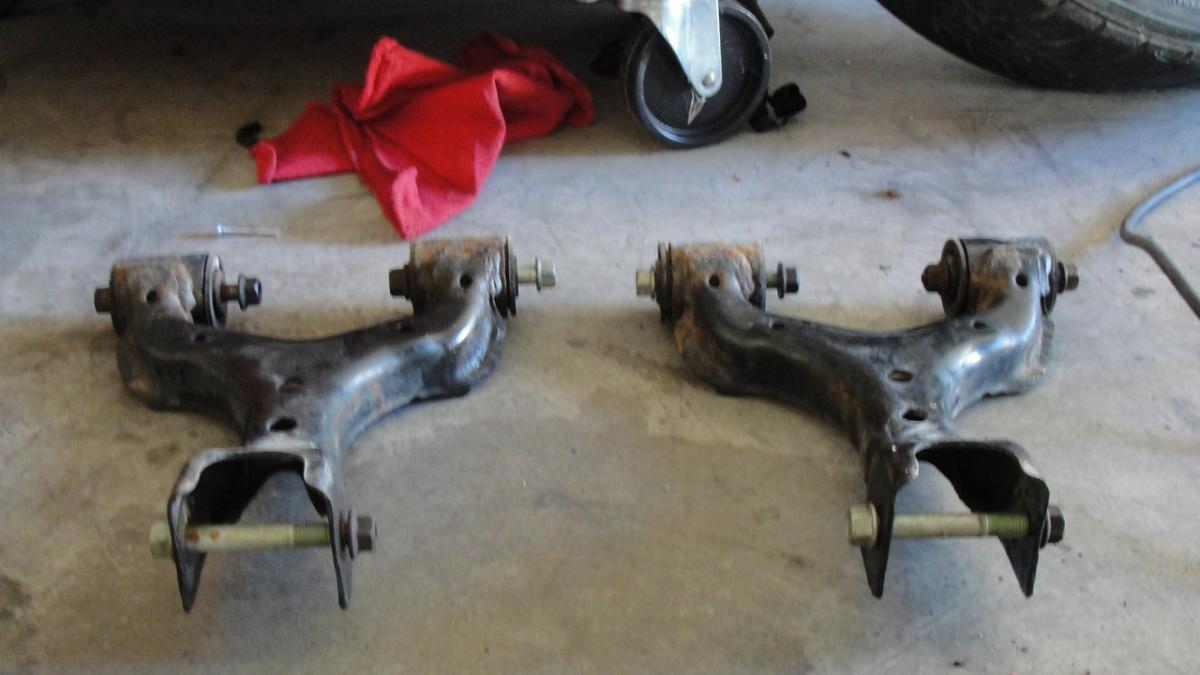
I remember putting bushings like those on aftermarket control arms for a chevy s10. It was a pain in the *** and took patience and lots of pabst blue ribbon to get the job done.
I don't really look forward to doing it again, but I will in the name of high performance.
I don't really look forward to doing it again, but I will in the name of high performance.
Reply
 0
0

0
Thread Starter
Joined: Apr 2009
Posts: 7,174
Total Cats: 180
From: Arizona
Honestly I really worry about these things squeaking. I was conservative with the lube at first because I wasn't sure how much I was going to have. I have progressively been using more, and I think I will run out on my last bushing. I'm considering installing zerk fittings, there are already holes in the control arms, so I would just need to thread in some fittings.
Reply
0
0

Got mine out today, thanks - Yeah, you need to add the Zerks - that's my plan any way. http://949racing.com/installingzerkfittings.aspx
Reply
0
0

Thread Starter
Joined: Apr 2009
Posts: 7,174
Total Cats: 180
From: Arizona
Im hoping the bushings completly change the feel of the car, in a good way 
Very excited to get this thing back together. Unfortunately this thread will get a 5 week break thanks to work. Only 2 days left :*(
Very excited to get this thing back together. Unfortunately this thread will get a 5 week break thanks to work. Only 2 days left :*(
Reply
0
0
Thread Starter
Joined: Apr 2009
Posts: 7,174
Total Cats: 180
From: Arizona
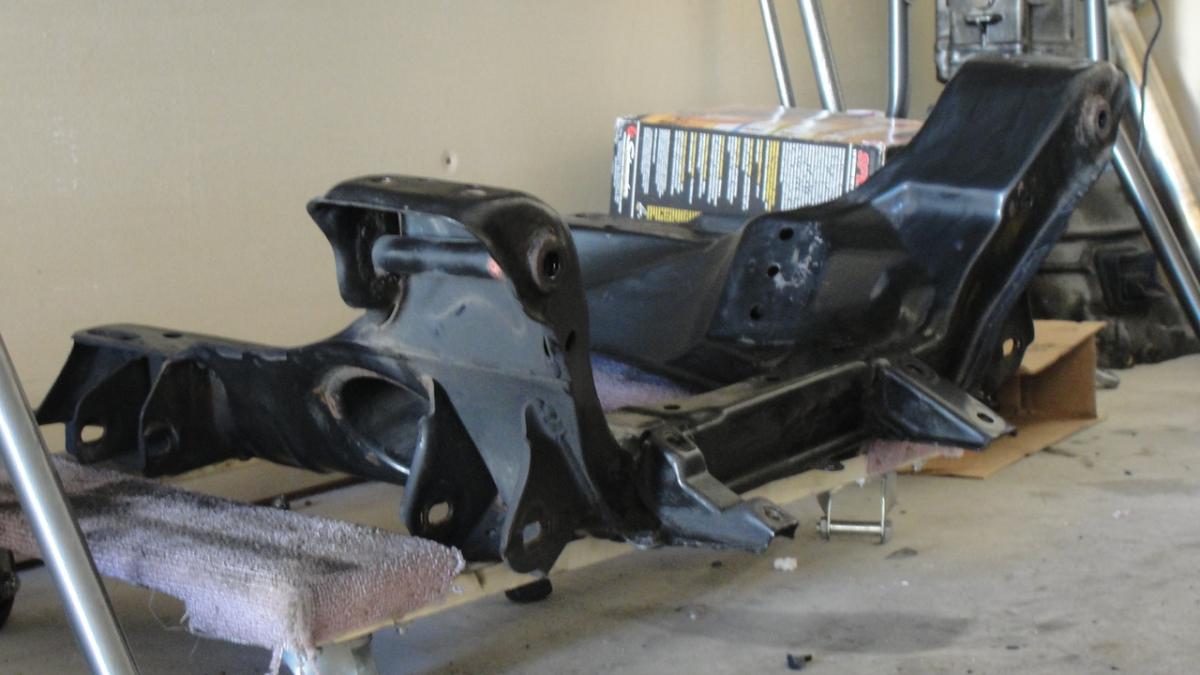
I never. Ever. Want to do differential mounts again. Unfortunately this is the 3rd time I've done them. And probably won't be my last. Enjoy.
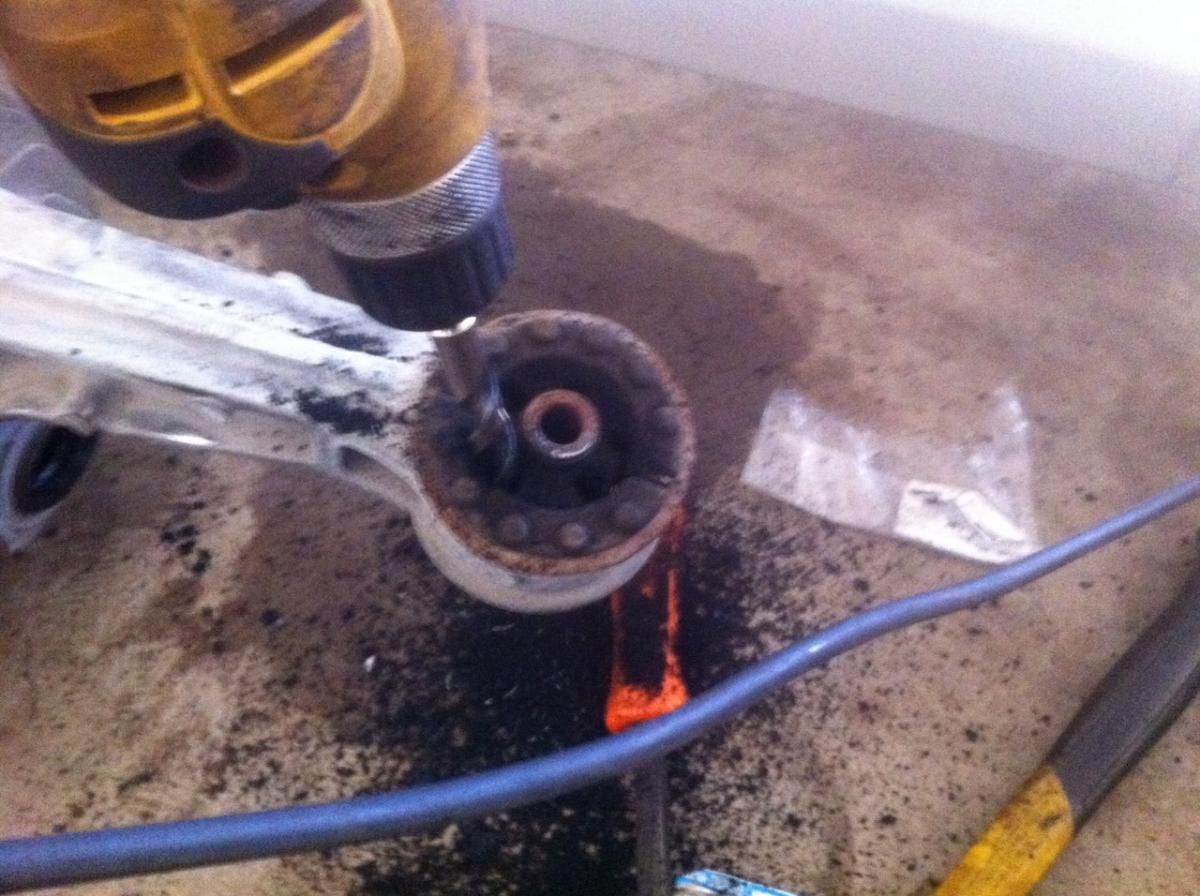
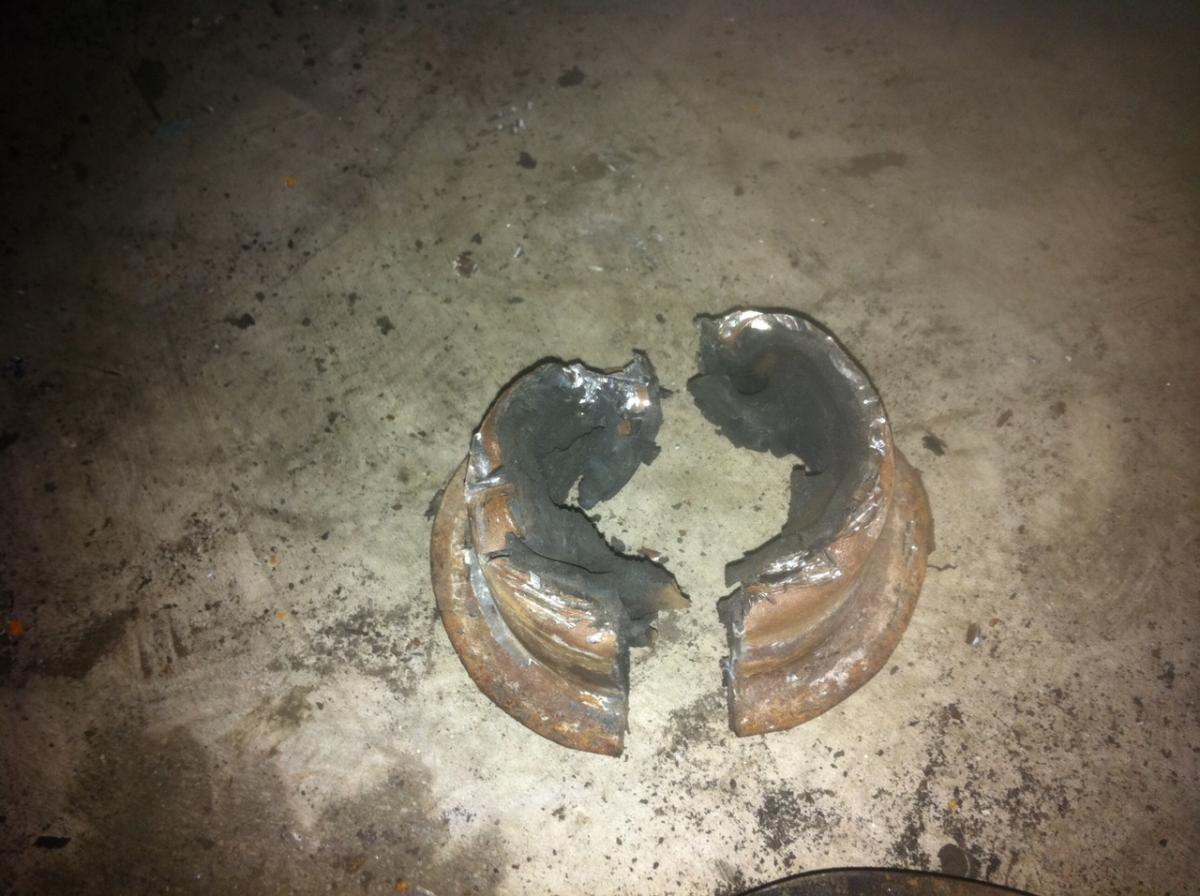
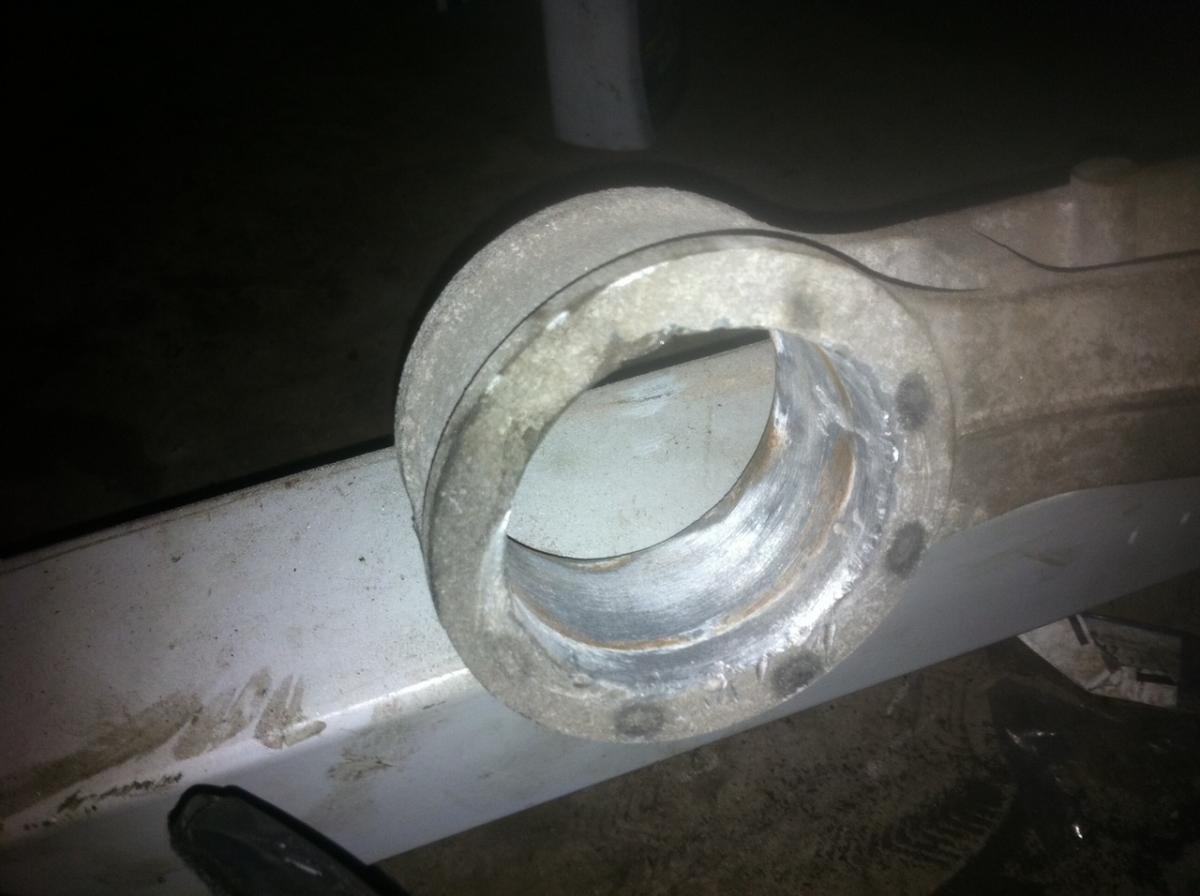
Step 1: Drill the frack out of these mounts like they owe you money.
Step 2: Jig saw. Like you've never jig sawed before.

Step 3:And keep doing it until this happens:
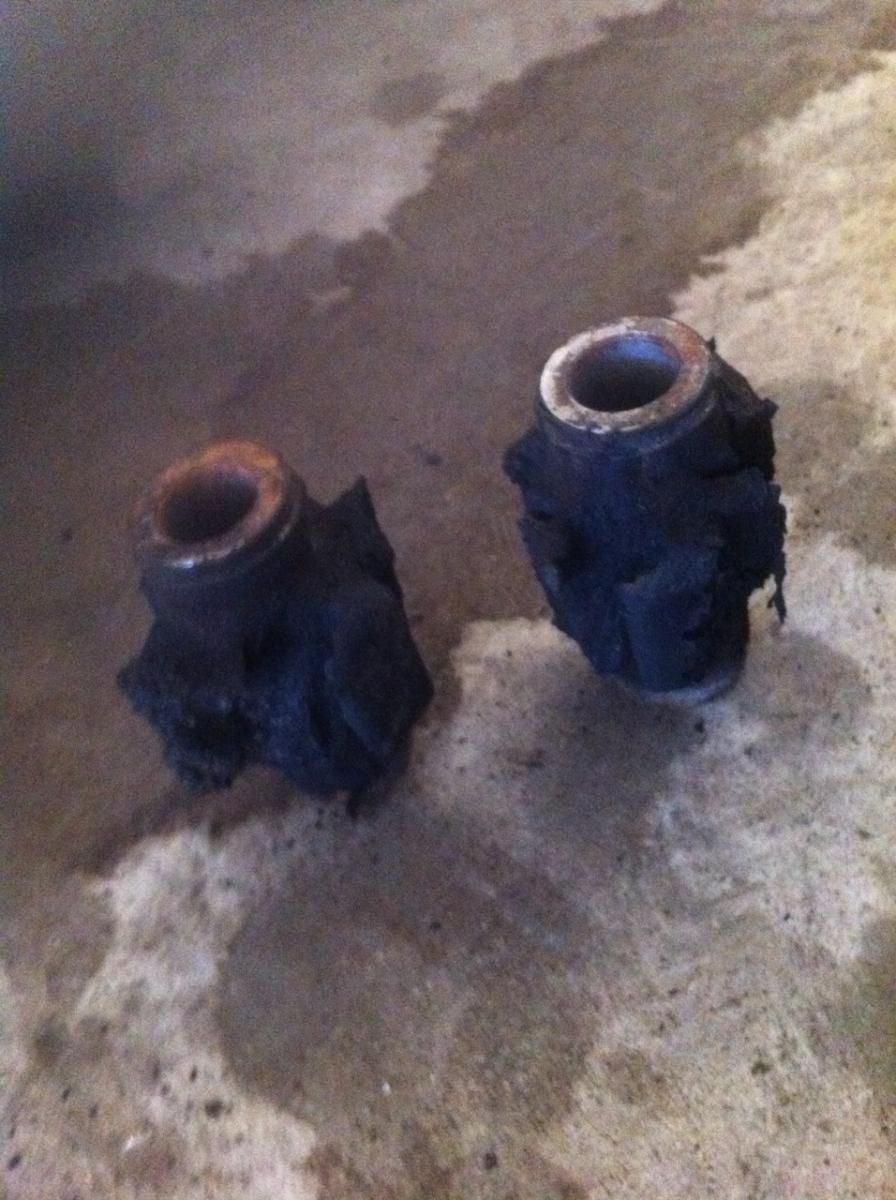
You should then get this:
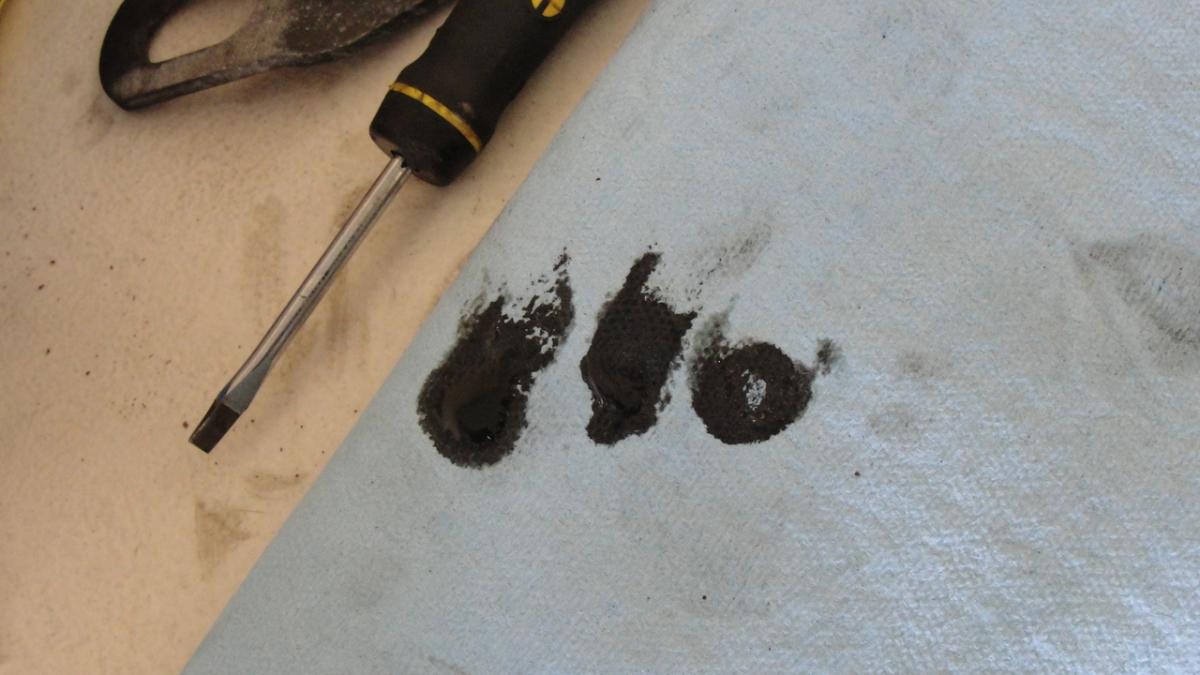
From here the fun starts. You beat the ever living crap out of the metal inserts that are left. As you can see from the picture below, there is a crease, which if you get a nice sharp punch, you can just hammer down the middle of that crease. Do that on both sides, and then start pounding around the edges. Unfortunately all I had was a some beefy Snap On pry bars. And the handles reduced the blow to the mounts so much it took me forever. A few hammers into my thumb later I really hated life.
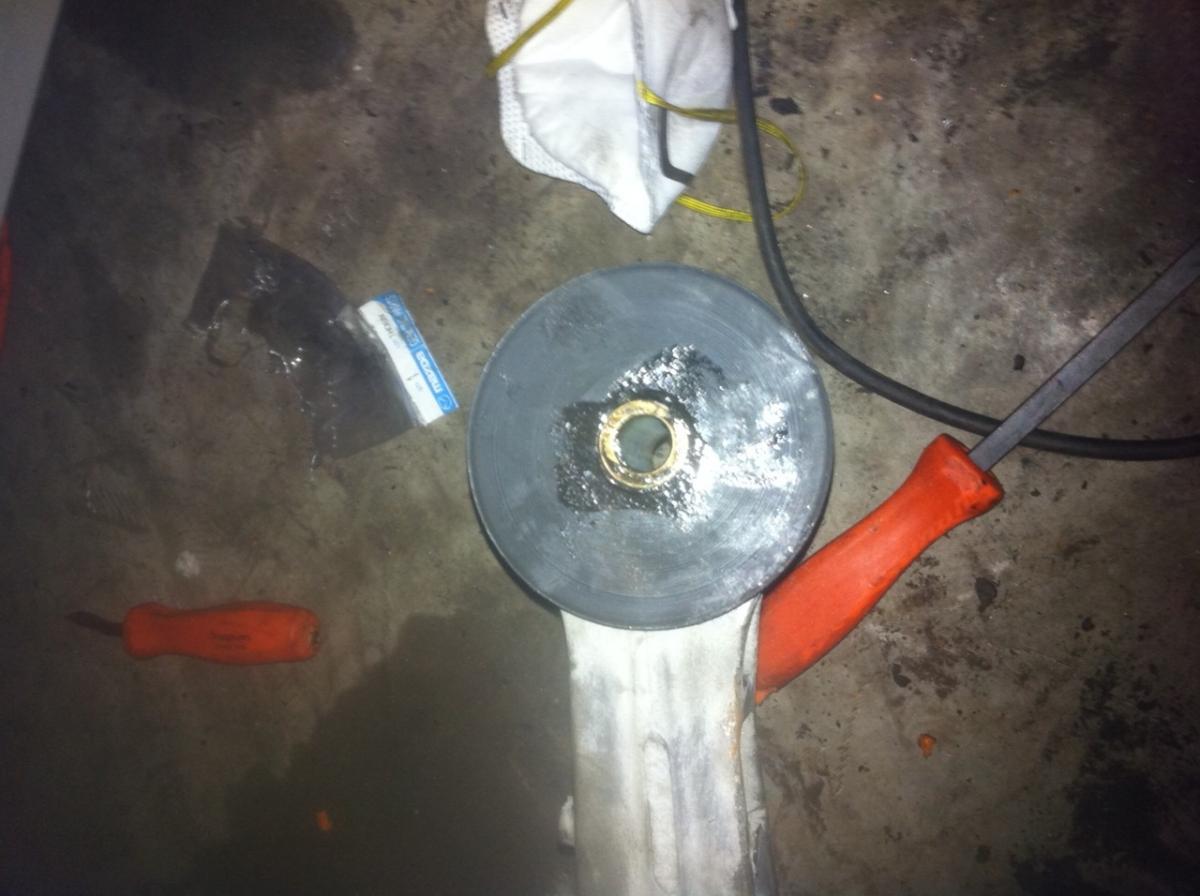
So if you did it right, your thumb will not be hurting, and you will have these:
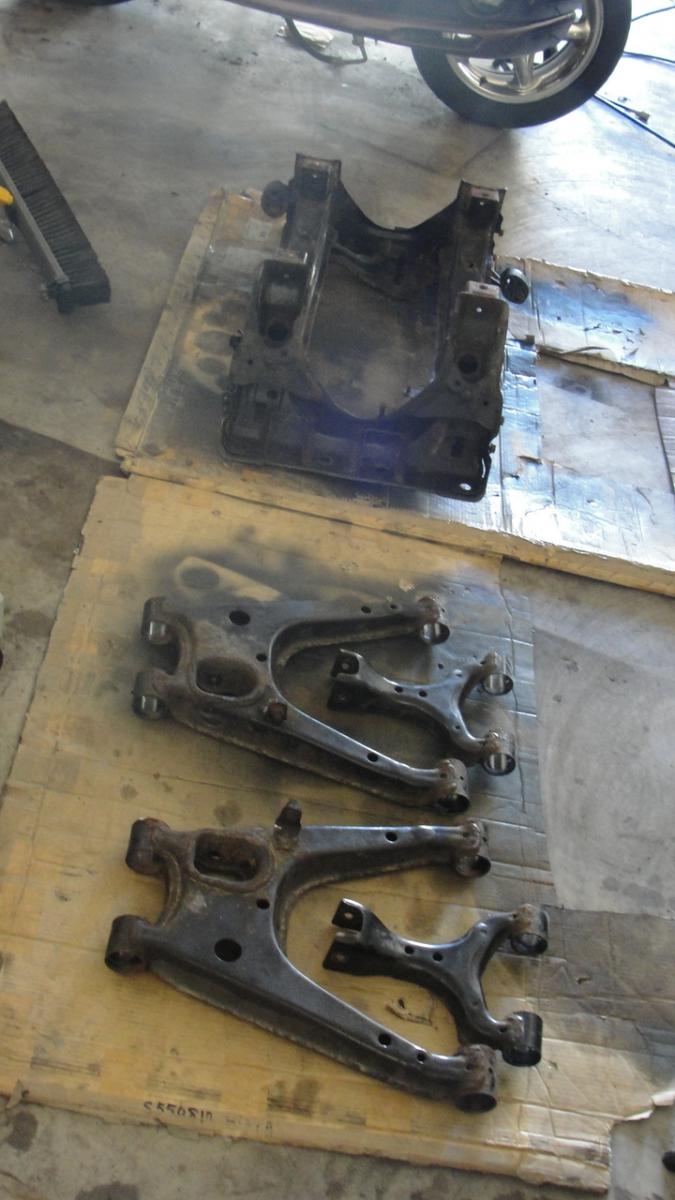
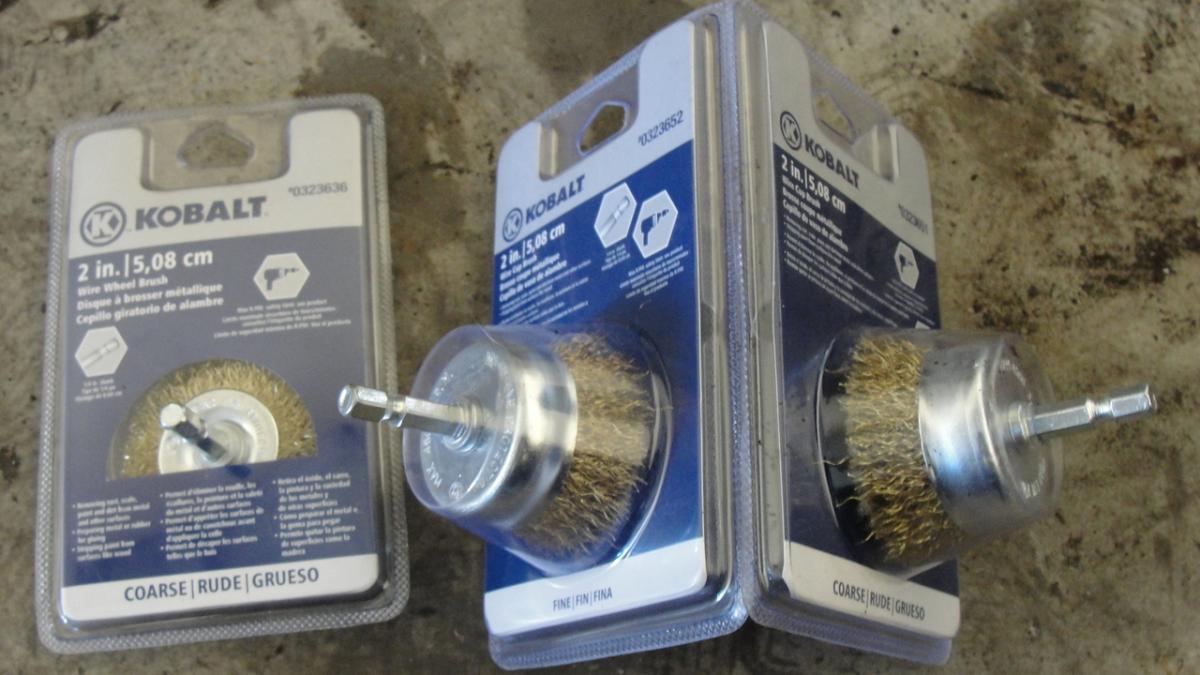
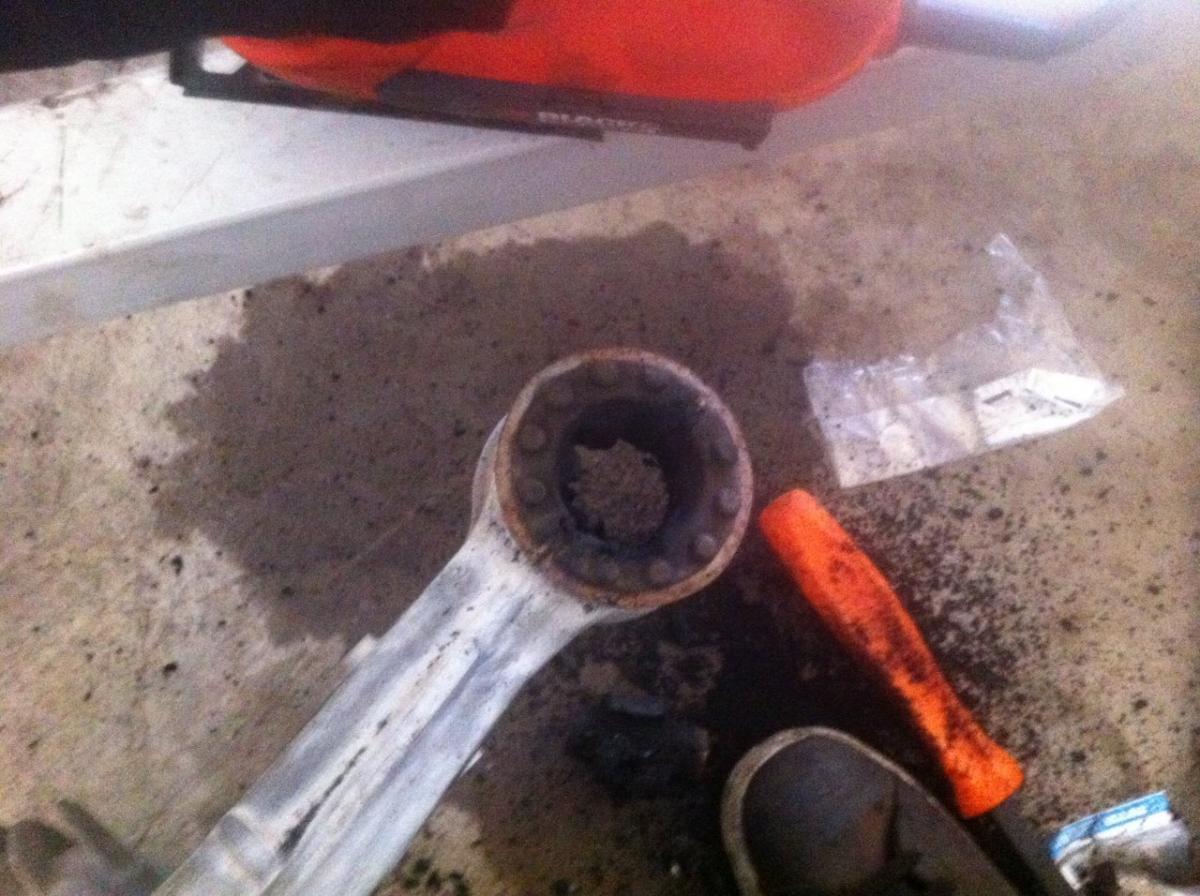
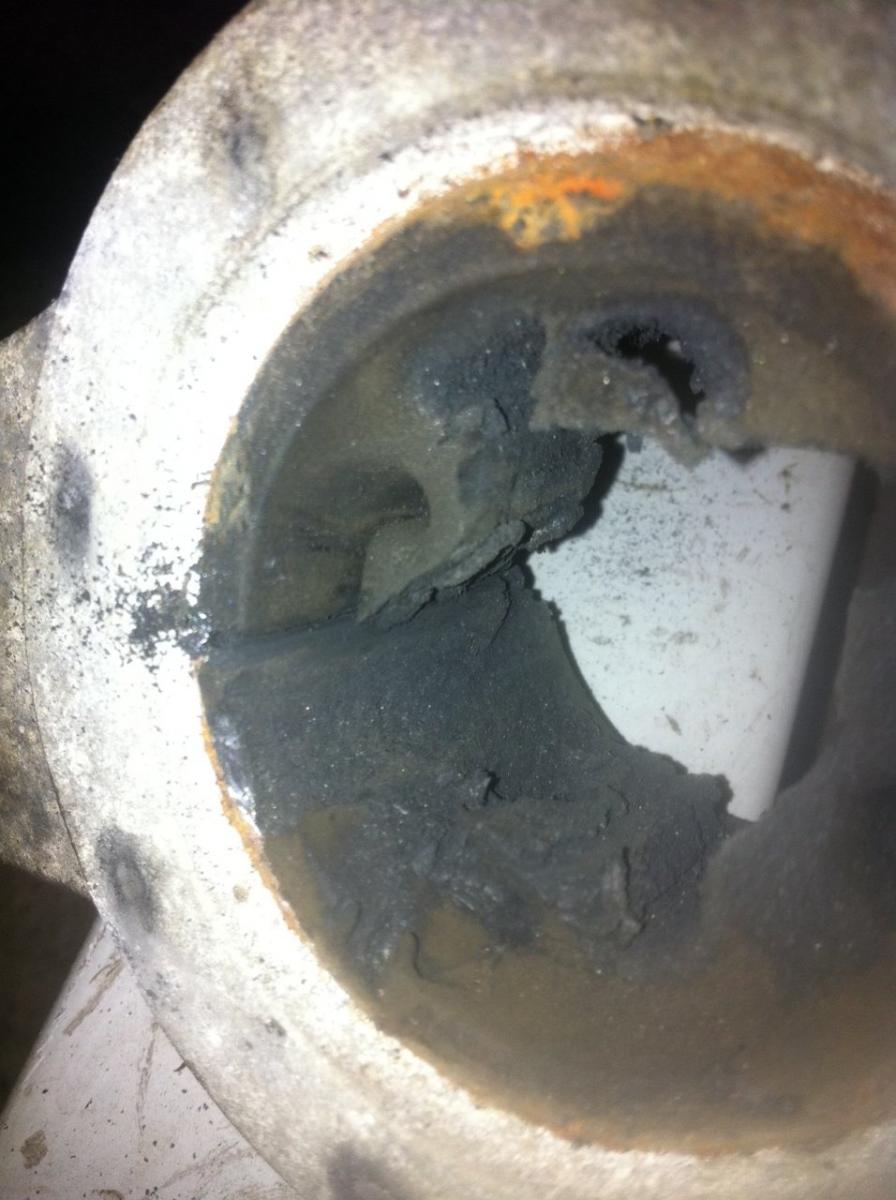
Next clean all the rust and junk out. I used this:
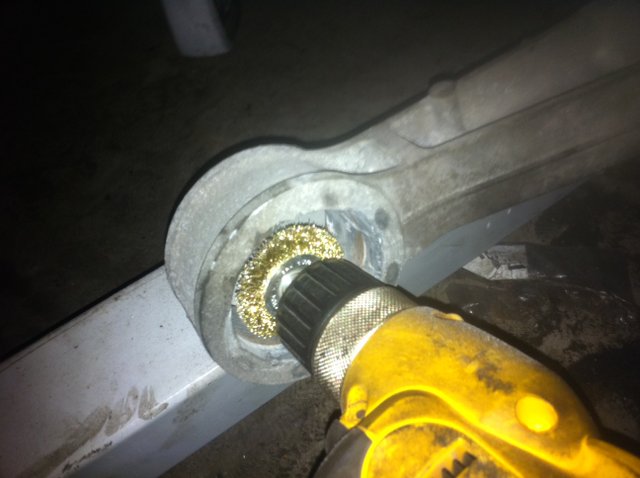
Most of it out:
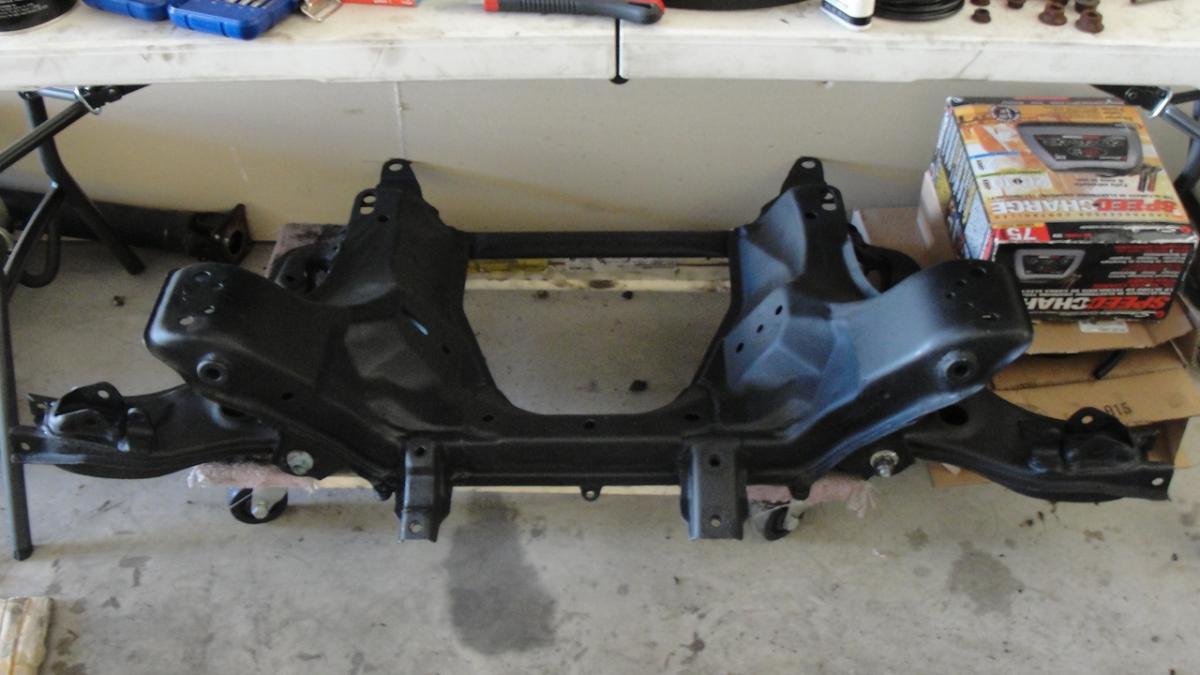
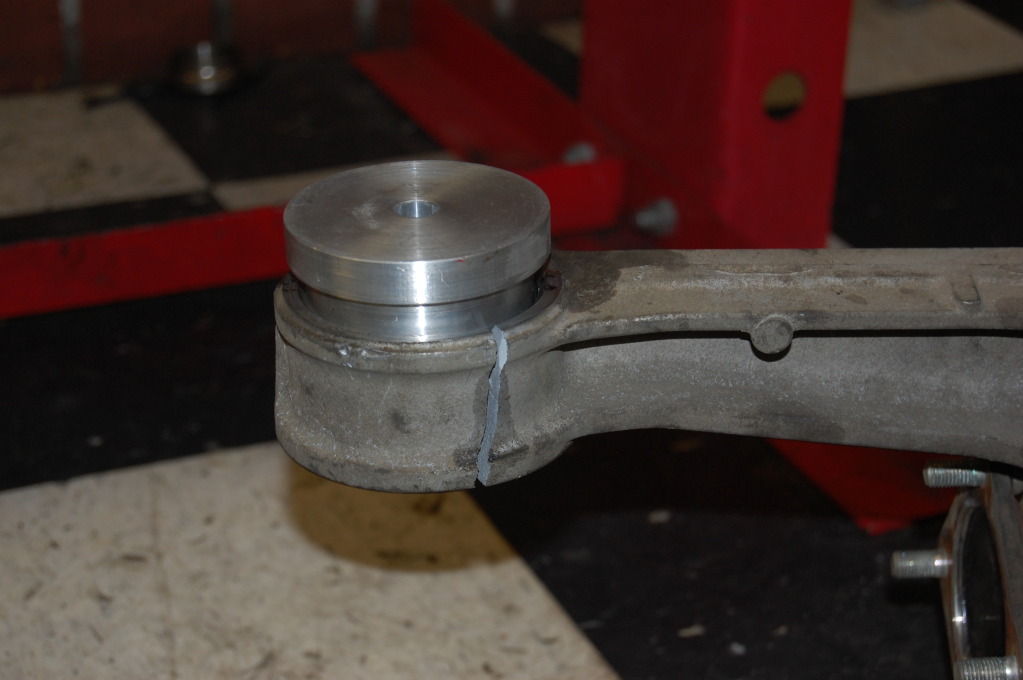
And finally grab your new bushings, ensure you are inserting them the correct way, and hammer the ef out of them with a mallet until they go all the way.
This is about all I did today. I was painting the rest of the sub-frame in between hitting my thumb with a hammer. The amount of flex that the old mounts had, vs the new ones is insane. I could rock the diff about 4 inches with the old mounts. New I can't really rock it at all.
Step 1: Drill the frack out of these mounts like they owe you money.
Step 2: Jig saw. Like you've never jig sawed before.
Step 3:And keep doing it until this happens:
You should then get this:
From here the fun starts. You beat the ever living crap out of the metal inserts that are left. As you can see from the picture below, there is a crease, which if you get a nice sharp punch, you can just hammer down the middle of that crease. Do that on both sides, and then start pounding around the edges. Unfortunately all I had was a some beefy Snap On pry bars. And the handles reduced the blow to the mounts so much it took me forever. A few hammers into my thumb later I really hated life.
So if you did it right, your thumb will not be hurting, and you will have these:
Next clean all the rust and junk out. I used this:
Most of it out:
And finally grab your new bushings, ensure you are inserting them the correct way, and hammer the ef out of them with a mallet until they go all the way.
This is about all I did today. I was painting the rest of the sub-frame in between hitting my thumb with a hammer. The amount of flex that the old mounts had, vs the new ones is insane. I could rock the diff about 4 inches with the old mounts. New I can't really rock it at all.
Last edited by FRT_Fun; Jan 1, 2012 at 10:03 PM.
Reply
0
0
Thread Starter
Joined: Apr 2009
Posts: 7,174
Total Cats: 180
From: Arizona
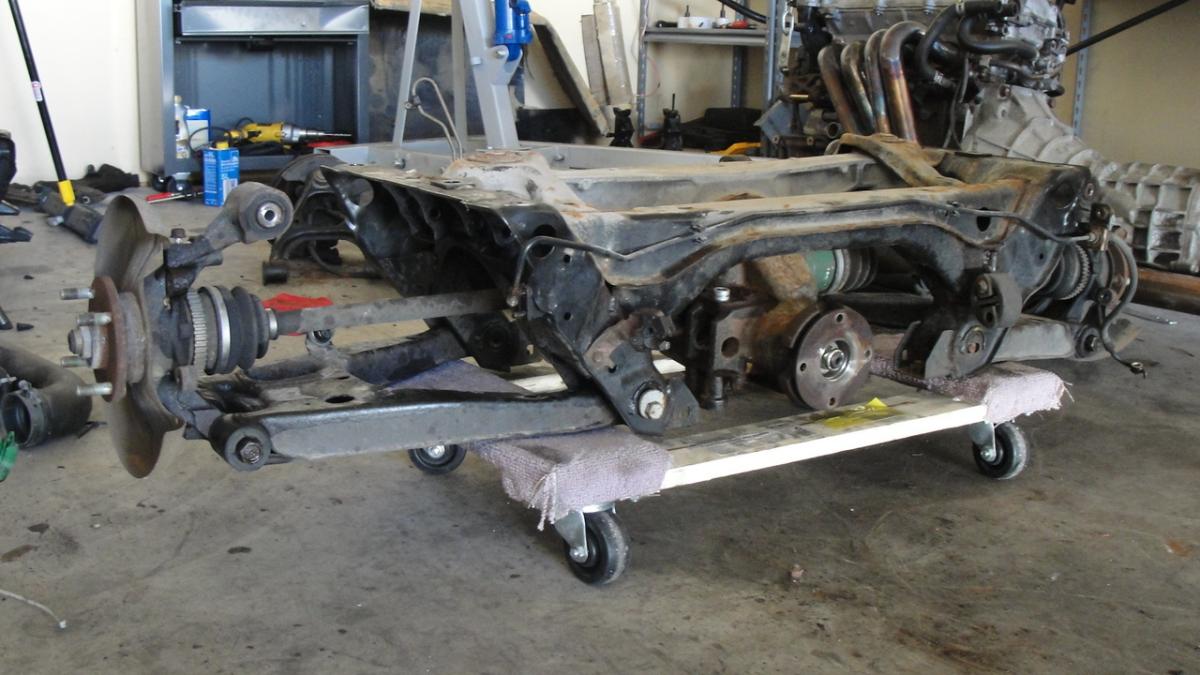
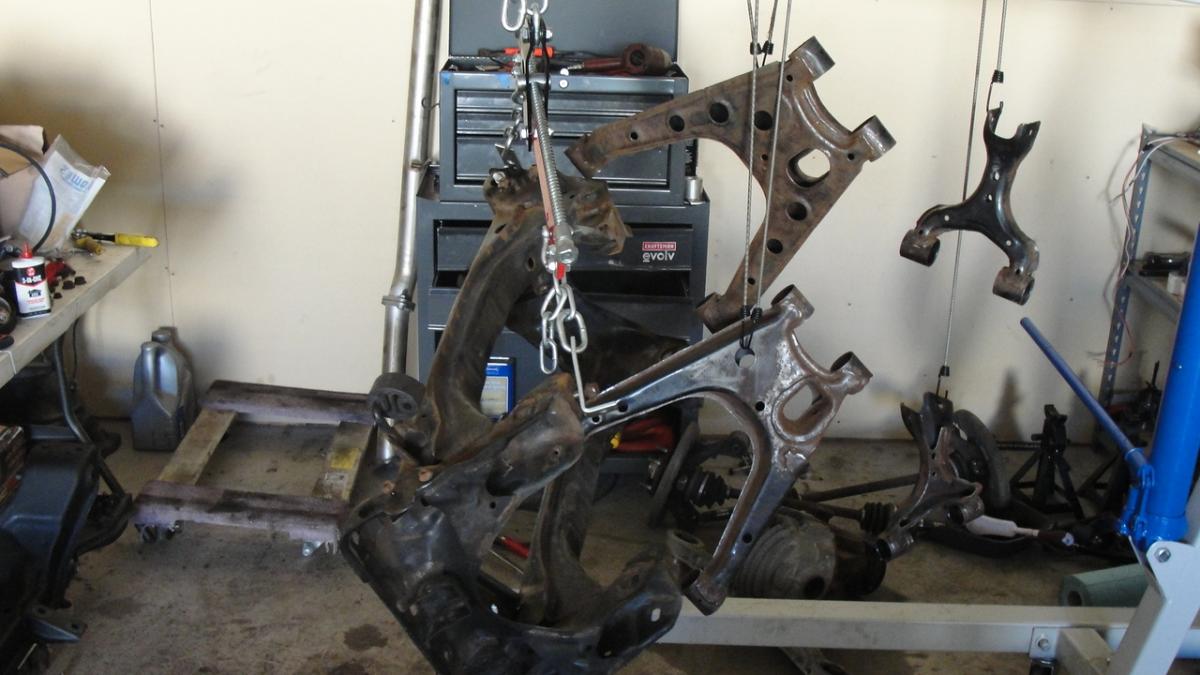
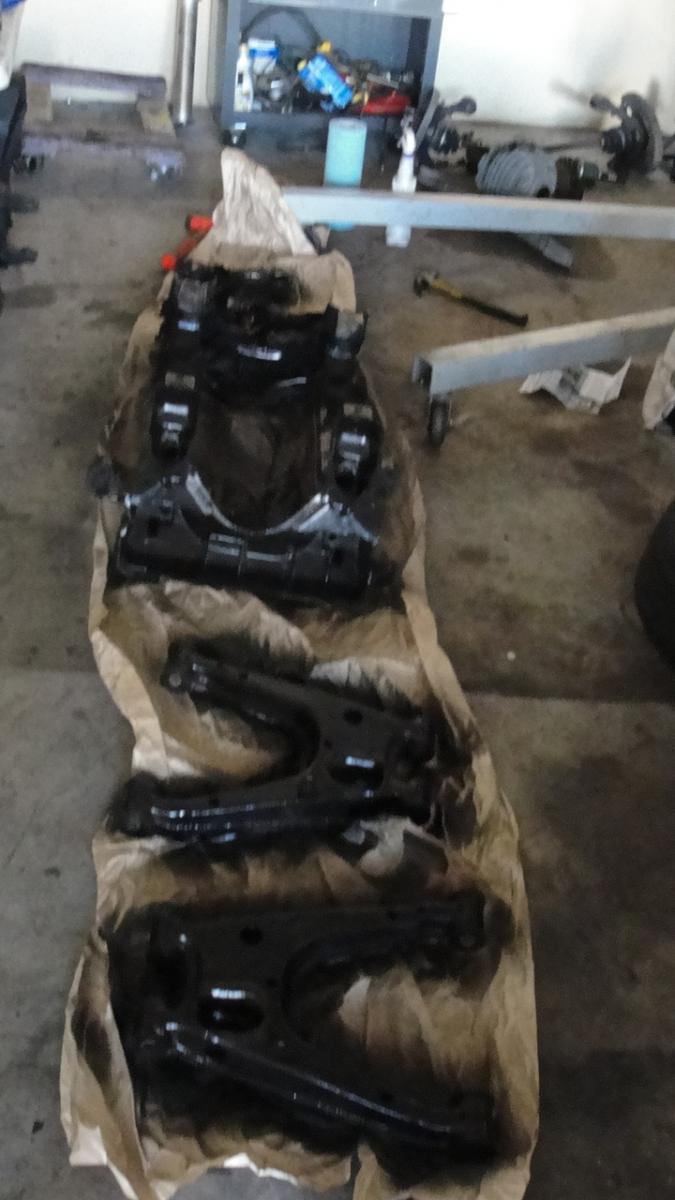
The front I'm waiting on inner/outer tie rods. Lower ball joints. Spindles. Hubs. and then I'll be putting that all back together as well.
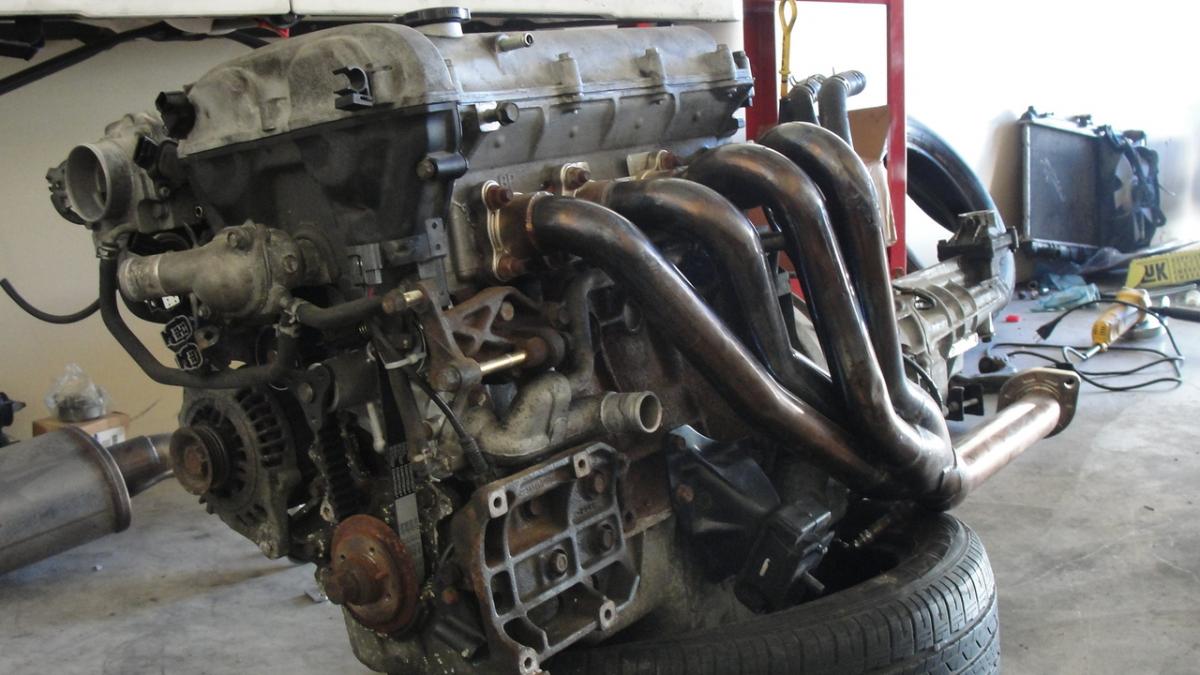
The engine is just about done. I need to drill out a few bolts that broke in the engine bay, as well as a bolt on the intake side of the EGR tube which happened a while ago when the RB downpipe was installed.
I'll probably need two weekends when I get back from my trip in February before it's done. So probably March.
Reply
0
0

Thread Starter
Joined: Apr 2009
Posts: 7,174
Total Cats: 180
From: Arizona
I really don't see any other way, unless I'm doing it wrong? I was hitting it pretty damn hard and it held up. There were a few times I was thinking that might happen though. WTF is that anyway, a metal bushing? That seems like the issue there.
Reply
0
0
Thread Starter
Joined: Apr 2009
Posts: 7,174
Total Cats: 180
From: Arizona
Well I don't have time to work on the car today. I leave at 4am tomorrow so looks like everything will be on hold until I get back. I'll update purchased parts at least though 
Reply
0
0
Joined: Oct 2007
Posts: 6,029
Total Cats: 305
From: The coal ridden hills of Pennsylvania
Think those bushings would come out easier with a torch?? When it comes time to do mine, I'd rather not fight that hardcore. Did your differential bushings come with your kit?
Reply
0
0
Thread Starter
Joined: Apr 2009
Posts: 7,174
Total Cats: 180
From: Arizona
I did use heat. Not a whole lot, I used my little butane torch. Didn't seem to make a difference which is why I didn't mention it. With something a bit more powerful might be more successful. Yes the diff bushings came with the kit. Seems like the trick to these is just splitting bushing down on the creases. Once I reached the bottom they pretty much just fell out.
Reply
0
0
Joined: Oct 2007
Posts: 6,029
Total Cats: 305
From: The coal ridden hills of Pennsylvania
Nice...I'm buying that kit then. I have an oxy/ acetylene torch, so I'll rock that. I also have "kroil" which is the awesomest penetrating oil known to man.
I wonder if those bushings will dramatically help with wheel hop, and also my vibration issue. I can't wait to hear your testimonial.
I wonder if those bushings will dramatically help with wheel hop, and also my vibration issue. I can't wait to hear your testimonial.
Reply
0
0

There is a much easier way to remove/install the diff bushings. I did it on mine with the diff dropped down but not removed from the car. It is a variation of what you did with the control arm bushings, you press them out. Unfortunately I didn't take any pictures as I spent so much time trying other methods I just wanted to get it done. Took maybe 10 minutes per side to remove and a little longer to install the new ones.
Reply
0
0
To remove them I used a two arm puller along with a 2 1/2" diameter (IIRC) spacer from my ball joint installation tool set along with a flat plate from the same kit. The spacer just fits into the inside of the diff bushing housing. The two arm puller clamps onto the lip on the bottom of the diff bushing housing and you use it to push the bushing out the top.
To install I put one bushing in and jacked up the diff until the car started to rise, then hit the bottom of the diff bushing housing using a piece of wood to get it started. Once that was done I used a BACC (big *** C-clamp, I'd have to double-check but I think it's an 8") along with a bigger spacer from the ball joint kit on the bottom. Two plates from the ball joint kit, one top and one bottom s the load. Then you just tighten the C-clamp and it will pull the bushing into place.
If I can find where my wife hid my camera I'll lay things out to try and give you some idea of what I'm talking about, if the above doesn't do it.
Reply
0
0


