
91 BRG 1.8BP MK turbo build

Thread Starter

Joined: Nov 2015
Posts: 1,426
Total Cats: 267
From: Seattle
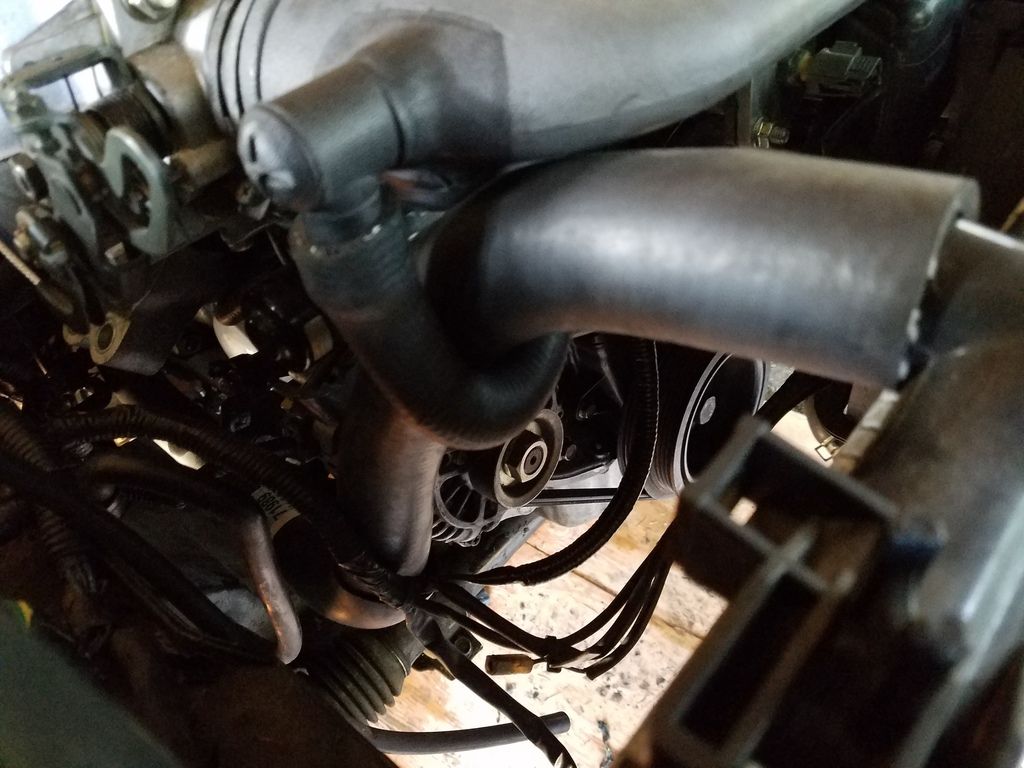
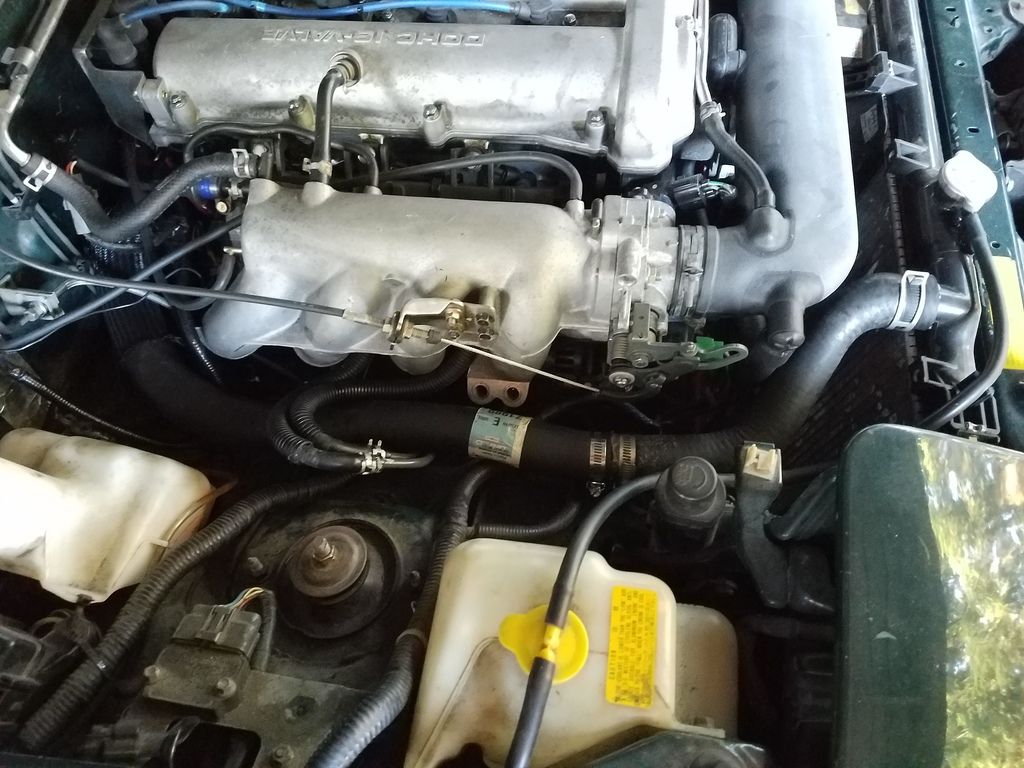
This is what the DIY coolant reroute looks like at the front of the engine. I'm going to have to cook something better up when intercooler pipes get involved.
Reply
 0
0

0
Thread Starter
Joined: Nov 2015
Posts: 1,426
Total Cats: 267
From: Seattle
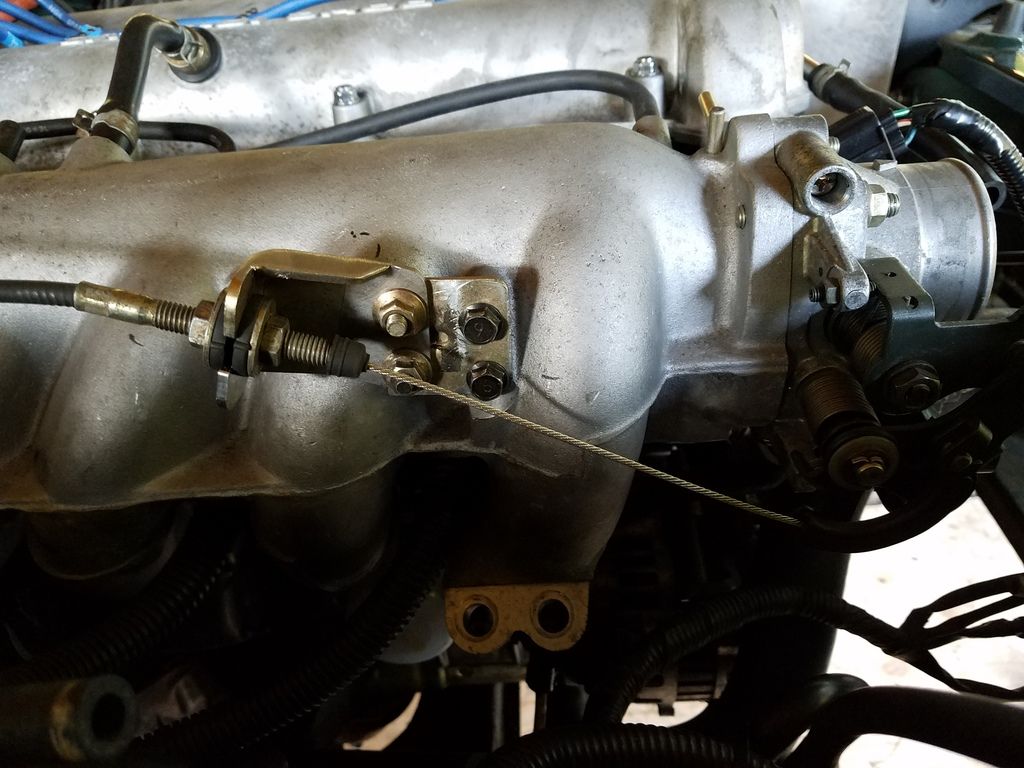
I ordered the FM 1.8 swap kit, but I deleted the 1.6 TB adapter because I wanted to keep the 1.8 TB. The throttle cable left a bunch of slack even with the cable adapter because there is no TB adapter in between the IM and TB. I had to make an extension plate.
Reply
0
0
Thread Starter
Joined: Nov 2015
Posts: 1,426
Total Cats: 267
From: Seattle
****EDIT******
I had my wires crossed. switch the red & grn wires.
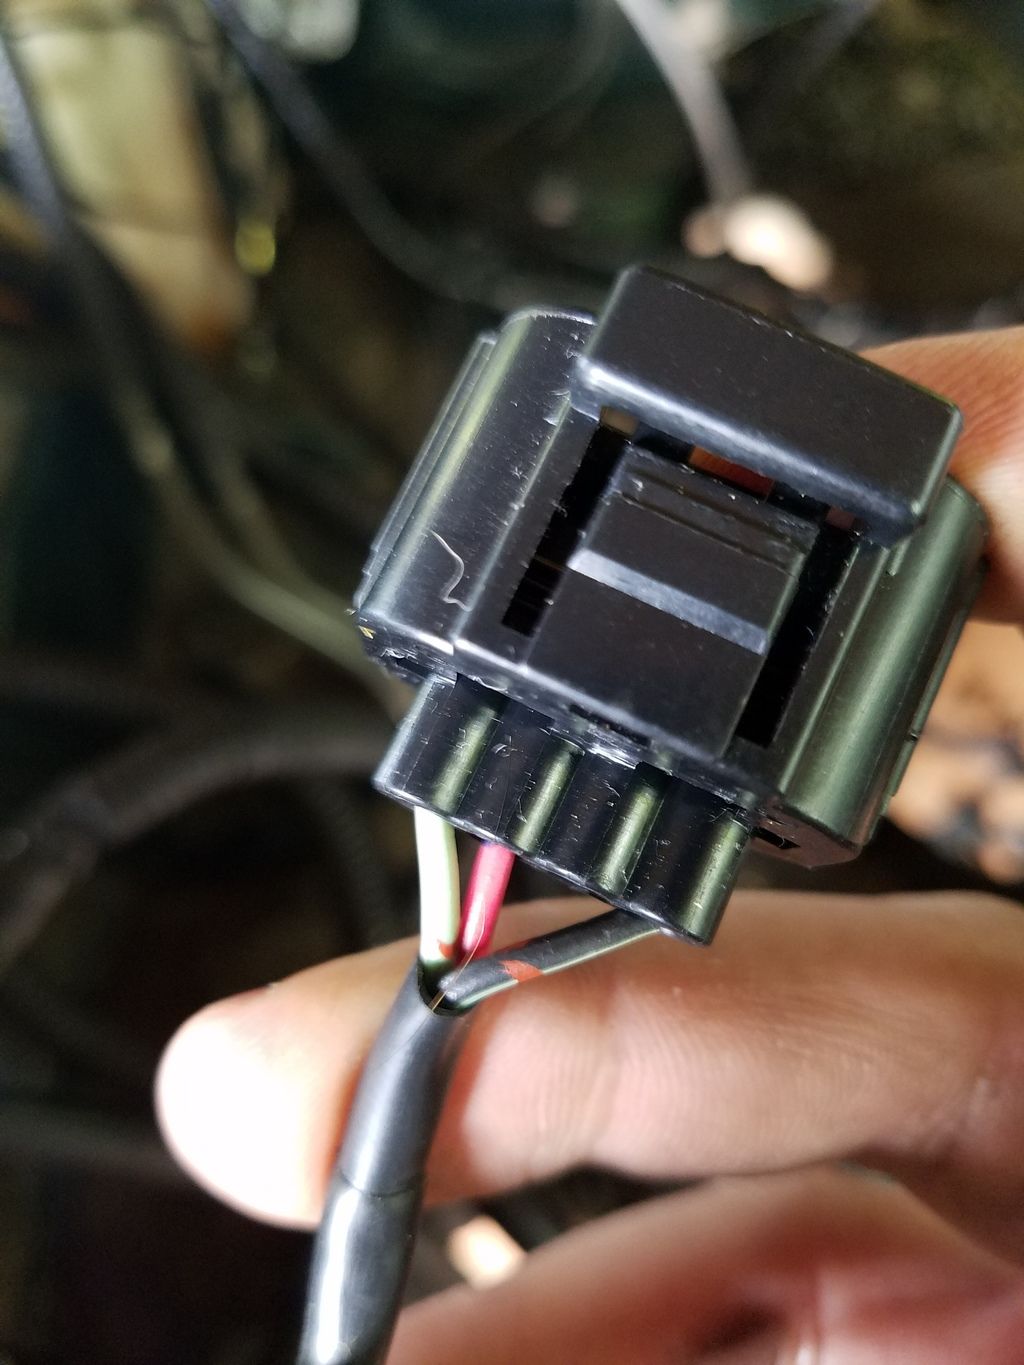
I'm intending to run the car using the OEM 1.8 variable TPS. I rewired the 1.8 TPS using the 1.6 wires as pictured. I hope this works...
I had my wires crossed. switch the red & grn wires.
I'm intending to run the car using the OEM 1.8 variable TPS. I rewired the 1.8 TPS using the 1.6 wires as pictured. I hope this works...
Last edited by wackbards; May 12, 2016 at 12:01 AM. Reason: wiring mistake
Reply
0
0
Thread Starter
Joined: Nov 2015
Posts: 1,426
Total Cats: 267
From: Seattle
I gotta improve the cold start. Man, it sucks. I also need to sort out the acceleration enrichment. I'll post some of my butt map/logs after I start up the new motor.
Reply
0
0
Thread Starter
Joined: Nov 2015
Posts: 1,426
Total Cats: 267
From: Seattle
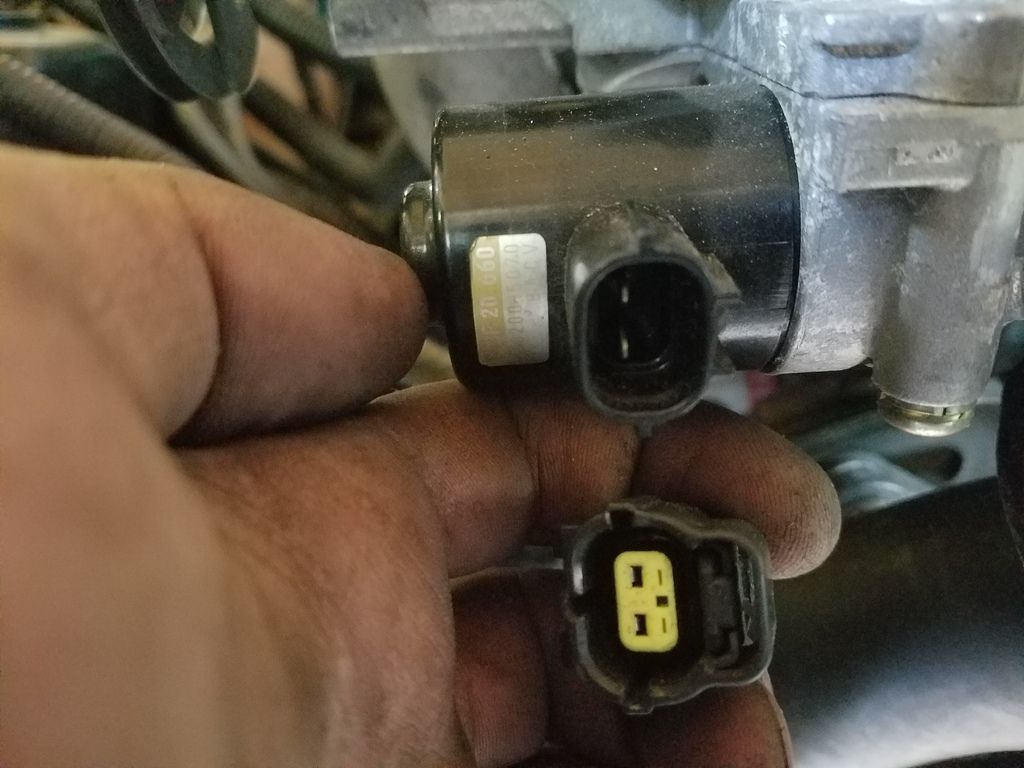
Home � Shop � Connectors / Harnesses � Sumitomo � 2 Way Plug Assembly for Japanese applications (Connector + Lock), Green
This looks right for the IAC connector! Hard to find on the forums, as most people retain the 1.6 TB & IAC.
This looks right for the IAC connector! Hard to find on the forums, as most people retain the 1.6 TB & IAC.
Reply
0
0
Thread Starter
Joined: Nov 2015
Posts: 1,426
Total Cats: 267
From: Seattle
The above connector is the correct fit, but the OEM pins are slightly wrong. Since I didn't have the correct pins on hand, I modified the OEM pins. Here are the mods I made to make the pins seat & lock. In each pic below, I've completed one pin in the step described so you can compare before & after:
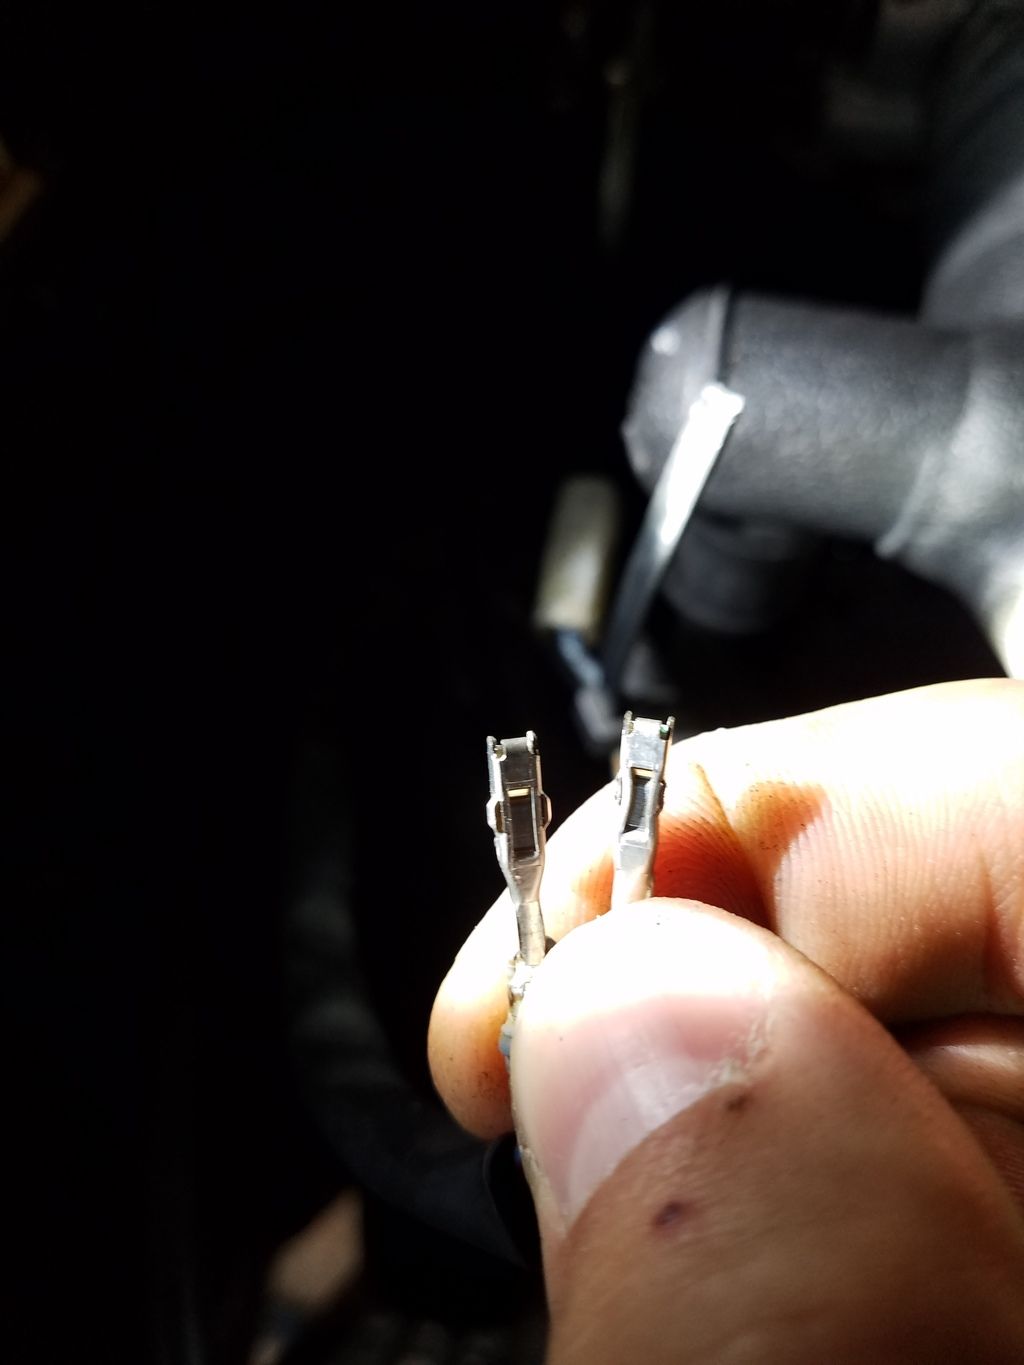
Squish in the side tabs so they are flush
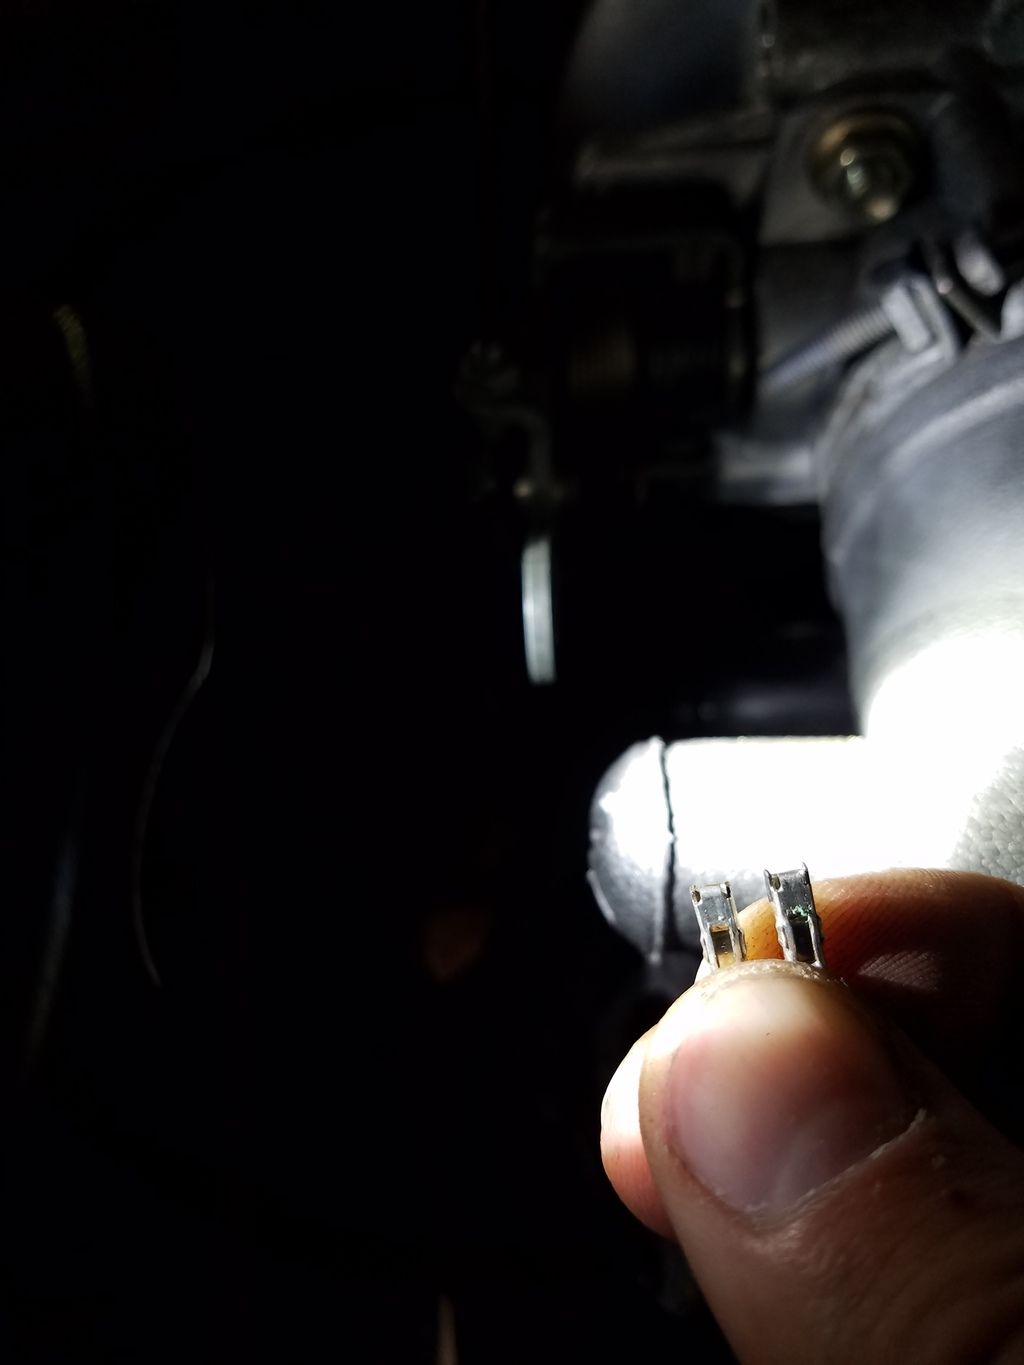
File the tags flush on the nose
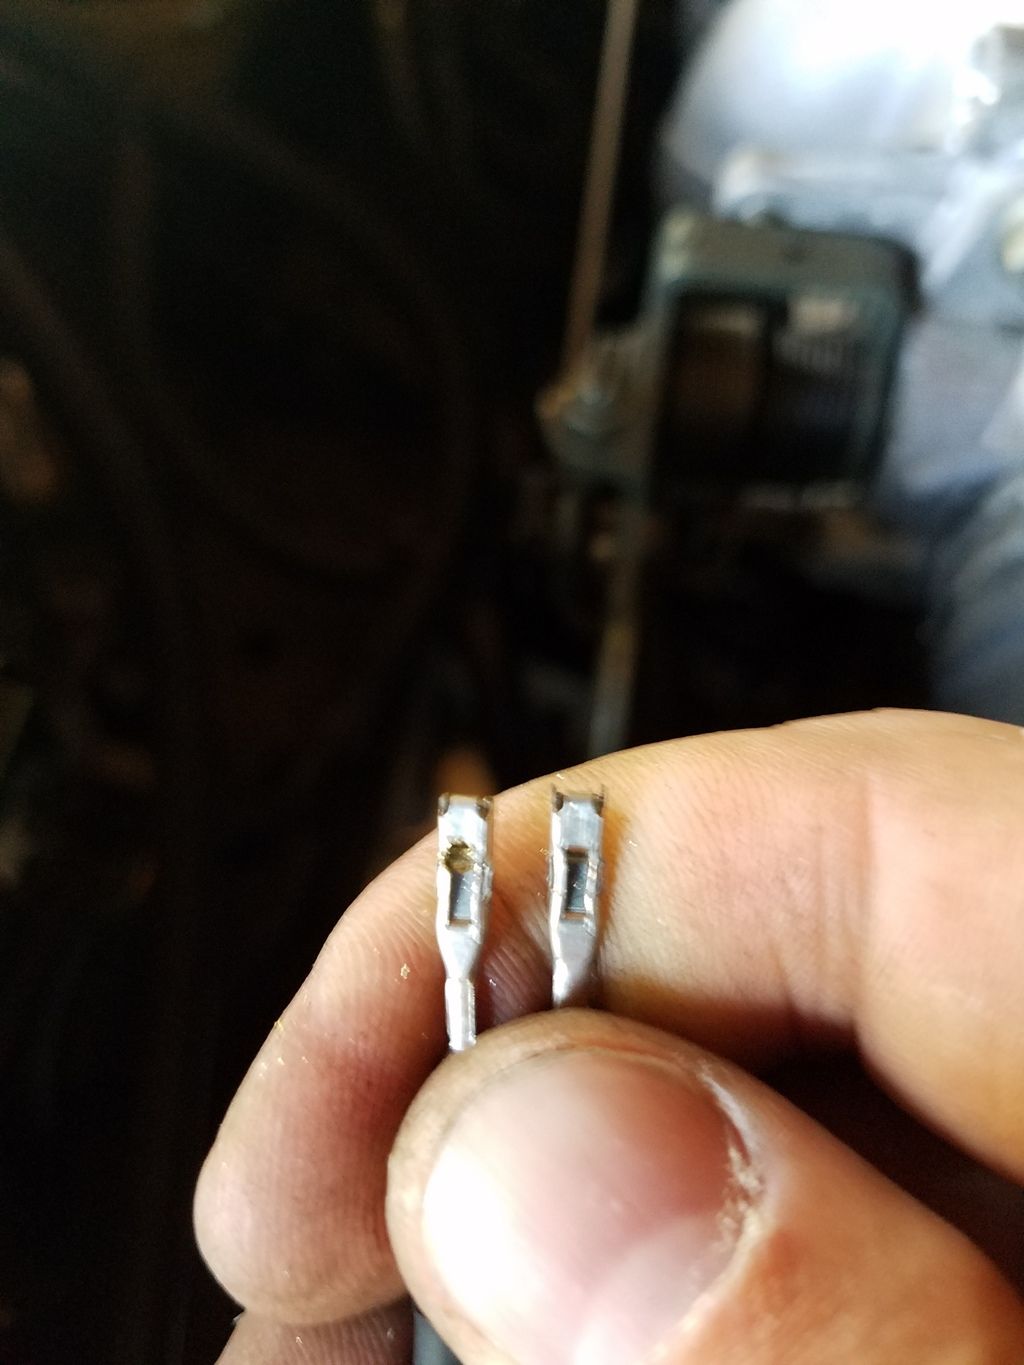
Hog out the locking detent so it extends about 1/16" closer to the nose.
This all took about 5 minutes. Not as clean as using the correct pins, but it gets the job done. If I had to do it again, I'd just buy the connector with the pigtail already included.
Squish in the side tabs so they are flush
File the tags flush on the nose
Hog out the locking detent so it extends about 1/16" closer to the nose.
This all took about 5 minutes. Not as clean as using the correct pins, but it gets the job done. If I had to do it again, I'd just buy the connector with the pigtail already included.
Reply
0
0
Thread Starter
Joined: Nov 2015
Posts: 1,426
Total Cats: 267
From: Seattle
Had to do a bit of a reroute of the coolant...reroute. I had the hose drooping low, and there was no way I could burp the line. Here's the new routing. I spliced in the OEM 1.6 radiator hose.
Reply
0
0
Thread Starter
Joined: Nov 2015
Posts: 1,426
Total Cats: 267
From: Seattle
I'm sorting out my map for the FF610 injectors I ordered in February. Based on the recommendations from this thread, I'm running the following:
dead time = 1.179ms@13.2v
battery correction = .144v/ms
I've multiplied my static flow published on the cards I received with the injectors by 1.04. Here are the injector serial numbers, published flow, and corrected flow
serial # published corrected
f6ak43 609cc 633.36cc
f6ak49 614cc 638.56cc
f6ak55 609cc 633.36cc
f6ak62 610cc 634.40cc
the average corrected flow is 634.92cc. I input 634cc into tunerstudio.
does this seem sane?
Reply
0
0

Thread Starter
Joined: Nov 2015
Posts: 1,426
Total Cats: 267
From: Seattle
I did it with the engine out. I had tried running the hose lower down closer to the alternator. With that big dip in the hose, you get a big air pocket it the line that will never come out.
Reply
0
0
Thread Starter
Joined: Nov 2015
Posts: 1,426
Total Cats: 267
From: Seattle
Everything is buttoned up, and I'm calibrating my tune. I've got the TPS wiring fixed & the TPS is calibrated now. The only things left to do are to tweak the Hz rate for the IAC, test my injector & spark sequencing, & fire it up! I should have enough time in the next couple days to get it running...
Reply
0
0
Thread Starter
Joined: Nov 2015
Posts: 1,426
Total Cats: 267
From: Seattle
Car started right up first crank. Only tuned the idle cells, because I couldn't get the clutch to operate. Hopefully there's just air trapped...
Had to move the idle VE up about 25% from 57 to 72.
Had to move the idle VE up about 25% from 57 to 72.
Reply
0
0
Thread Starter
Joined: Nov 2015
Posts: 1,426
Total Cats: 267
From: Seattle
Fiddled with the clutch pedal, and got it to engage. I've auto tuned up to about 3k. Gotta chase down a noisy exhaust leak somewhere.
I'm having to add a lot of fuel to my VE table.
I'm having to add a lot of fuel to my VE table.
Reply
0
0

Thread Starter
Joined: Nov 2015
Posts: 1,426
Total Cats: 267
From: Seattle
Ugh. 4 days on the road, and I have two symptoms: low voltage, and the thermostat gasket for the OEM thermostat neck block of is weeping.
I guess I'll pull the alternator & get it tested. Sure hope I'm not hunting grounding demons...
I guess I'll pull the alternator & get it tested. Sure hope I'm not hunting grounding demons...
Reply
0
0
Thread Starter
Joined: Nov 2015
Posts: 1,426
Total Cats: 267
From: Seattle
OK, so the alternator ground post nut had walked loose. Easy fix there. Cranked on the coolant neck cap, but my gut says it's a crap gasket.
Trickle charging the PC680 battery back up. It was reading at 11 volts by the time I got home.
Trickle charging the PC680 battery back up. It was reading at 11 volts by the time I got home.
Reply
0
0


