93' Miata stolen and flipped build thread
 09-20-2015, 02:53 PM
#4301
Elite Member

Join Date: Oct 2013
Location: Cedar City, UT
Posts: 2,764
Total Cats: 951
Finally tore down the 1.6l from the donor car, and degreased it, cleaned all the gasket crap off, and sprayed it down with some Tri-flow oil to stop rust... and now I have no damn idea what I'm going to do with it. Can't imagine selling it is worth it due to shipping, but at least it isn't a greasy mess anymore.
Next to its big brother
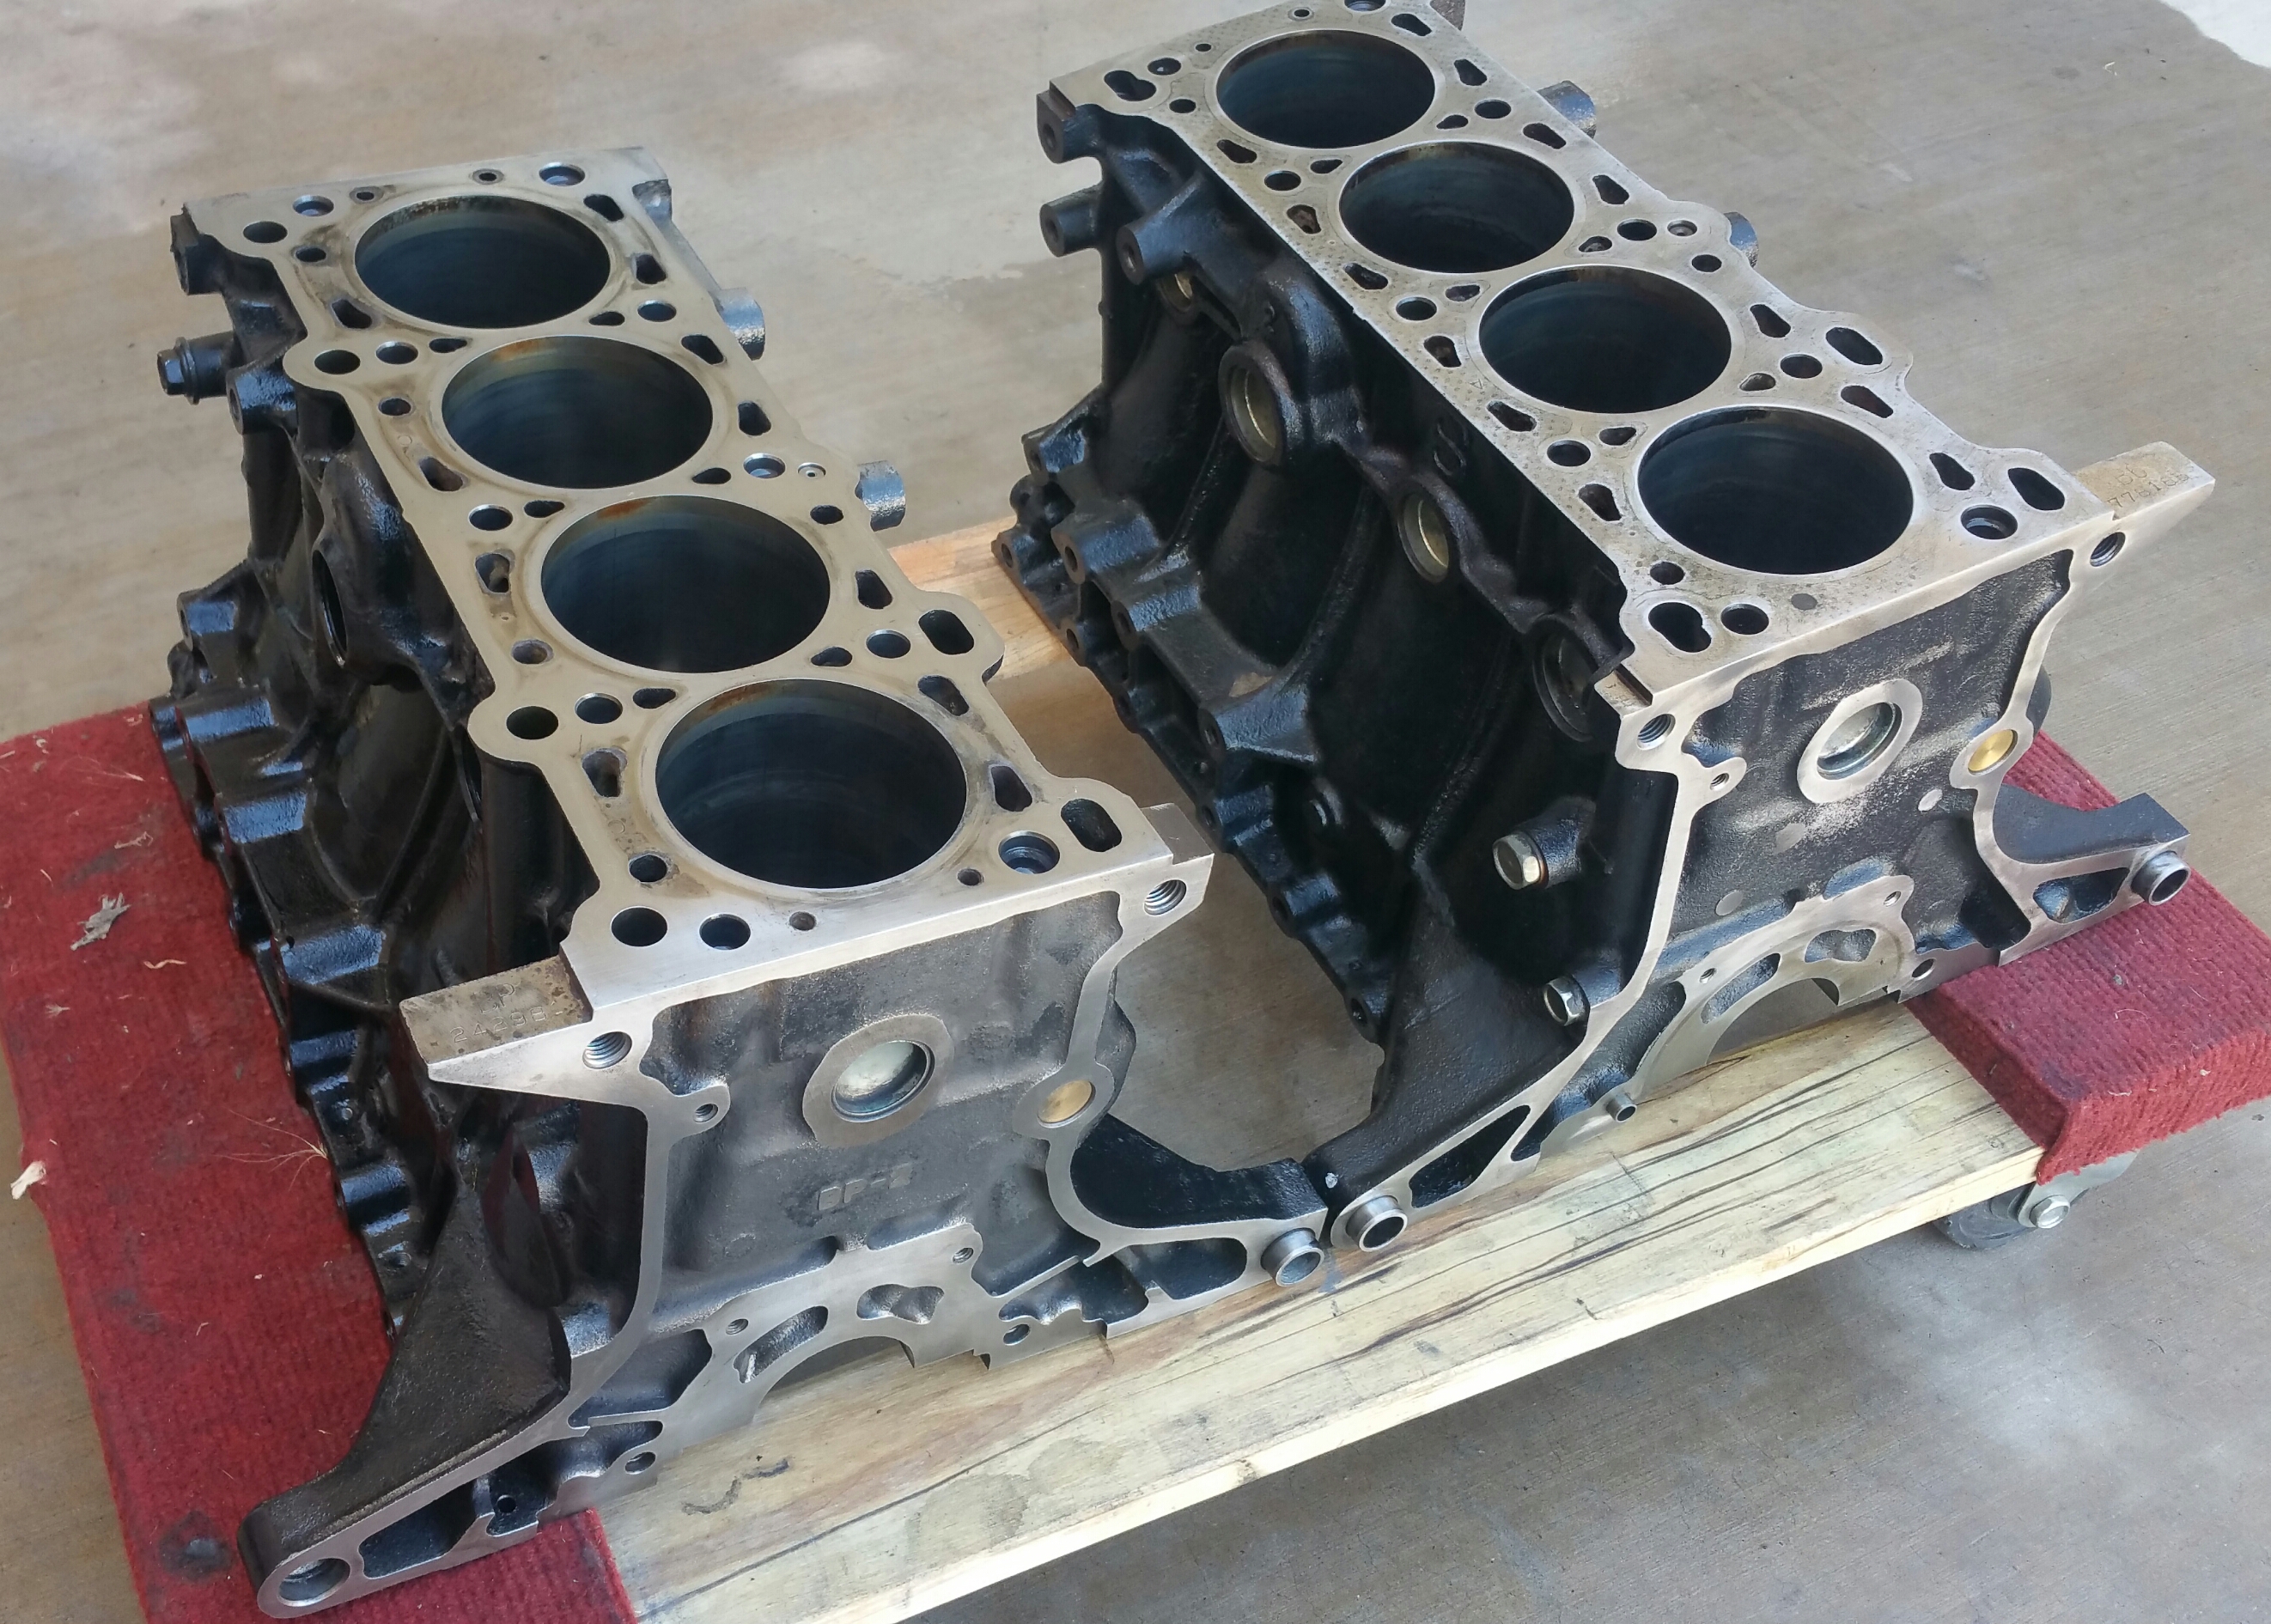
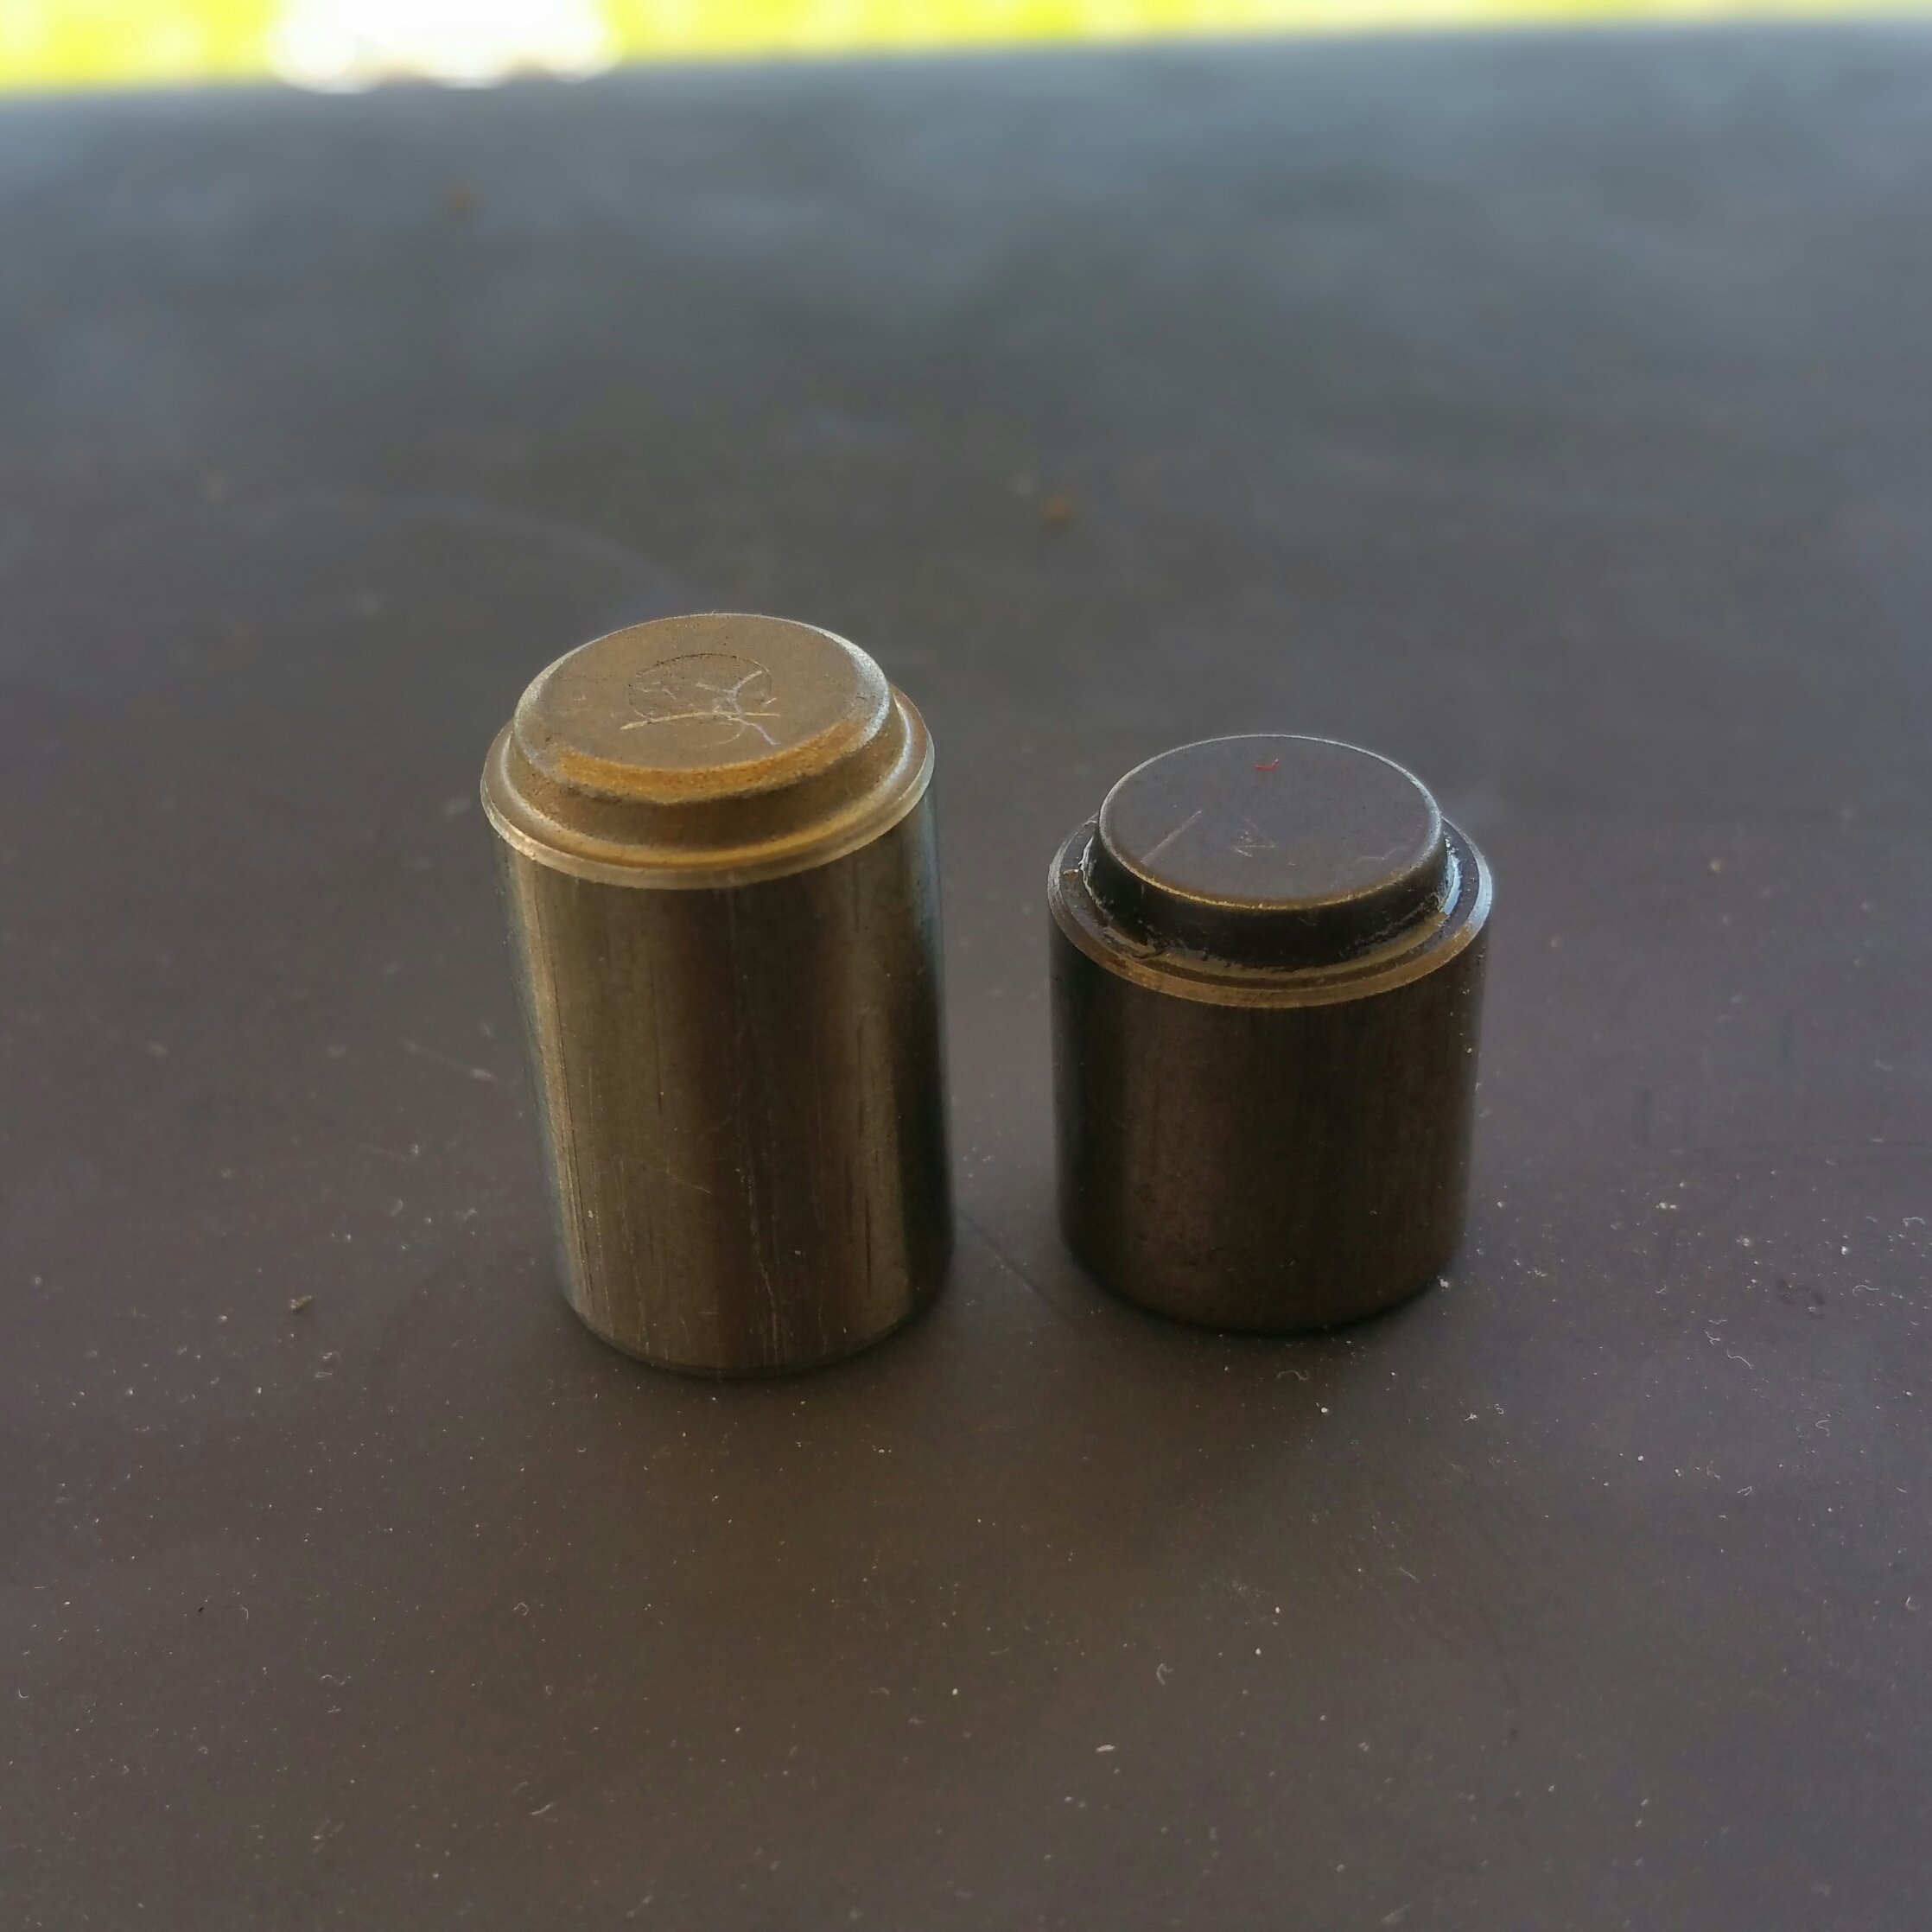
Uninteresting fact of the day. The 1.8 oil pump relief valve is much bigger than the 1.6 1990 oil pump.
Next to its big brother
Uninteresting fact of the day. The 1.8 oil pump relief valve is much bigger than the 1.6 1990 oil pump.

Reply
 0
0

0


 09-20-2015, 08:38 PM
#4303

It is basically a little fiberglass bristle brush. Works great for cleaning electrical contacts. I also found it handy to scrub of surface rust. It doesn't do what sand paper does, but it also doesn't take off the hard surface layer on parts either. I was told years ago that parts like cams have either a hard coating or are "hammered" from use to have a hard surface layer and never to mess with it. Excluding custom grind type stuff. I could be wrong. Never felt like testing the idea on a set of cams and an angle grinder.
Cleans anodized parts if I remember. Been a while, so test on something first.
Cleans anodized parts if I remember. Been a while, so test on something first.
Reply
0
0
 10-12-2015, 11:54 AM
#4305
Elite Member
Join Date: Oct 2013
Location: Cedar City, UT
Posts: 2,764
Total Cats: 951
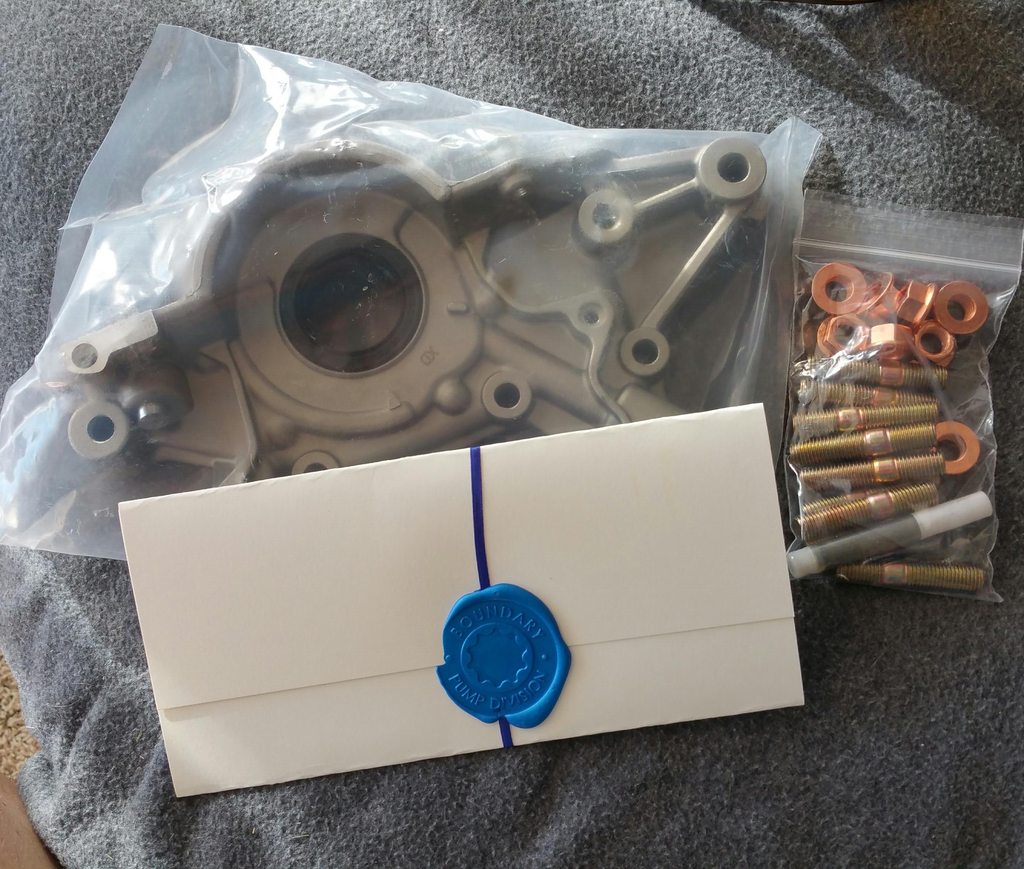
No real update yet. Haven't had time to do anything but just had to remark on how baller Travis at Boundary Engineering is.
You make me want to get a wax seal impression for my store
Went with a Stage 2 this time. I believe my old pump was gears only, as this one looks way more precise than my old one. Also got new studs/nuts from Miataroadster for the exhaust since all but one backed out.
You make me want to get a wax seal impression for my store
Went with a Stage 2 this time. I believe my old pump was gears only, as this one looks way more precise than my old one. Also got new studs/nuts from Miataroadster for the exhaust since all but one backed out.
Reply
0
0
 10-13-2015, 10:13 AM
#4312

I always reduce my pictures to 800x600 before uploading to the site. That really seems to help things.
I love that graph. Much truth. And, a 200-250HP Miata just feels so right!
Jeff, once you're running 12psi, you need to go to the track so you can get over that nagging feeling that you're not running "allofit." Once you start tracking, you'll find other things to work on.
I love that graph. Much truth. And, a 200-250HP Miata just feels so right!
Jeff, once you're running 12psi, you need to go to the track so you can get over that nagging feeling that you're not running "allofit." Once you start tracking, you'll find other things to work on.
Reply
0
0
10-13-2015, 11:52 AM
#4313
Elite Member
iTrader: (37)

Join Date: Apr 2010
Location: Very NorCal
Posts: 10,441
Total Cats: 1,899
We need to post that any time someone talks about 300, its scary accurate. I'm afraid to take the NT-01s off my car, at this point it just won't hook up on street tires.
Reply
0
0
 10-18-2015, 09:01 AM
#4317
Junior Member

Join Date: Aug 2015
Posts: 82
Total Cats: 5
Hi Jeff - been reading your thread for a few days now. Absolutely delighted with how you've handled the rebuild after the accident. Still have a ways to go for me to catch up but came across this post and wanted to ask a question immediately. Hopefully someone knows the answer.
The SS coolant lines visible in the pic - could you tell me the sizes of the various bits and pieces/fittings? Between turbo and bracket, the bracket and the fittings on the other side of the bracket going to the silicone lines?
Thanks much!

The SS coolant lines visible in the pic - could you tell me the sizes of the various bits and pieces/fittings? Between turbo and bracket, the bracket and the fittings on the other side of the bracket going to the silicone lines?
Thanks much!
Reply
0
0
10-19-2015, 03:30 AM
#4318
Elite Member
Join Date: Oct 2013
Location: Cedar City, UT
Posts: 2,764
Total Cats: 951
ARTech makes the bracket and lines for the old setup I had, so he can give you the exact specs that it had. Roughly, from memory:
M14x1.5 coolant lines with a bulkhead 6an(bracket) then the rubber lines go to the coolant return nipple and the front of the head which are also 6an
Oil feed was 3an +/-4-5ft
Oil Return was 10an line connected to a 10an straight flare to 1/2" NPT adapter which was screwed into the welded on bung in my oil pan.
Reply
0
0
10-20-2015, 12:52 PM
#4319
Elite Member
Join Date: Oct 2013
Location: Cedar City, UT
Posts: 2,764
Total Cats: 951
Easy to forget just how many gaskets/seals/parts you need to reassemble an engine!
Now that I have the final piece of the puzzle, time to send it off to the guy who built my head. Was looking at several shops but decided that being a repeat customer is worth its weight in gold in terms of "being taken care of". Just in case though, I'm sending a couple pages of tolerances and clearances from the factory Mazda book.
<a href="http://imgur.com/0wNihn3"><img src="https://i.imgur.com/0wNihn3h.jpg" title="source: imgur.com" /></a>
Reply
0
0


