93' Miata stolen and flipped build thread
 12-03-2013, 12:05 PM
#461
Elite Member

Join Date: Oct 2013
Location: Cedar City, UT
Posts: 2,764
Total Cats: 951
This
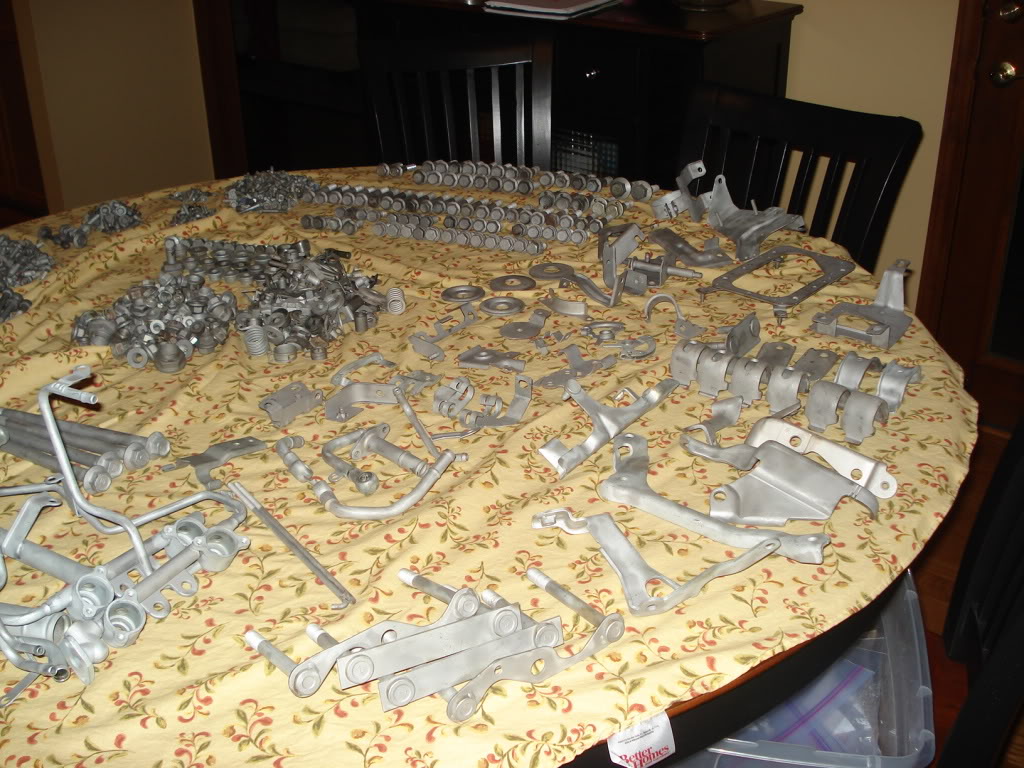
I think I'm just going to soak it in a cleaner over a couple days while I cant work on the car. I'm pretty good at making pretty potent cleaning combos. If all else fails I'll ship the bolts to a plater if I get really insane, but I think I'll be able to control my OCD to just cleaning them well.

Reply
 0
0

0


 12-03-2013, 05:37 PM
#467
Elite Member
Join Date: Oct 2013
Location: Cedar City, UT
Posts: 2,764
Total Cats: 951
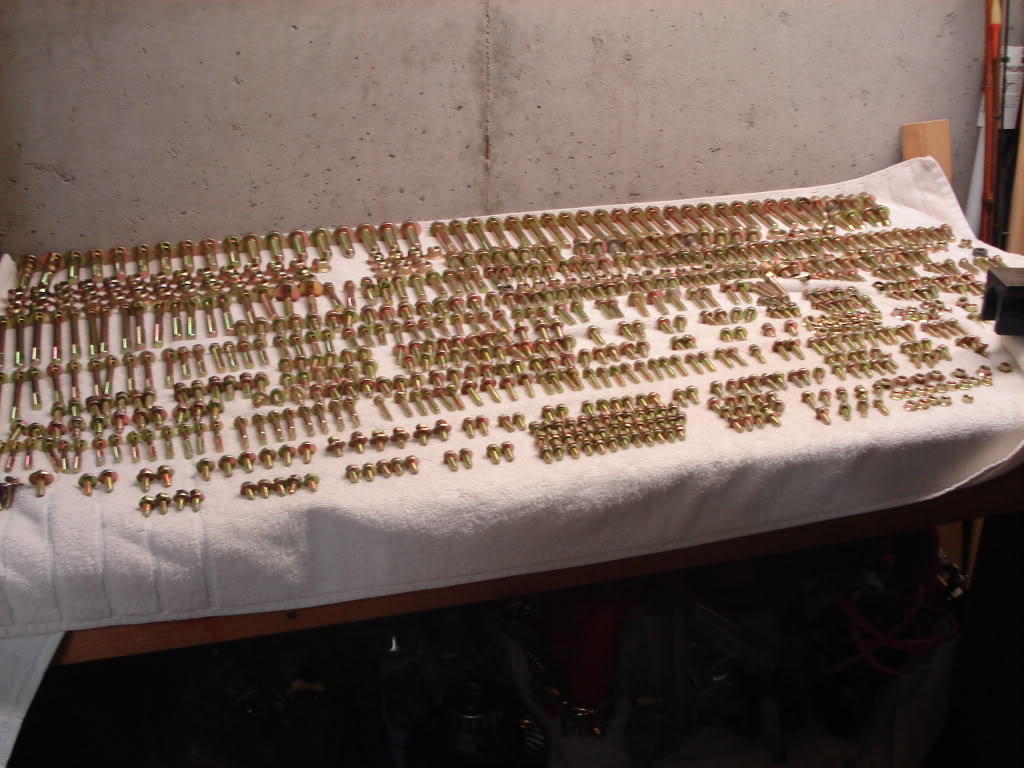
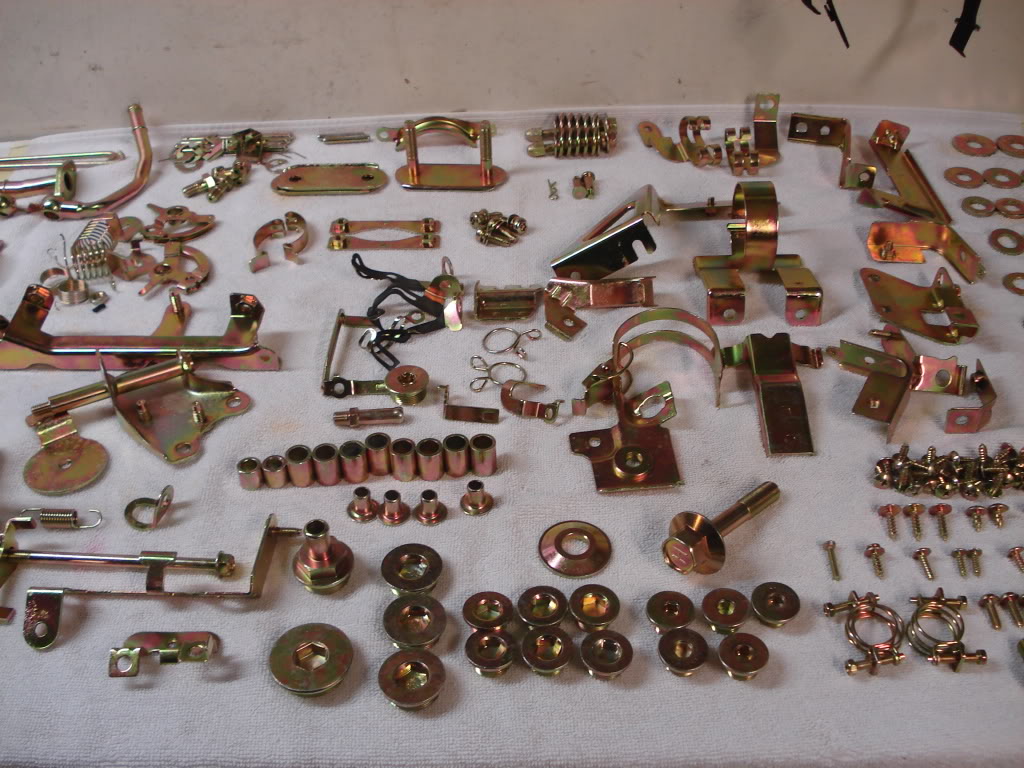
I just got a quote from a shop in Northern Utah for $55 for <20 lbs of bolts. Going to ship them to him tomorrow. Decided to do yellow zinc since supposedly it has higher corrosion resistance than the clear.
Reply
0
0
12-03-2013, 05:43 PM
#469
Cpt. Slow

iTrader: (25)
Join Date: Oct 2005
Location: Oregon City, OR
Posts: 14,201
Total Cats: 1,136
Does that price include sandblasting? Would of been a great alternative for me when I restored my bike. Instead I went to Ace about 5 or 6 times, dropping somewhere between $20 and $60 each time in SS allen head hardware.
Reply
0
0
12-03-2013, 05:51 PM
#470
I wish i could just buy a gigantic grab bag of Mazda bolts for future projects. Should be easy... they really only use about 3 different bolts, just in different lengths.
Reply
0
0
12-03-2013, 06:38 PM
#471

1. Buy shitty crashed/rusty/non-running miata (or whatever)
2. Part out everything valuable
3. Keep all the hardware
4. ???
5. Profit
(PS I did basically this same thing with my old RX7 and now have an ample supply of high grade OEM bolts/nuts in all sorts of sizes)
Reply
0
0
12-03-2013, 08:53 PM
#473
Cpt. Slow
iTrader: (25)
Join Date: Oct 2005
Location: Oregon City, OR
Posts: 14,201
Total Cats: 1,136
I have a confession. Every time I go to a pick-n-pull, I generally leave with a pound or two of hardware. Especially if they don't inspect my tool bag. One time they did and they didn't even care.
I figure I'm stealing all of $.02 of scrap metal value. Or it'll end up sitting in the gravel.
I figure I'm stealing all of $.02 of scrap metal value. Or it'll end up sitting in the gravel.
Reply
0
0
12-03-2013, 09:14 PM
#474
Elite Member
Join Date: Oct 2013
Location: Cedar City, UT
Posts: 2,764
Total Cats: 951

Decided to come down and work on the car tonight. Couldn't stand being in my store any longer and needed a break.
Replaced the Upper Control Arm boots. I took some detailed photos in case anyone does it.
Item number for the boots is: SEAL, DUST (NA01-34-548)
Use a dry chisel with the angle side facing the control arm and lightly tap it with a rubber mallet slowly going around the bushing so that it evenly goes off the control arm.

I used an old seal from my transmission and it fit perfectly over the metal retaining part of the boot. You don't have to do this it just ensured I didn't damage it, and it gave me a better fit with the PVC Pipe.

Clean out the old grease from the joint and seal surface, and fill with your favorite grease, which for me is Amsoil Dominator Synthetic Grease.

Fill the new boot with grease, put on the seal(if you'd like), and find a pvc pipe that fits perfectly on the boot.

Position the boot onto the ball joint and with a rubber mallet lightly tap on the pvc pipe to get the extremely tight boot onto the ball joint. Try not to flex the boot too much or you'll eject some of the grease.

Make sure the boot is flush on the mounting surface.

Booyah.
Also chemical bath of goodness. Apple cider vinegar, paint stripper, purple power, a little diesel additive. Put it in the backyard since even my respirator wouldn't filter the fumes out. Vinegar for the rust, and the rest to remove the gunk.

Reply
0
0

 12-04-2013, 12:38 AM
#477
Elite Member
Join Date: Oct 2013
Location: Cedar City, UT
Posts: 2,764
Total Cats: 951
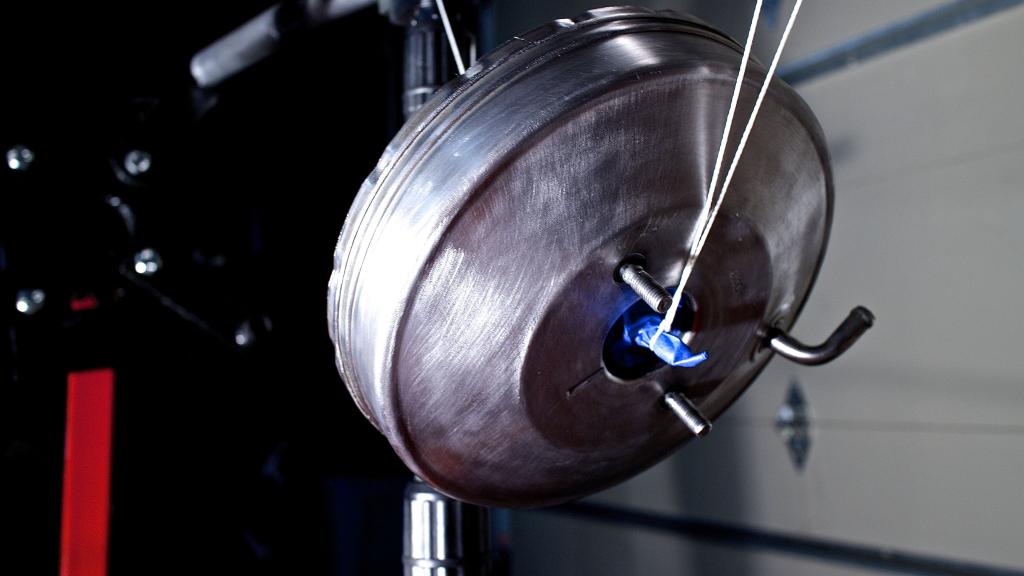
Brake Booster rust removed and ready for painting. Yes I see the string touching the metal! 
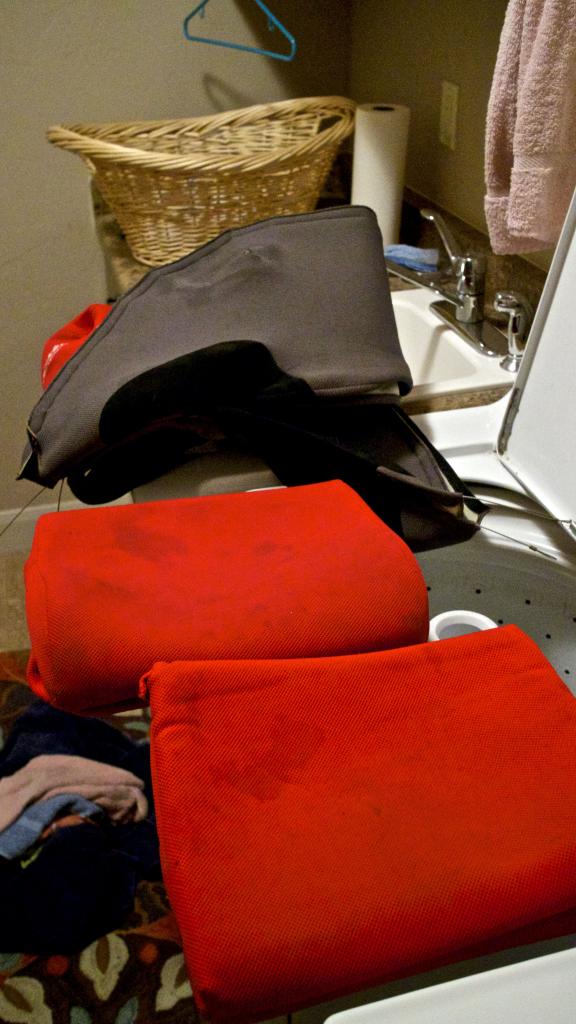
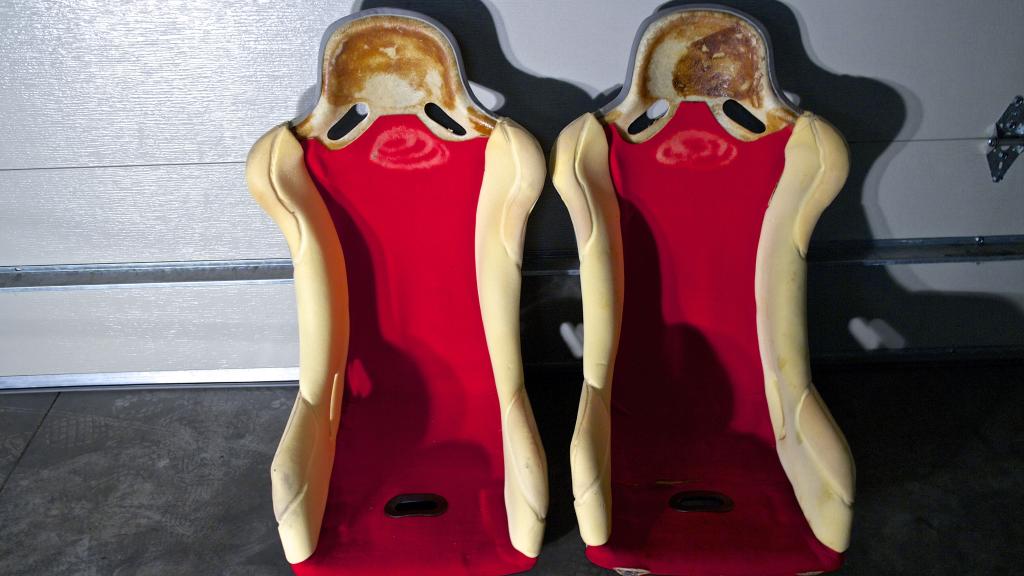
Fabric stripped off seats to clean in washing machine. These seats rock for maintenance. All velcro fabric connections and removable padding so you can just toss the fabric in the washing machine.

Fabric stripped off seats to clean in washing machine. These seats rock for maintenance. All velcro fabric connections and removable padding so you can just toss the fabric in the washing machine.


Reply
0
0
12-04-2013, 02:33 AM
#478
Elite Member
Join Date: Oct 2013
Location: Cedar City, UT
Posts: 2,764
Total Cats: 951
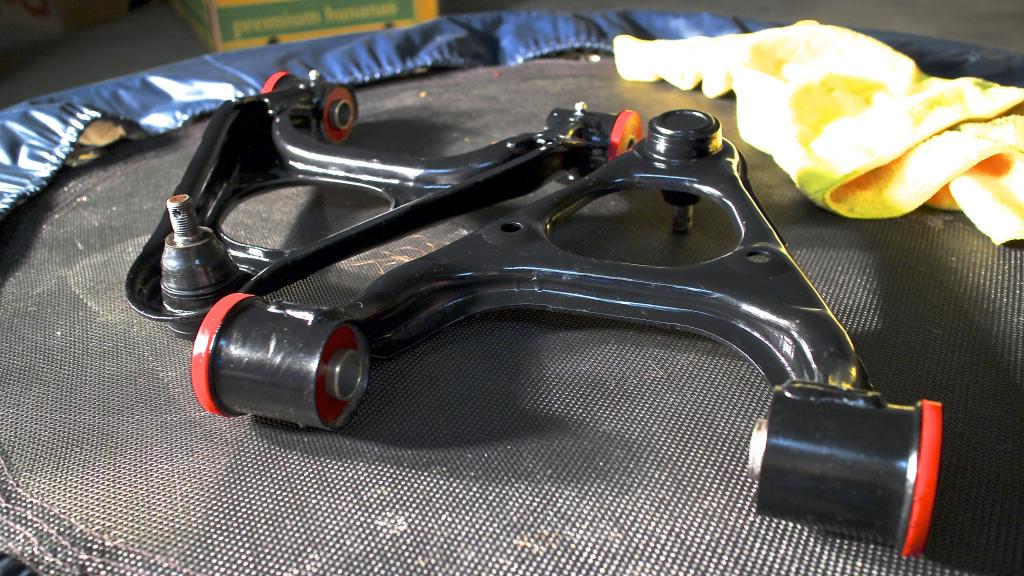
Upper Control arms all done, that was a messy job. Checked all zerk fittings to insure that grease channel through the poly wasn't blocked. Put silver anti-seize on the interior of metal bushing to help with corrosion.
Brake booster all done. A couple runs on the back side but nothing to complain about.

Just waiting on the fabric to dry so I can refinish the seats in black.

Brake booster all done. A couple runs on the back side but nothing to complain about.

Just waiting on the fabric to dry so I can refinish the seats in black.
Reply
0
0
12-04-2013, 09:59 AM
#479
Elite Member
iTrader: (2)

Join Date: Sep 2008
Location: Central Florida
Posts: 2,799
Total Cats: 179
For confirmation, I agree with changing the color.

Reply
0
0
12-04-2013, 10:07 AM
#480
Elite Member
Join Date: Oct 2013
Location: Cedar City, UT
Posts: 2,764
Total Cats: 951
Currently tearing apart my rear subframe. Holy **** the rust! The rear diff housing is a little scary. The rear hubs have so much rust I think I'd rather replace them not for superficiality but safety!
East coast is not kind to cars.
Reply
1
1


