93' Miata stolen and flipped build thread
 02-22-2014, 04:32 AM
#1341
Elite Member

Join Date: Oct 2013
Location: Cedar City, UT
Posts: 2,764
Total Cats: 951


I don't just paint over old paint. Look through the thread, I strip everything down to bare metal before I paint.

I'm not loosing sleep over it. Look at the sound deadening I put in if you want to talk about weight.
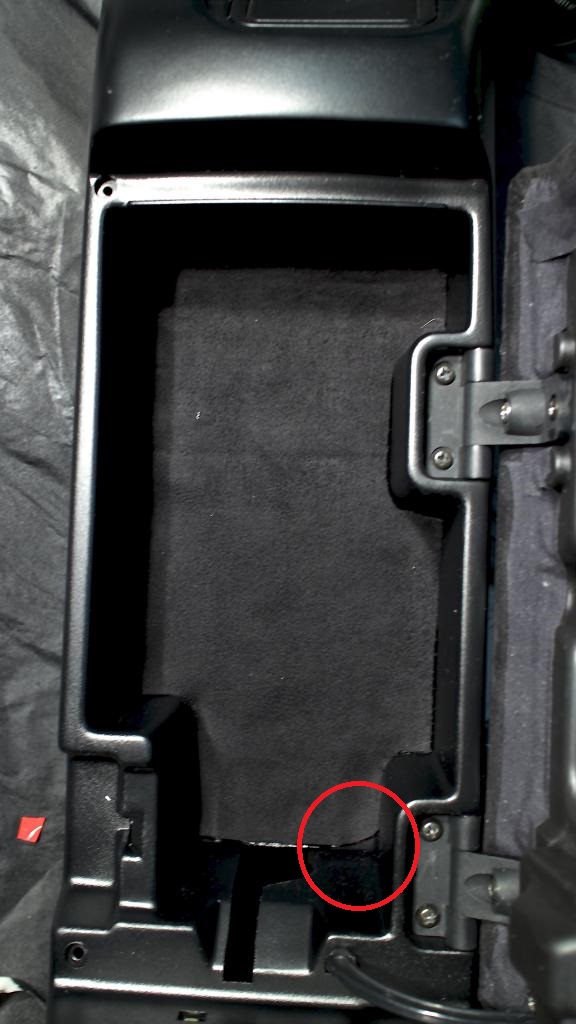
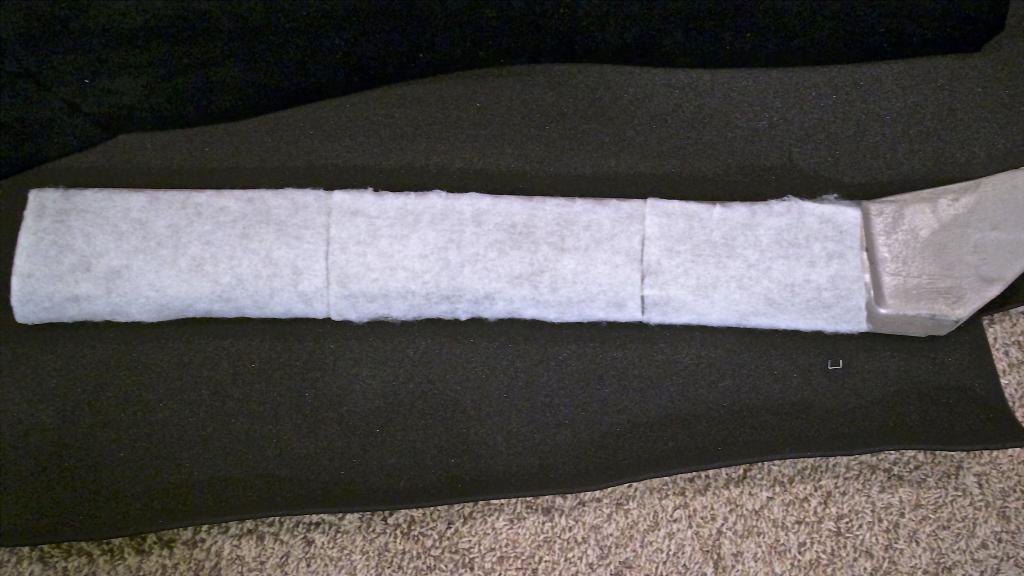
What I am loosing sleep over is the last of the console. I wanted to add a nice layer at the bottom of the pockets for my phone and anything else that likes to turn into a rattle death trap. I have these felt inserts in my VW and it does wonders for things rolling about/rattling. Didn't take very long at all.
I did add velcro to the back of it so that I wouldn't have to cut a hole for the screw holes. Not the nancy velcro, but industrial application velcro. Very strong, very sticky. Pro tip: If you use some heat lamps or a heat gun and heat the back of the adhesive up before you apply it you get a much stronger bond.
Looks really good, but my camera is making it look really bad.


Onwards and upwards.

Reply
 1
1

1


 02-22-2014, 10:25 AM
#1346

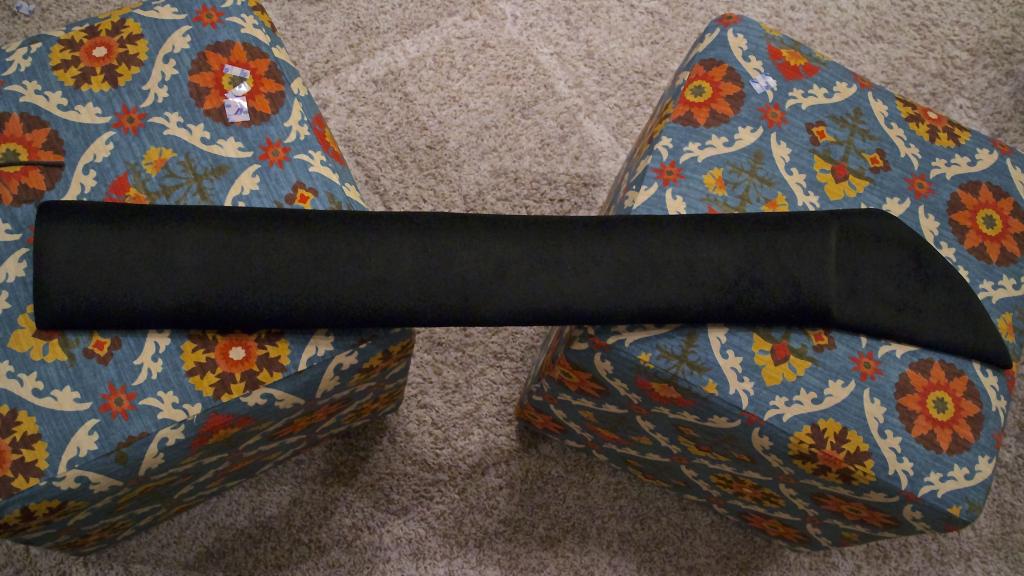
I think that Suede looks great. However, I find on my car that the console armrest tends to collect a lot of sweat (I like driving top down in TX heat) and needs to be cleaned frequently. I hope it holds up. Even if it doesn't, looks like you can replace the material as needed in the future.
Reply
0
0
02-22-2014, 03:38 PM
#1348
Elite Member
Join Date: Oct 2013
Location: Cedar City, UT
Posts: 2,764
Total Cats: 951

Fine I spent an extra 20 minutes to satisfy you bastards. Anything you see wrong with it is just the picture, it looks perfect in person! Especially the top middle right corner. Just a shadow.

Reply
5
5
02-22-2014, 09:38 PM
#1349
Elite Member
Join Date: Oct 2013
Location: Cedar City, UT
Posts: 2,764
Total Cats: 951
Seems like I've done nothing today, but is has just been a lot of small tedious tasks to build to the whole.
Pulled the old vinyl off the upper door cards. I used a heat gun so that the vinyl would seperate from the factory foam, which was still in really good shape.
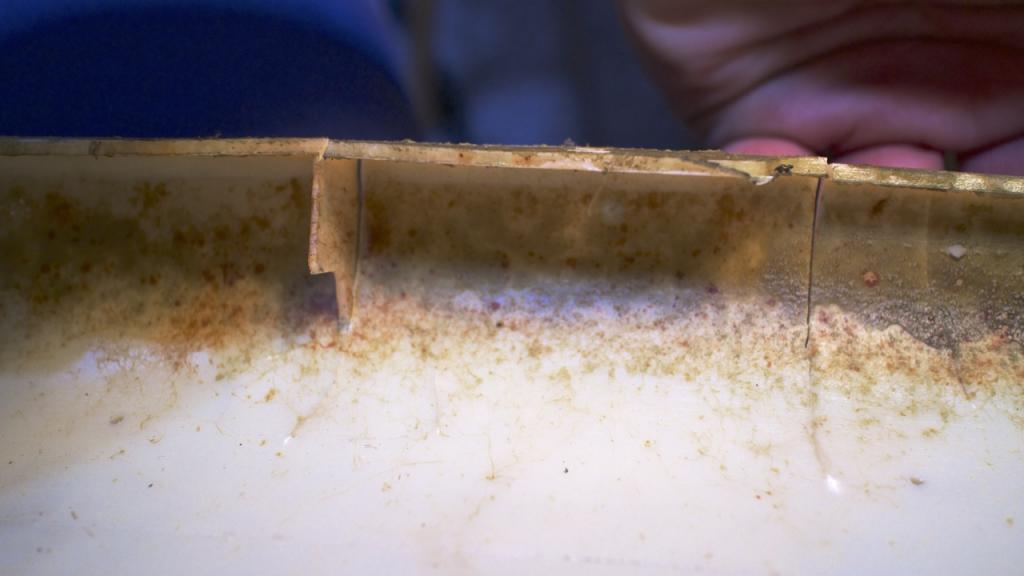
Sadly after I did that I noticed a lot of cracks in the plastic.
So I globbed a bunch of this stuff on the there and then dragged the glue flush with a razor blade. Shoe Goo is great to use for panels that flex like this since it is, well, highly flexible! Plus it is super durable too. I used to use it on all my climbing shoes when I'd blow a heel or toe. Never failed once.

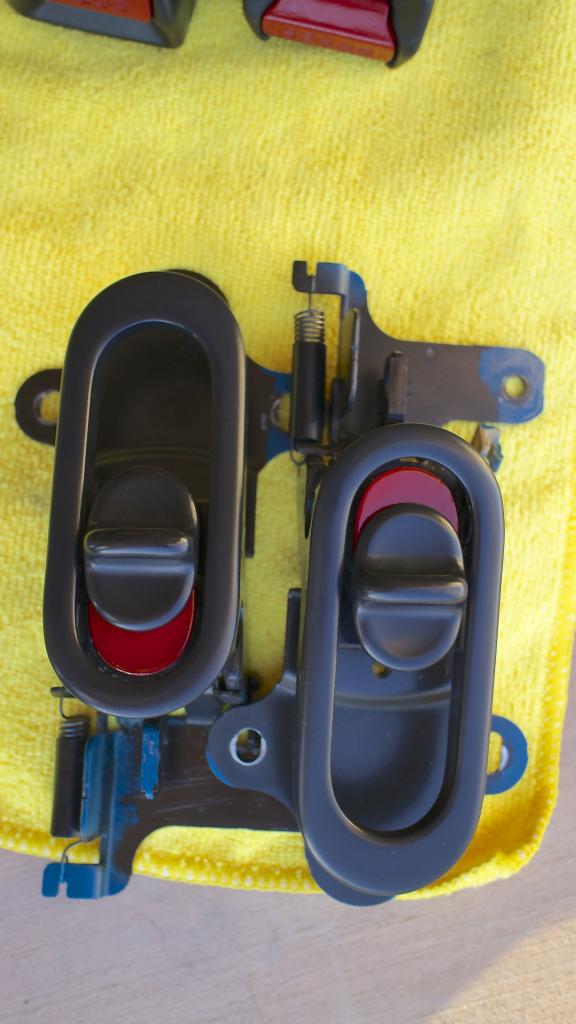
went to assemble my door latches again and noticed a bunch of overspray on the parts. So I cleaned it all off.

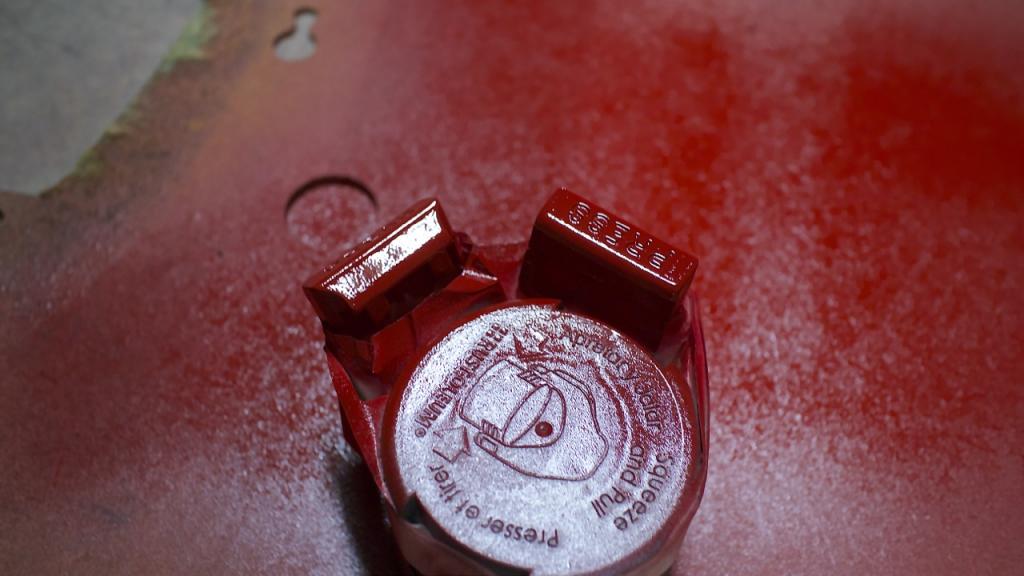
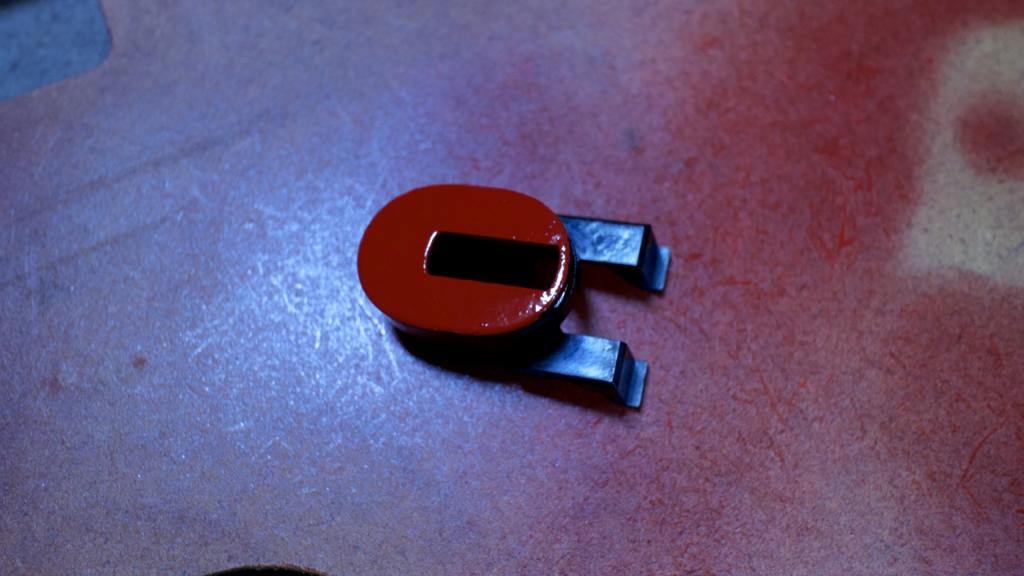
Unfortunately when I went to clean the red lock plastic all the red came off....
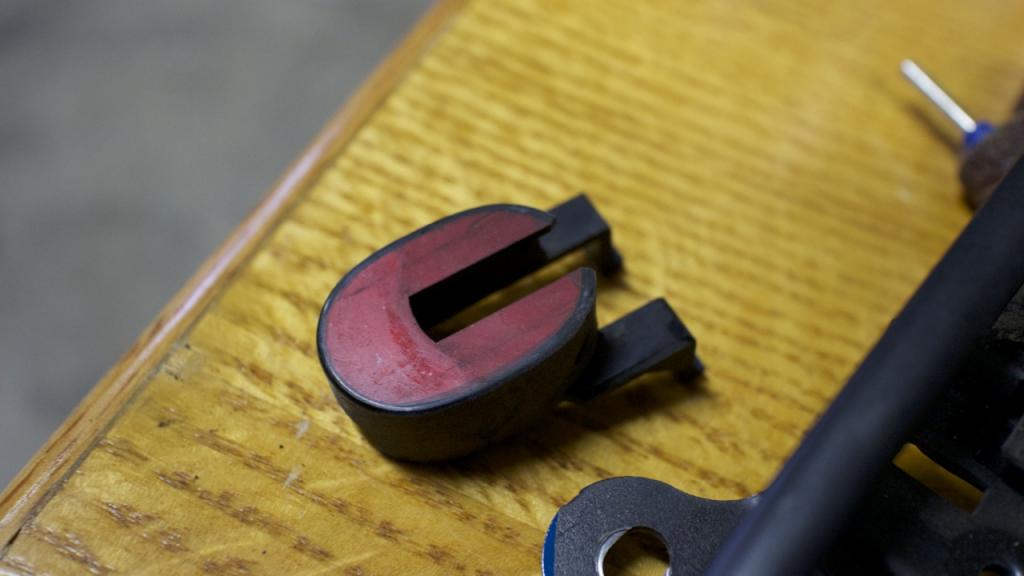
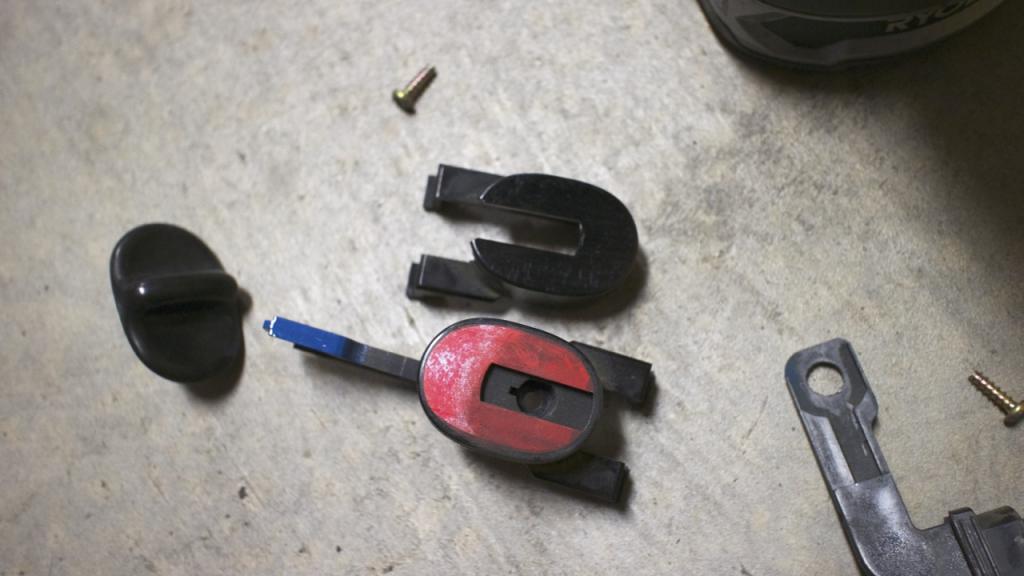
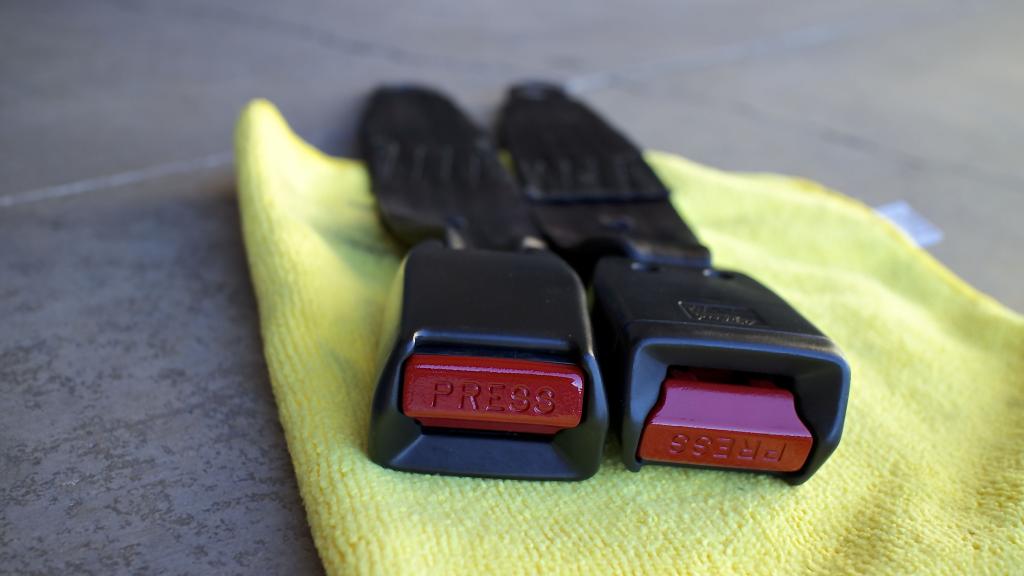
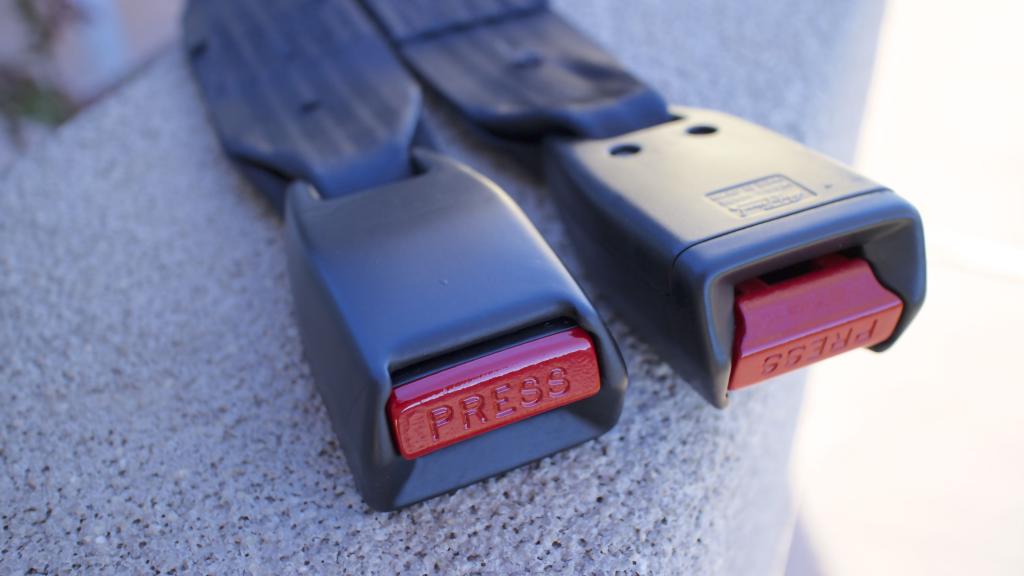
So I decided to repaint them and also repaint my push buttons on the seatbelts. I figured out how to disassemble the seat belt latch so I pulled it all apart and sanded it down smooth and repainted them.
Bad photo
door locks
seatbelts
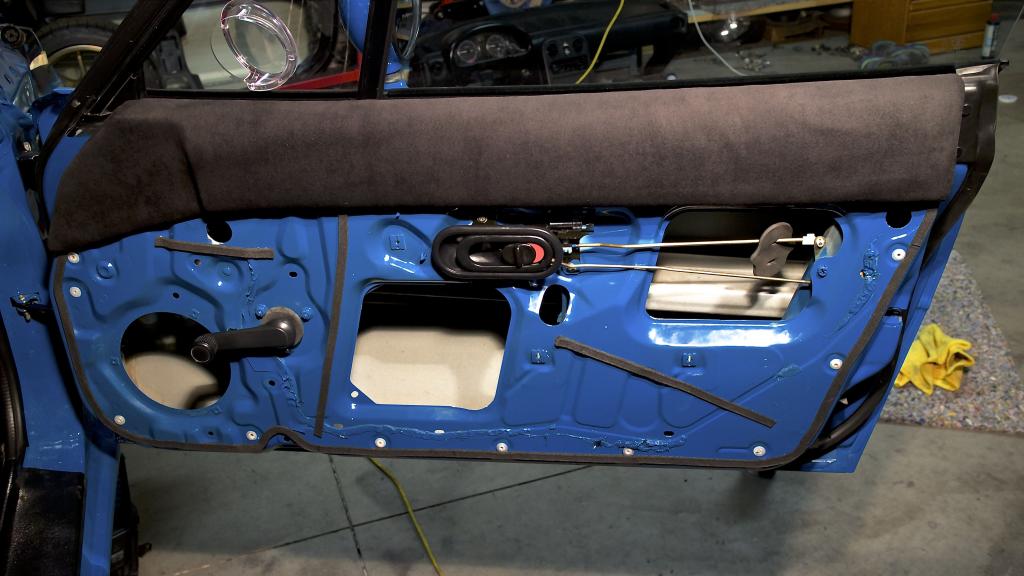
I also cut my door cards for the door lever assembly and once I can put it all back together I'll do a final cut and get it all snazzy so that I can start putting the S.S. on the lower door cards.
Pulled the old vinyl off the upper door cards. I used a heat gun so that the vinyl would seperate from the factory foam, which was still in really good shape.
Sadly after I did that I noticed a lot of cracks in the plastic.

So I globbed a bunch of this stuff on the there and then dragged the glue flush with a razor blade. Shoe Goo is great to use for panels that flex like this since it is, well, highly flexible! Plus it is super durable too. I used to use it on all my climbing shoes when I'd blow a heel or toe. Never failed once.

went to assemble my door latches again and noticed a bunch of overspray on the parts. So I cleaned it all off.


Unfortunately when I went to clean the red lock plastic all the red came off....


So I decided to repaint them and also repaint my push buttons on the seatbelts. I figured out how to disassemble the seat belt latch so I pulled it all apart and sanded it down smooth and repainted them.
Bad photo

door locks

seatbelts

I also cut my door cards for the door lever assembly and once I can put it all back together I'll do a final cut and get it all snazzy so that I can start putting the S.S. on the lower door cards.
Reply
2
2

 02-23-2014, 02:49 AM
#1352
Elite Member
Join Date: Oct 2013
Location: Cedar City, UT
Posts: 2,764
Total Cats: 951
It was either that or leave them just black. Which yeah, I probably should have done...
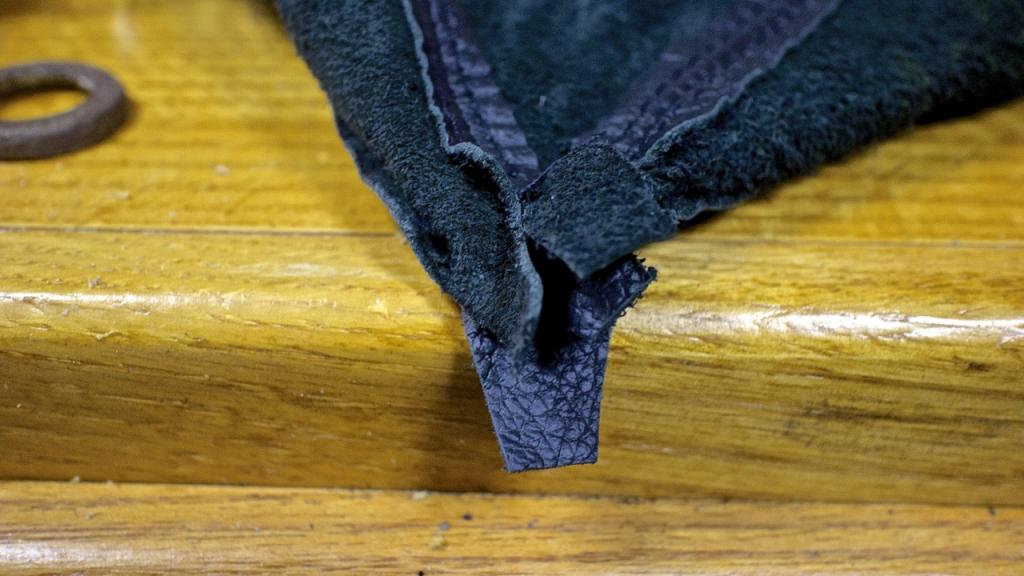
Ok my care package from Rspeed came in. As I was considering redoing the shift boot and and E-brake boot, they were having a sale on them so I picked them up cheaper than what it would cost me in time/materials.
First remove the trim ring on the old shift boot. Then scrape off the old glue and apply some super 77 spray adhesive to the TRIM RING ONLY. If you try to put it on the leather it will most like get some overspray on it. You could probably just use some super glue but I'm a huge fan of Super 77 spray adhesive.

Then simply slide the leather in the trim ring and fold them over. Try to get a smooth wrap around the ring so there are no unnecessary creases.
Then slide the holes over the tabs and push them all the way on.
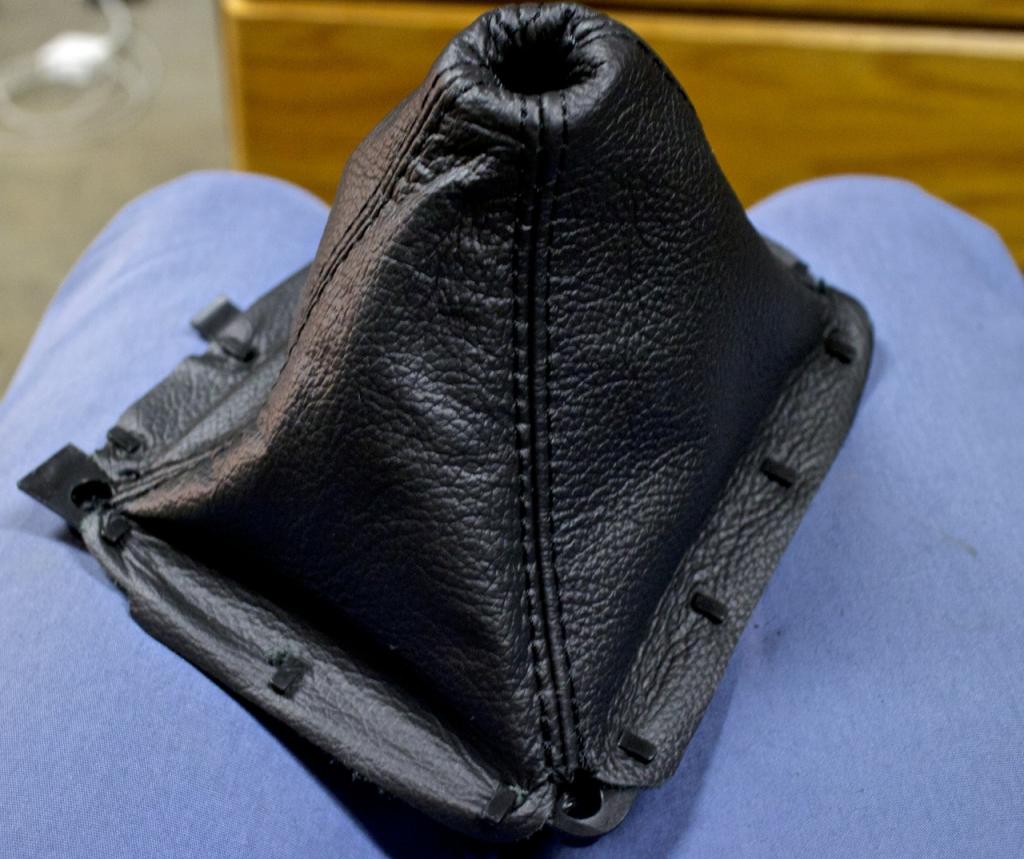
and all finished up

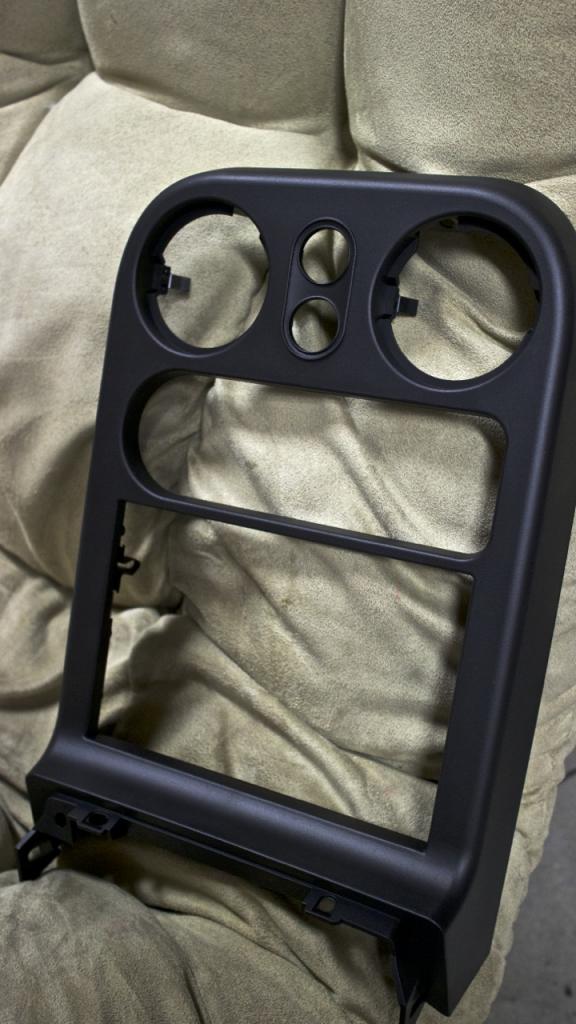
Also I got a new tombstone. Mine somehow cracked while I was working on it and I really didnt want to attempt gluing/bondo/sanding/primer/painting it. especially on a part that you touch a lot.
Also I found out why one of my windows was really ratchety and wasn't sliding smoothly. I'm not sure how I overlooked this when the window was out last time, but the delrin replacements were only $10, so it wasn't the end of the world.
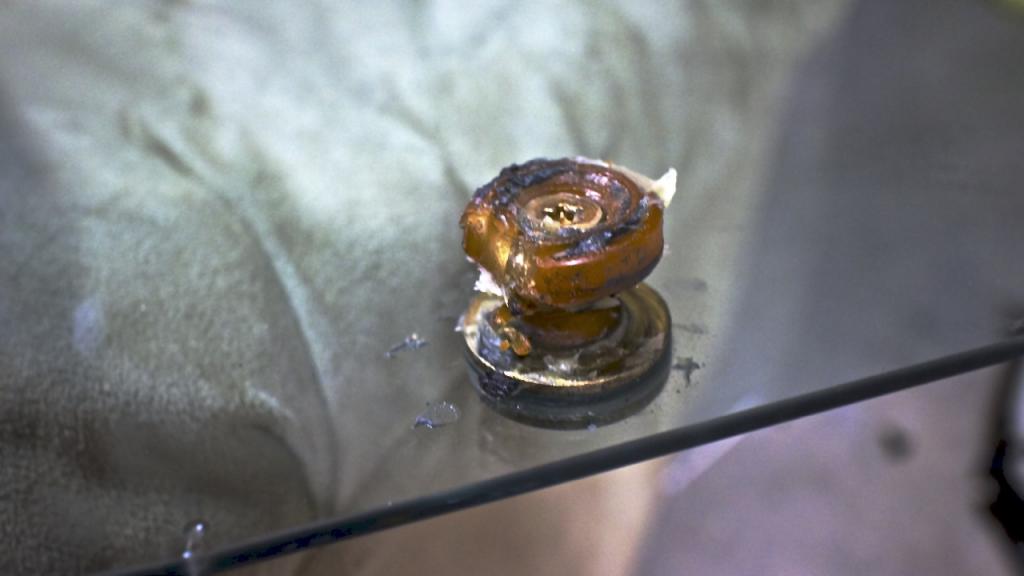
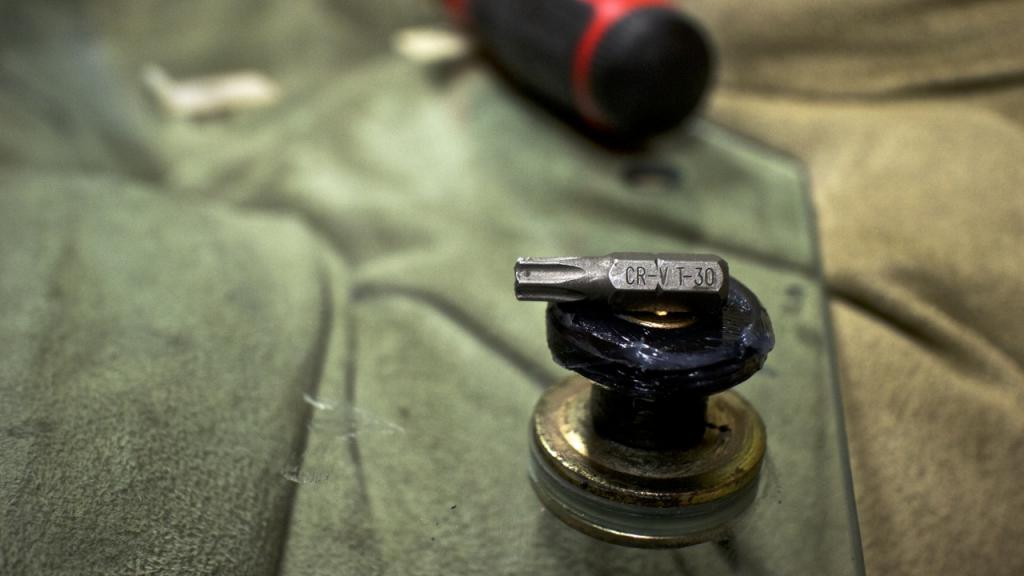
Pull the windows out, I'm sure I don't need to touch on how. Remove the old window guide with a T-30 bit.
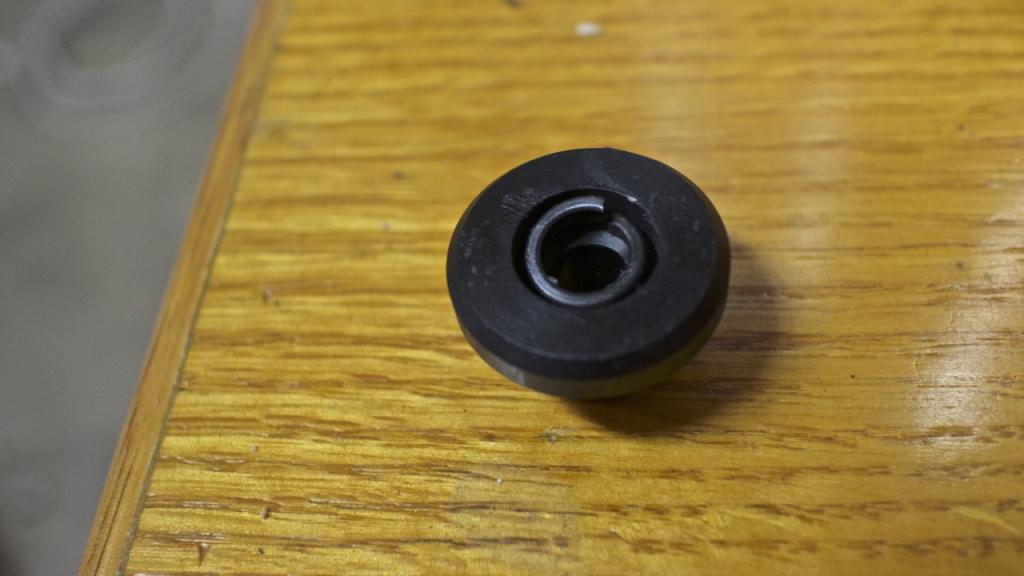
Grab your new one and put the sprung washer in the top.
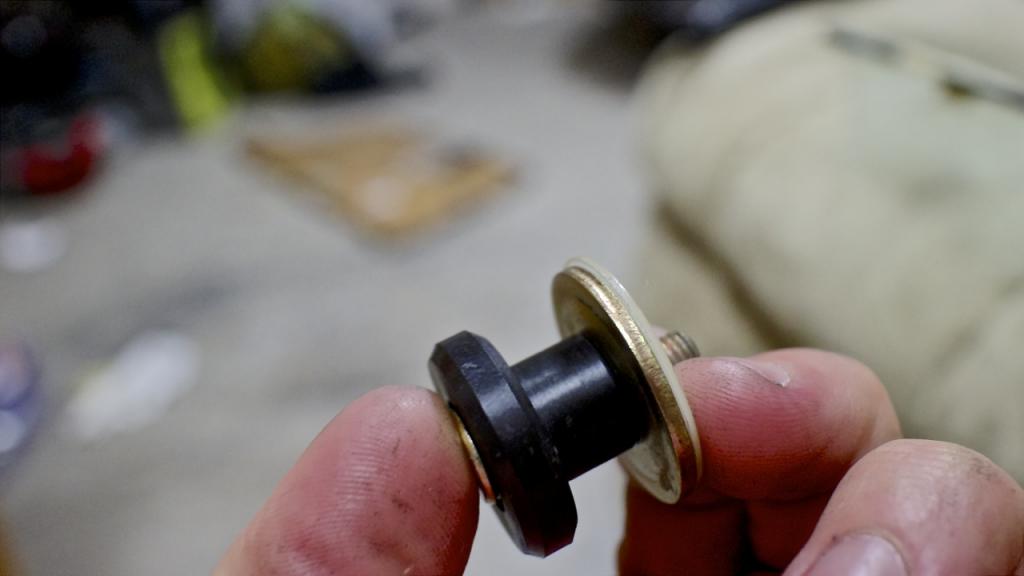
Reinstall it and remember the threaded metal disc goes on the bottom. Remember, plastic only touches the window.
Install it and put some new lube on it. Also while the window is out grab some Q-tips and try to clean any dirt out of the tracks and then put some white lithium grease in the tracks.
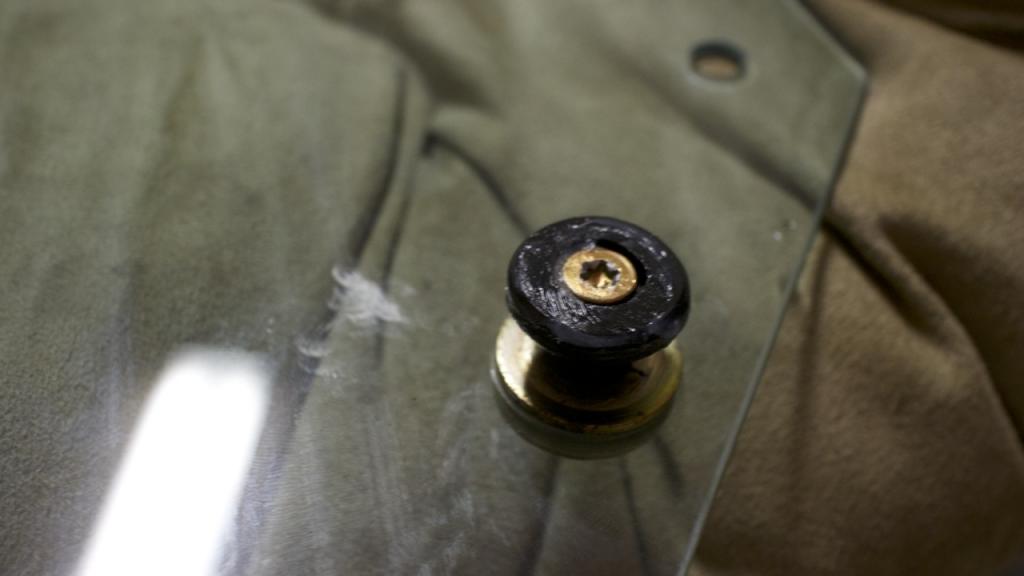
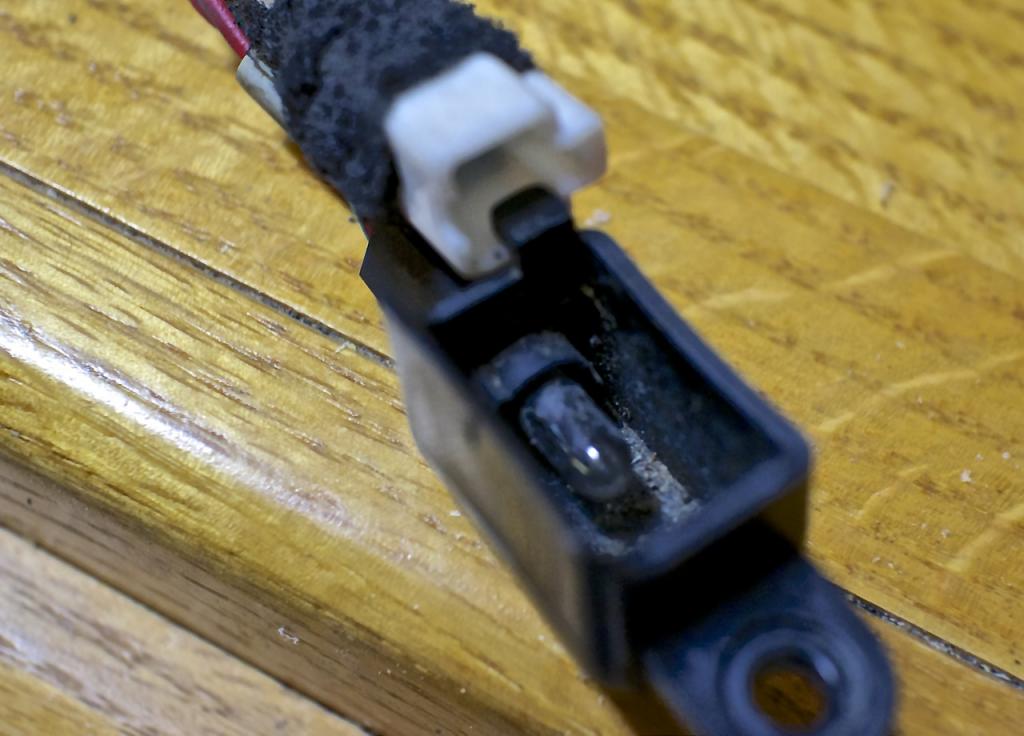
Also what is this lightbulb under the center console for?
Ok my care package from Rspeed came in. As I was considering redoing the shift boot and and E-brake boot, they were having a sale on them so I picked them up cheaper than what it would cost me in time/materials.
First remove the trim ring on the old shift boot. Then scrape off the old glue and apply some super 77 spray adhesive to the TRIM RING ONLY. If you try to put it on the leather it will most like get some overspray on it. You could probably just use some super glue but I'm a huge fan of Super 77 spray adhesive.

Then simply slide the leather in the trim ring and fold them over. Try to get a smooth wrap around the ring so there are no unnecessary creases.

Then slide the holes over the tabs and push them all the way on.

and all finished up

Also I got a new tombstone. Mine somehow cracked while I was working on it and I really didnt want to attempt gluing/bondo/sanding/primer/painting it. especially on a part that you touch a lot.

Also I found out why one of my windows was really ratchety and wasn't sliding smoothly. I'm not sure how I overlooked this when the window was out last time, but the delrin replacements were only $10, so it wasn't the end of the world.

Pull the windows out, I'm sure I don't need to touch on how. Remove the old window guide with a T-30 bit.

Grab your new one and put the sprung washer in the top.

Reinstall it and remember the threaded metal disc goes on the bottom. Remember, plastic only touches the window.

Install it and put some new lube on it. Also while the window is out grab some Q-tips and try to clean any dirt out of the tracks and then put some white lithium grease in the tracks.

Also what is this lightbulb under the center console for?

Reply
3
3

 02-23-2014, 03:17 AM
#1354
Elite Member
Join Date: Oct 2013
Location: Cedar City, UT
Posts: 2,764
Total Cats: 951
While I'm sure that is possible with the stock seats I can't even imagine trying to take off my pants in the race seats.
I remember when I was driving back from AL I left some chapstick in my pocket and practically had to get out of the car just to get it out of my pocket.
I remember when I was driving back from AL I left some chapstick in my pocket and practically had to get out of the car just to get it out of my pocket.
Reply
0
0
 02-23-2014, 06:04 AM
#1356
Elite Member
Join Date: Oct 2013
Location: Cedar City, UT
Posts: 2,764
Total Cats: 951
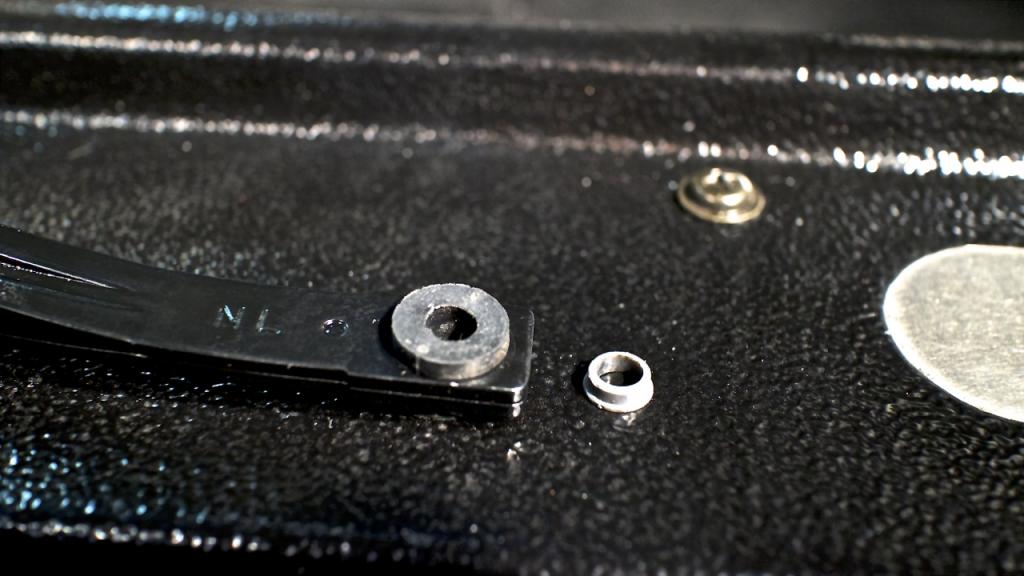
Forgot to do this when I put my doors on. I put the hinge pin in that keeps the door from swinging open/shut without resistance.
Problem was that I could not find all the other grey plastic washers that keep the pin from rattling around in the hole.
So I improvised and used a couple rubber grommets I had laying around. I used them for the door panels but with how I am doing them they aren't necessary now.
If it wears out I'll buy the correct plastic grommets but it is surprisingly an absolute perfect fit. 1/4" hole grommet for those that want to know. It's a bitch to get the grommet in the hole but the pin fits like a glove.
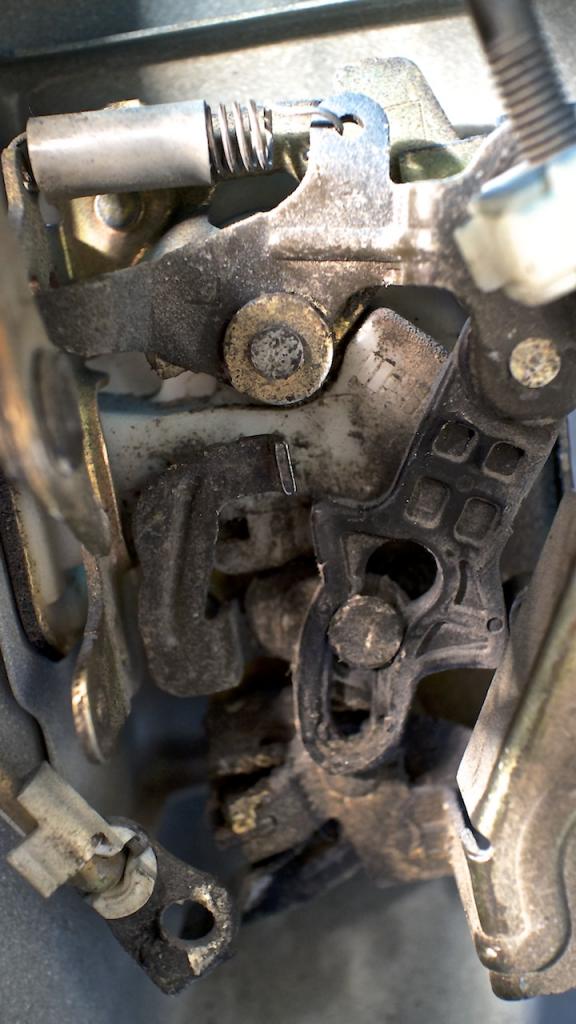
also did the door auto-unlock modification wear you bend the tab in the middle of the picture towards you about a 1/4". I tried using a coat hanger but it didn't do crap. So I used a chissel and just cammed it out. I hated that I had to lock the door after I already did so in the car.
Also yes I am fighting the urge to remove the lock assembly to clean it.

Last edited by Jeffbucc; 02-23-2014 at 06:17 AM.
Reply
1
1
02-23-2014, 08:46 AM
#1357
Elite Member
Join Date: Oct 2013
Location: Cedar City, UT
Posts: 2,764
Total Cats: 951
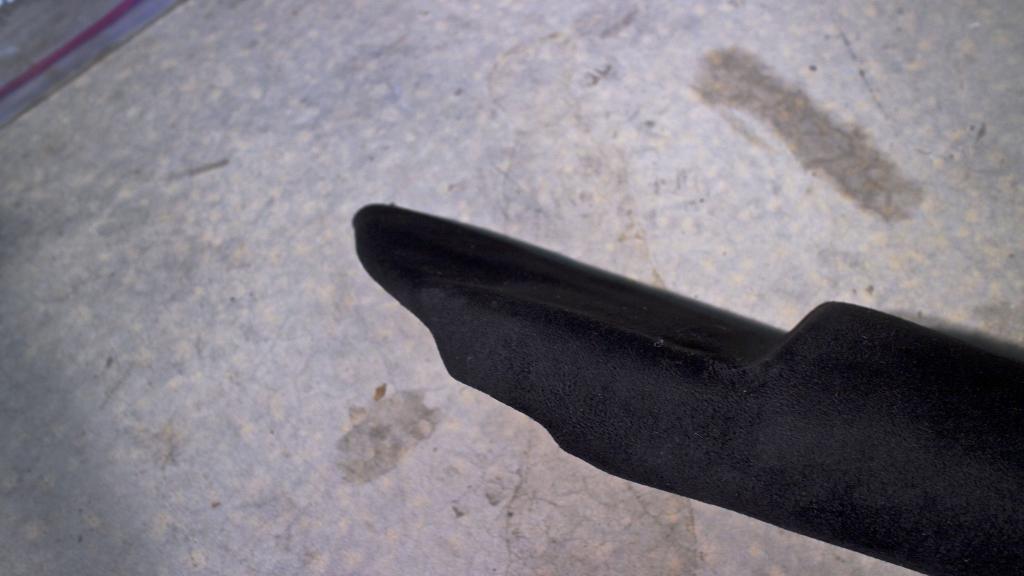
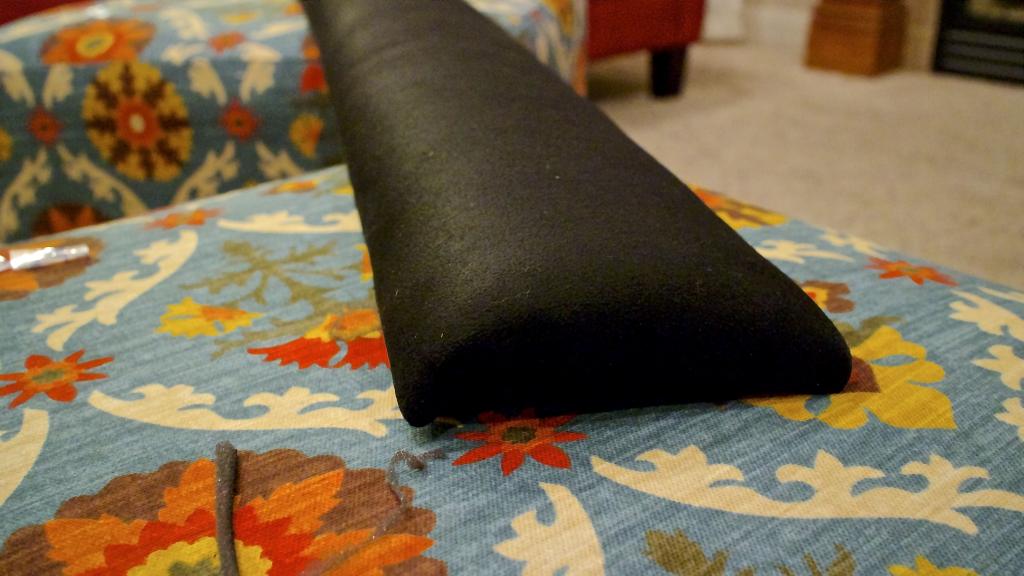
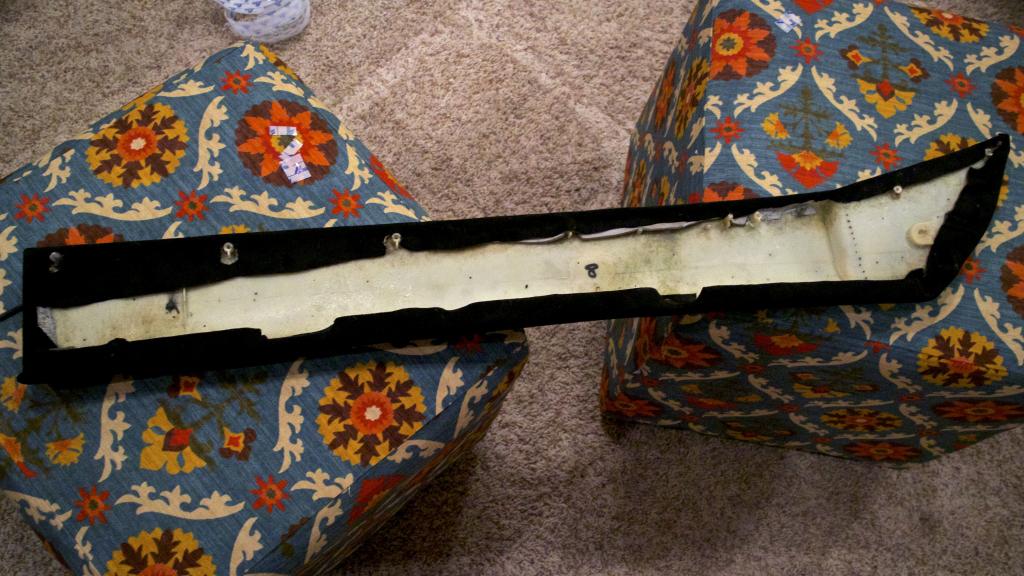
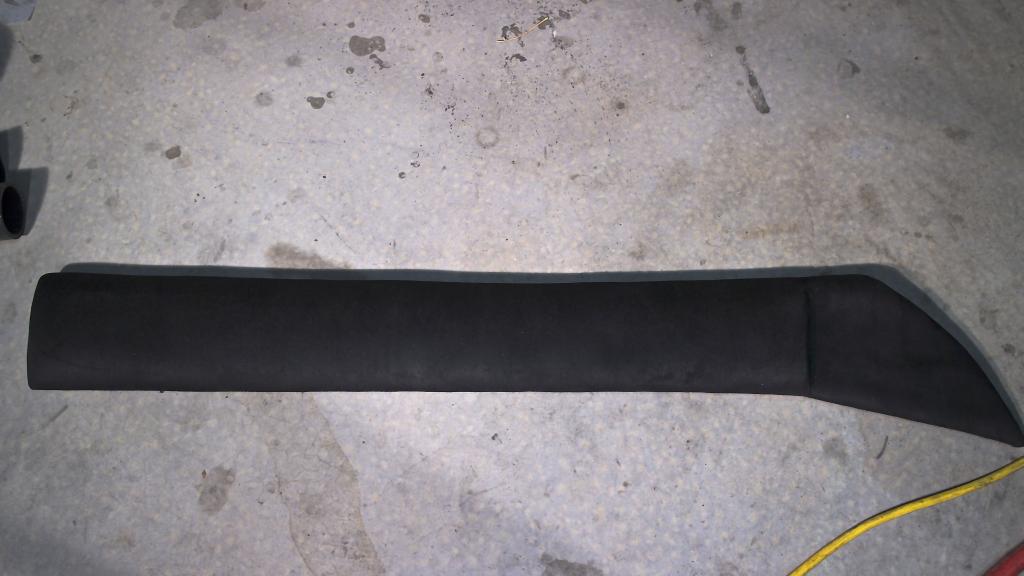
Oof, this is much harder when you are using adhesive. I tried staples but the plastic was too thin. Let's just say, you better get the fabric on perfect the first go around. I added a tiny amount of padding for comfort. thicker on the top and then gradually thinner as it goes to the bottom. It has a couple bumps here and there, but I'm going to go over it with my small rolling pin and a heat gun to compress them for a perfect roundness.
Need to do the last one tomorrow but I think I'm going to take a break.
Need to do the last one tomorrow but I think I'm going to take a break.


Last edited by Jeffbucc; 02-23-2014 at 09:03 AM.
Reply
3
3
02-23-2014, 07:56 PM
#1358
Elite Member
Join Date: Oct 2013
Location: Cedar City, UT
Posts: 2,764
Total Cats: 951
Well, it took a long time to finish the seatbelts and the door lever assembly. This was mostly due to the enamel red paint I used, which takes about 24 hours to cure properly before you can handle it roughly.
Most satisfying though. Looks really really nice. I put some clear packing tape over the red door lock switch so that rubbing wouldn't be an issue.
Seatbelt v2 is done now too. I had to repaint them since the first time the masking tape pulled the paint off due to laziness on my part and not sanding the part really well. Every time I rush painting I regret it.
The red looks a little rough in the photos but that is mostly due to the reflections off the high gloss. You can really only notice it if you are "looking" for it.
Most satisfying though. Looks really really nice. I put some clear packing tape over the red door lock switch so that rubbing wouldn't be an issue.

Seatbelt v2 is done now too. I had to repaint them since the first time the masking tape pulled the paint off due to laziness on my part and not sanding the part really well. Every time I rush painting I regret it.
The red looks a little rough in the photos but that is mostly due to the reflections off the high gloss. You can really only notice it if you are "looking" for it.


Reply
3
3
02-24-2014, 03:18 AM
#1360
Elite Member
Join Date: Oct 2013
Location: Cedar City, UT
Posts: 2,764
Total Cats: 951
Maybe another time, I think the pace lately has made me a little lethargic. Didn't really do much today, just sat on the front porch and read a book for the first time in a long time; felt good.
I did finish the passenger upper card though. Much easier this time around. My mistake with the first one was applying adhesive to the padding. This time I only applied it to the edges being wrapped around and the back. Much MUCH easier.
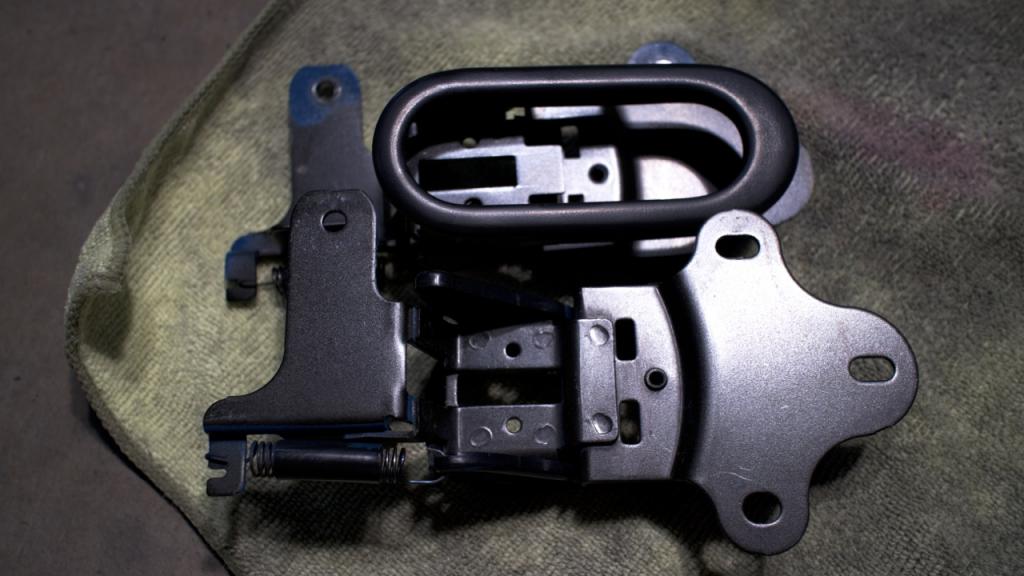
Also put the inner and outer door latches on as well.
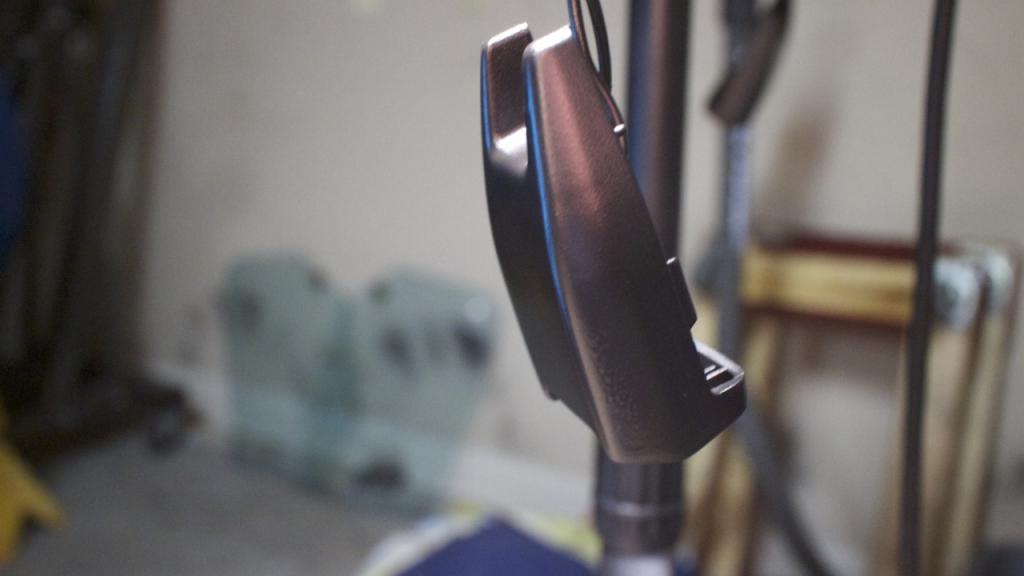
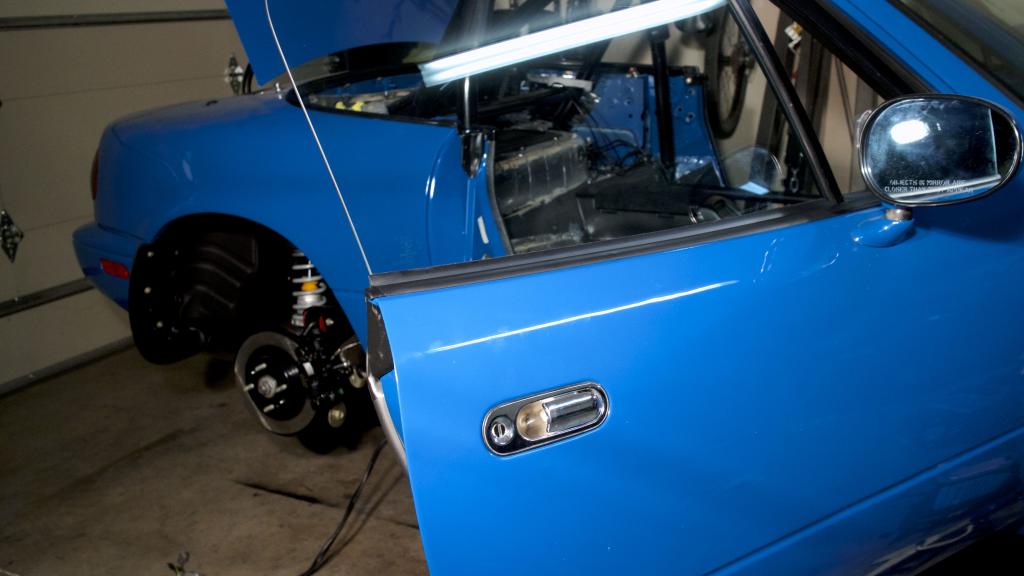
Put the outer door handle on. Took me 20 minutes a side to polish the chrome corrosion off the handle. Probably didn't help I didn't have polish made for chrome, so it didn't bite as well. Some of the deeper scratches are just going to have to remain, you don't want to attack chrome too hard.
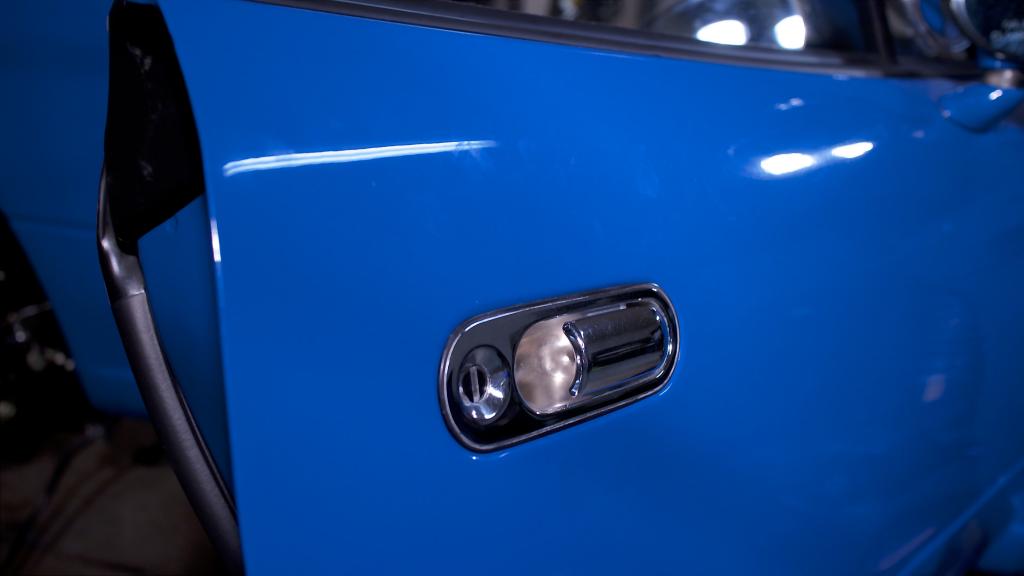
I did finish the passenger upper card though. Much easier this time around. My mistake with the first one was applying adhesive to the padding. This time I only applied it to the edges being wrapped around and the back. Much MUCH easier.
Also put the inner and outer door latches on as well.


Put the outer door handle on. Took me 20 minutes a side to polish the chrome corrosion off the handle. Probably didn't help I didn't have polish made for chrome, so it didn't bite as well. Some of the deeper scratches are just going to have to remain, you don't want to attack chrome too hard.


Reply
3
3


