
93' Miata stolen and flipped build thread


Elite Member
Joined: Oct 2013
Posts: 2,764
Total Cats: 951
From: Cedar City, UT
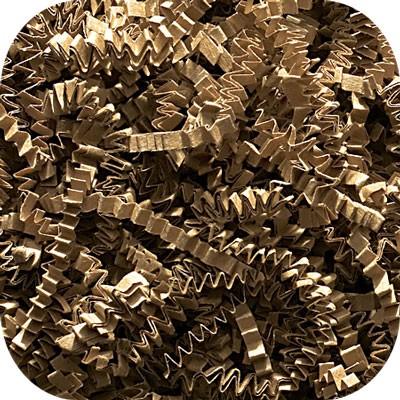
Y'all did a line of artificial sweetener while I was busy. For some reason my rep calls it raffi paper but its really called kraft fill wrinkle cut paper. Its used to fill gift baskets/bags as pretty fluff

It's like glitter, once you open the box it gets everywhere.
Reply
 0
0

0

We'll see. 15 day return period so if I like the TSI look better I'll snap ehm back in.
Y'all did a line of artificial sweetener while I was busy. For some reason my rep calls it raffi paper but its really called kraft fill wrinkle cut paper. Its used to fill gift baskets/bags as pretty fluff
It's like glitter, once you open the box it gets everywhere.
Y'all did a line of artificial sweetener while I was busy. For some reason my rep calls it raffi paper but its really called kraft fill wrinkle cut paper. Its used to fill gift baskets/bags as pretty fluff
It's like glitter, once you open the box it gets everywhere.
Reply
0
0
Elite Member
Joined: Oct 2013
Posts: 2,764
Total Cats: 951
From: Cedar City, UT
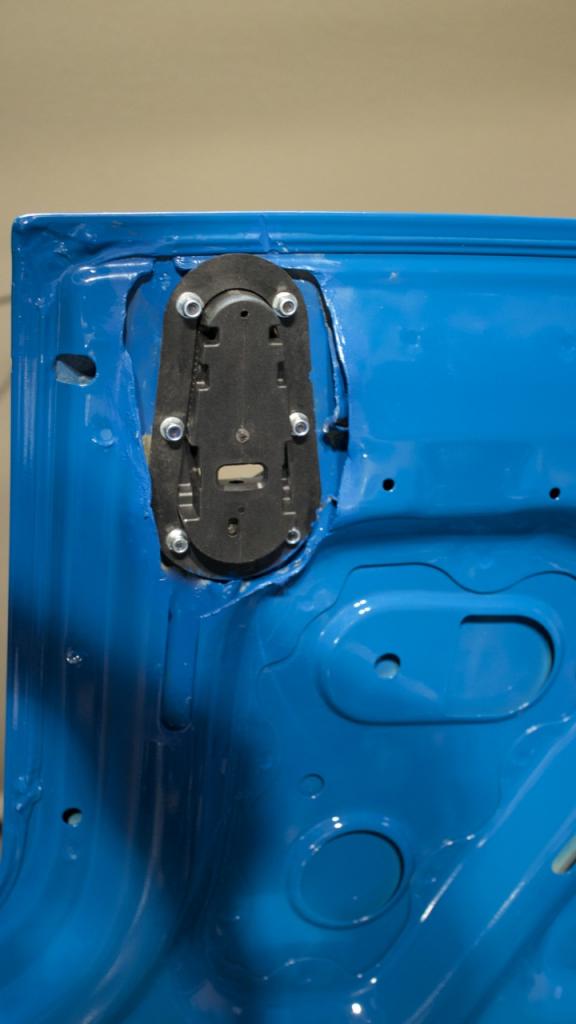
Finished up the Aerocatch hood pins. Aerocatch makes a great product, it wouldn't hurt them to include bolts that are 5 mm longer though. I was worried about the nuts backing off so I put some blue loctite on to ensure no issues. Also they could include some extra washers too. Things are so damn small that if you drop one it turns into a game of Where's Waldo.
You have to cut through the inner layer of the aluminum so that only the outer hood aluminum is sandwiched between the top and bottom layer. I ran out of dremmel cutting wheels so it isn't a very pretty cut but I'll just put a sticker over the holes later. I also put some blue touch up paint over the cuts and inner layer to church it up a bit.
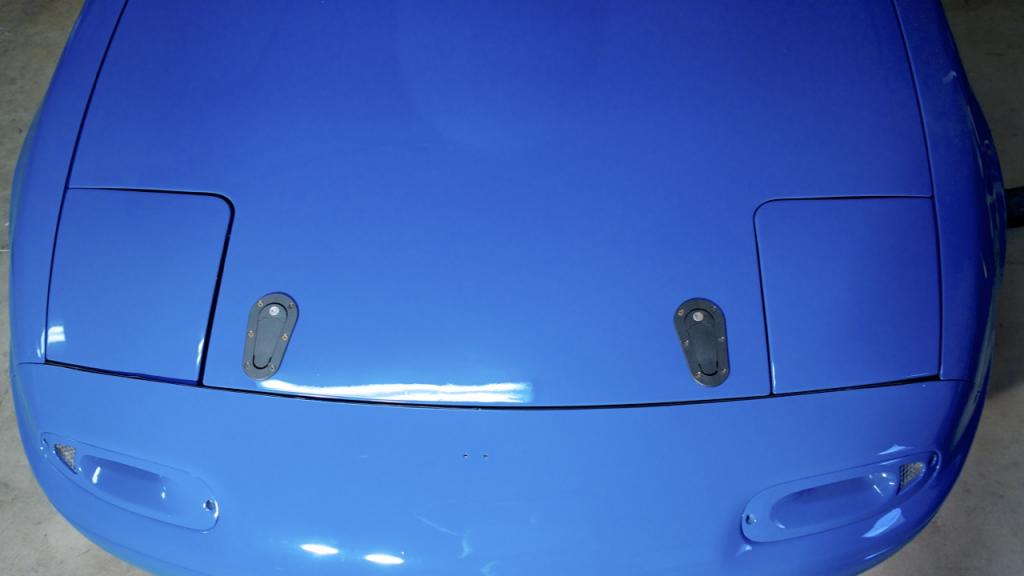
All closed up. Tolerances are very tight. My brackets were off by about 1mm so I had to bend the top of the hood pins very slightly to ensure it would slide in. People who are worried about rattling can rest easy, I have to push down on the hood a little to let the catch pin slide through the vertical pin and after pulling on the hood hard and shaking it there wasn't one MM of movement.


Reply
1
1

I love those Aerocatch latches I just can't justify them on anything I currently own. They really are so much nicer that "hood pins" though they can get a bit fiddly to operate. I always seemed to have trouble with the ones on Crusher but they may have been a little tweaked becauseracecar. I think someone yanked on one of them in the heat of the moment and bent it slightly over-center on the little internal linkage arm thing (if you've ever worked with these you will know exactly what I mean.) Keep them clean and you should have no problems.
Not that you wouldn't keep them clean, but you know what I mean
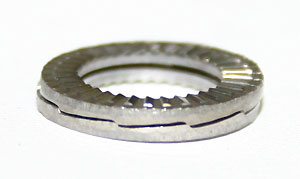
Yep! Nordlocks I believe? They also include those in 8mm with some of their turbo parts. I have them plus K-nuts on my outlet elbow -> downpipe connection.
Not that you wouldn't keep them clean, but you know what I mean
Yep! Nordlocks I believe? They also include those in 8mm with some of their turbo parts. I have them plus K-nuts on my outlet elbow -> downpipe connection.
Reply
0
0
Elite Member
Joined: Oct 2013
Posts: 2,764
Total Cats: 951
From: Cedar City, UT
If I was to do it again I would just put the stock hood latch back on. Epic levels of aluminum grinding means it gets EVERYWHERE. Plus it took forever to install them and adjust them properly. Probably about 6 hours total, I'm sure I could cut that time in half but I always take my time the first time I install something. You couldn't fit a piece of paper in between the hood hole and the latch so no chance of anything moving and causing premature failure.
Reply
0
0


Elite Member
Joined: Oct 2013
Posts: 2,764
Total Cats: 951
From: Cedar City, UT
I barely know what day of the week it is as of late!
Reply
0
0

Looks great. Honestly, my hood latch rattles and is starting to wear away the metal "latch" that's built into the hood. Gotta find a way to fix that, hopefully without hood latches  .
.
Looking great though!
.Looking great though!
Reply
0
0


Elite Member
Joined: Oct 2013
Posts: 2,764
Total Cats: 951
From: Cedar City, UT
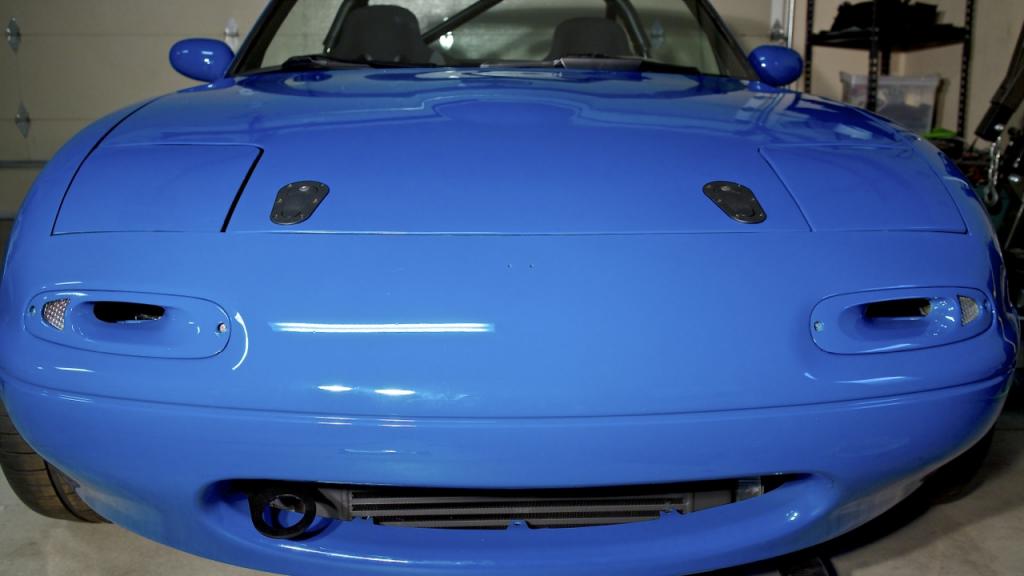
I've tried a lot of stuff to close the gap up but the headlight cover won't bend very much more. Maybe smaller washers to give the metal tabs more room to bend, not sure.
====
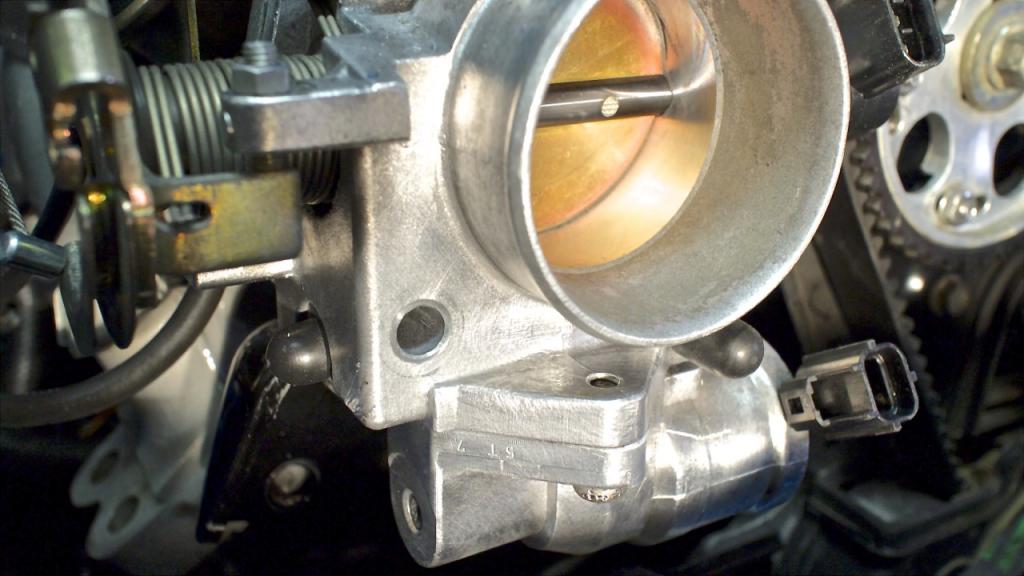
Cut little Roman David's dicks off the TB and put a plugged them up.
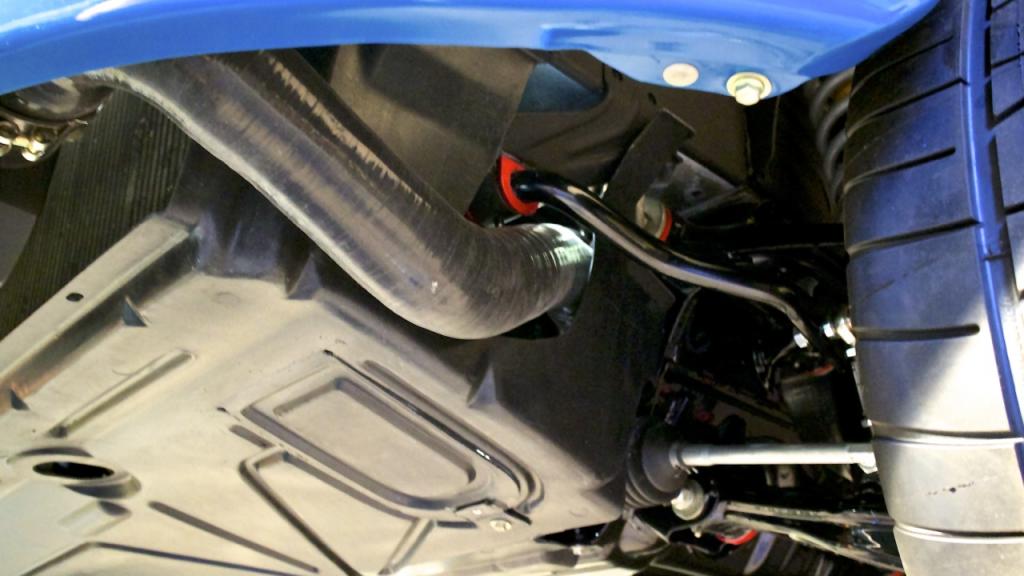
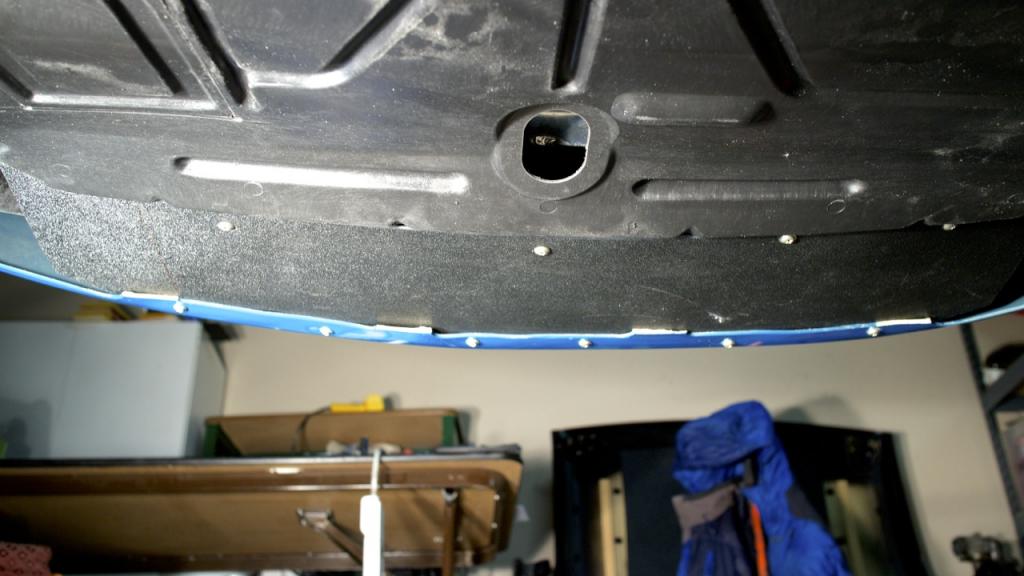
Forgot I bought a new factory undertray so I trimmed the side to clear the intercooler hose. Waiting to do the cold side till I can bolt the I.M. back on(waiting on injector connectors)
Thinking of cutting the tabs off the bumper and then making a little piece out of ABS plastic and extend it to the screw holes for the front lip. Will making just a flat piece be enough to seal up the engine bay? The only reason I haven't considered bending it 90 degrees up into the bay is that the intercooler hose is right in the way.
====
Cut little Roman David's dicks off the TB and put a plugged them up.

Forgot I bought a new factory undertray so I trimmed the side to clear the intercooler hose. Waiting to do the cold side till I can bolt the I.M. back on(waiting on injector connectors)

Thinking of cutting the tabs off the bumper and then making a little piece out of ABS plastic and extend it to the screw holes for the front lip. Will making just a flat piece be enough to seal up the engine bay? The only reason I haven't considered bending it 90 degrees up into the bay is that the intercooler hose is right in the way.

Reply
1
1

Reply
0
0
Elite Member
Joined: Oct 2013
Posts: 2,764
Total Cats: 951
From: Cedar City, UT
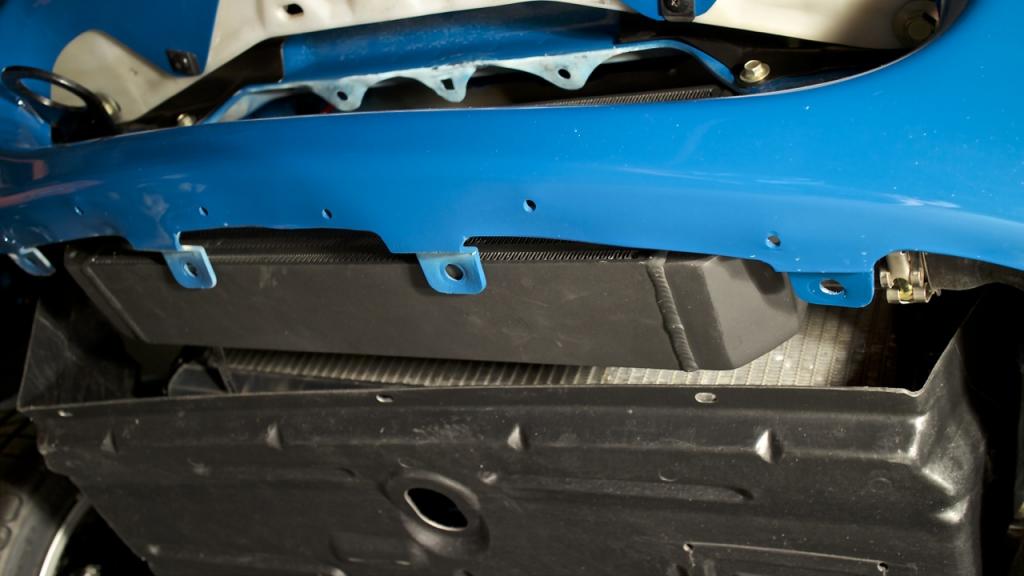
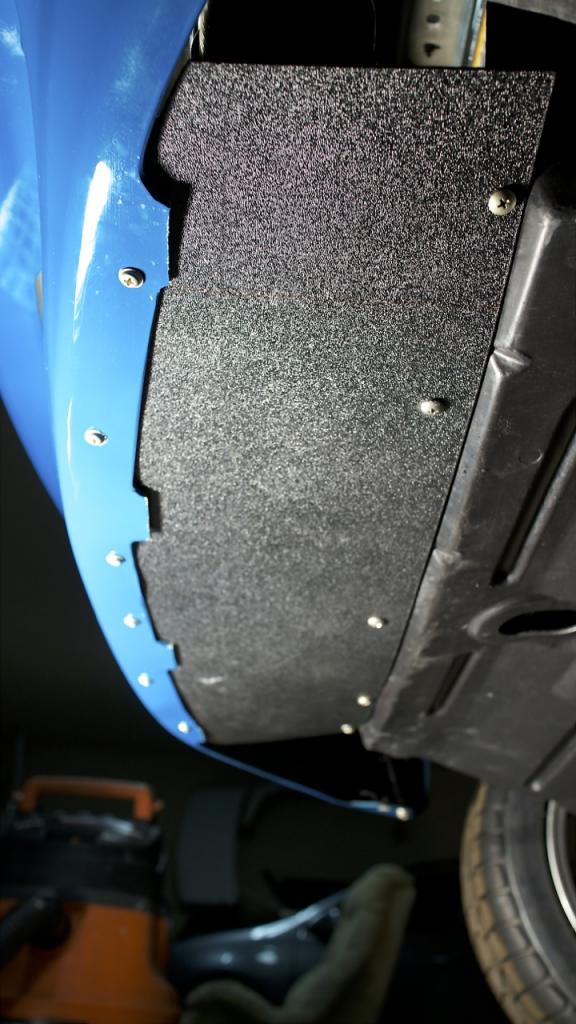
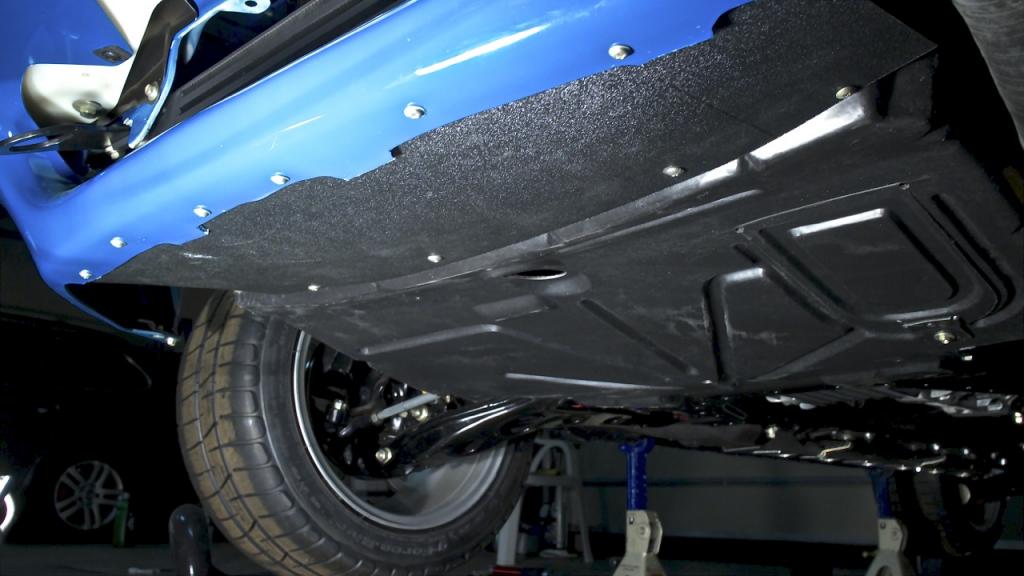
I got the 9" wide filler piece to help seal the undertray and help with radiator flow all done. Screws look weak I know but on the upper piece I widened the hole and added metal screw fasteners so it has a solid mounting point rather than plastic-to-plastic.
Once I got it screwed in I used a heat gun to help the plastic stay curved rather than under tension.
Once I got it screwed in I used a heat gun to help the plastic stay curved rather than under tension.


Reply
0
0
Elite Member
Joined: Oct 2013
Posts: 2,764
Total Cats: 951
From: Cedar City, UT
Have you tried wrapping a bit of duct tape or aluminum tape around the latch a few times? Ghetto fab fix but it worked on my old Subaru's door latches.
Reply
0
0

Elite Member
Joined: Oct 2013
Posts: 2,764
Total Cats: 951
From: Cedar City, UT
How well sealed does the bay need to be for efficient radiator cooling? Would adding a piece of ABS on the sides of the intercooler-to-radiator help or does the entire bay need to be thoroughly sealed?
Reply
0
0


