When you click on links to various merchants on this site and make a purchase, this can result in this site earning a commission. Affiliate programs and affiliations include, but are not limited to, the eBay Partner Network.
I have not had my car aligned under my ownership, and I know I am doing myself a disservice by not doing so.
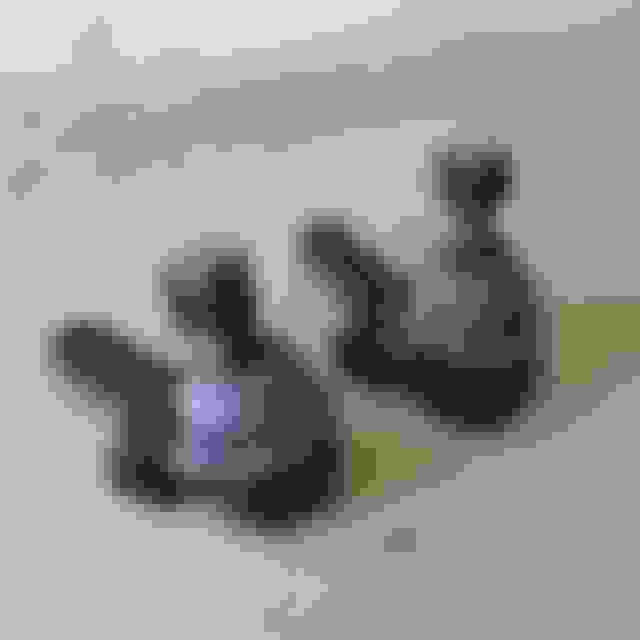
I had purchased my Xidas as a part of the Big Grip Kit from 949 Racing. In addition to the poly bushings, I opted for all of the fixings, which included extended lower ball joints.
Energy Suspension Poly Kit.
Bauer ELBJs.
The ELBJs will allow me to reach my desired camber targets while still maintaining a conservative, streetable ride height.
One reason keeping me from installing the new bushings was the idea of the added maintenance they would require. I was not too keen on adding zerk fittings and re-greasing every few months to keep dirt and debris out, while keeping all locations well lubricated.
With this in mind, I had started researching SADFABs polyurethane bronze bearing retro fit kit. All of the performance of poly and none of the squeakage. Another added benefit of the bronze kit was the bearings allowed for reduced levels of stiction allowing the suspension to move more freely. The original rubber bushings would no longer be adding to the spring rates.
However, I would never end up pulling the trigger.
While visiting Trackspeed one day, Andrew had mentioned he had pieced together a similar kit himself, and had a few extra batches that were sitting on the shelves.
Done and done.
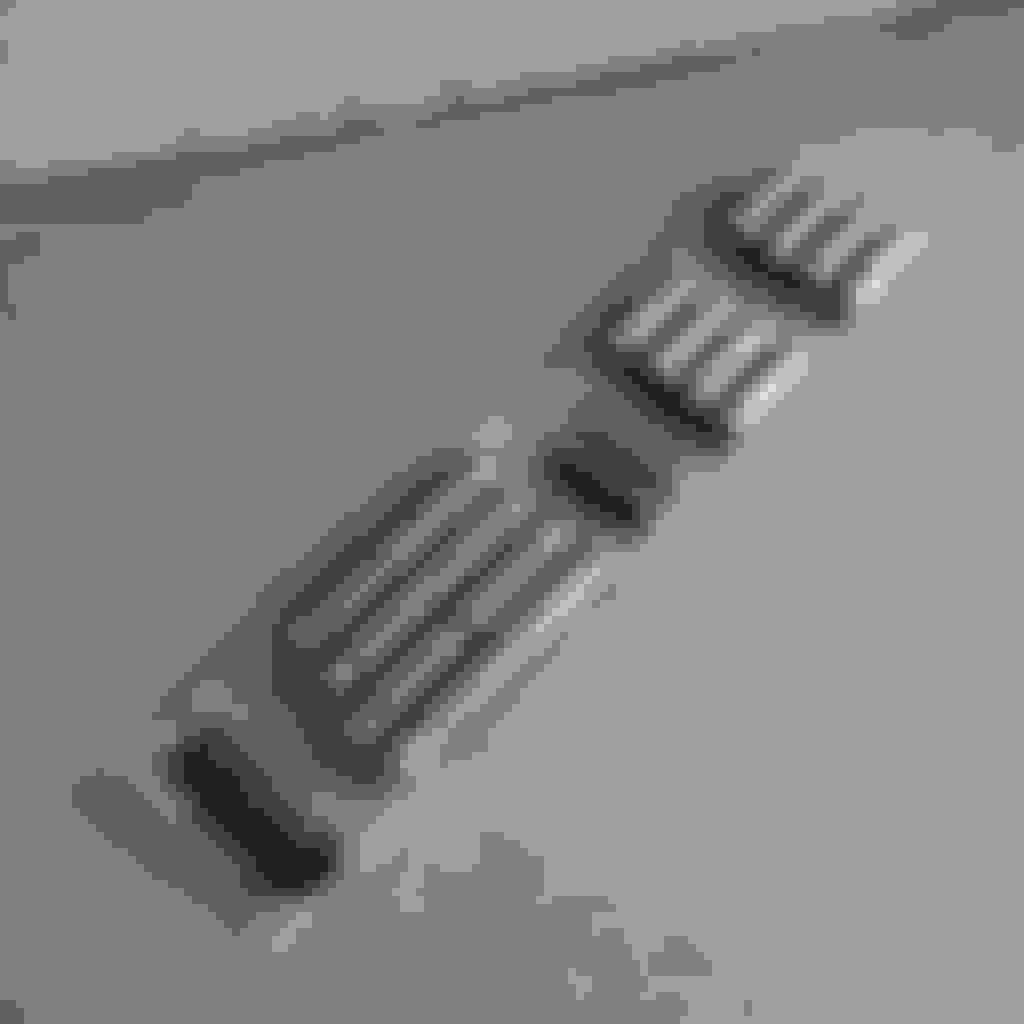
It included oil-impregnated sleeves for all locations bar the FUCA.
Oilite bearings.
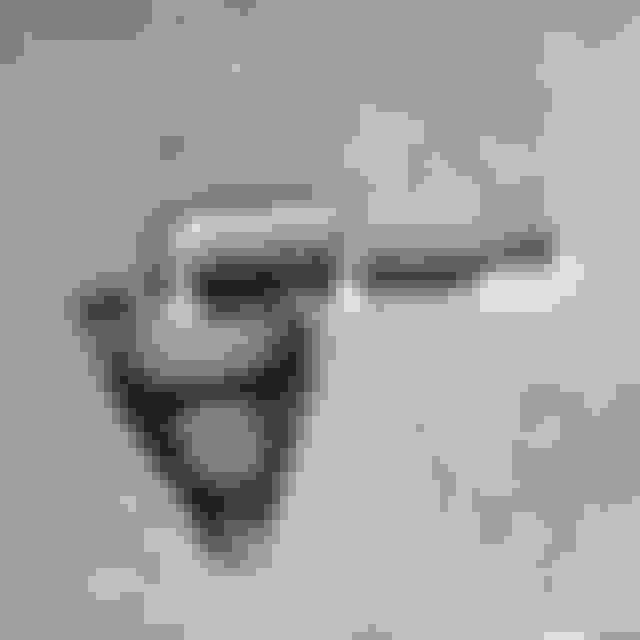
Out of fear of bending my control arms using a press, I purchased a Harbor Freights Ball Joint tool to press out old bushings.
The tool proved to be invaluable throughout the install.
Made for a satisfying "pop" after being freed.
My plan was to tackle all of my suspension at once. With this in mind I thought it would also be a great time to refresh my control arms.
Like a ghost of Jeffbucc's past...
Sanded.
Make-shift painting station.
Primered.
Painted and cleared.
Rust-oleum Gun Metal Gray. Only time will tell how well the paint will hold up.
After finishing two arms there was a threat of rain in the forecast. This prevented me from clear coating my next two arms, which I would need to revisit a few days later.
Adding the protective clear coat a few days after the first coats had cured, proved to be a disaster. The final coat would not bond to the existing layers and made for a very rough appearance. Even though they would be hidden under the car and out of sight for the most part, I was still not happy with my work. I plan to fix them in the near future.
Installing the bearings proved to be a bit harder than I had thought as they did not come with instructions.
While Andrew had clearly explained to me as to which bearings were to go to which locations, me being a bone-head, I forgot to make note of it.
After a few rounds of trial and error, I finally realized that the larger inner diameter sleeves were to go at all of the lower alignment locations. Who would have guessed?
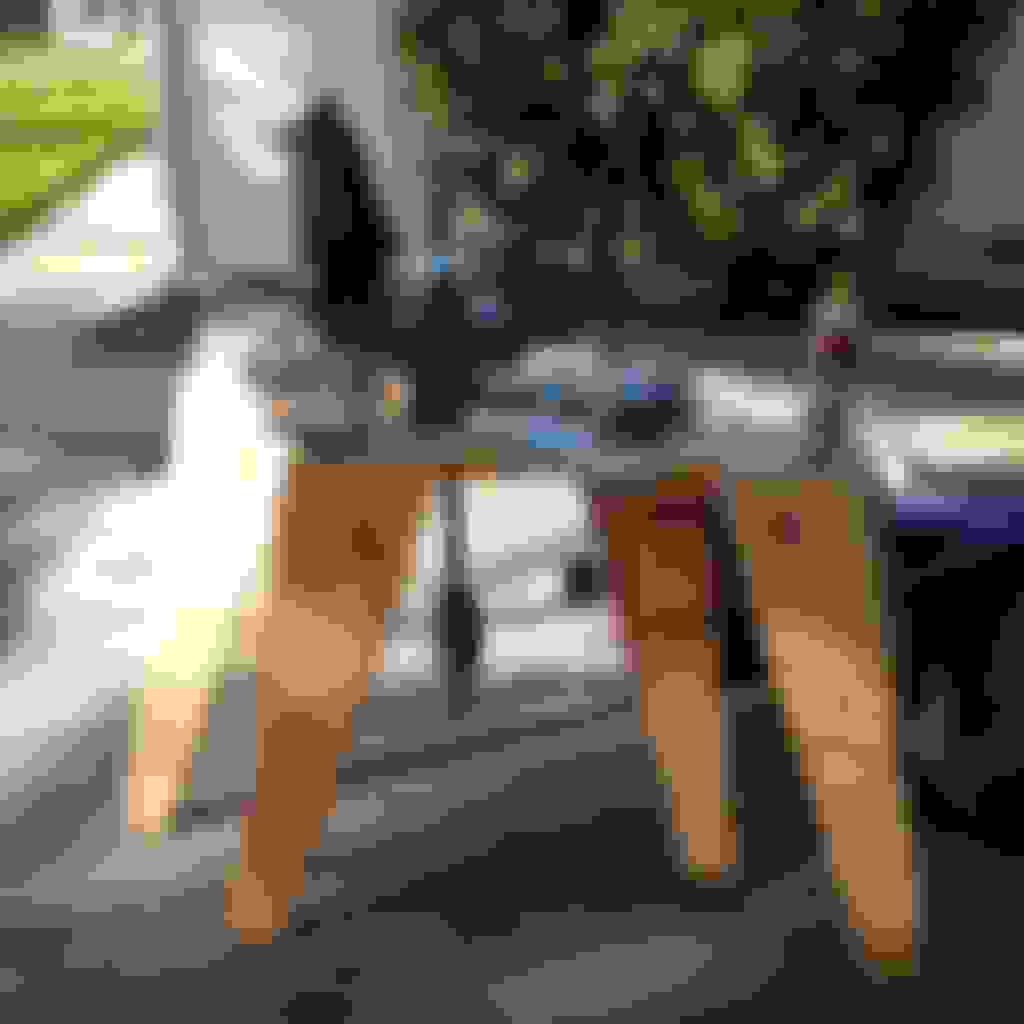
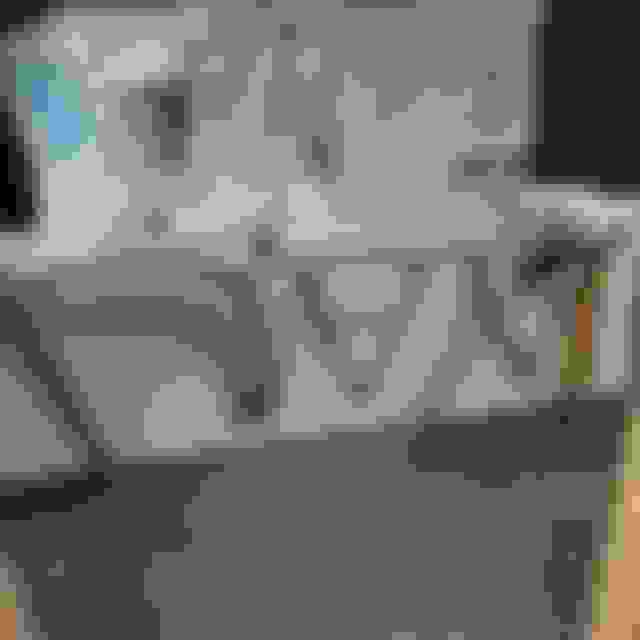
Front Lower Control Arm assembly.
Installed on the car.
Taking the extra time to paint the arms was worth while provided a "clean slate" in which to work. I am able to spot leaks easily and made the install look much cleaner in general.
The polyurethane bushings alone are known to make the car feel tighter and more responsive. Adding bearings should only improve on the handling.
The arms move much more freely throughout their range of motion and I cannot wait to take the car for a test drive.
So far I have only had the time to complete the front suspension. I am in the process of installing the rear bushings and bearings while installing new hubs and bearings. I also have a set of polyurethane differential bushings and Mazda Competition motor mounts waiting to be installed.
After all is said and done, the car should feel like new once more.
Last edited by Bryan Z.; 04-09-2018 at 02:11 AM.
Reason: Spelling
Initially, I had planned to attend two seperate track days the first two weekends of April.
Unfortunately, with the car still on jackstands it would not be finished in time.
Luckily, a few of my friends had invited me to run a Spartan Race with them over the weekend.
I try my best to stay fit as it helps with my concentration on a day to day basis, and allows me to fit in my bucket seat.
The race was to take place amongst the hills in Diablo Grande.
The added element of rain made for an interesting, yet fun race.
Bryan is far left.
Reverting back to the car, I am struggling to free the rear hubs as well as the axles from the uprights. I have read elsewhere of stories that hubs that are seized into the axles and will never end up letting go. I am hoping this is not the case.
So far I have tried using a slide hammer to pull out the hubs while on the car, to no such luck.
The entire car would shimmy on its jack stands as a result of the force.
A few of my friends, along with my father came out to help me try and remove the hub. It felt as if I I were at a carnival playing a version of the HighStriker game with the prize being a freed hub.
After about half an hour of wailing on the slide hammer to the point of my arm going numb, I decided on a different method of attack.
I popped the axles out of the differential and unbolted the uprights from the rear control arms removing them as a unit from the car. The plan now was to hammer the axles down out of the hubs. In doing so, I knew I had to be careful not to mushroom the threaded end of the axle as that would cause even more problems. I placed the axles on a saw horses and started to hammer.
Still no luck.
I speculate while hammering the axle with the upright braced at its ends it is causing the entire cast upright to flex ever so slightly, causing it bind the axle further. I had placed a block of wood between the hammer head and the end of the axle to protect it. I have not yet tried a 12 sledge to which might be the key to success.
If I am not able to do it myself, I am going to take it down to a machine shop before I damage them beyond repair. I have read an air hammer might just do the trick.
I let both assemblies soak in penetrating oil overnight and plan to use heat and a 12 ton press to free the axles and hubs.
If worst comes to worst, I will have to purchase new uprights and axles.
Looks great. I think you'll be very pleased with the bronze/poly. I am with mine.
However, your rear knuckles ... good luck. My '01 130k mile rear uprights & axles would not separate. Period. I soaked it in pb blaster over a period of a month. I tried freezing the axle with canned air and heating the knuckle with my heat gun. I left one under a heat lamp for another month with a pb blaster drip on it. I broke 2 pullers. Then I gave it to Aidan, and he was unsuccessful as well. The whole point was to replace the rear hubs, but nothing would come apart.
I ended up ordering completely new rear knuckle assemblies (includes hub) from Mazda and new rear axles. I forget, does this car have ABS? If it doesn't, I'd get the abs knuckles anyway, so you have the option of installing it later. And rather than getting the full rear assembly, just get the knuckle and add the Sadfab MR-2 rear hubs, for the best solution.
Based on your account, I am not looking forward to removing them. As luck would have it the group buy for the MR-S hubs surfaced just as I received my new hubs. While they do look to be the more robust option, I think I am going to wait for those to thoroughly test them.
As for my axles, I am going to give it a last, good ol' college try before waving the white flag and purchasing new uprights and axles.
Spend the money, avoid the frustration. My wisdom has now been splooged upon you all.
Serious advice, btw. Sometimes you can saves money by application of appropriate enthusiasm and elbow grease. Other times, like this one, **** it. The rear hubs need to be replaced so they don't assplode. This necessitates removal of the rear axles. If they cannot be removed after reasonable effort, just buy new ****. Knuckles, MR-2 hubs, axles. Just do it, and let your frustations be with which ceeberatory IPA should I drink, not with "holy ****, how in the god damn hells do I get this axle out of this knuckle??"
There is this cool thing called a shop press. It exerts...."yyyyyuuuugggeeee" amounts of force upon an object. we try it. If it no work, we try my old ones. If that no work. You win.
I've broken spindles in half with a 20-ton shop press. Sometimes they just won't come apart. I usually give it a few whacks with a 12lb sledge. As soon as the end starts to mushroom, I give up and order new stuff.
I've broken spindles in half with a 20-ton shop press. Sometimes they just won't come apart. I usually give it a few whacks with a 12lb sledge. As soon as the end starts to mushroom, I give up and order new stuff.
I couldn't even get the axles from my rust-free CA car out with the press in my shop
I've broken spindles in half with a 20-ton shop press. Sometimes they just won't come apart. I usually give it a few whacks with a 12lb sledge. As soon as the end starts to mushroom, I give up and order new stuff.
Yup, us too. A few quick tries. If no joy, the entire corner goes in the recycling bin. Broken to many tool/wasted too many hours trying to part the unpartable.
After a few persuasive whacks from the 12lb. sledge, I was able to free both axles.
Along with copious amounts of PB blaster.
There are no signs of rust on the splines and as it turns out, were just in need of a little coaxing. I guess I lucked out here. Although to remove the first axle, I threaded on an old axle nut backwards and proceeded to hammer on the flange of the nut instead of the axle face. In doing so, I damaged the outer threads of the axle, as well as slightly mushroomed the tip.
I am going to buy a single new axle to save myself the hassle of repairing it.
As I am going to be replacing the hub, bearing, and circlip do I need to be cautious while removing the original pieces from the spindle?
Nope. Beat the hub out with a hammer, it will take an inner race with it. Remove the circlip, press old bearing out, press new bearing in. When pressing the new hub in, be sure you are supporting the whole bearing/spindle on the inner race ONLY. Otherwise you are side-loading the bearing which can damage it and/or push the inside inner race out.
The addition to the wing, swapping over the bushings, I thought there was no time like the present to change out my rear hubs and wheel bearings as a part of my suspension refresh. I scared myself reading many threads, and watching many videos about the damage to be done if my hub decided to fail on track.
Better to be safe than sorry.
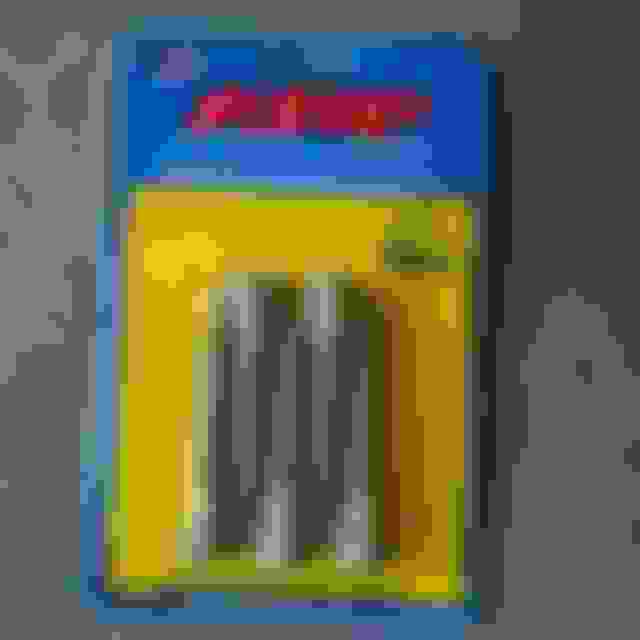
Dorman 930-550 Chinese Hubs.
Timken 510003 Bearings along with new circlips.
The diameter of the hole on the Dorman flange requires a non-miata specific ARP wheel stud.
Instead ARP wheel studs from a Mitsubishi Evo VIII must be used. Knurl diameter of the Evo stud is ~.565 in.
ARP 100-7717
The wheel studs were then pressed into the new hub using a 20-ton shop press.
Removing the old bushings from the rear lower control arms proved to be a bit tricky. The outer bushings required a bit of finagling and threading the ball joint separator through one of the already removed bushing holes.
Still a pretty straightforward task, with no risk of putting a bending load across the arm.
Then, like the front arms, they were stripped, primered, painted and cleared. The rear arms turned out much better than the fronts, as I now understood what needed to be done and the importance of prep when it comes to painting.
The rear upper arms proved to be the most difficult.
I found after struggling with pressing in the bushings applying a light layer of grease to both the bushings and the arms aided with the install. Sigh, I should have read the instructions to begin with.
Assembled with olite bearings.
Not perfect, but acceptable.
One of the things I decided to do was to paint my underbracing a bright obnoxious color for fun. No one would ever see it but I went ahead and did it anyways.
I settled on Golden Sunrise yellow.
The rear spindles were next.
I knocked out the old hubs with a sledge hammer and then proceeded to remove the circlips and the old bearings. Andrew at Trackspeed helped me remove the old circlip (Thank you!) as I did not have a snap ring plier that was large enough. He also walked me through the best practice of removing and installing the new bearings.
The old bearings again needed to be pressed out, and the new pressed in. He said the best way to press in the new bearings was to stack the old bearing on top during the install. He also warned me when pressing the hub into the new bearing to only support the inner race of the bearing as supporting the outer would cause it to side load the bearing potentially damaging it.
Using Miataman00's press and help.
Took much longer than I would have liked, with all the running around, and borrowing of tools.
As another case of while I was in there, I also swapped my differential bushings for a set of polyurethane from Energy Suspension. I watched a few videos of people removing the differential from the PPF while still on the car by knocking out the rear upper "tabs" locating the differential. They would thread in the two long bolts and hammer them up and out, but decided against it. I have also read that this is a no-no as it may cause re-alignment issues with the differential.
I may also just be paranoid.
Instead, I unbolted the PPF from the front of the transmission and dropped the PPF with the differential as single unit.
Diff bushings.
I drilled the old upper differential bushings out, and slowly chiseled the remainder of the sleeve out with a hammer.
The lower bushings required a bit of a different approach as they are bonded to the lower retaining brackets. The instructions called for them to be burned off.
This was to be fun.
I set up a make-shift barbecue pit and cooked the brackets with a propane torch. The instructions say the bushing will emit white smoke when the bond has been broken and then the old rubber can be removed. I found it easier to engulf the entire thing in fire and it also allowed for the bushings to be burned off cleanly without the need to scrape off any excess residue.
Made for some spectacular flames.
The new bushings went in without much fight and were tapped in the remainder of the way with a rubber mallet. Once installed the new poly bushings had zero play in them when compared with the old rubber and should make a noticable difference.
In struggling to remove my axles from my new hub, I had mushroomed the ends and also destroyed the threads of one axle. I filed the ends of both axles to fit in the new hubs and took the one to a metal shop to be re-threaded. After all was said and done it was time for reassembly. I applied anti-seize to the splines to prevent such disasters from occurring the next time I needed to replace my hubs. Upon reassembly the axles would not want to go into the differential and were putting up a good fight. I unbolted the rear upper arms and forcefully pushed the axles in with a pop.
All done.
Now all that was left to do was to schedule an alignment. I found a shop near me that able to squeeze me in. I had marked all the alignment locations prior to disassembly I did my best to match the original orientations but the alignment was very far from straight. The drive to the alignment shop was very interesting. If I recall I had around .5* of toe in in the front and .6* of toe out in the rear. It was a mess.
I was able to align my own car myself. (with supervision of course)
I went with 949's dual duty specifications.
Whew!
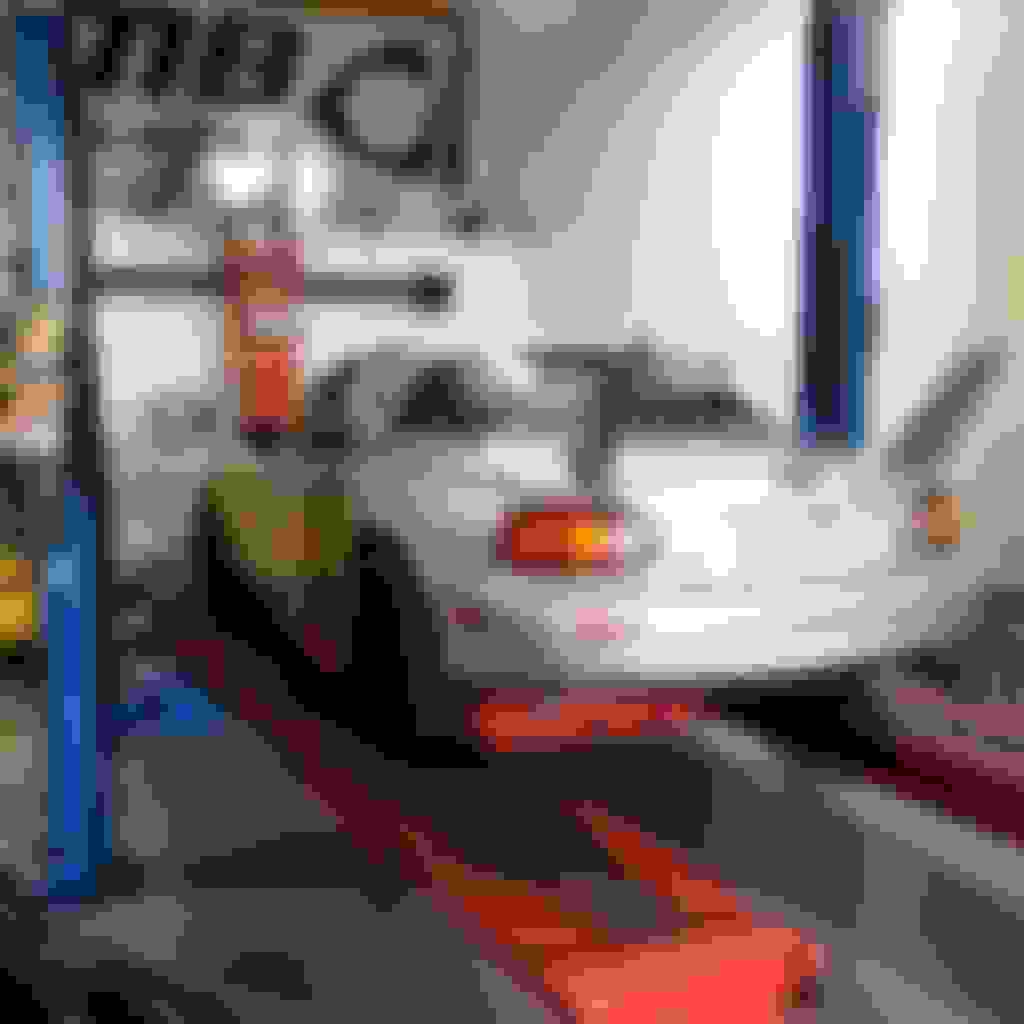
Everything is back together and ready for the next track day. Just driving to and from the alignment shop I could immediately feel the difference in the poly bushings. The car feels much tighter and responsive.
 04-09-2018, 12:59 AM


 3
3