When you click on links to various merchants on this site and make a purchase, this can result in this site earning a commission. Affiliate programs and affiliations include, but are not limited to, the eBay Partner Network.
I took a small road trip over the weekend to quadruple check that I had installed, and torqued everything properly.
The bushings, along with the sleeves, made for a massive improvement in feel, even while cruising along at highway speeds. It is difficult to quantify, but if I had to put it into words, the car just feels much more composed. The suspension now cycles flawlessly, and there is a noticeable reduction in deflection from the old rubber bushings. Absolutely no squeaking to report, and similar to other reviews, the car just feels more solid.
All of the hard work swapping each bushing out was definitely worth while.
Originally Posted by DNMakinson
In to mark hub work. Good research on Dorman hubs and EVO VIII Studs.
Thank you, but I cannot take the credit for it. Sean, (Lincoln Logs) posted the findings in the rear hub discussion, regarding wheel stud sizes to fit the chinese made dorman hubs, and is where I got the information.
As with all my projects, I procrastinate, and wait until the very minute.
I had signed up for a track day at Buttonwillow, and wanted to bolt up my wing for testing. By doing so, I knew I needed some sort of splitter to correct the aero balance of the car. I had a few ideas kicking around in my head about constructing a properly designed splitter for months now, but due to the time constraints, my ideas would not be feasible this time around.
I wanted a simple, quick, design that would act as proof of concept.
First looking through the DIY aero thread for inspiration, I then purchased flat aluminum stock , and a sheet of 12mm birch from Home Depot.
I had exactly one day to start and finish splitter from scratch before leaving for Buttonwillow.
Original templet was from cardboard to gauge shape of initial cuts.
I measured 4'' from the lip.
After I had my cardboard marked, I transferred it over to the sheet of birch.
Starting to look more and more like a splitter now.
My excitement was growing.
Underside.
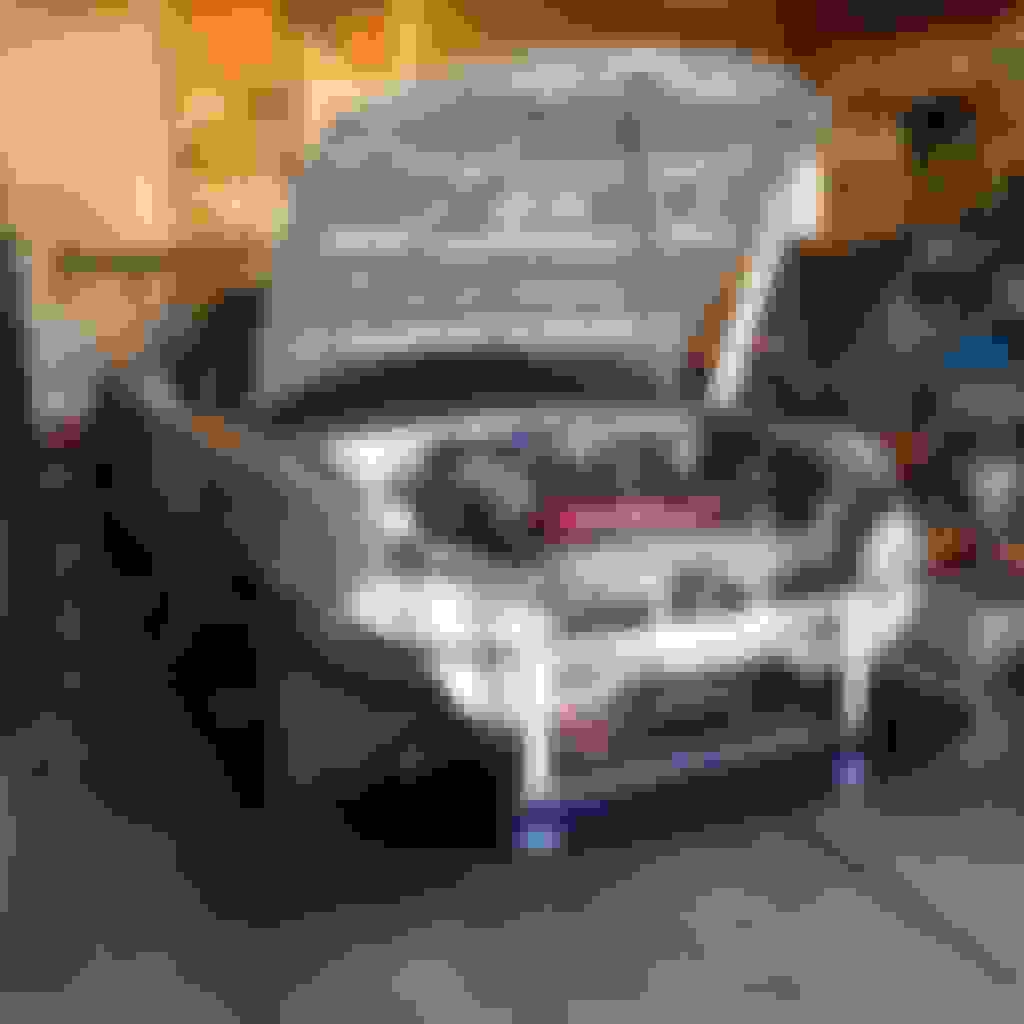
Flat aluminum stock, bolted to the front crash beam. On the splitter side, 1 1/2'' aluminum angle was used.
I also added a few side supports to help resist lateral load. The angles are all sorts of wrong, but I was running out of time.
In order to clear the supports, slight trimming of the bumper was needed with a dremel.
I also hit the visible parts of the splitter with flat black paint to give it a more finished look.
My mounting solution however, was crude. It being rushed, it was not what I originally had in mind, and will be revised in the next iteration.
Whew! All done. Now to start packing.
I did the "splitter test" and it did support all of my 135lbs self.
Version 2 of the splitter will start shortly.
Rough sketch of what I originally had in mind.
Plates.
I want to tie into the crash support using flat steel plates with L brackets welded to them to accept 1'' square tubing.
This design should be much more robust in the event of an off, and should allow for quick installation and removal.
Though this will require welding, which I hope teach myself the basics over the summer.
First and foremost, I am fine and completely unscathed.
Unfortunately, NB1 is totalled.
The passenger side FUCA ball joint failed careening me into a curb. Chassis is a write off. A bit of a bummer, but I am very fortunate it failed where and when it did. I count myself extremely lucky that no one else was hurt and no other cars were involved. I narrowly missed a tree, and a few other immovable objects eventually sliding into a chain link fence. Looking back, it could have been much, MUCH worse.
I plan to rebuild a lightweight track focused NA. I have had the idea kicking around in the back of my head for awhile now and is now the perfect opportunity.
Bro, glad you're fine. Hopefully you can save some stuff from the NB.
FWIW, I wish I had an NB instead of an NA at this point in my build. All the NA has is pop up headlights. Or just buy an S2000 . I look forward to whatever the next build is.
Damn man, sorry to hear that. Glad to hear that you're fine. Can you save most the parts off the car? If so you could probably pick up a non-running na and basically do a chassis swap, pretty much what is slowly happening to my dd after I parted out a wrecked nb.
Hopefully you can save some stuff from the NB.
Or just buy an S2000 . I look forward to whatever the next build is.
I plan to reuse as many parts as I possibly can. I did briefly look at a S2000, but the price gap between the miata and the S2k, especially wanting to track it, is substantial enough to have put a stop to that dream for the time being.
Originally Posted by Scaxx
Can you save most the parts off the car? If so you could probably pick up a non-running na and basically do a chassis swap. Think you'll still make it to WRLS?
I picked up a red NA6 not too long ago. Current plan is to swap over both front and rear subframes, suspension, and BP4W. Then strip the interior, and send it off to TC Designs for a full cage. Should be a good recipe for a quick, track car. My thought is since the shell will not be as visually appealing as my NB, and having a cage, I should have less attachment to the chassis itself and will mentally be able to push it harder. Build thread will be up soon.
I plan to reuse as many parts as I possibly can. I did briefly look at a S2000, but the price gap between the miata and the S2k, especially wanting to track it, is substantial enough to have put a stop to that dream for the time being.
I picked up a red NA6 not too long ago. Current plan is to swap over both front and rear subframes, suspension, and BP4W. Then strip the interior, and send it off to TC Designs for a full cage. Should be a good recipe for a quick, track car. My thought is since the shell will not be as visually appealing as my NB, and having a cage, I should have less attachment to the chassis itself and will mentally be able to push it harder. Build thread will be up soon.
Plan is to have the car done well before MRLS!
That's a good choice. Of my nine track friends, 4 have hit walls (2 were totals) and one engine needed rebuilding. Definitely easier to find a new tub, replacement parts, or even a new engine for a Miata. Sounds like you have a full summer ahead of you. Are you putting in an Supermiata spec cage or something else?
 04-30-2018, 12:30 AM


 0
0


 . I look forward to whatever the next build is.


