Build Thread (FE3, RX7 TII, EFR 6258, MS3)


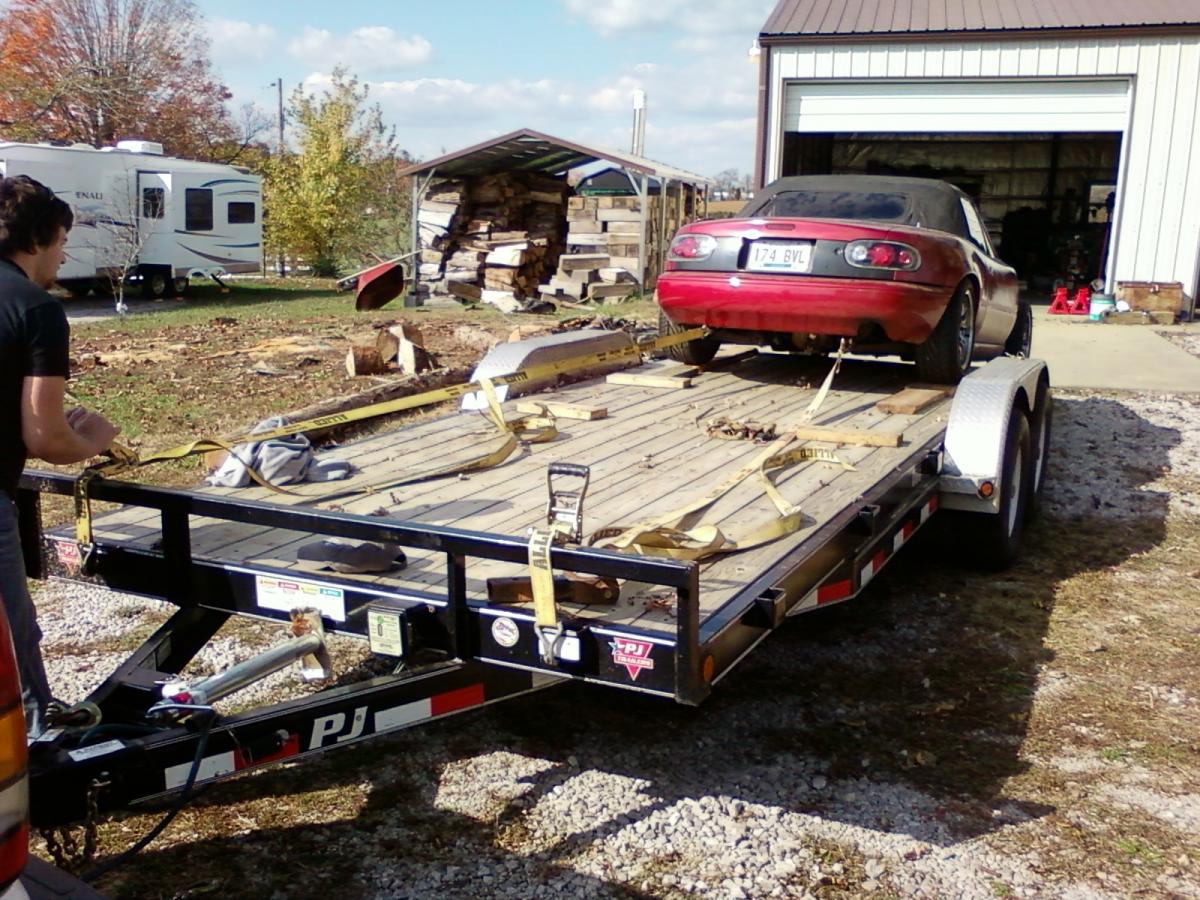
Got some good news. We cleaned out the garage this last week and got to talking about taking out a wall in the basement to make the garage larger. (roughly 18' x 16') this should free up some project space at the house which means the miata might be coming home. (currently driving 15 miles every time i want to work on it.) This should allow me to put in 20 minutes here and there when i get home at night to mess with something if i want.
i decided to install the axles and hubs this last saturday and ran into an issue. i ended up spacing the caliper brackets with 3 washers (~.3") to get them lined up correctly with the rotors. Hopefully this wont cause any other issues. I picked up some of that TechFlex to put over the ss lines that are touching each other and the IC piping. I may double it up in some places.
I finished modifying the fuel rail for the shorter injectors and wrapped up the harness in some loom and electrical tape. Hopefully it all works.
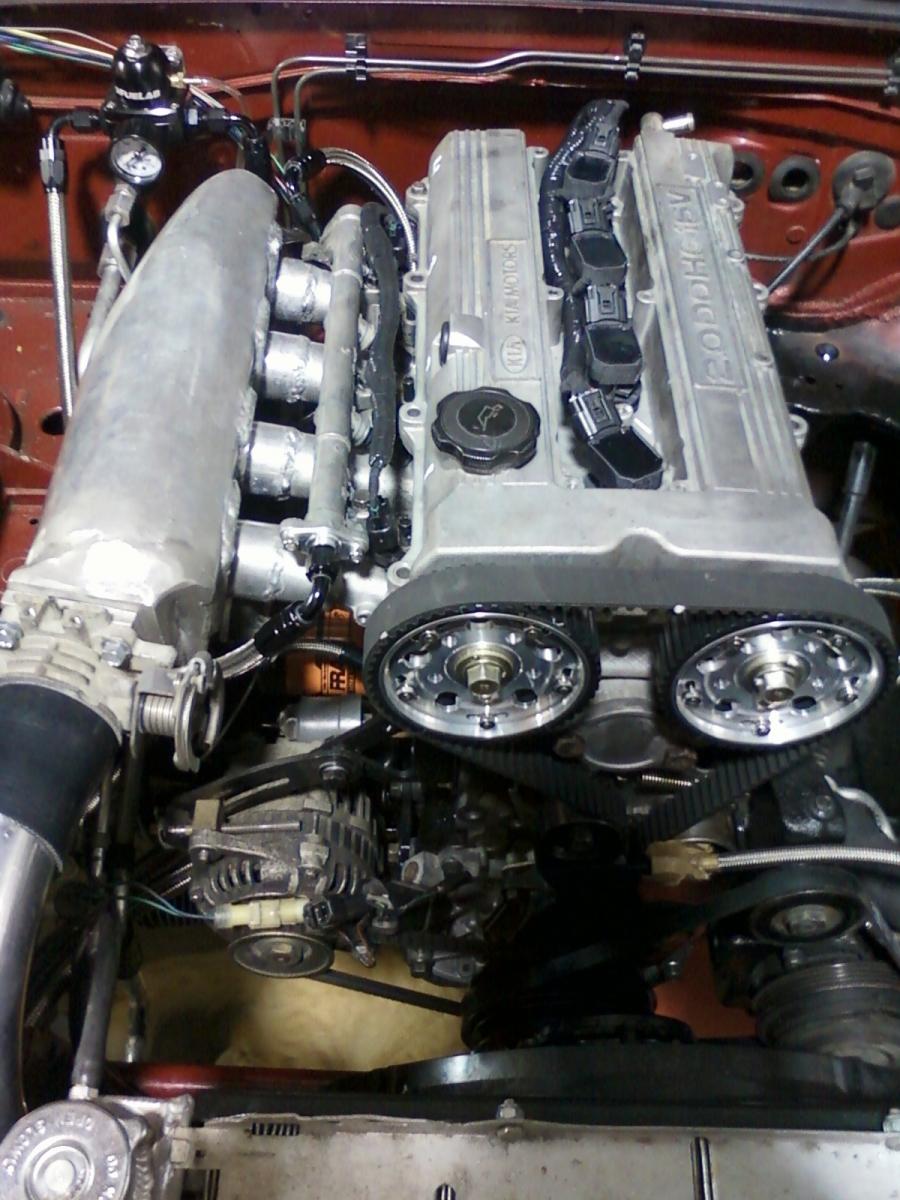
Had a buddy of mine come out this last weekend and we worked on wrapping the exhaust manifold. Id say its probably 30% wrapped currently. using stainless steel welding wire to keep it from coming unraveled. also drilled and taped the manifold for the EGT so thats ready to go in as soon as i get it bolted up to the head.
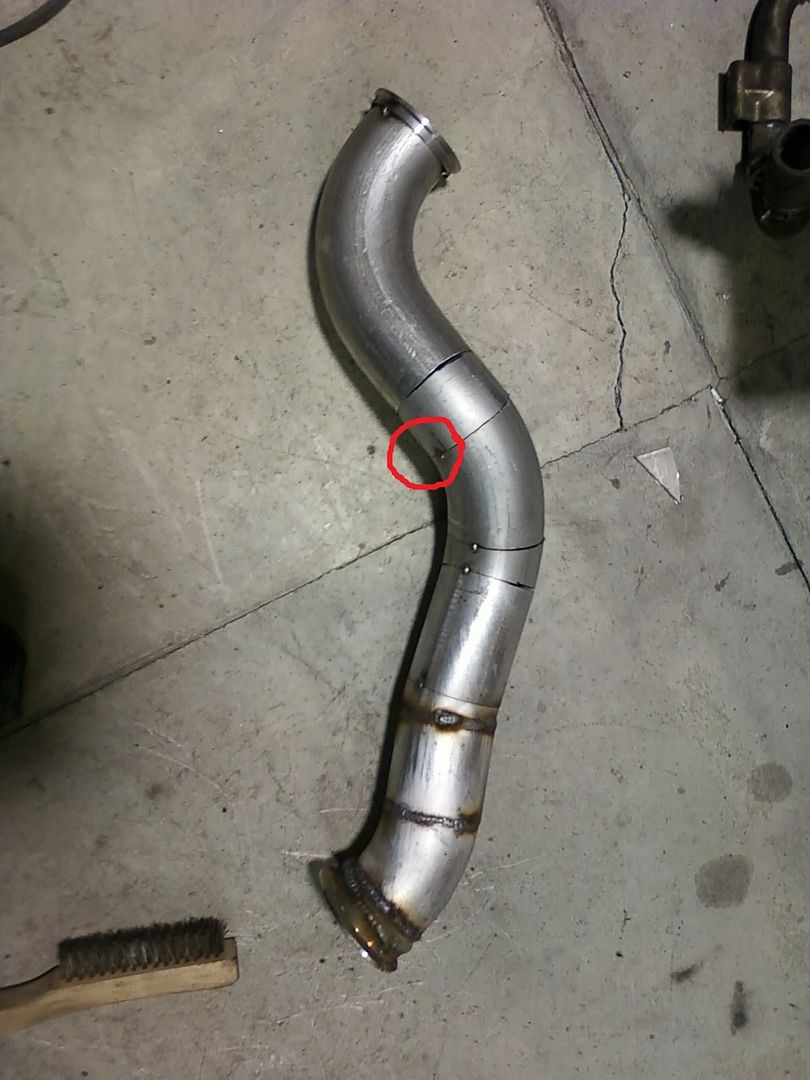
Ive found a place in the down pipe about 16 inches from the turbo where i can put the O2 sensor. Its in a vertical section of the pipe so im wondering weather the between 10 and 2 rule applies. the place i was thinking is here..
i decided to install the axles and hubs this last saturday and ran into an issue. i ended up spacing the caliper brackets with 3 washers (~.3") to get them lined up correctly with the rotors. Hopefully this wont cause any other issues. I picked up some of that TechFlex to put over the ss lines that are touching each other and the IC piping. I may double it up in some places.
I finished modifying the fuel rail for the shorter injectors and wrapped up the harness in some loom and electrical tape. Hopefully it all works.
Had a buddy of mine come out this last weekend and we worked on wrapping the exhaust manifold. Id say its probably 30% wrapped currently. using stainless steel welding wire to keep it from coming unraveled. also drilled and taped the manifold for the EGT so thats ready to go in as soon as i get it bolted up to the head.
Ive found a place in the down pipe about 16 inches from the turbo where i can put the O2 sensor. Its in a vertical section of the pipe so im wondering weather the between 10 and 2 rule applies. the place i was thinking is here..
Last edited by yank; Oct 16, 2011 at 11:12 PM.
Reply
 0
0

0

Junior Member
Joined: Feb 2009
Posts: 78
Total Cats: 0
From: Madison, WI
10/2 principle is only really relative if its in a horizontal pipe. so place it where best it fits
edit....... hows the depth with those toyota COP's??? i know they fit the BP well but the FE3 is a good deal shorter depth to the plug.
edit....... hows the depth with those toyota COP's??? i know they fit the BP well but the FE3 is a good deal shorter depth to the plug.
Reply
0
0
Ill snap a pic next time I'm at the shop. I cut the tabs of the COPs off and I'm planning on making a plate that's elevated by standoffs to hold the coils down. I think it was elevated .5"~.75" if my memory serves me right.
Reply
0
0
10/2 applies everywhere regardless of the exhaust pipe's orientation. It's a direct reference to the plane the car sits on. You want any moisture to roll off the tip, not back into the sensor.
Last edited by m2cupcar; Oct 17, 2011 at 11:40 AM.
Reply
0
0
I need some clarification on your diagram. If the pipe is vertical to i weld the bung at a 10 degree angle then to keep moisture from running into the sensor?
See attached.
See attached.
Reply
0
0
Um, yes. Basically the tip needs to be pointing towards the ground so that at some point it would converge. 10/2 are the hands on the clock- 12 being vertical to the ground and 9/3 parallel. It's an approximation of the downward angle needed for the moisture to drain off the tip. I've attached another diagram to add to the confusion.  The green is the acceptable tilt and the red area is unacceptable.
The green is the acceptable tilt and the red area is unacceptable.
Reply
0
0
Lol thats super easy to understand for a pipe that is oriented horizontally. even from the last diagram. Way to use those graphic design skillz
How about some engineering skillz. Lets bring out the Autocad.
If i understand correctly this is the plan for a vertical pipe.
See attached.
How about some engineering skillz. Lets bring out the Autocad.
If i understand correctly this is the plan for a vertical pipe.
See attached.
Reply
0
0

Reply
0
0
Good work everyone.

Reply
0
0
Its been a few weeks since ive had a chance to post up.
The miata is now back at at my place of residence which means im cramped in a small space but ill have more chances to work on it for short periods of time.
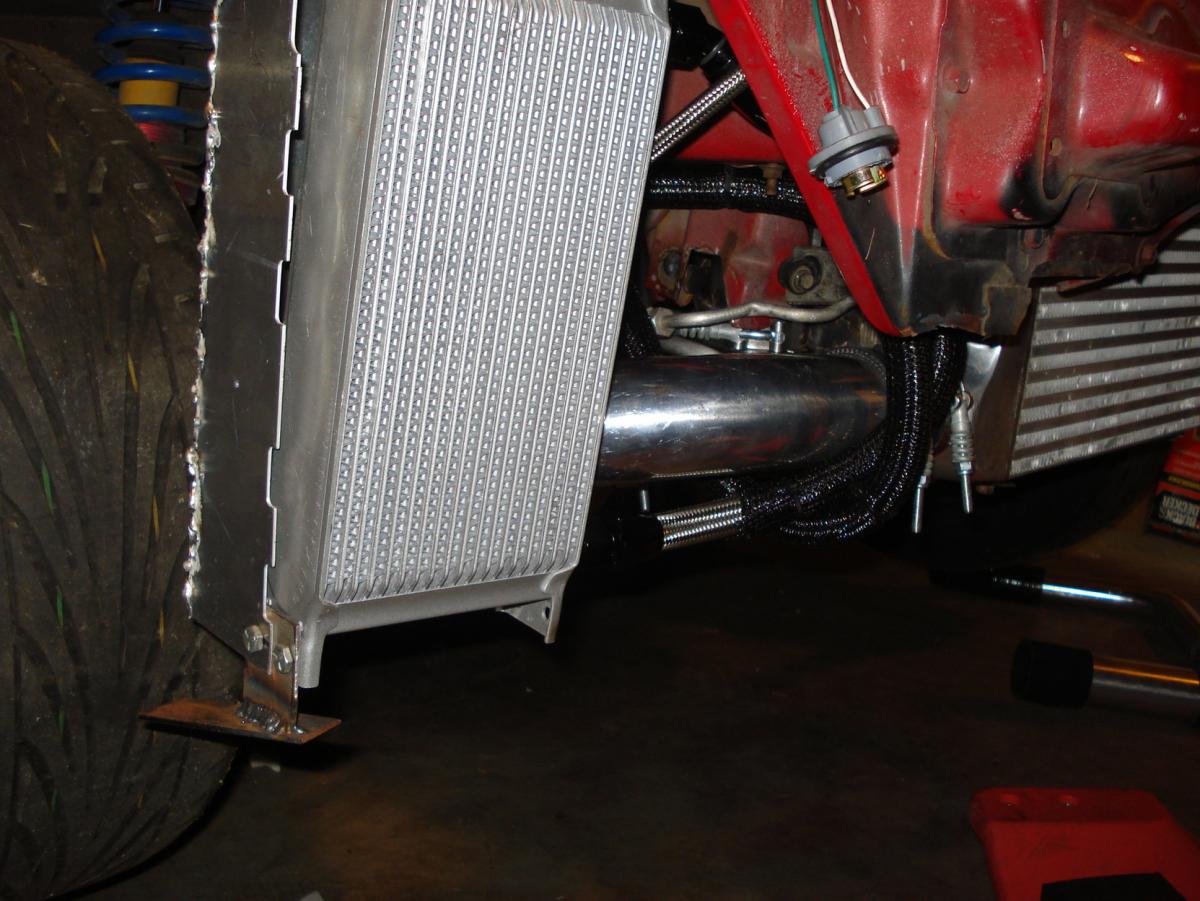
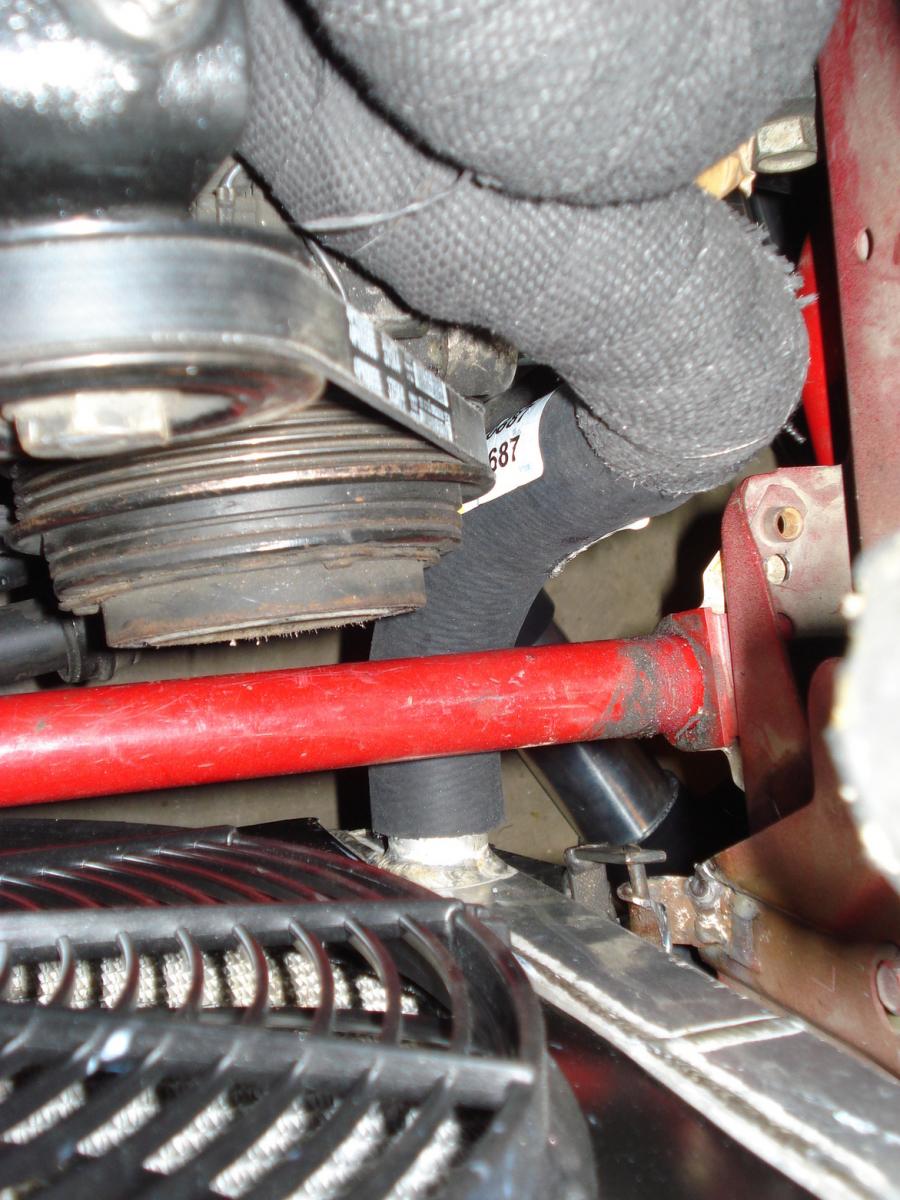
I addressed the oil line and intercooler piping issue with 1" TechFlex. also seen is a shield for the oil cooler to keep away debris from the tires.
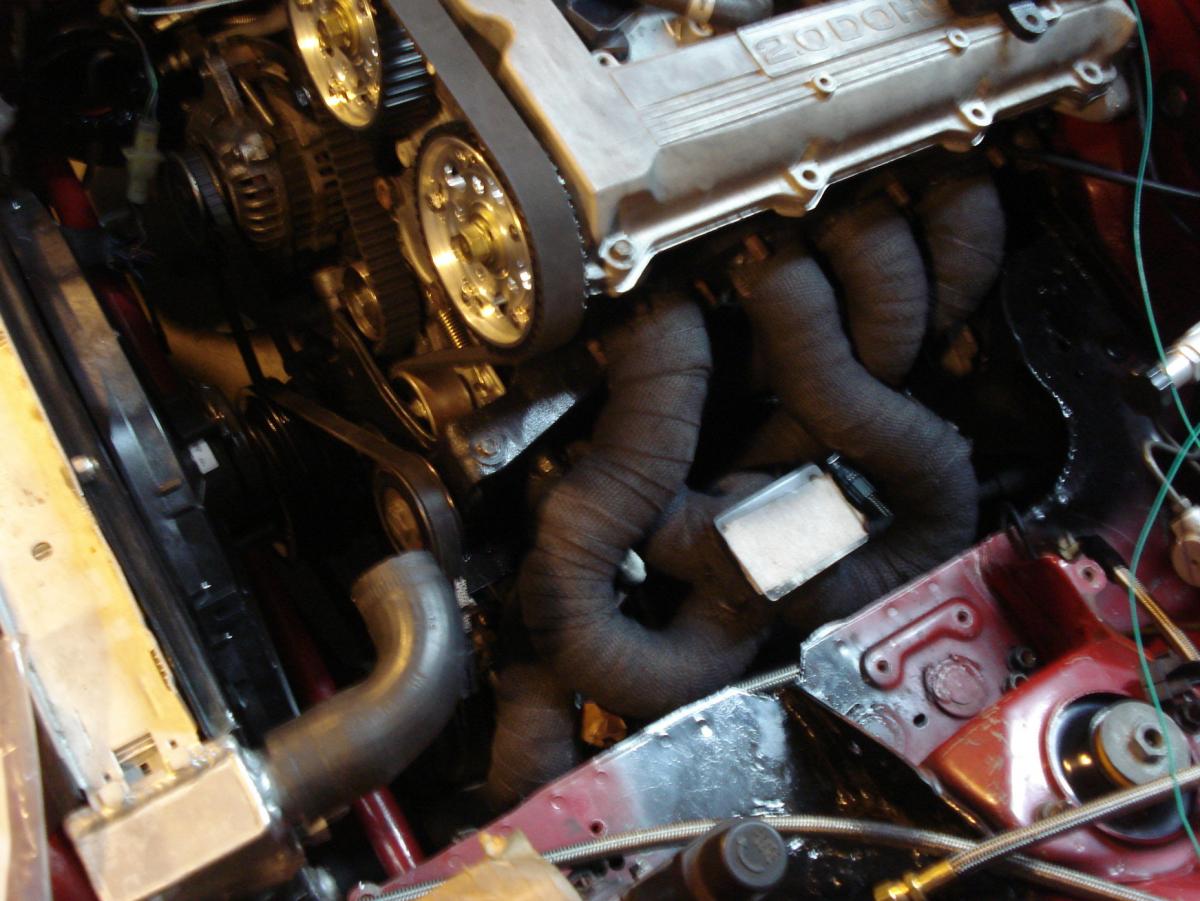
Started hooking up the sensors on the 4L Jeep grand cherokee throttle body. can anyone confirm that the top sensor is a MAP sensor and i can leave it out since the ms3x has one built in?

Went to autozone and had a lucky guess on a hose that fit to the radiator. Had to do some trimming to make it fit nice but whats new.
Exhaust manifold is now "ceramic coated" with some rattle can bull crap then wrapped and coated with DEI high temp silicone coating. It looks pretty nice but i'm just hoping it performs well. I'm sure its going to smoke like crazy when i first start it up..
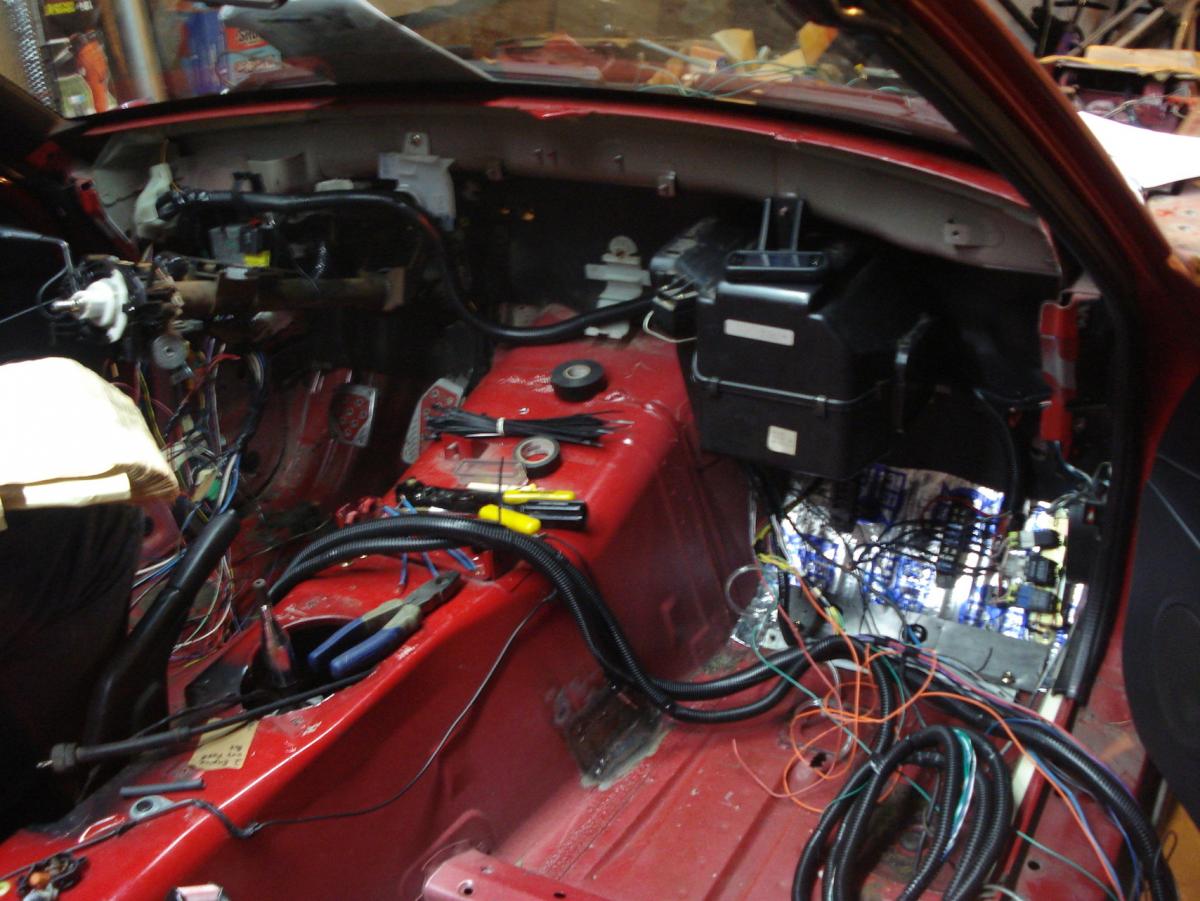
Wiring is coming along. I had a buddy of mine come over and we got all the stock lights except for the interior lights wired and tested.
The next thing ill be working on is welding in the O2 bung, getting the sensors hooked up, and fitting the brake and clutch lines. Might get to this stuff next weekend. I've got about 5 more weeks of school left till i'm out for winter break so if i don't have it running by then things should move along much faster after that.
The miata is now back at at my place of residence which means im cramped in a small space but ill have more chances to work on it for short periods of time.
I addressed the oil line and intercooler piping issue with 1" TechFlex. also seen is a shield for the oil cooler to keep away debris from the tires.
Started hooking up the sensors on the 4L Jeep grand cherokee throttle body. can anyone confirm that the top sensor is a MAP sensor and i can leave it out since the ms3x has one built in?
Went to autozone and had a lucky guess on a hose that fit to the radiator. Had to do some trimming to make it fit nice but whats new.
Exhaust manifold is now "ceramic coated" with some rattle can bull crap then wrapped and coated with DEI high temp silicone coating. It looks pretty nice but i'm just hoping it performs well. I'm sure its going to smoke like crazy when i first start it up..
Wiring is coming along. I had a buddy of mine come over and we got all the stock lights except for the interior lights wired and tested.
The next thing ill be working on is welding in the O2 bung, getting the sensors hooked up, and fitting the brake and clutch lines. Might get to this stuff next weekend. I've got about 5 more weeks of school left till i'm out for winter break so if i don't have it running by then things should move along much faster after that.
Reply
0
0
There should be a hose around that radiator hanger rod(s) to isolate the radiator from vibrations. I just slit some silicone hose long ways and zip tied it to the rod.
Q- are you using the stock mounts/location for the front sway bar w/o AC pulley interference?
Q- are you using the stock mounts/location for the front sway bar w/o AC pulley interference?
Reply
0
0
Had to move it ~1/4" forward to clear the AC compressor clutch by ~3/16" drilled, then bolts, lock washers, and nuts.
Reply
0
0
Read how aluminum exchangers could develop cracks from hard/fixed mounting and needed flexible isolators- so that's what I used there for hanging, and then that flat piece up top. I still have that ahead of me this time around since I'm mounting the oil cooler next to the radiator...yay.
So you're using the stock sway bar mounts- just removed the welds and then moved them 1/4" forward? First time around I moved the excessively forward and it required the use of an ultra $lim fan
So you're using the stock sway bar mounts- just removed the welds and then moved them 1/4" forward? First time around I moved the excessively forward and it required the use of an ultra $lim fan
Reply
0
0
I tried to move the mounts for the sway but it had some adhesive under it besides the bolts that held it to the chassis. I couldn't get it loose (tried for about 30 min with a series of screw drivers / chisels and pry bars. i'm sure with a torch you could loosen it up.) So i just drilled a new hole in front of the stock weld nut on the mount itself. You can see the hole i drilled in the picture you highlighted the radiator mount issue. I'm using that 16" Spal from ebay we spoke of back when i bought your radiator and clearances are really tight between the sway and the fan. Theres a few pics on page 7 but from memory i'm not sure how close it actually is.
Reply
0
0
Hmmm- odd. Mine had two spot welds on each side of the frame rail. I drilled those out, removed the bolts and removed them. I may build some this time given the relative weakness of the stock pieces and my giant sway bar.
Reply
0
0
FYI Started a MS3X / tuning thread.
https://www.miataturbo.net/megasquirt-18/yanks-brick-ms3x-noob-tuner-ftl-61767/
https://www.miataturbo.net/megasquirt-18/yanks-brick-ms3x-noob-tuner-ftl-61767/
Reply
0
0