
Corifto's LoBo


Thread Starter
Junior Member
iTrader: (1)
Joined: Jun 2010
Posts: 408
Total Cats: 21
From: Bradenton, FL
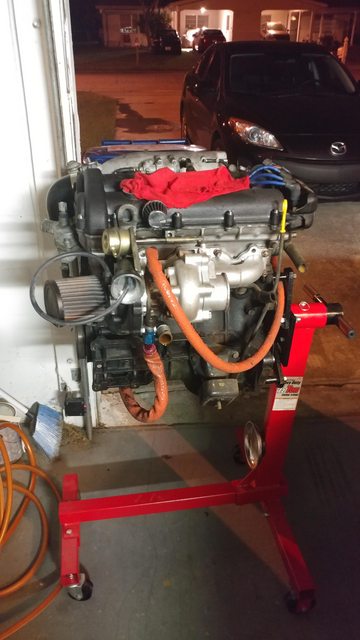
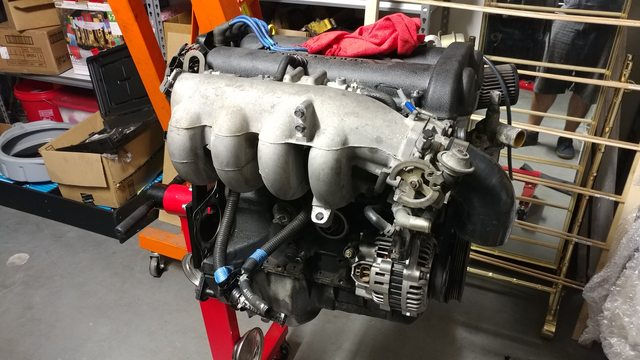
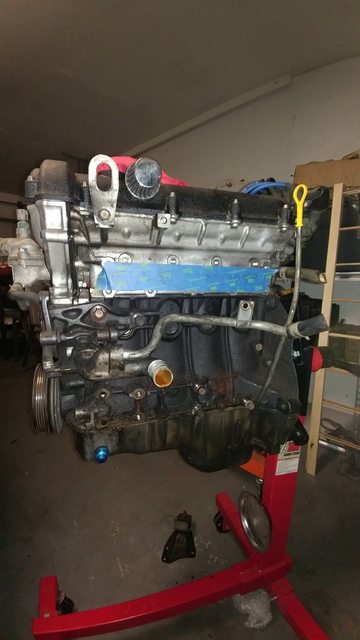
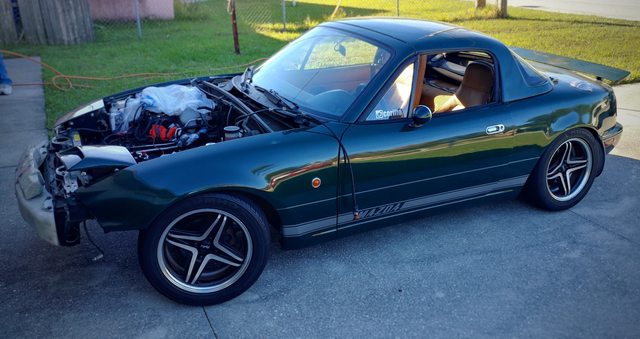
Alright. The other day I disconnected everything, and got the engine ready to pull. Just was waiting on a hoist.
I don't plan on taking this out again for a long time, so I didn't find it worth buying a hoist. So I had to wait for a friend to lend me one. I had at least 7 people willing to loan me theirs, but only one had means of delivering it to me. I also borrowed an engine stand from another friend. There's something to be said about great friends.
So as I awaited the hoist, I spent my day fishing with a friend from out of town.

And then I got the magical text and headed to the garage to get things done.
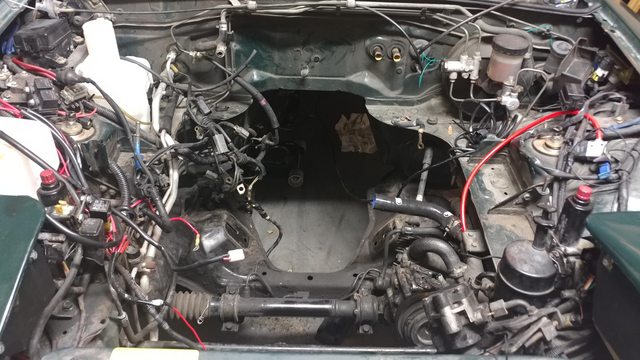
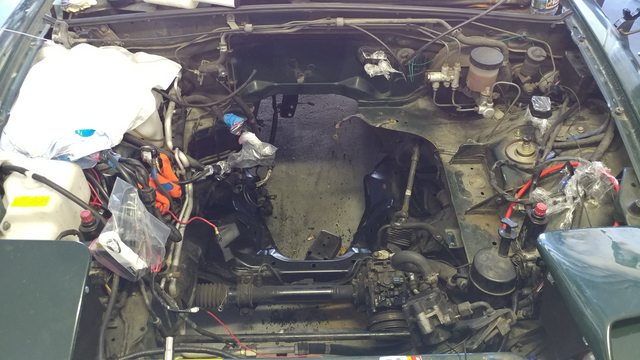
All that had to be removed was the two motor mount nuts, and fuel lines. I had gotten everything else done ahead of time. It's pretty crazy how far I've come in the world of DIY mechanics. Sidenote: My grandpa passed when I was 14, just before he planned to start sharing all of his mechanic knowledge. I think he'd be proud of what I've been able to do in his absence.

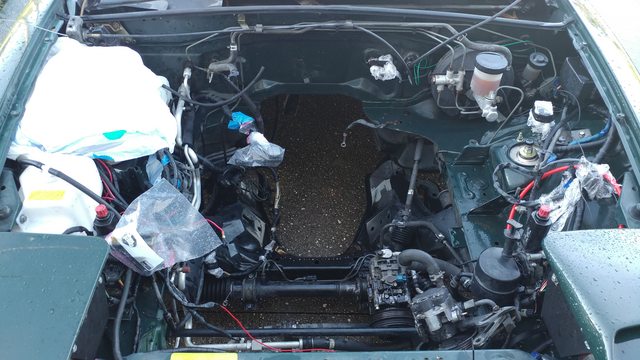
And here's where I will be spending a lot of time cleaning. (Probably going to roll it out on the driveway, cover electronics, and cover in degreaser and spray it down.
I don't plan on taking this out again for a long time, so I didn't find it worth buying a hoist. So I had to wait for a friend to lend me one. I had at least 7 people willing to loan me theirs, but only one had means of delivering it to me. I also borrowed an engine stand from another friend. There's something to be said about great friends.
So as I awaited the hoist, I spent my day fishing with a friend from out of town.
And then I got the magical text and headed to the garage to get things done.
All that had to be removed was the two motor mount nuts, and fuel lines. I had gotten everything else done ahead of time. It's pretty crazy how far I've come in the world of DIY mechanics. Sidenote: My grandpa passed when I was 14, just before he planned to start sharing all of his mechanic knowledge. I think he'd be proud of what I've been able to do in his absence.
And here's where I will be spending a lot of time cleaning. (Probably going to roll it out on the driveway, cover electronics, and cover in degreaser and spray it down.
Reply
 0
0

0
Thread Starter
Junior Member
iTrader: (1)
Joined: Jun 2010
Posts: 408
Total Cats: 21
From: Bradenton, FL
As for some of the things that will be tackled....
Definitely Happening
Maybe Doing
I'm sure there's more but that's what I can think of at 4am.
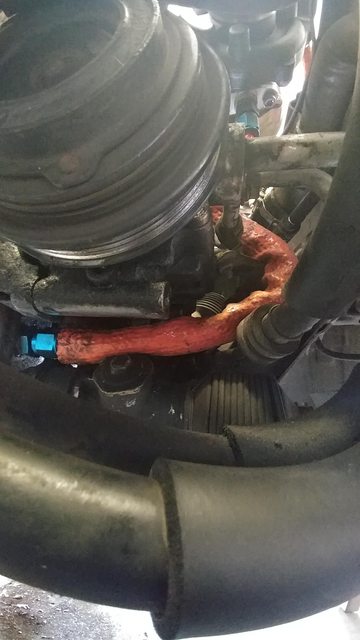
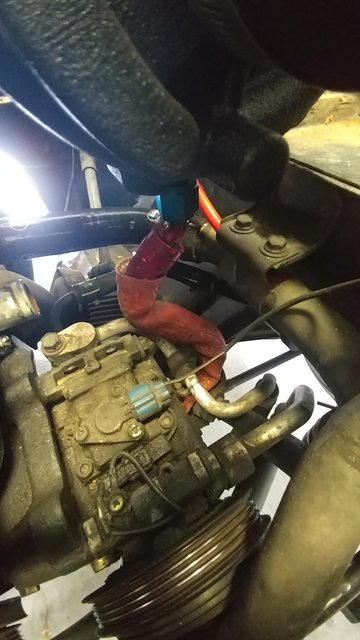
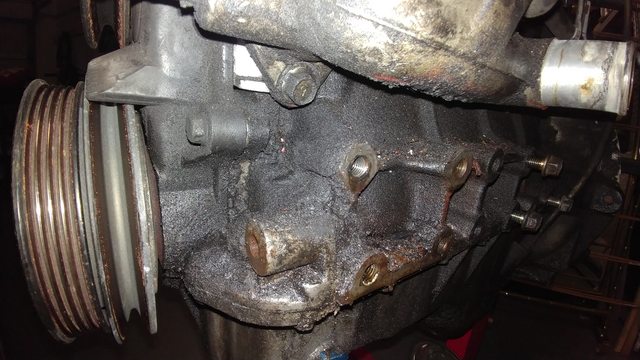
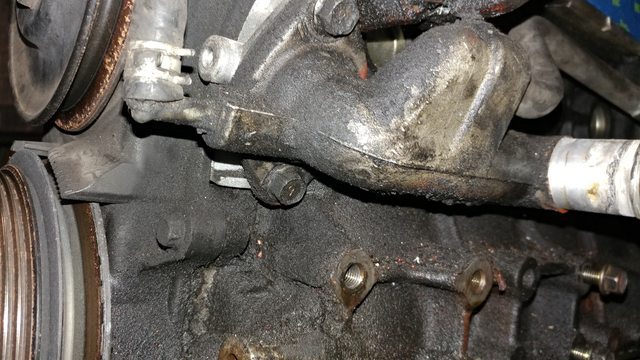
Current routing of drain line and very limited clearance.
Definitely Happening
- OEM Rear Main Assembly
- 949 QMax Reroute
- Belts
- Heater Hoses
- Basically any plastic that's been on the car since factory
- Shortening/moving feed line
- Rerouting drain line
- Welding AN fitting on second oil pan to replace the one that's tapped
- CLEANING EVERYTHING
Maybe Doing
- Powder Coating Capri Valve Cover
- Installing Capri Valve Cover
- Switch to COPS
- Powdercoat various things
- Finding/Fixing AC leak
I'm sure there's more but that's what I can think of at 4am.
Current routing of drain line and very limited clearance.
Reply
0
0
Thread Starter
Junior Member
iTrader: (1)
Joined: Jun 2010
Posts: 408
Total Cats: 21
From: Bradenton, FL
Just measured. I think they'd fit, except for my valve stem -_-
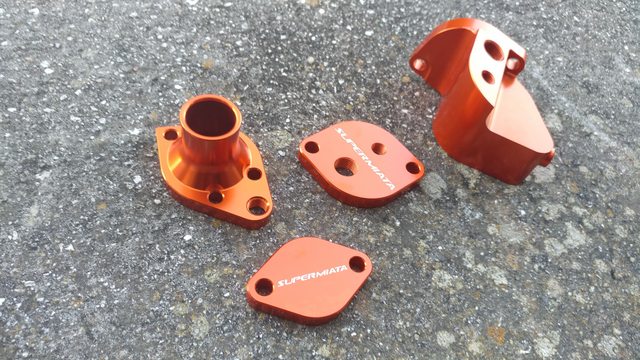
First packages have shown up.
Beautiful 949 QMAX reroute
New belts, master and slave, and heater hoses from RockAuto
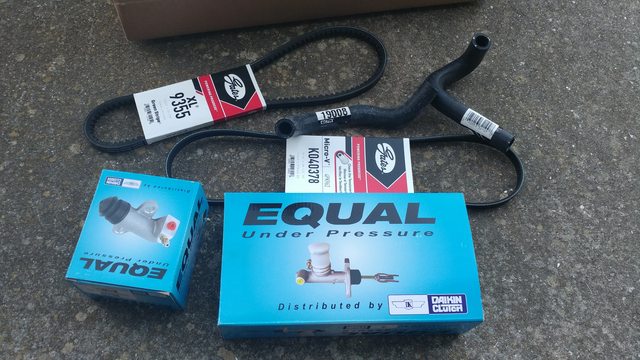
Still lots of stuff to order, some from FlyinMiata, some from my local dealer, and some other stuff going on.
Dropped off a new oil pan to weld a bung, as well as my drain and feed lines for some modification to make things flow better.
First packages have shown up.
Beautiful 949 QMAX reroute
New belts, master and slave, and heater hoses from RockAuto
Still lots of stuff to order, some from FlyinMiata, some from my local dealer, and some other stuff going on.
Dropped off a new oil pan to weld a bung, as well as my drain and feed lines for some modification to make things flow better.
Reply
0
0


Thread Starter
Junior Member
iTrader: (1)
Joined: Jun 2010
Posts: 408
Total Cats: 21
From: Bradenton, FL
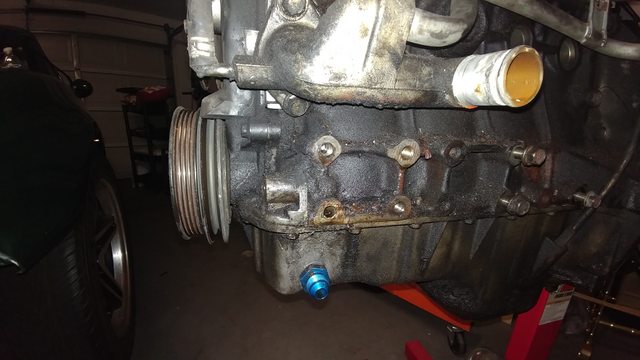
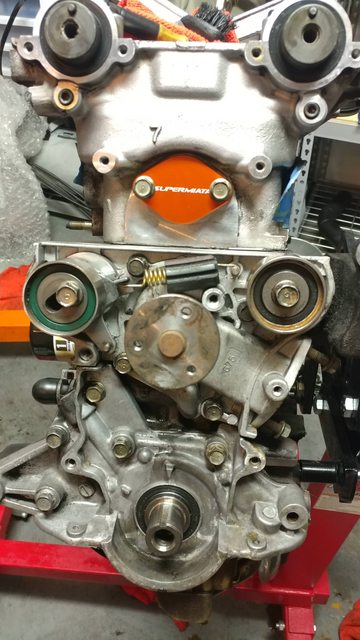
So I guess I had a leak from my front crank as well as my exhaust cam seal. Replaced all 3 with OEM seals, and also installed the 949 Qmax. A few steps closer to putting it back in.
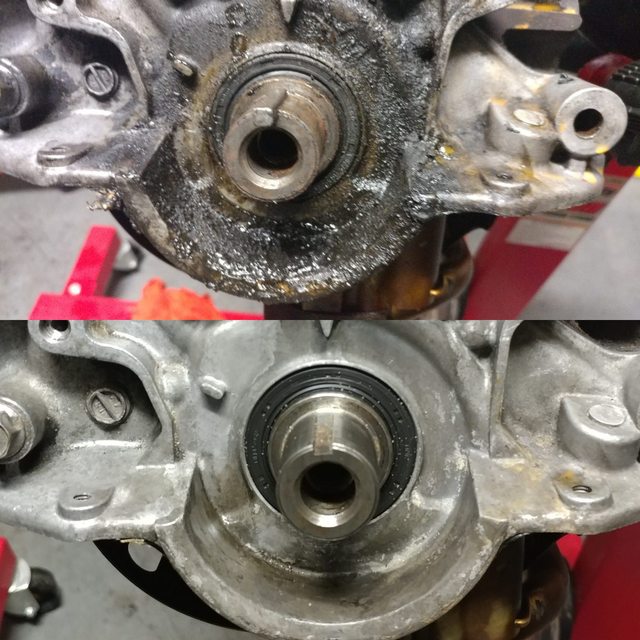
The beautiful 949 piece.
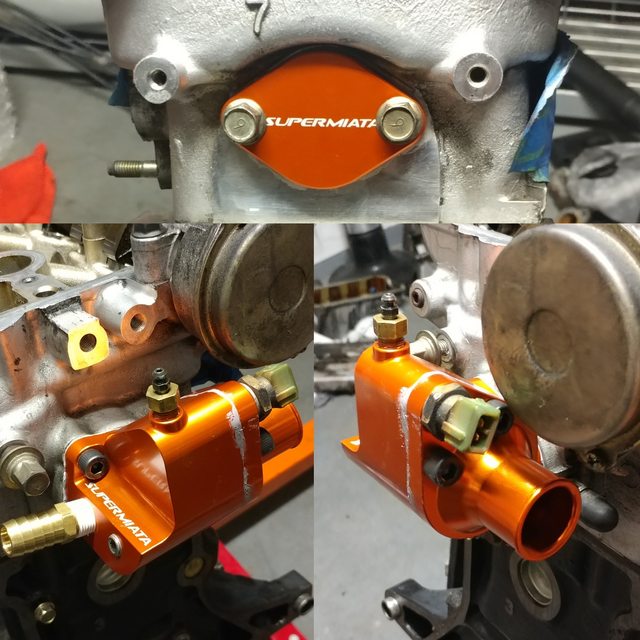
Amazing how it cleans up with some engine grease.
Reply
0
0

Good you did not follow all the directions for the Qmax. You used sealant around the thermostat piece, which is needed or it will leak, and you used thread tape on the other fittings and plugs. Just check and see if the check valve is open or not before you start filling. I was super impressed with mine and the ease of the install.

Reply
0
0


The latest PDF instructions say to use sealant on the thermostat piece. The paper instructions that came with the kit say to not use sealant there. I'm glad I used the PDF instructions...
8. Using supplied sealant, apply a thin coat to main housing as shown in Fig C. Also apply to thermostat
side of the main housing. You do not need to apply sealant to the thermostat housing. Just one side of
that interface is sufficient.
Quality work Corifto, I've always liked the way your car looks.
Reply
0
0


Thread
Thread Starter
Forum
Replies
Last Post
Sokool
Build Threads
17
Mar 22, 2013 11:56 AM


