When you click on links to various merchants on this site and make a purchase, this can result in this site earning a commission. Affiliate programs and affiliations include, but are not limited to, the eBay Partner Network.
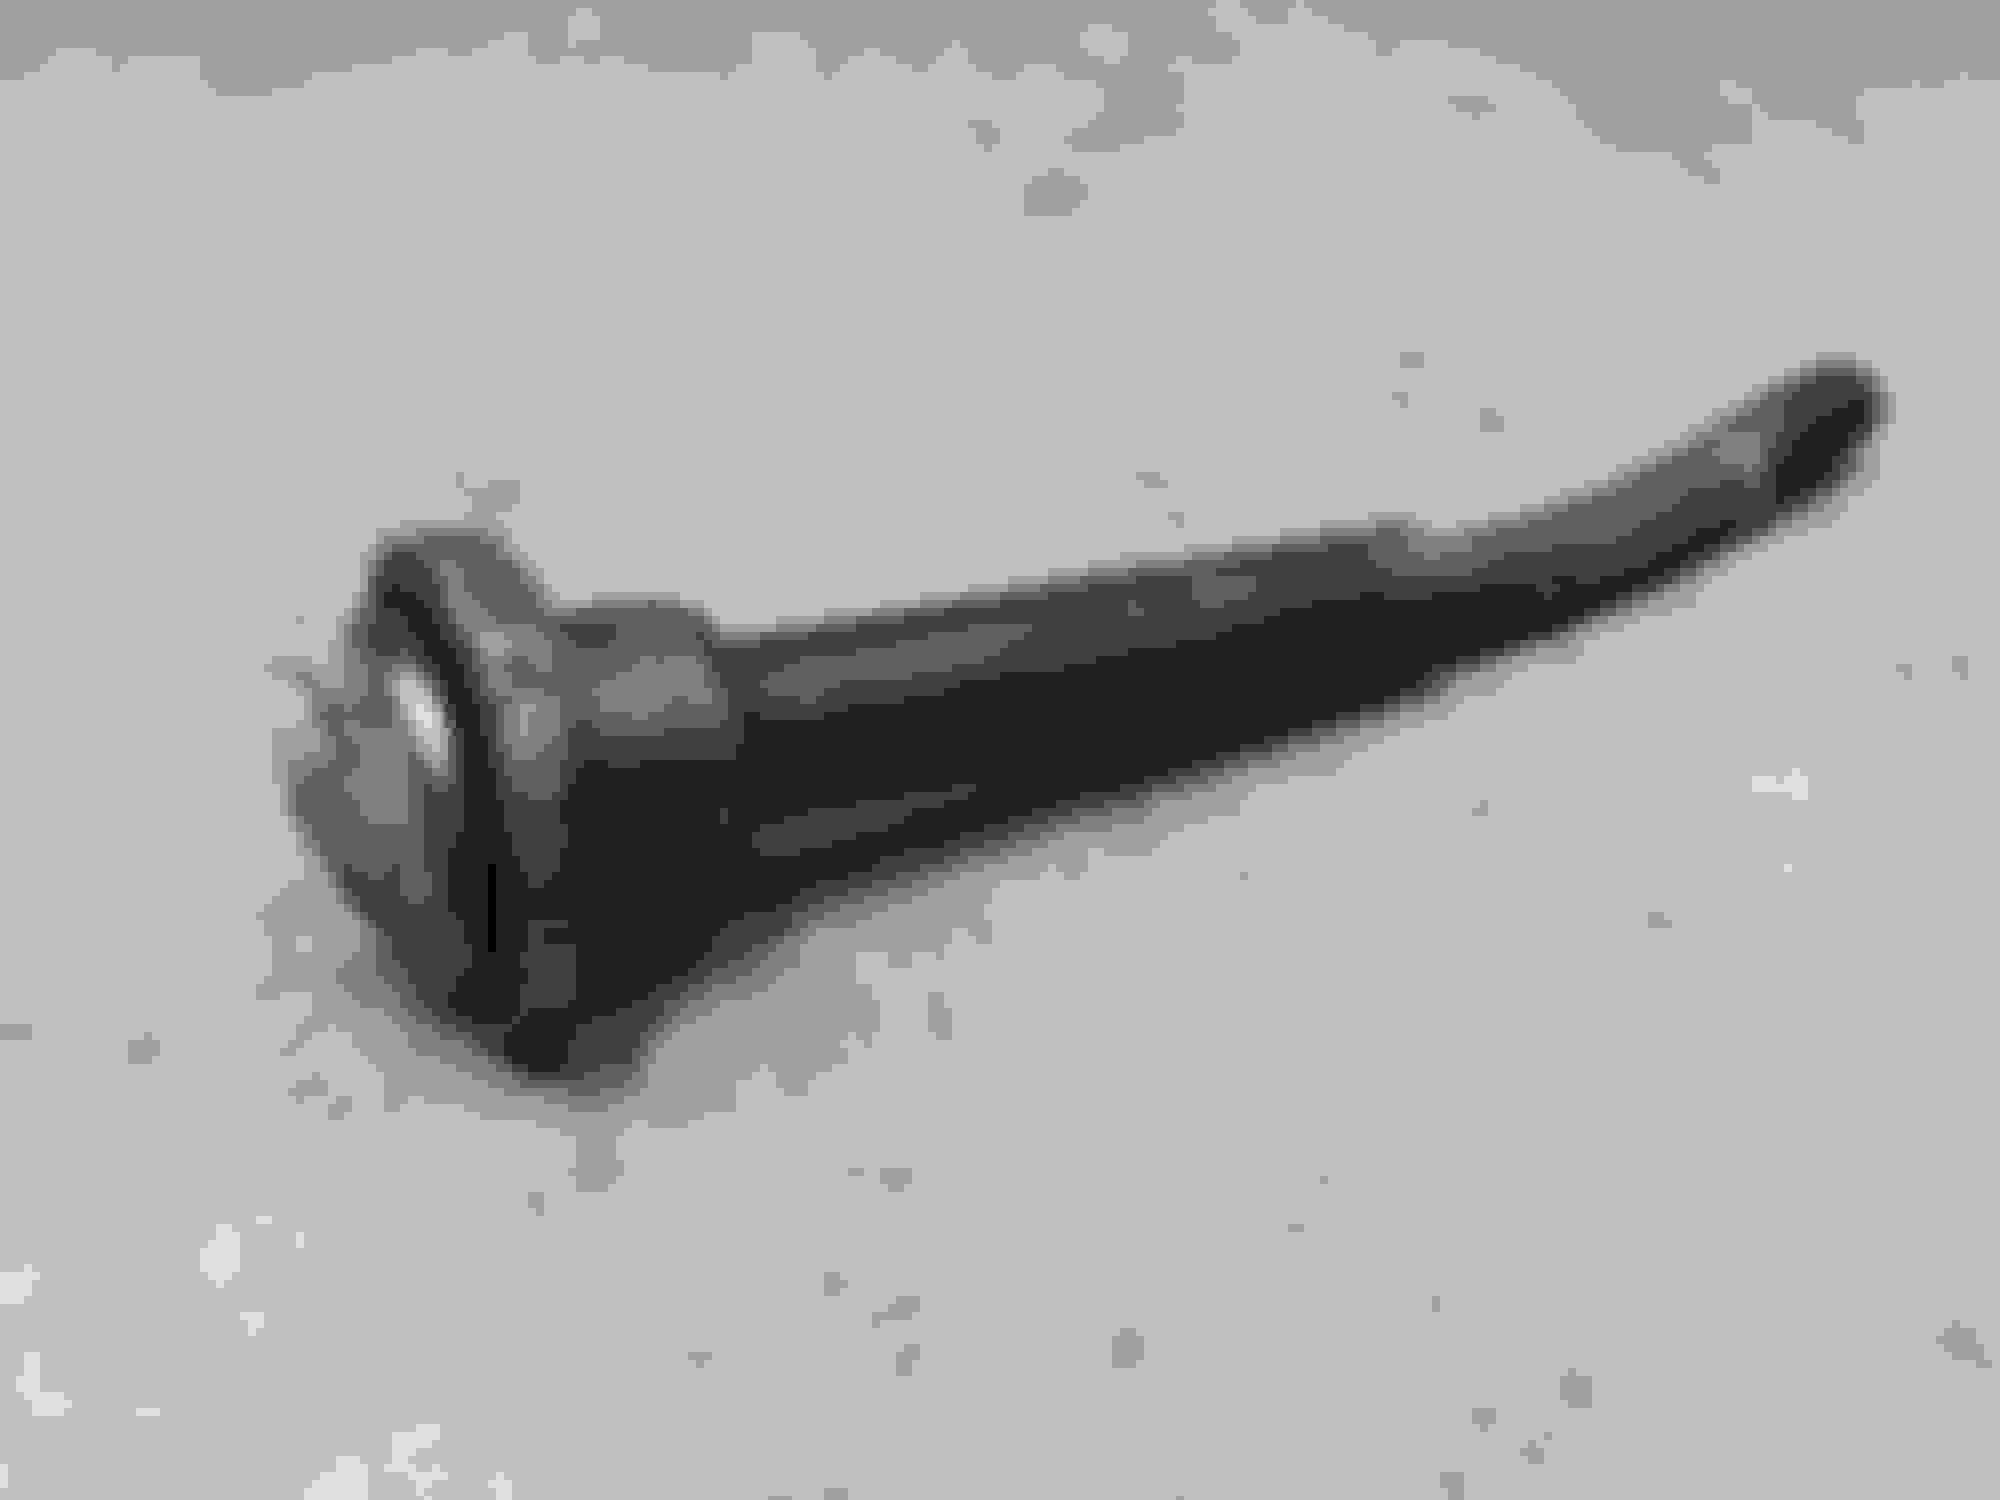
1. It would be better to brace the aluminium pipe from the coldside shelf or those OEM holes on the angled vertical brace, this minimises movement (which gets exaggerated/magnified from the motor movement when mounting to the outer edge of the intake manifold).
2. Use a more substantial hose clamp (ie. thicker) on your throttle body hose, I worry under high boost that your hose will blow off.
PS: How did you get your intake manifold so clean and shiny?
1. Thanks, I'll look into the matter.
2. The hose clamp is really sturdy, not your usual home depot stuff. It has held for some 20,000 km at 1.35 bar of boost without issues
@shinyness: I painted the engine with VHT engine enamel, paint code "Nu-Cast aluminium". I definitely recommend it!
You should definitely do it some day. I recommend leaving the clock at home tho and taking your time. I feel like many people who come from abroad feel pressured to perform right from the start, without properly knowing the course. That's when bad things happen. Stay there for a couple of days and study the line before giving in to the desire of following the faster guys. Getting a coach or another experienced driver to guide you will drastically improve your learning curve.
I'm in stage 2: when you think you know the track but really don't. That's when REALLY bad things happen.
Right after my closing lap there was an E46 M3 who crashed at Pflanzgarten 2. Flipped numerous times and eventually fell across the Armco barrier. Firetrucks, ambulance, the full works. They actually had to cut the roof off to get the people out. I dunno whether they survived, I hope they did.
Ouch! Hope they are well. Yeah, do not plan to break the timers, just have some fun. The master plan is to do that in the course of two weeks, starting from Italy, driving through Austria to Ring, then Belgium to Spa and drive back to Italy through France. We'll see...
I smelled a hint of gasoline during the breaks, so I gave it a good look yesterday. Turned out I had a small pinhole leak on the lowest point of the tank, which was partly sealed by underbody protection. But when I scratched that off fuel started to leak heavily. Suddenly I found myself running for buckets, draining the tank and pouring the gasoline into the tanks of my other Miatas.
I will grind away the rust and see how bad it is. I hope some JB Weld will fix it, since the damage seems miniscule. If it doesn't work (which I don't assume) I need to pull the tank.
Pinhole in tank was fixed with JB weld High heat epoxy putty. We'll see how long it will hold up with fuel vapor pressurizing the tank, but the epoxy is supposed to be fuel resistant, and doesn't need to withstand high pressure given the tiny hole.
I also safety-wire the diff bolts because they have come loose again on the highway back from the N�rburgring. These suckers are either rusted beyond recognition or turn loose for no apparent reason other than throwing big sparks on the Autobahn.
hahaha thanks guys, Nordschleife was a hoot! I worked til the very last second to get the car running. On Thursday 8 PM i was finally able to start the car for the first time in 7 months. Washed the dust off, retuned the VE table, and the next morning I drove 600 km straight to the Ring. After 1h the Spartan2 lambda controller **** the bed, but as mentioned I luckily had been able to tune for the changes before.
The next day I did my first Nordschleife laps ever. What a track! I imagined it being special, but DANG you really need to see and feel the gradients and blind off-camber turns in person. The Karussell killed my 4 year old V-Maxx coilovers within a couple of laps, so no rebound damping on the rear axle for sunday, but still I was having the time of my life.
We managed to quickly engage with the local Miata community. Got to know a crazy guy from Luxemburg who does mid-8s in a 90 hp NA (gutted, rollbar, BC coilovers, Nankang AR-1 195s; but 90 horses remain 90 horses). He's done some 1,000 laps around the Ring and was so kind as to show me the proper lines and braking points. Also made friends with two spanish guys - Raquel works as an instructor for RSR and owns an Eunos Roadster, Dani runs an NB and got a season pass the day he moved to Germany. We agreed to do a few laps together, incidently bumped into 90 hp Max at the gate, and suddenly we were a train of 6 Miatas overtaking Porsches and generally having a great time.
Since then, I have been thinking of going back to the Ring every single second. New coilovers from SPS Motorsport are on order (700/400 springs), and better brake pads (Hawk DTC-50/DTC-30) will follow too.
In general though the car worked perfectly from the get-go. NBFL ABS works a treat, the airbag system works just as it should, coolant never rises beyong 92� C and the transmission cooler only ever comes on when I return to the paddock. The EFR 6758 with the Kraken top mount manifold impresses with instant spool and great response. I will however try the lowmount Kraken manifold soon and do some back to back testing
Also, since my V-Maxx Xxtreme coilovers had finally given up, I pulled the trigger on a set of SPS Performance coilovers. They are made by K-Sport to SPS's spec, so according to the MiataTurbo dogma they are supposed to be crap just like BC Racing (who apparently come from the same factory).
However, I put all 4 of them on our Roehrig shock dyno and ran tests with the rebound adjuster set to 0/5/10/15/20/25/30/35 clicks from fully closed and was positively surprised by the range and consistency. Re range, my fellow engineer expected to see almost no change beyond 5-10 clicks, but there still is a lot of adjustment happening once you enter the softer range of damping control. Re consistency, the widest gap between the softest and stiffest shock of all 4 was 3 clicks. That means the stiffest shock would require 3 clicks less than the softest shock to dampen on the same level. I have yet to see other brands compare intra-shock performance. Again, my engineer who tests and develops high performance suspension for a living said this wasn't extraordinary and he's seen much worse.
I ordered 12.5 / 7 kg springs (approx. 700/400 ft/lbs). This translates to 122 and 69 N/mm. The spring Dyno read 118/116 and 69.4/69.7 N. So the rear was spot on, while the fronts were a tiny bit softer but within the range that we as an OEM would deem acceptable quality from out supplier - springs usually have a variance of up to 4%.
A full review is to follow once I have the coilovers installed and set up. In 2 weeks I'll be doing a Trackday at the Hockenheim F1 circuit.
Until then I'm really happy with my purchase, and positively surprised how well this reasonably priced set up coilovers performed on the dyno
Jealous for your access on a proper shock dyno, and thankful for you sharing results. There are almost no reviews for the SPS coilovers out there, so thanks for doing a very comprehensive one! Eager to hear your driving experience too.
That being said, given the access to that shock dyno, I would try to piece together a set based on Bilstein AS2 components. They are very high quality, and could be built for 1000ish Euros for the non-adjustable versions.
The DIY billies won't do because the retrofit of adjustable spring perches will never pass T�V scrutineering. However, the SPS shocks are fully rebuildable and use standard 46mm pistons. So I could revalve them just the way I like, like adding a Penske regressive compression piston if I were really crazy. I'd need to know where to start tho. The more I learn about automotive shocks, the less I know. Full Dunning Krueger effect. Once you add in the warming up of shock oil, hysteresis etc it starts to become really complex
These are not DIY in the essence of MT, AS2 units are already threaded body dampers (at least some versions). I always forget about the TUV approval; discard my comment.
Originally Posted by Eunos91
I'd need to know where to start tho. The more I learn about automotive shocks, the less I know. Full Dunning Krueger effect. Once you add in the warming up of shock oil, hysteresis etc it starts to become really complex
Ah ok, didn't know them. But still, I have them SPS shocks T�V-approved, so I could go from there and build my own spec around 46mm pistons. At that point brand A or B won't matter much anymore if you alter everything anyway
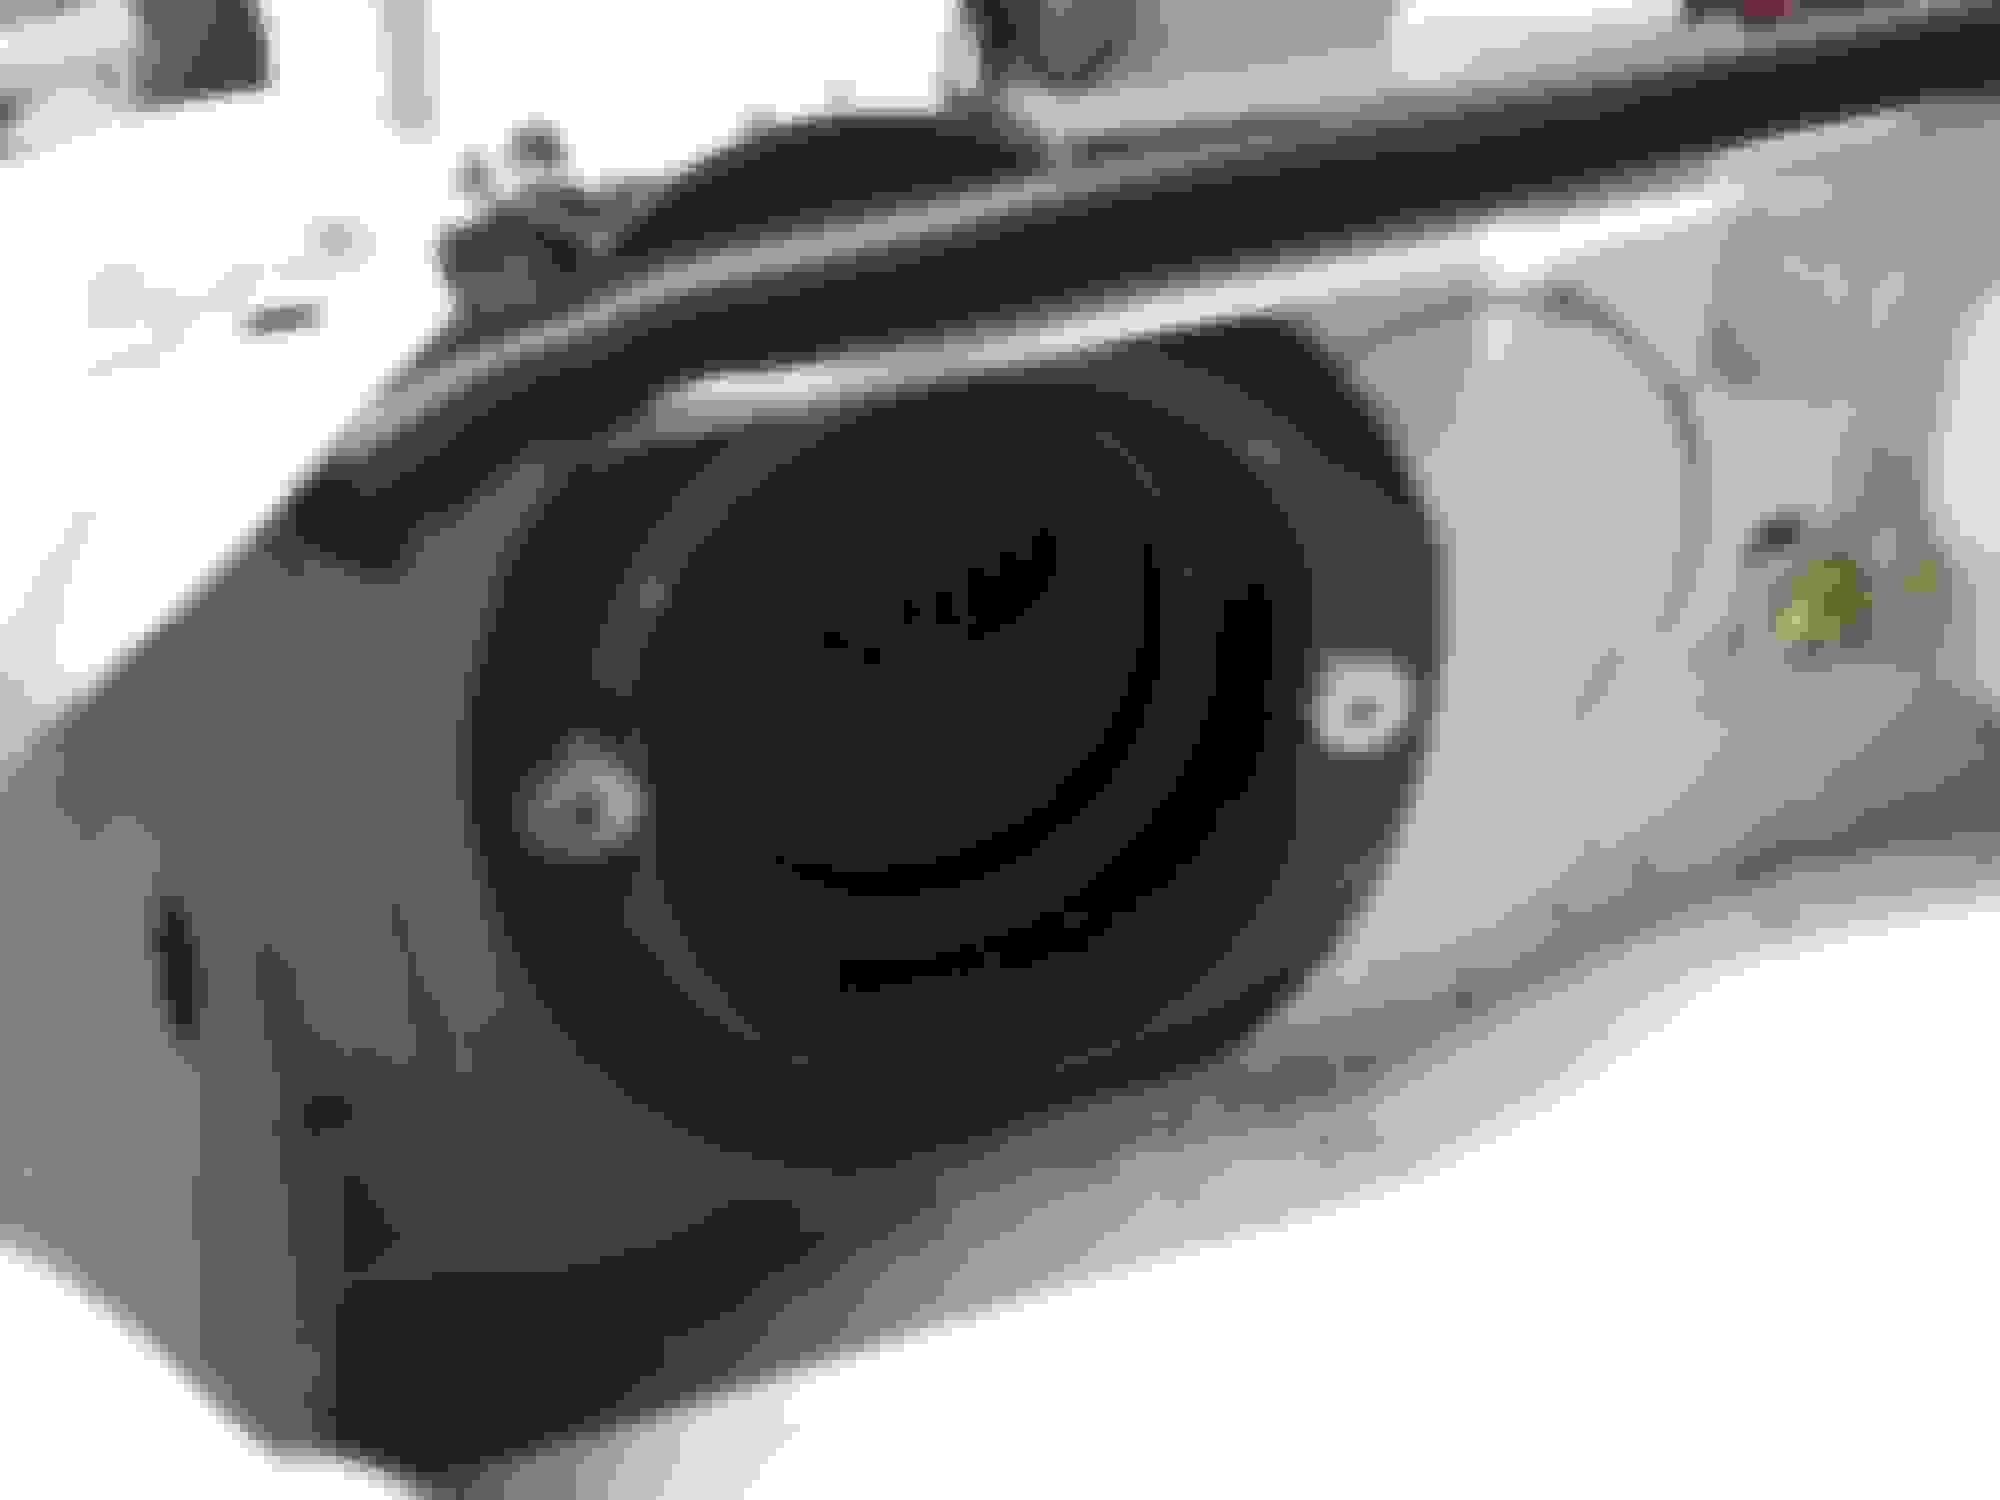
So, I added a small motorcycle fuel filter to keep the dirty particles from the clutch master away from the main reservoir.
I then turned the cappuccino washer bottle around and relocated it towards the center of the car with new brackets. With that out of the way it was time to install the 3" intake. Making the hole solely with a drill, a dremel and a hand file was a major PITA, but turned out ok, given the means I had available.
Tomorrow I'm supposed to receive the brake prop valve and finish plumbing the brake system. So I called it quits for today.
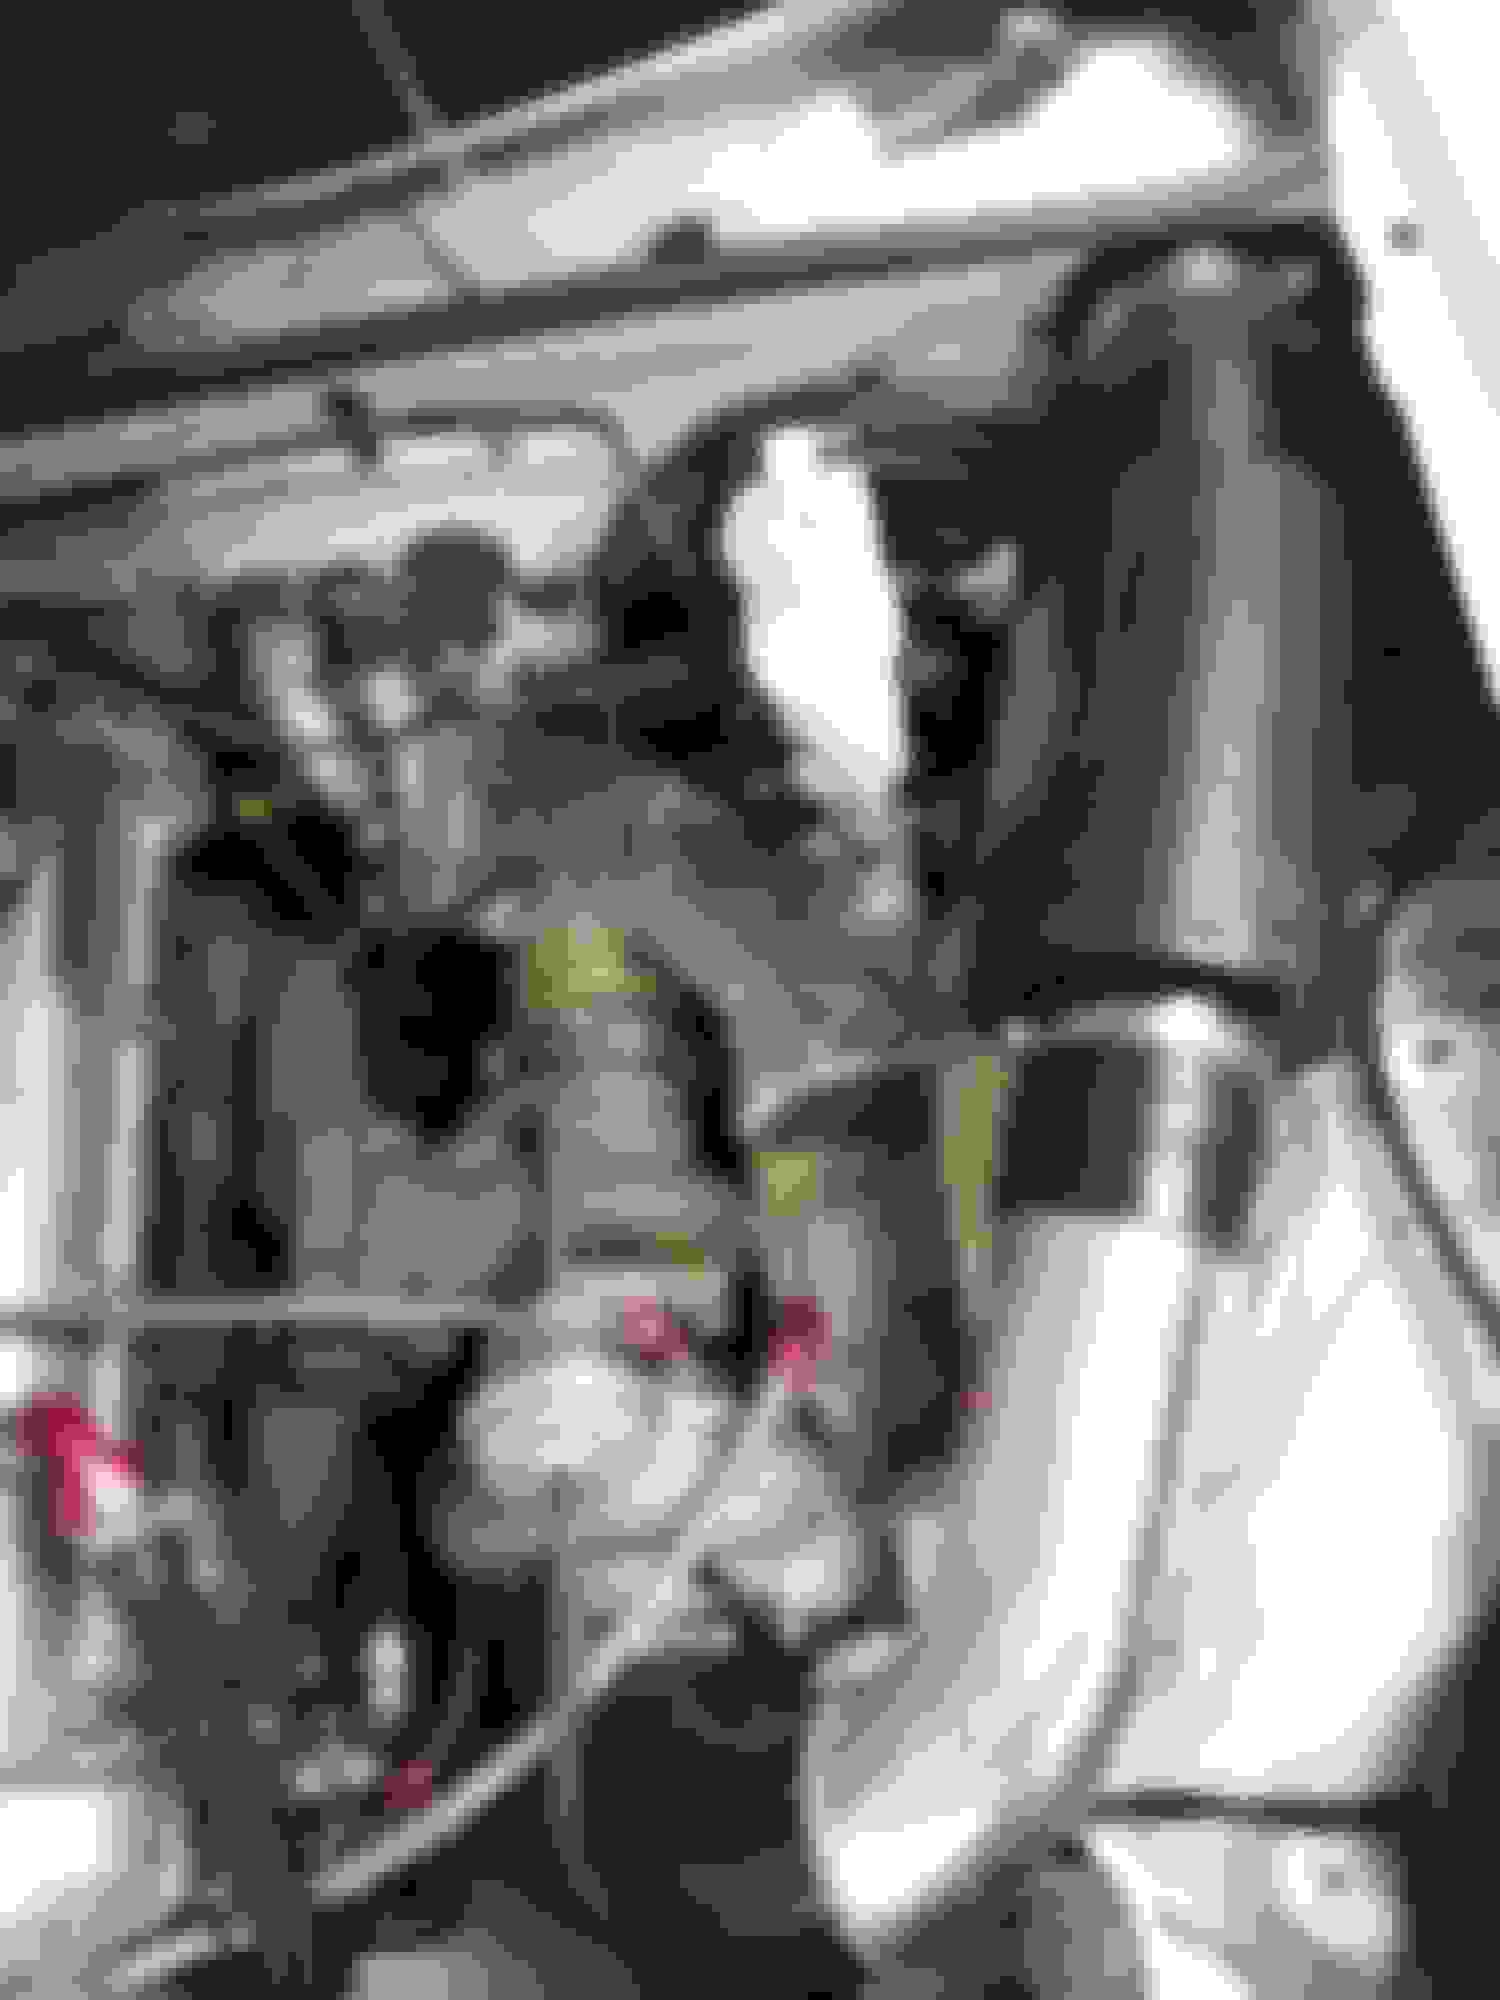
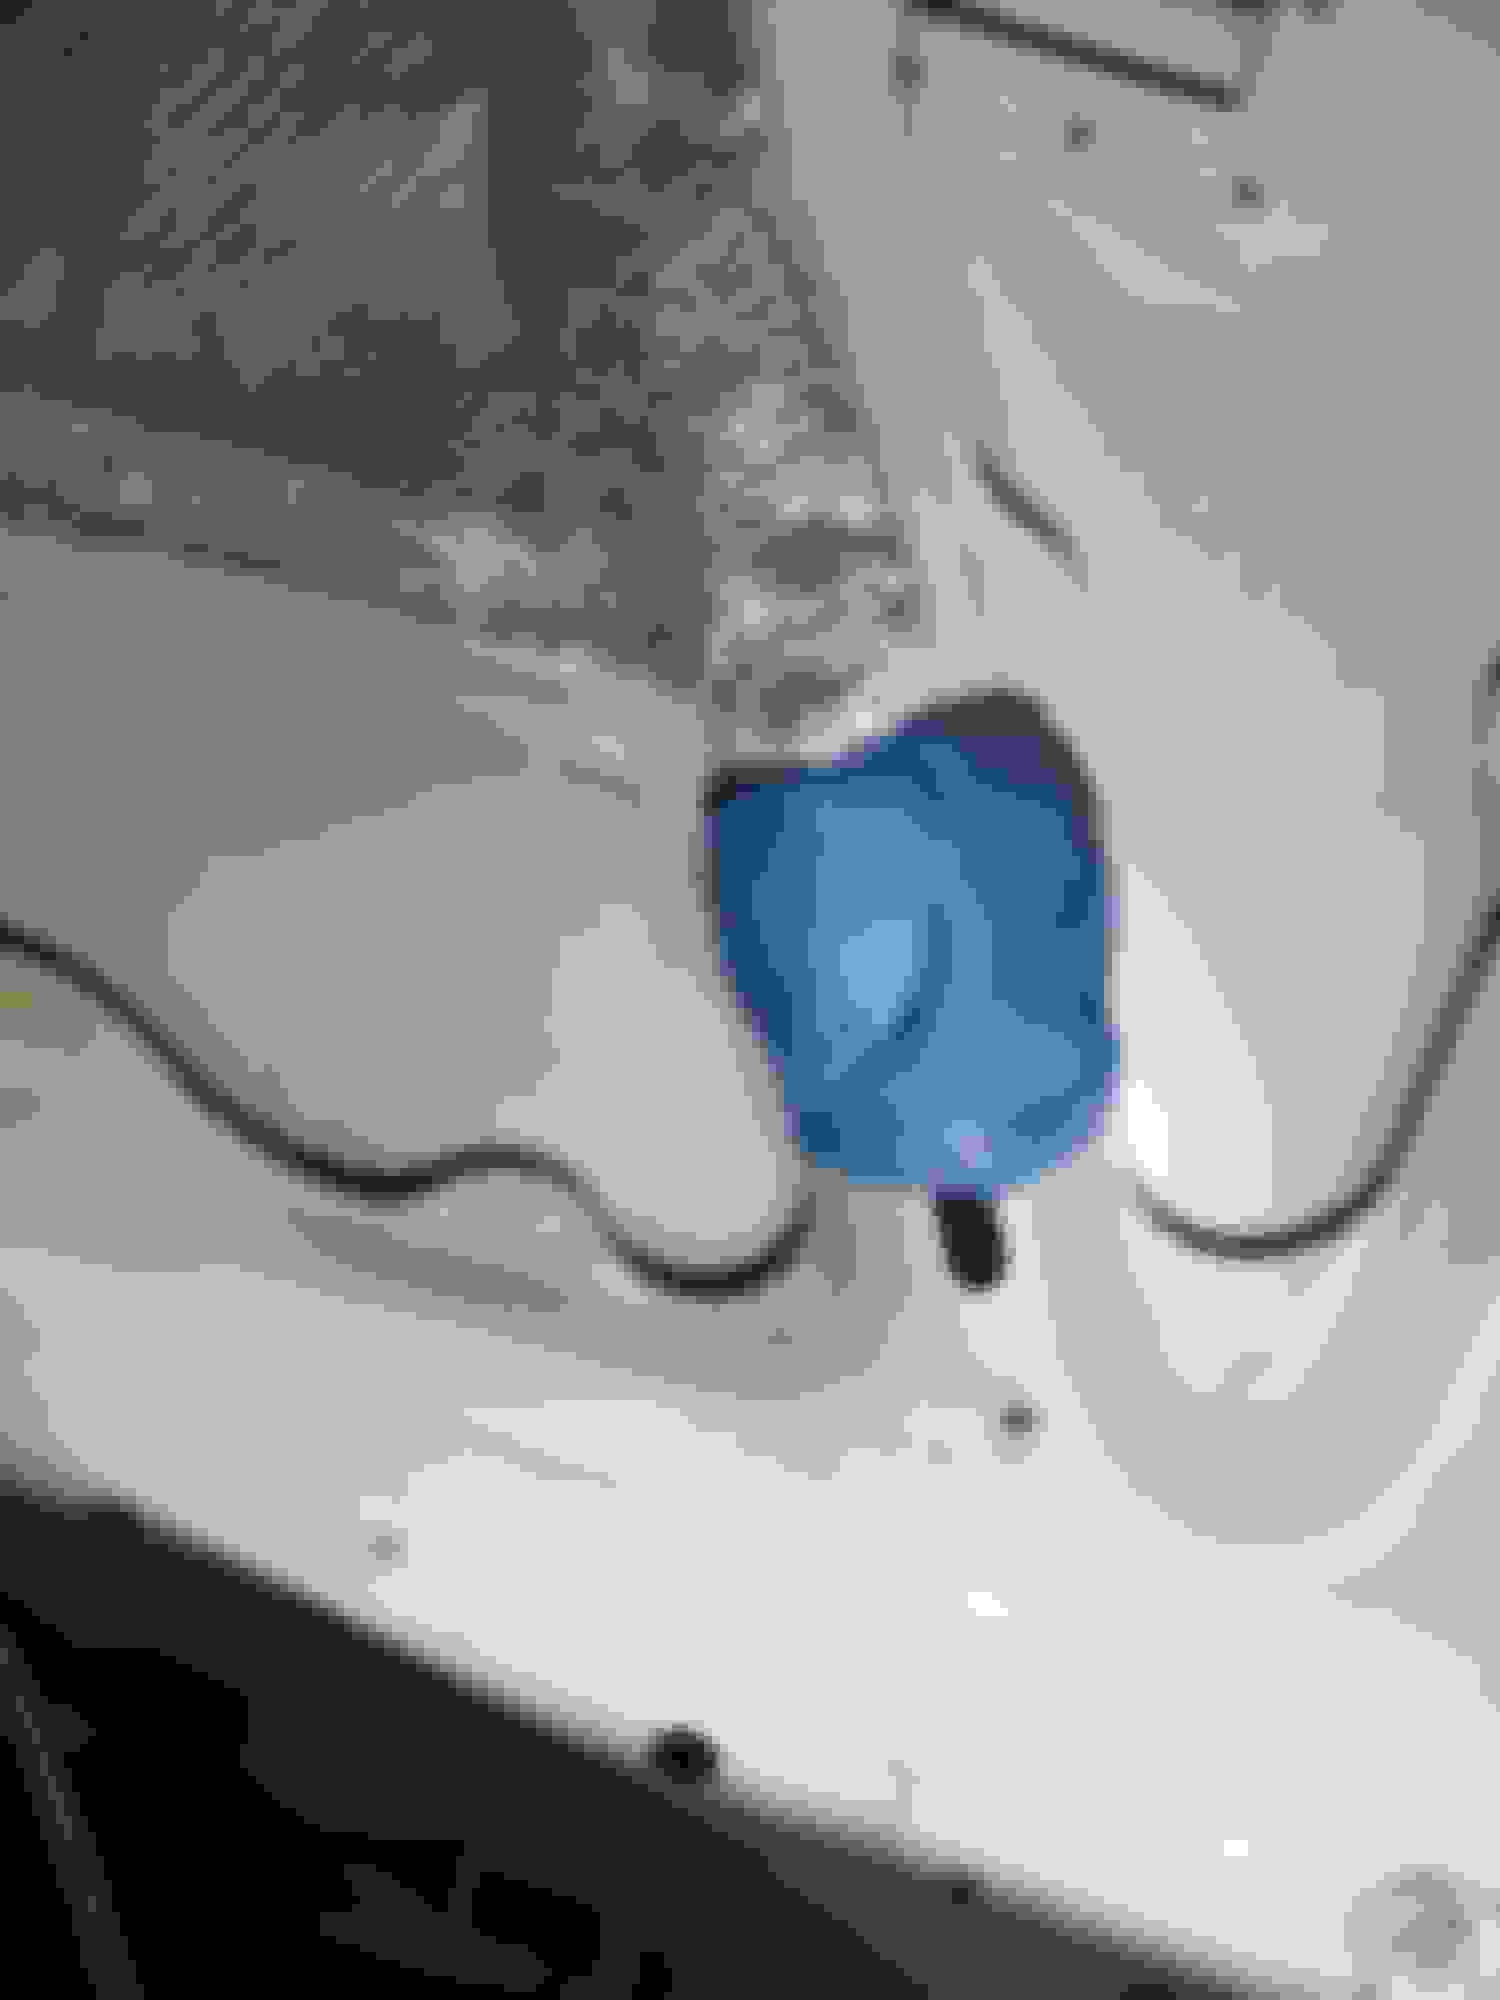
And then this happened:
Oh ****! The Daewoo reservoir is taller than expected and collides with the underhood bracing. I used some polishing clay to trace where exactly it hit the bracing, and fired up the Dremel once again. God, I love working with aluminium. For the home tinkerer it's a sheer joy to work with.
Sorry to revive this thread, but I was wondering if you could tell me the height of the reservoir (from the bottom of the tank to the top of the cap?


 0
0