When you click on links to various merchants on this site and make a purchase, this can result in this site earning a commission. Affiliate programs and affiliations include, but are not limited to, the eBay Partner Network.
trackday was a riot. Running on 0W-40 fully synthetic oil, my oil pressure issues seem to have resolved. Maybe it was a stuck relieve valve, but after the first session the pressure went back to normal, albeit a bit low upon idle (1.2 bar, but that might be the result of the thinner oil).
Suspension was very good. A lot better than last year. The biggest change was the switch to 90/60 N per mm springs (used to be 70/45), a bigger H&R front sway bar and the wider tires. A lot better on corner entry, less lift-off oversteer and more stability under high-speed braking. Did I mention how I love the new stance? Looks so much better with the meatier rubber.
I was down on power due to the reduced compression, which resulted in almost 10 km/h less top speed than last year. Still I managed to improve my lap time by 1.5 seconds
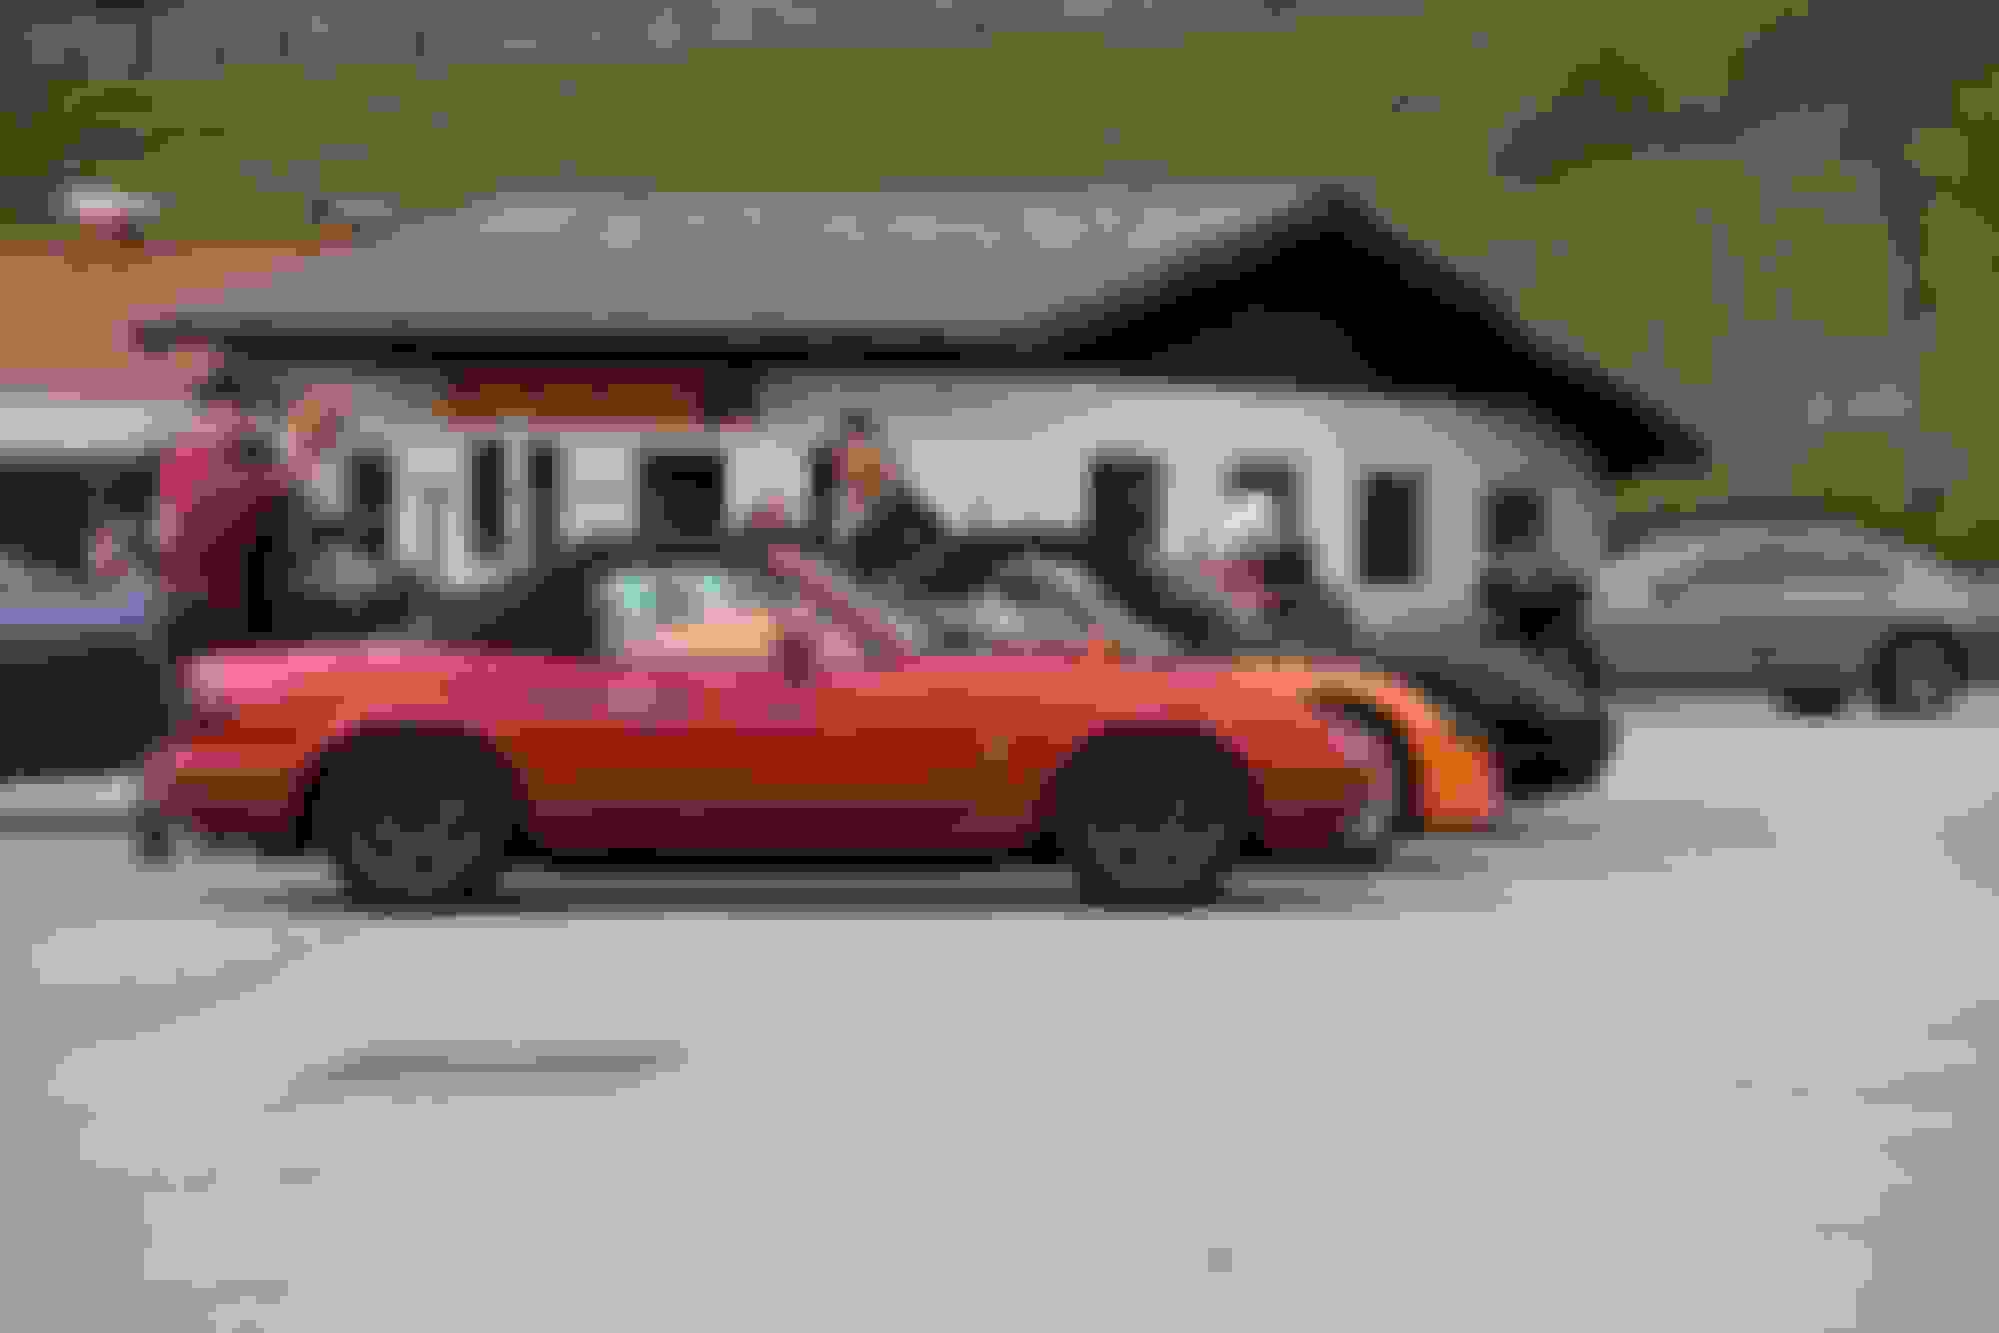
the cars at the track were crazy. Tesla model S, BMW E30 touring race car (this thing was flying!), Honda CRX with full aero trickery, VW Passat R, various BMW M cars, Mustang GTs,... got me a sponsorship deal the wife posing for the Peniston Oil Co. Me and the crew with our cars. The orange one is an Opel Speedster Turbo with 930 kg and 280 HP. The Boxster is an unmolested first year example with 60,000 km on the clock. The roadholding capabilities of its stock suspension are beyond belief.
Still waiting for my turbo kit.... In the meantime I installed my Hawley Performance D585 LS2 coil kit. Thanks to Savington for sharing dwell times and voltage correction curves. Wiring was straight forward. However, getting the engine to run wasn't. The car would crank without catching, only to suddenly fire once, resulting in a huge bang from the exhaust at 01:00 AM. I suppose every single resident took notice. So I took my ECU apart to check for faulty connections and continuity from the coil plugs to the ECU pins. Everything was spot on. Still, it wouldn't run.
So then it came to me: Megasquirt's coils A, B, C & D are arranged in firing order, no from the front to the back of the engine. So I changed the settings aaaaaannnnd....
... no start. Man, I was getting frustrated. A little later I discovered that the female spark plugs were recessed too far inside the silicone boots. The plugs would only occassionally fire when the superstrong D585 coils managed to bridge the 15 mm gap. After some wrestling with the rubber boots I managed to pull the female plugs further out, and now the engine runs better than before.
are these really ignition coils? Or rather Tesla coils? Damn, these things are strong...
meanwhile I was informed that my EFR kit had been shipped at last. Checking the invoice I discovered they are sending me an EFR 6758 instead of the 6258 that I was asking them to. They replied the larger turbo spools almost as fast as the smaller one while retaining more headroom and top end. Following Soviet's and Psyber's journeys I think I will just use the larger 6758, run around 17 psi and enjoy the headroom, should I ever find 300 whp boring. The worse spool compared to the 6258 really seems to be negligible. I suppose either option will possibly provide more power than the 6speed can take.
My turbo kit has finally arrived. Just look at these welds! There is not a single bend on either the 3" turbo back or the intercooler pipes. Everything is pie cut <3
well, that's not entirely correct. There is, in fact, a bend...
man that sucks. The dealer offered to send me a replacement tailpipe finisher, but I'll still have to cut the bent piece off, spot-weld the new piece in situ and then have the dealer or a local SS welder properly finish the job.
This build is getting more and more frustrating. I testfitted the turbo, the manifold and the exhaust system. V-bands are great. Wrapped the downpipe with DEI heat wrap as told by the tuner. Personally I wouldn't do it, but complied to avoid future warranty problems. Had to bend the heater pipe a bit back, applied some gold heat shield adhesive on the brake lines and ground the stage8 washers down to make them fit on the EFR turbo.
however, the intercooler piping sucked big time. The artistically welded pipes interfered at various locations, and it almost seemed as if they had been thrown into the box at random. Furthermore essential couplers such as the 50-->60 mm reducer coming from the turbo were missing, and irrespective of the various pipe diameters all couplers are 60 mm. I'm gonna order some couplers and aluminium tubes, and build the intercooler system myself. I might just fab a bead roller from a mole grip. Also, I'll revert to the stock EFR bypass system to reduce complexity. Does anyone want a GFB DV+?
Originally Posted by sixshooter
Darn. Looks beautiful otherwise.
Ich habe zwei Jahre in Augsburg gelebt.
I thought the word was wohnen with an umlaut, but that is what the translation computer says.
Ah cool, what did you do there?
I think you mean "ich habe zwei Jahre in Augsburg gewohnt" but "gelebt" is perfectly fine
I have never been a fan of pie cuts. Raises the cost of an otherwise simple part, WAY more stress in the metal, flow is slightly compromised, adds unnecessary weight....
I have never been a fan of pie cuts. Raises the cost of an otherwise simple part, WAY more stress in the metal, flow is slightly compromised, adds unnecessary weight....
Or Im completely wrong!
I believe you're correct. Especially when "pie cuts" are used to make a 90deg "bend" that's really just two 45deg cuts and a short centre section of pipe..
That's what I'm thinking. I'm currently shopping for my DIY setup. A couple of silicone elbows, 1m of aluminium pipe and that's it. Costs next to nothing, uses the same amount of couplers and it fits. It's almost like the segments were made for a different car. I'll take pictures of the current state later on.
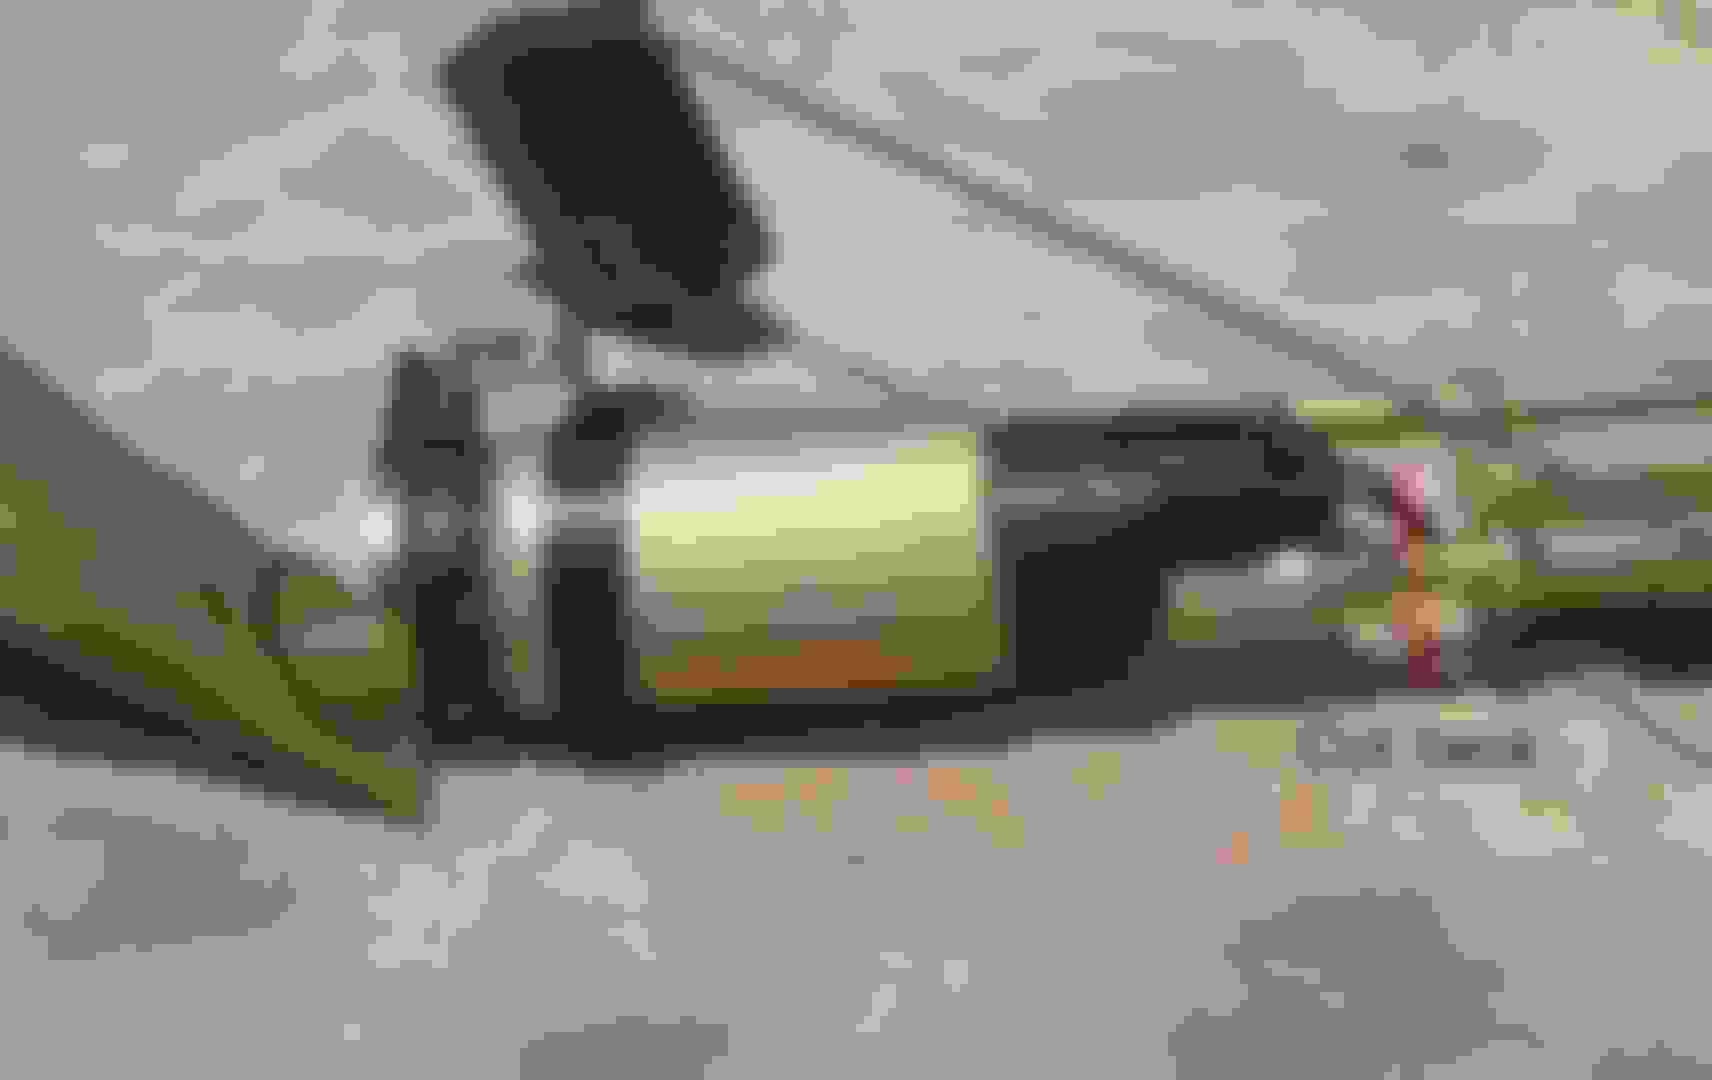
Installed my walbro fuel pump today. On the mechanical side it's pretty straightforward. The pump is more or less a direct replacement. Which is important as you will want to reuse the OEM filter sock. The only necessary modification is cutting the female fitting off so that only a small barb remains. You will slide a short piece of 8mm ID fuel hose over it on the one side, and over the barb at the fuel pump on the other side.
the pump is pretty noisy. Putting some Dynamat on the top of the tank and the fuel pump cover helps a bit, but it is noticeably louder than the stock pump.
on the electrical side it's best to run a designated, thicker wire directly from the battery, and trigger the pump via a relay. I used a 30A-rated automotive relay, an inline 30A fuse and 6mm^2 thick wire for the high power wires.
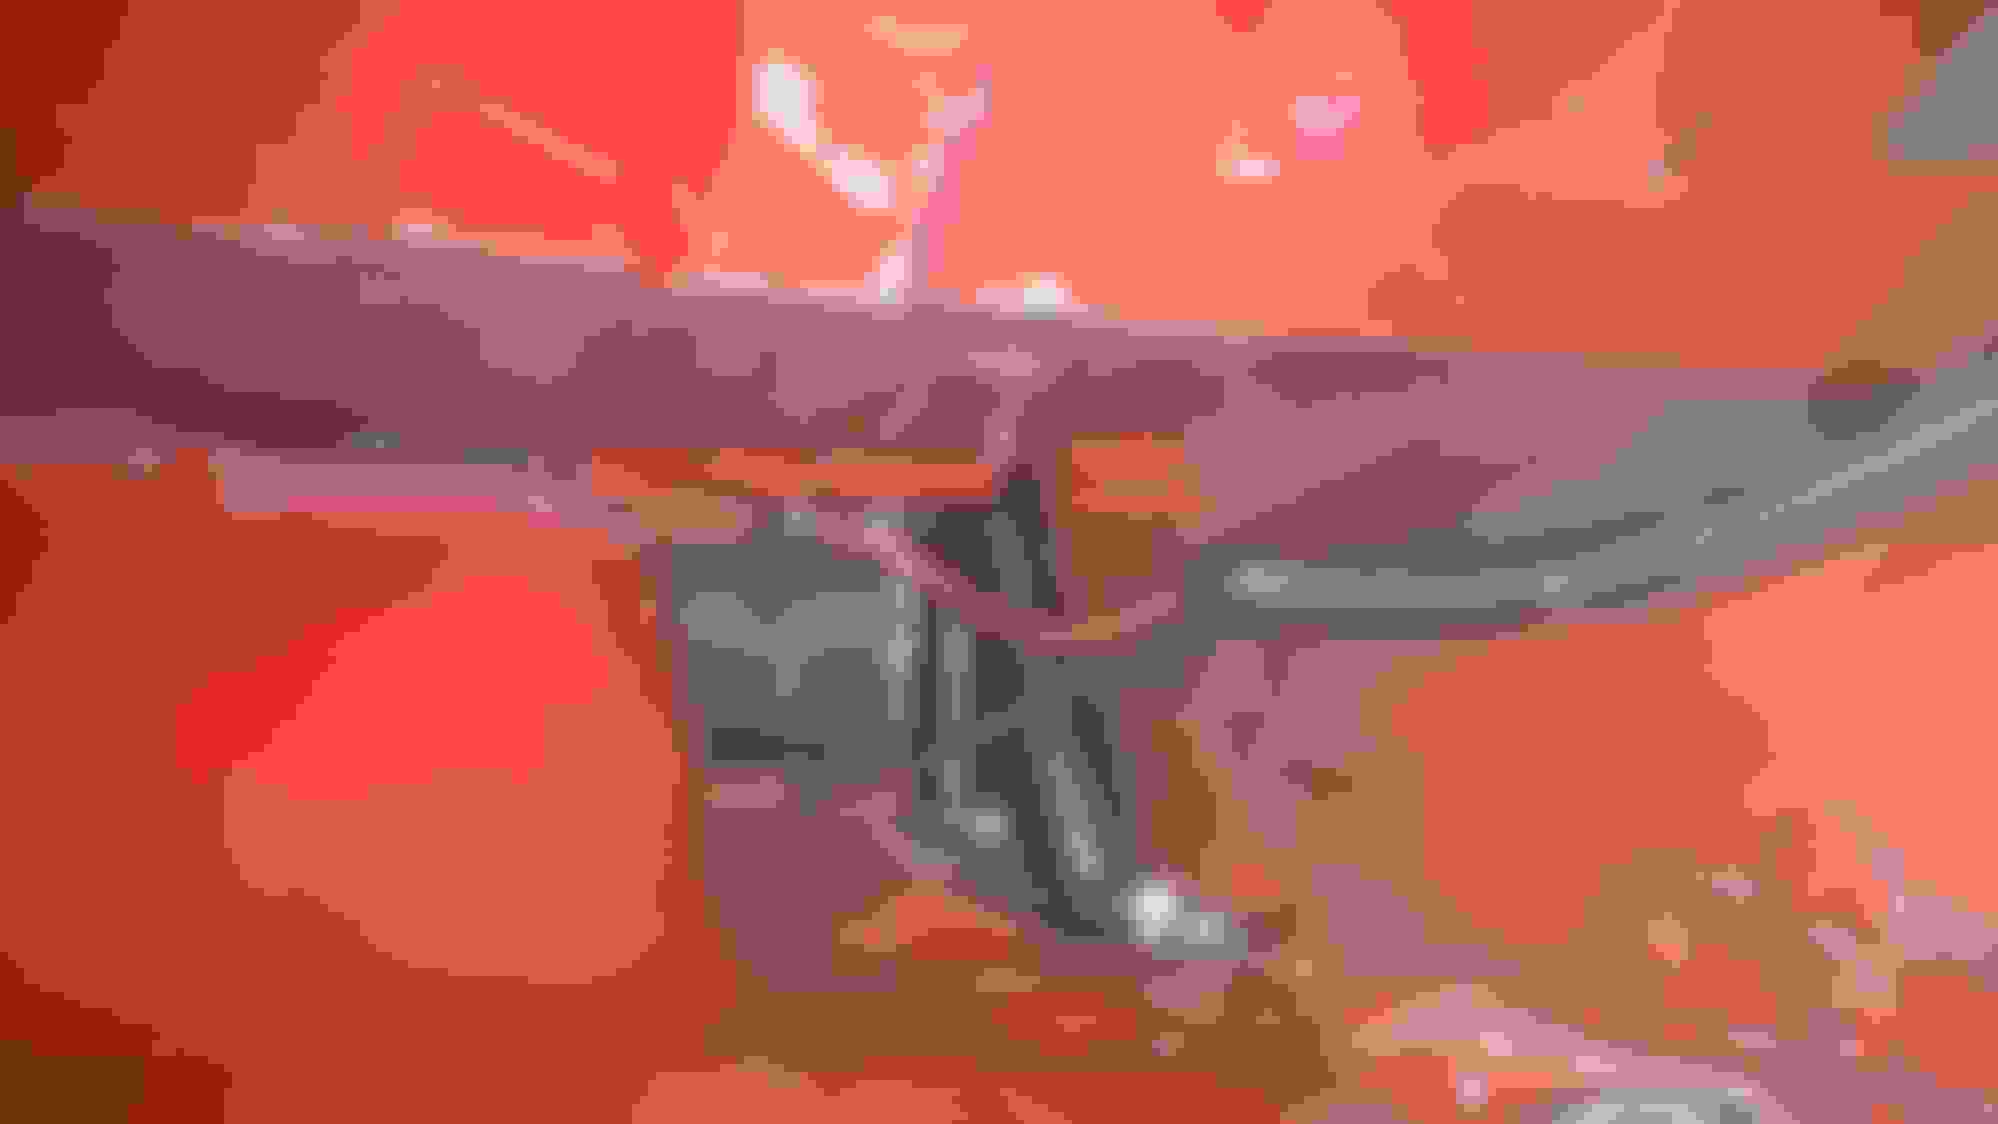
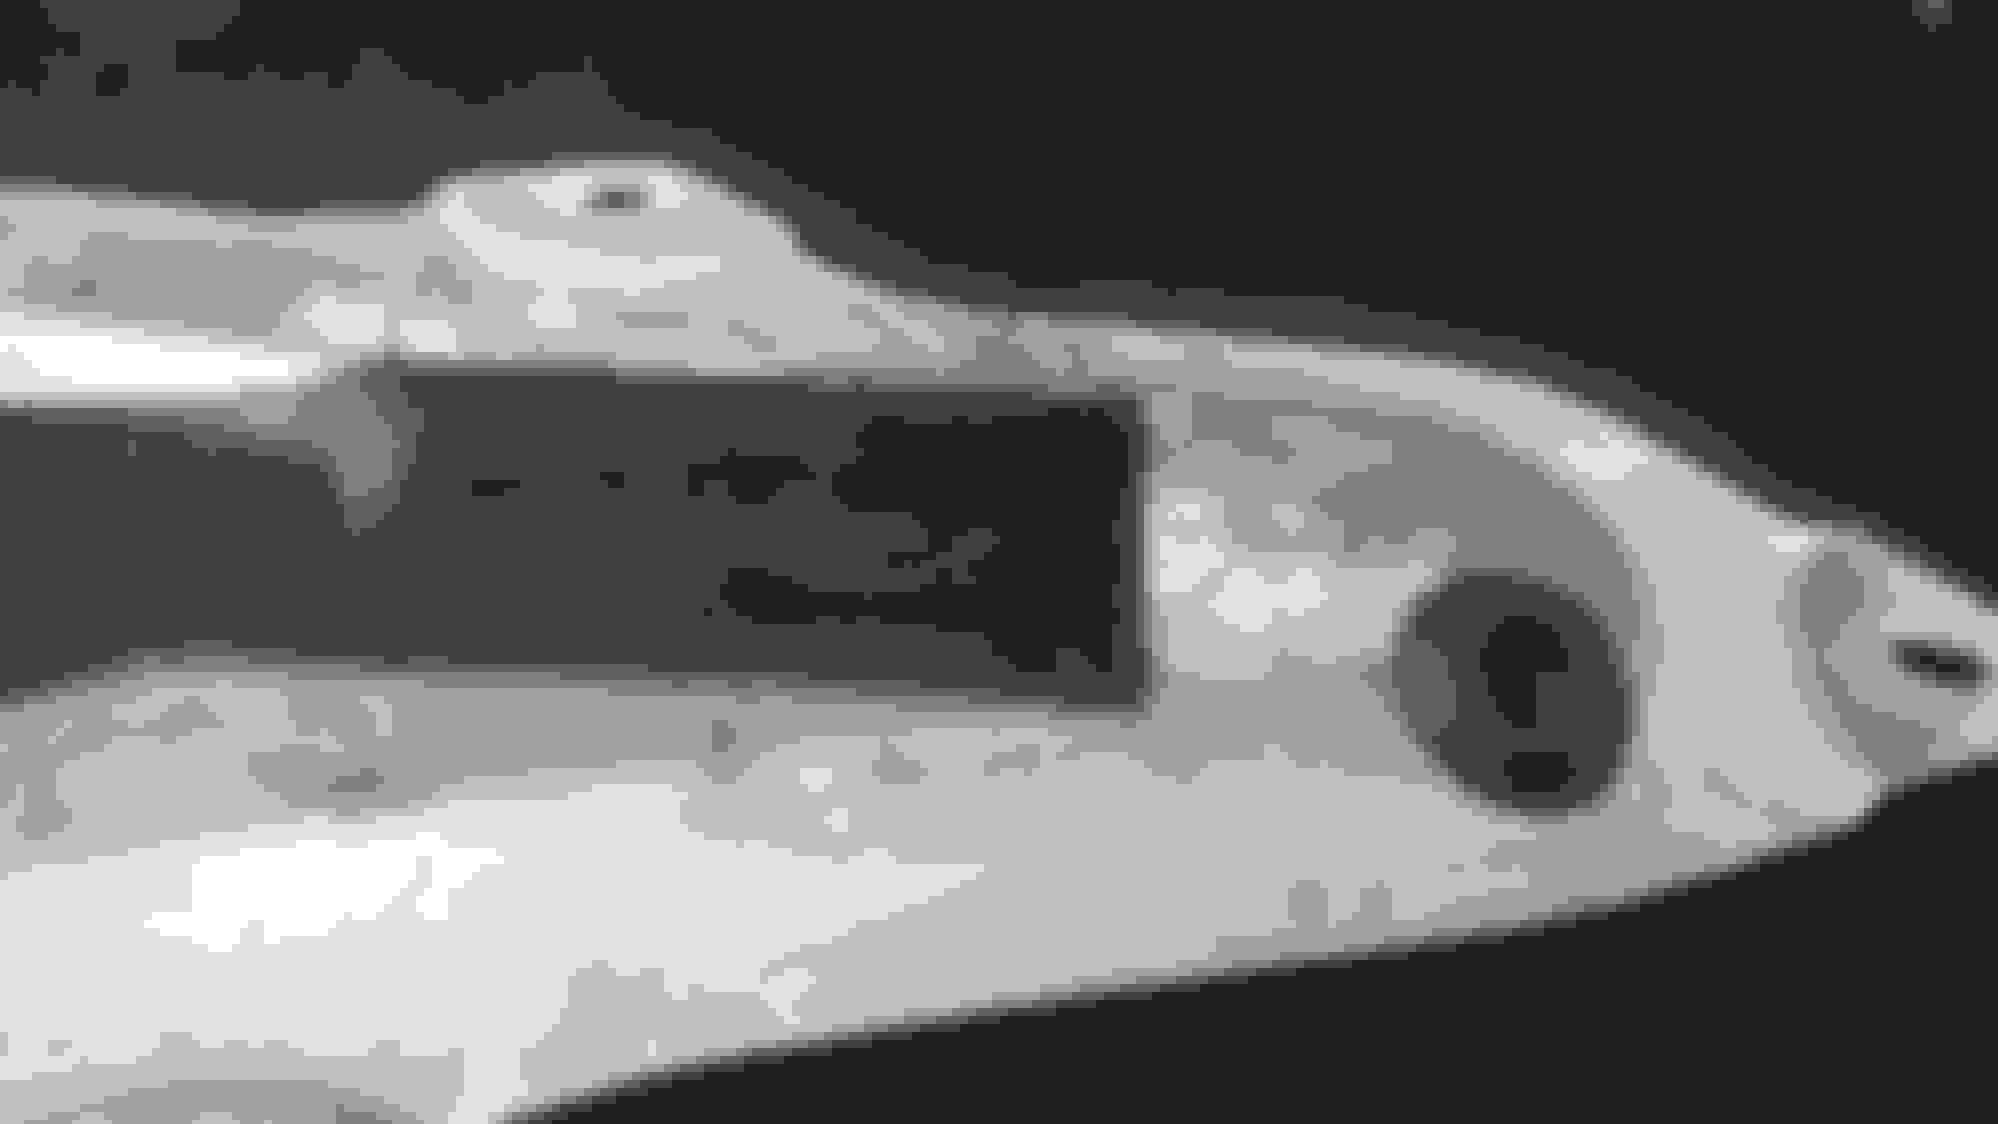
for routing the power wire I stuffed it into the original flex tube. From there I ran the wire through a small gap up to the fuel pump cover, through a grommet and to the pump. I chose that route because it's clean and I didn't have to drill into the chassis. Wherever needed I slipped a piece of silicone hose over the wire to protect it from sharp edges.
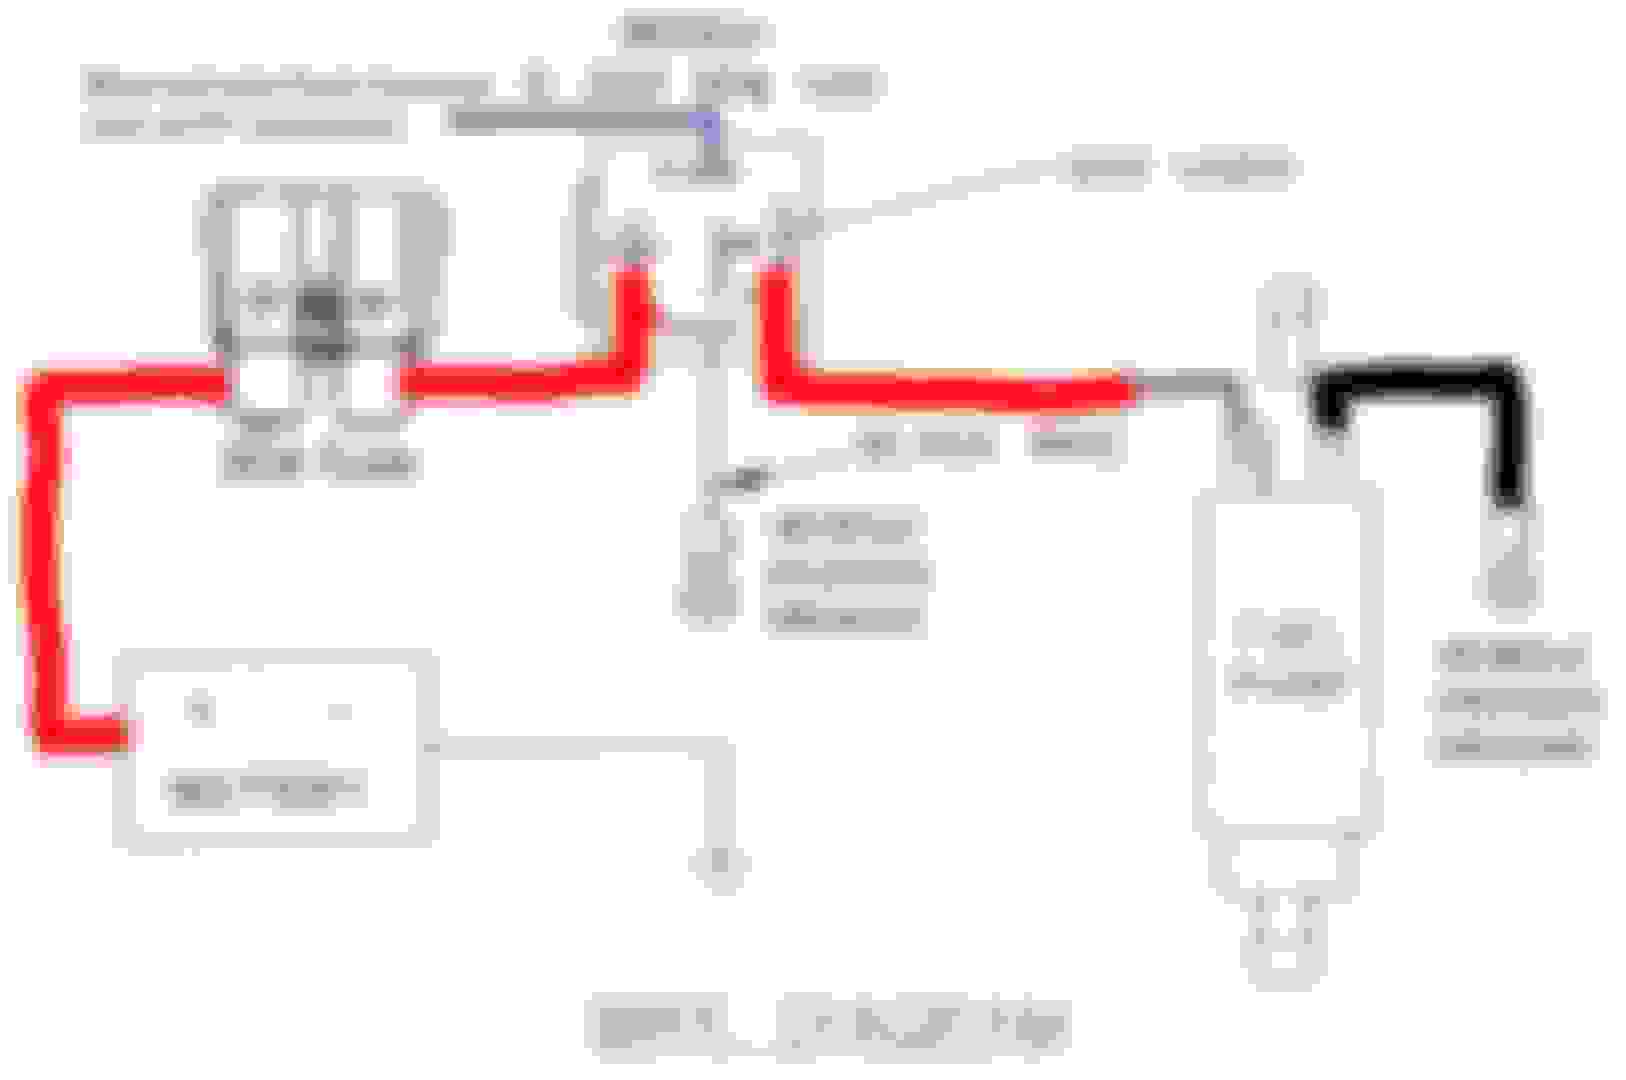
the wiring was pretty easy. Here's a diagram I found somewhere here, together with wire colors from my 1991 NA for those who are as electrically illiterate as me.
The thick red and black wires are the ones you'll have to add. Also, you will have to cut the blue-red (FP power) wire. Cut some 5 cm from the FP connector and crimp the end on the harness side to the corresponding wire on the relay holder. The other end (at the connector) needs to be crimped to the thick power wire coming off the relay holder. This will power the fuel pump. Don't worry about the short piece of thin wire, it's still better than using it all the way.
the second wire to cut is a black wire at the FP connector. There are two of them. Use the one located diagonally from the blue-red one. The harness-side end goes to the relay (trigger ground; bottom terminal at the relay in this schematics). The end at the connector needs to be crimped to a thicker wire and grounded at the chassis (I used the bolt of the fuel hose check valve).


 0
0


 but "gelebt" is perfectly fine