When you click on links to various merchants on this site and make a purchase, this can result in this site earning a commission. Affiliate programs and affiliations include, but are not limited to, the eBay Partner Network.
Fun was had using Virtual Dyno for the first time. 5th gear pull at 230 kpa (initial boost was 245 kpa, CL boost control still needs some tuning i suppose). Looks like i could use some time with det cans to improve in the higher rpm range. And for whatever reason my spool is still slow as heck, although all piping is 100% leak-free.
Not that it matters, could you do the inverse logo as a windshield banner with the full nose stripes?
nope, can't do that here in Germany. Front window stickers and tints are illegal, and cops WILL pull you over - especially if you're in a cop-attracting car like the Miatini.
managed to pick up some ponies by means of det can tuning. The biggest improvement was to linearly increase timing beyond 4500 RPM. You can only do so much, given the RON100 we get here. E85 is almost impossible to come by.
To-Do list:
- revise CL boost initial table values to fight boost overshoot
- optimize VVT CL Settings to make VVT follow its map more closely
Anyway, I'm pretty happy to be a member of the 300+ WHP Club
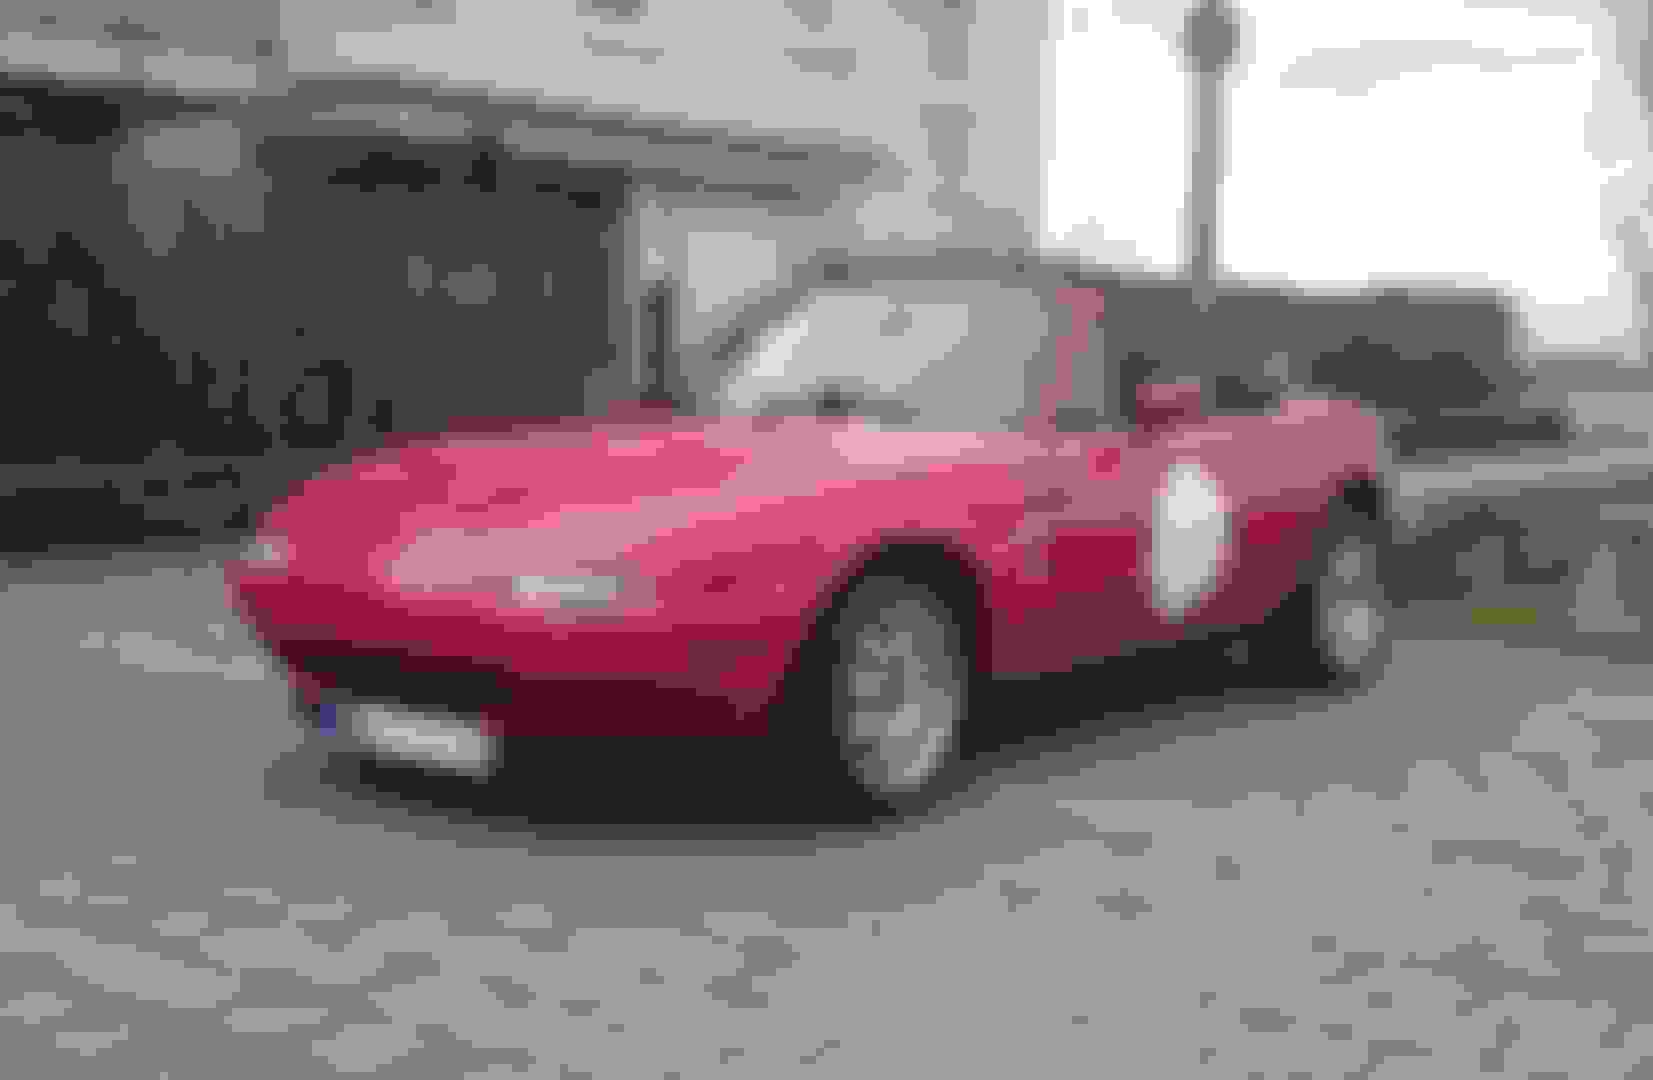
I'm prepping the red MX-5 for when I transplant the go-fast parts into the white Miatini chassis. Being an USDM car, the Miatini came with an airbag, AC, power steering and electric windows - I won't be keeping these things in the quick car, but will install them in the red EUDM chassis and use that one as a stock(ish) daily. Adding an airbag to a non-airbag car isn't as easy as one might think; at least if you want to get it approved by the German T�V. The reason being that if the T�V guy approves of the added airbag, and I get injured in a crash due to the airbag (e.g. it doesn't inflate), he is personally accountable. I managed to find a T�V scrutineer willing to approve of the modifcations, but I have to document the modification very well, transfer all wiring, airbag-version seat belts (with double webbing) etc.
Since I cannot remove the engine in my parking spot, I need to rent a work space in a DIY garage shop. Time is money, so I was keen on prepping the car as much as I could. I removed all carpets, pool noodles, the dash, passenger seat,... #becauseracecar
So now I can still drive the car while being able to quickly remove the drivetrain and the wiring harness. A few hints and insights in case someone goes through a similar task:
You know these pesky wire clips? I've broken several of them over the years, desperately trying to pry them out.
You can build a "tool" out of flexible, yet sturdy PVC. Simply make a V-cut and...
...slide it underneath the clip. As you push forward, the tool will unhook the clip.
BTW, I made some better pictures of my noise deadening pool noodle mod: Two noodles go into the void between the parcel shelf and the tank. Then you remov the fuel pump cover... ....and cram in as many slices as you can. Glory shot of the Walbro 190 HP fuel pump which is directly powered from the battery. The original fuel pump wires are used to switch the relay, while the thicker gauge wires power the pump.
The last thing I did was remove the frame rail/butterfly brace combo and replace them with the frame-only version. They should be more than enough for a daily, while the butterfly brace will help stiffen up the Miatini. luckily the gaps between the bolts are the same, so no extra drilling was required New rails installed with grease to prevent corrosion between the chassis and the stainless rails
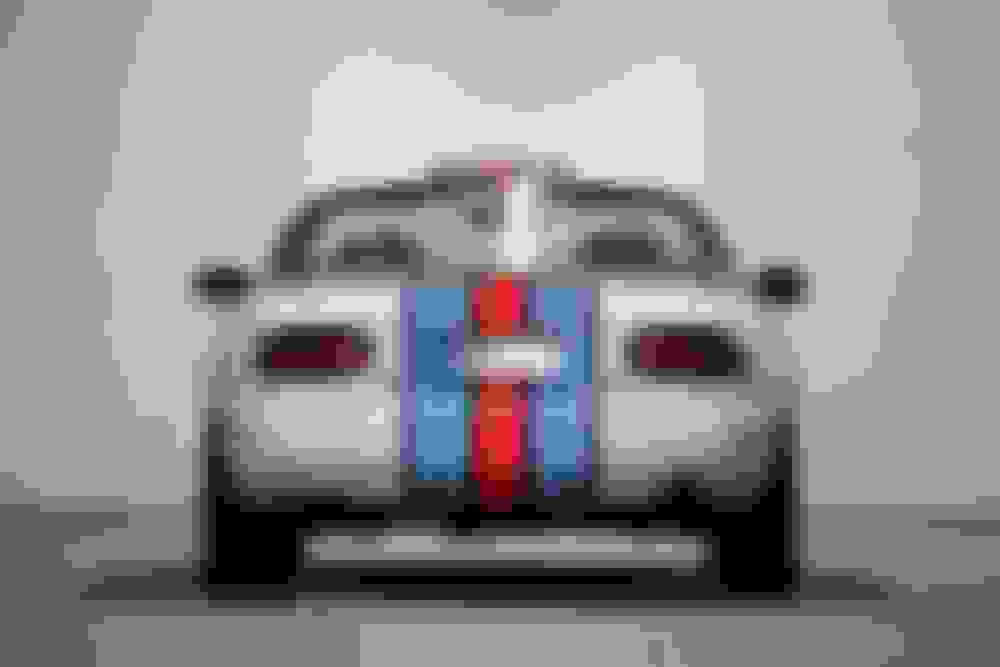
Meanwhile I revisited the Miatini design. I wasn't really content with how the last draft worked from the rear quarter perspective. The main problem is that the sills are lower than the front and the rear bumper, so a red section at the bottom can't go all the way around the car.
So I had to start again. Back to the drawing board, literally. No more upsweep of the red side stripe, because it doesn't work when looking at it from the side. Nope, doesn't work. It lifts the rear too much. Better, but still unbalanced. Removing sponsor logos does help somewhat. For giggles: Miatini meets Lotus Elan.
So then I opted for the straight stripe along the bottom end of the car, and double check from different angles: The width of the center stripe was widened. I really like this front end design. The mirrored Miatini Racing logo adds some substantial width to the car. The additional Miatini logo on the hood might be a tad too much.
On to the rear end and what to do about that blue/dark blue stripe: Again, the Miatini logo adds width. A circumferential blue stripe connects both sides of the car. Added a bumper cut. More emphasis on the logos, as a reference to old Lancia rallye cars.
I briefly had another concept in mind that I quickly abandoned:
I think the start of this stripe looks even better than on Keith's car. However, the overall look of this design doesn't quite cut it for me.
After a week or so, I scrapped the previous designs once again and tried more simple approach. It suits the clean lines of the Miata quite well. However it doesn't look very fancy, and can easily be replicated by anyone who buys plain old regular stripes on amazon. Let's see whether whether or not my Gen-Y need to stand out from the masses weighs heavier than aesthetics.
clean and mean
added the logo
plus an additional splitter and side skirts
I don't know whether it's because the base car ressembles the final state of the Miatini more than the previous drafts with the car on standard suspension, or whether the design is really just that attractive, but to me this os the best concept so far. So I proceeded to design the rear next:
Again, wider stripes. IMHO most stripers choose widths that are too conservative.
I think the "clean and mean" is the best looking for a street car. The Martini colors are so iconic that they really don't need logos. It's a little more subtle and draws less unwanted attention,
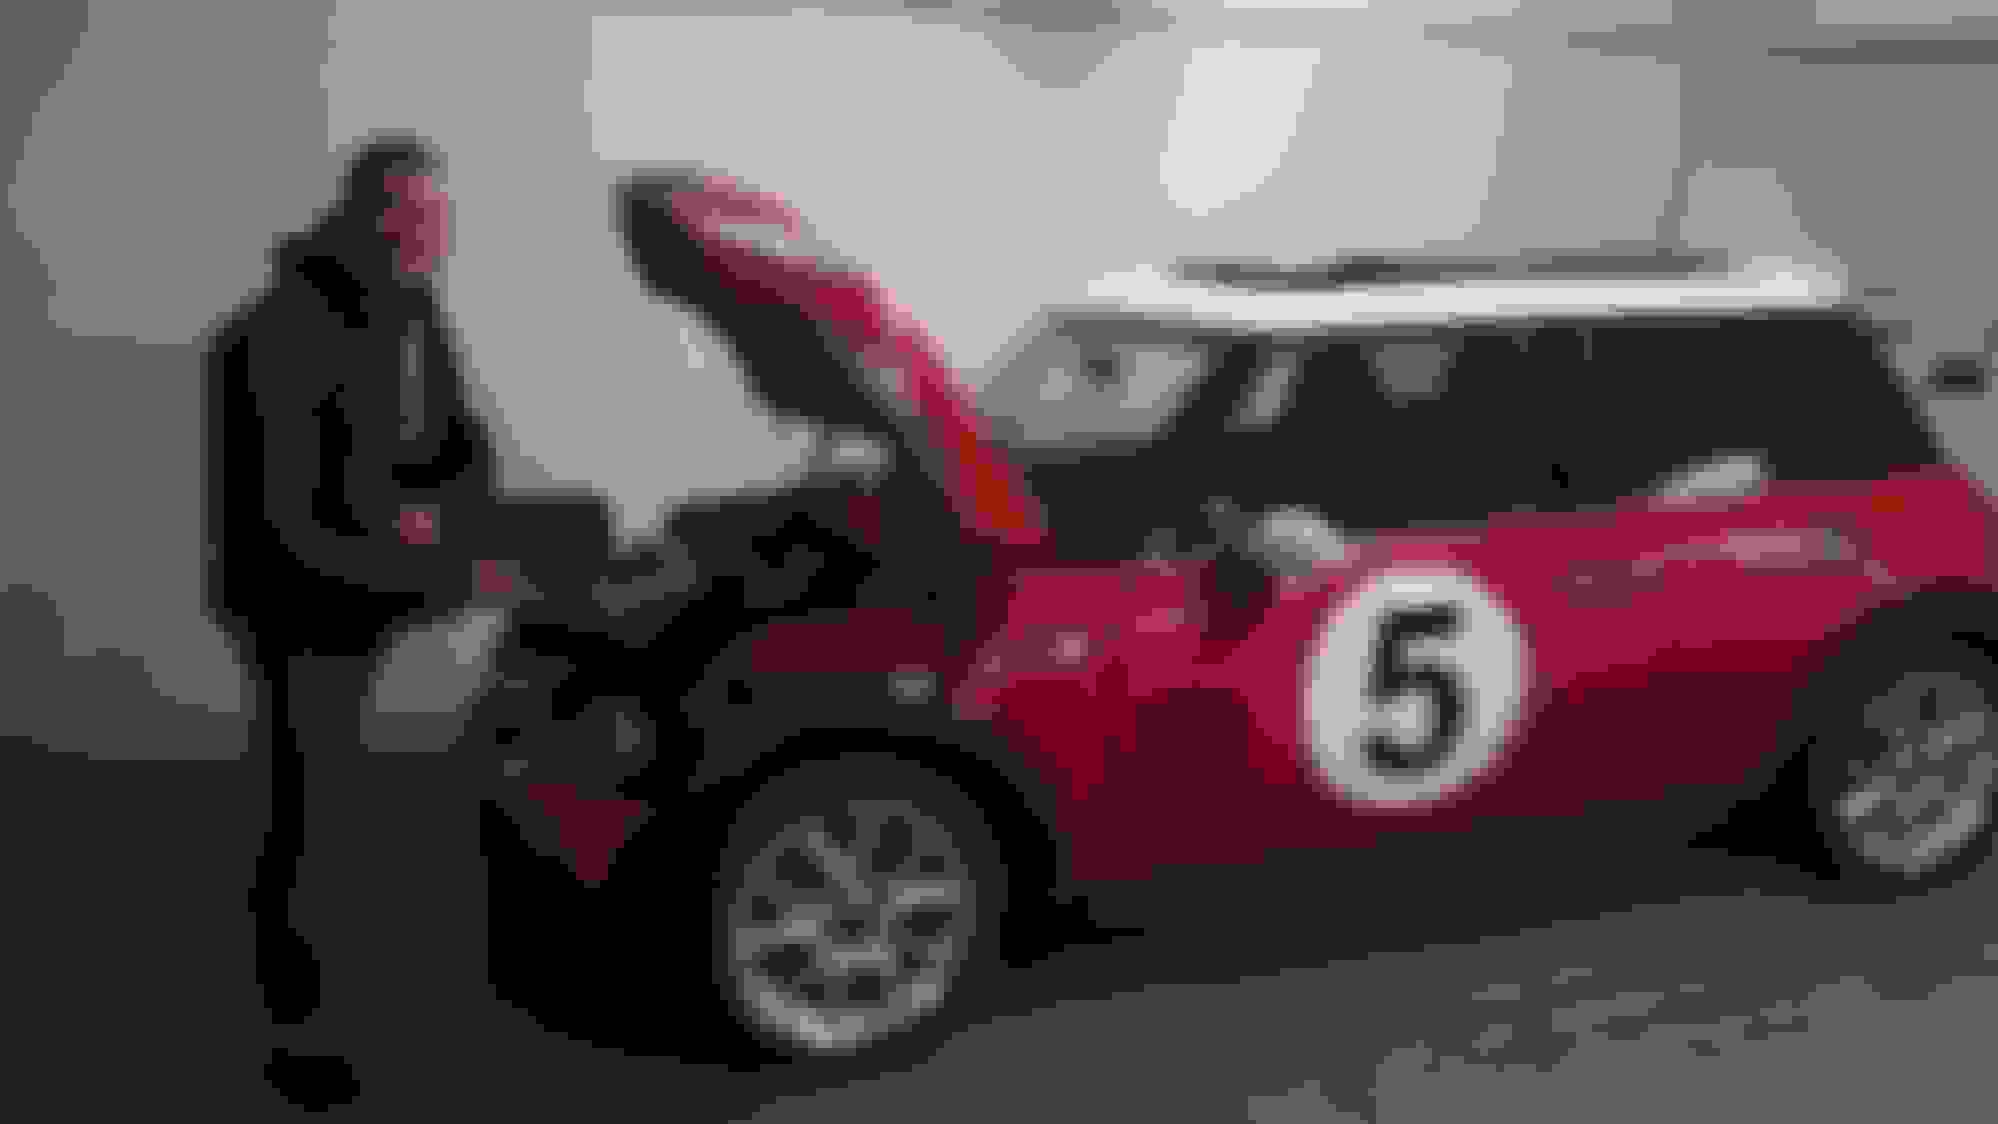
today I installed a switch to cut power to the fuel pump (in my case it's power to the fuel pump relay on top of the tank since I run a designated wire from the battery to the Walbro 190 HP). Once covered by the interior carpet it works as a discrete anti-theft device. I have more pictures on my website Miatini Racing. It's in German, but unless you are an utter moron you'll get it by simply looking at the pictures.
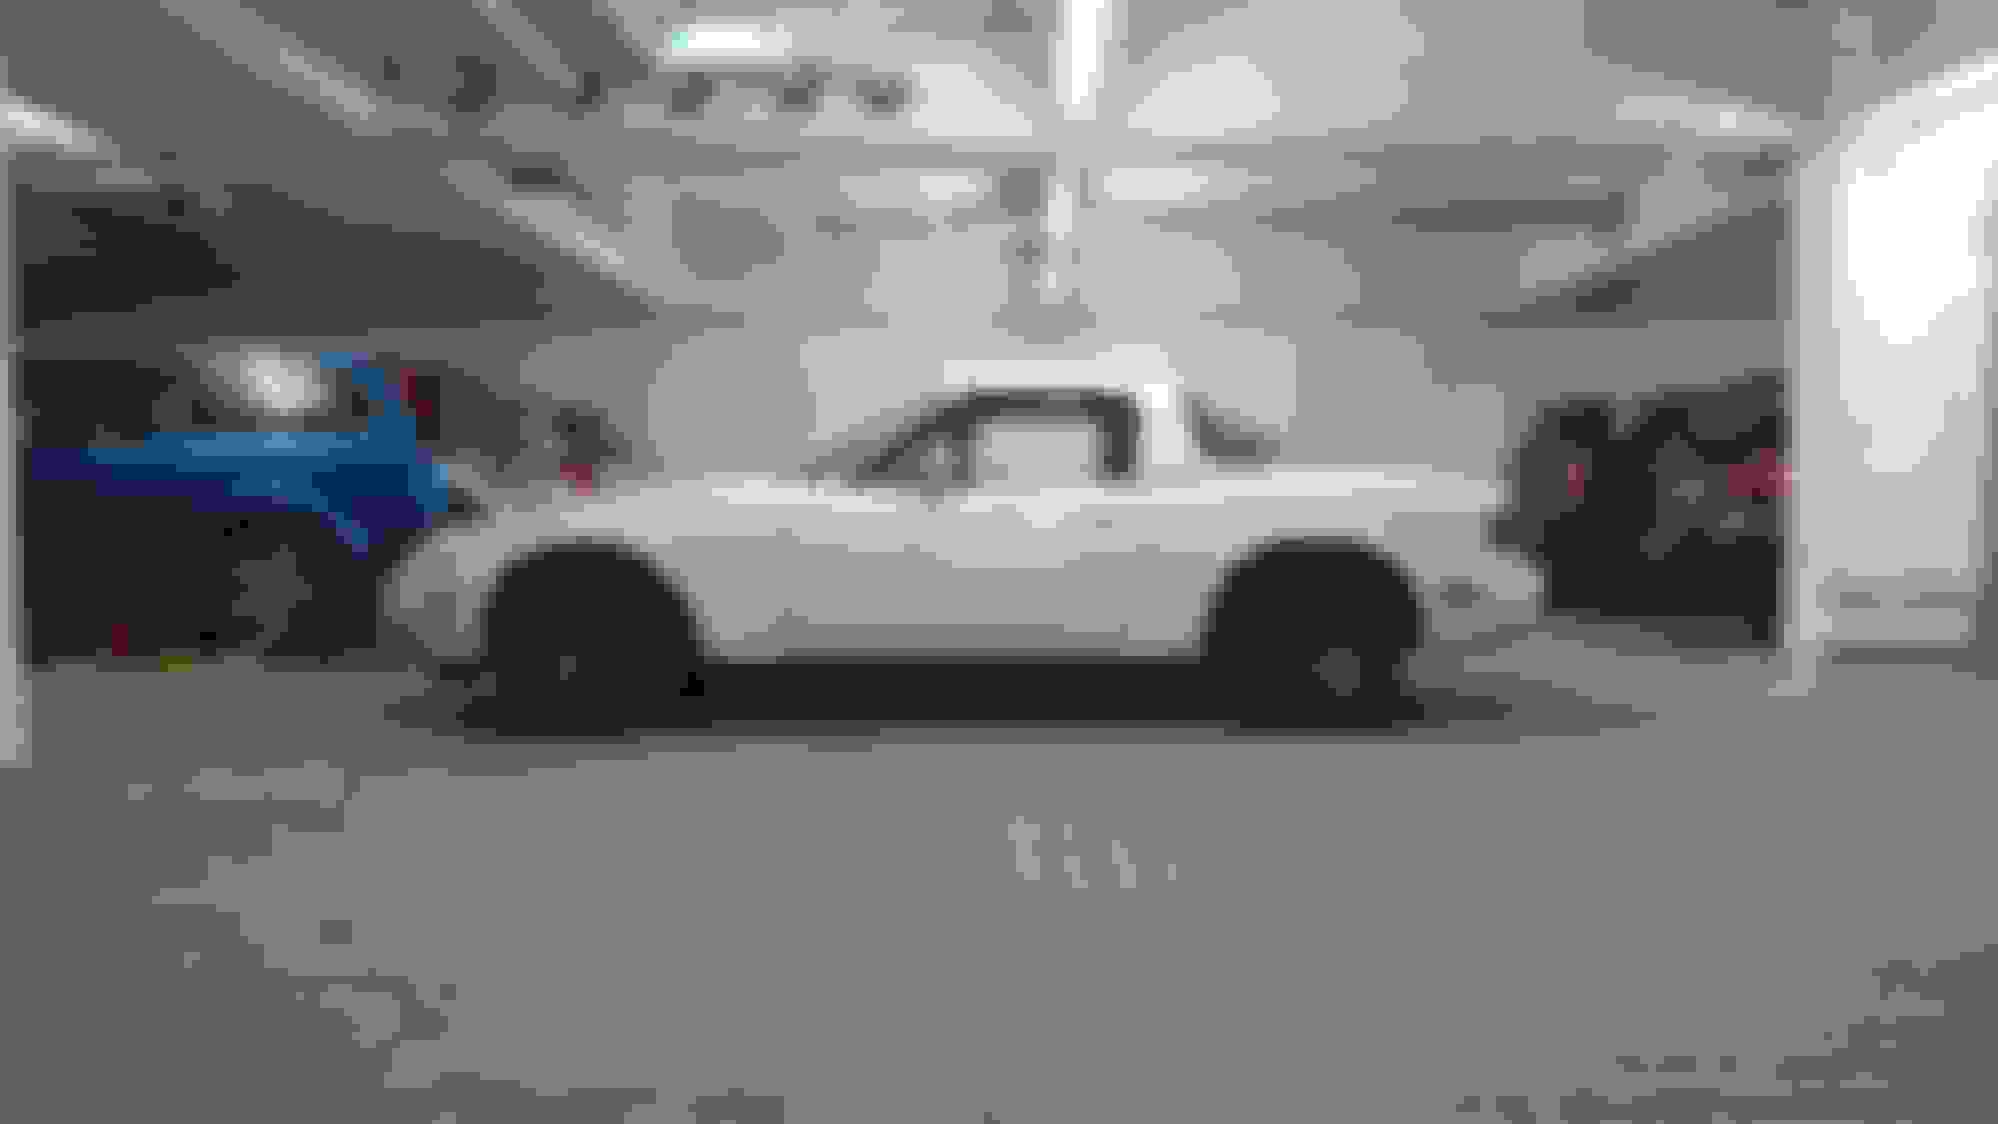
i think an update is long overdue. Back in november I swapped the two chassis as I had planned. You're right, I transferred the complete drivetrain, subframes, axles, brakes, interior, seats,... from the red EFR turbo car ("Rosso") into the white one (the Miatini) and vice versa. This was a more tedious task than expected, mostly due to the fact that the white chassis is a US model and the red one a EUDM.
I had to swap the complete wiring harnesses because Rosso car had a bespoke wiring harness running the VVT engine, and the Miatini had a stock harness that included cruise control, air con, power steering and airbags. While the former could be plugged into a standard EUDM harness, there was no provision for adding airbag on a non-airbag harness.
Moreover, the tail light wiring was different. Both cars were made in 1990, but Rosso was first registered in 1991. As of January 1991 all vehicles registered in Germany must have a rear fog light. The wiring harness had all the provisions for the rear fog light, but I didn't want no stinking RFL hanging from the bottom of my car. So I rewired the rear light cluster so that the left reverse gear light now is wired to the fog light switch. I then replaced the stock bulb with a red glowing LED light. That means when I go into reverse only the right reverse lightcomes on. When I switch on the RFL, the left reverselight shines red thanks to the red LED light, but still looks stock when not switched on.
Then there was the wiring for my Walbro fuel pump which I had to carry over into the new chassis etc. - to cut a long story short I really had to transfer the complete wiring harness into the new chassis, alter the rear light wiring harness and splice new wires into the parking light wires. I also had to add wires for the side turning lights, and swap the pigtails for the rear license plate lights. It's not difficult, just tedious. The car has 4 wiring harnesses in total: the engine compartment harness going to the ECU, the rear light harness, the battery harness and the dashboard harness. The dashboard harness remained attached to the ash, but I added color-matched wires for boost control and the VSS signal.
As for boost control, I painted a fog light switch black (stealthy, you know) and removed all but two pins. The switch ensures continuity to the EBC solenoid. That means when engaged the EBC solenoid has positive power, thus allowing roughly 19 PSI of boost (=EBC on). When deactiveted, power to the EBC is cut, allowing only wastegate pressure (=EBC off). This might come in handy when it's raining or I get examined by police officers.
Since I transferred the airbag system from the white Miatini into Rosso, I had to change the sttering column. That subsequently meant I had to swap ALL locks between the two cars, including the trunk lock :-/ Taking the interior apart I also resealed the engine that was leaking quite heavily. Upon inspection I discovered that not only the thin 0W-40 oil was at fault but also that the front main crank seal was popping out. Code brown in full effect! I removed one shim from the BE oil pump plunger. The front subframe was pulled as a complete unit with the engine and the transmission. Nothing to see here. And nothing to see here too. A white car waiting for an organ donor. The white Miatini came with all sorts of unnecessary crap such as power steering (yikes!), air con (yuk!) and the likes. Removing all those additional wires, hoses etc. was a first for me. The stock 1990 drivetrain was pulled from Miatini as a complete unit. I simply rolled it over to the red chassis, lowered the body and placed it onto the drivetrain. The Miatini had to have its wiring harness removed as well. Note the light blue/orange airbag connectors, as well as the light blue airbag ECU. Reassembly is the reverse of removal they say. Stock drivetrain in Rosso. The Miatini waiting for EFR/VVT/6speed/torsen goodness. Airbag sensors installed. Airbag harness is in. All 4 fender were rolled and ulled in order to accomodate the 15x8 ET25 wheels. The DIN and ISO certified bottle ensures a proper remaining gap between the wheel and the arch.
Mounted hardtop is mounted.
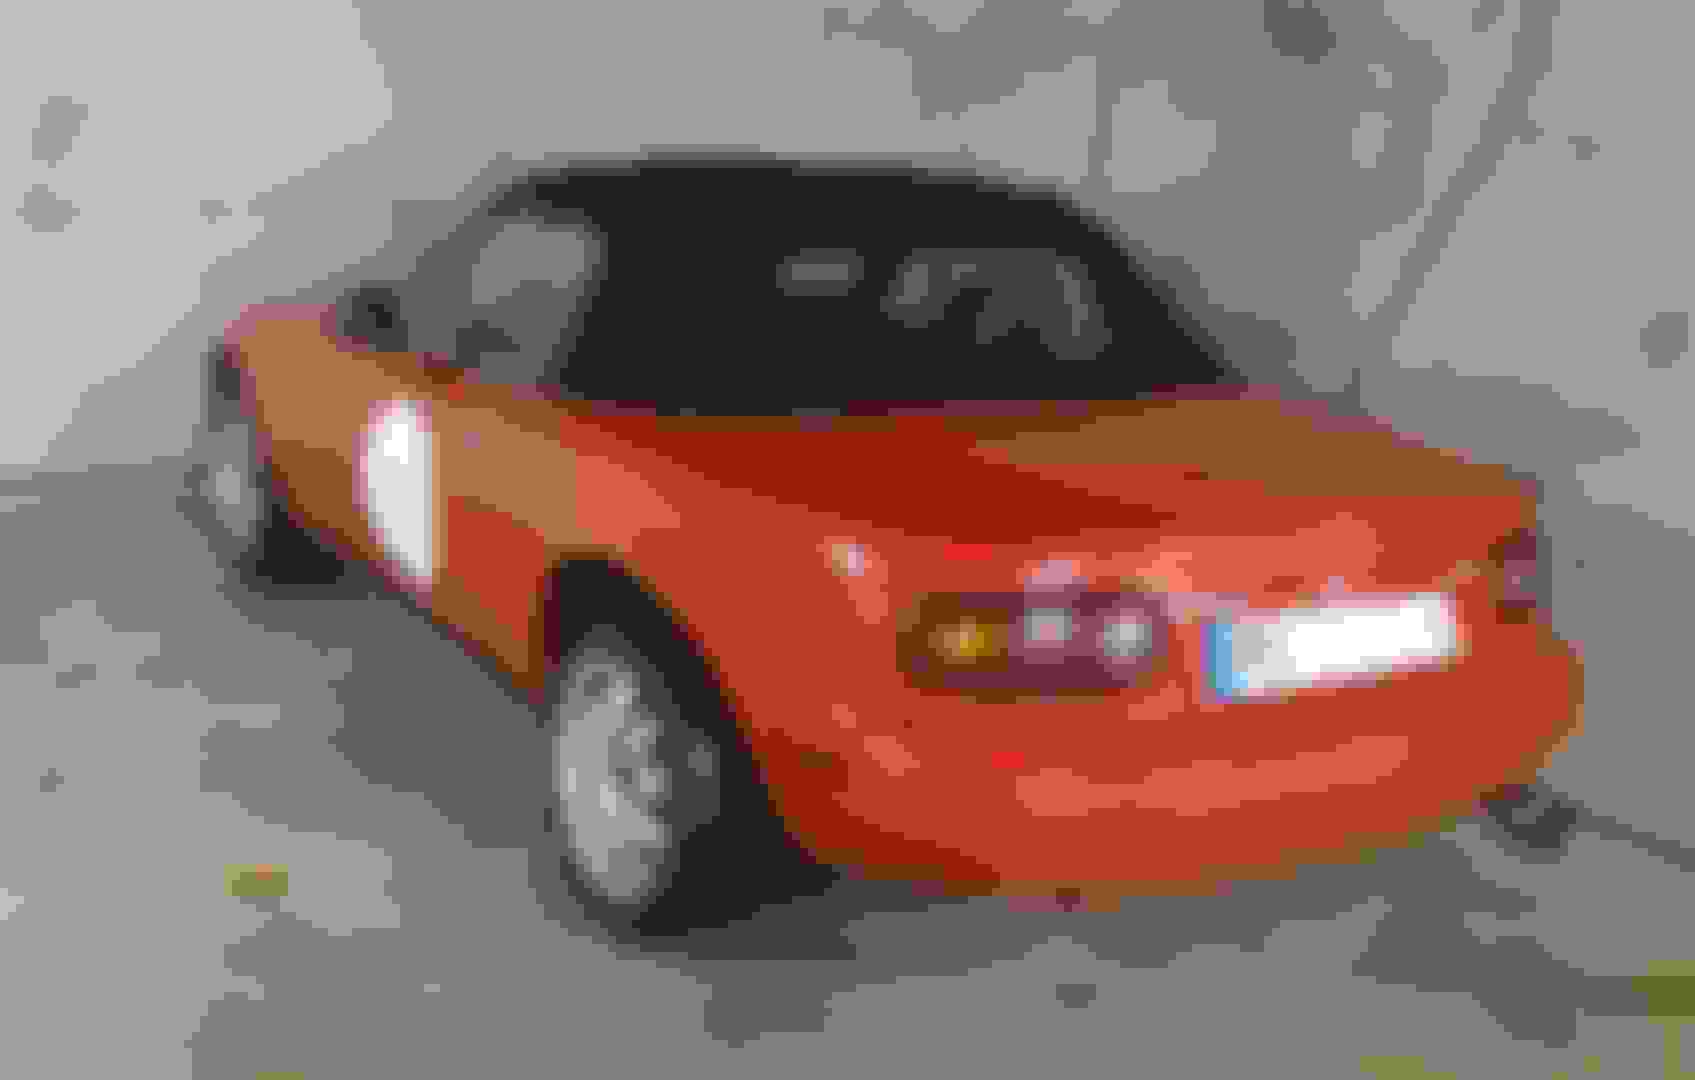
Meanwhile Rosso is back in full-stock mode, including the SUV-ish ride height. I will add NB top hats in the rear to compensate for the late NA model rear spring length and rake.
so what's next? Wherever I put electrical tape on the Miatini's white paint it will come off. I had to learn the hard way that pre-1993 white cars had a problem with the paint adhering to the primer. So I have paint damage on the boot lid and in the rear wheel arches from when I rolled them. I also have mismatching front fenders and a front bumper with 7 holes in it. I might as well chemically strip off the original white paint and respray the whole car instead of touching it up. That sucks, to be honest. A full respray costs north of €3,000, so maybe I'll do it myself.
Also, I'll improve n aerodynamics: I have since bought a GV lip to replace the R-package lip (it's lower and adds some splitter) and plan on doing a full flat undertray using aluminium or alumalite. I might have to add a KG works spoiler. Anything beyond that isn't either road-legal oder visually appealing (or both). And I will finallly do some proper brake ducting. I currently have some 3D printed prototypes on my desk that I will try to mount over the next days.
Why all that hassle, you might ask? You remember my ever-so-awesome wife, don't you? Well, she gave me a voucher for 20 laps on the N�rburgring as a Christmas gift!!!!
Oh, and now for something completely different: I decided to ditch the Daimler XJ40 and replace it with a new winter car/grocery getter: a mint 2005 John Cooper Works with 60,000 km. It was only driven during summer time and is completely mint. The Eaton M45 offers a lot of low-end grunt, and for a stock car it is extremely fun. I might even take it to a track someday. Until then I hope I can leave it unmodified and concentrate my financial powers on making the Miatini fly.
Some pictures from the day I got it. Woolarding like pro. It even has a glass panorama roof for that special open-air feel. No rust at all. I instantly went on to spray 5kg of underbody wax and 3 kg of cavity grease onto/into the body to make sure it stays that way. Oh well, there you go: first modification already done. I plastidipped the grill... ...and now I'm checking ebay for coilovers and wheel. Looks like I might soon have to get another winter car.
The Miatini is dead.
The project literally took a massive when I lost the car on the freeway. I was driving home from the paint shop after receiving consultation on how we would paint the car. -1 degrees Celsius, worn Federal RS-R and a long-standing Lust for boost is a bad idea. After a 80kmh limit section I first hit the loud pedal, and a fraction later the left lane ARMCO barrier. One wheel must suddenly have caught traction. It turned me around on no time, as if someone had hit me with a giant hammer. I hit the barrier with the front, then rear right corner.
Luckily neither me nor any of the people driving behind me were harmed, and the car managed to move home on its own power. However, financially it is a write-off. It's not only the rear corner that's damaged, but also a bit of a trunk area. Plus the front, the bonnet, bumper,... That means I'm looking into 5000,- for a proper repair and paint job, since I lack the time, skills and premises to do it myself.
Long live the Miatini!
With the Miatini wrecked but it's precious organs unharmed I started looking for a replacement body. The problem is: I only buy rust-free examples. Rosso is a 240,000km rust-free example although it has been parked outside for all but 2 of its 28 years of existence. The Miatini is rust-free too, albeit not wrinkle-free.
The market in Germany is undergoing a major change. Prices for good clean NAs are on the rise, ranging from 6-8k �. But because owning the car is relatively cheap here, and MX-5s could be had for little money back in the days, most cars are rather tatty samples with 5 or more previous owners, rusty sills etc. that sell for 2-5k.
I wanted a clean body, but didn't want to pay a premium for a mint interior or drivetrain. The thing is, even low mileage engines are worth next to nothing, and it would be a shame to destroy a good car by parting it out too.
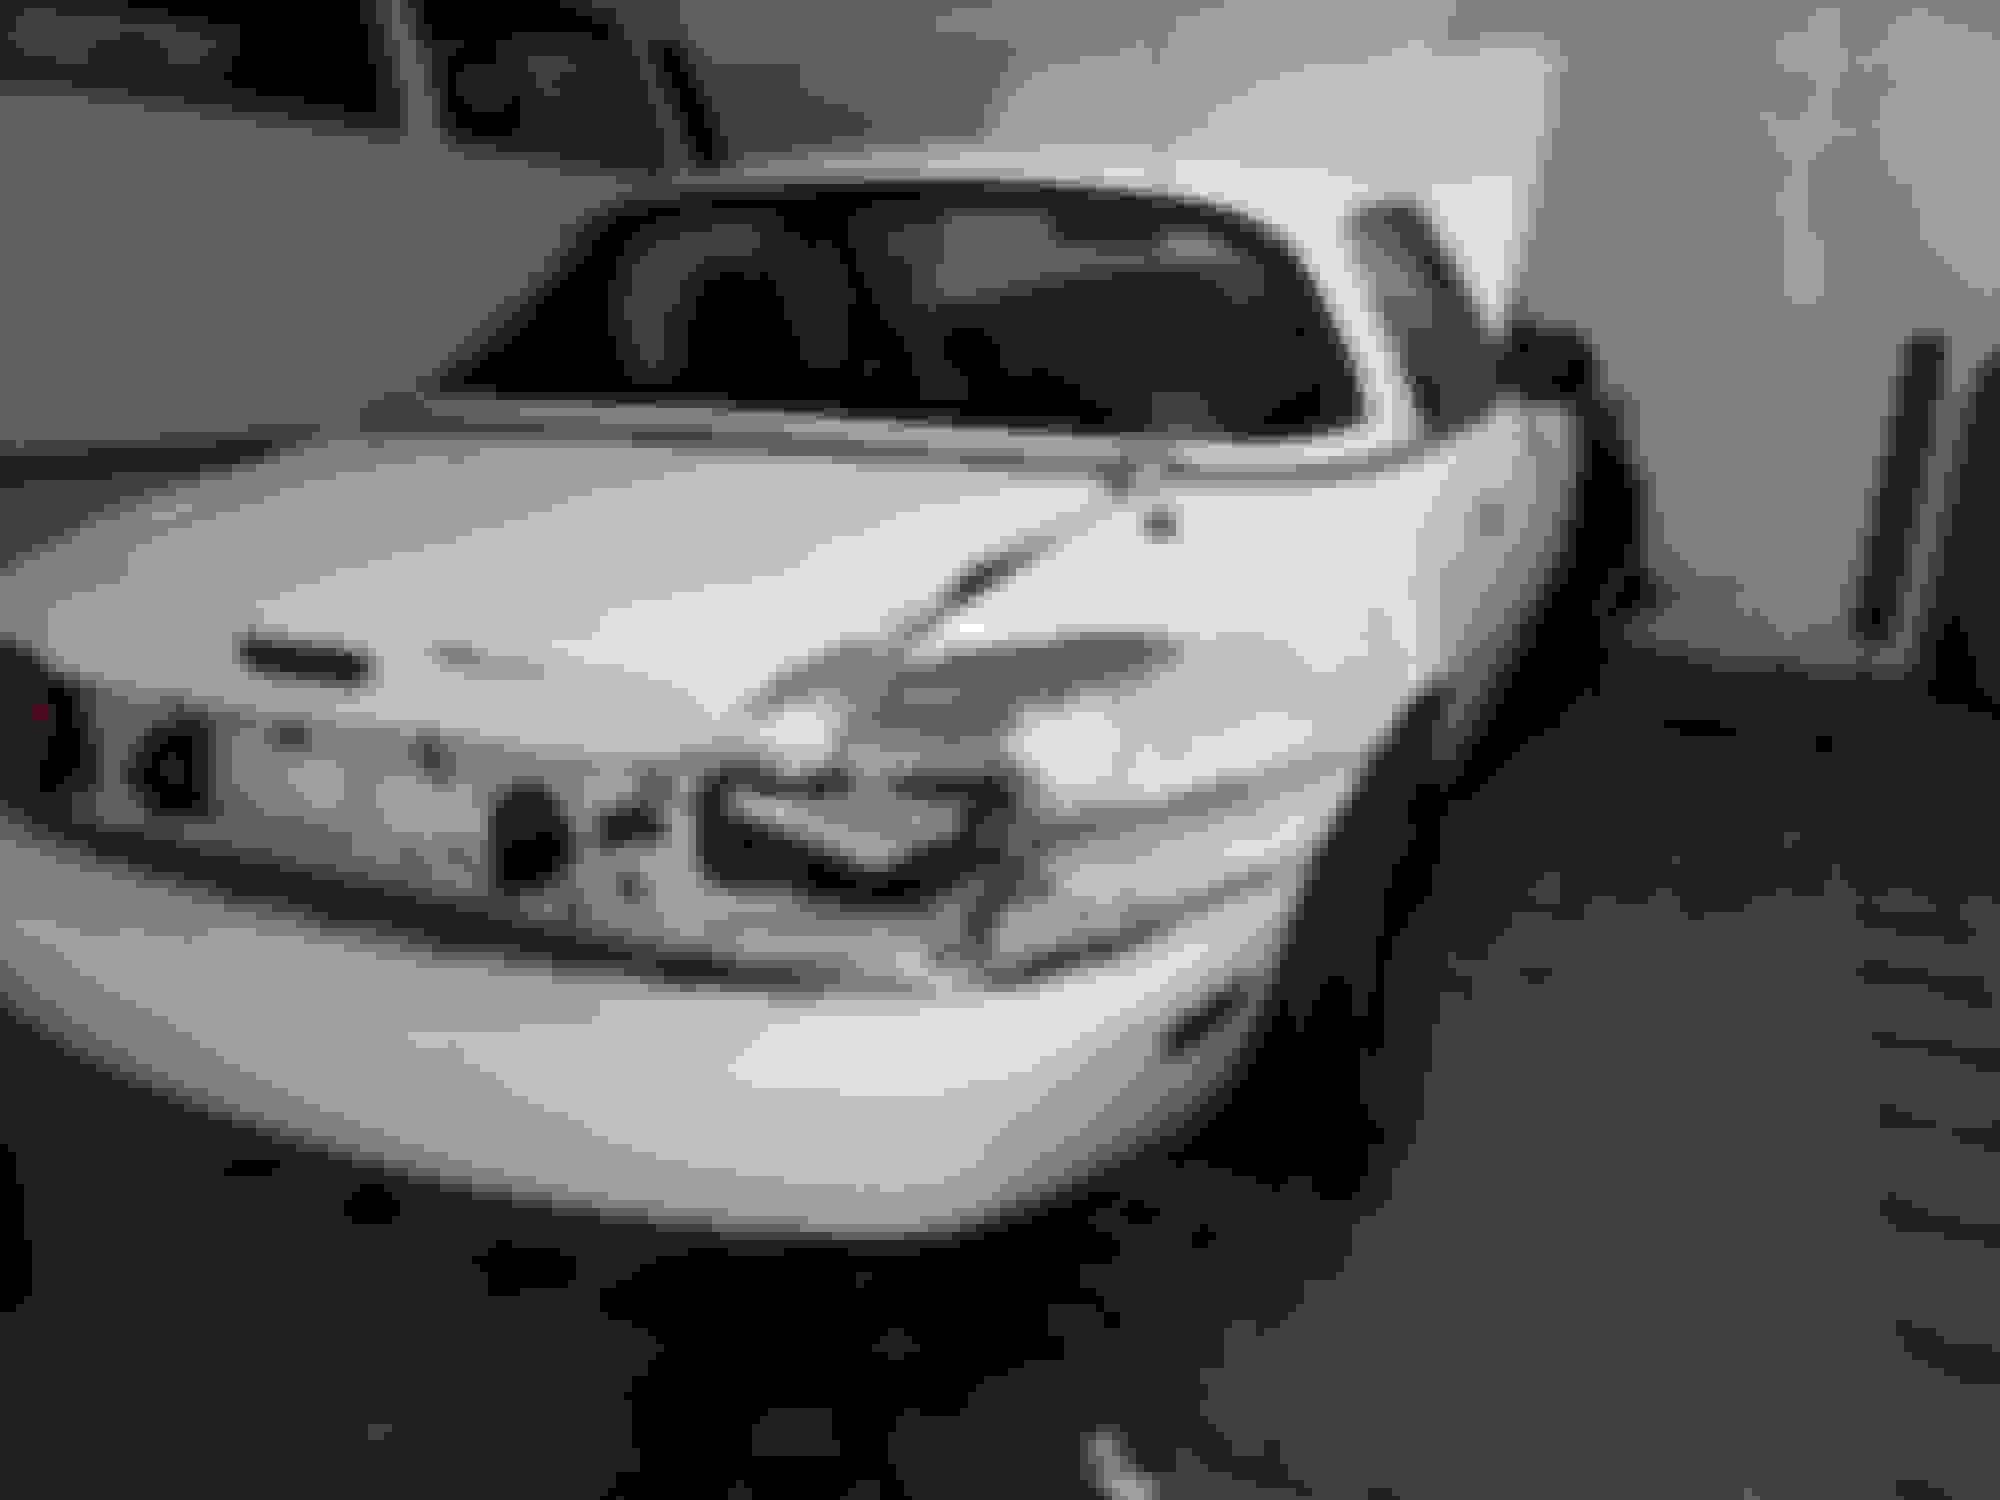
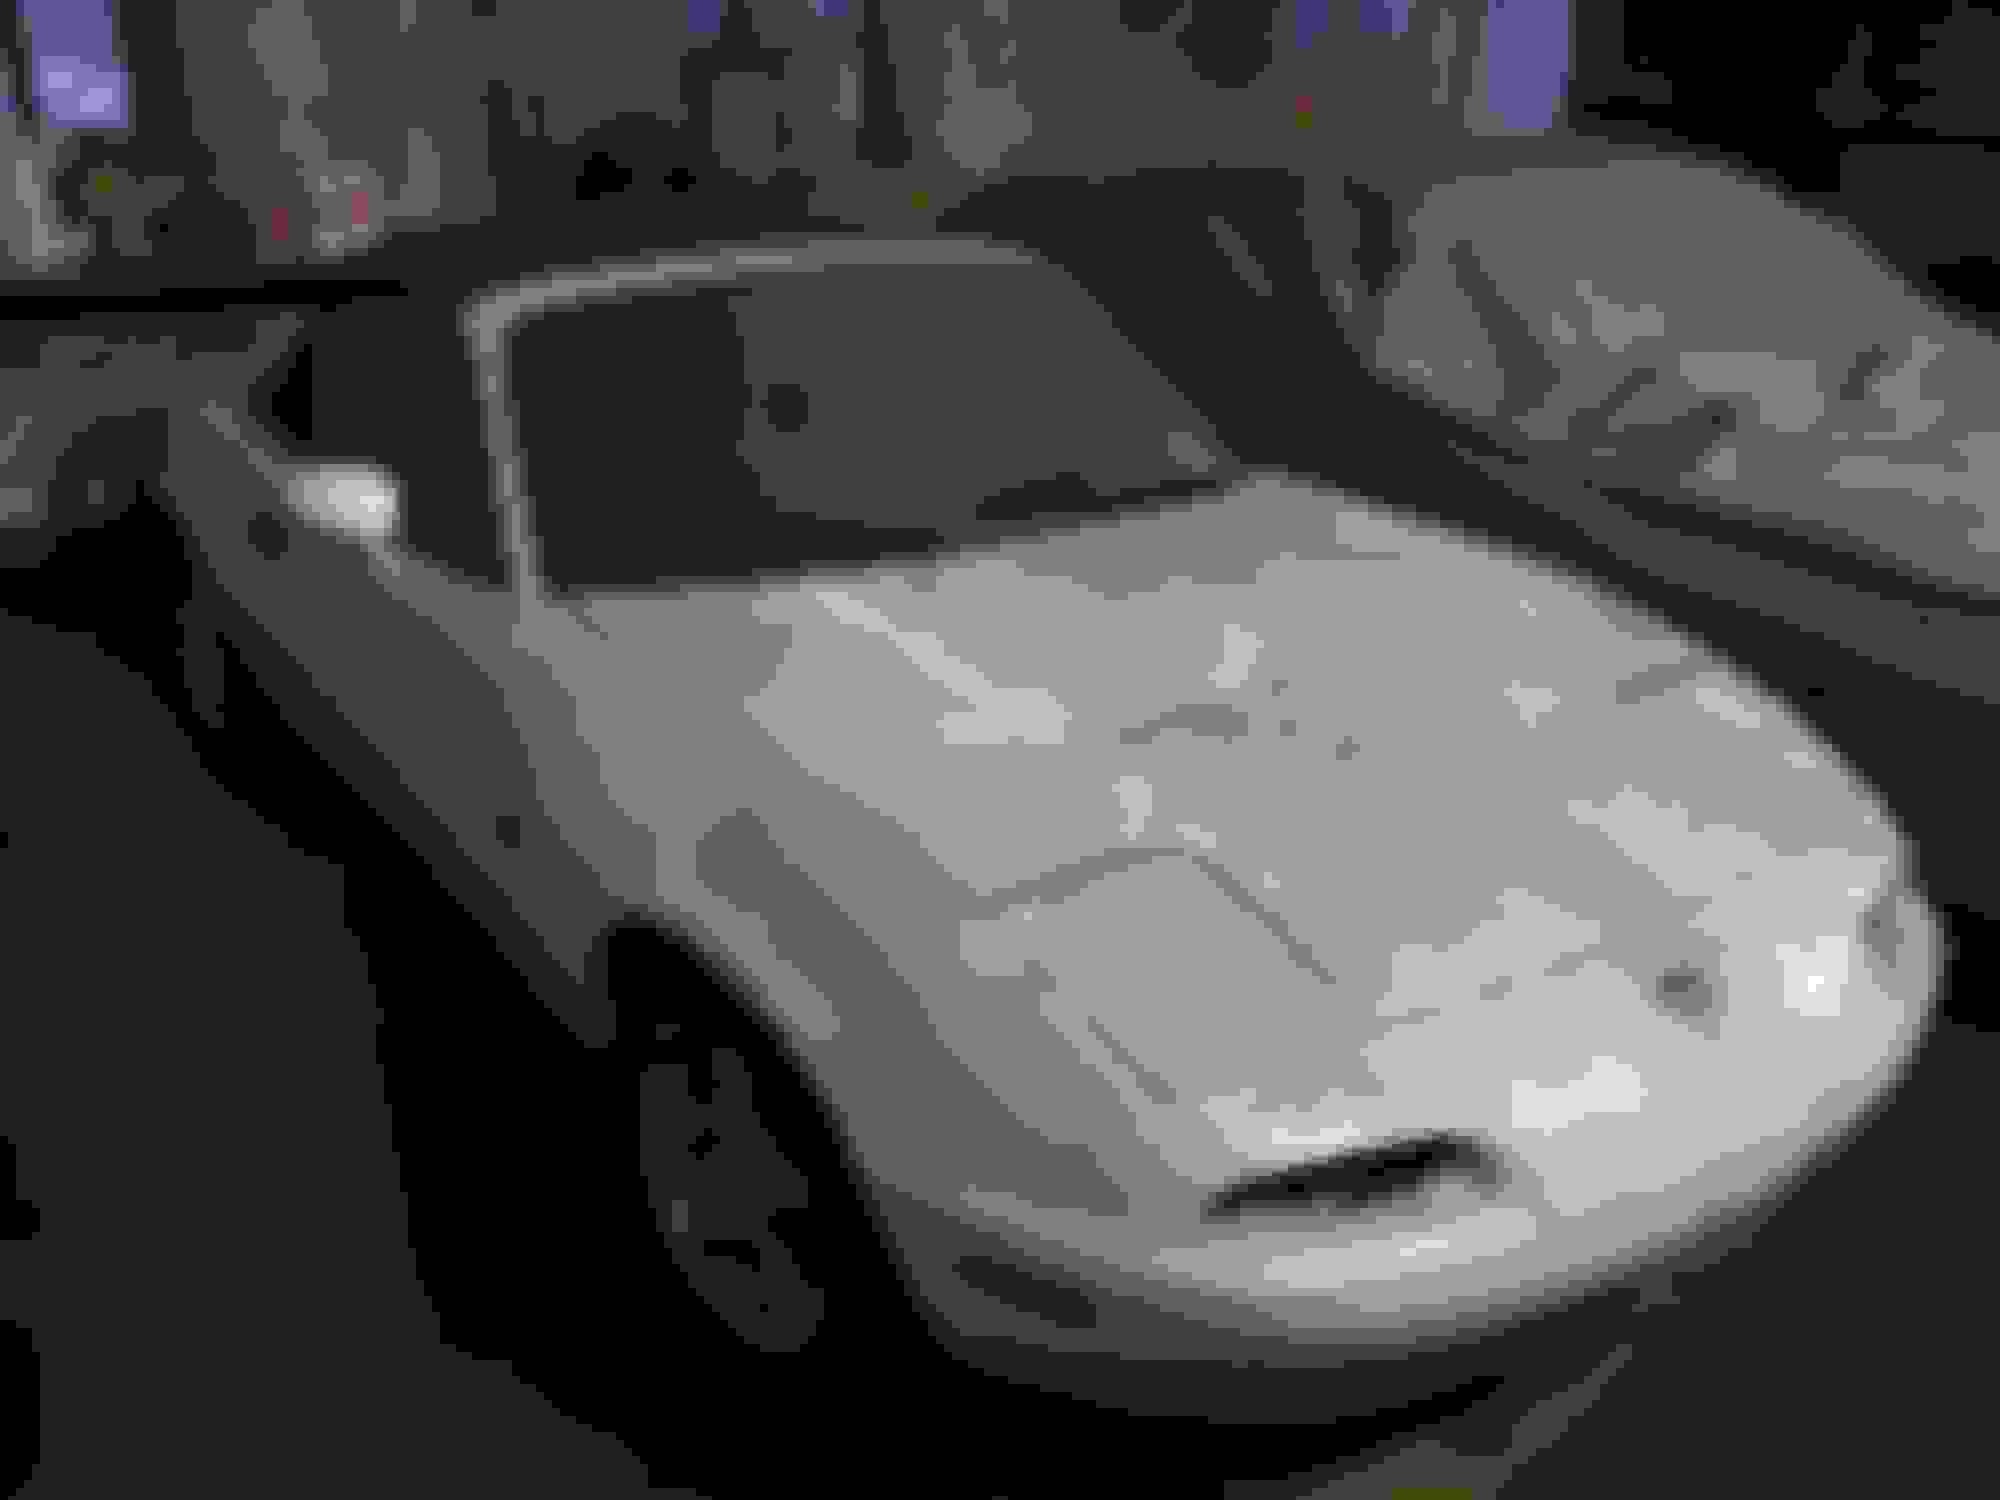
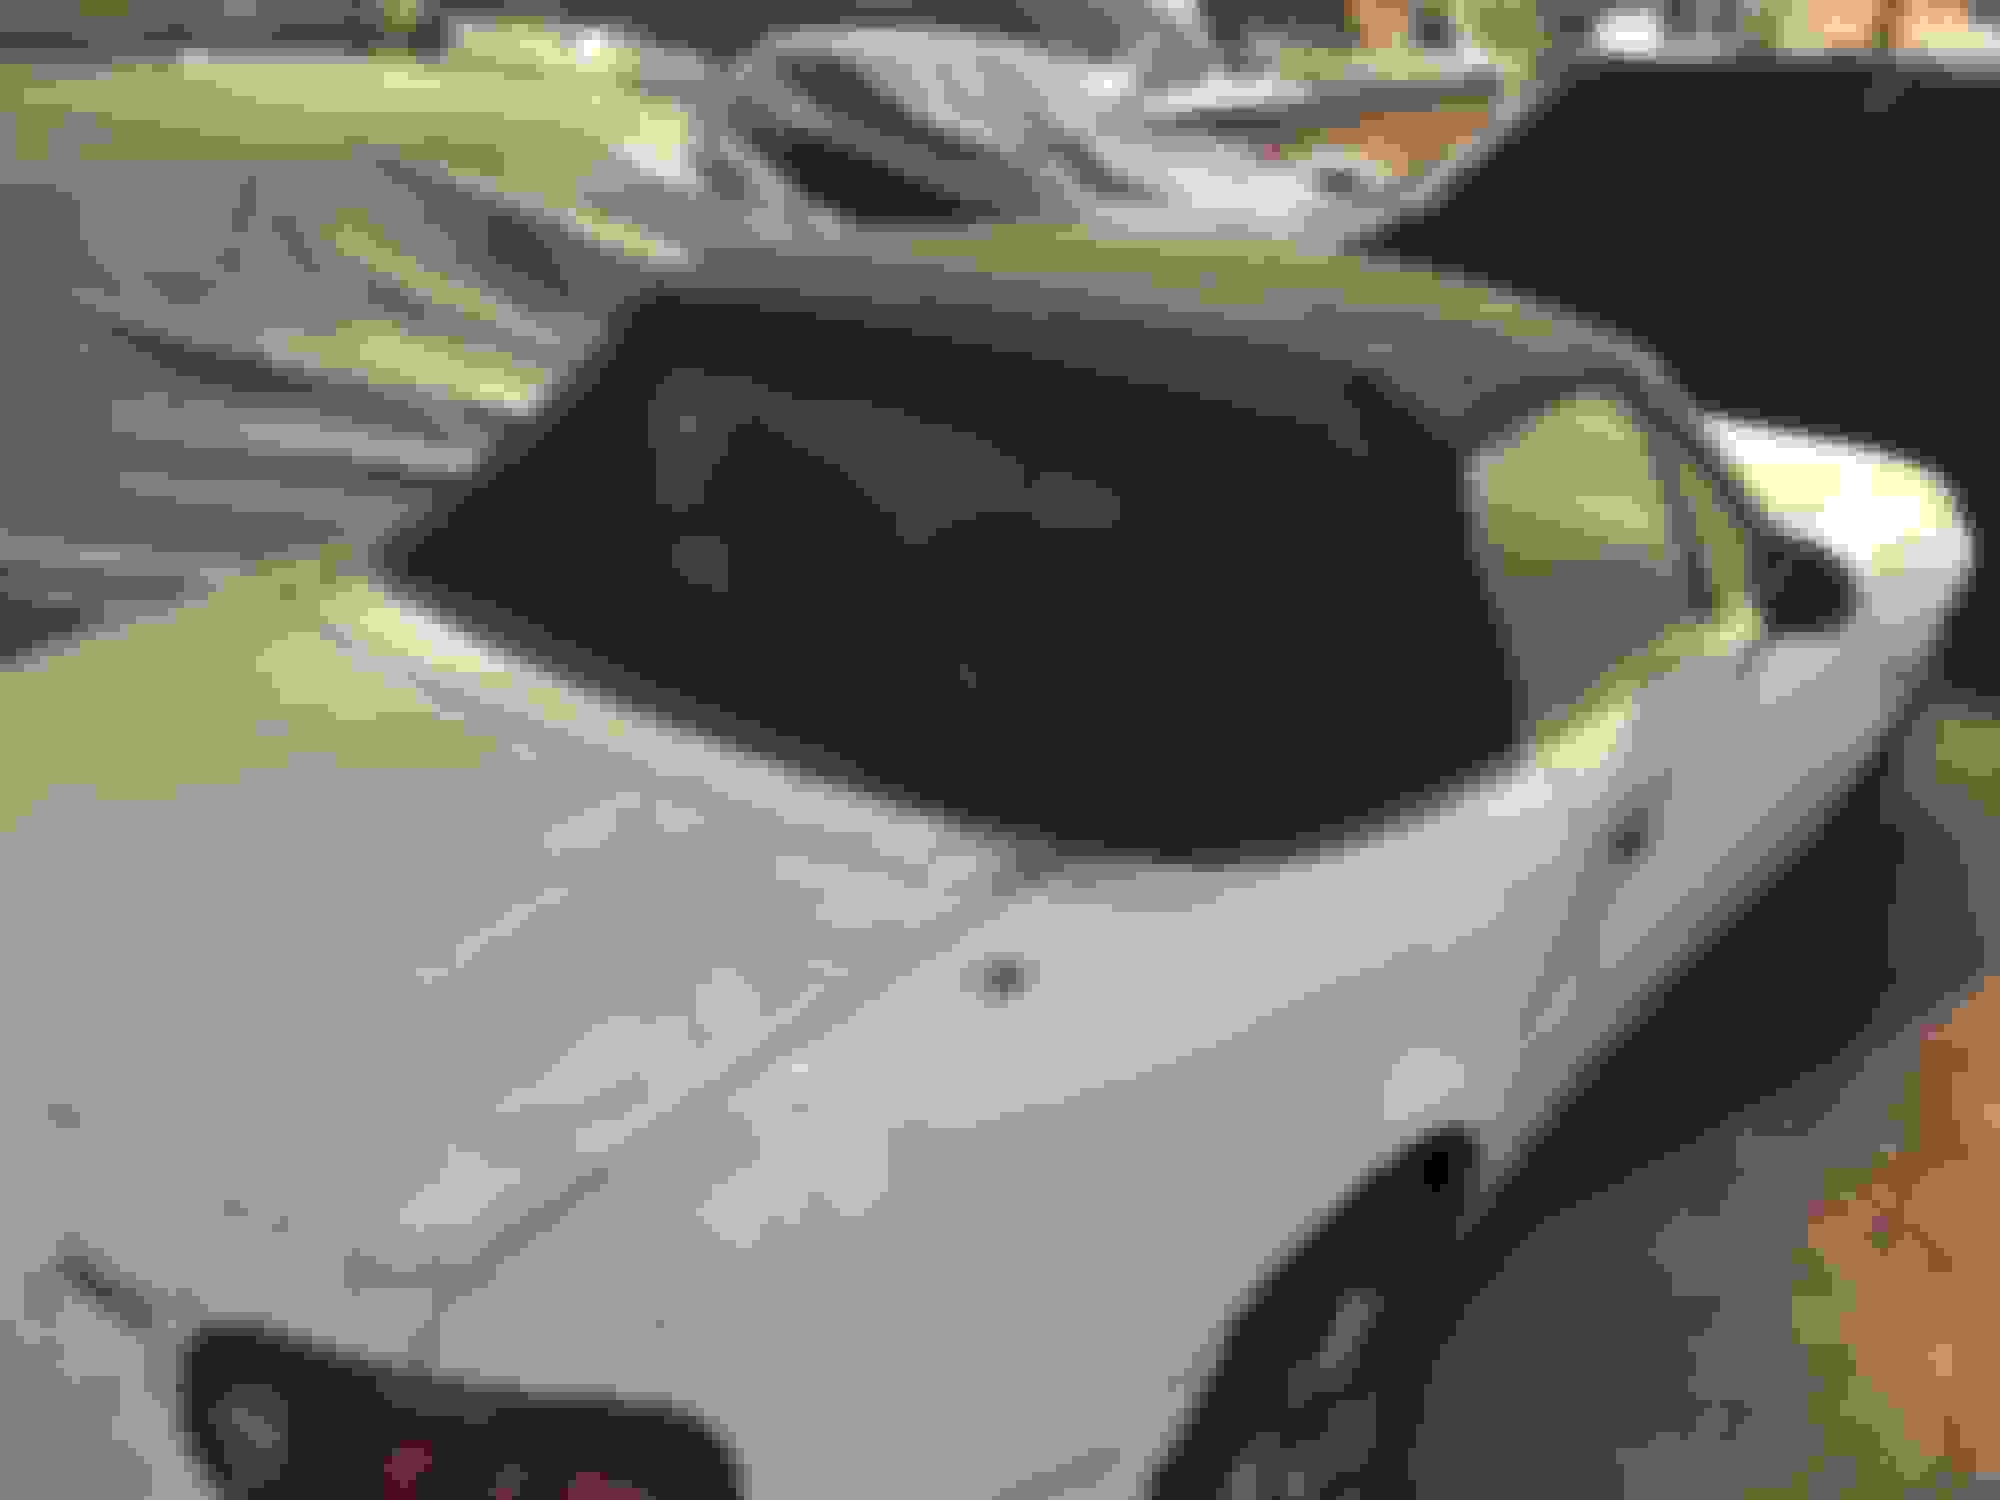
I started looking for white Miatas. There were 3 (!) in an 80 million people country. Drove 6 hrs to check the first one. It spent the past 7 years left abandoned in a hangar. Some parts were missing. Unfortunately it had more rust than expected. Inside the sills there was stage 2 rust, and there was surface rust everywhere. As if it had been parked near a harbour for 15 years. The price was decent tho. It would have been a great starting point for a proper racecar build, but not for the Miatini project. Inside the sills.
The second car (3,300�) was a facelift model with 90 HP. That meant the early white paint issues were already solved. However, while it was almost rust-free, the paint was FUBAR. Scratches, dent, paint flaking off. I stopped counting the shades of white as I got to the second side of the car, and quickly drive off again.
Then there was another '92 miata on sale by a rather not confidence inspiring shade-tree dealer. The ad had only one picture, didn't include more info than "original paint, rust-free, accident free" and worst of all, it was an automatic!
At 5,000� it was more expensive than I deemed an auto MX-5. I was promised more pictures but never received them. After two weeks I took a gamble and sent another message, indicating I would be willing to negotiate a price somewhere around 3,500�. After all I was certain that he would never sell an auto MX-5, and that by now he would have come to realize it as well.
Surprisingly I quickly got a response: 3,000� as is, without T�V or warranty, sold privately. Last friday I even got pictures, showing a dirty but indeed rust-free car.
So yesterday I borrowed a car with a hitch plus a trailer, and drove 650 km north - along with thousands of dutch people returning from the alps. It took me 8 hrs to get there. It was almost 6 pm and getting dark already. The paint had some scratches, but the body was indeed rust-free, it had a new cloth top, new brakes and fresh tires. I paid the 3k, got it on the trailer and drove home again.
1,300 km and 18 hrs later I was back home to unload the Miatini II.! The front bumper needs a respray, and I'll swap my doors over from Miatini I. I just hope the paints match.
Funny side story: you might have noticed the space saver wheels. The reason being, I was only allowed to use a small trailer with a max width of 160 cm. Even on daisies the outer track width is 161.5 cm. So there was no way the car would fit with its 16x7.5 wheels. However, with two space savers it would fit - just so.


 1
1