When you click on links to various merchants on this site and make a purchase, this can result in this site earning a commission. Affiliate programs and affiliations include, but are not limited to, the eBay Partner Network.
Can't really move the steering shaft much in a miata... the only answer is keep hacking at the transmission tunnel. I think I got mine to within a half inch or so of center, but the seat is HARD up against the trans tunnel, and with several inches cut out of it.
Rob, take a BFH to the leading edge of the trans tunnel were the seat touches, and keep banging till the offset is within tolerance for you. I have a friend with(what looks like) the same floor drop as you, and I think also an HTE-R400. If there's an offset to his I don't notice it, so its possible, but there's no room to spare between the seat and tunnel.
For headroom, you can add some incline to the seat, but this depends on your leg length. Remember the wheel can always be spaced to bring it to your desired distance, so it's just a(not fun)game of giving yourself enough leg room, while keeping your helmet away from the rollover bar.
You're not thinking like a fabricator. Cut all the stock bullshit off the column and dash bar. Buy two appropriately sized steel roll bar clamps and weld them together at 90*. Clamp one to the dash bar and one to the column. Slide it around till it's perfect, tighten, done.
You can get fancy with threads between the clamps to adjust height, and 3-4 clamps to make it stiffer.
Google "racecar column mount" for ideas.
As for the fiberglass seat, don't cut it, you void any FIA rating it has. Take a sledge to the tunnel to gain .25-.5", it'll make a big difference.
Also, as much as I hate to say it, somewhere between bending/tacking the cage together and fully welding it in should have been a seat/driver fitment appointment. You haven't even installed the necessary 1" of roll bar padding yet. Strap yourself in, tightly. Anything you can cortort around and touch with hands, elbows, feet, knees, or thighs needs to have padding, it'll be the difference between a bruised hand with a single break or two, and a hand full of nothing but bone fragments in an impact.
Interesting idea I didn't think of. I may end up moving the steering shaft after I get the seat better placed in the car. Need to get away from the bars / lower first...which will get me closer to center on the wheel too.
Originally Posted by Wingman703
Can't really move the steering shaft much in a miata... the only answer is keep hacking at the transmission tunnel. I think I got mine to within a half inch or so of center, but the seat is HARD up against the trans tunnel, and with several inches cut out of it.
Rob, take a BFH to the leading edge of the trans tunnel were the seat touches, and keep banging till the offset is within tolerance for you. I have a friend with(what looks like) the same floor drop as you, and I think also an HTE-R400. If there's an offset to his I don't notice it, so its possible, but there's no room to spare between the seat and tunnel.
For headroom, you can add some incline to the seat, but this depends on your leg length. Remember the wheel can always be spaced to bring it to your desired distance, so it's just a(not fun)game of giving yourself enough leg room, while keeping your helmet away from the rollover bar.
Issue is that even if I hammer the tunnel, the seat can only move over 1/4"-1/2" further on the floor, so I need to cut the tunnel / make the floor pan go into the tunnel a little bit and then bash the side so the seat is hard up against the trans tunnel too. Once I have the seat over some, adding incline will be much easier since its the door bar that's keeping the seat from reclining at the moment and moving the seat over will give me the room to recline it.
Originally Posted by curly
Also, as much as I hate to say it, somewhere between bending/tacking the cage together and fully welding it in should have been a seat/driver fitment appointment. You haven't even installed the necessary 1" of roll bar padding yet. Strap yourself in, tightly. Anything you can contort around and touch with hands, elbows, feet, knees, or thighs needs to have padding, it'll be the difference between a bruised hand with a single break or two, and a hand full of nothing but bone fragments in an impact.
You hit the issue 100%. I didn't have a seat/driver fitment. He asked for the seat and saw my size before building the cage and I was lead to believe I would be able to move the seat around to have the fitment I needed. Obviously, that wasn't the case. I'm a bit irritated over all of it right now. I know it's not something that is easily or even cheap to fix, when it could have been done correctly to begin with.
As far as padding goes...I will definitely be installing, and I will be using SFI, not pool noodles. Why people cheap out on $150 of padding after paying all the money for a cage...I don't understand.
That's irritating, if I've learned anything from cage and seat installs, everyone is built differently, and has different preferences. An inch here or there goes a long way in fitting right. You can do some things that don't involve cutting the entire cage out, only most of it. Changing where the bend is in the door bar affects how much it gets in the way of your elbow, but that all might be a moot point once you fix your seat. And I realize we're not all built like Yuki Tsunoda, but you are trying to fit a bigish seat in there, hopefully it's a snug fit on you.
LOL...Last time I was Yuki Tsunoda's size I had a poster of a Lamborghini Countach & Ferrari Testarossa on my bedroom wall. Now I have a Miata that's faster then either of those two cars. (Not sure if my younger self would be really impressed or really depressed after that last statement. HA)
Luckily, my elbows seem fine, but I haven't tried driving the car, just sitting in it. Maybe I need to take a little spin in the neighborhood to verify.
Any suggestions on a seat that fits a fat *** and is FIA certified? (I'm trying very hard to upgrade all of the safety right now) I really thought the HTE-R 400 was going to be the seat to beat. Wingman has an MPI seat that I liked a lot, I figured it was about the same exact size, but maybe I need to go look up measurements a bit more.
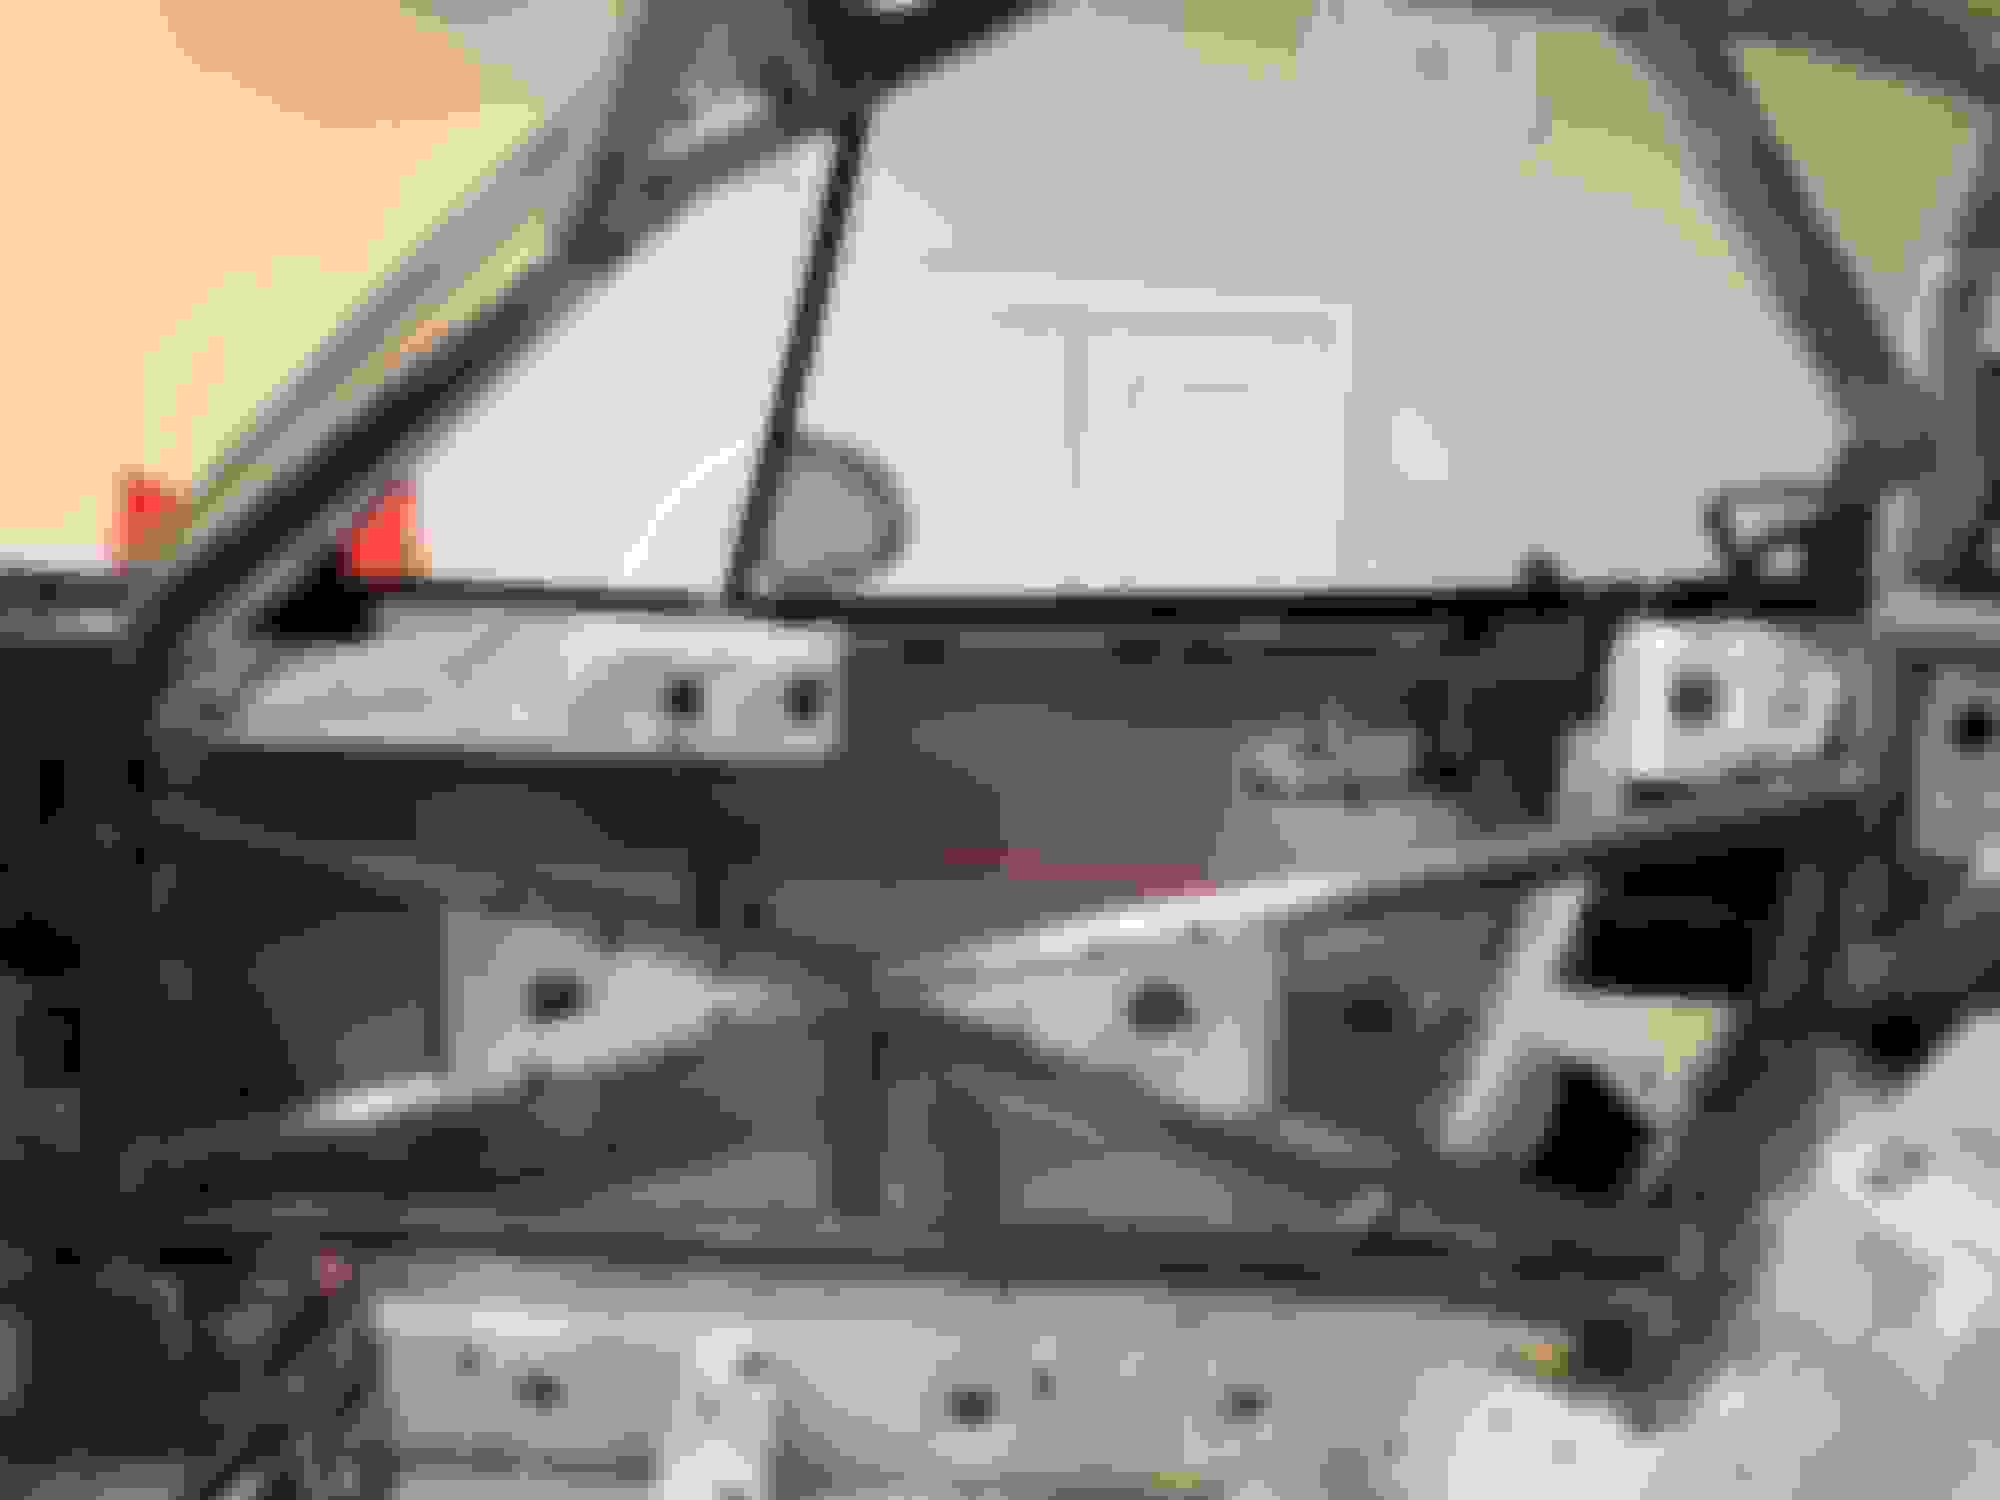
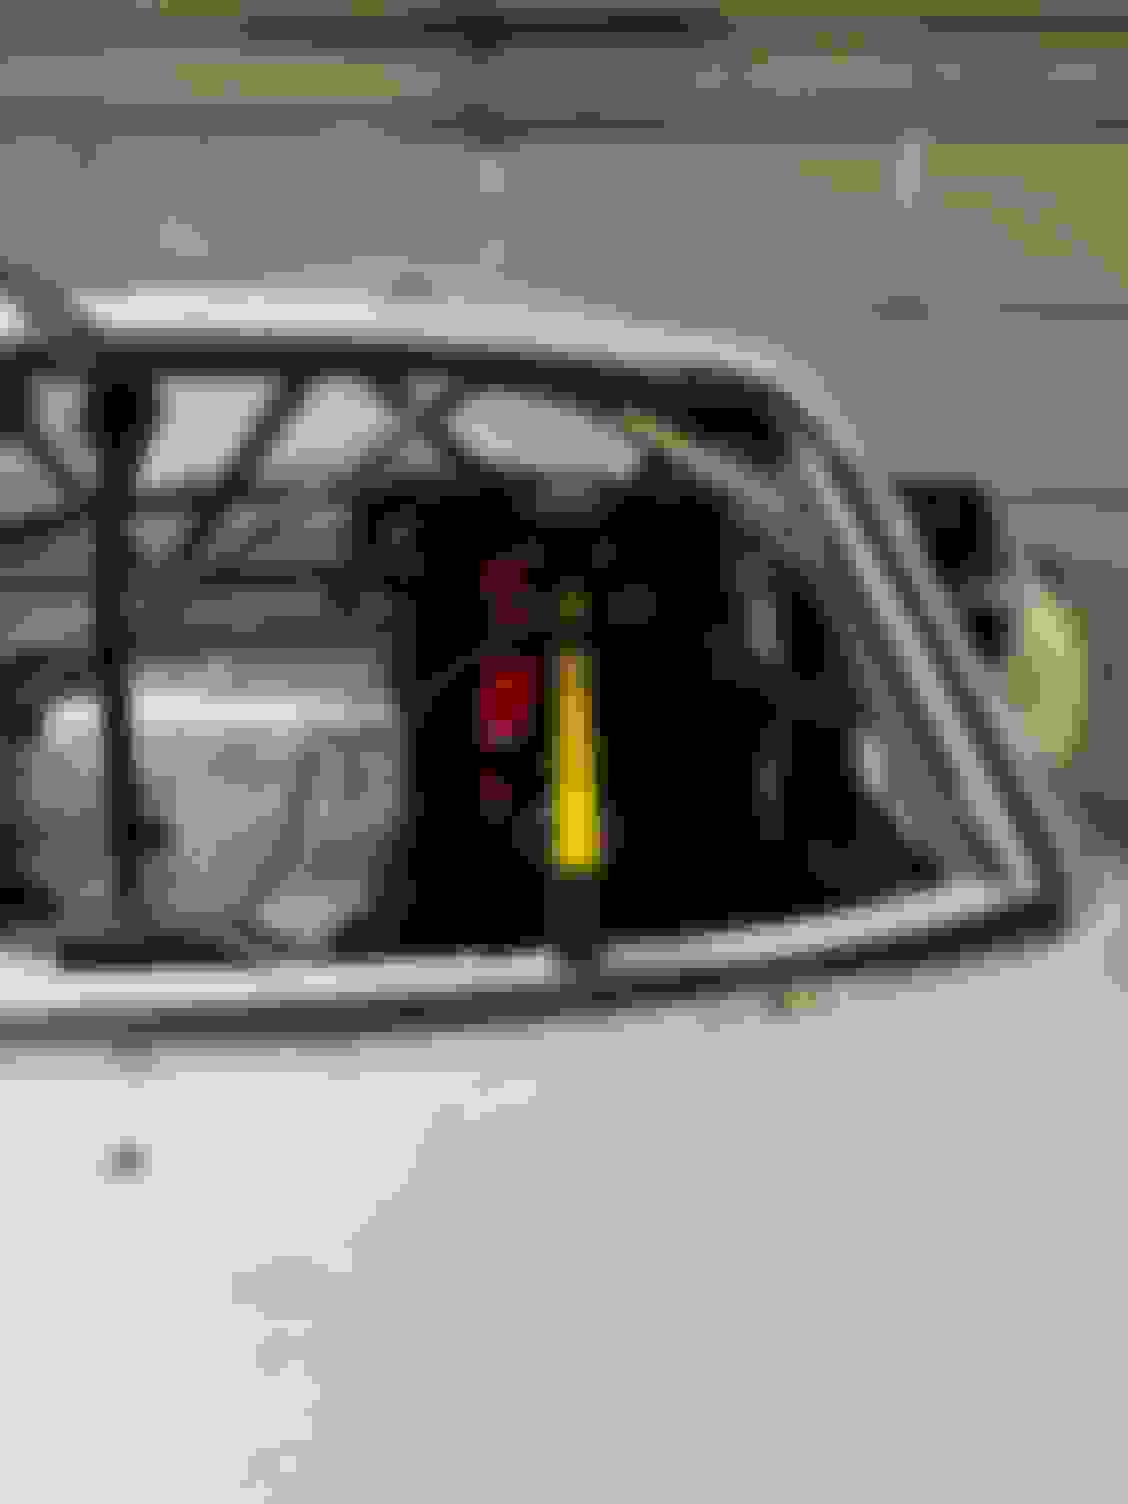
I played around with the seat some. The mounts the fabricator made had the rear of the seat about 3/4" off the floor.
You have to do real math to figure out the ~3/4" from this picture, but you get the idea. Bottom of seat to the bottom of the bracket he fabricated so I had an idea of how much lower if the bottom sat on the floor.
Using the mounts that I already had vs his, I was JUST 2" below the bars. So I can definitely get low enough with the seat I have, especially if I add a little more layback.
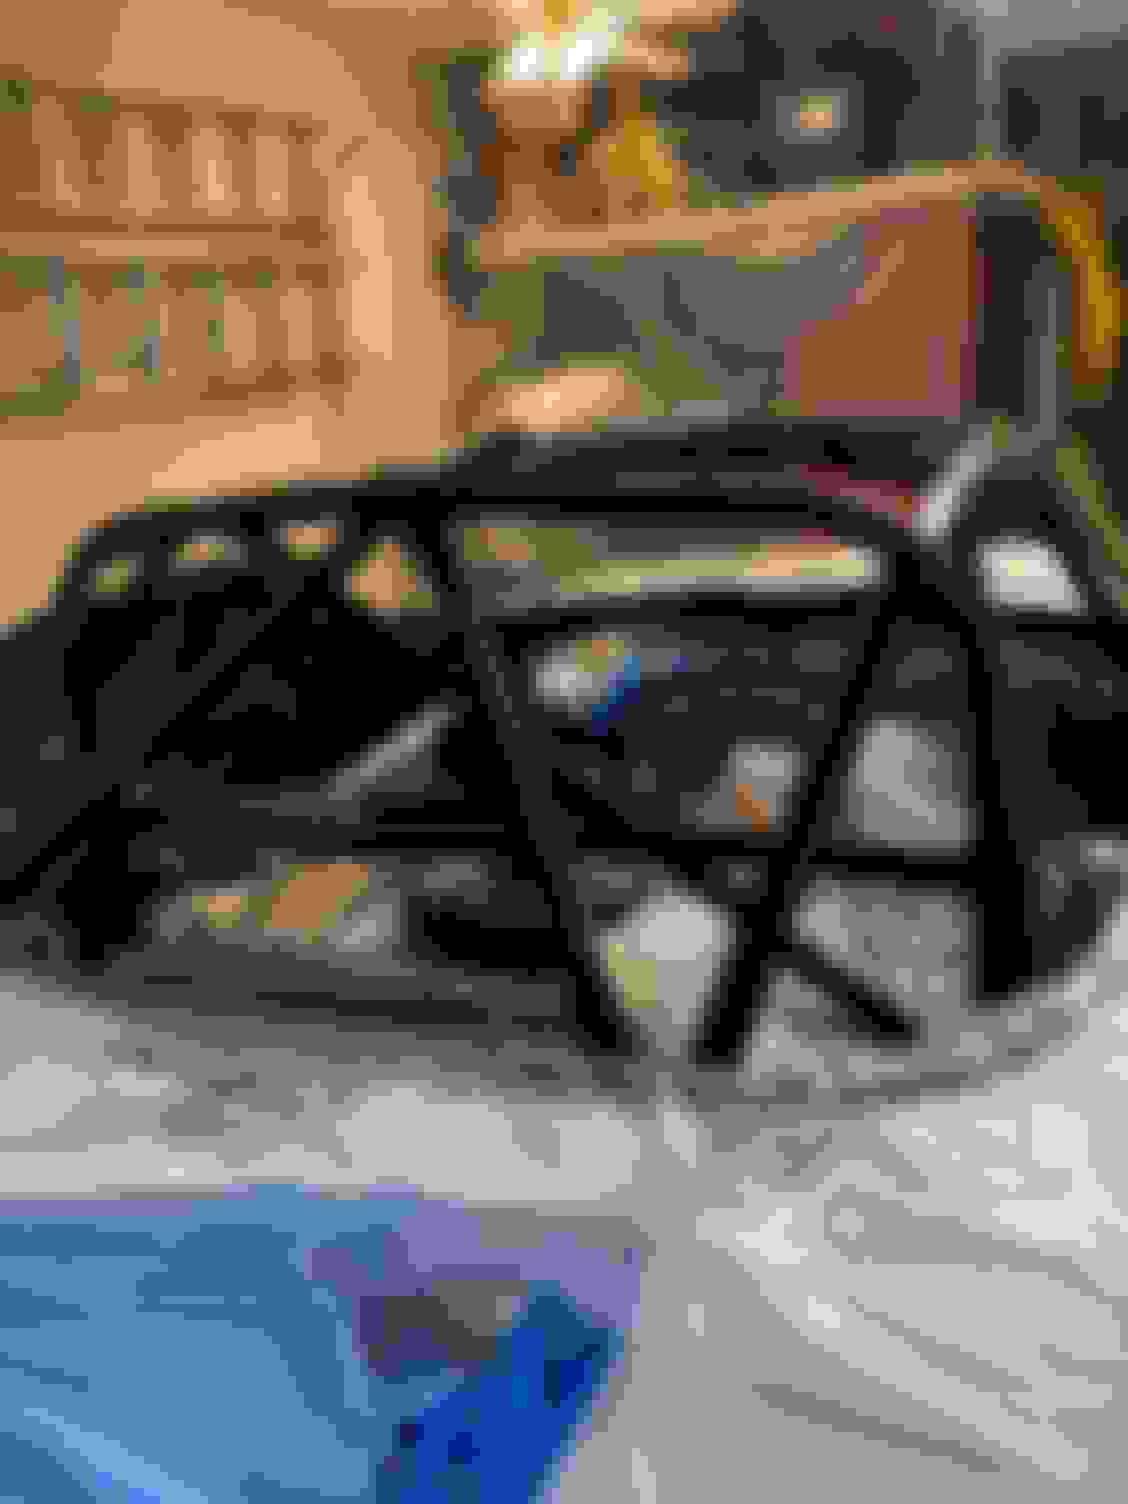
I still need to move the seat inboard and get centered (or at least much closer to centered) then it is currently. I spoke to the fabricator about fixing this. He isn't able to work on the car until end of Sept / Oct. I haven't decided if I'm going to cut this up and fabricate the fix myself or not yet. I decided to work on some other items first.
The first thing I needed to "fix" was the doors. They were gutted to the point they wouldn't close anymore, and it was driving me crazy.
You can see just how much the catch and striker are off. The door would slam into the striker and bounce off.
People describe this as the door won't support itself anymore. That made me think the door would be droopy and you could just lift up on it, but that wasn't the case. The door is actually twisted and not droopy. Anyway, when I picked up the car, my buddy realized that the door was twisted and if you pushed at the very bottom it would actually allow the door to close, because by pushing at the bottom you got the twist out of it. (or maybe more accurately, add the twist back to it.)
I looked online everywhere to see how people have fixed this, but the only thing I found was someone saying they were going to use an aluminum sheet to hold up the door. (no idea if they got that to work or not.)
So, I tested pulling the twist out of the door a few different ways. I was semi successful with some string, but I couldn't keep the leverage I needed while tying a knot, or a sharp edge would cut it on me. I also tried some safety wire, thinking I could twist the wire to tighten it, but that didn't work as planed either. Sort of hard to twist the safety wire when both sides are attached. What I really needed was a turnbuckle & Lowes Racing Supply had just the part I needed. Eurkea the test worked and the door would close again properly!
It's ugly, but it was only for testing purposes
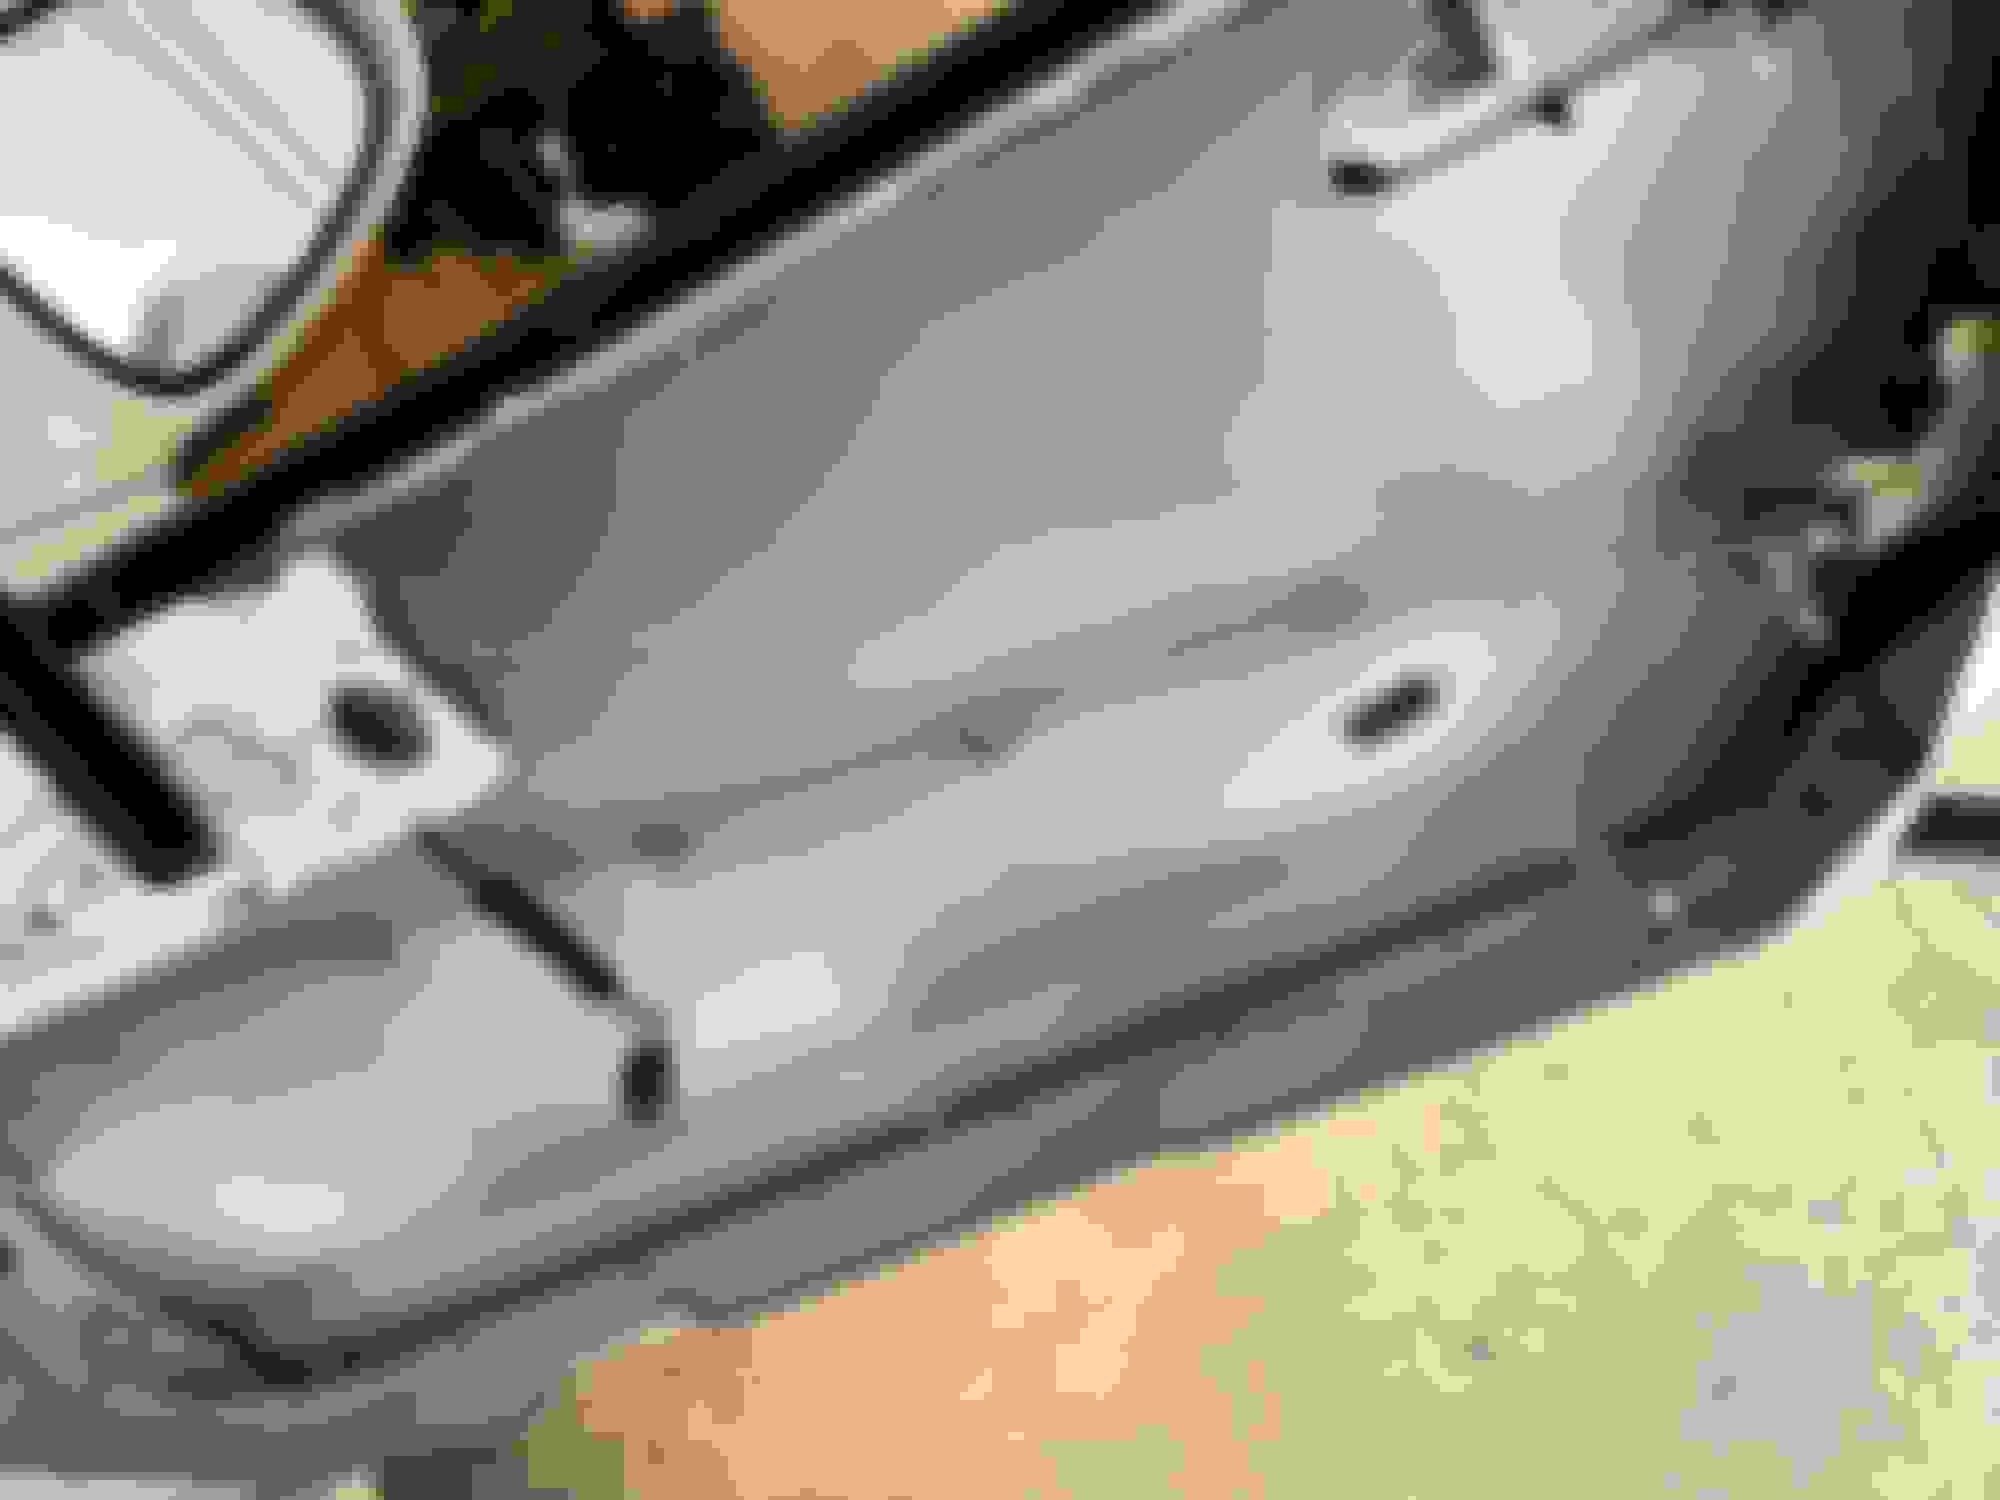
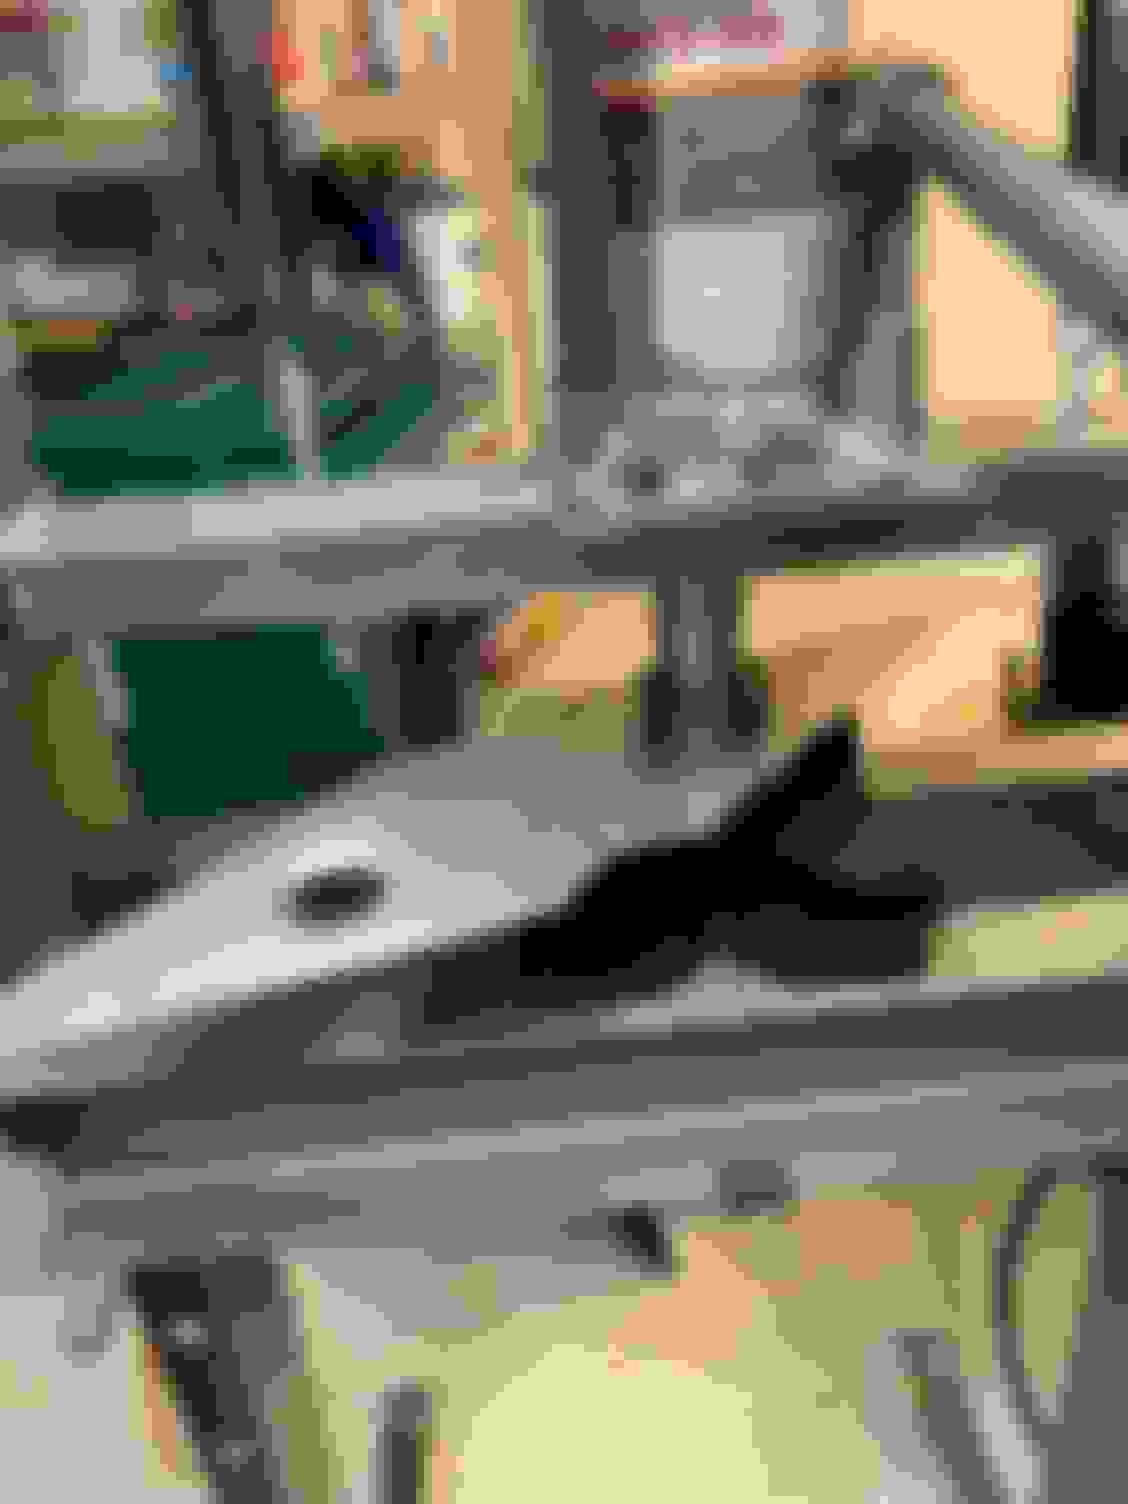
For the finished product, I decided to use to black vinyl covered cable. I also wanted the cable closer to the outer door skin so it wouldn't be in the way of the door bars or the cable I would use to open the doors with. There is a bracket that connects the outdoor skin with the inner door skin right around where the side mirror is.
You can see the bracket looking down into the door from this picture
I decided to use it, and drilled a hole closer to the outer door skin. I almost used one of the two existing holes, but wanted the cable closer to the door skin.
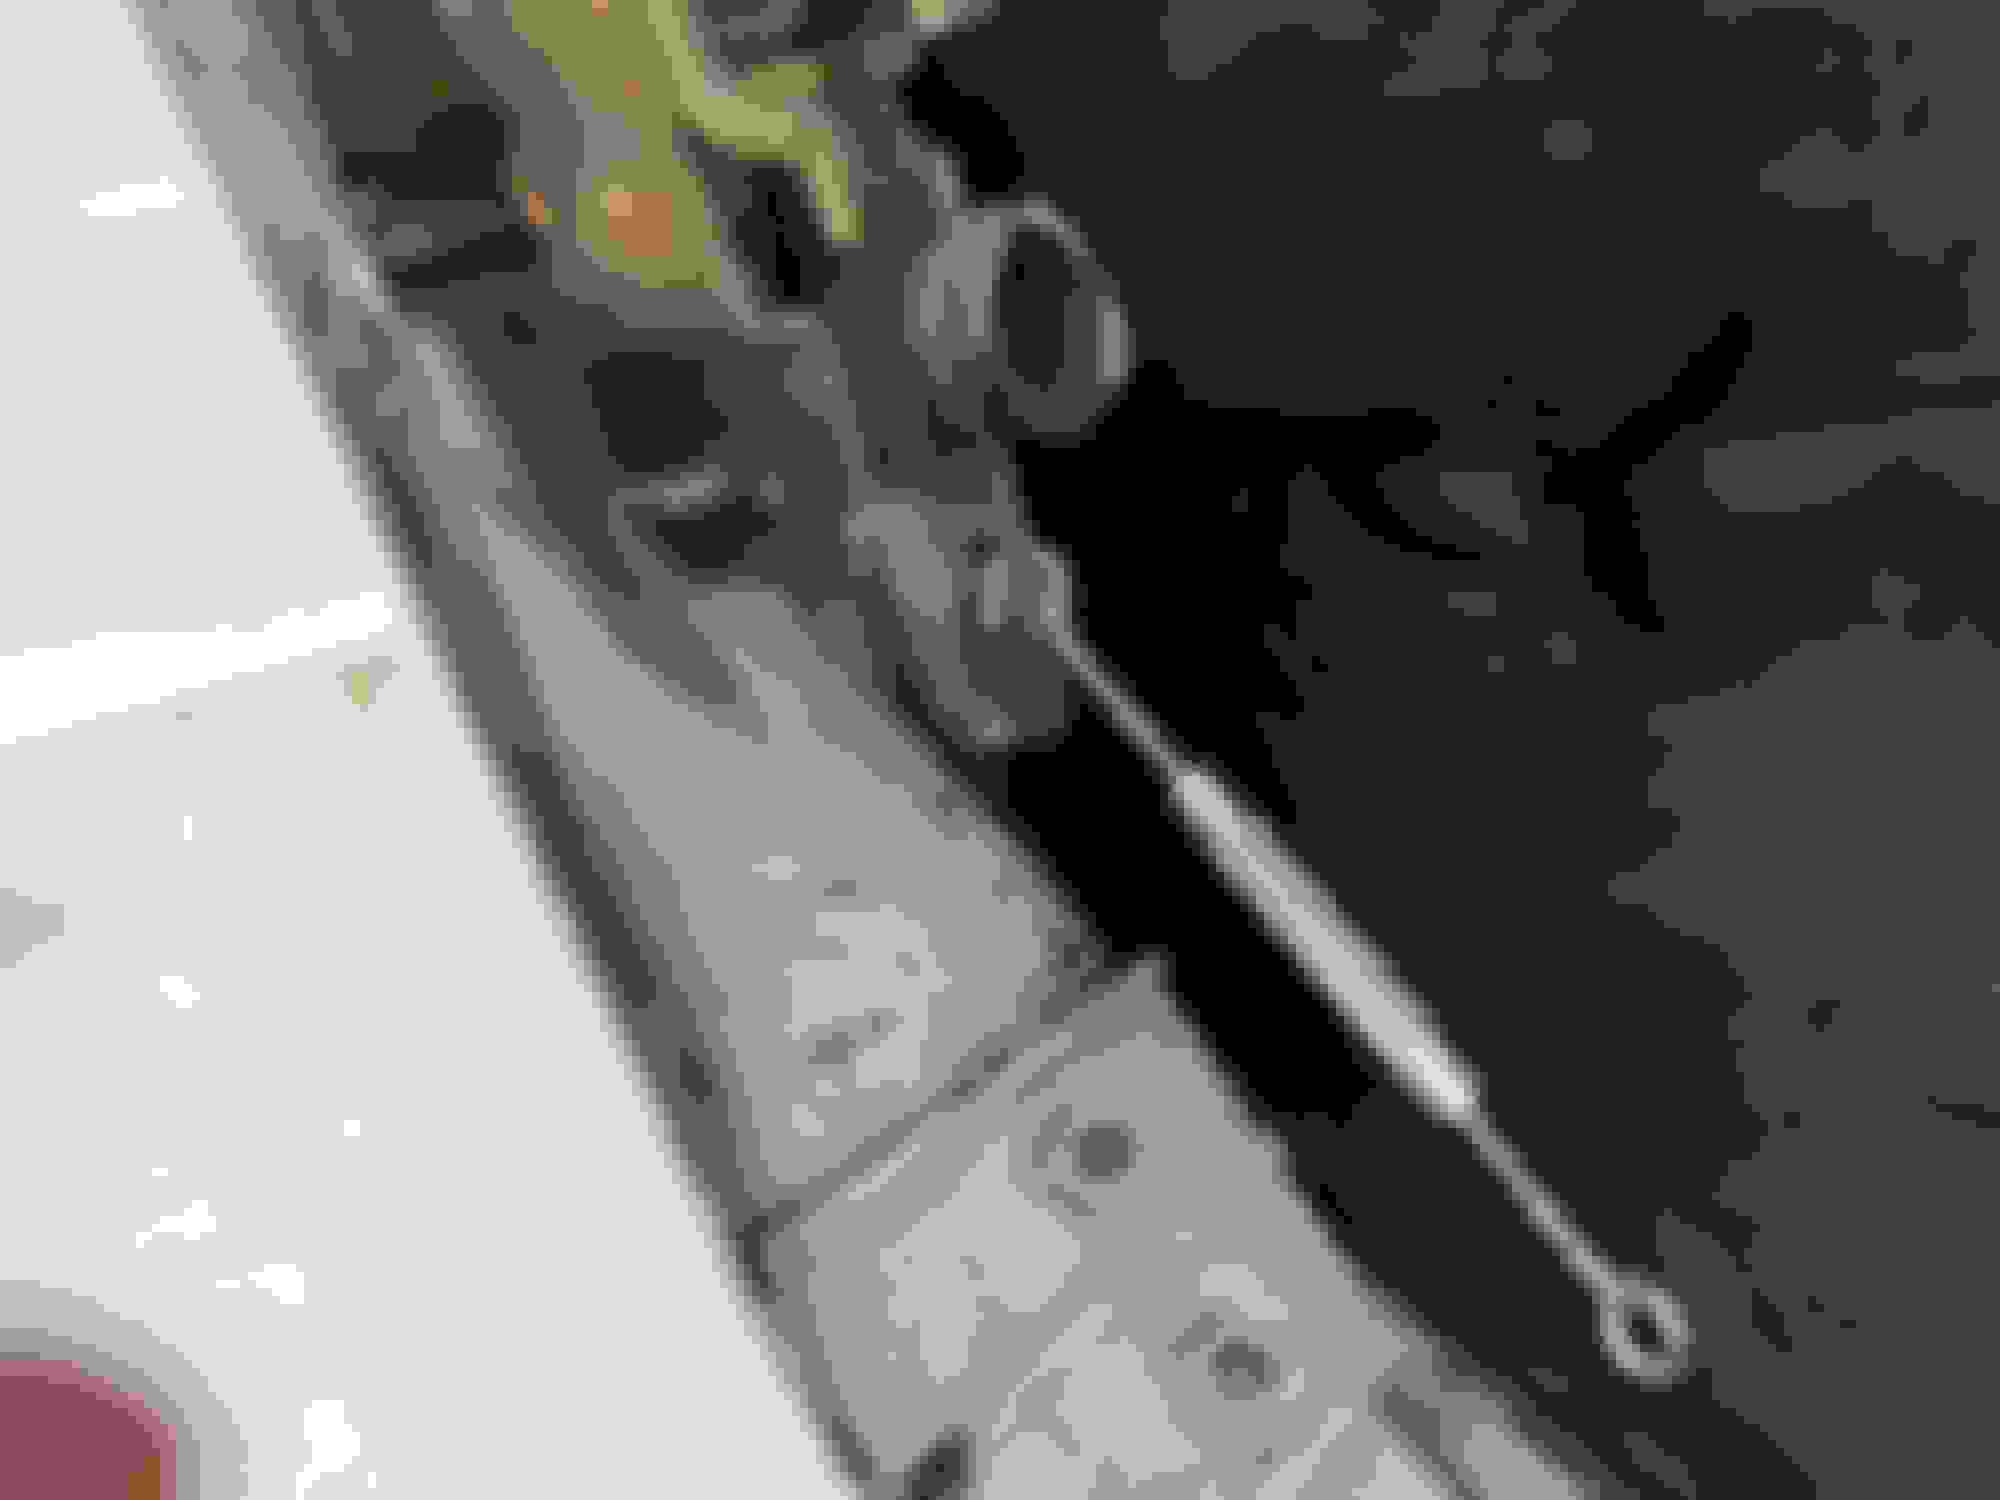
From there I measured some cable and swaged a loop on the end and used a bolt and nut to hold that end in place.
The other end was attached to the turnbuckle There was already a hole in the bracket that holds up the end of the door bar that was cut out. I just used that again for the turnbuckle.
A few turns to tighten things up and Voila! A door that closed properly again. The cable and buckle are further back inside the door, you can't really tell from this picture.
Next was to install an internal door release. I REALLY liked the MiataCage Kevlar door release straps, and I almost pulled the trigger on them, but I had a hard time stomaching the price. I wanted something a bit more substantial then the cable I just used to hold up the doors. I also wanted it to be something that you could glance at and just knew what it was for. (i.e. I wanted it Bright Red or Yellow) The Orange & Blue Racing supply stores around me didn't have anything but some very thin green vinyl covered cable that didn't have the look or feel I was after. I went online looking for some red vinyl covered cable and ran across someone's youtube that used bicycle brake cables & sheaths for his door. For eight bucks I was able to buy a brake line kit with red cable sheaths. Win!
For the door pull, all I did was drill a hole in the door at the top of the door close to where the A pillar is.
Ran a bolt through it and a big washer on the back end that I clamped down on the brake cable (just like you would do on a bicycle)
The other end with the little ball on it, fit in the door catch. The rest was just measuring the length of the sheath and cutting and installing that.
Door release done. You can either push or pull and the door opens.
Passenger side with the door closed. & a preview of the next writeup...taco's anyone?
Drivers Side. The upper bar is curved into the door a bit more, so the door pull touches it, but it's not pulling on it.
Lastly (haven't done this yet) I plan on putting a rubber door edge trim on the doors. This way nobody gets cut by jagged metal. I'm also considering the plexiglass triangle windows with the naca duct. It would be nice to be a bit cooler while driving in the summer months. I may also put some metal back at the very top so I can install the windows when I go to transport the car. I haven't decided upon this 100% yet, since I also read you can use some sticky thick plastic to protect carpet floors (think saran wrap, but thicker) that you can cover the window opening with that is easily removable. (Either way, I will need a way to make the car semi water proof for transport.)
I recently had the same conundrum with those Kevlar door straps. Just couldn't stomach the cost either. I ended up using some spare wire rope I had laying around. Found some spare clear tubing that fit over it snug, and reused an OEM hole in the door, can't remember what used to be there. Swaged stoppers or w/e they are called to keep it in place, was a mistake and PITA to get the tension just right while also trying to finish the swage with it through the door mechanism. Your way is much nicer.
As far as keeping the car water tight-ish, a few weeks ago I had to try the carpet protector method. Other than having to swipe away a little dust (we get dust before rain here), the stuff was easy to slap on, held through the night and a 3 hour tow. Don't really want to reuse it again though, I'm still slowly scrubbing off adhesive gunk that got left behind.
Maybe you mentioned it further up thread, but the other thing I had to do was ditch the stock mirrors, realized they were worthless right after I got the cage and seat in and sat down in it for the first time. Bolted some convex mirrors in the pinch weld ahead of the wing windows. Stole the ide@Arca_ex and his build thread.
I recently had the same conundrum with those Kevlar door straps. Just couldn't stomach the cost either.
It's hard to pay 15X more then what I did for the Kevlar straps, but I do like them. If the price was around half of what they ask for, I think they would sell a bunch more of them (that and open it up to other makes and models) I guess they cost that much to produce? (Didn't look like it would cost that much to me) Then again, they do need to make some profit, so I get it.
Originally Posted by maplewood
As far as keeping the car water tight-ish, a few weeks ago I had to try the carpet protector method. Other than having to swipe away a little dust (we get dust before rain here), the stuff was easy to slap on, held through the night and a 3 hour tow. Don't really want to reuse it again though, I'm still slowly scrubbing off adhesive gunk that got left behind.
Thank you! This was exactly the info I needed to hear. I was wondering if they were going to leave an adhesive residue or not. Looks like I'll be adding a little metal back to the car so I can hang those windows while transporting.
Originally Posted by maplewood
Maybe you mentioned it further up thread, but the other thing I had to do was ditch the stock mirrors, realized they were worthless right after I got the cage and seat in and sat down in it for the first time. Bolted some convex mirrors in the pinch weld ahead of the wing windows. Stole the ide@Arca_ex and his build thread.
I know the mirrors aren't very ideal, but haven't looked at them at all yet. Been concentrating on getting a few other things done first, but I'm sure they will be higher on the priority list in no time. I'll check out @Arca_ex build and see what he did. I'm not too proud to copy a good idea! Thanks!
Hey @Gee Emm How are you suggesting I would install the poly window? I would seriously consider that route if easier. (FYI...The windows are only for transport or storage, not while driving.)
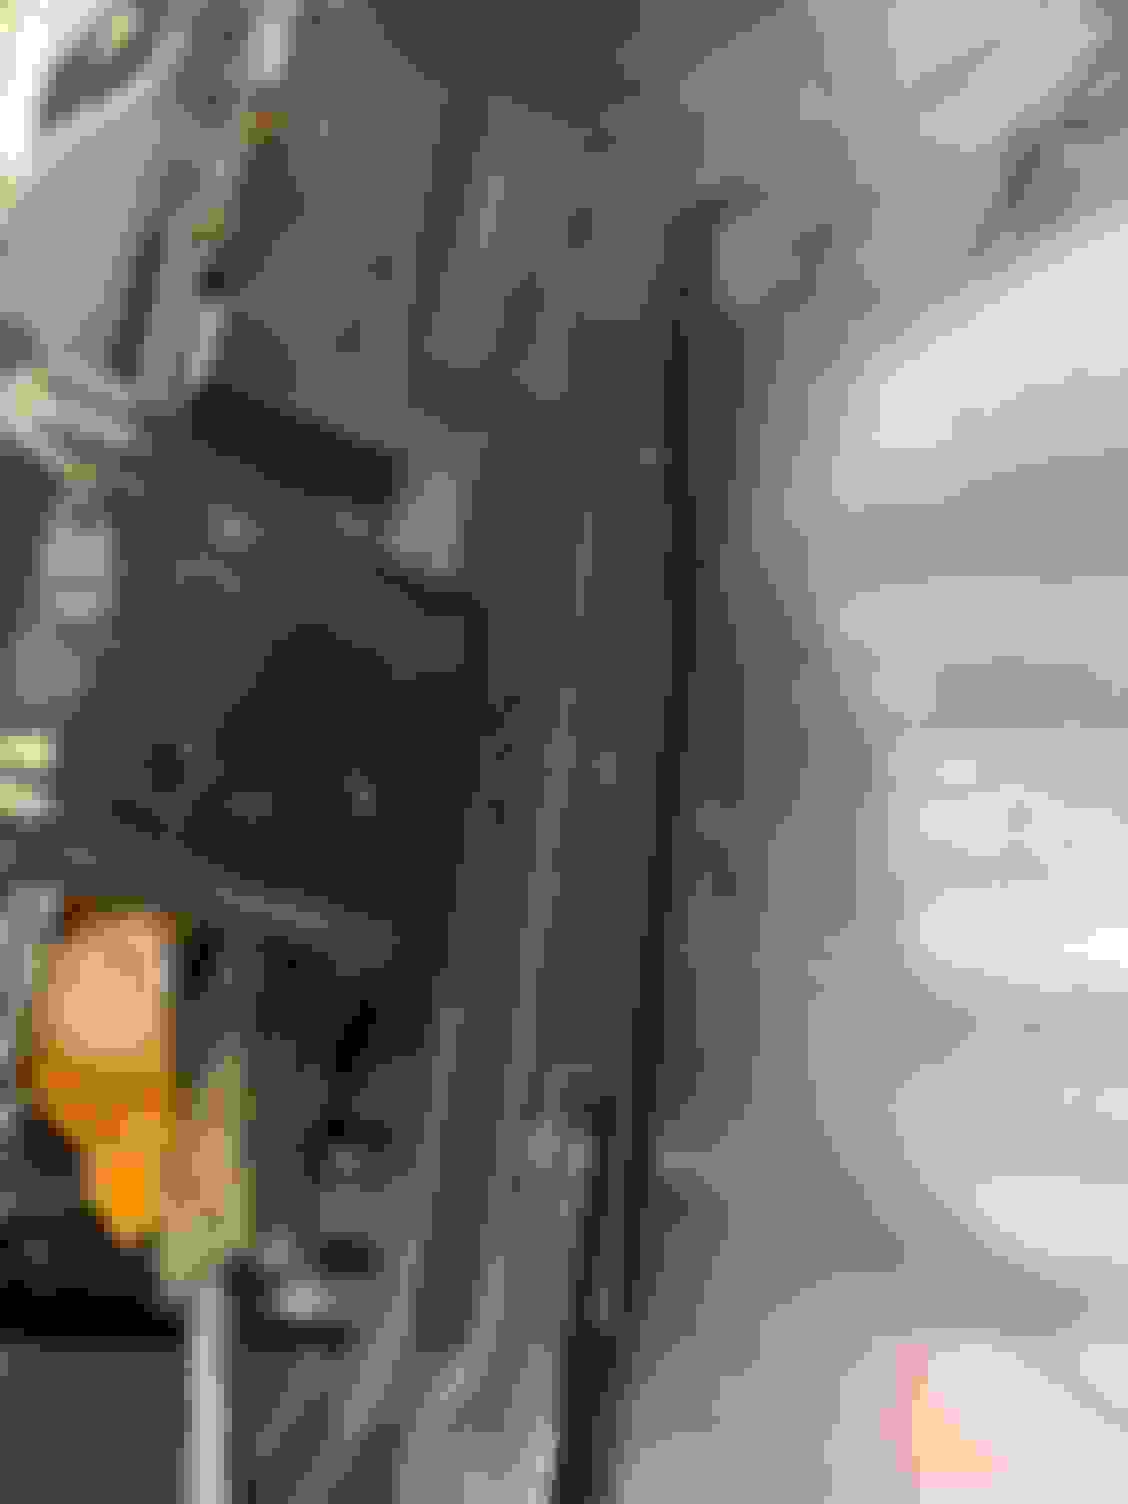
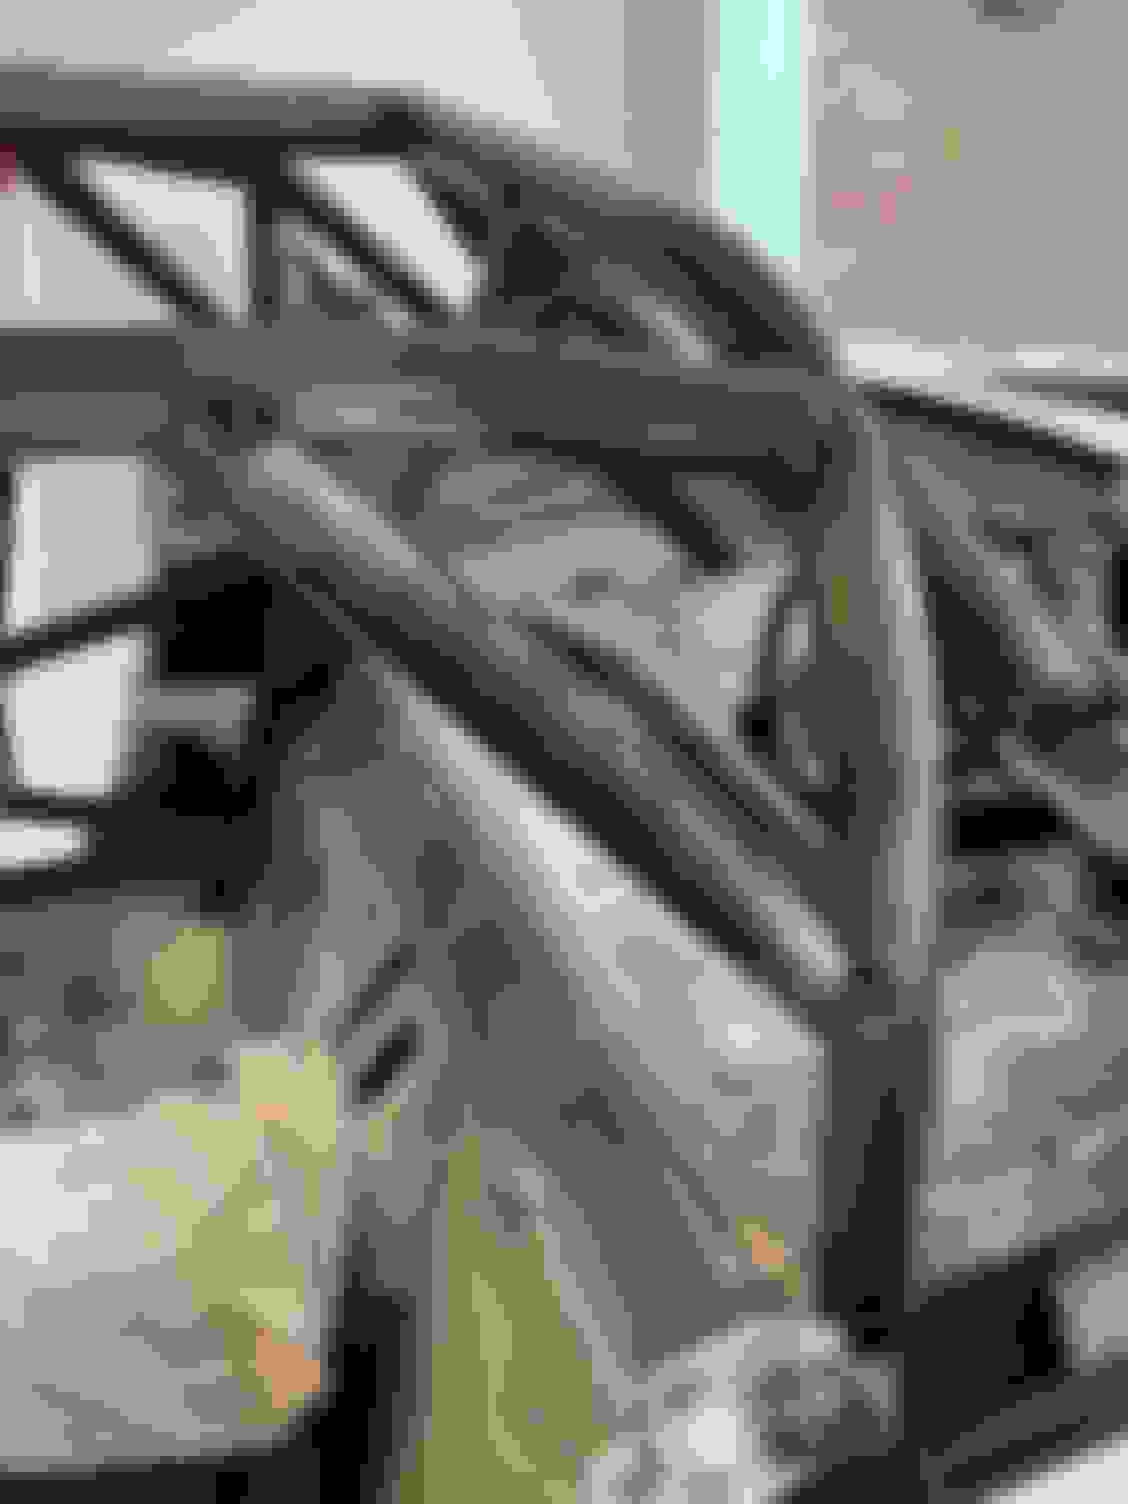
My doors currently look like this...(and the door bars are inside the door)
The Fabricator removed the top sill of the door to save some weight when building the cage. I was going to add some metal back right there and then use these window holders from Advance Auto Sports to hold the original glass windows in place while traveling on trailer or storing over night outside.
I could also make some hooks and install those in the door to hold the glass at the bottom, but that is a lot of extra work compared to the above. (And the above are cheap to buy.)
I can see using plexi if I wasn't going to install those triangle windows, but my plan is to use the plexi triangle windows with the naca ducts that sold by Advance AutoSports too. So it's a bit cooler in the summer for me.
You need a window channel (you have one? two?), and/or some tabs that you can bolt the plexiglass to, tabs cab be on the HT. I was thinking of that bracket when I wrote. I would ditch the glass because it is heavy, and go plastic - easier and less care needed when setting up and packing away. Plastic can be drilled readily to suit your mounting design, rather than (with glass) having to use at least some of the factory mounting.
In my racecar I retained the factory door locks for security in transit (I overnighted at a pub on one of my regular trips away), looks like you have retained that too.
Yeah, the metal I plan to add back is for the window channel. The half for the inside is totally gone, with nothing to hang the window onto. I agree that the plastic is easier then the glass to handle. I'll probably set it up and use the glass for now since that would be fastest and move to plastic once I get some time and other items done first that are higher priority.
Funny I was planning on pulling the locks out of the doors when I had some time too. Figured there is at least another pounds worth of metal I can pull out of each door if I gave it the old college try. Maybe keeping the locks isn't a bad idea. Need to give that a little more thought.
If you are going to use the channel, you will need to curve the plastic (of whatever sort) whenever you get around to it. I was planning to lay it over the window glass and heat it enough to get the shape, cool, then trim to what I needed/wanted.
Yeah, the handles and locks were better value to me in the car than the minimal weight saving was worth in performance. Especially as if I took out the locks I'd have to do something else to secure the car.
Thanks for the great thread! I'm also building an LFX Miata this winter, a wheel to wheel ND race car.
On the steering alignment; as you said it should have been done with a sitting. But, on my car the builder was able to align steering and deal with just the location of the column mount, maybe you could still do that.
@NABCD Car looks great! I need to paint the interior / cage, not looking forward to that. Your car should be a blast once you are done. I'm really enjoy mine, more than I even thought. Lots of torque everywhere, but very controlled too. Feel free to reach out if you have any questions, I'll do my best to help.
As far as the steering column and seat. I will probably end up moving it a little, but I also want the seat moved away from the bars a bit too. So moving inboard kills a couple birds with one stone.
Since I was still trying to feel out what I wanted to do to get the seat right, I decided to tackle some cage changes I wanted to make. Mainly I wanted to add some gussets to strengthen it a bit more.
I started with the Taco gussets for the door bars. First step was making a template. I ended up making a couple of these, before I was happy with the end result.
My main issue was getting both sides exactly the same. For some reason I wasn't able to fold the sheet of card stock in half properly and cut two identical halves. I don't remember failing folding and cutting with scissors in kindergarten, I made some pretty nice snowflakes back in the day, but my efforts here said otherwise. So I ended up using grid paper so I had both sides exactly the same.
I transferred the pattern to some 16 gauge sheet metal.
I used my jigsaw to cut out the pattern.
Cleaned up the edges with a grinder. The flap wheel on the drill was getting nowhere fast.
Drilled out holes in the center for the dimple die using a step bit.
I pressed in the dimples
Then came what I thought was going to be the hard part. I needed to bend the taco halves. This was a lot easier then what everyone on the internet made it out to be. I cut a 6" piece of 1.5" DOM tubing (that I bought for the other gussets I wanted to add) Drew a line down the center length wise and then clamped at the center of the soon to be taco to the tubing using some vice grips.
From there I slowly and carefully bent it by hand around the tube.
All finished bending
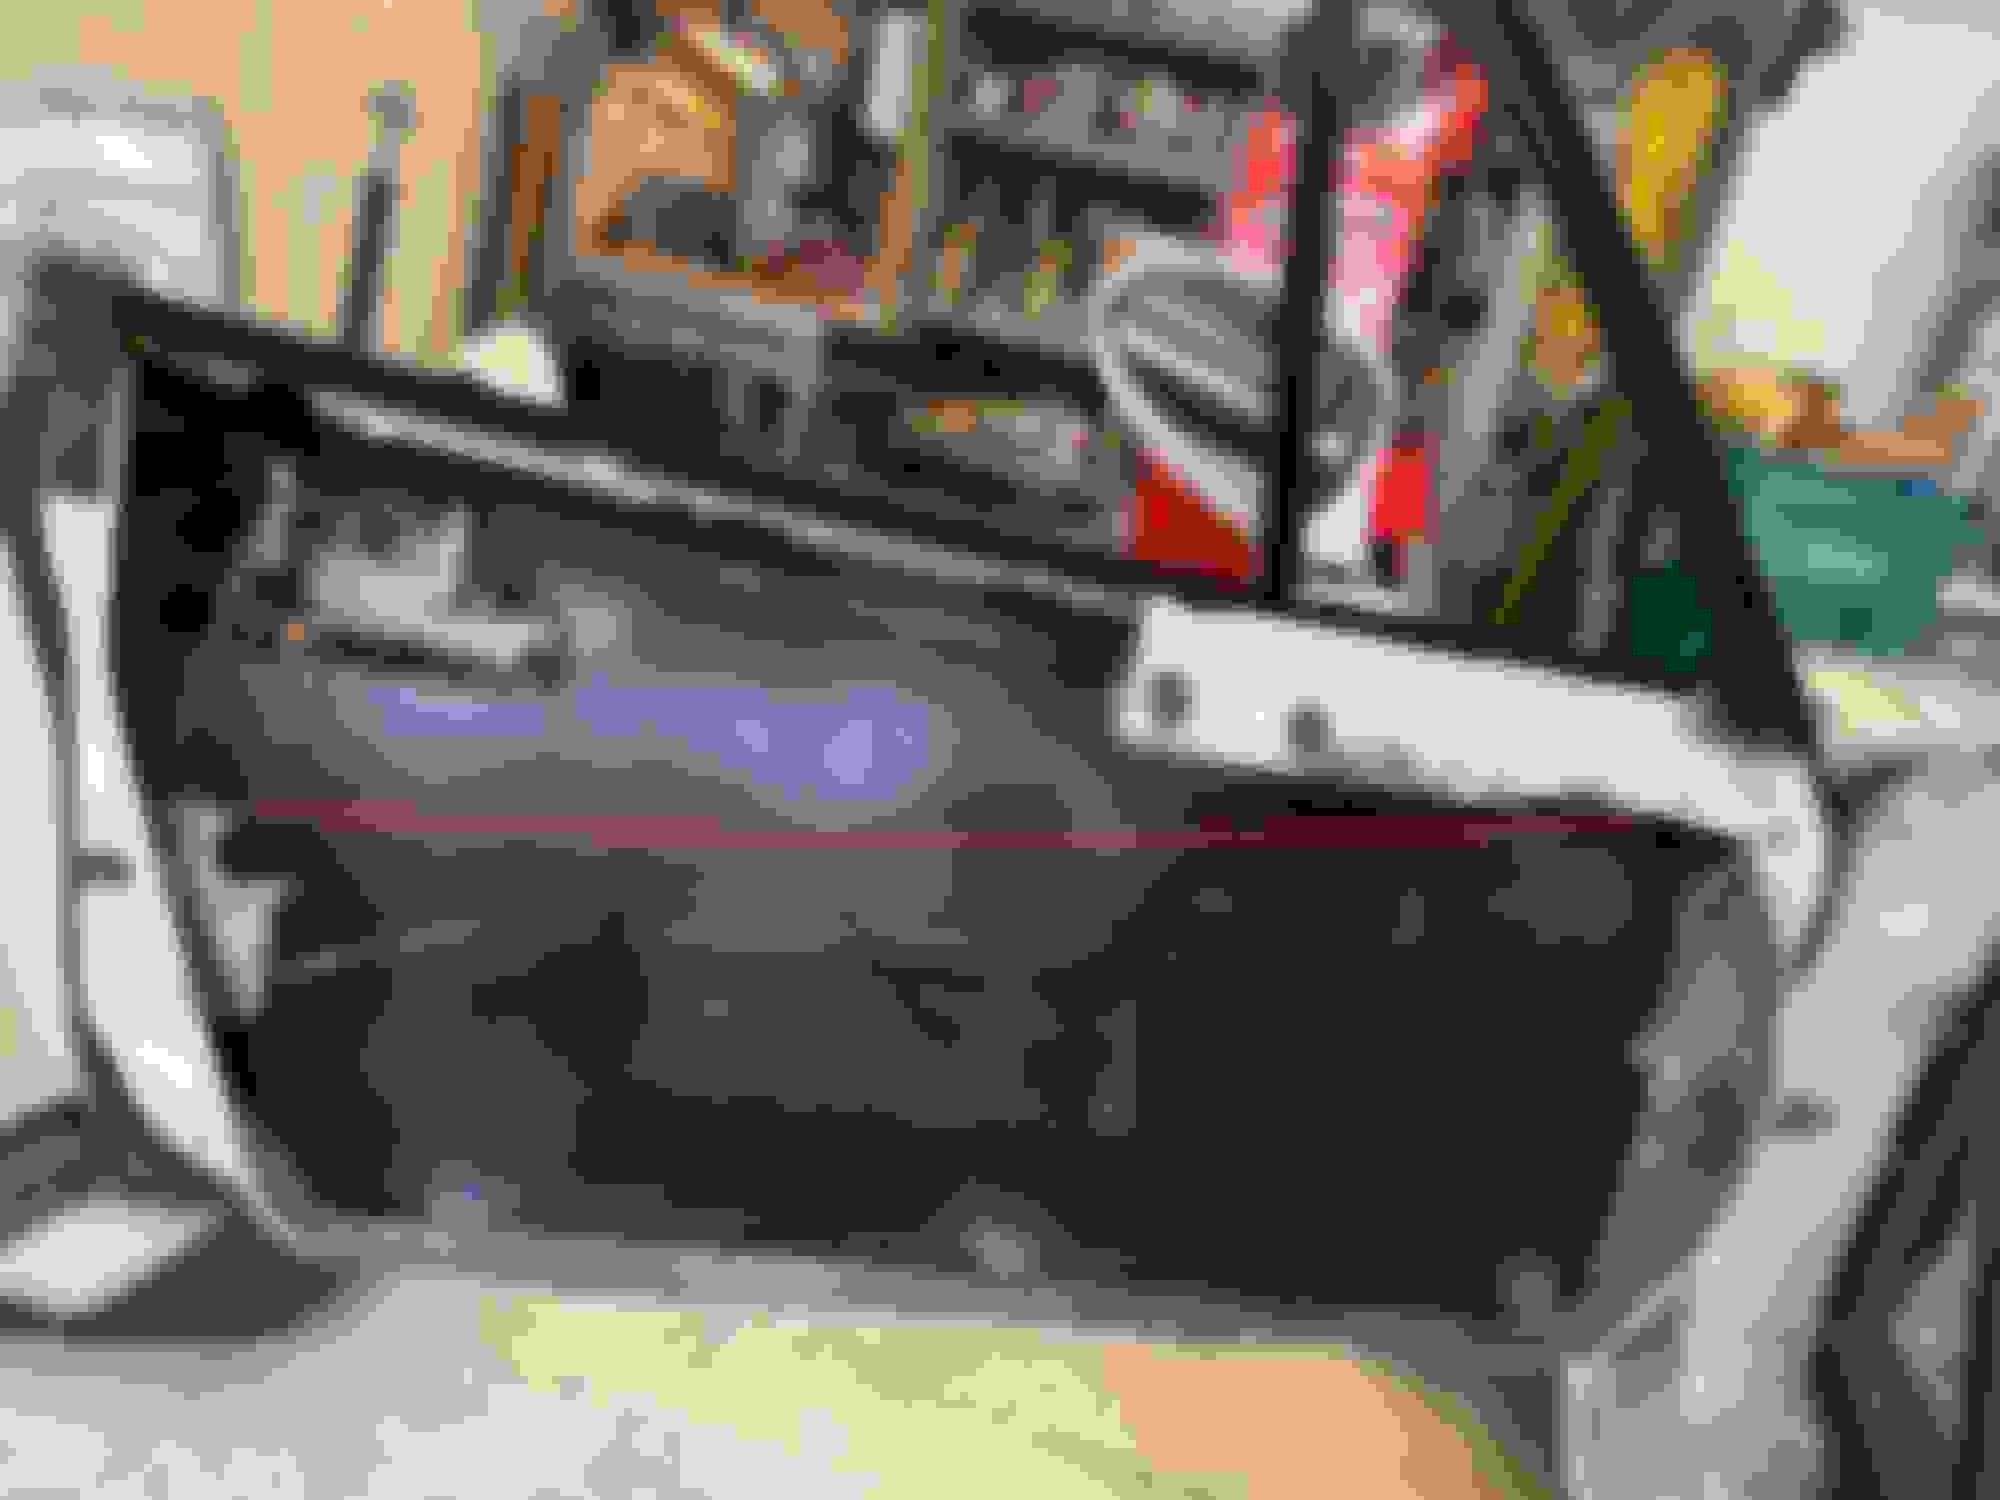
From there I test fitted them to the car and tack welded them in place.
I still need to weld them up proper, but the hard part is done!
For the other gussets I wanted to add, I bought a stick of DOM tubing and the cheapest tube notcher that harbor freight offered and went to town. Figured it couldn't be too hard to put 45 degree notches on the ends. OK so it wasn't after I "fixed" the tool to be a bit more accurate. (can't expect too much precision from a $60 tool!)
Note: I HATE hole saws. They always grab whatever your cutting and try to rip the drill out of your hand. This would happen about 3/4 of the way through on every cut.
That said, my 45 degree cuts didn't fit as well as they should have originally. I adjusted the notcher a bit more, but ended up using a grinder to open up the throats so I could get a better fit. This definitely got me 95% of the way there and the little grinding I had to do to get it to fit perfectly wasn't that bad.
The first tube gussets I made attached from the main hoop to the A Pillar down bars. I decided to go with 12" here. I wasn't sure exactly what size I wanted, and I think I went a little too long here. I haven't yet, but I'm going to pull these back out and shorten them to 10" long. The bar seems just a little too close to my head at the current length.
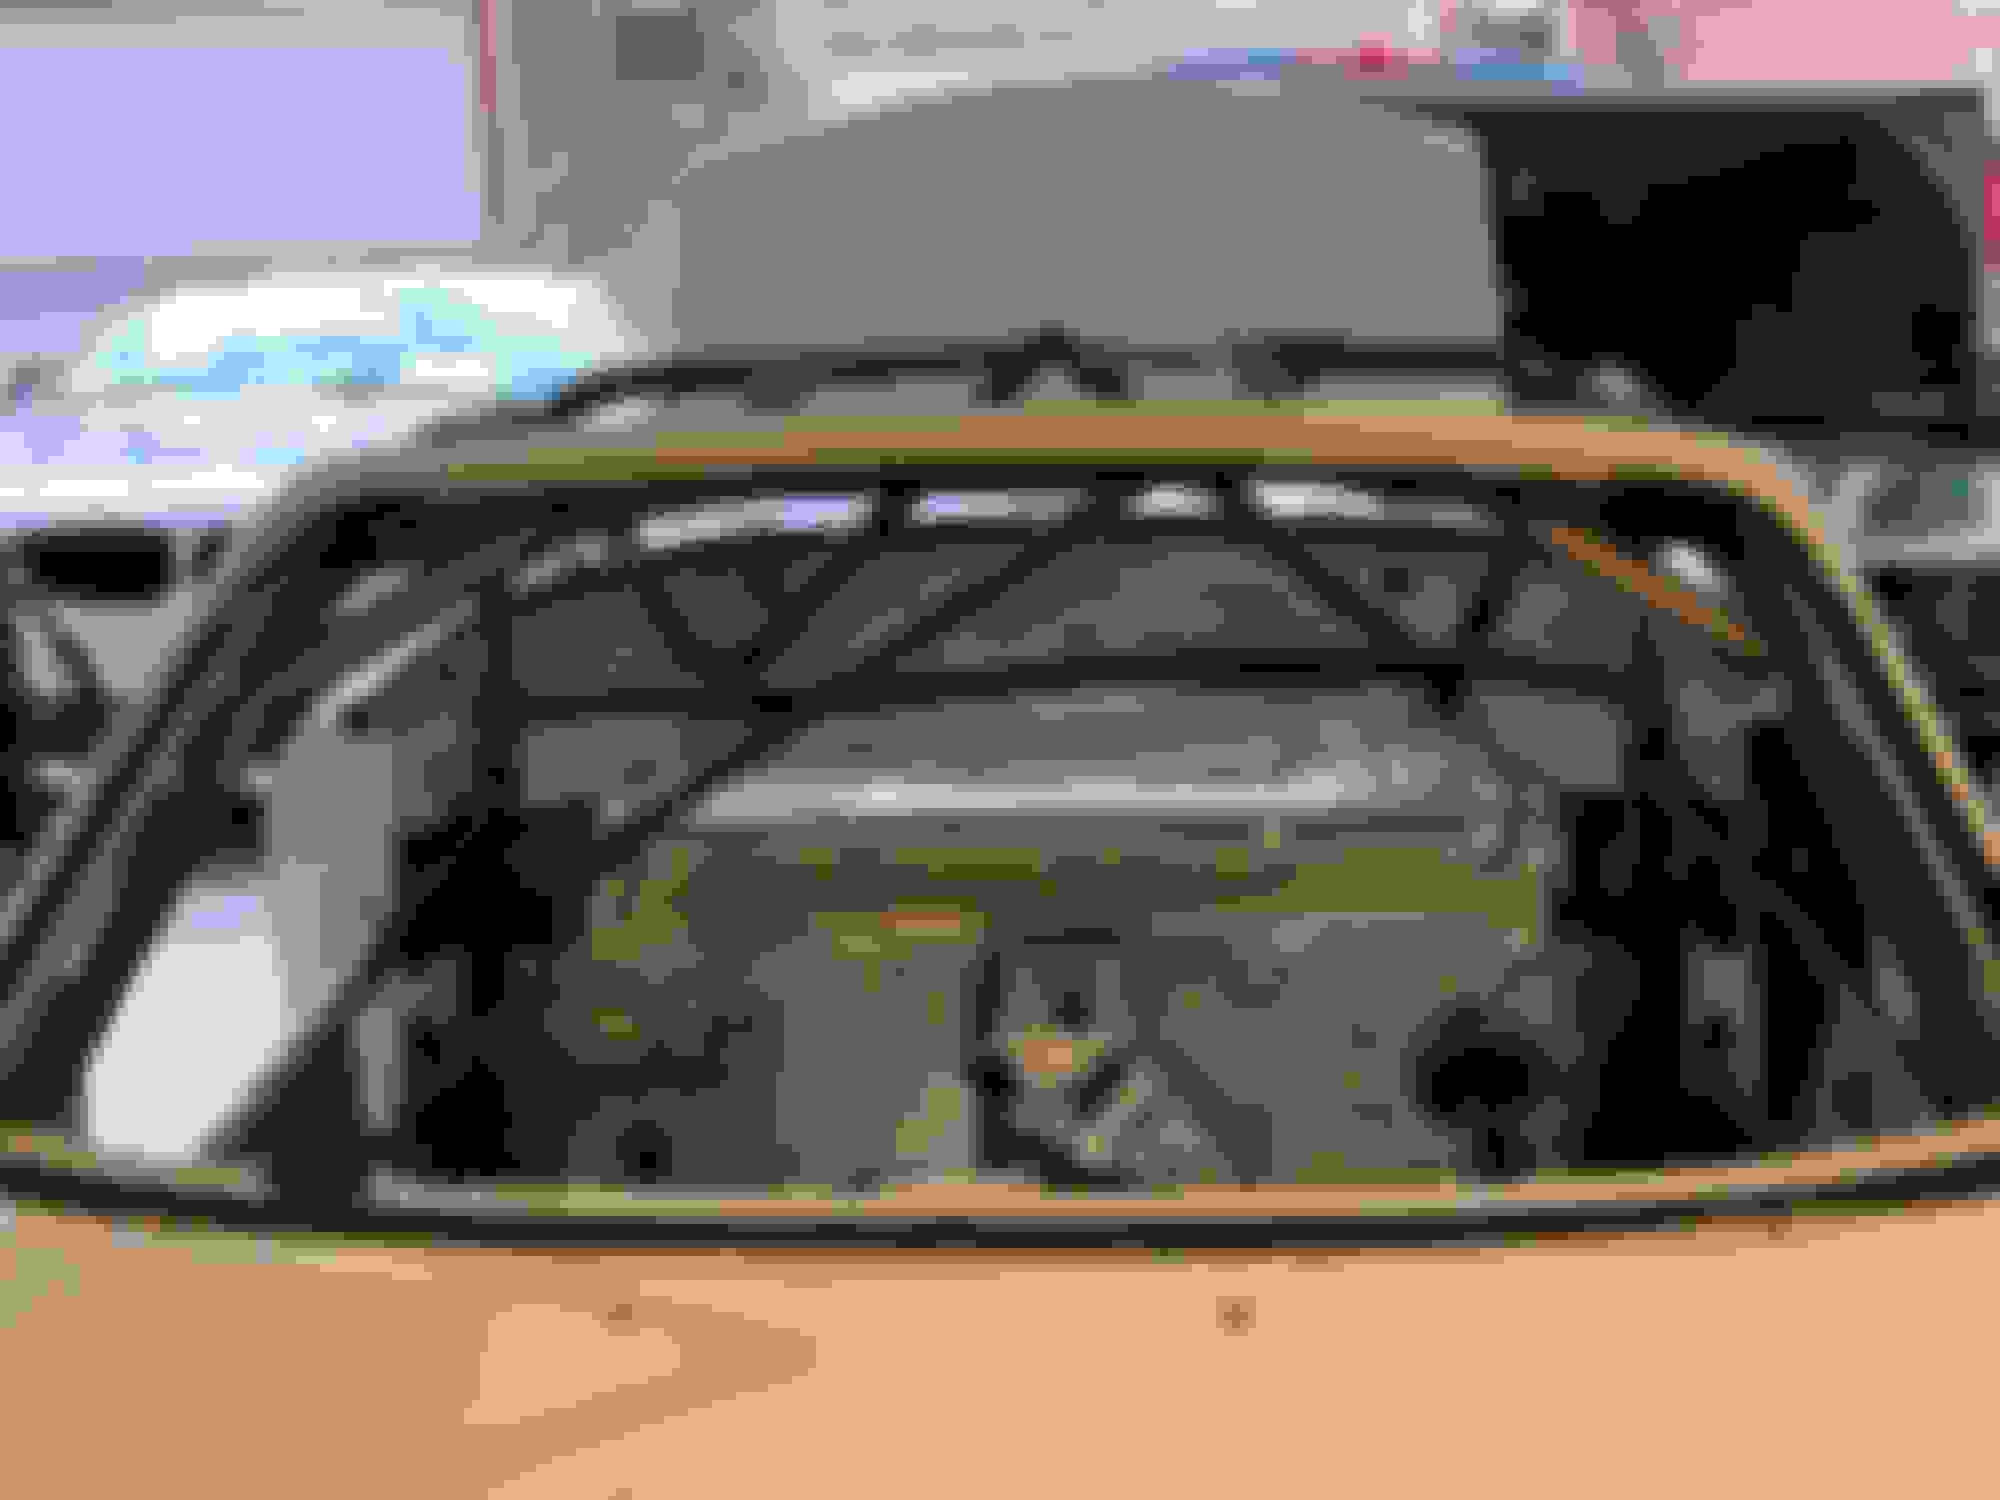
Next up I made Windshield gussets. I really wanted these to connect from the roof bars for load path reasons, but I also need to be able to see out of the windshield. Since I couldn't have my cake and eat it too, I decided being able to see was a higher safety priority and didn't connect the load paths.
Besides making these a little shorter, it was rinse and repeat job.
Everything is just tacked into place right now, and I still need to weld them. I haven't decided if I'm going to do it or get someone who is a better welder then me to do it. I have a tendency to make cold welds, but I've been working on slowing down so I put a bit more heat into the metal and get better penetration.
Next up is tackling the seat fitment and the trans tunnel / drop pan.
Use a propane torch to preheat area, you can put a lot of heat into those tubes. As a side note, you can typically make the gusset tubes out of .095 3/4” or 1” tube, instead of using 1.5. I’d suggest changing at least the windshield ones, since they make really good ingress/egress handles.
Use a propane torch to preheat area, you can put a lot of heat into those tubes. As a side note, you can typically make the gusset tubes out of .095 3/4” or 1” tube, instead of using 1.5. I’d suggest changing at least the windshield ones, since they make really good ingress/egress handles.
I will try heating up the area with a propane torch. Thank you. That said, my welder (Hobart 140 / C25 gas) has enough power, it's more that I "learned" on a crappy Hi/Low flux core welder trying to weld thin sheet metal so I was always blowing holes through the metal. To keep from blowing holes through the thin metal I move the gun and puddle super quickly, with the weld just building up on top. I still have some left over PTSD blowing holes through metal, so I still tend to move the gun too quickly. Anyways, I feel like I'm finally starting to get it (only took this long into my car project) and I'm welding a bit slower and getting better penetration, but I'm not as consistent as I would like.
You sold me on the smaller tube size. I'm going to order that now. Anything that helps getting in and out is a great idea. That should also give me a little more room to weld around the tops next to the windshield frame.
I have to admit, I was super naive and thought I would solve the normal seat installing issues using the OMP HTE-R 400 seat (supposedly made for small cars) and installing a drop floor pan. Couldn't have been any further from the truth. When I received the car back from the cage builder (& drop floor installer) I sat too high for a proper broomstick test, and the seat was wedged into the car (not to be adjusted) and angled away from the steering wheel. It was all off center by more then 2 inches.
I received some clever ideas on how to make the steering wheel centered without moving the seat, but I needed to be lower and wanted to be moved over so my head was a little further away from the roll cage bars. Thus the decision to move the seat vs the steering wheel (which would have been the easy button).
So after a bit of hemming and hawing, I still wasn't sure what I wanted to do. I gave thought to other seats, like an aluminum one, but I really wanted something safer with a FIA certification and a halo. I had previously looked up and compared measurements on the MPI Mazda Motorsports vs OMP seat. The MPI is 1" less in width at the bottom overall, while also being ~1/4" wider at the hips. (Which would be a win/win for this big boy) Wingman has the MPI seat, which I had sat in once before and remembered liking how I fit. So I texted him and ask if I could come over and look at his car & sit in his seat again. As always, Wingman was very gracious and let me come over to sit in his car and cry about all my seating issues. (Incase anyone is wondering, after measuring his seat, I do believe those numbers above to be true. It is a touch larger sitting area and the seat is 1" less wide at the bottom, although I do believe it's wider at the halo and the shoulders.) Thanks Wingman!
I realized looking at Wingman's car that he had to do a lot of modifications to get his seat to fit. More then just some BFH work on the side tunnel. (He had modified the trans tunnel, his floor, and his mounts.) So I knew I needed to put on my big boy pants and do some more work to make mine fit too. Originally after leaving Wingman's house, I was going to buy the MPI seat, since I felt like it would need less modifications to work, but I was worried about the shoulders not fitting properly with my door bars and after seeing shipping times etc. I changed my mind and decided to make the OMP seat work.
So...this is what I was starting with after the drop pan had been put in. Note: The drop pan was modified to fit the transmission brace.
There were two things needed to make the seat work. I needed to get the seat over towards the center of the car more, and I needed to lay the seat back further. I would modify the tunnel to get the seat moved over and purchased the tallest seat brackets I could find for the layback.
Tunnel Mods
I really loathed the idea of cutting the pan / trans tunnel. Not because of the newness of the pan or any of that...it's because I know exactly how close the exhaust is already sitting behind this area and that I will need to modify the exhaust if I make any changes. I dread getting under the car and working on the exhaust again. As Danny Glover would say "I'm too old for this ****!"
It's just that damn front corner, otherwise it wouldn't be an issue
Just because you don't like a situation doesn't mean that isn't the reality. So...Out came the angle grinder with a cut off wheel. I decided to cut right after the modification already made on the pan for the trans brace, since I know the seat will be sitting behind this area. The exhaust immediately was an issue and kept me from pushing the metal in some. I unbolted the exhaust at the downpipes and pushed it over some so I had room. Then I stuck a board between the two to see what that extra room got me.
In truth, not as much as I would have hoped, because its that front edge of the seat that's pushing it off the tunnel. You can see straight to the ground there.
Nothing the angle grinder can't fix. I cut a bigger hole in the tunnel to allow room for that corner of the seat. Hello driveshaft!
I put some tape around the hole to keep from ripping up the seat. No picture of this test fit, but this would definitely give me the room the seat needed. Time to button it all back up. I decided to get the floor and tunnel re-attached. I pulled out some 16 gauge sheet metal and bent it into some angle iron with an inch or so on both sides. (Only picture I took of this was after bending and before the second cut.)
I used a couple wooden boards to push out the tunnel the amount I wanted (3/4" further in) and a jack under the car to hold the little piece of angle iron I made in place as I tack welded it up. This picture was after I finished, thus why everything is all ready tack welded.
Here's a picture without the boards. This added 3/4" to the floor space.
For the rear most tunnel section I started with this mess
I mocked up how I wanted to bend a little piece of metal that I would use to extend the drop floor pan back wall to the trans tunnel.
Here's that piece half welded in.
The cut down the trans tunnel was an odd shape. Too large to bridge the gap (although I did do that for the first couple of inches you can see that in the picture above) and too small to really stick any piece of metal in and have success welding. I ended up welding in a triangle piece of metal. This looks like crap, but once painted and the seat is in, nobody will be any wiser.
For the front, I mocked up a design with some cardboard.
I cut the piece out a bit larger then it needed, and then bent up the piece. This cheap metal brake isn't a box and pan brake, but because it's so cheap, you have a space on each side of the top bar and I utilized that to make my second bend.
I placed a piece of metal on the other side and ran the marker down the tunnel giving me my next cut line.
After test fitting all of this I trimmed back all the excess, then used the flap wheel on the grinder and ended up with the following
I cut out a little piece for the remaining hole and tacked that in too. (no picture) End result (although I still need to weld it all in properly)
For the seat layback issue, I bought the largest / tallest seat mounts I could find. I was going to buy these in aluminum to save some LBS, but went with the steel so I could weld nuts onto them allowing me to bolt in the seat from under the car vs top if I wanted too. Anyway, this gets me 1 7/8" below the broomstick with my helmet on. I've decided that is close enough to 2" for now. If I really want that extra 1/8" I can modify the seat mounts. (I would have used the bottom most rear holes, but the seat hits the floor pan and wobbles in that position.)
The seat now sits centered, or at least enough that I can't tell it's off anymore. You can see how much it moved over with this before and after shot.
Before..Bad picture, but notice seat is touching the door sill and door bar. It's also angled towards the door vs the steering wheel a little bit
After - Good inch plus added and the seat sit's square vs angled now
Before...Notice there is some room from the mount to the trans tunnel and how far off the trans tunnel the entire seat is due to the very front roll over
After...You can't tell by the photo, but the seat mount is actually against the tunnel now
Before...the level was centered in the seat and made as square to the seat (as possible) notice how off from the steering wheel it is
After...Same idea...centered to the seat and as square as possible. Note: the reason for the single shoulder harness strap was I was checking to see if the harness bar was too high or not. Looks like the strap is perfectly flat from the bar to my shoulder or maybe just angled up towards me the tiniest amount. Which is great because I was worried it would be too high.
I doubt the seat is perfectly centered to the steering wheel, but I do think it's close enough that you don't notice it one way or another, where as before it was ridiculously off. I need to weld up what I've done. Drill new holes for the new mounts, and add holes for the sub-straps still, but I feel good about the seat location now.
I took the next few Friday's off from work so I can have longer weekends to get the car back together. There is an event at Barber the weekend before Thanksgiving I would like to go too. So need to get going!
Burning up some vacation time and had a couple long weekends since the last post.
First thing I did was I welded up the taco gussets and the floor pan. This all came out pretty well & I was feeling pretty good about my welding. I realized that if I have a shorter stick out (say 3/8") vs the 3/4" I was doing before, I get a hotter / flatter weld (although I can't see the puddle worth a **** now). Anyway, not sure exactly why that works (I need to ask my friend Google) but it definitely did for me.
Next I cut out the Windshield gussets and used some 1" bar instead (Thanks @curly for the idea) for some handles to help get you out of the car. My welding here ended up looking like a 3 year old got hold of my welder. All of that progress I was so happy about went out the door immediately when I had to weld curved pieces upside down.
This is the "good side" of the window gussets. LOL
I also shortened the gussets I made for the main hoop to the front down bars by a couple inches. The welds here are better then at the windshield, but still not pretty.
I ground down the welds on the floor pan and test fitted the seat again. Of course I got the metal a little too hot while welding it all up and it all warped a little bit. Nothing a BFH and a bit more grinding some welds down couldn't fix. The floor had a high spot, and I also hammed the side of the new tunnel piece too. (There is a lot more work in getting the damn seat to fit then there was in getting the engine to fit in the engine bay!) Anyway, once I got the seat back where it belonged, I measured for the new holes I would need for the seat brackets and drilled some holes to mark the spots.
My holes are the smaller ones, they are sort of hard to see. I will need to plug up the other ones that the roll cage installer put in. (haven't gotten there yet.)
I started sanding down all the metal and getting it ready to paint. This seemed to go faster then I was expecting, but still took the better part of an entire day.
The shinny clean metal looked good...maybe I want to go with a silver color?
After sanding I had one more day off. I figured I could clean the garage, clean the car, tape everything off, and get paint on the car. (Wishful thinking on my part)
I had forgot about the trunk, I still needed to sand those parts...this took a bit longer because I had to remove all of the fuel hoses etc.
I taped off the car...first time I've used the aluminum foil trick and I will definitely be using it again. It still took some time, but was a lot faster then if I used paper and tape.
Around 5:45pm (and starting to get dark out since the time change) I had the car tapped off, and just needed to clean the metal with some degreaser then I could paint her. I'd love to say I got her done, but I knew I had at least 3 more hours worth of work and I would be painting in the dark. Not to mention I just hit the proverbial wall and crashed. I was so tired and done for the day. So I called it, a bit disappointed, but figured I would paint next weekend.
The original plan was to paint the car on Monday with epoxy primer and then on Friday with some color (Red or Blue, I hadn't 100% decided at that point). I had a window of 4 days to topcoat the epoxy without having to rough it up first. Of course Hurricane Nicole and Ned Stark had other plans for me. Hurricane Nicole decided to rain on my parade on Friday and right after she left town Saturday morning, a cold front showed up late Saturday afternoon and Winter is here in Atlanta. That left me about 4 hours to paint the car in 55 degree (and dropping) temps and 75% humidity. Not ideal, but the cage was starting to flash rust and I wasn't about to wait till it got warm again. That would require me to sand down this entire cage again. Since I didn't have time for multiple coats and colors, I ended up buying some rattle cans of VHT Roll cage / chassis epoxy paint and painted her the most boring classic of all roll cage colors...Satin Black.
I painted from the inside out...leaving the door bars till last so I could reach inside the car to paint.
It was dark out all day...hard to see how thick (or thin) I was laying the paint down.
NOTE: I used 3 cans, probably should have used 4, but it was getting cold (below 50) and the paint was SUPER runny. If it was warmer and I had a little more time I would have used the 4th can and put on another coat.
From about 5 feet away, the paint job looks great, but if you get a little closer, you can see its a runny mess.
Not the paint or color I was originally planning on going with, but it's done and not going to rust!
I have to say, I wasn't as excited about this paint job like I was the engine bay, but after pulling off all the tape, I'm a bit more excited about the look. I'm thinking I may just brush on some dove grey Rustoleum for the floor / tunnel. That would be the easiest, since I wouldn't need to worry about a bunch of over spray / tapping off everything and should make the interior look presentable, then again, that sounds like a lot of work and I have other items that are a much higher priority right now.
 09-02-2022, 05:01 PM


 1
1