When you click on links to various merchants on this site and make a purchase, this can result in this site earning a commission. Affiliate programs and affiliations include, but are not limited to, the eBay Partner Network.
Here's a little bit more about where I'm at currently: https://www.miataturbo.net/meet-gree...ly-new-102604/
Relatively experienced in the way of Miata, done some cross dressing with MSM motors in NA6 chassis, but I've never built an engine. Generally speaking, I take instruction well, can measure, can assemble, and have the extra space, time and cash.
So, I bought a motor from UK Prestige Spares, or whatever. Couldn't afford not to. At this point, I had no plan, but cool, I've got a motor! I've spent five bills in a lot worse ways.
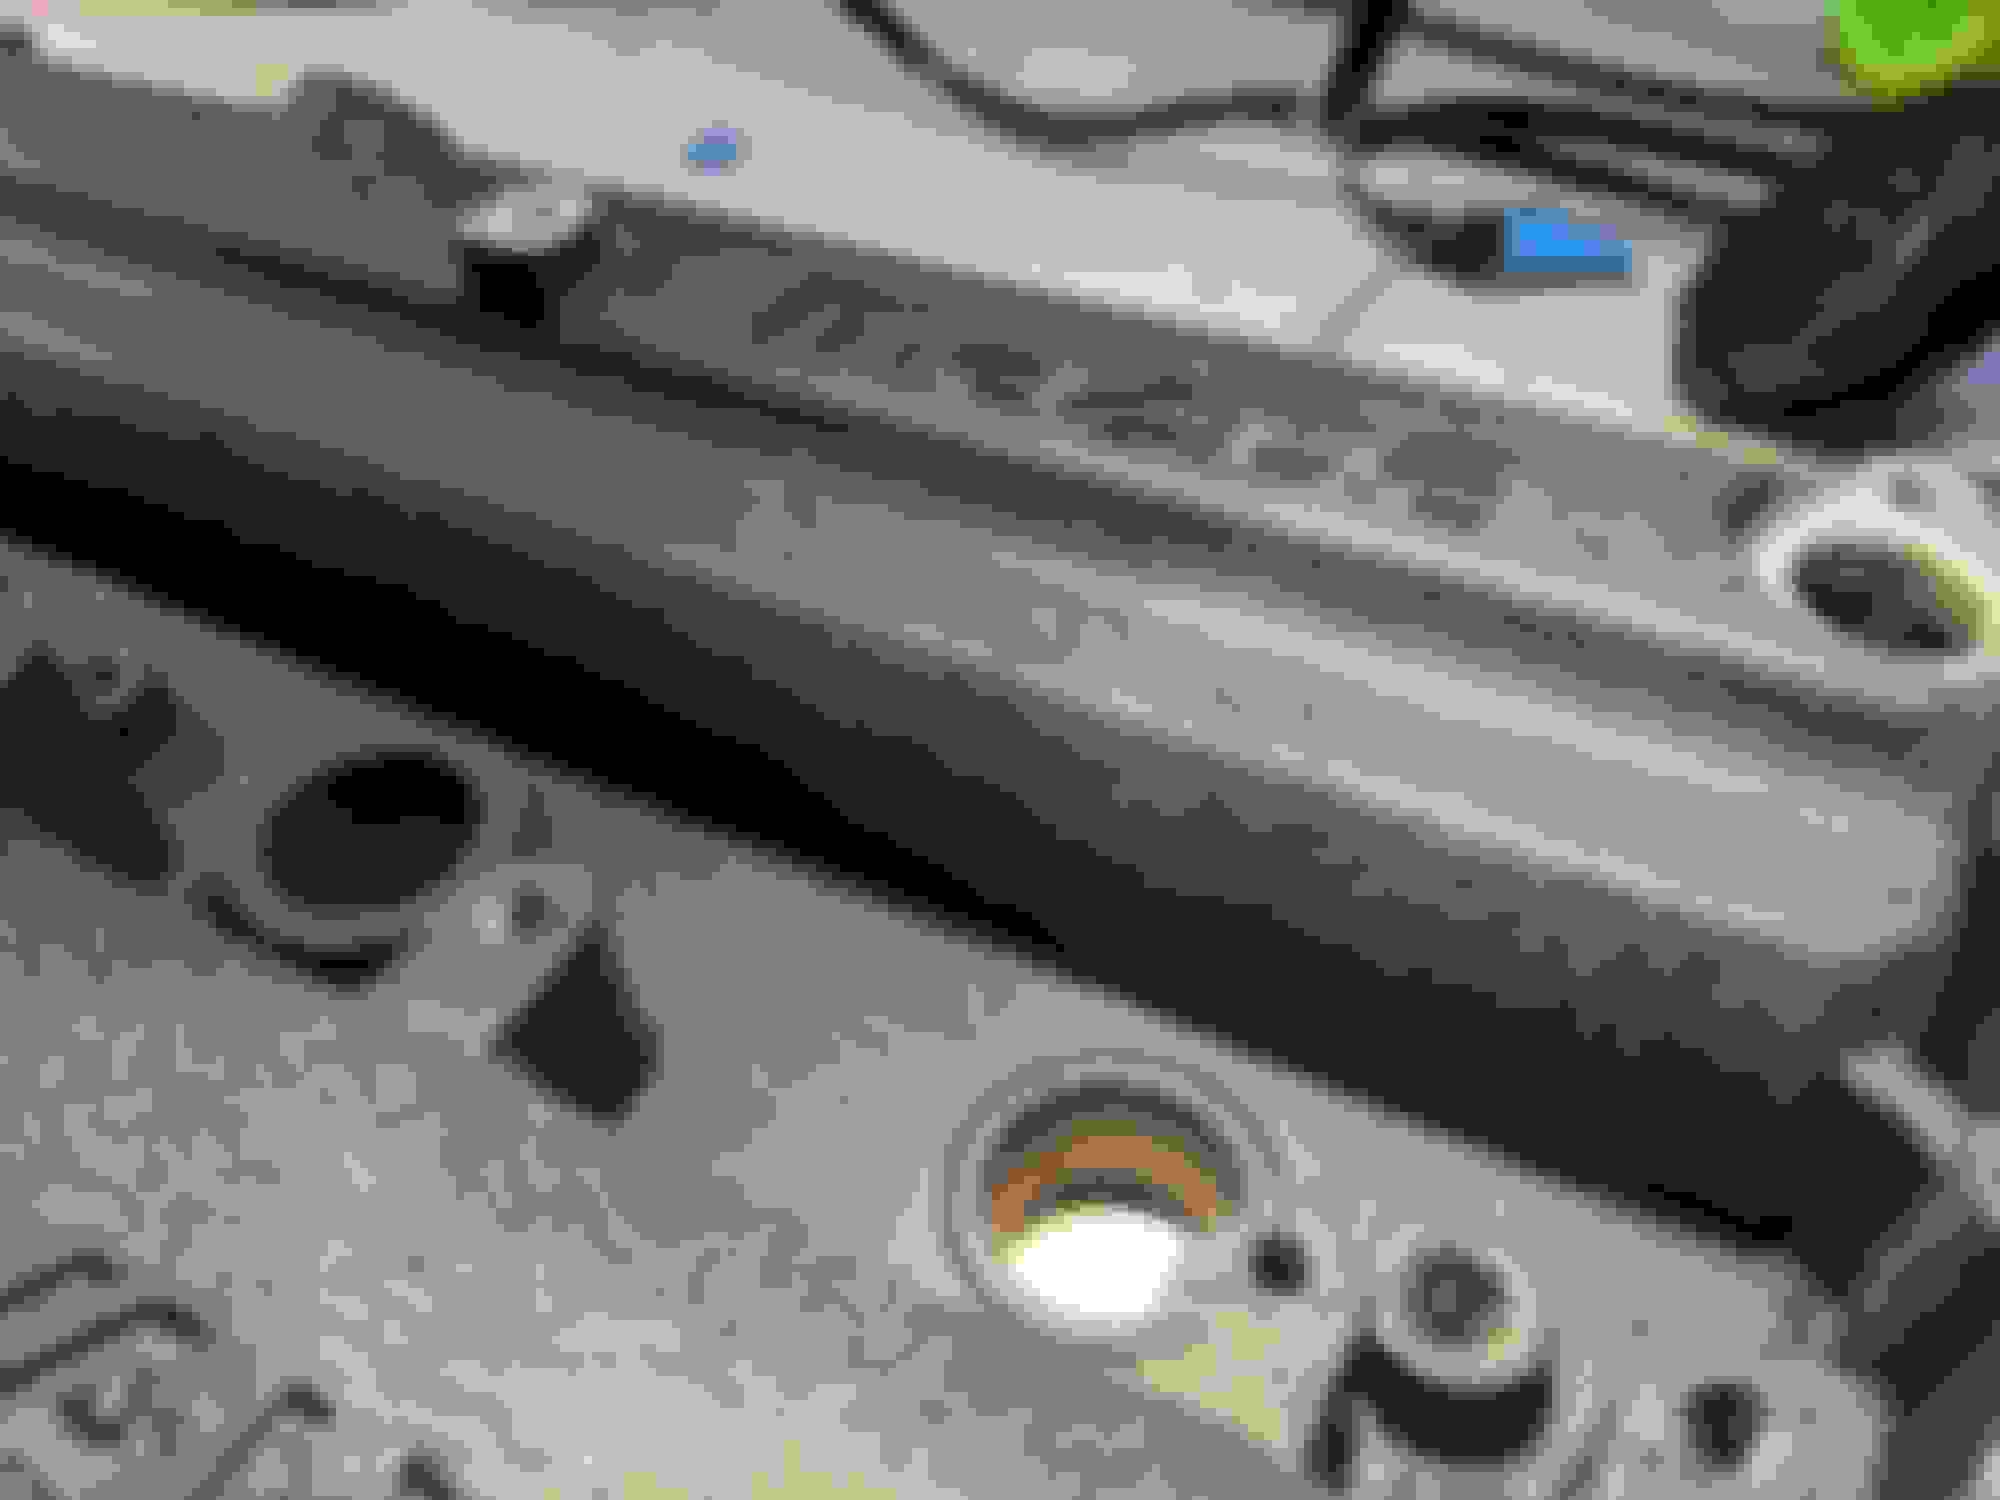
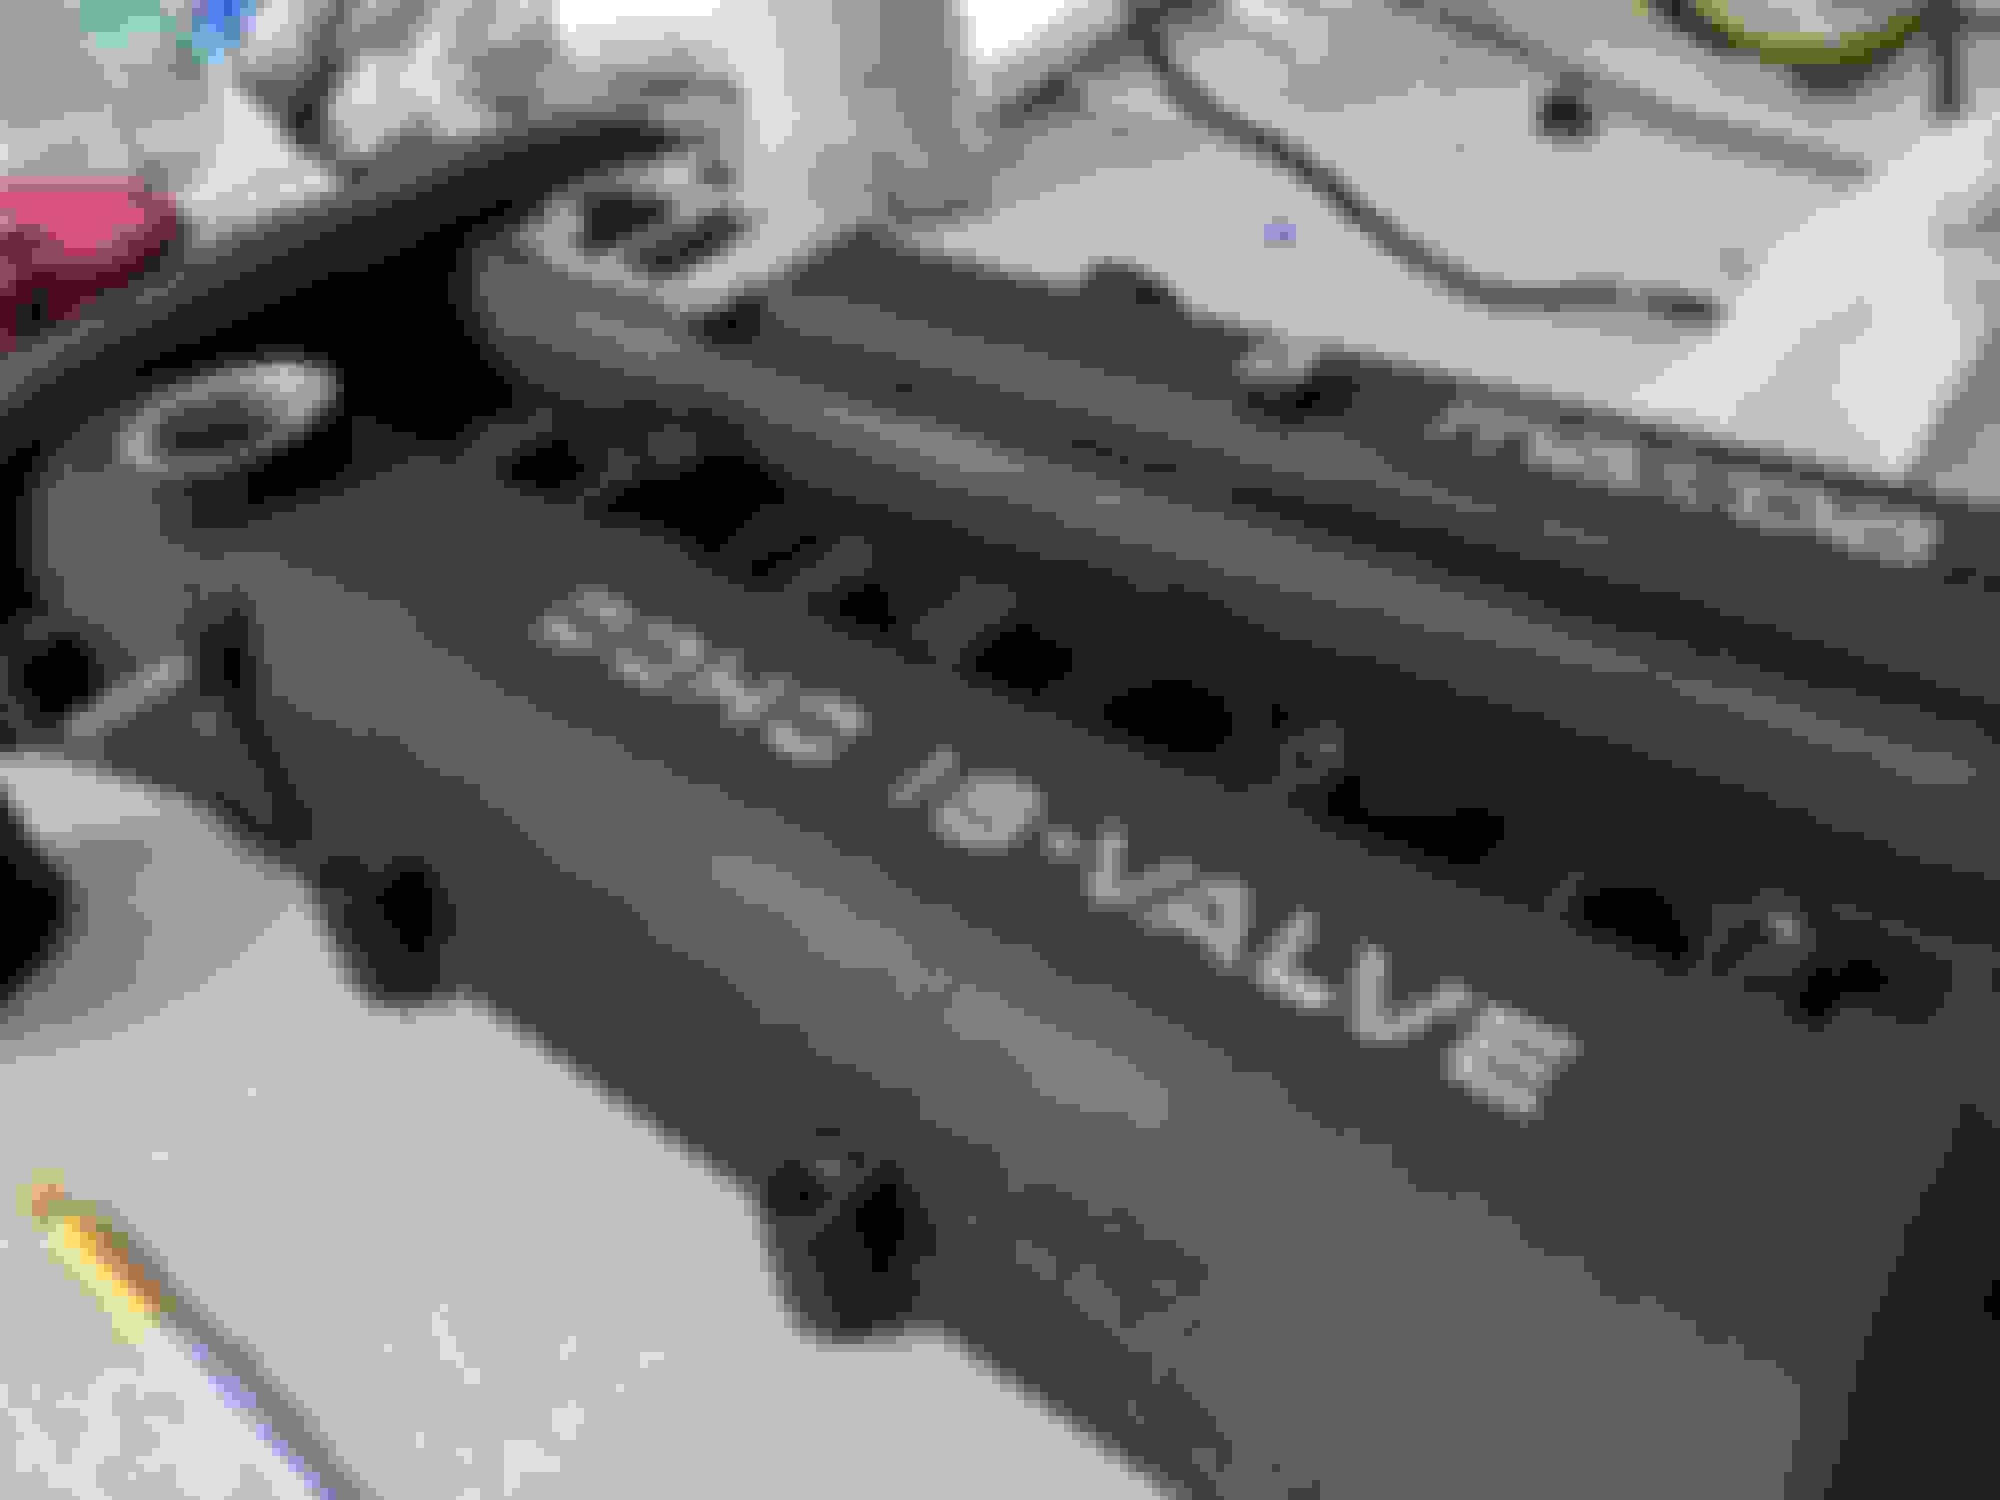
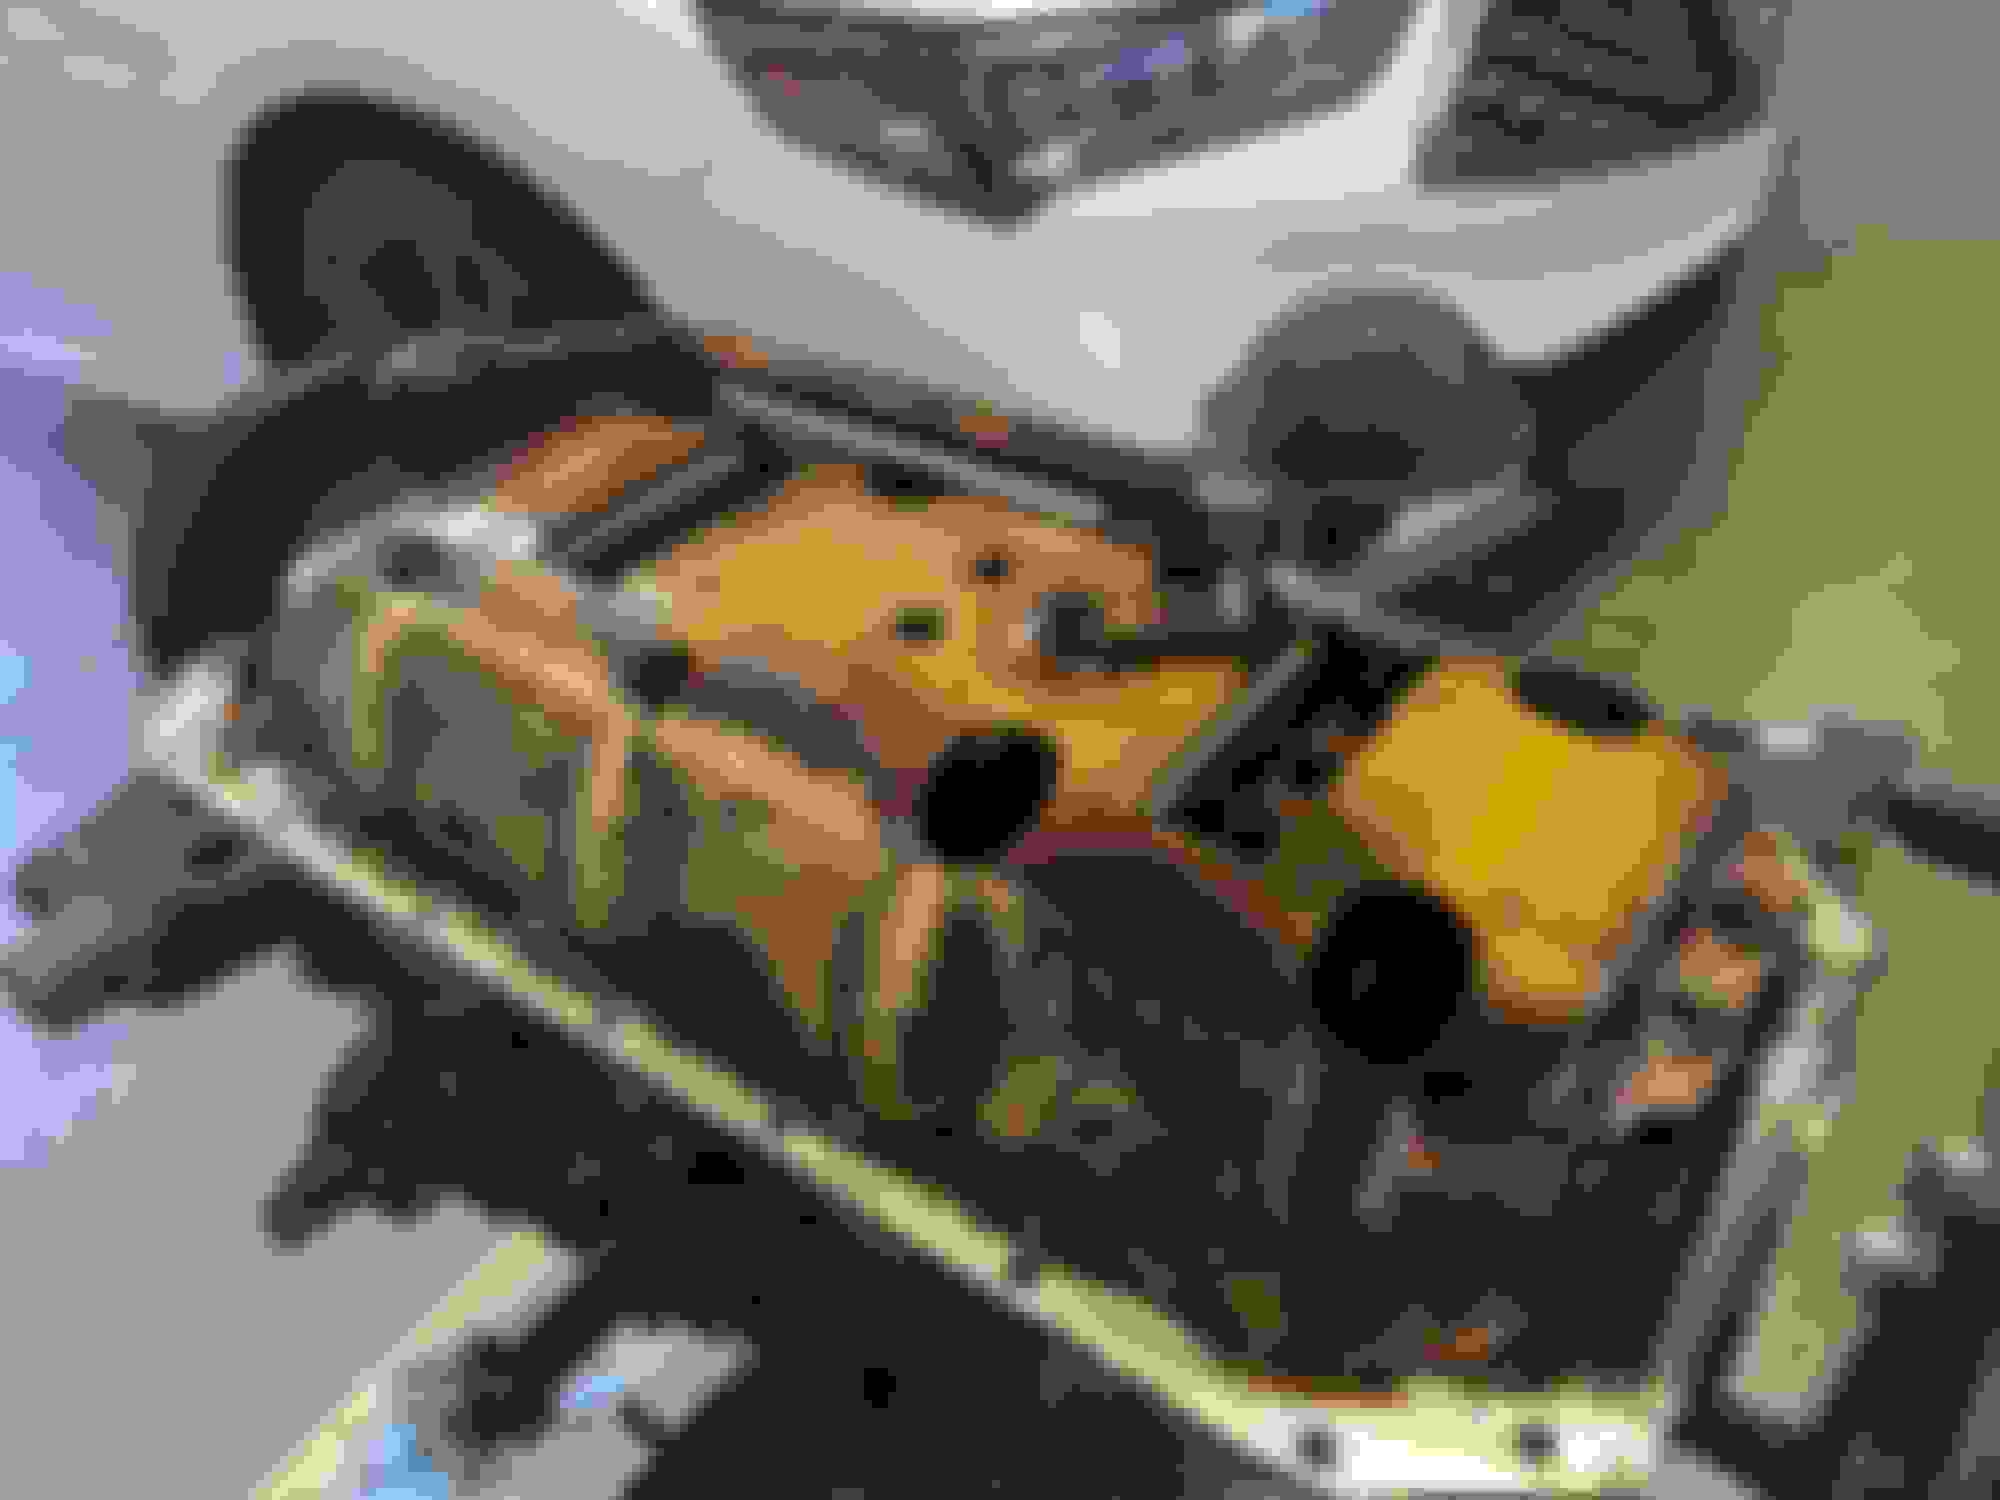
First post will just show what I got off the truck. I was concerned. It's "greasy, Julian". Things didn't get any better once I cracked it open.
Lookin' pretty scrungy, for 70-something K. Is that miles or kilometers? Either way, oof. Huh, some cam lobe pattern wear. Apparently this is normal. Look at that nasty oil build up and varnish though... ******' hell, gross. Varnish, yay.
So, I wasn't impressed. But it's in one piece. Decided to leakdown test it, and was pleasantly surprised with no major leaks, in the acceptable range, with a little bit of observed leakage on the intake side. Exhaust side seemed to not make any noise.
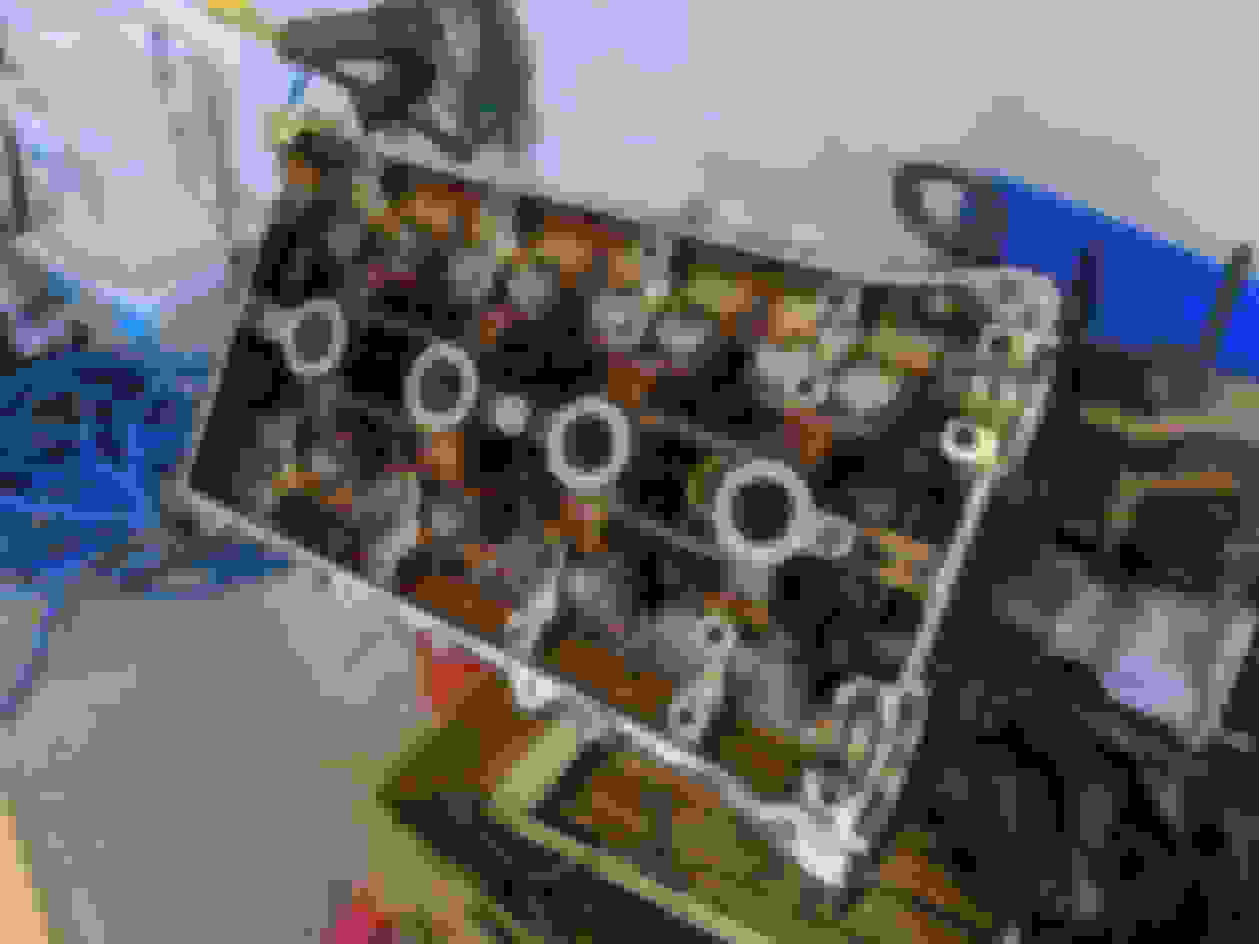
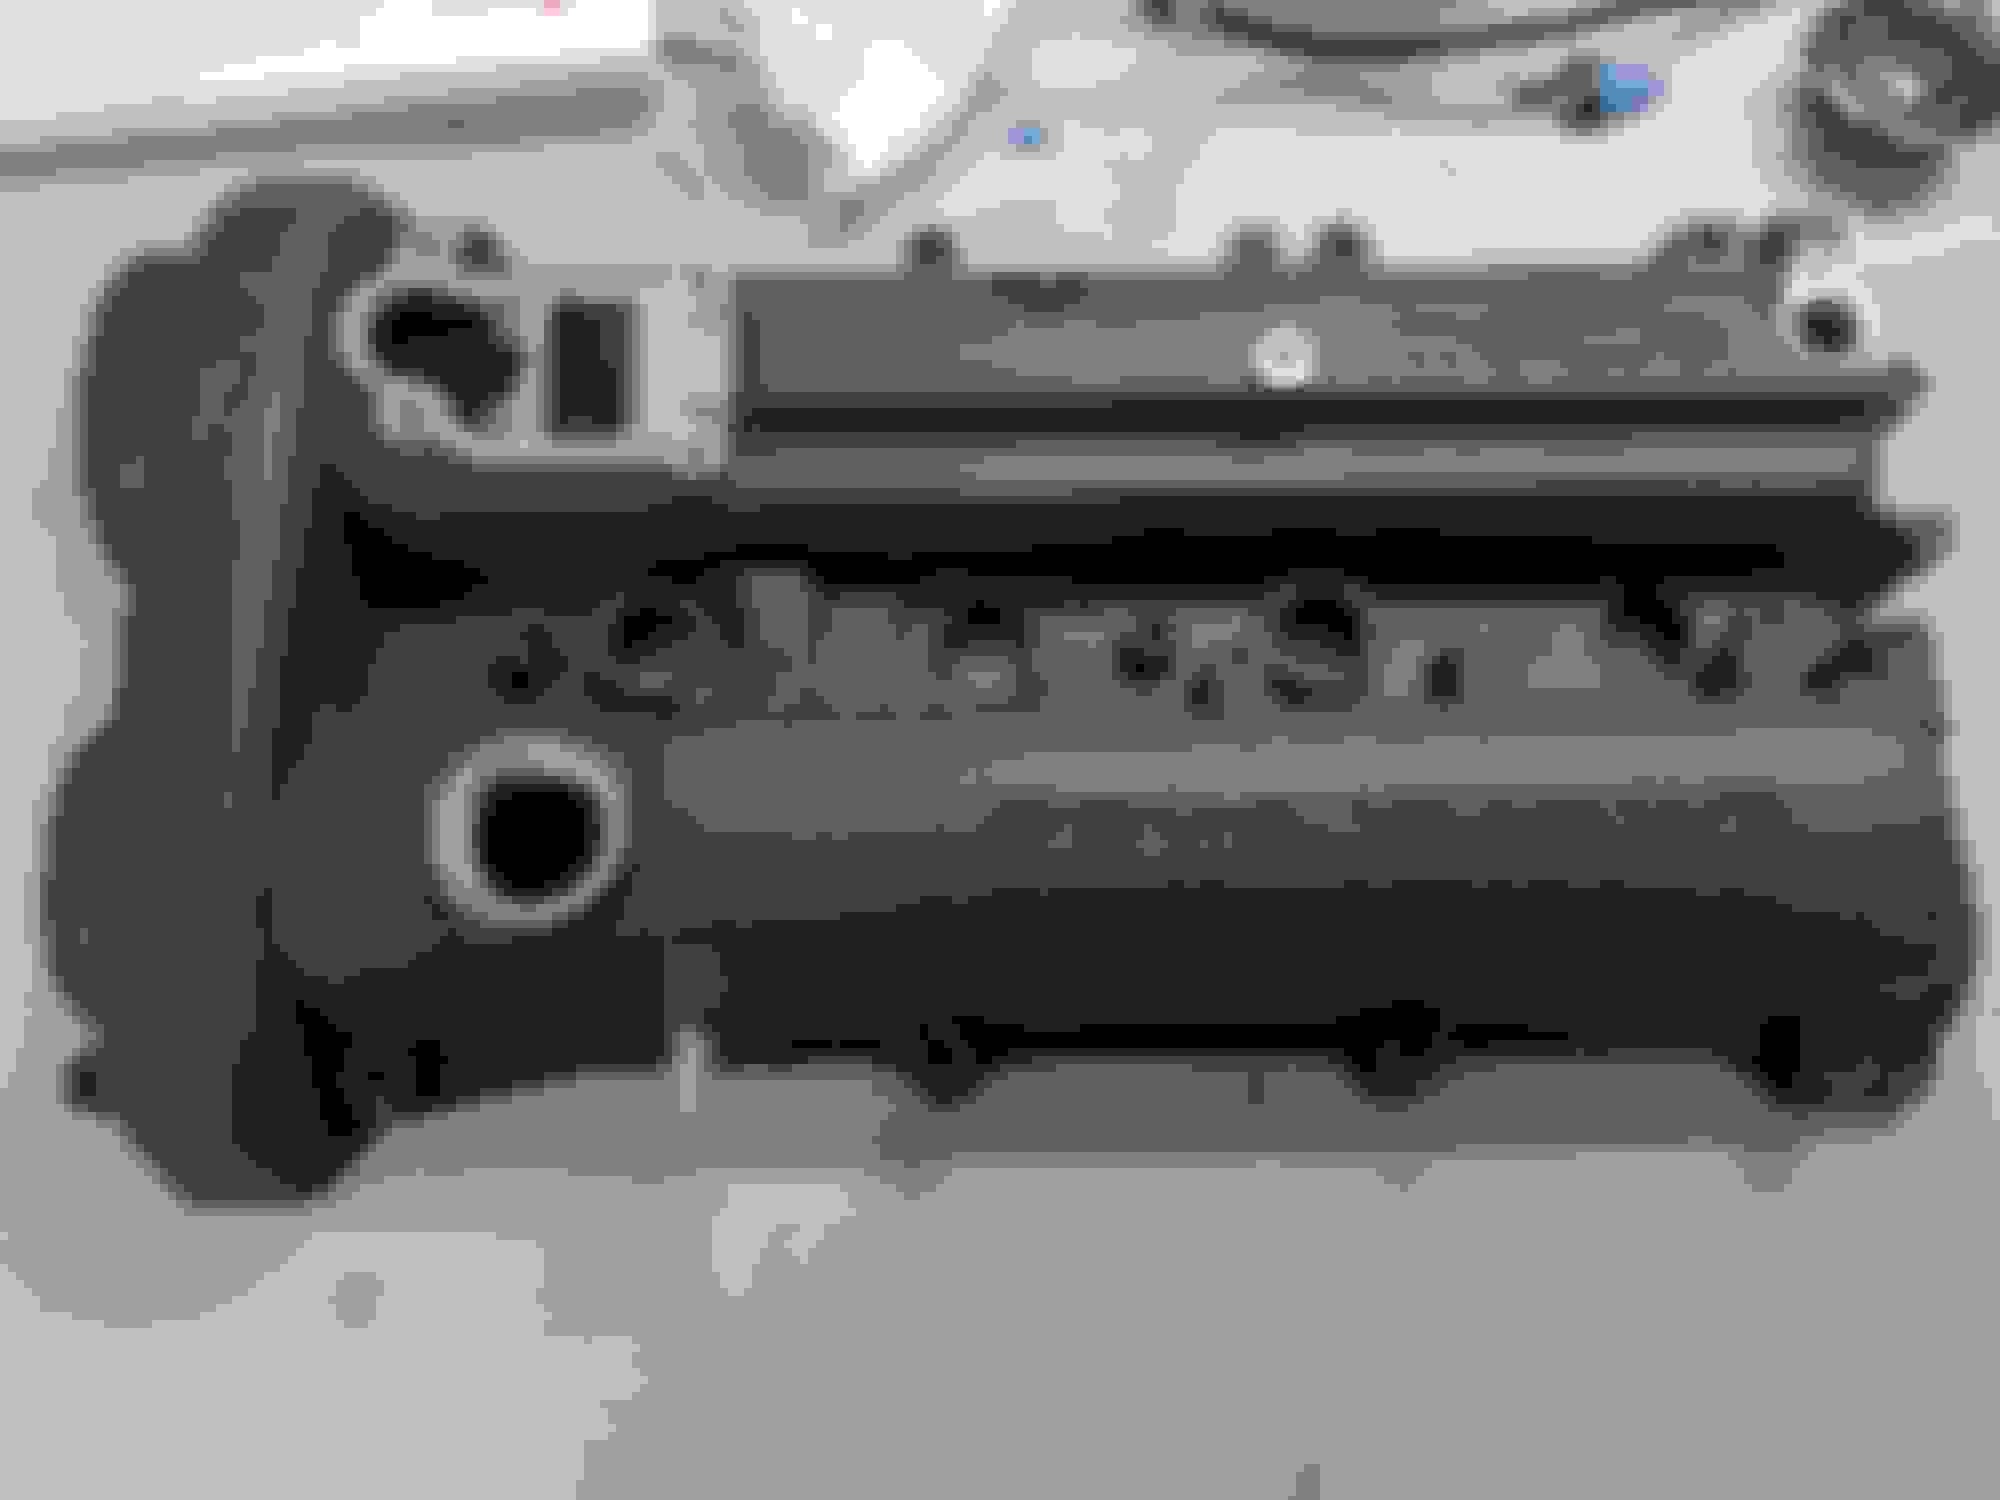
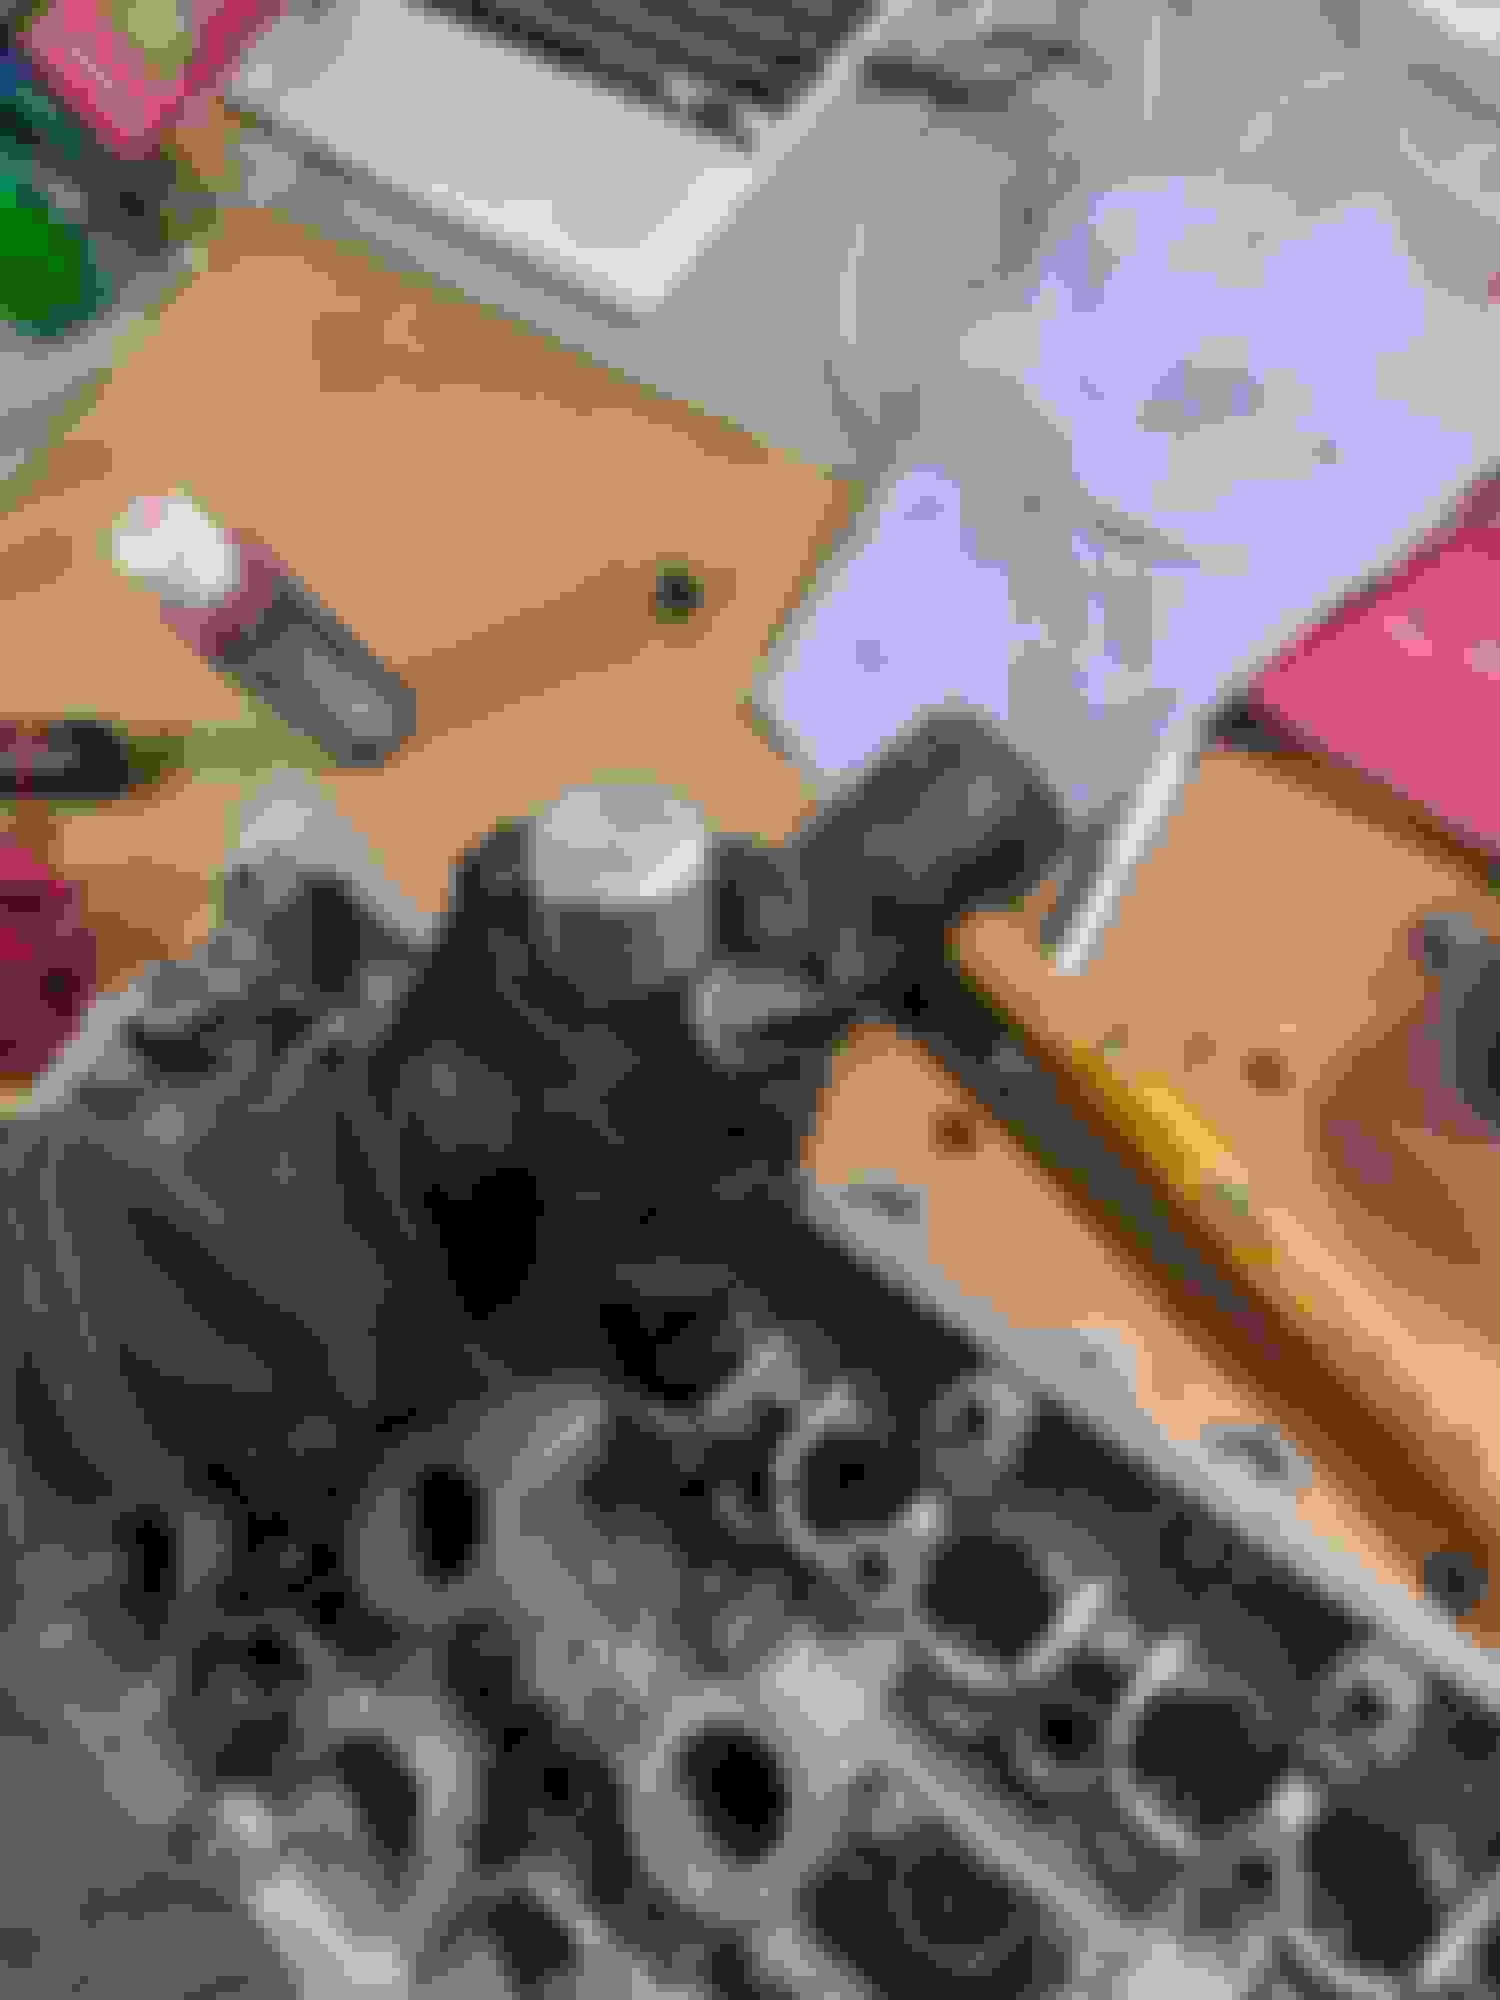
In my head, I've decided that I may be able to get away with no machine work, at least on the top end, so far. First stop, I'd like to just disassemble the head, observe if there's anything that reeks of "no go", get the lash set right, new valve stems, and clean it up. Here's some of what I did/bought:
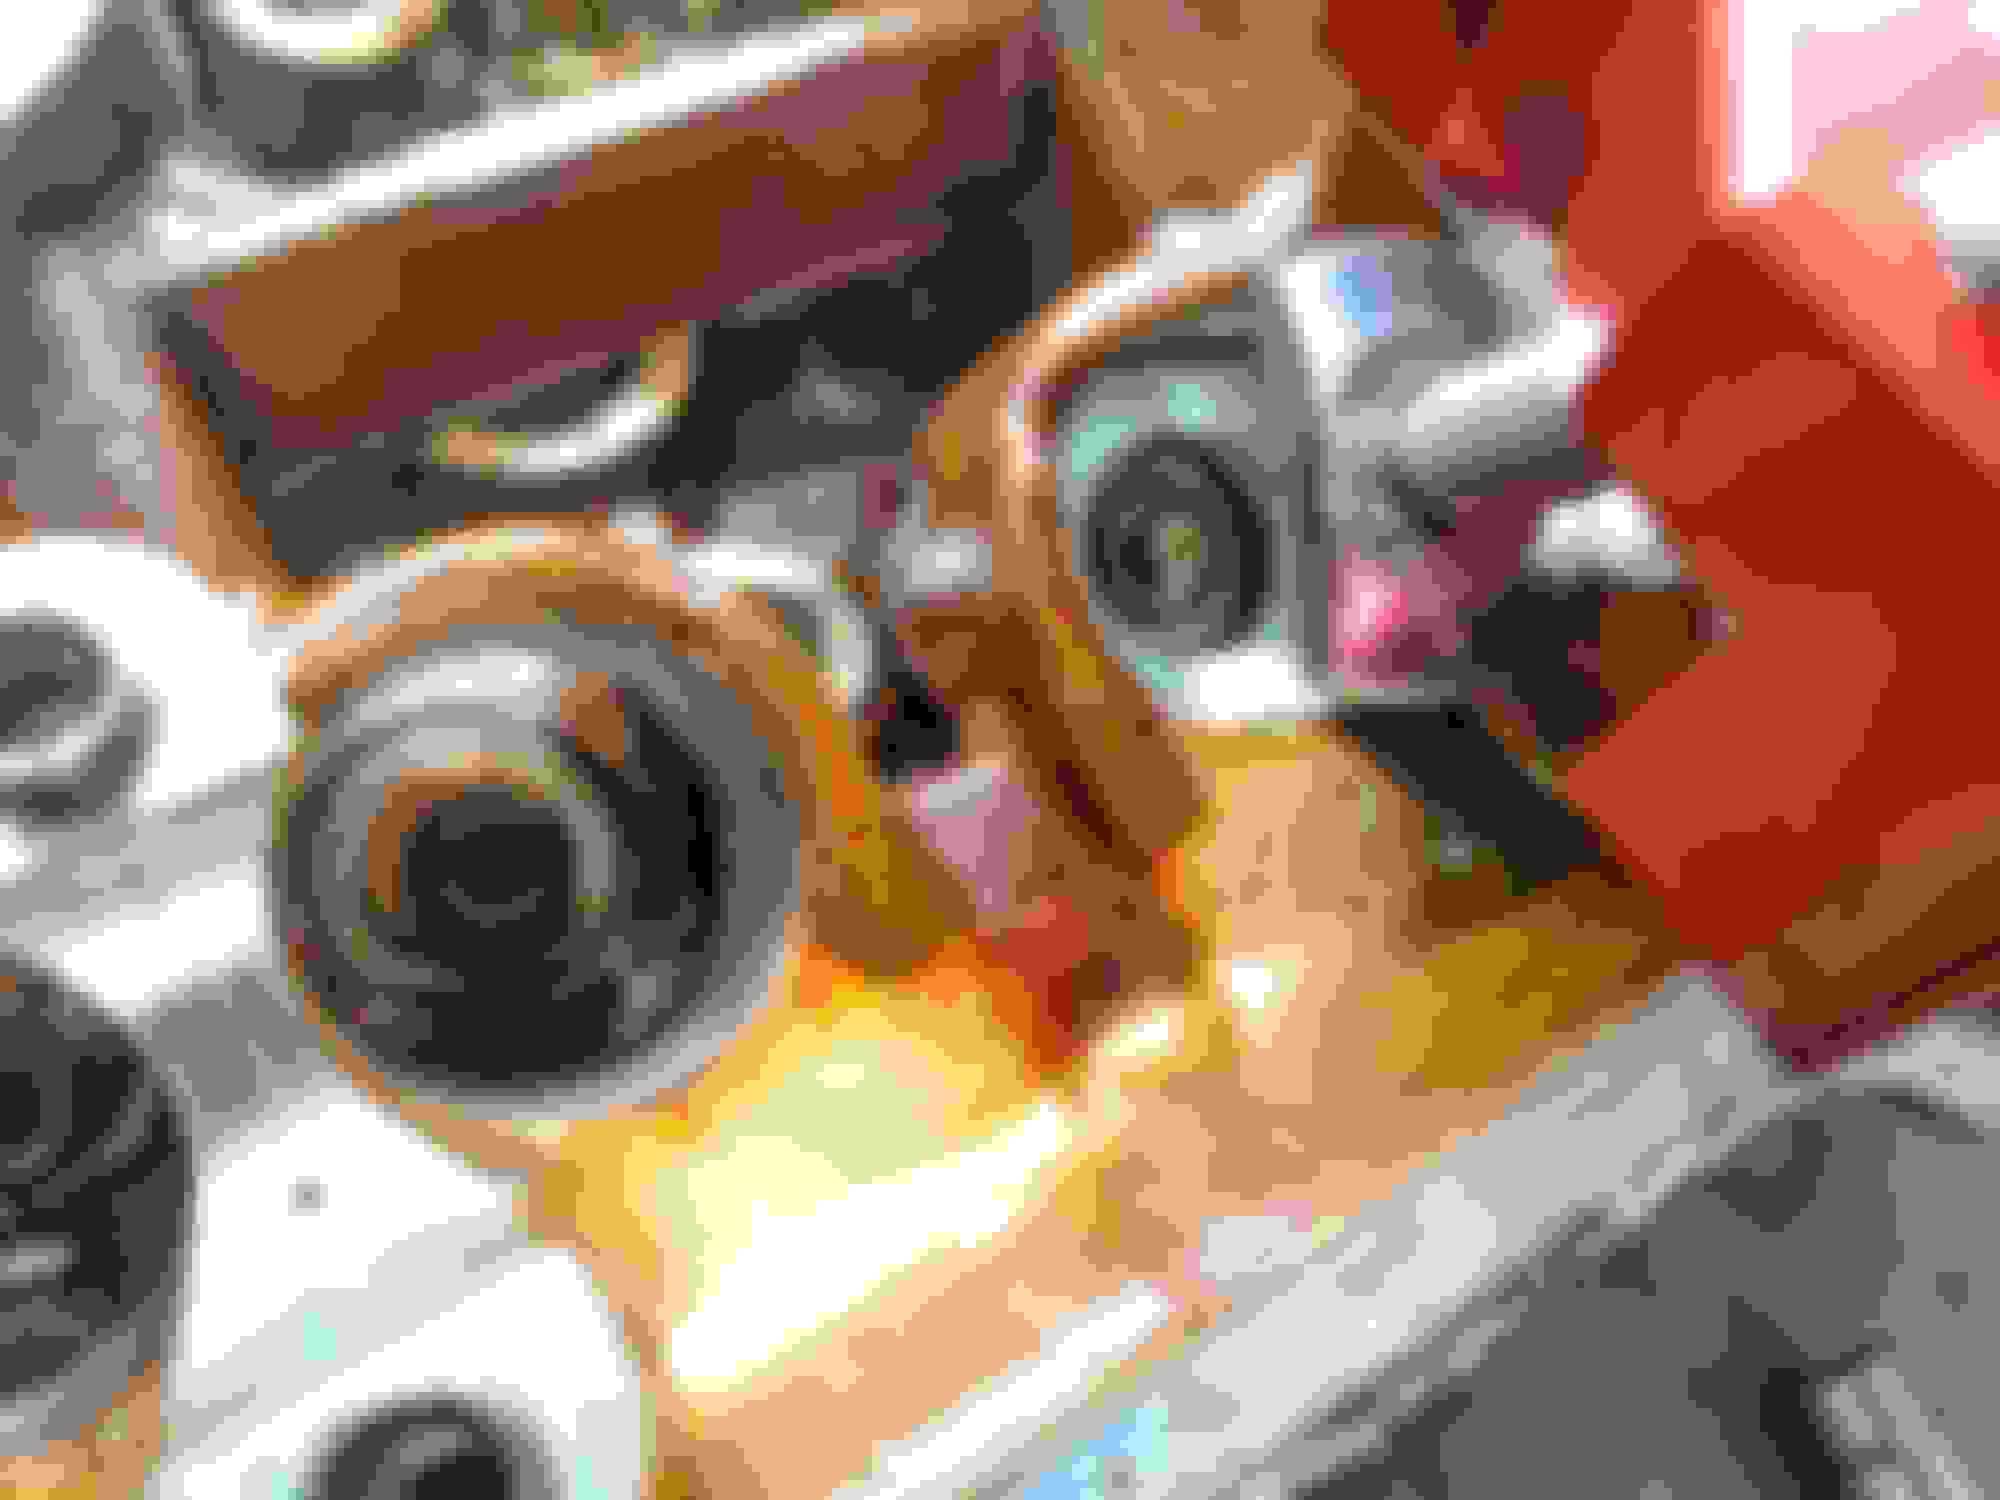
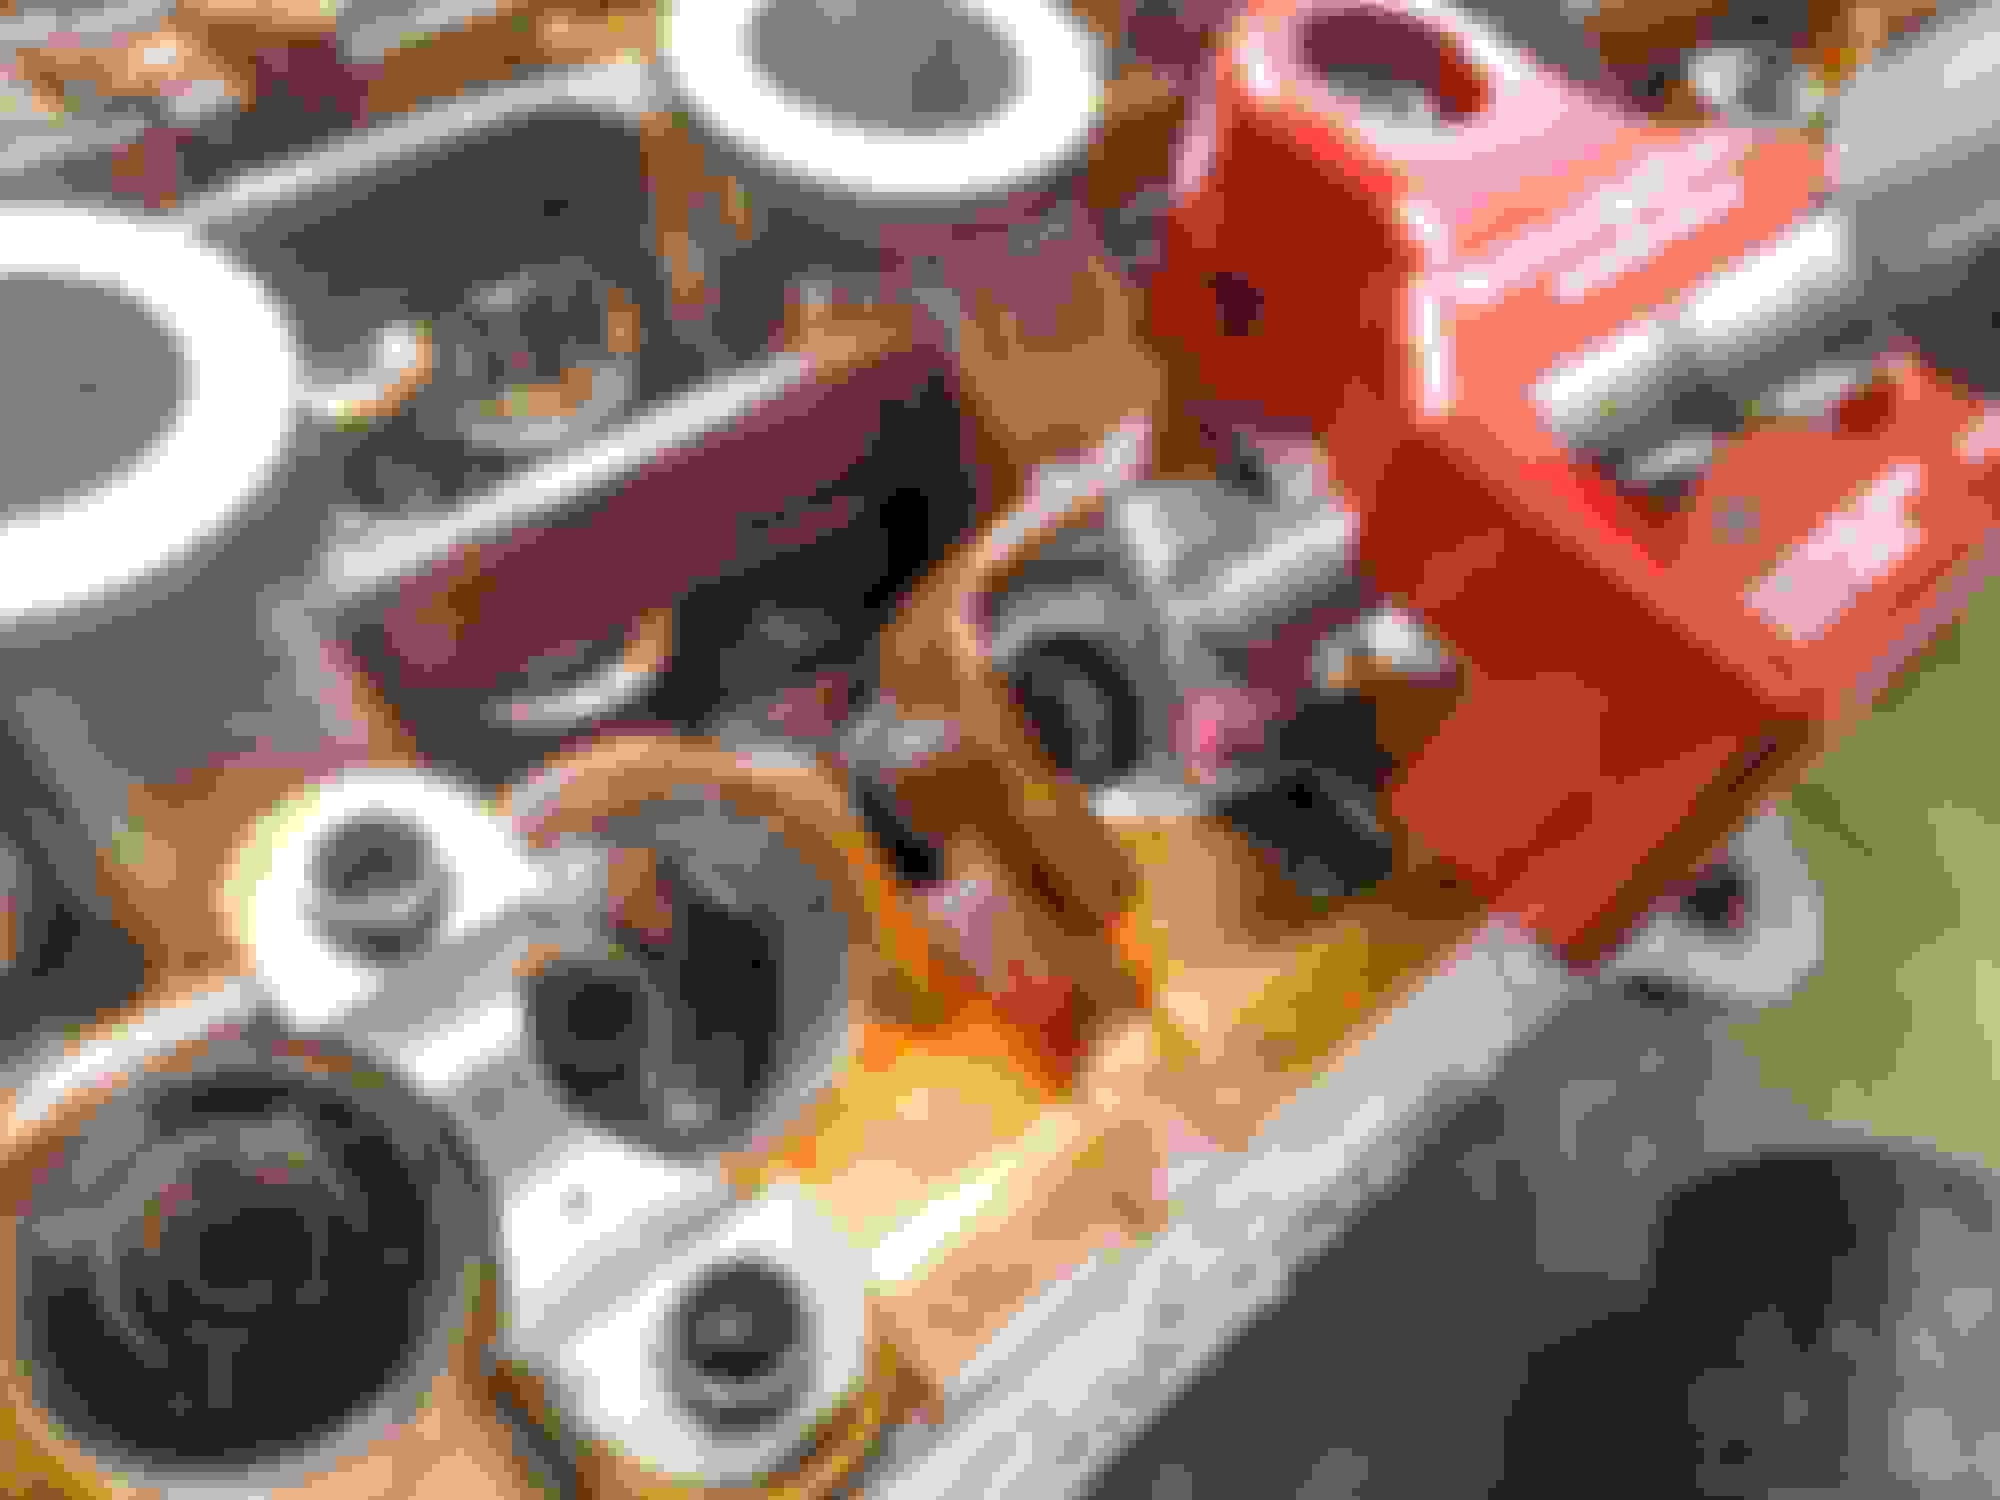
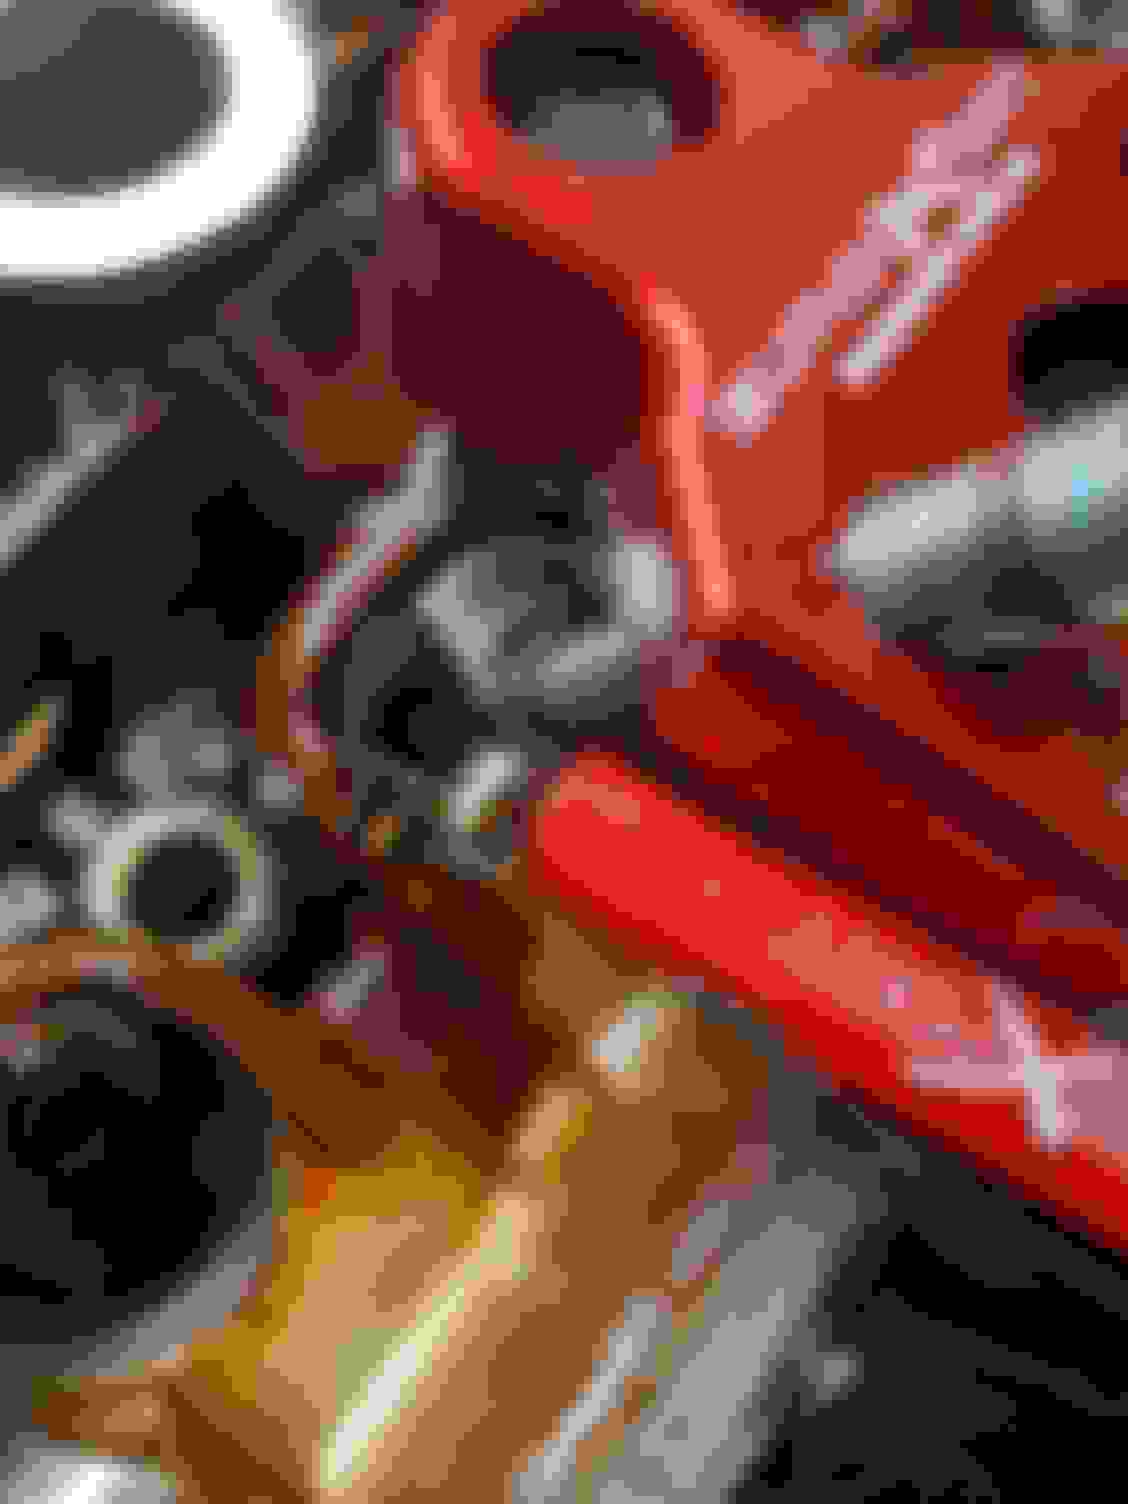
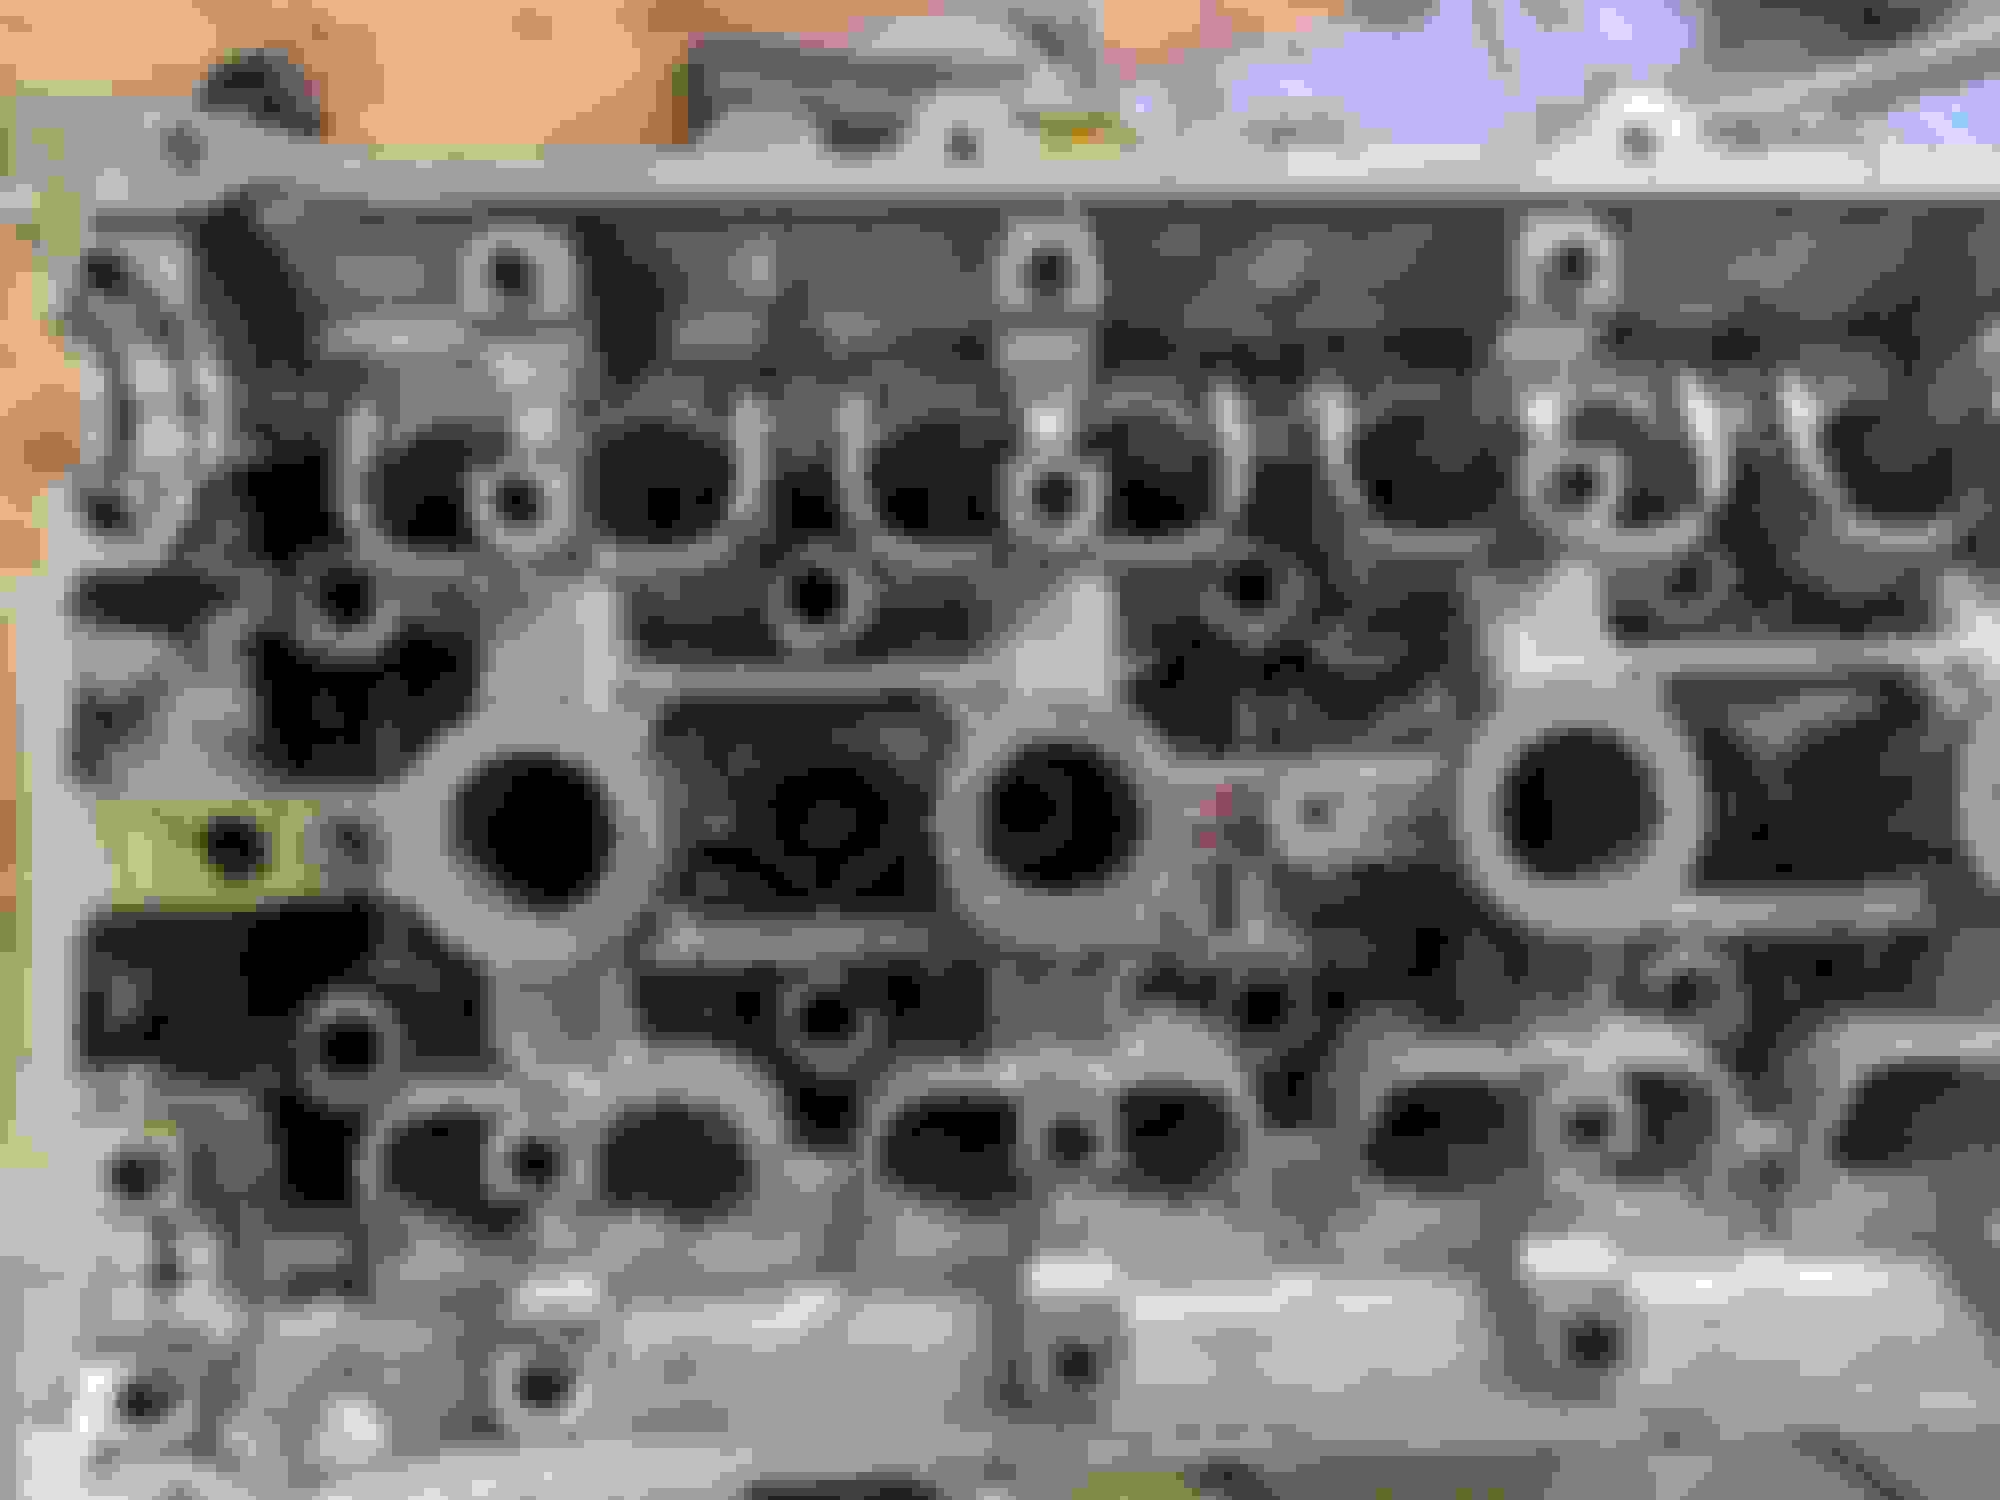
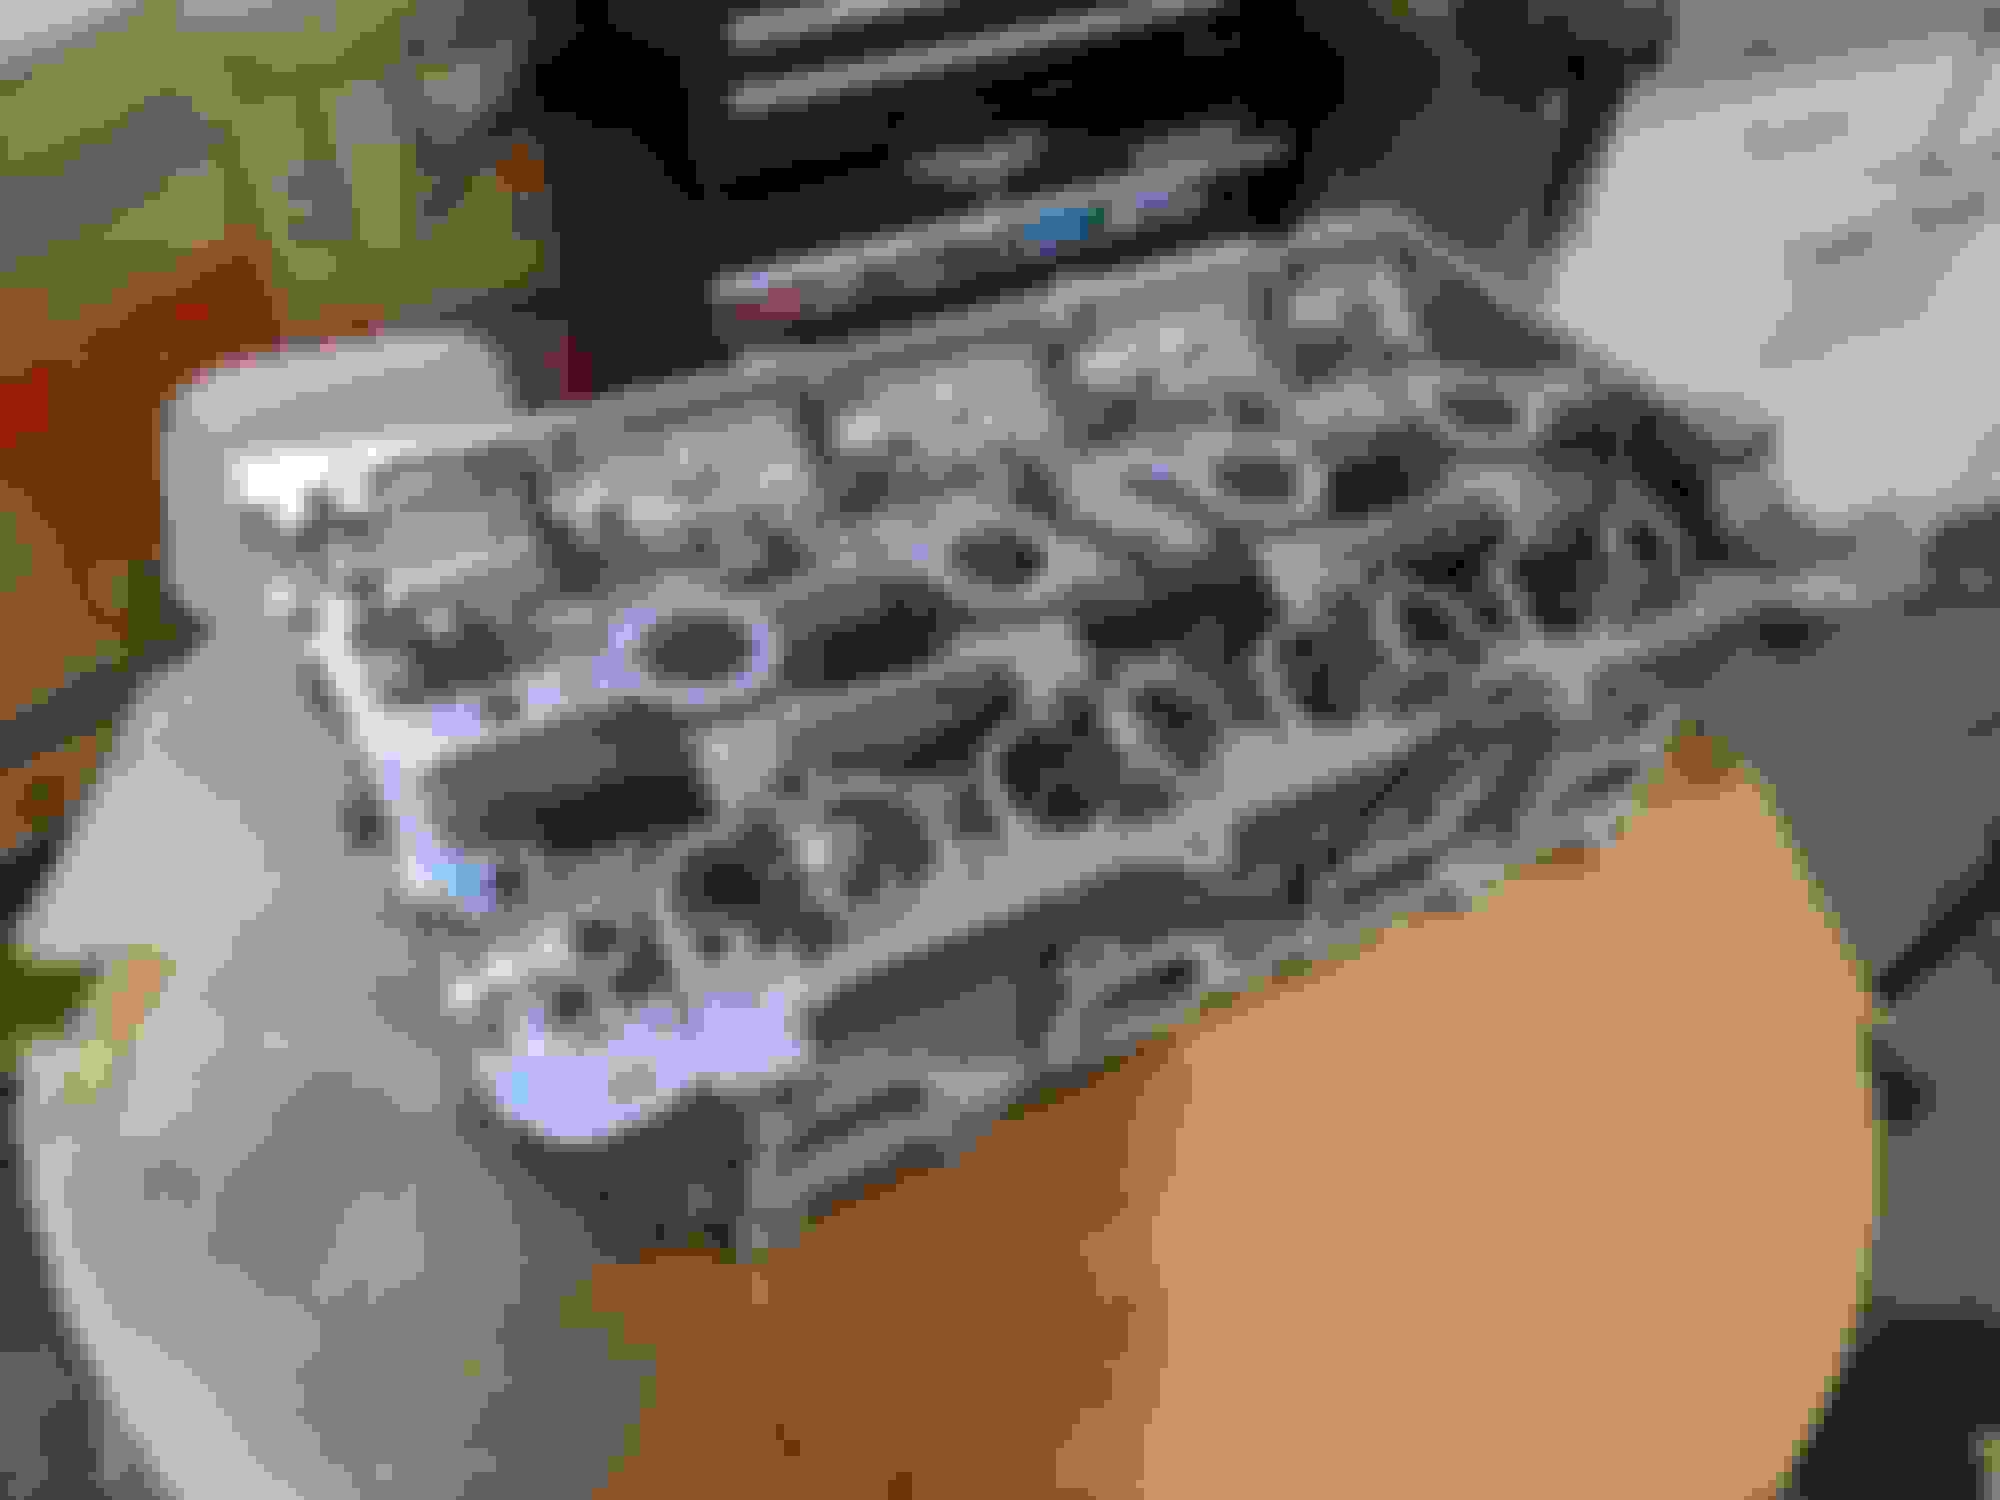
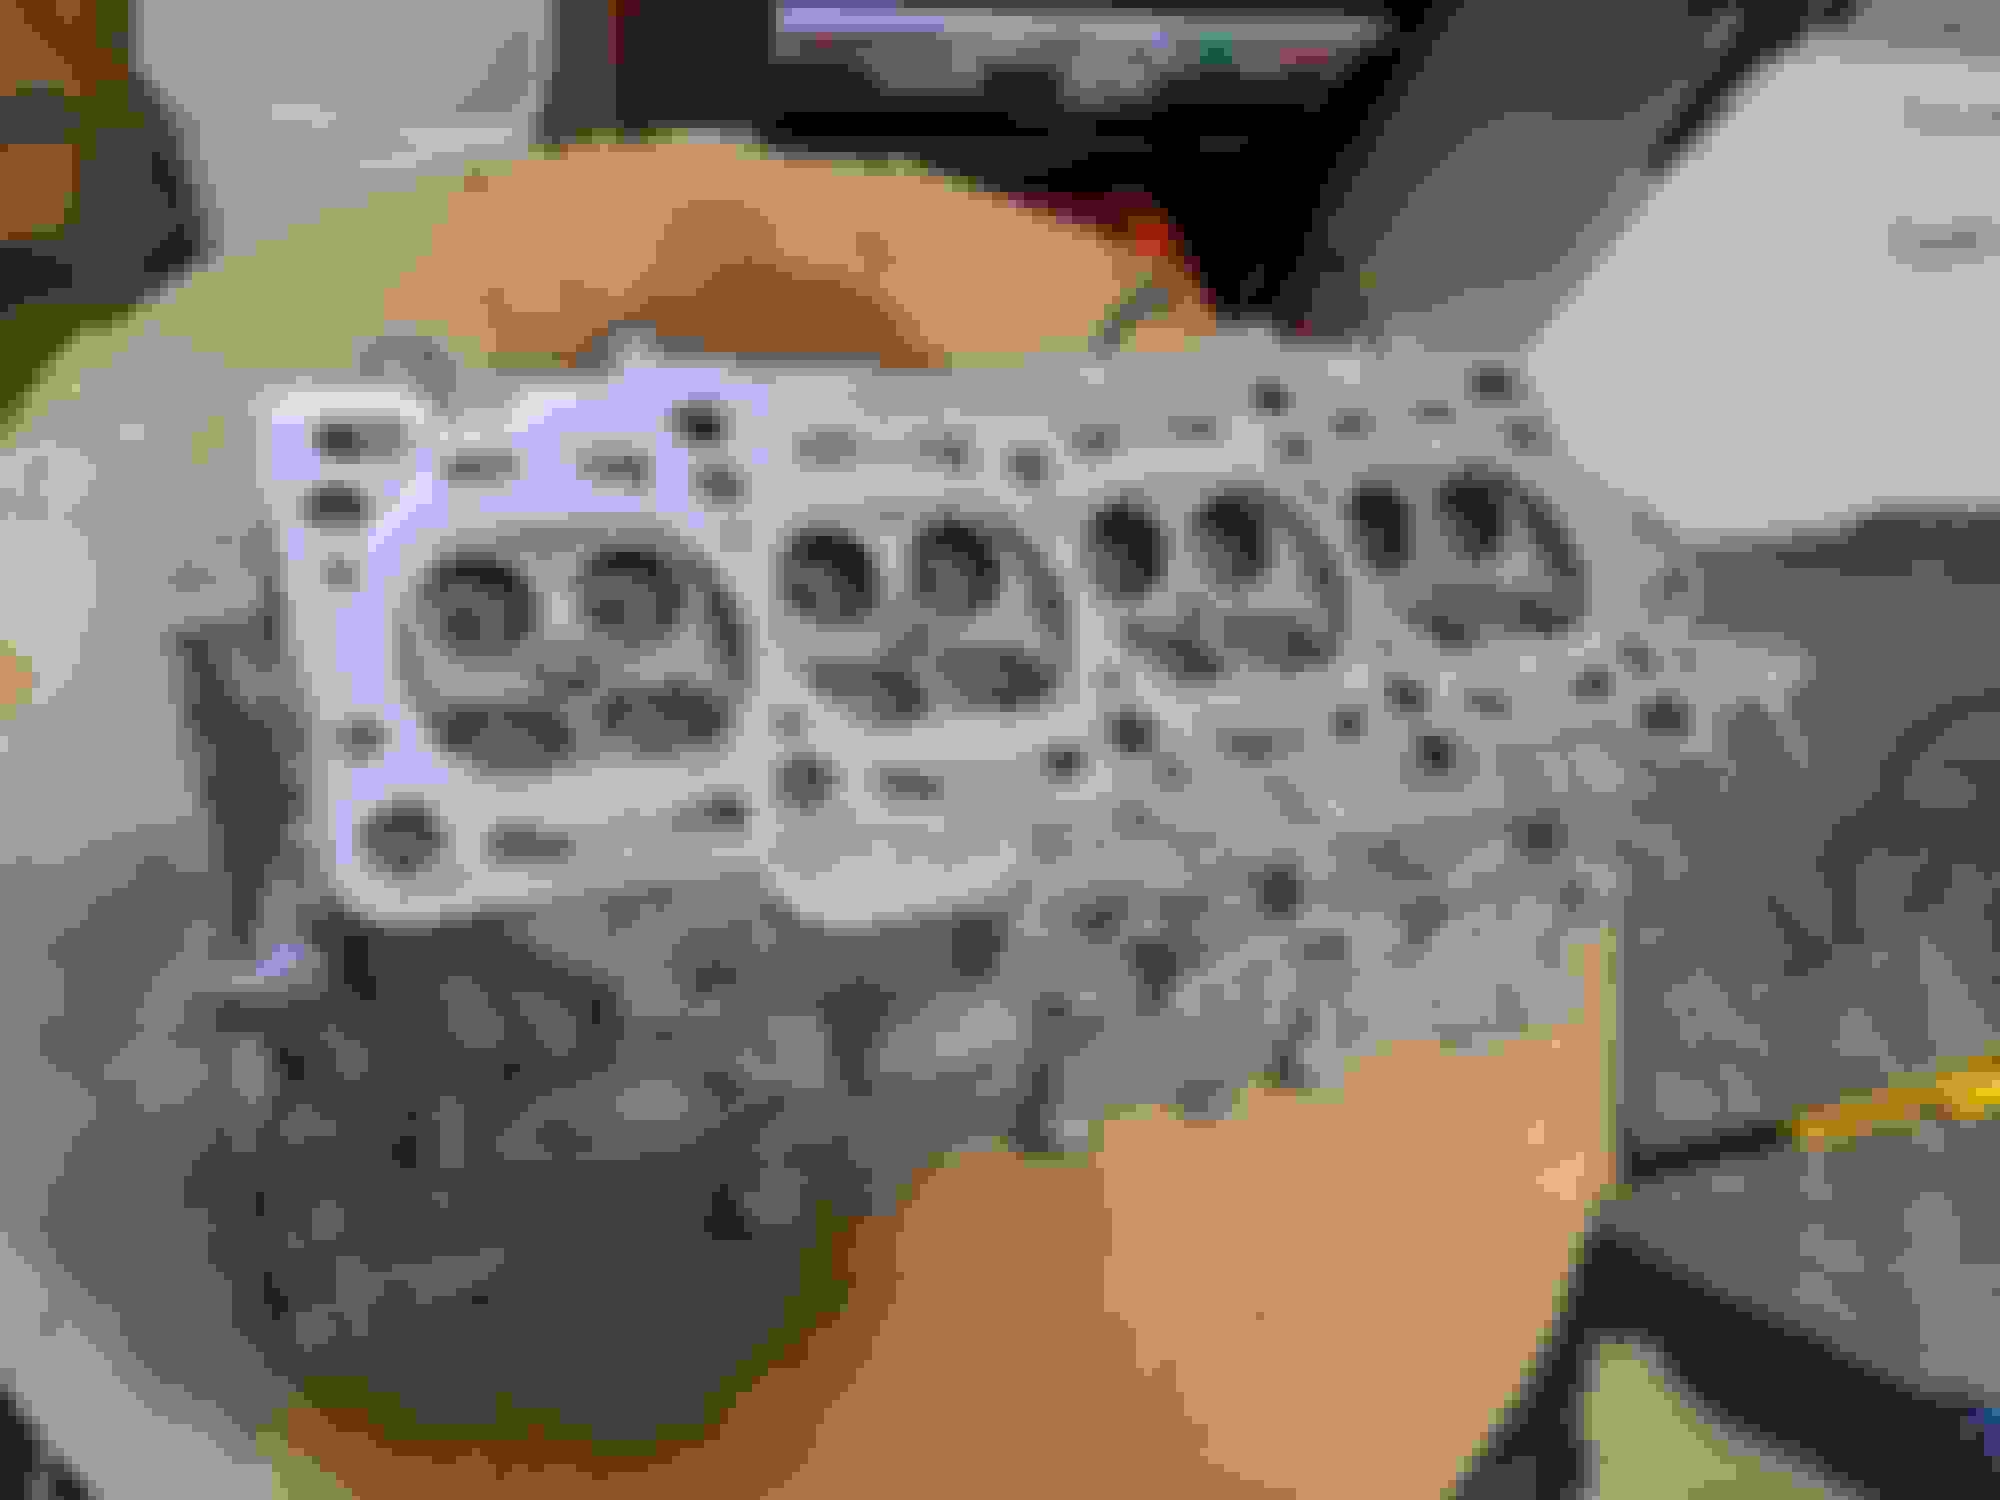
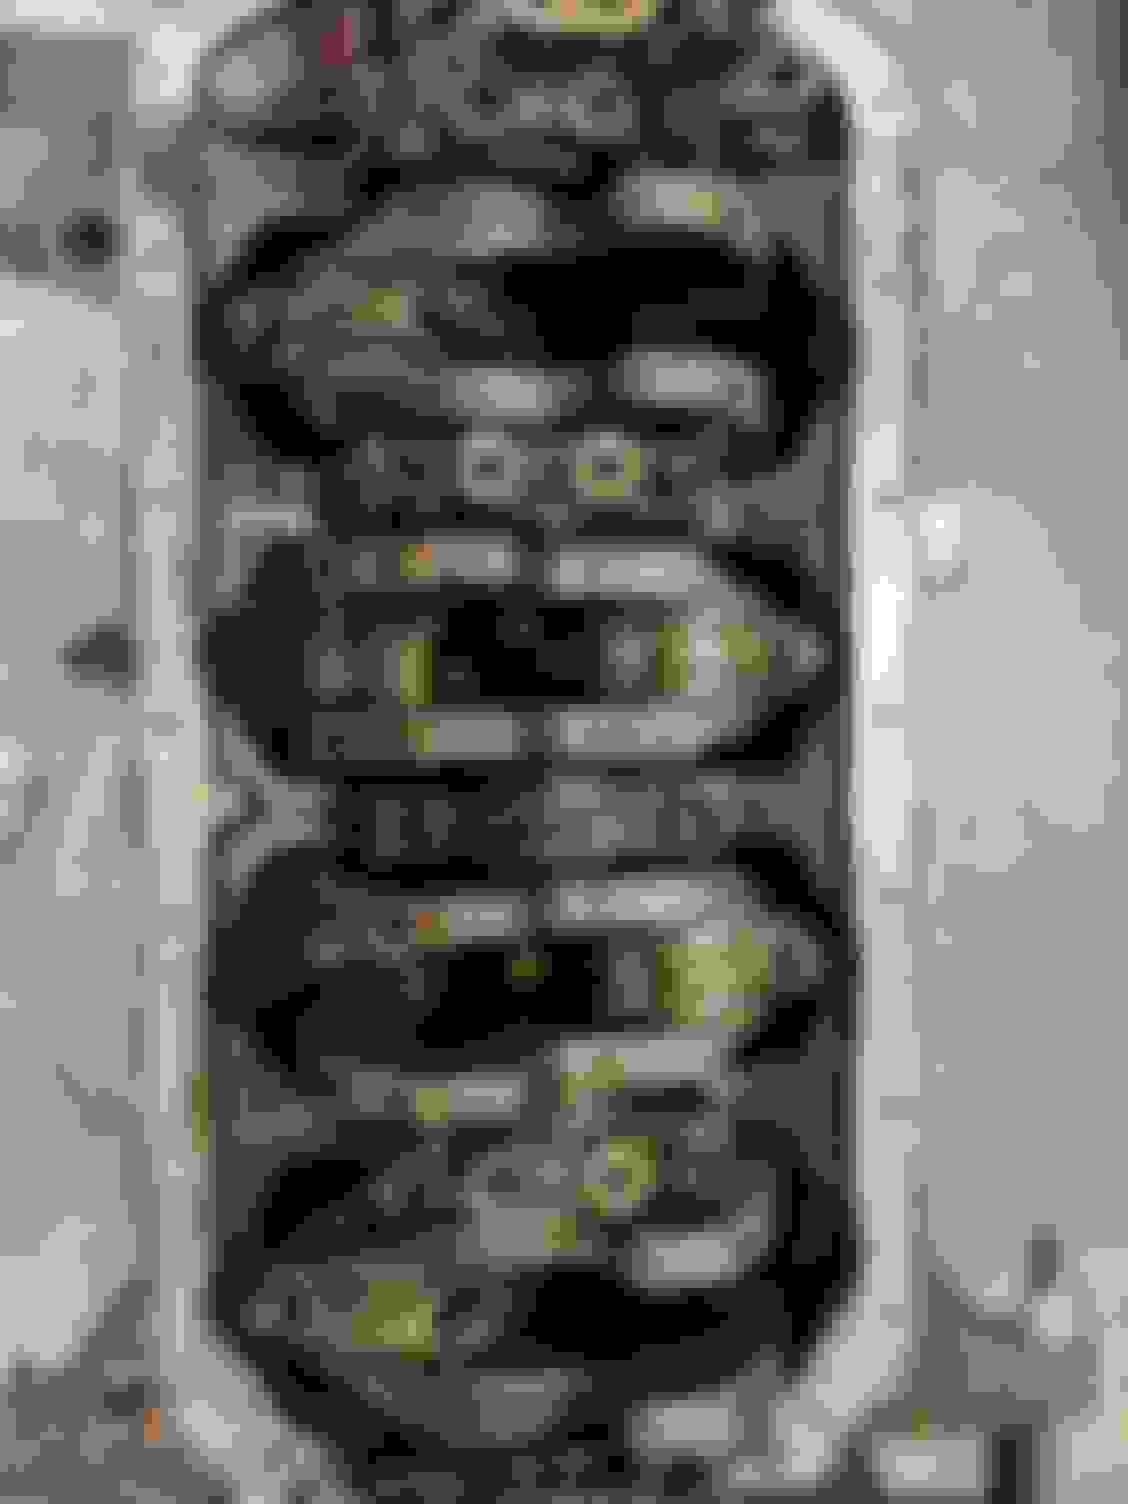
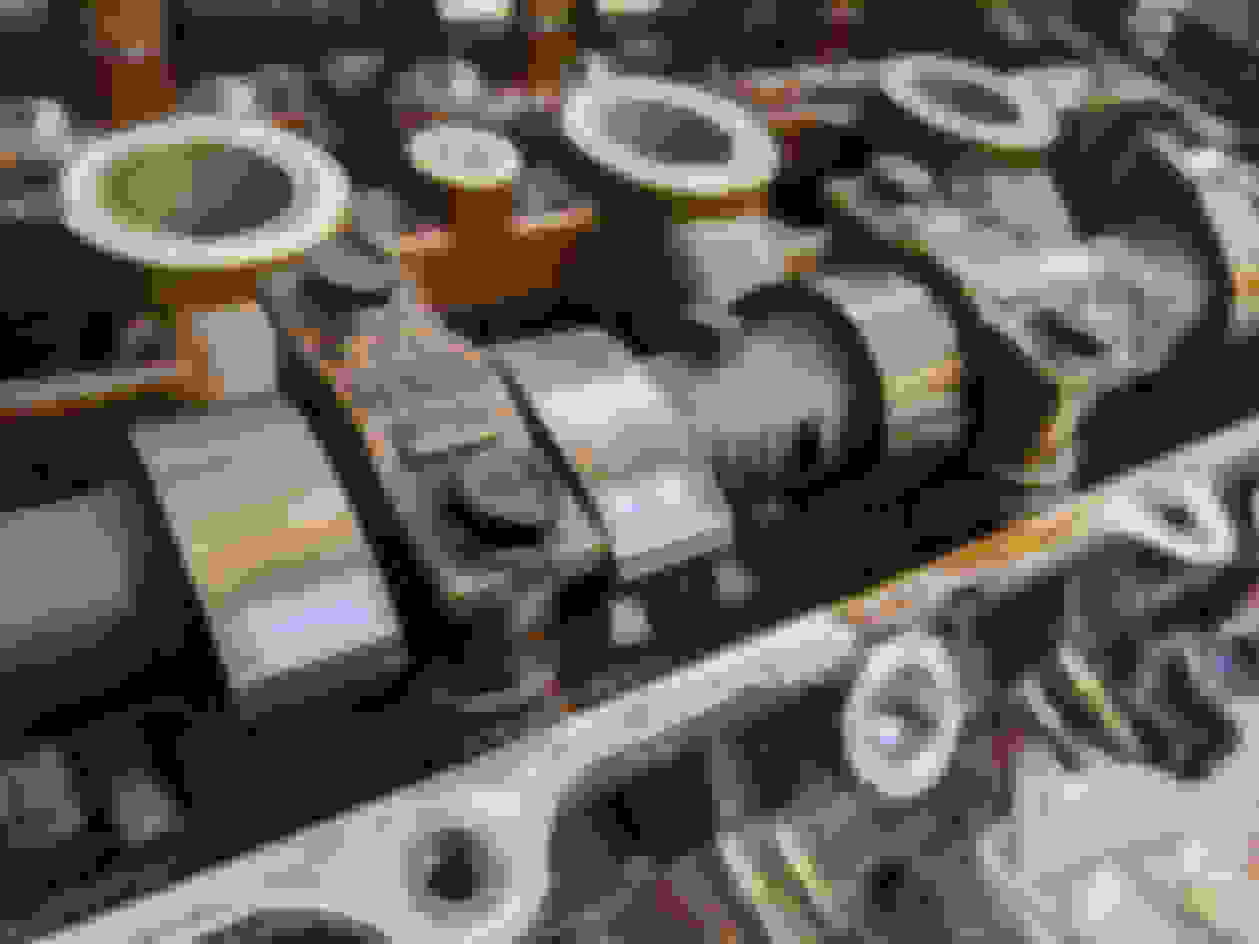
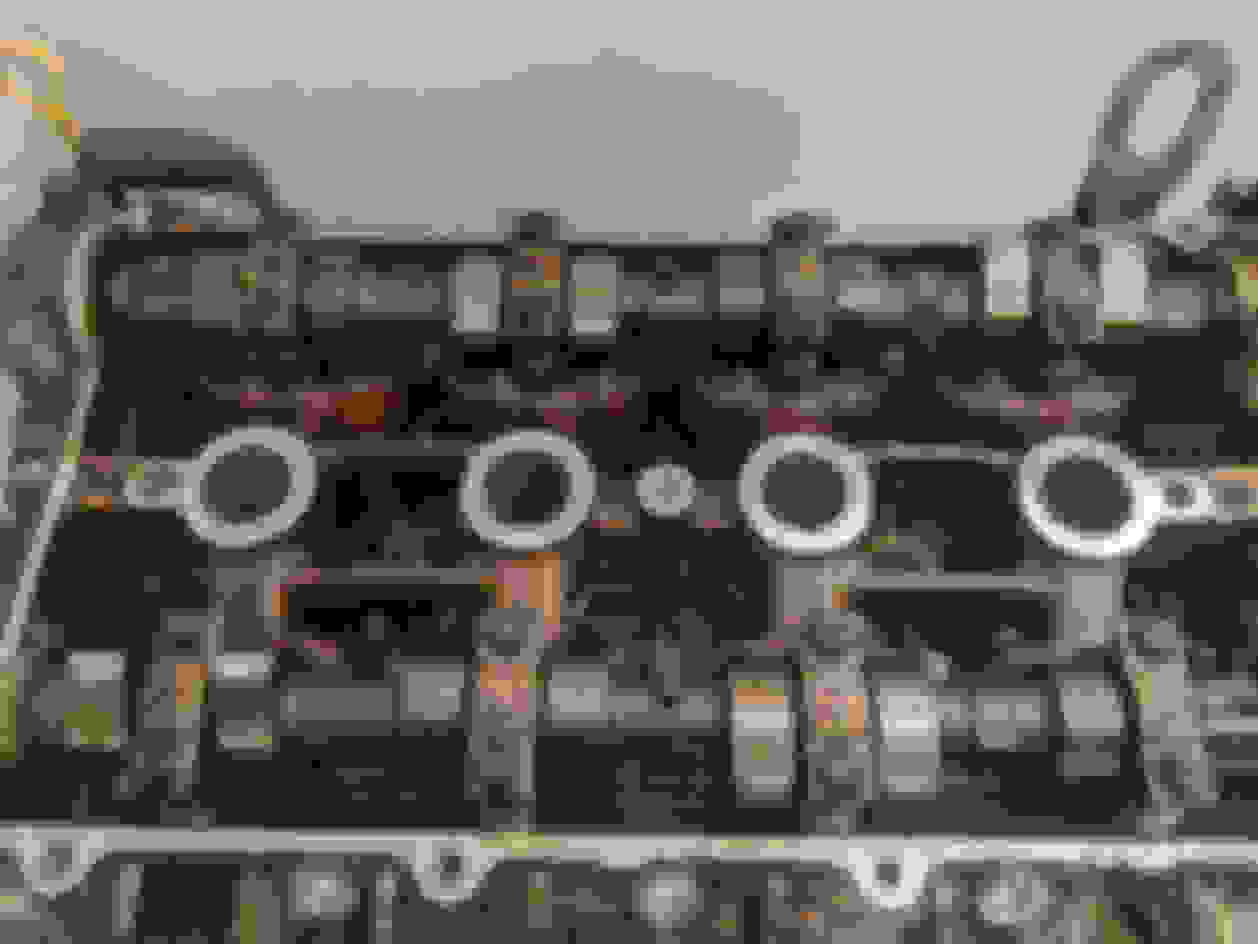
Doesn't seem to be any major red flags in the cam caps/bearings Looks pretty normal here Pretty normal here too. Not really visible, but I can say the crosshatching looks good, and only a couple of minor instances of vertical scoring. Coolant passages look like ***, though. Reminding myself I need a 99 head gasket... Learning how to read the micrometer, ignore my mistakes. I was able to re-arrange the intake side with no new shims, but ended up buying for the exhaust side. Testing out if I can de-varnish. Exhaust side cam caps soaked for an hour in brake cleaner, with no real improvement. Soaked the intake ones in Simple Green for 10 minutes. Intake side disassembled and prepping for some cleanup.
Finished up shimming the exhaust side and re-measuring
Removed valve seals with handy tool, highly recommended
Removed valvetrain from exhaust side, and took pics
Tried cleaning up head with Simple Green
Hopefully the pics and notes below may help someone in the future
Nice and narrow purpose-built pliers. Just grip, twist, yank. Old vs new valve seals. I had a hard time visualizing valvetrain components/process before I started. Maybe the following will help someone else. The EuroXport valve tool presses down on the outside of the retainer (looks like a cymbal). Tool installed using cam cap bolts. Don't need much if any torque. Slowly add pressure. Keepers are still in place. Keepers loose. I've had to tap the top of the tool with a screwdriver/mallet to free them up. Collect keepers with magnet. You might need to use the small flat screwdriver end to pry a bit. Collect the rest of your prizes. Don't forget the valve seat -- total of three components. Making a mess. Hot water, about 5gal and 2.5 gal of Simple Green. Tight fit. After 30 minutes and a hose down. Not perfect, but a lot better. Unsure how I feel about it. Hit it all over with WD40 for the time being. Trying to clean the baffles. They're disgusting. Overnight with 100% Simple Green seemed to clean the left half, but seems to etch the surface, as I somewhat expected.
Yeah I'll likely give them a ring. A little bit of Coronaboredom and wishful thinking made me give it a shot.
I completely understand the wishful thinking. I had that once. Then I paid something like $20-$40 to have a machine shop hot tank a head. Never again did I spend any of my own time attempting to clean them.
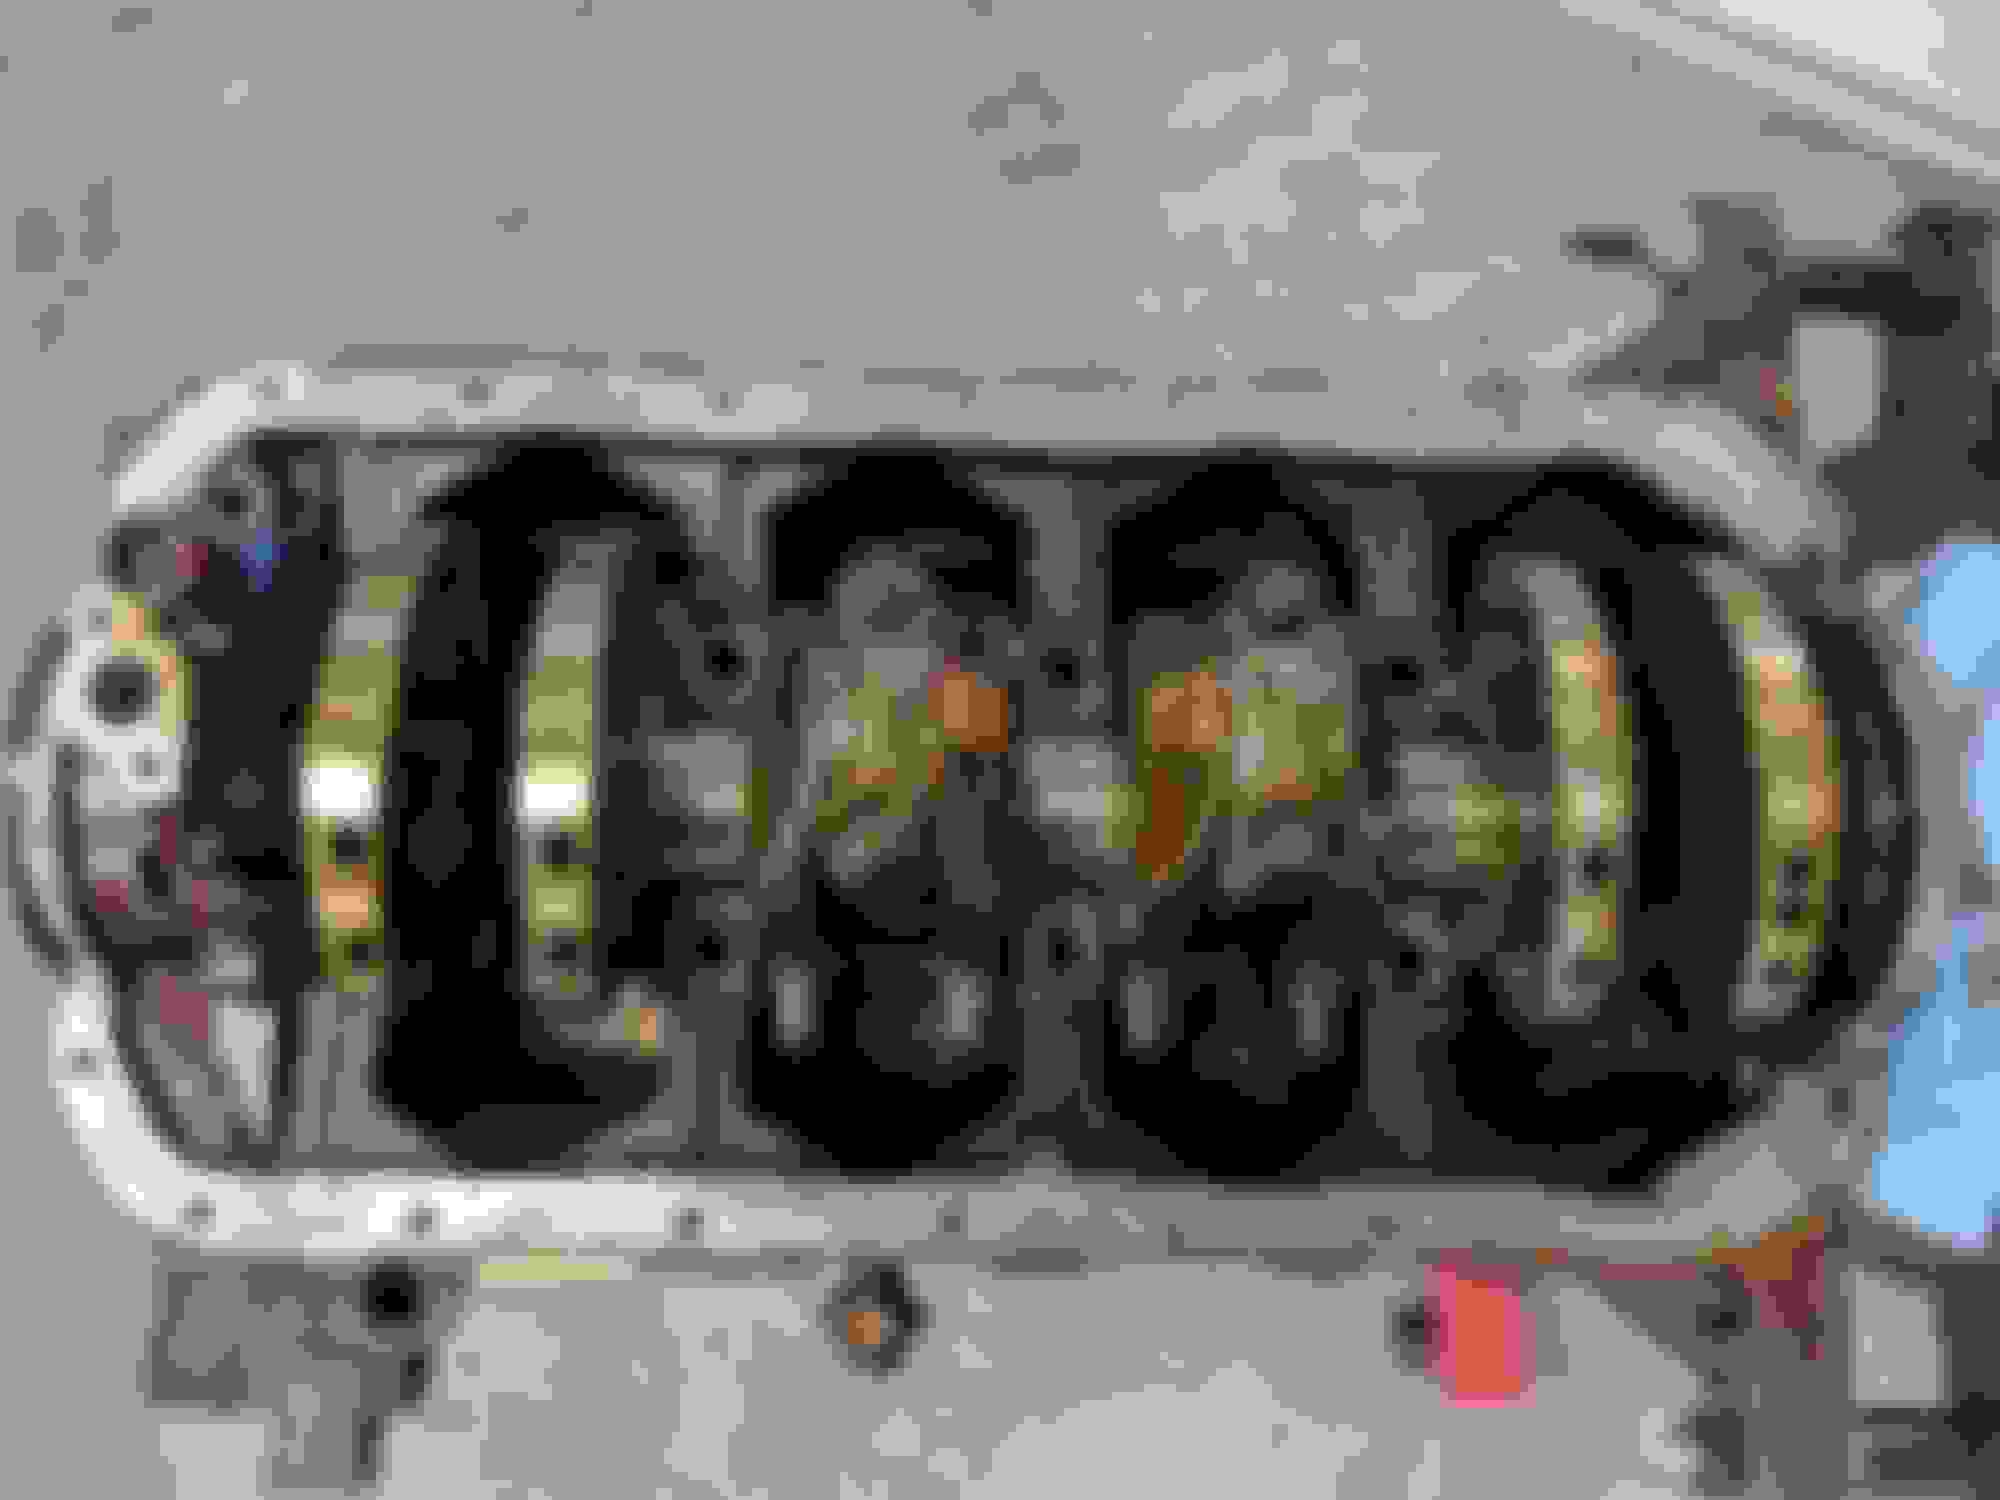
Since I'm going to have the head cleaned, didn't re-assemble today. Did get some good results with VHT Wrinkle Black that I had left over though... Heat gun on high was the secret. After three really heavy coats, it looked glossy, but after about 20 minutes worth of heat gun, the paint began to flash and got the results you see here.
Thinking about using a pipet to drop a contrasting color into the recessed letters. I've only got high temp grey in pint on the shelf, unless I decide to purchase something saucier.
That looks good. About a decade ago when I did one of mine. I ended up painting the letters first. Then filled the letters in with grease. Then did the wrinkle coat. It came out looking great.
hit the head with a degreaser, gently scrub with a plastic wheel cleaning brush, then pressure wash the caked oil off.
head is aluminum, nothing will rust
or like said above, have it hot tanked at a machine shop.
Originally Posted by Simple Green FAQ
...Therefore, contact times for unprotected or unpainted aluminum surfaces should be kept as brief as the job will allow - never for more than 10 minutes. Large cleaning jobs should be conducted in smaller-area stages to achieve lower contact time. Rinsing after cleaning should always be extremely thorough - paying special attention to flush out cracks and crevices to remove all Simple Green product residues. Unfinished, uncoated or unpainted aluminum cleaned with Simple Green products should receive some sort of protectant after cleaning to prevent oxidation.
I am not any sort of engineer, but I'm just trying to follow manufacturer instructions for the product used. Regardless, it got dropped off today.
I thought about painting the letters first, but was not confident in my ability to control wax/grease/masking material. Maybe the pipet/paint method won't work out and I'll ruin it anyway.
Dropped the head off for cleaning today. Quoted $70. Seems a little high.
Valve cover status: Fucked it up. Put silver spray paint in a cup and plopped it in with a pipette. No good. Lifted some of the VHT and had a capillary effect outside of the letters, like it creeped up somehow.
Now need to clean it up. Lovely. Saw some suggestions of candle wax for masking as well. I don't know that I could control grease to good effect...
Quick update. Looking forward to trying re-assembly this weekend! A hell of a lot better than it was. Eh, not perfect, but not terrible. Plenty of time to do something else if I feel like it.
So, good news, it's assembled. I'm not going to document the entire process, as I'm not doing anything hugely groundbreaking, but I think I've got a couple of things to add that I haven't seen elsewhere.
I didn't feel confident in my ability to judge if the valve seal was installed properly. I wanted to measure. See p37,38 of the Mellens copy of the FSM. They call out a special tool for installing the valve seals. But, knowing that L = 19.9mm, and dissecting the diagram, it looks like they're measuring from the surface of the cylinder head to where the tool pushes on the shoulder of the valve seal. Set your caliper to 19.9mm. There's no way you're going to get the actual caliper inside the head, so use the pokey guy down at the bottom. There's a little bit of proper measurement lost in the photo due to parallax but you get the idea. Never hurts to double-check. After this I felt confident. Be sure to measure from the surface of the head and not the surface that's machined for the valve guide. Most folks seem to use a 10mm socket, but my chinesium valve seal pliers came with a driver setup too. The bottom heavy half has drivers that thread into it. 10mm driver=good fit for new seals. Not a fun process, nobody claims it is. One thing that helped me was swinging toward me, not away. This lets my fat belly hold the head on the workbench, and have a more confident strike on the tool. If you switch orientation of the head, don't forget that changes what valvetrain order you're working in... Final torque. Keep an eye on the pattern. I'm old, screw paging through a PDF on a small screen or printed manual. Time for a beer.
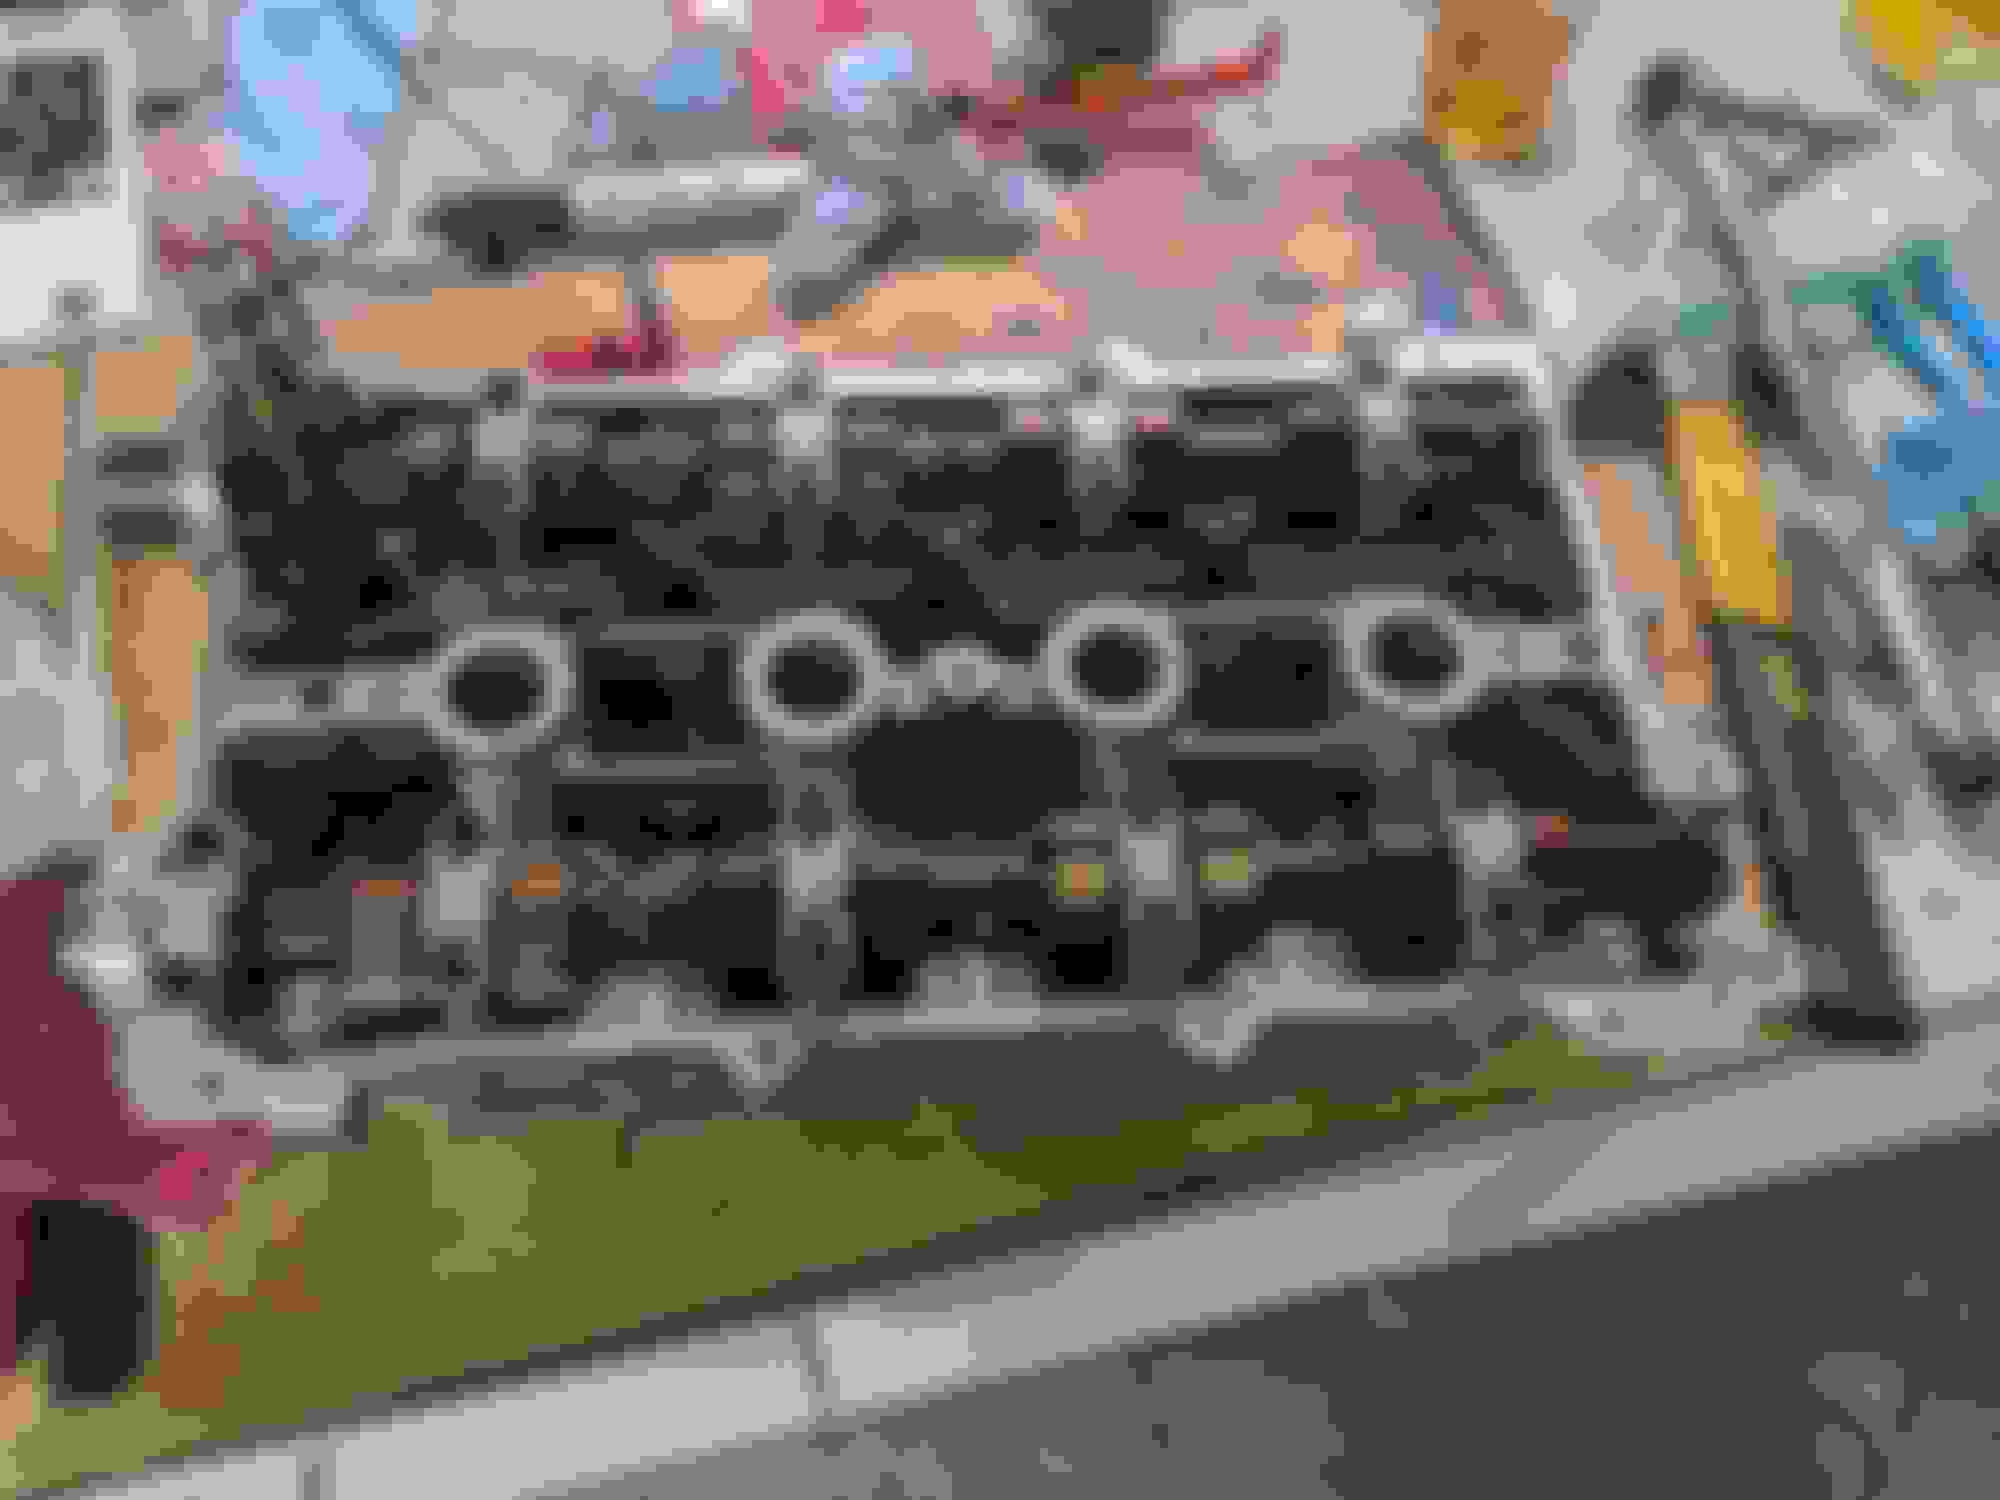
Not too much going on, just wanted to peek at the bottom end. It's pretty gross as well, but no chunks of metal or anything screaming "stop". Doing some more reading, haven't decided on if I'm going to stick with rods only, or throw pistons into the mix. I did not realize that any aftermarket pistons are not stock bore size up until a few days ago! Pretty sure the block has to go in for cleaning anyway, so maybe I'll just succumb and have it set up for forged pistons as well.
Looks and smells like about a 35k oil change interval was used on this one. I am not enlightened enough to understand why there's an OEM-looking cotter pin in my oil pump. Baffling how gross this looks. Time to start crackin' nuts.
Block is apart, I tried to create a linear procedure that made sense with the steps in the manual -- as the manual is not linear. Lots of jumping around. Maybe my "index" will help. Once you get going it's a piece of cake.
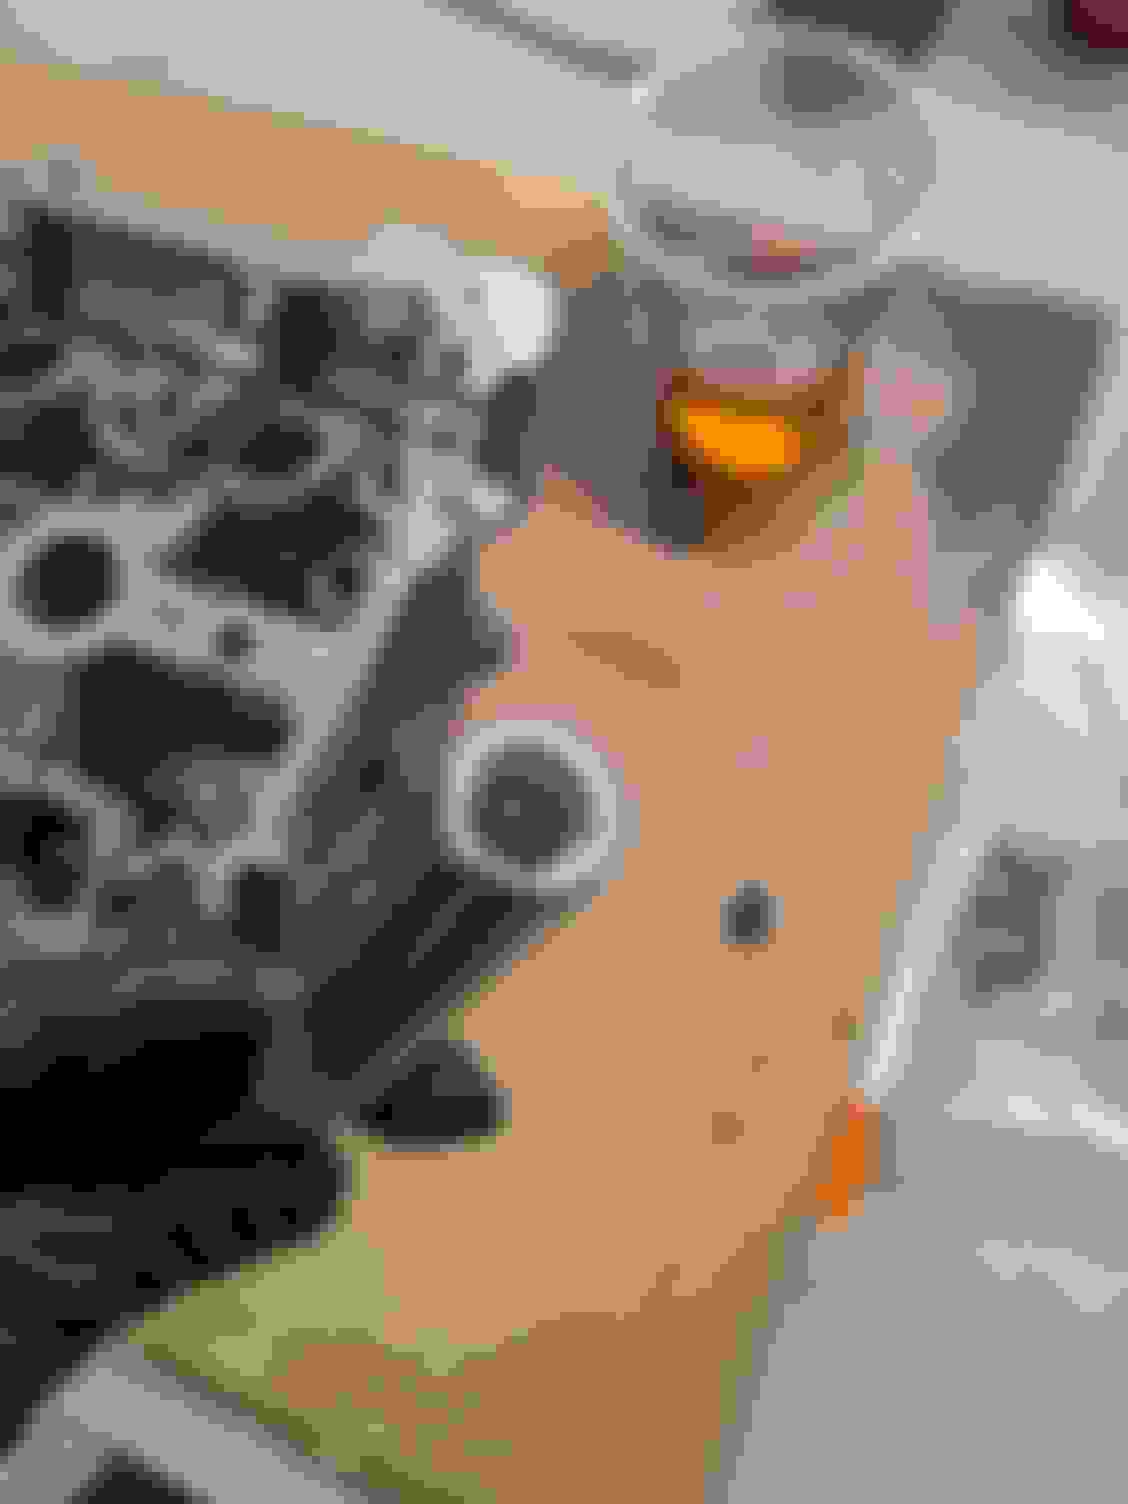
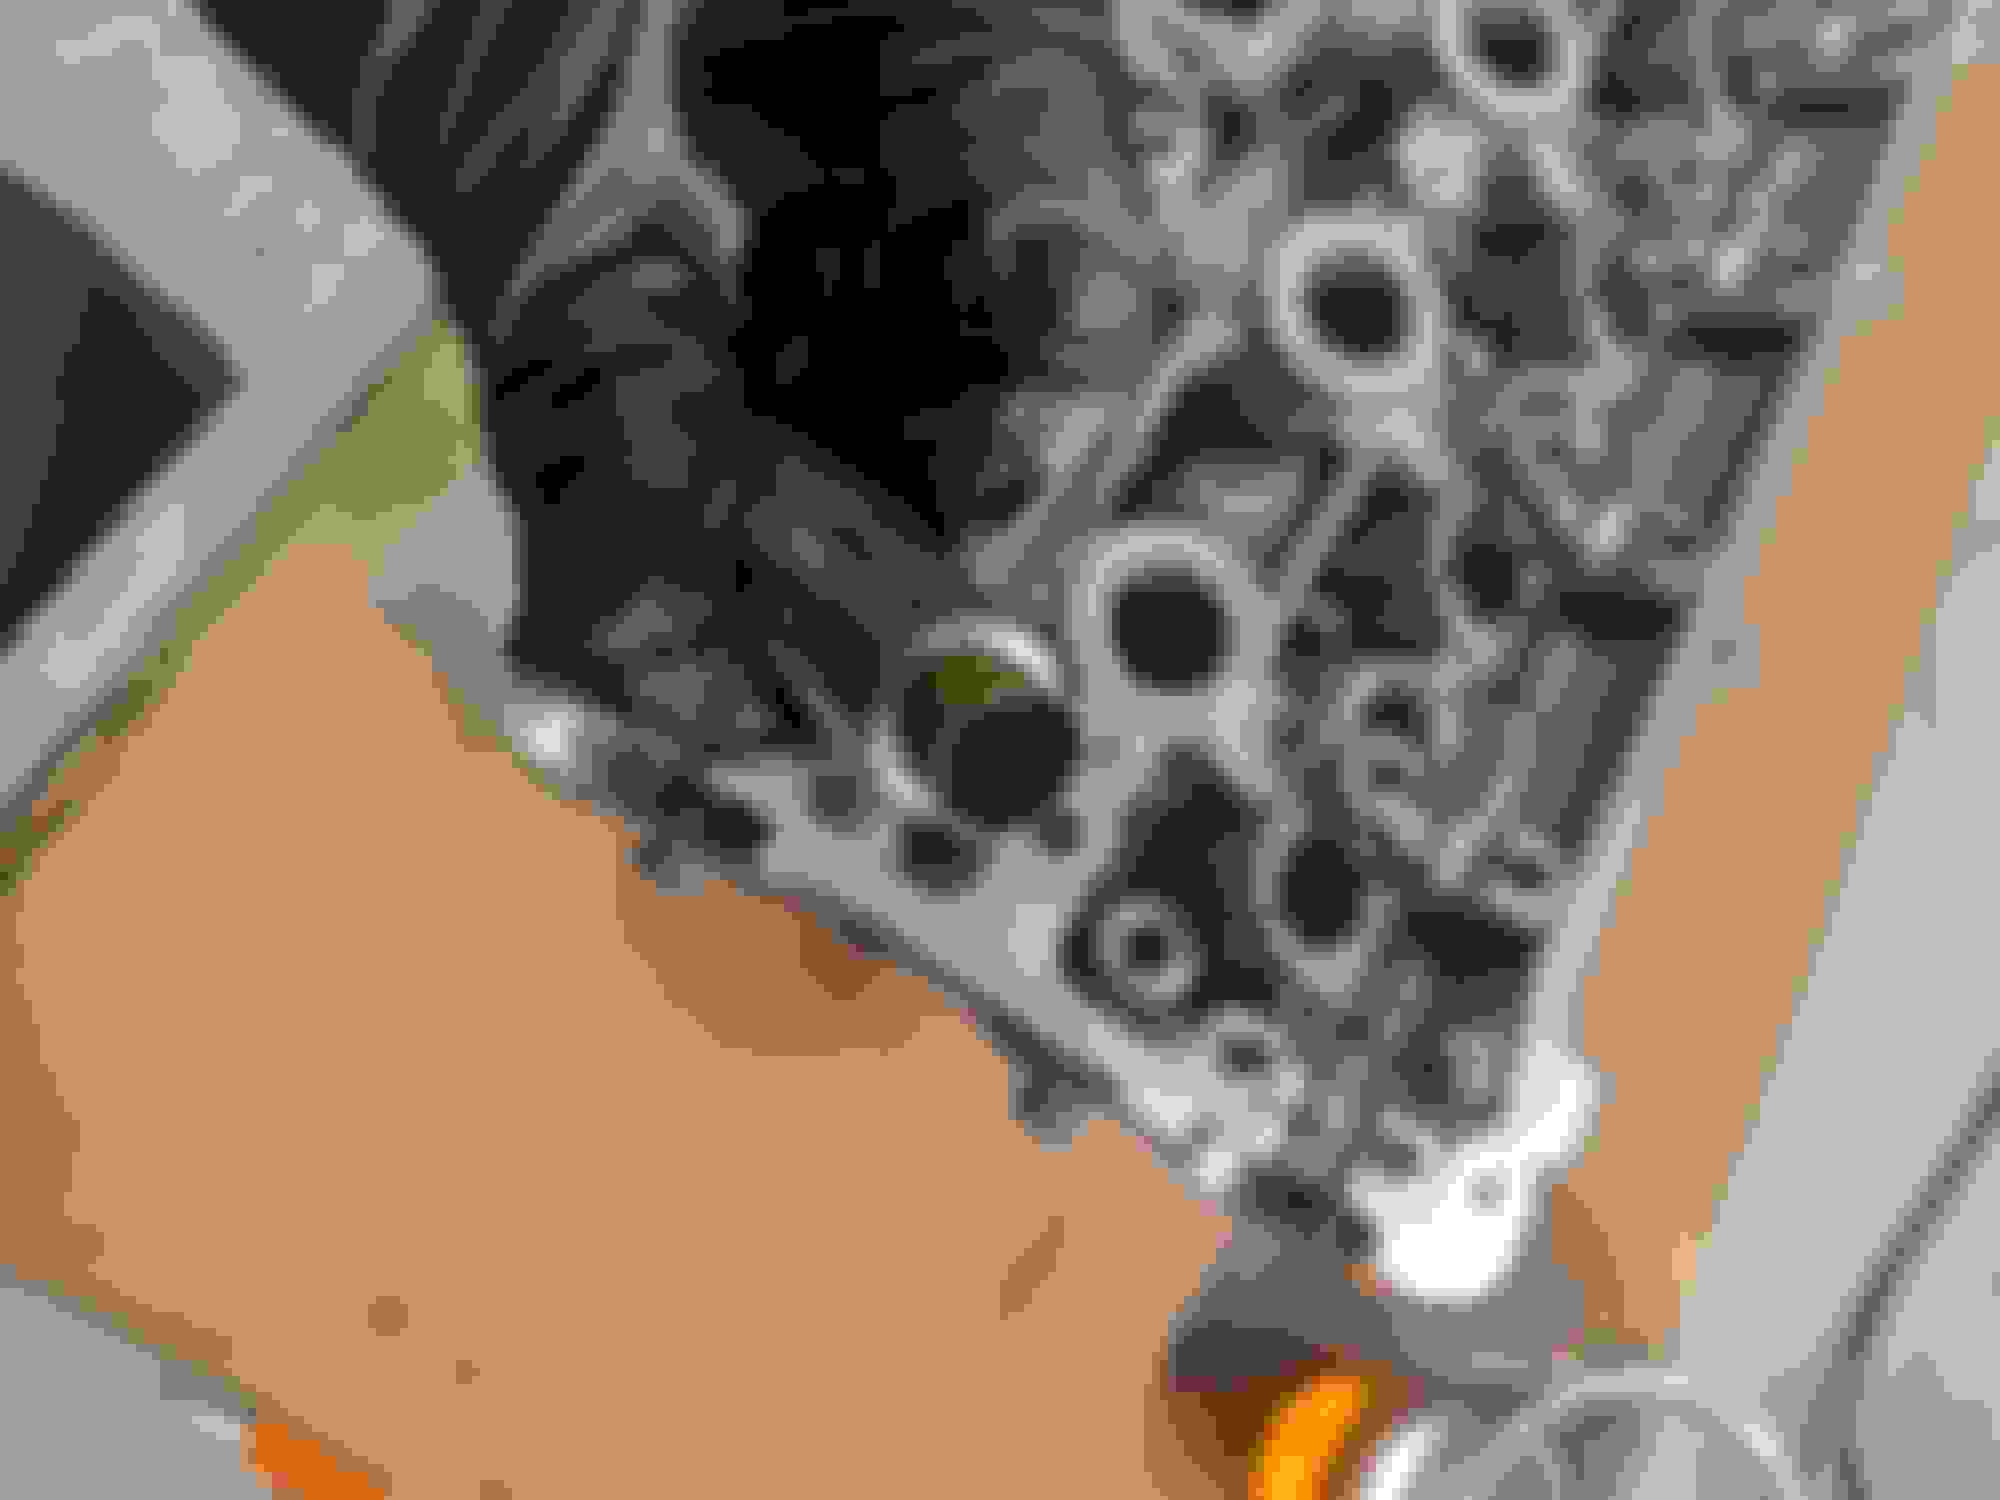
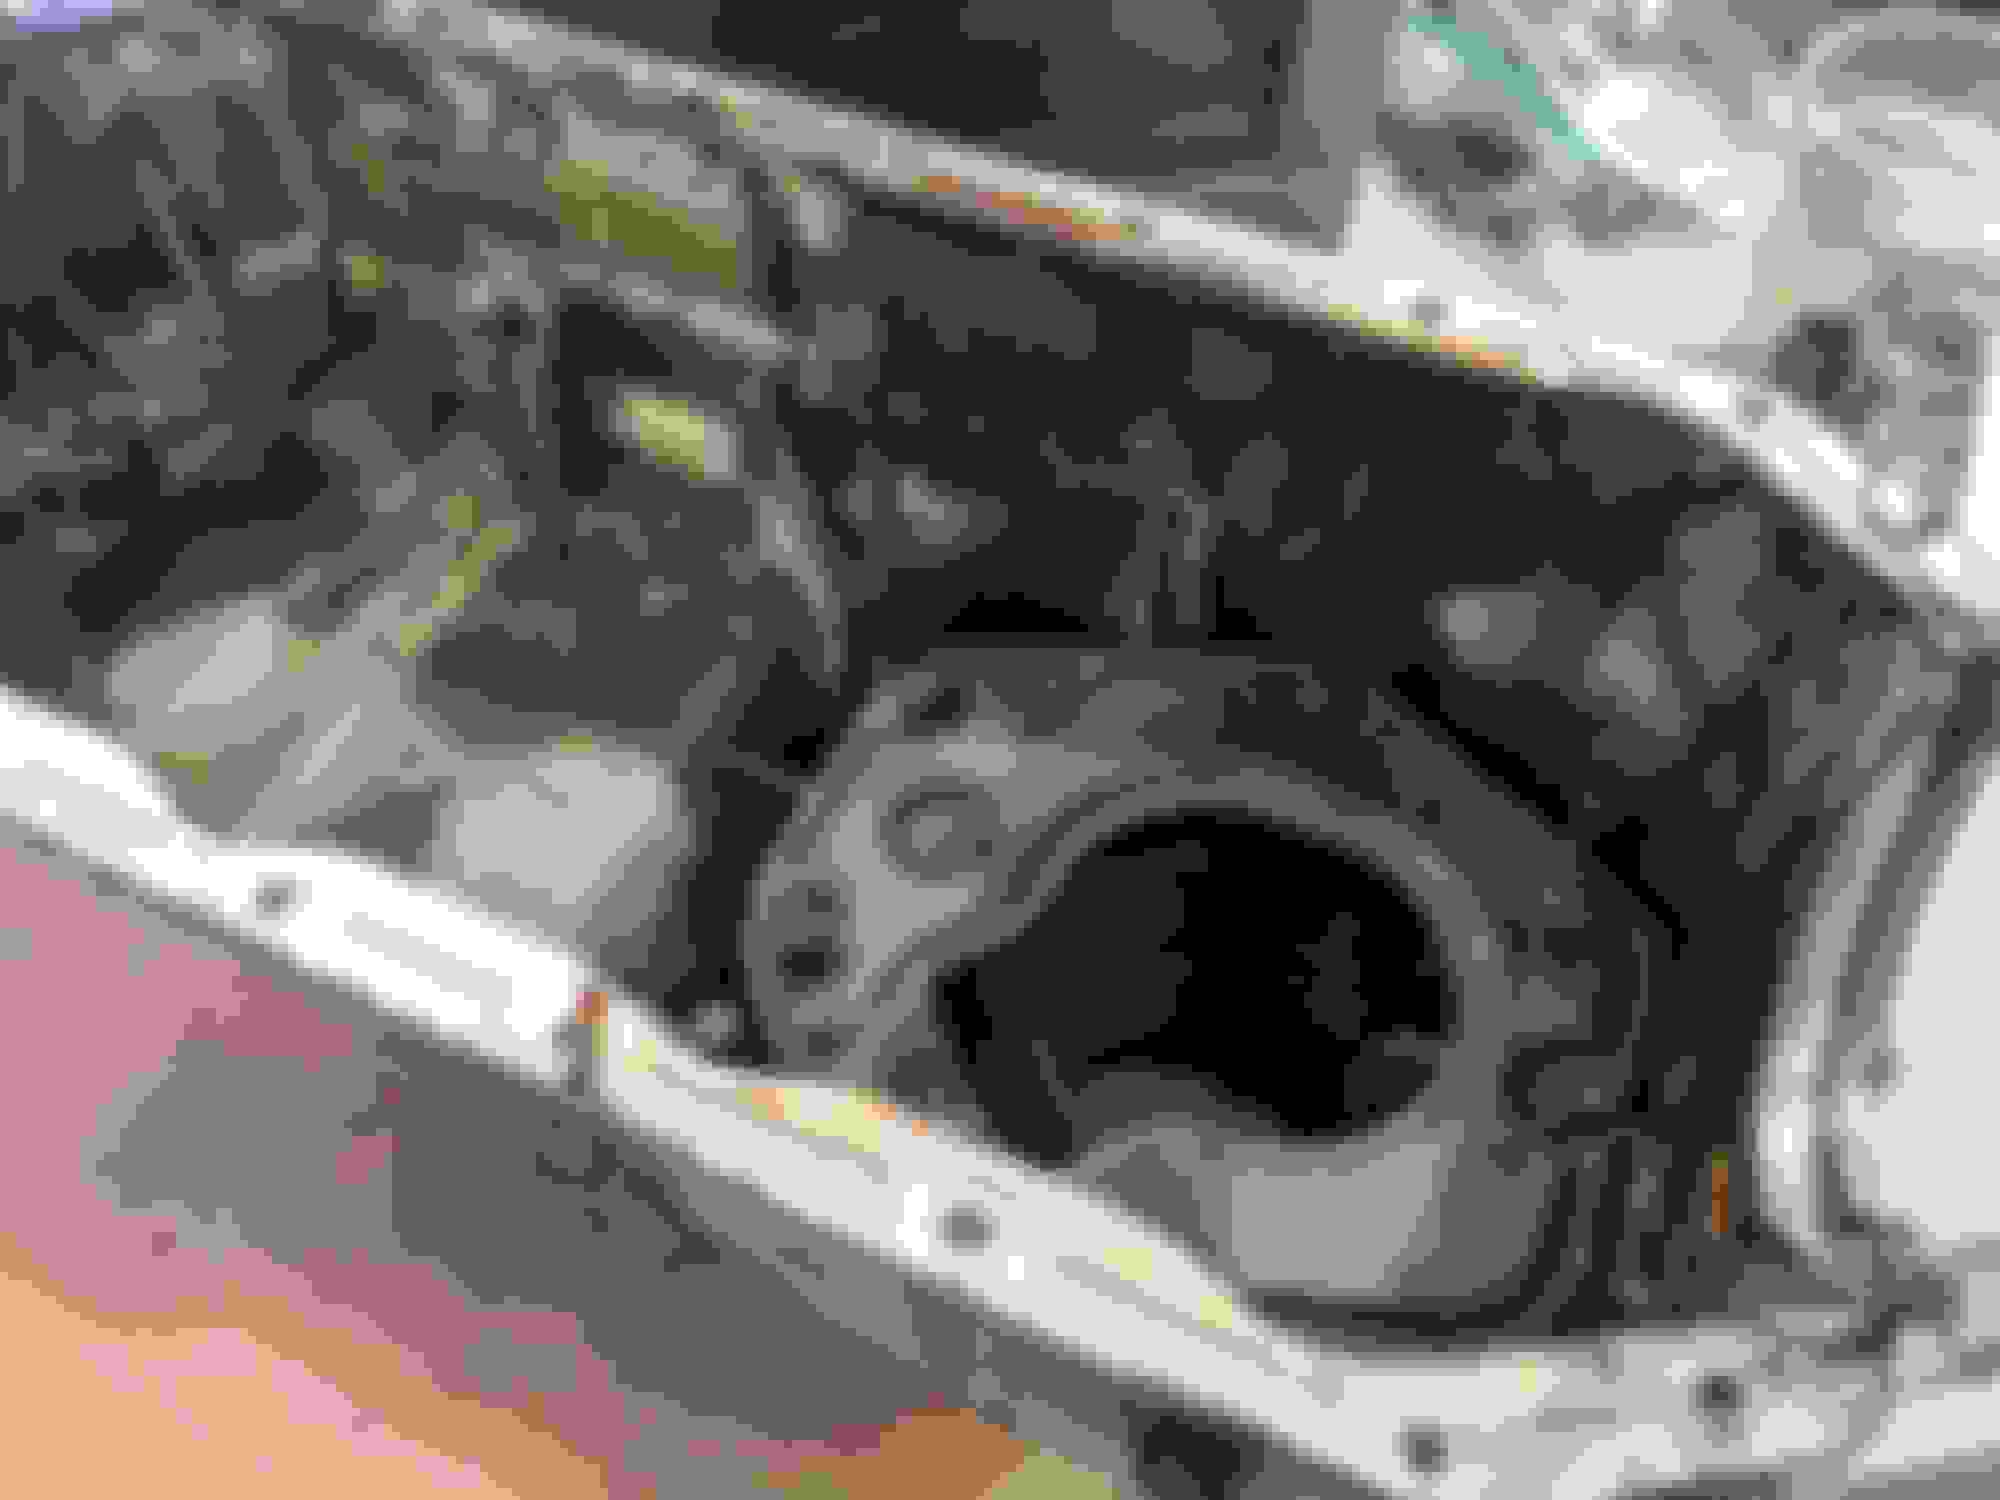
Can someone check out main journal #3, below? Pictures may not be perfect, but that one shows (and slightly feels) scored, but measures out the same as the others w/ plastigage. Anything to worry about? Again, I'm trying to avoid the machine shop within reason.
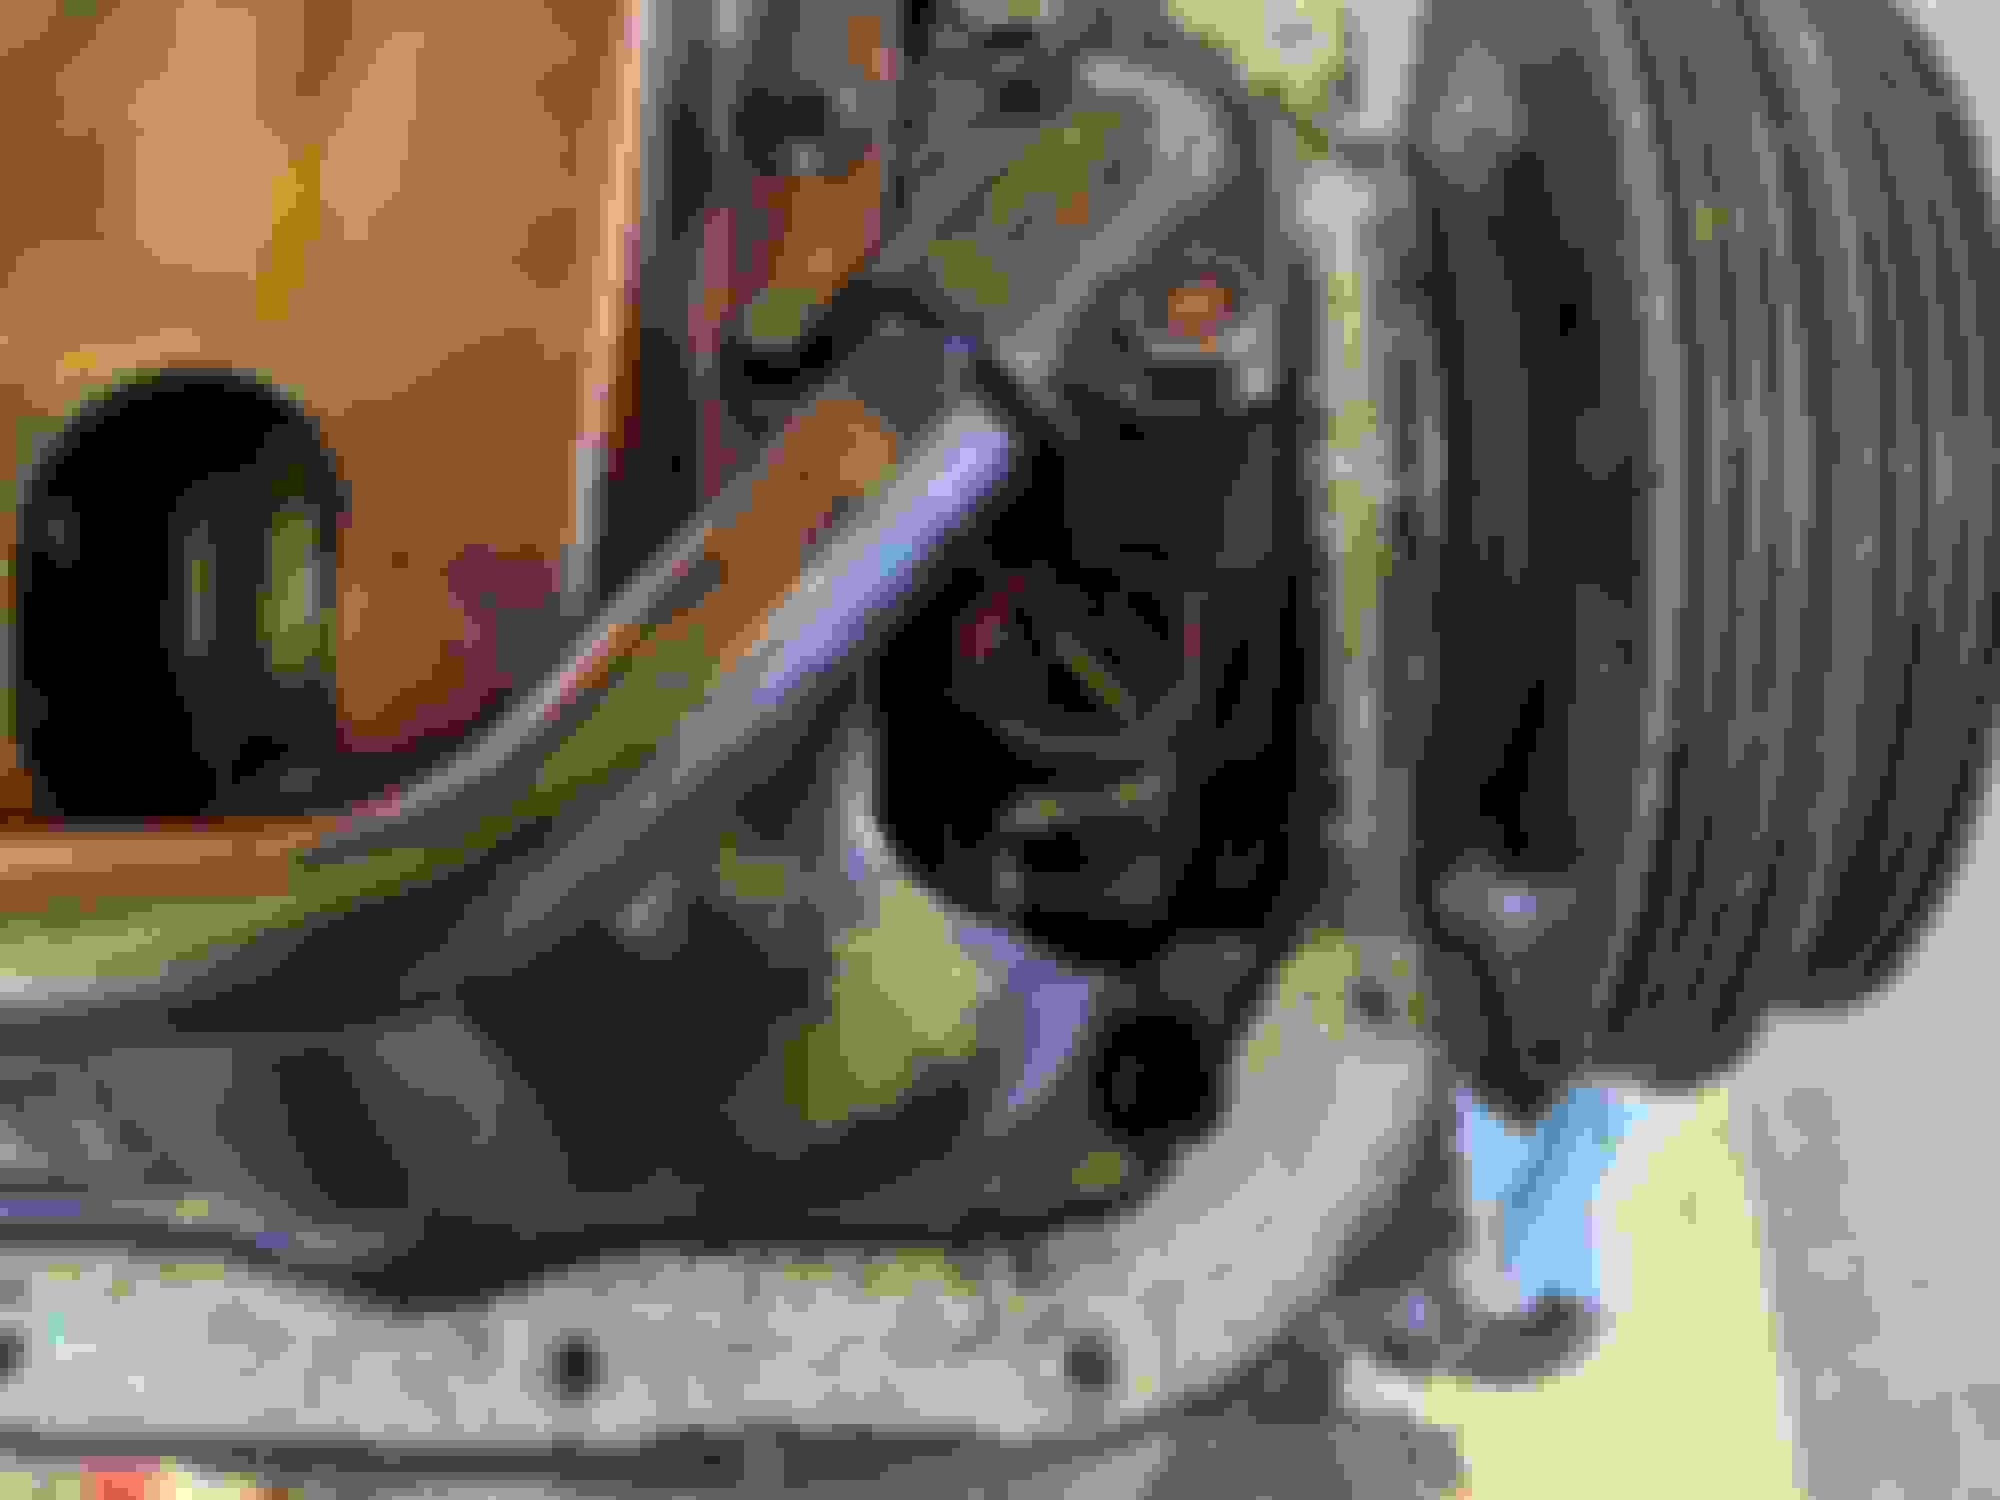
I worked my way from the top towards the bottom. At least this way you can just punch in a PDF page #. Still need to decide on measuring the bore. I plan to check everything after that as I'm re-using the pistons. One of these main journals doesn't look like the others. #3 main Want to measure crank end play? Don't have a magnetic base dial gauge? Sure, just tighten down the crank pulley and clamp your caliper to the oil pump. Push the crank toward the back of the engine. Zero the caliper against the pulley, then pull the crank forward. Repeat to judge accuracy. Looks good to me.


 0
0