When you click on links to various merchants on this site and make a purchase, this can result in this site earning a commission. Affiliate programs and affiliations include, but are not limited to, the eBay Partner Network.
Steve Dallas' "Blew His Trubo $$ on a Garage He's Too Poor to Use" Build Thread
The Background
Unfortunately, this is not a "I scored a dirt cheap Miata to build into a track car!" story. This is more of a "I paid full price for a really nice Miata and went all credit card mechanic on it!" story. Do your worst!
Somewhere around 2 years ago, I saved searches on all of the common places to shop for cars, looking for the right Miata. I looked at dozens of them, and came to the conclusion there is no dirt cheap way to do it right anymore, unless you simply get lucky. You can buy one that is still pretty fresh for a higher price, or you can buy one that needs a lot of work for a lower price, but you will end up in pretty much the same place in the end, in terms of outlay. The determining factors are how much work you are willing to do up front, and how your cash flow situation looks. In my area, you are going to spend about $7500 for an NA or NB that is ready to start being prepped for the track, no matter which way you go about it.
Last September, I received an email from a saved search with a link to a preliminary ad for a 2003 LS with only 63K miles. I immediately called the dealer to discuss the car and asked all the typical questions. The sales guy emailed me some cell phone pics, as they had just received the car on trade and had not serviced or cleaned it, let alone photographed it yet. It looked immaculate. I made an offer of $7000 cash with no service or cleaning needed. Just flip it to me for a little profit with zero additional work required. He initially declined, but after seeing it was the end of the month, and he had a quota to meet, he called back a few hours later and said they would take $7200 cash. Done deal. I picked it up that night.
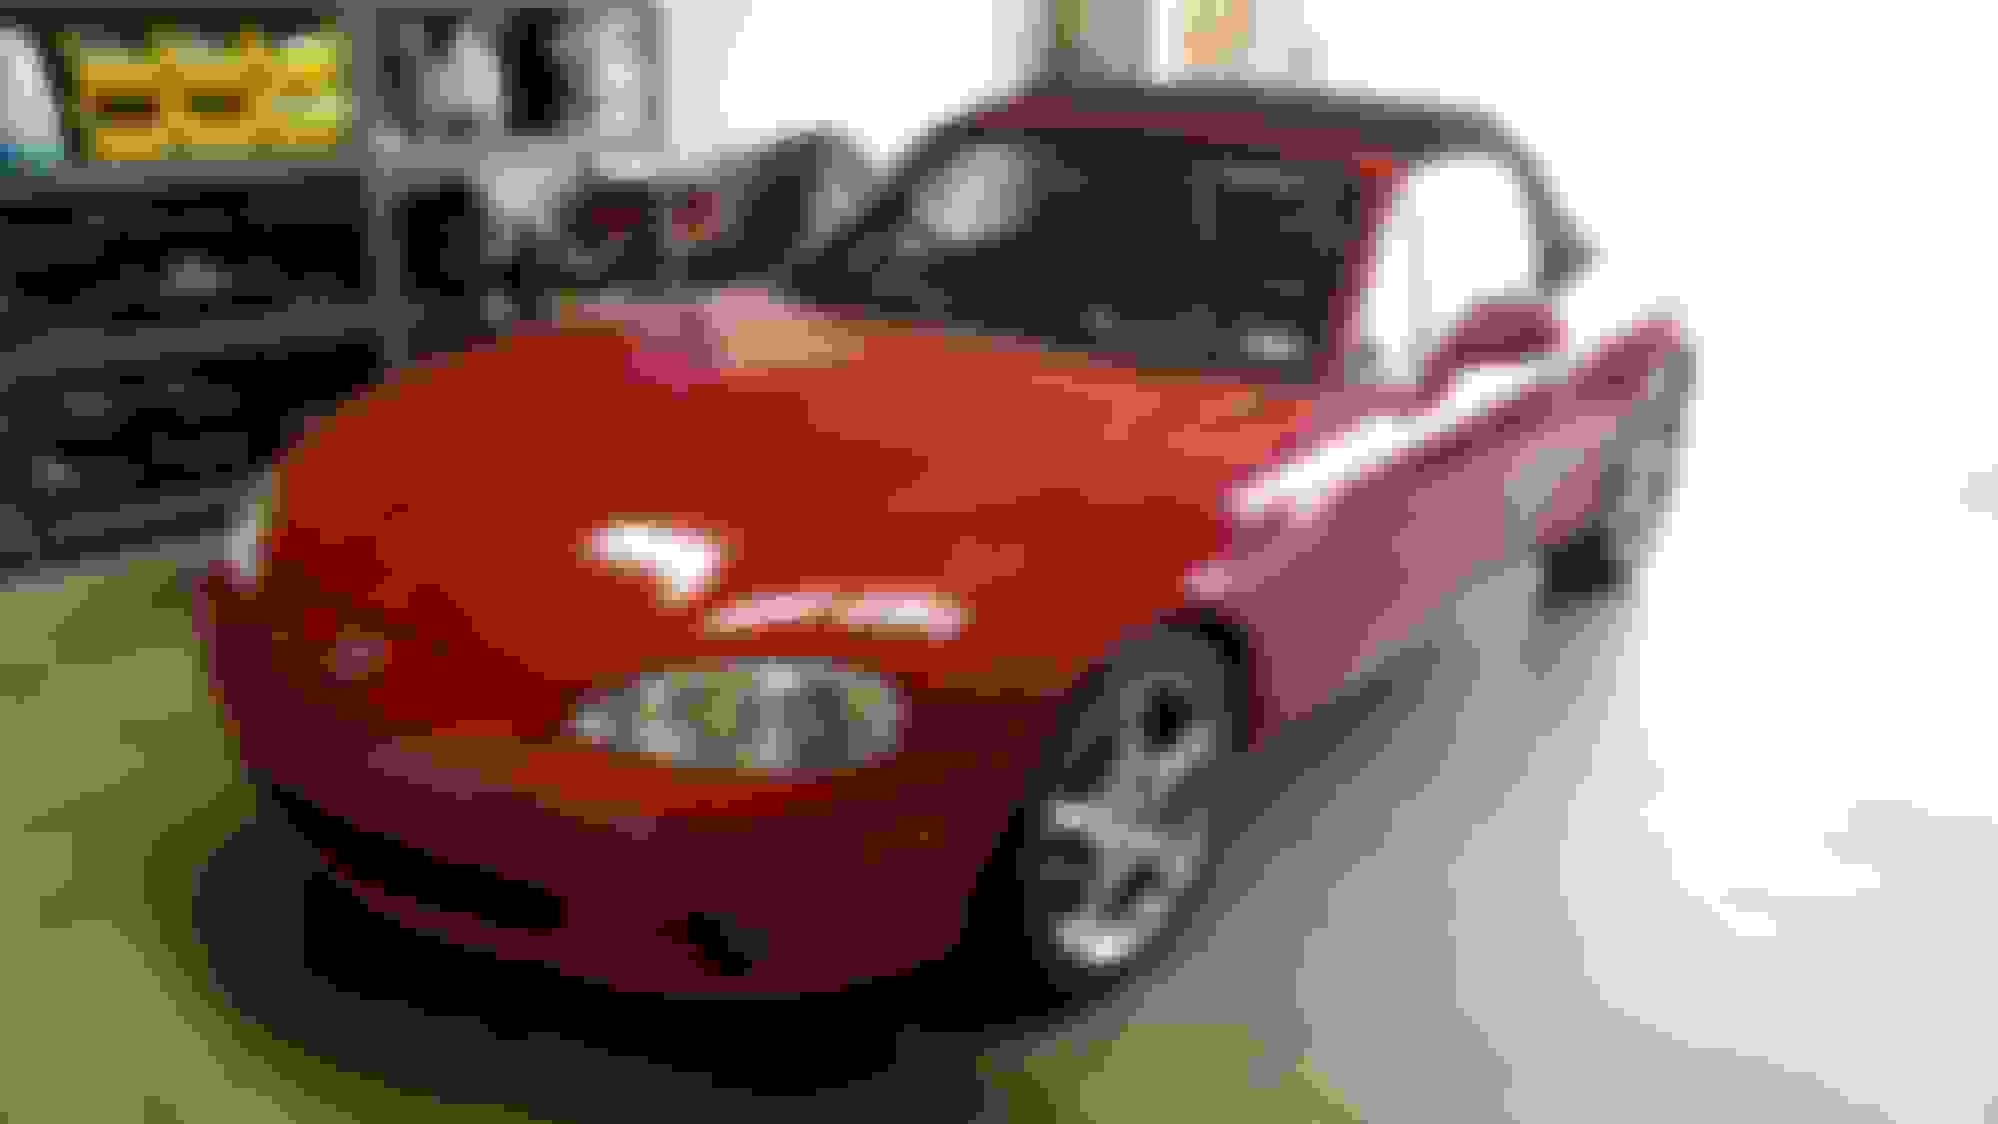
The Car
It's red. And, it has tramp stamps. Lots of tramp stamps. Everywhere you might think of putting a tramp stamp, there is one. You will find tramp stamps in places you wouldn't think to look for tramp stamps. The pinstripe "artist" should be taken out and shot with extreme prejudice after having his elbows and wrists broken.
Other than that, the car is immaculate. It looks like it just rolled out of a time capsule. There is quite literally nothing it needs, which is a little disappointing, actually. On the bright side, I get to skip all the fixing stuff and move immediately to the preparing for track duty stuff. The only peculiarity with the car is the Racing Beat dual exit exhaust, which I would rather not have. Everything else about the car is stock, right down to the brake pads.
Well, there is one thing. The drive train shudders when I start off in first in cold weather. I have read there was at least one clutch recall for that problem. It is going to receive a new clutch anyway, before the turbo is installed, so not really a problem. I will inspect the rest of the drive train's mounts and bushings, to make sure everything is solid there.
The CarFax shows a single owner, no accidents, and documented dealership service every 3000-4000 miles. They even did the front of engine work.
This car is too nice for what I'm going to do to it. But, I'm still going to do it.
.
Last edited by Steve Dallas; Aug 26, 2025 at 10:37 AM.
No ABS...5 speed? Bilsteins? I don't think an '03 would have a Torsen either. Still a really nice car.
Nope. No ABS. I [think I] am pretty good at threshold braking, and not having ABS should force me to get really good at it.
Yeah. It's a 5 speed. I read and hear a lot of opinions on this point. I'll see how I like the 5sp gearing on the track. A 6sp may be in my future, depending on how I like the 5sp for track work and how much power I end up deciding to add.
No Billies either. The plan is to observe the 80/15/5 rule and go big in the grip area right away.
It does have a Torsen. That was one of my must-have requirements.
The plan for this car is to turn it into a sleeper HPDE track car. I want people to look at it and dismiss it as a barely adequate Miata. Then, I want to see their shocked faces as I pass them on the back straight. With that idea in mind, the car will keep most of its interior, and all of the performance work will be as subtle as possible.
I had initially planned to build this car over a 2 year period. I just sold a business, however, which means I had a bit of a windfall. Most of that will go into savings, but I am putting a small amount aside to accelerate the Super Tramp build a bit.
1. Safety. All the obvious stuff here. It will need a roll bar and harnesses seats of some description.
2. Reliability. This is also well-covered ground. Much of the reliability stuff was done at a Mazda dealer by the previous owner. A new radiator and hoses and re-route will be the order of the day. It will need an appropriately sized and positioned oil cooler. Otherwise, I will inspect all the typical failure points, and make sure everything is sound.
3. Handling. What little power the car has needs to get to the ground reliably. New coilovers, sway bar(s), end links, extended lower ball joints will be installed. Weak points will be addressed, and a performance alignment will be completed.
4. Grip. Now that I can put all of 100WHP to the ground, I need grip to maintain momentum. New lightweight rims and NT01 or R888 tires will be installed.
5. Brakes. With big grip, comes the need for big stopping power and heat dissipation. New pads, rotors, brake lines, and ducts are called for.
6. Clutch and lightweight flywheel. The clutch is a bit dodgy as described above. It is also about half gone. Before I can start the turbo project, I need to replace the clutch and its associated bits.
7. Turbo. The layout of my home track dictates a turbo over a blower, so I'm 81.26% sure that's the route I will take. Around 180-200WHP should get the job done, but with bigger injectors and a new ECU, I can always ramp it up, if I feel I need to.
The fluid and filter exchange was a bit of a let-down. Everything was clean and fresh looking. Wasn't SOMETHING neglected on this car?
The most important task of all is also complete, which involves bolting on 53WHP. Track Dog, Moss, and others sell these for about $50, IIRC. I remembered seeing these at the local electronics surplus shop for $6, so I went back and nabbed one. Much faster now.
[Yes. That is a tramp stamp wrapped around it.]
.
Last edited by Steve Dallas; Jan 21, 2017 at 11:22 PM.
I have actually been working on the car since late September, and a lot has been accomplished. I'll post several rapid fire updates to catch the thread up to where the car is now. Beginning with a huge mistake...
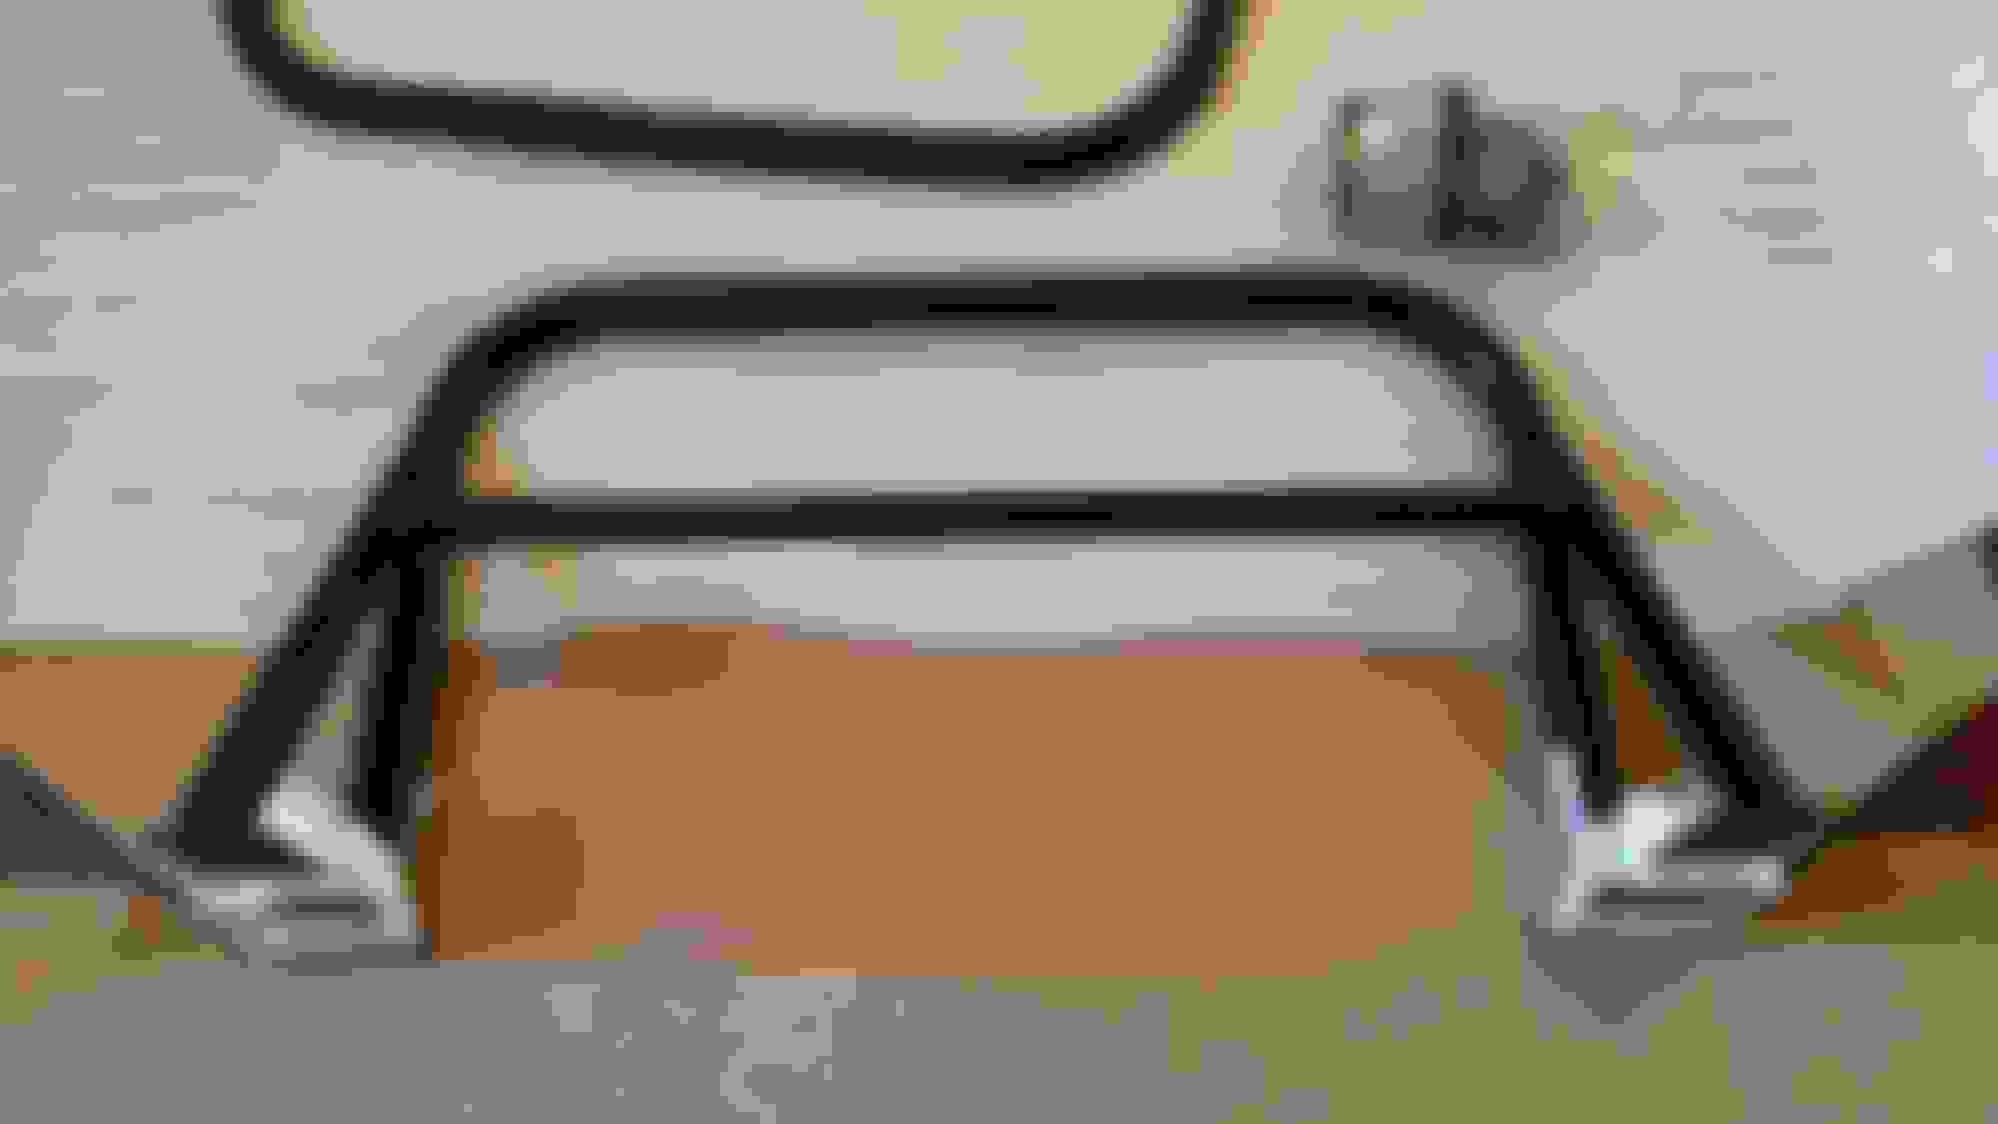
Roll Bar
As mentioned before, safety is the first concern for the Super Tramp. If track management sees a roll bar of any description, they will let me onto the track. And, since Miatas flatten like my ex-girfriend's [deleted by someone with a sense of dignity] when they roll, it's a good feature to have for street driving as well. This car is for HPDE only. It will never see any competition, therefore I have no minimum standards to meet. I may autocross it a little bit, but since autoX is much like kissing my sister, it won't happen very often.
That means I can choose practically any roll bar that is strong enough to survive a roll-over event. And that flawed logic led me to the Hard Dog Ace.
The Ace sits entirely in the package shelf. It has an integrated harness bar option. It is relatively lightweight, coming in at a little more than 30lbs. It sits a little lower and farther back (read: out of the way) than other options. It is compatible with OEM tops with glass windows. And, with the harness bar, it is less expensive than other models plus the bolt-in harness bar. The only thing I lose is the factory wind blocker, which I find useful, but heavy. All sounds good so far.
I decided against adding any diagonals after looking at dozens of Miata roll-over photos and seeing no difference in the functionality of the bar with and without them. I don't care for the clutter in the rear view mirror, and if they offer little to no benefit for my purposes, I'll keep the view and save the weight.
This could only be one thing.
Yep. Hard Dog packs these things very well.
I sprung for the SFI rated padding and cover. I could have gone redneck with cheaper bulk padding and wire ties, but I'll have plenty of opportunity for wire ties later.
Installation
I had a feeling it would be well worth the money to pay Track Dog to install this for me. But, I have a hangup about being the only person to wrench on my cars, short of alignment, so I decided to do it myself. I was right about that being worth the money thing. I didn't keep a time sheet, and I worked on it a few hours at a time over a period of many days, but I guesstimate this took 10 hours to install, not including several trips to the hardware store.
Other than common hand tools, power tools, and drill bits, an angle or bench grinder, right angle drill, drill press, step bit, and aviation shears are needed for the installation.
Nothing about the installation was difficult. It was time-consuming, tedious, boring, and at times, frustrating. If I had it to do over again, I wouldn't.
In some areas, tolerances on the bar were very tight. It fit into the package shelf with just a half millimeter to spare, which made test fitting it a half dozen times fun.
The empty package shelf:
The helper-less strategery:
After cutting and priming (which should have included painting):
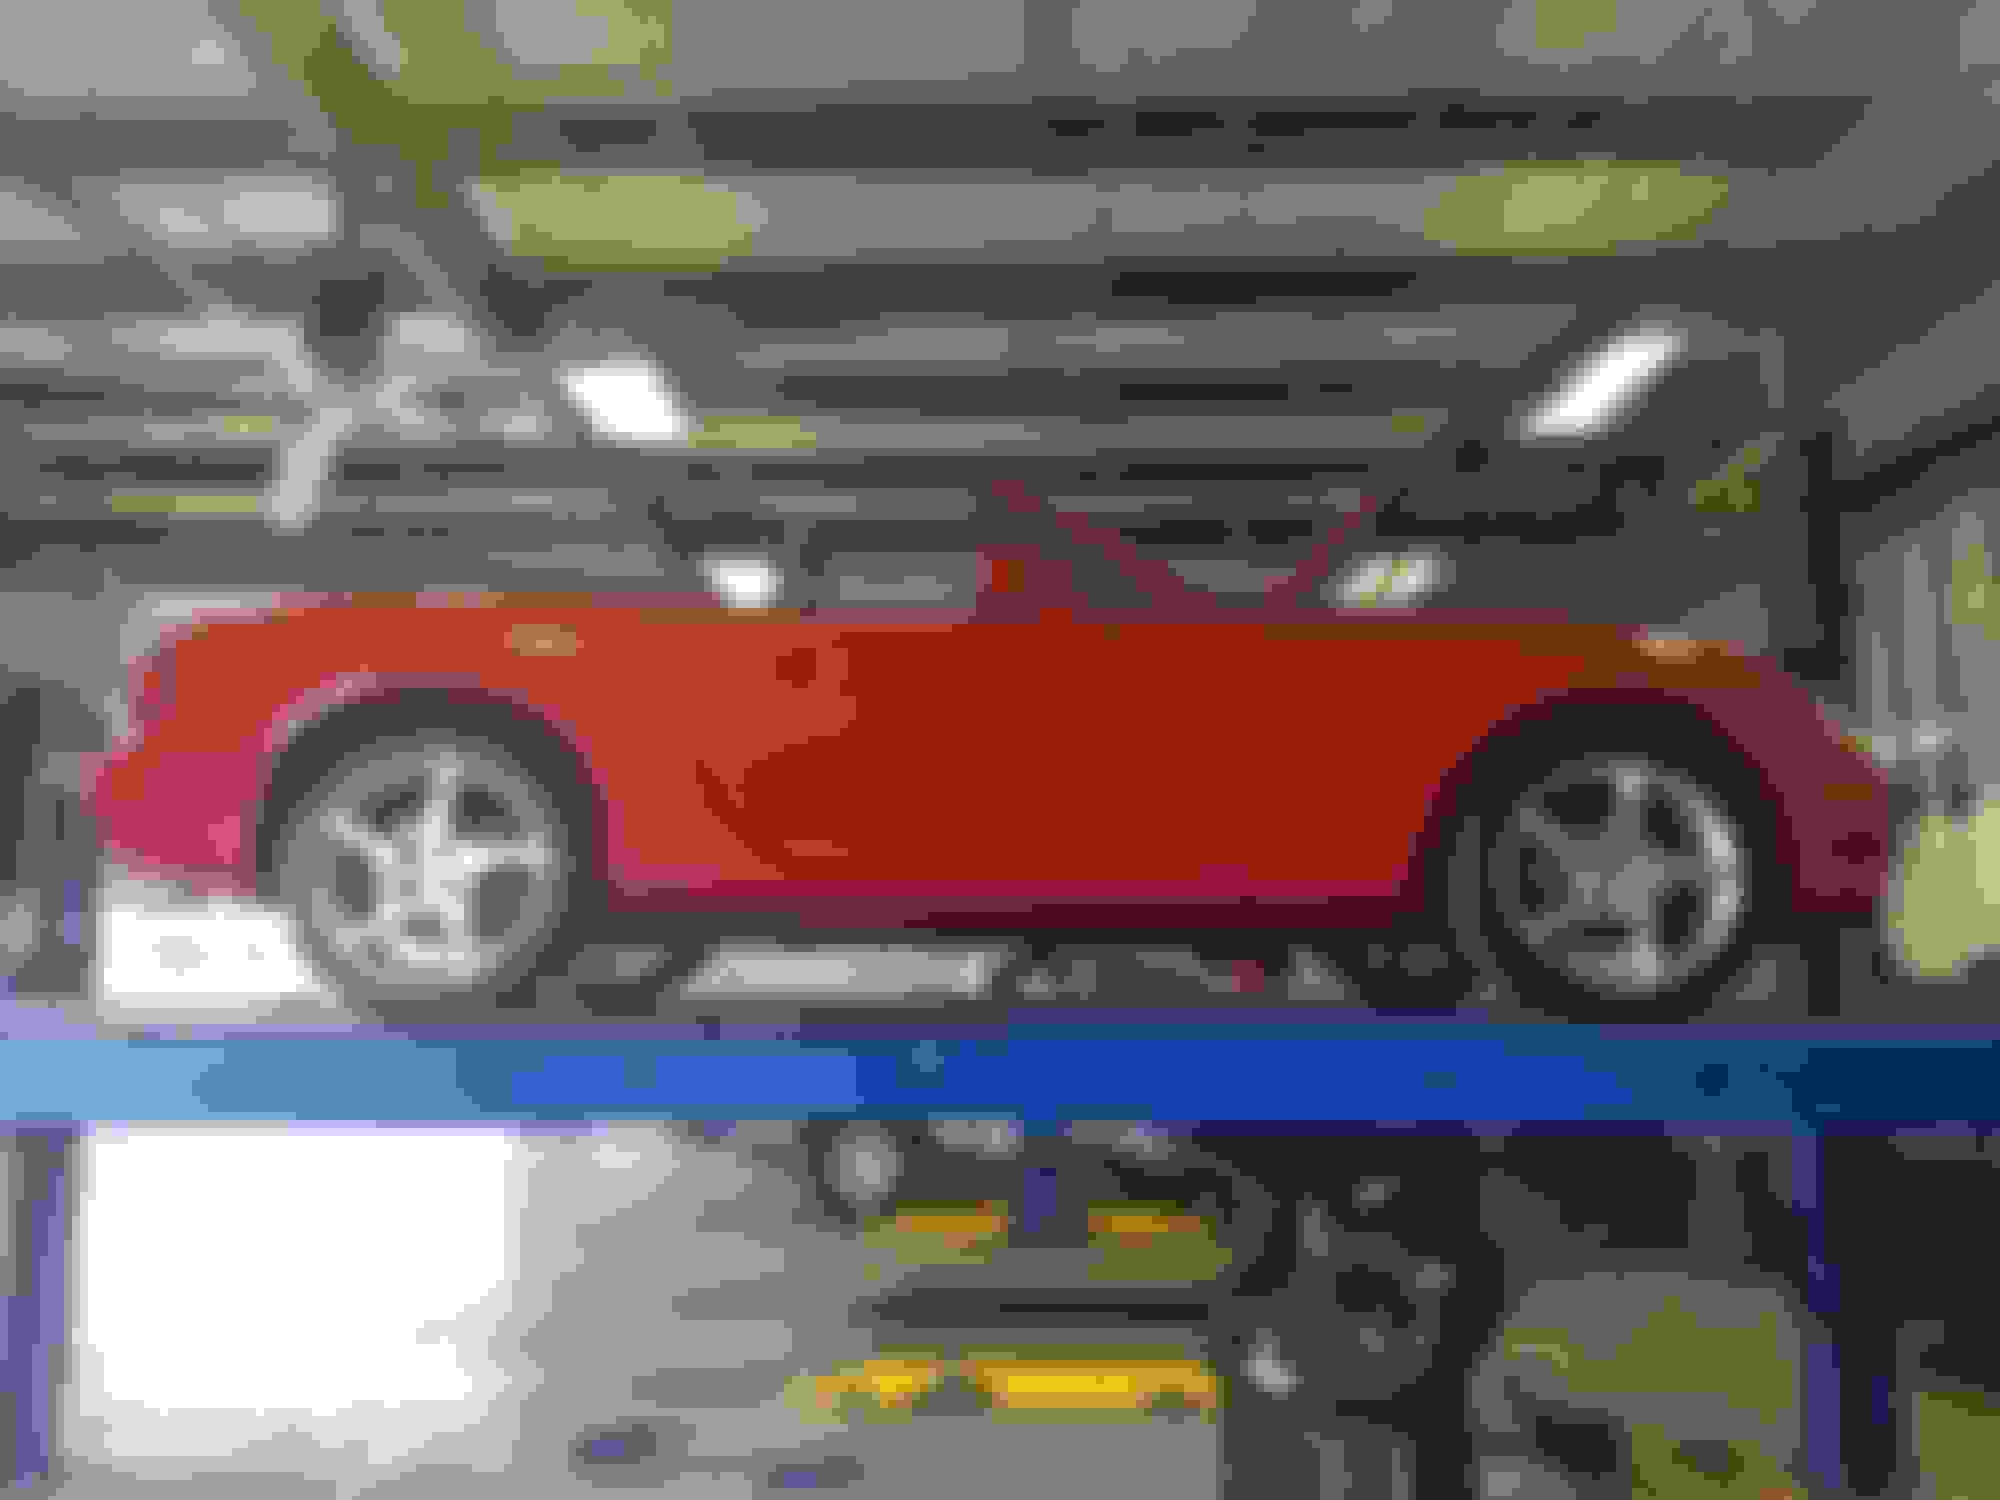
A view of my messy garage:
Not all of the tolerances were tight. Nothing a few stainless washers couldn't fix, but still disappointing:
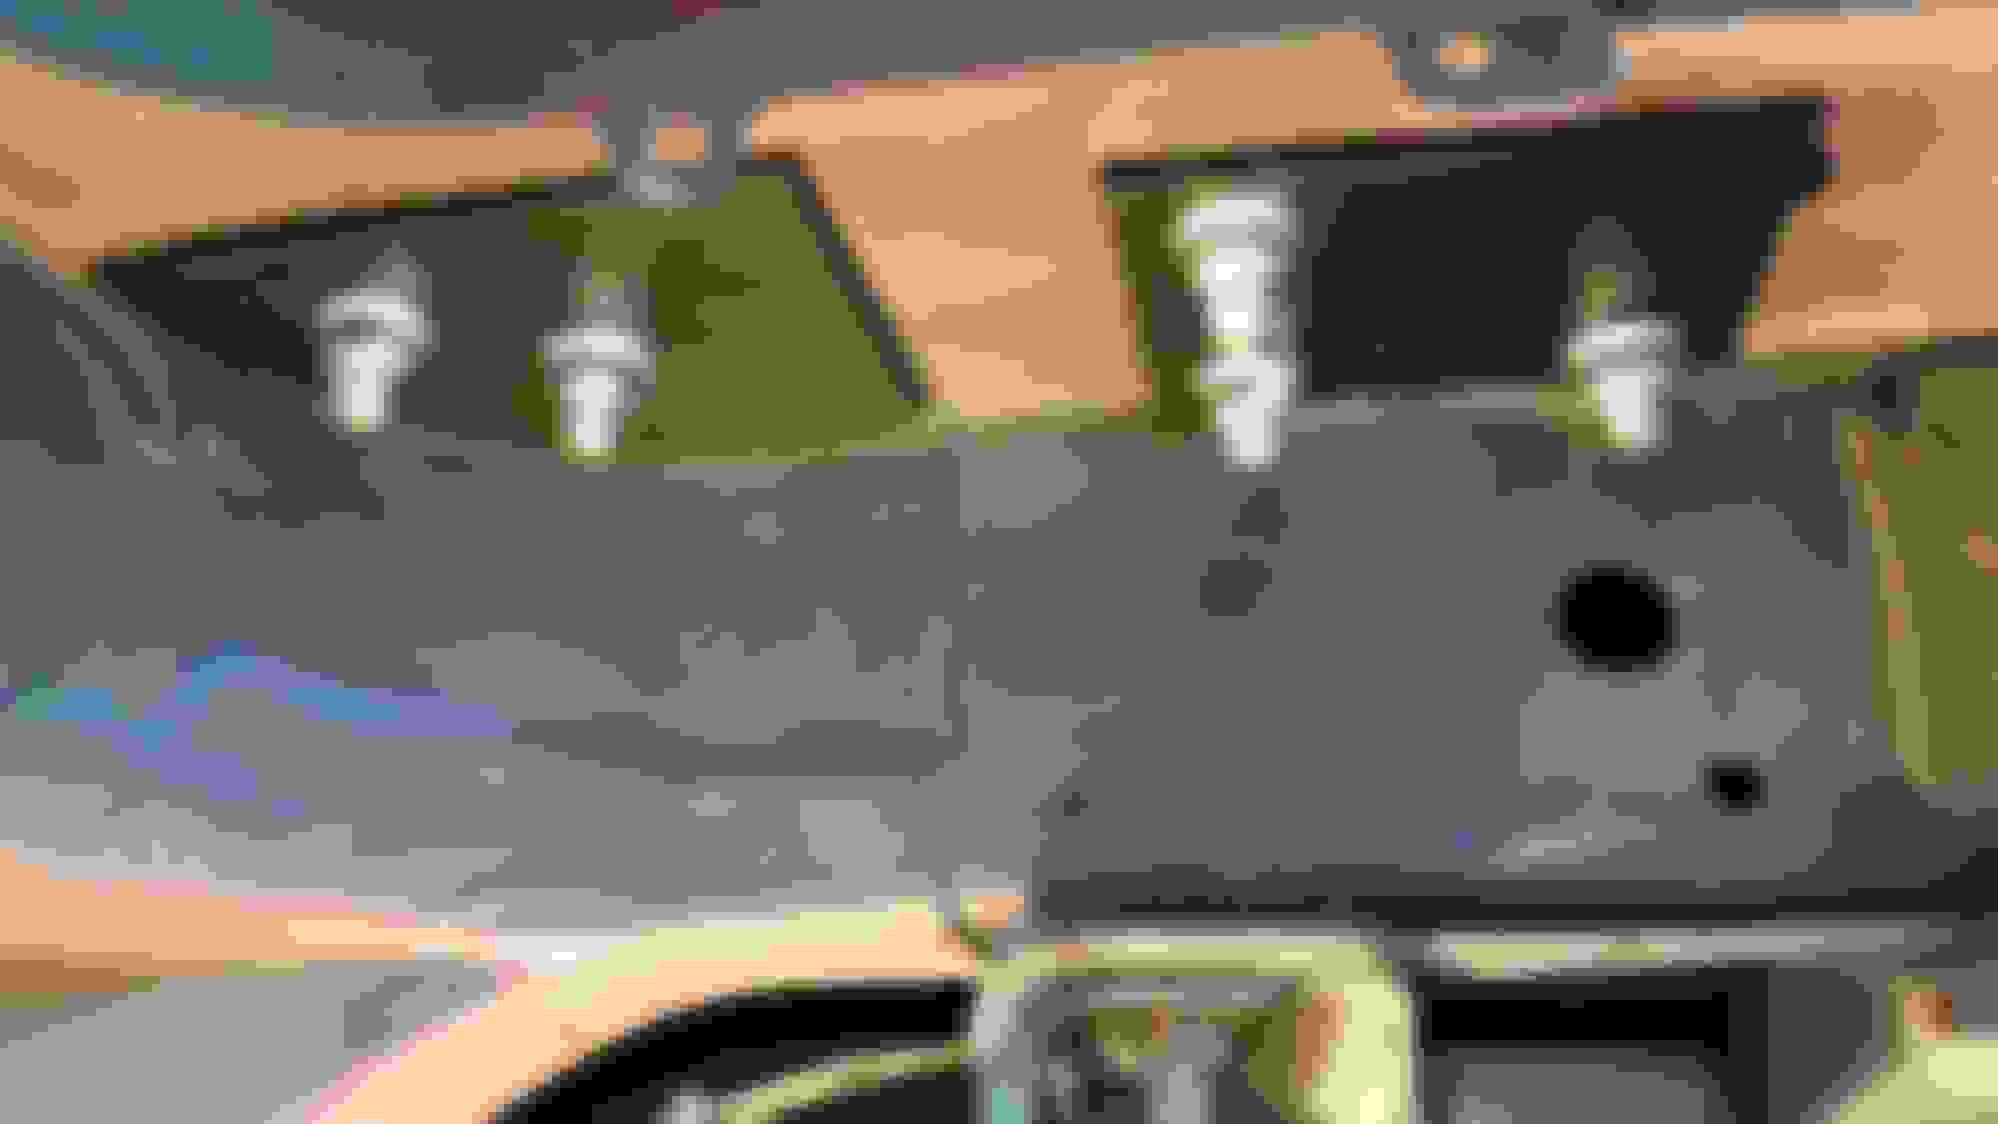
Final fitting and marking the holes:
Remember those tolerances? This required a useless phone call to Hard Dog, plus an hour with the grinder and drill press:
Eventually, I got things to line up. I later hit all of this with undercoating, because Jeffbucc spoke to me in a dream.
The instructions initially said to cut the package shelf straight back. Three pages later, they said to cut the package shelf in half and work with one half at a time to make precision cut-outs for the roll bar. I did the former and cursed a lot when I read the latter.
Because of that, the carpet sags into the unsupported areas on the sides and exposes the primer. It should be OK for a track car, but it really bothers the perfectionist in me. I'll probably be looking for a used shelf for a do-over. And, I'll probably paint over all that primer with flat black, just to make sure. I don't have a photo of the carpet problem, and I don't care to go take one, because it really bothers the perfectionist in me, and I don't want photographic evidence of it hanging around.
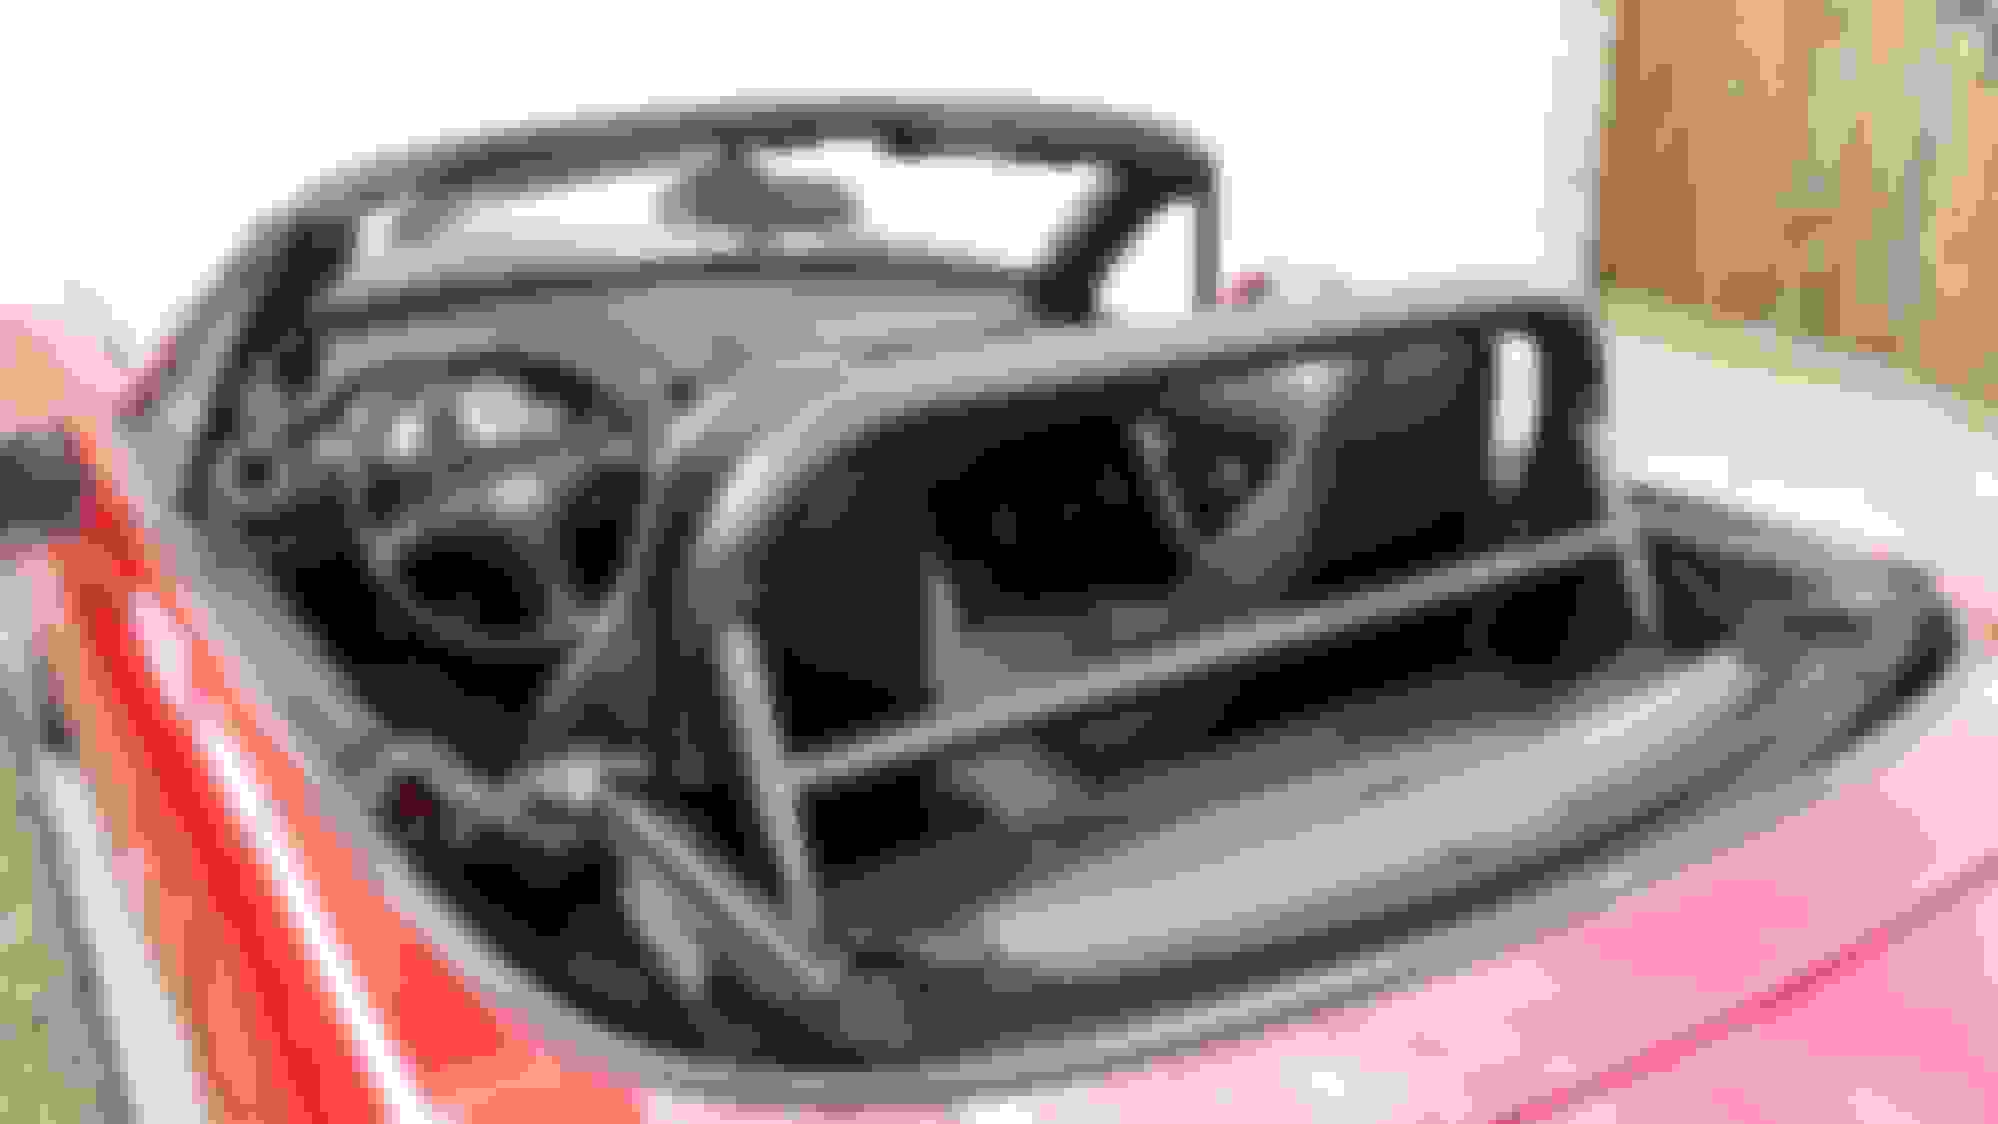
The finished product:
Now that it is installed, this thing looks really low. Maybe I should have gone with the M2 Sport bar. Depending on how low I sit with whatever seats I end up with, I may be revisiting this.
Just a little bit more to do, and I can take the Super Tramp to the track for a baseline.
.
Last edited by Steve Dallas; Jan 20, 2017 at 10:07 PM.
Regardless of what I decide to do with forced induction, the Super Tramp will need additional cooling capacity and cooling system reliability as long as it is tracked in NA form.
I came across this Purinarad V Series 36mm radiator on sale, with an additional coupon code, and with free shipping. Pretty sure the vendor didn't mean to do that. It arrived at my house for a little over $120. I have a Koyo HH series radiator in my RX-8, and it fits perfectly and has performed very well for me in the extreme Texas summer heat. Even if this doesn't end up being the final solution, it should be a good stop-gap. I normally believe in buying once and crying once, but I should get a year out of this and be able to re-sell it for pretty close to what I have in it when the time comes.
Obviously, ducting and sealing will be required before the 100F summer arrives here. I have also researched the coolant re-route to death and decided it needs to be done. The only question now is whether to buy the kit or roll my own. Pretty sure I know how you guys feel about that one.
Installation was dead simple and took about an hour and a half. The radiator fit perfectly, and there were no issues or surprises. Everything bolted right up. I cleaned the dirt from the airbox area before I put it back together, because Jeffbucc spoke to me in a dream. I almost polished the bracket.
Finished out with pipe insulation from Home Depot Racing. I have several months to figure out how I want to seal the rest.
While I was in there, I replaced the radiator and heater hoses with new Gates units from Rock Auto. Peace of mind for $25 is always worth it, when dealing with 13 year-old rubber. All or most of the little hoses will eventually be deleted. Forgotten in all this were replacement clamps. They will be done with marine clamps, when I do the coolant bypass. I also replaced the thermostat with an OEM Mazda unit. A 16psi radiator cap was installed, considering the age of the old one. I paid too much for that, but adding shipping to a cheap one would put it within a couple of dollars.
The coolant bottle was pretty dirty inside. There was nothing alarming--mainly just oxidation. I cleaned it by filling it half full of soapy water plus a splash of CLR, adding a bunch of BBs from my son's Red Ryder BB gun, and shaking it vigorously. It looks as good as new now, but I shot my headlight out.
For coolant, I flushed the block and heater core with distilled water and left whatever amount of water they wanted to hold in them. I added about 1 gallon of Mazda FL-22 and burped the system while monitoring the coolant temp with Torque on my phone without event. Upon measuring the glycol concentration, I found the coolant is protected against freezing to -10F, which is more than good enough for my climate. Unfortunately, the Tramp will be an outside car until the new house is built, so I have to run anti-freeze during the winter months.
The condition of the old coolant was quite good. It came out looking very clean, considering the age of the car. That reinforces the CarFax reports showing regular dealer service. It had been changed a couple of times at least, and it was the same shade of green as Mazda FL-22.
Gone are the plastic radiator tanks, old rubber, and old-ish coolant. This car is ready for a baseline run at the track.
.
Last edited by Steve Dallas; Jan 20, 2017 at 10:11 PM.
Dang! Got that koyorad for a steal. It's the older model, no or is that the newer hyper whatchamacallit?
I'm jelly of your deal finding. I paid 280 for mine :/
Dang! Got that koyorad for a steal. It's the older model, no or is that the newer hyper whatchamacallit?
I'm jelly of your deal finding. I paid 280 for mine :/
It's the new version, part number VH060650.
Yeah. The vendor messed up on the base price, then put it on sale, then accepted a 20% coupon code with free shipping on orders over $99. That made the $19 radiator cap feel OK. That vendor no longer has it on their site, but Race Consulting Agency has it for $234 shipped right now, which is still a good price.
Koyo doesn't make the sexiest radiators in the world, but they provide good cooling capacity at reasonable prices and last forever in my experience. The real test of this one is how it does this summer. Charts and graphs will be posted.
December 10 was the Super Tramp's first outing at Motorsport Ranch in Cresson, TX, running the 1.7 mile track in CCW configuration. The goal was to get in a few clean hot laps to establish a baseline for this car on street tires, which were BFG Sport Comp 2s with a treadwear rating of 340.
Unfortunately, conditions were not quite what I had hoped. We started out in the low 40s in the morning, and the air was heavy with mist. As the day progressed, the temperature rose to 53F, but the wind picked up, and the mist never moved out, which made the wind chill colder. The track did not fully dry all day, unfortunately.
Driving in the morning conditions gave me an opportunity to learn the tendencies of the car and to get used to not having ABS. That experience basically involved learning that I'm not as good at threshold braking as I thought. By session 5, I was feeling confident and driving as hard as the weather would let me, but I was getting passed so much by the other instructors, that I was not able to establish a clean lap. Session 6 was a little better, but I still did not manage a single clean hot lap. On the last hot lap, I locked up the inside rear when braking from 105 down to 65mph and flat spotted a tire. I had a first-time novice student in the car with me, and rather than take her on an agricultural expedition, I decided to sacrifice that tire. There was no time to get out and back into the brakes without running out of asphalt. Otherwise, the day went without incident. The thump-thump-thump-thump of the rear tire on the way home was an amusing reminder of what happens, when I settle into habit and zone out on the details.
In my pseudo track prepared RX-8 on RC-1s, I normally run laps in the 1:28s on that track in that configuration (in better conditions). The best I was able to do in the Miata was a 1:40. I left 2 or 3 seconds on the table out there, but I at least have an idea of what the car can do stock.
I was pleasantly surprised by how well the car handled on its 13 year-old stock suspension. It was basically neutral and pretty easy to drive. As you can imagine, there was plenty of body roll to be had. It had a tendency toward corner entry understeer. It would take a while to set and transition, then would act mostly neutral on corner exit, with a slight tendency to oversteer in some corners. Push... Push... Wait for it... Zoom... Drift... Wheeeeee!
This is basically useless information, considering the outside ambient temperatures, but according to the logs, my coolant temp never rose above 197F.
I don't have any track pictures for you, so here's a photo of the flat-spotted tire for you to laugh at:
I found a guy on Craigslist selling a set of Miata rims with a nearly new set of the same tires. I talked him into selling me just the tires for $150 if I took care of the dismount. Now I have several more of these to destroy.
Has anyone broken your heart yet and told you that the '03 came with a T-F diff, not a Torsen? :(
I guess not. Mazda's spec deck says the LS comes with a Torque Sensing LSD, which I assumed to be the Torsen for some unknown reason. It makes sense for it to be a TOCHIGI FUJI LSD, since Mazda used them in RX-8s starting in 2003, and MX-5s starting in 2006. I guess that MX-5 usage came about sooner than I realized.
Mine has been fine in my 210 WHP RX-8 on the track for 4 years of abuse. While I have your expertise available, what am I giving up with the TF over the Torsen?
Yeah. The vendor messed up on the base price, then put it on sale, then accepted a 20% coupon code with free shipping on orders over $99. That made the $19 radiator cap feel OK. That vendor no longer has it on their site, but Race Consulting Agency has it for $234 shipped right now, which is still a good price.
Koyo doesn't make the sexiest radiators in the world, but they provide good cooling capacity at reasonable prices and last forever in my experience. The real test of this one is how it does this summer. Charts and graphs will be posted.
Haha, you're killing me. Oh well.
I got mine installed and running last night. Works well so far! I have the undertray off for a bit till I can get the intercooler piping etc figured out.
Reliability, mostly. You'll change the diff oil one day and chunks of clutch will come out. Just plan to swap it for a Torsen when it fails.
I can live with that. I go to the track upwards of 18 times per year and expect things to break. Being the luckiest track bastard in the world, it has not happened to me yet, but I won't be surprised when it does. Amusingly, had you not told me, I would have shrugged and sourced a used Torsen--never knowing the difference.
The next installment in The Sonnet of the Super Tramp is a suspension overhaul.
Coilovers
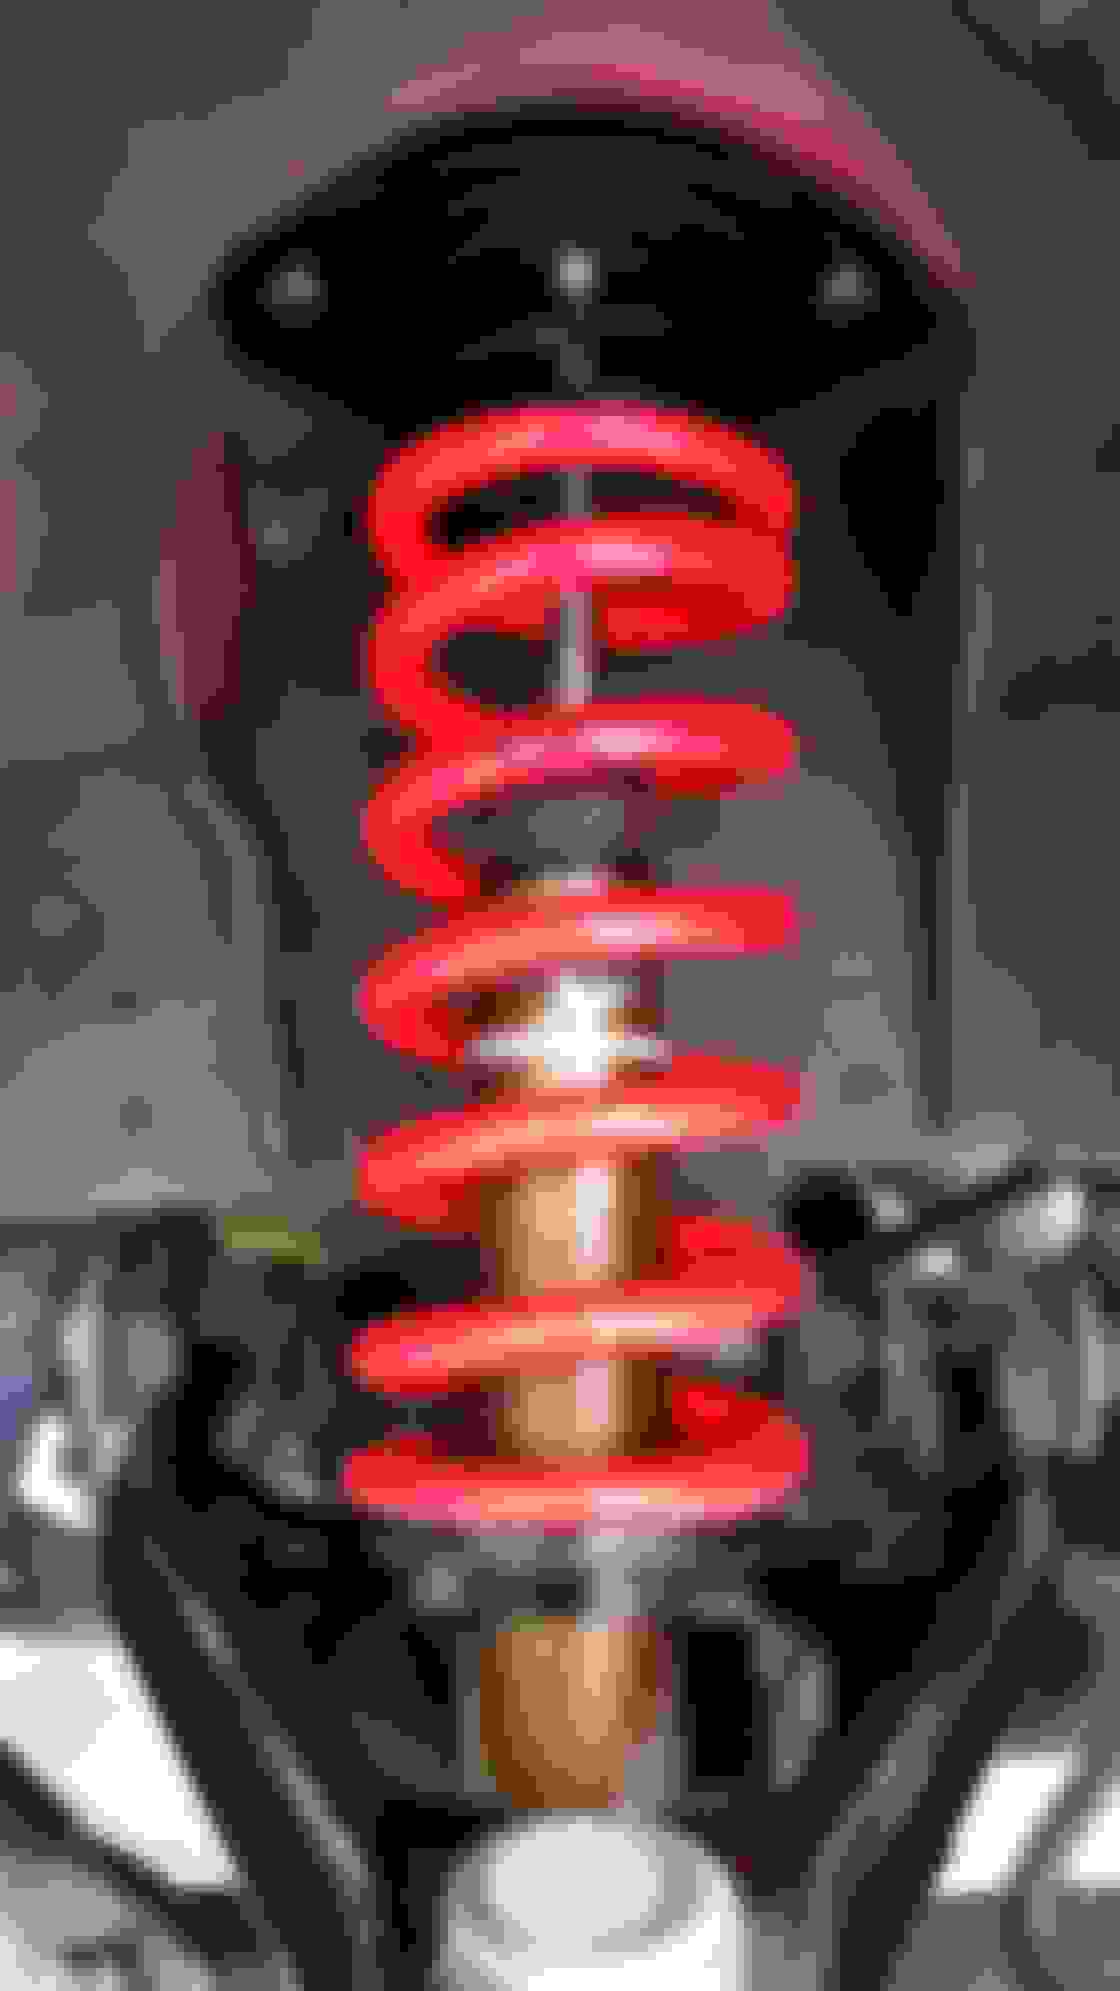
For a bit of background, I have driven a lot of cars at the track on a lot of suspension setups. Yes. Even that one. I am certainly no expert, but I do have my preferences. I also have a bad back. The RX-8 I am retiring from track duty is fitted with Ohlins coilovers.
FM's Fox setup eventually won out, although Xida coilovers were a very close second. I also took a long, hard look at Feal coilovers, considering their lower cost, and the fact that I don't have winnings on the line with what I do. The fog of analysis paralysis cleared, when I realized any of these options is better than I am, and I will likely never be good enough to outdrive any of them. So, made in the USA and serviceable in the USA won out over what might be a tiny performance advantage in the Xidas. I also like the idea of at least starting with lower spring rates and working my way up, only should it prove necessary. (Yes, that can be done with Xidas as well.) I can't help but think the 800lbs front springs 949 recommended would eventually sever what is left of my delicate spine.
In perusing FM's site, I noticed the NA version is available with new NB tophats and other bits for $100 extra. There is a photo of an assembled set of coilovers with those parts installed. Based solely on that photo and without a shred of reason to believe it might be true, my Grinch heart warmed and melted with the idea they might come that way and save me 30 minutes of assembly time and some storage frustration with the old parts (since they can now be stored complete). Yeah. That first part didn't happen.
At least the shocks are wearing condoms.
Thirty minutes or so with the parts and instructions later, and they were together. Interestingly, the instructions have you assemble them with the helper springs on top, but the website photos have them on bottom. I've never known it to matter with low-rate helpers, so I went with the instructions. Hey, when on top, they are technically sprung weight, right? RIGHT?!
There are several ingenious features designed into these coilovers. I'll leave most of them to be described by FM's web site. A couple of things I really like are the height adusters being clamp types, and the fact that the spring length plus helpers creates a preload situation under droop, that allows you to adjust ride height easily with 1 hand and without tools. Very nice. OTOH, I prefer the fixed preload approach used by Ohlins, JIC, and others, but FM and Fox designed the preload to be reasonable at the suggested ride height.
Speaking of ride height, the instructions give a spring perch location for the fronts and rears. Being that this is a heavier NB2 Miata, I added 1/4" to the recommendations, because I am far smarter than the folks at FM. Yeah. So. I'll be lowering the ride height by at least 1/4" in the near future. I really showed them!
Everyone knows the drill with regard to installing coilovers in a Miata. I did some other work and took my time, so I don't have an isolated time-to-install for the coilovers, but I would guess under 2 hours start to finish for this 1st timer to Miatas. Now that I have done it once, I'm sure I could do it in under an hour--assuming I have the fetching Mrs. Dallas to lend her 110lbs to stand on the rear lower arms and not be heavy enough again. Must start feeding that woman.
There is 1 installation note. We all know the importance of torquing A arms and suspension links under load. The instructions say to put the car on the ground, roll it back and forth a few times, then torque the specified bolts. Eh. The car is 4.75" off the ground at the pinch welds now. There is no way to get my puny arms in there, much less my fat head to see what I am doing, and certainly no clearance for a torque wrench to have any range of motion. Placing the car on 3" blocks still does not provide enough room to be useful. I'm sure this works if you have a tray lift or many more blocks.
My approach to this has usually been to 1. Put the car on the ground, bounce on the door sills a few times on each side, then measure the fender to center of hub distance all around. 2. Put the car back in the air and place a jack plus 1x4 block under the ball joint and jack up the hub to the previously measured height for that corner (the jack stand on that corner will become barely loose). 3. Torque the specified bolts. This accomplishes the same thing and saves a lot of time, frustration, and future old man soreness.
Front:
Rear:
Front adjustment is easy:
Rear is too, if you don't have junk in your trunk:
Initial ride height before settling and further adjustment. The extreme toe in you see is due to the lowering and added negative camber from the ELBJs I installed while I had everything apart. The steering wheel is not gay.
.
Last edited by Steve Dallas; Jan 19, 2017 at 10:11 PM.


 1
1


 )
)