When you click on links to various merchants on this site and make a purchase, this can result in this site earning a commission. Affiliate programs and affiliations include, but are not limited to, the eBay Partner Network.
Got plugs/wires done, cleared the CEL. It was a random misfire CEL. Nothing pointed to it being a coil or o2 sensor. Hopefully it doesn't come back, but regardless I'm running the car at another AutoX on sunday.
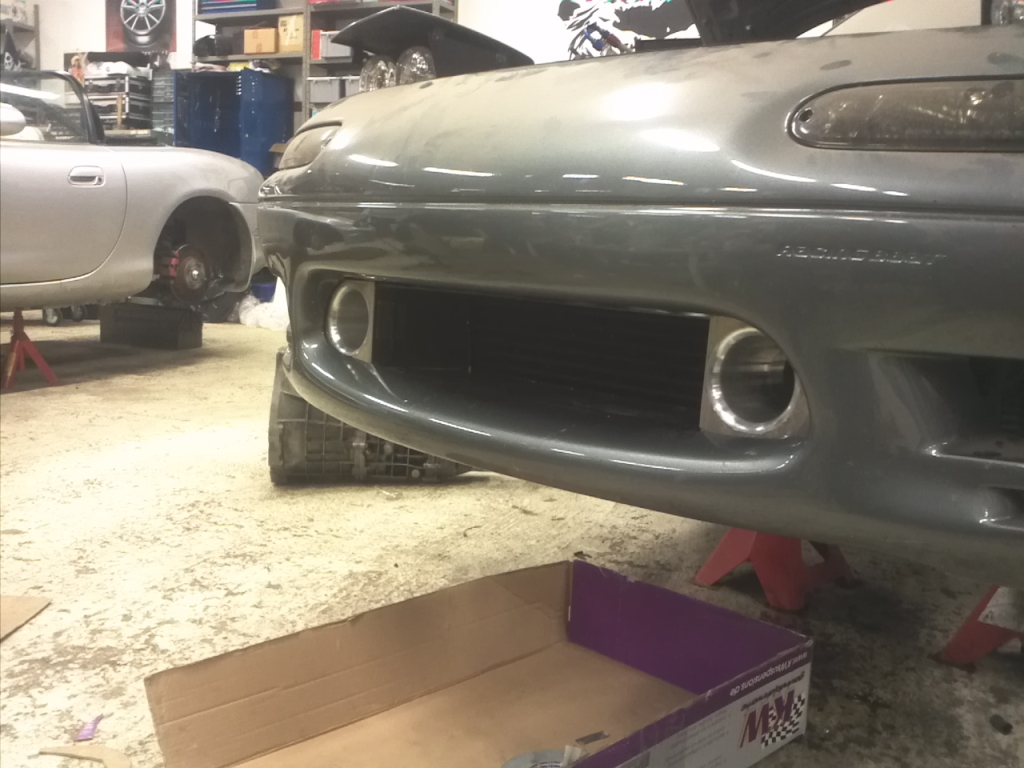
Currently working on a lip/splitter project for the car and while doing this it had me thinking about rad/brake ducting. Has anyone seen ducts like this put on an NB? I don't have fog light holes in my bumper and am between this and a feed directly from the rad ducting. There seems to be plenty of space in the bumper to run something like this.
This is how mud flaps are supposed to be installed right?
covered up most of the frontal area of the tires. Used 0.100" black HPDE sheet found at menards. Luckily I just had some laying around. Waiting on lip to come in the mail before finalizing it all
I believe those are custom made by hf-mx5t. That looks like his car.
Just realized that due to my tow strap, the passenger side inlet would be quite difficult to fit properly. Might scratch the idea and go with a rad duct brake inlet concept, which would be nice as then the brake ducts aren't connected to the bumper in any way.
Shooting to be able to remove the bumper/lip and splitter in under 2 minutes once this project is complete. Lots of overthinking (not many pictures) going on right now to make that happen.
I have a spare pair of NB1 fog light bezels.... my ducts are not attached to the bumper. They just sit behind the bumper pretty closely (i need to add some foam to seal it up) using the oem fog light brackets as attachment points, which would be easy/cheap to make copies of, or just source them from someone removing foglights. (Almost everyone, since NB1 foglights are doodoobutts.)
Would be more than happy to drop the bezels in the mail for you for the price of a 6 pack.
Lip came in the mail. Underestimated how low this eBay special brings the edge of the bumper. Currently sitting 2.5" off the ground which is going to be a bit obnoxiously low by time I toss the splitter on it too. still gonna send it!
It's sold as a NB1 GV lip. whether or not its actually any different from an eBay NA one? I have not a clue, nor do I care much. I'm making it work regardless. Splurged and bought all stainless hardware last night. Added corrosion resistance and its stronger than zinc plated, so win-win. Started mounting the cable points to the body and that's about as far as I got. Cutting out the plywood and painting tonight is the plan.
Made decent progress last night on the splitter. Took longer than expected to insure fitment was tight around the subframe as my template wasn't perfect.
Harbor Freight swageless fork terminals for 3mm wire are the bee's knees. Rated for 900lbs and very easy to work with. you can disassemble them if needing to vary the length of your cable (ask me how I know). Spent the premium and went with all stainless hardware so hopefully it stays looking pretty. Its stronger than the comparable size zinc plated hardware as well, so its got 2 benefits I suppose if you're willing to pony up with extra bucks.
I still need to mount the outside wire supports (they will be inside the bumper cover going to the unibody rail where the sway bar mounts), but even as it sits right now I'm able to stand on the center of the splitter without issue.
then finally got it painted with front tire spats completed. debating if i want to add a canard of sorts to help toss the air around the tire. The spats are an easy bolt-on option. This entire setup works pretty slick. I can have the bumper cover off with (4) 10mm bolts, (2) 8mm bolts, and the splitter off with 4 quick release hooks right after that.. doesnt take long at all, but i am planning on making the entire setup quick release eventually to make bumper/splitter removal a tool-free operation
It's pretty simple if you look at the first pic in my last post. There's an existing threaded hole in the unibody rail forward of the sway bar mount for the side supports. The front supports just use existing holes in the plastic bumper piece where plastic pushpins used to be installed from OEM.
id prefer to use a metal point myself, but its so damn convenient and I confirmed the splitter holds my body weight (175lbs) at its center with these mount points so strength isn't really a big concern. I suppose you could mount to the metal piece behind the plastic one, but I honestly didn't look into it much once I verified the plastic mount worked.
Finished 44th out of 150 RAW time this last weekend at the Road America Motorplex course. Final Raw Time Results
I'm 511. My co-driver is 521
It was definitely a horsepower course given the elevation changes. I didn't have any power to make it up the hills relative to many of the cars in front of me. The next closest HP car that beat me was ~35hp higher. Excuses aside, I was chasing my tail with getting the suspension setup with the new splitter. Impressive to feel the difference that a chunk of plywood makes as this is my first time dealing with aero ever. Had lots of oversteer on my first run. Xidas were set up at 8 clicks up from soft in the front and 6 in the rear prior to the splitter. Had better luck with them at 12 / 6 so far. Raked the BFW wing up in an attempt to balance it out. I've kept tire pressures as-is for now in an attempt to minimize variables changed. Confident I will get it figured out with a bit more seat time.
Also, didn't have any issues putting over 500 miles on the splitter setup so far. Amazing how much more stable the car is at 65+ mph with it. Mount locations seem to be working as intended (even the plastic crash beam ones). I've bottomed the splitter out a couple times on hard dips in road surfaces and its deflecting up like it should. Didn't even plan this, but the threads for the eye-bolts are taking all the impact when bottoming out as they are the lowest part of the design which is pretty nice. The more fragile plywood has remained untouched.
 09-08-2017, 03:44 PM


 0
0