When you click on links to various merchants on this site and make a purchase, this can result in this site earning a commission. Affiliate programs and affiliations include, but are not limited to, the eBay Partner Network.
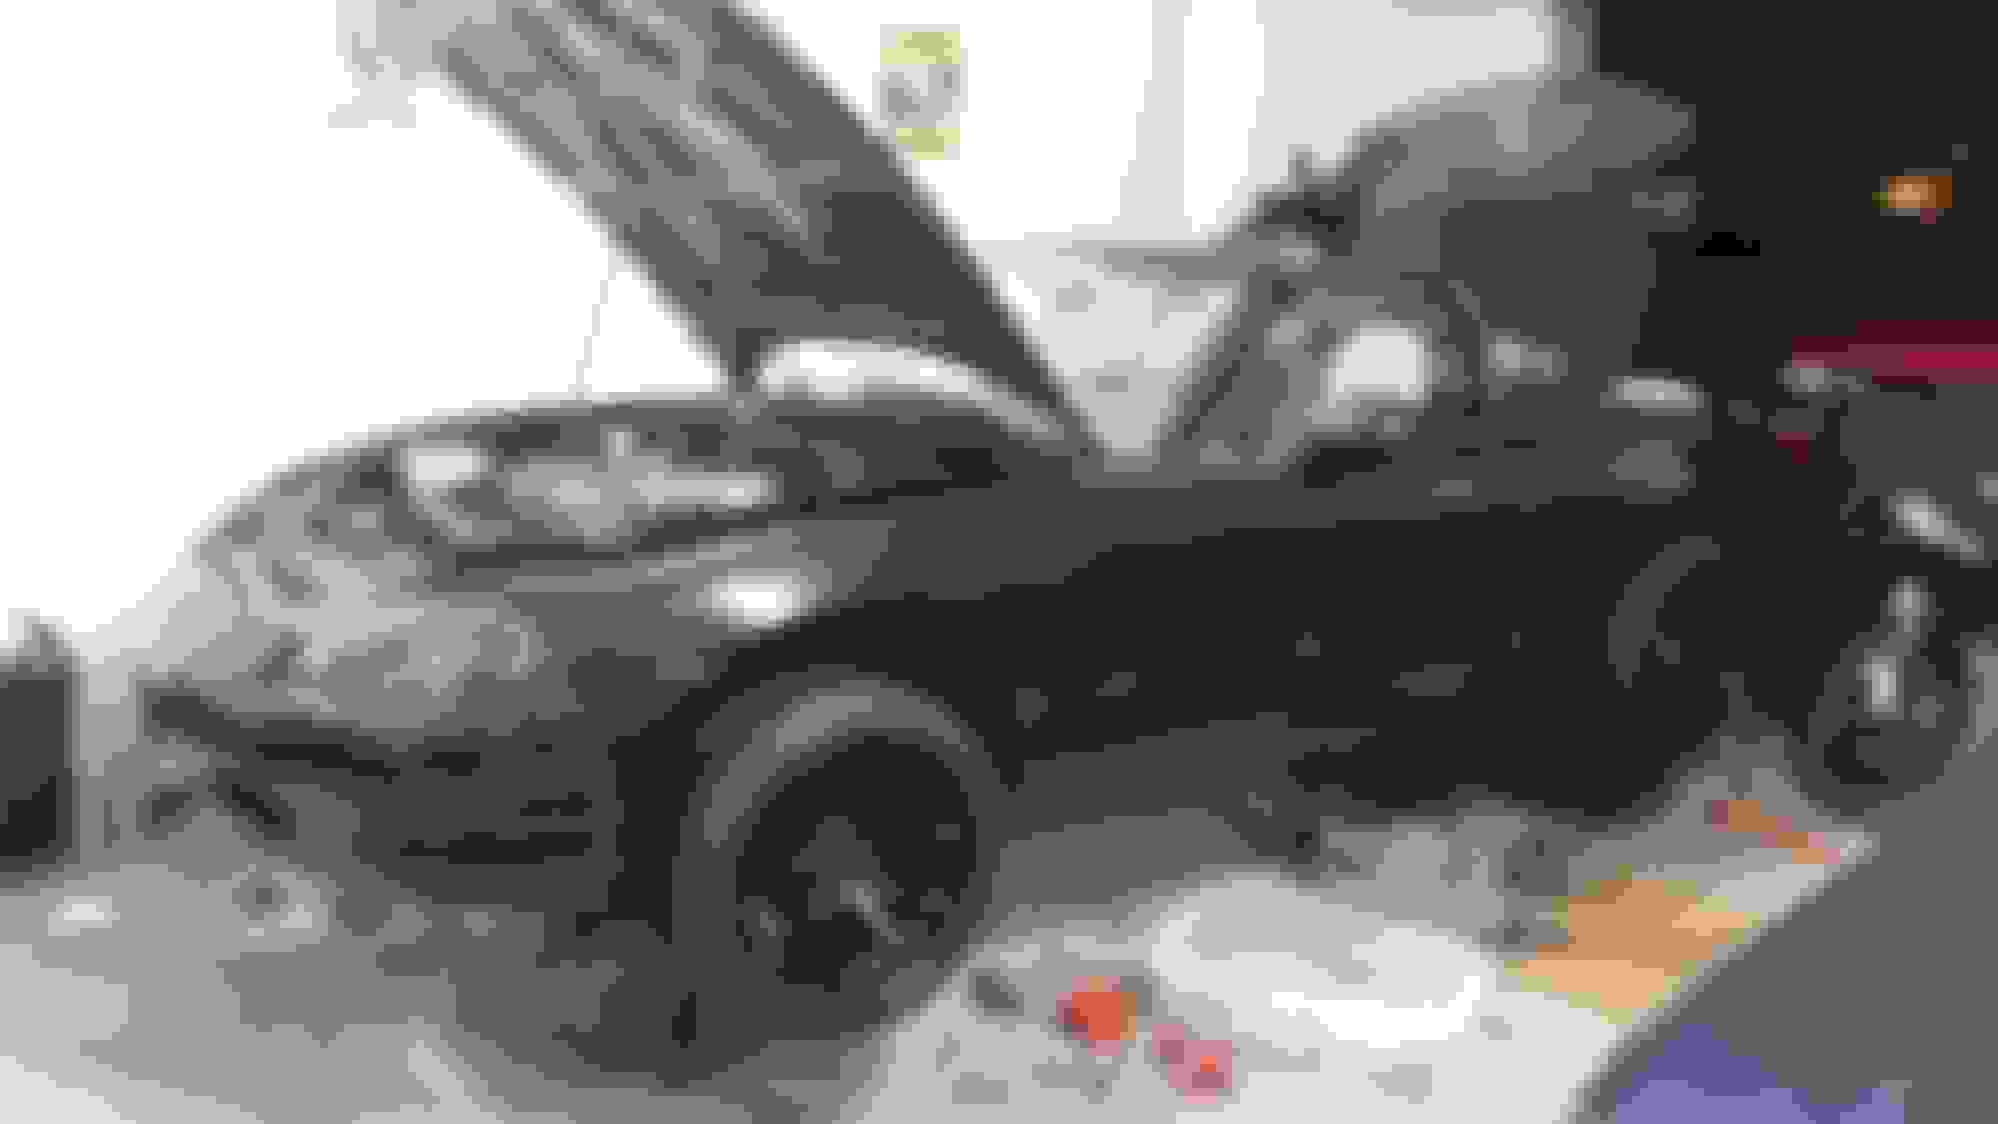
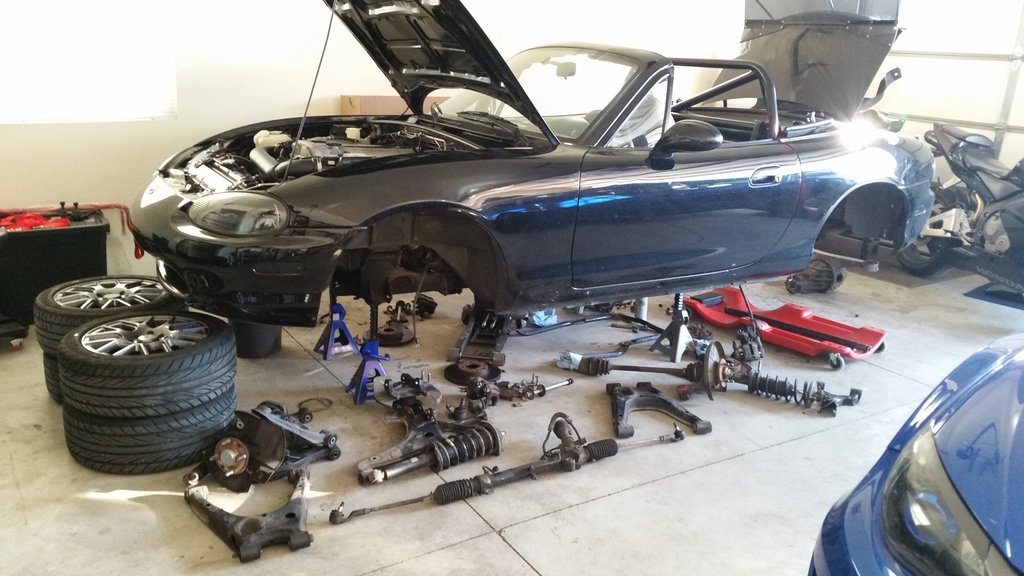
As of Friday it looked like a scattered dirty miata disaster. I had everything necessary pulled off the chassis though, so that was nice.
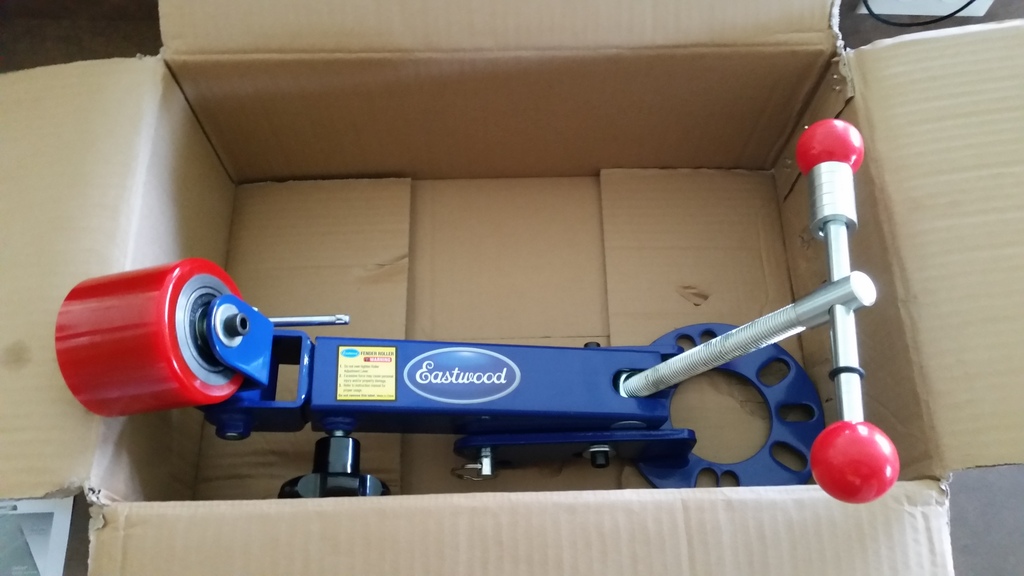
Planning for the future, I picked up a fender ruining mechanism
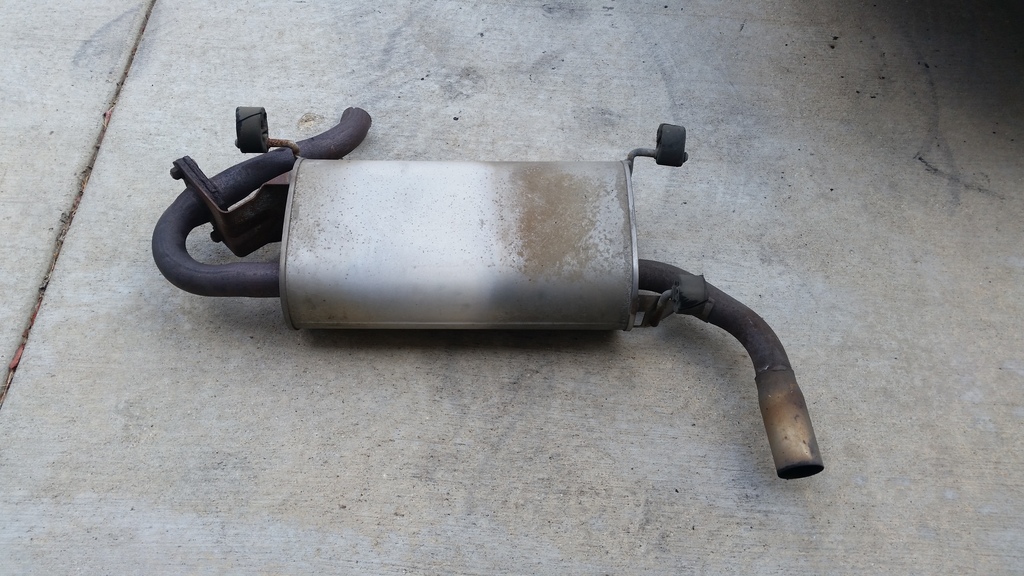
I made the executive decision that this was optional equipment on a car with a cat and resonator #weightreduction
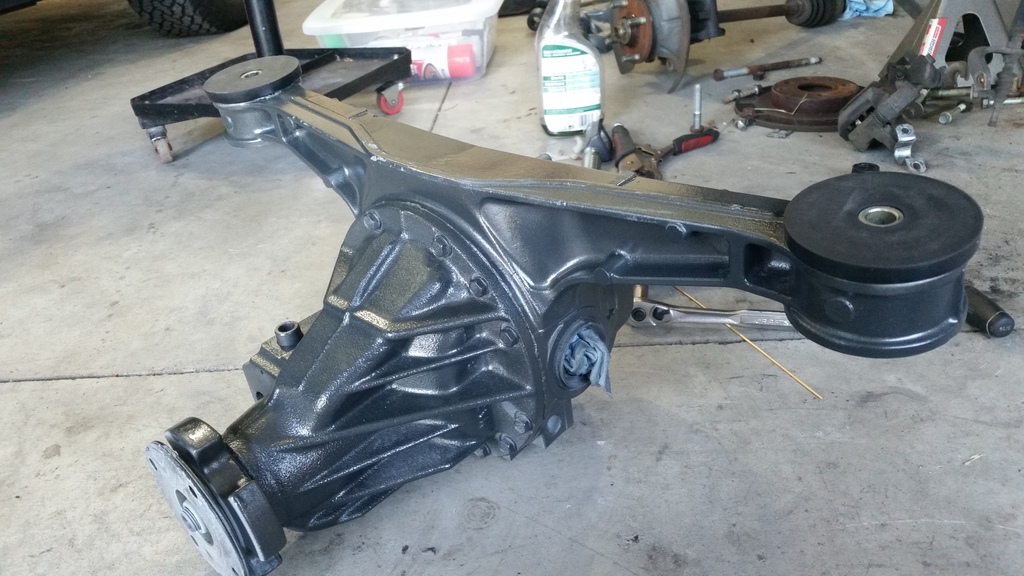
I burned diff bushings out when it was 95 degrees outside on Monday, which is as awful as it sounds. Got Poly's installed and shot it with a nice coat of paint to pretty it up while I'm at it
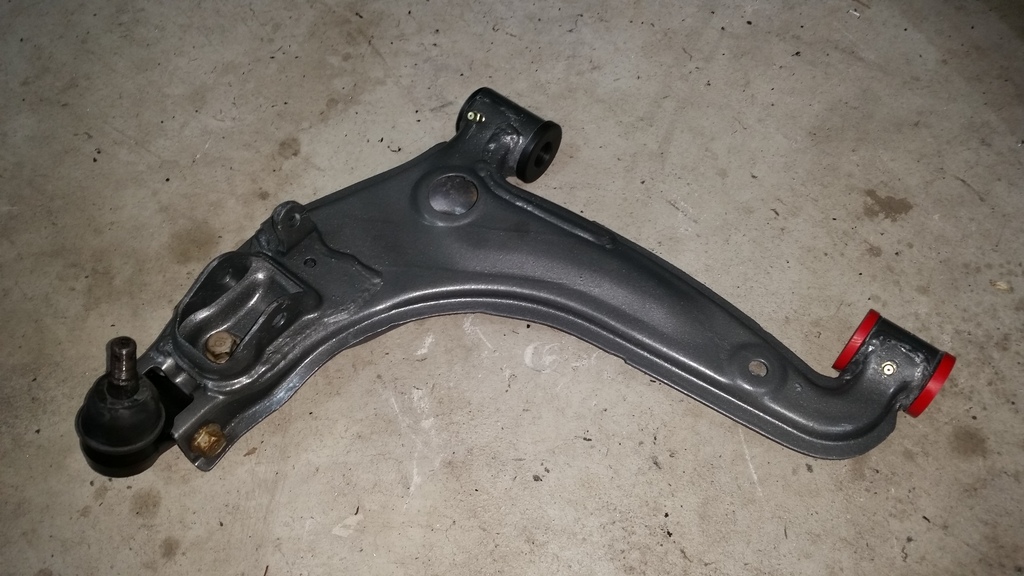
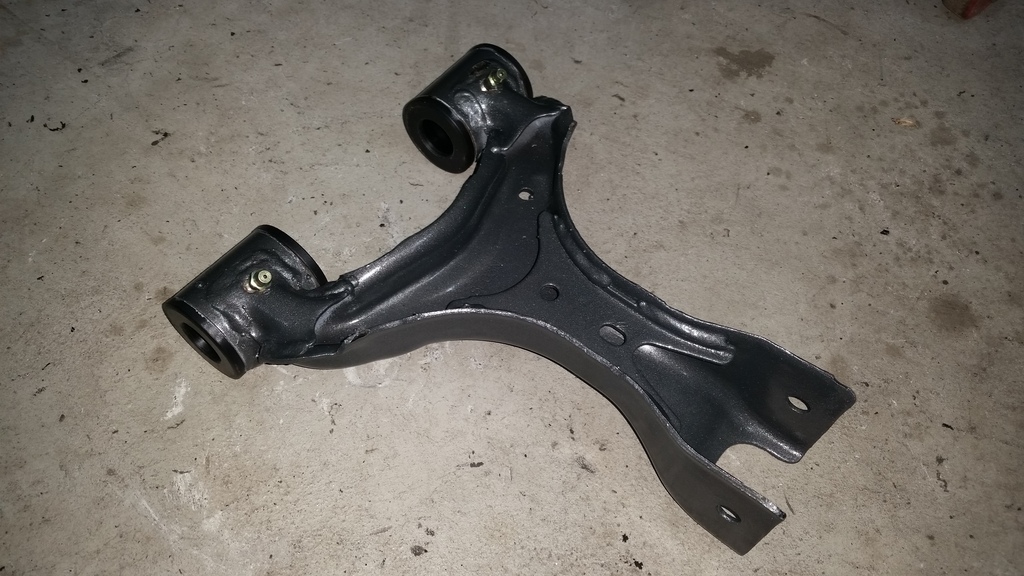
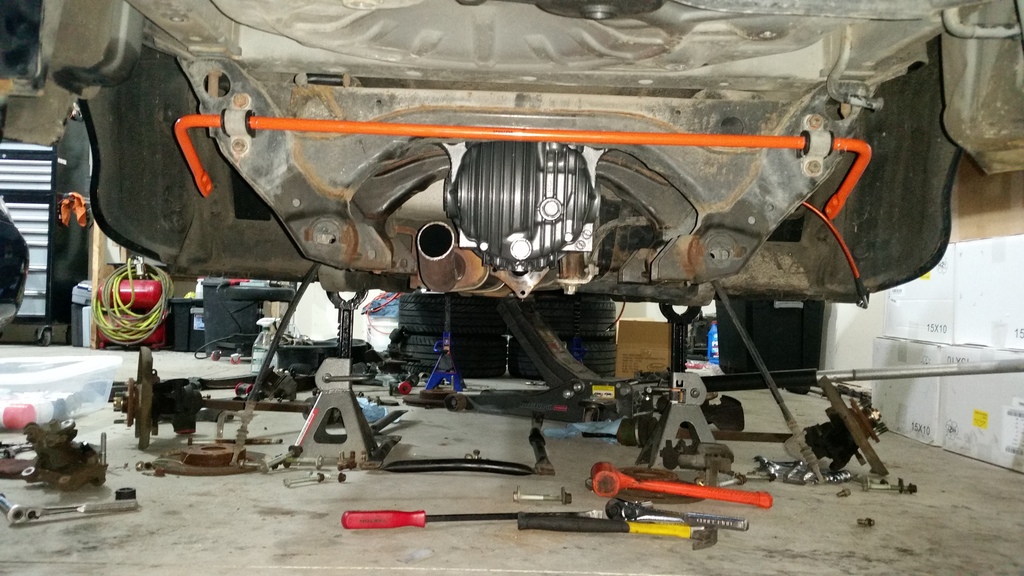
Currently in progress of removing surface rust from control arms, painting them, installing ELBJ, installing zerks, and installing NASA package Sadfab delrin kit. Here are 2 finished pieces
I'd just like to point out my inner unknown genius by painting control arms the color of anti-seize. Given its nature to get everywhere upon application, I bet you cant even tell where I made a mess.
And lastly, tonight I got the diff put back home which is a really fun task to do by yourself. Started bolting on orange things as well.
Rack Properly Depowered (Large end nut did NOT want to come out which made for a bunch of scary thoughts thinking I destroyed the rack tube threads, but all ended up ok)
Front Upper ball joint boot replaced.
Need to do:
Install new tie rod ends
Add diff fluid
Paint steering rack
Paint rear calipers to be just as fast as the fronts
Finish pressing in and installing delrin bushings in the RLCA's and FUCA's
Paint RLCA's and FUCA's
Bolt everything together (control arms, rack, coils, sways, endlinks)
Buy proper fluid (motul most likely?) and bleed the whole brake system manually
Yeah, in hindsight I'm so happy I ended up with these over 6ul's. Although both look good, the concavity on these is much more my style
Tonight I was having issues getting the rlca-o's pressed in place. So after some thought, i got creative with a 5/8" threaded rod, some washers, and some nuts. The bushings pressed right into place afterwords with some simple wrench action. $5 well spent
After finishing pressing bushings in (which addmittedly took long than it should have without ideal tools), I got zerks installed, masked them off, and got the last of the control arms painted up after removing surface rust
hoping to have the car on the ground by friday as I would like to take it on a cabin trip for the weekend of the 4th. Likely will just run the old tire setup however as I don't want to rush myself on the fender job. I'll save that for next week.
Had a friend stop over and give me a hand which made progress a lot faster.
Depowered rack painted up then installed with new tie rod ends.
xidas installed
All control arms greased/installed
ball joints and tie rods tightened
I got antsy and wanted to see how the wheels would look.
taking a half day at work tomorrow to finish up what's left:
Paint rear calipers
Install all calipers
install sway bars and endlinks
fill diff with fluid
bleed brakes
tighten down all bolts
set ride height
Eyeball alignment then toss on old tires for the weekend shakedown driving
next week after vacation I'll focus on rolling fenders and getting the car properly aligned and corner balanced with the jongbloeds on. Can't wait!
car is all bolted together with an eyeballed alignment on the old tires/wheels. That said, I took the car for a drive down a rough section of road with the xidas and sways on full soft. I don't know how, but I think it rides smoother than it did before all oem even with the sadfab delrin kit. Can't freaking wait to get an actual alignment on it with the rs4s, but that'll be next week
I have the pinch welds set at 4.5" all around.
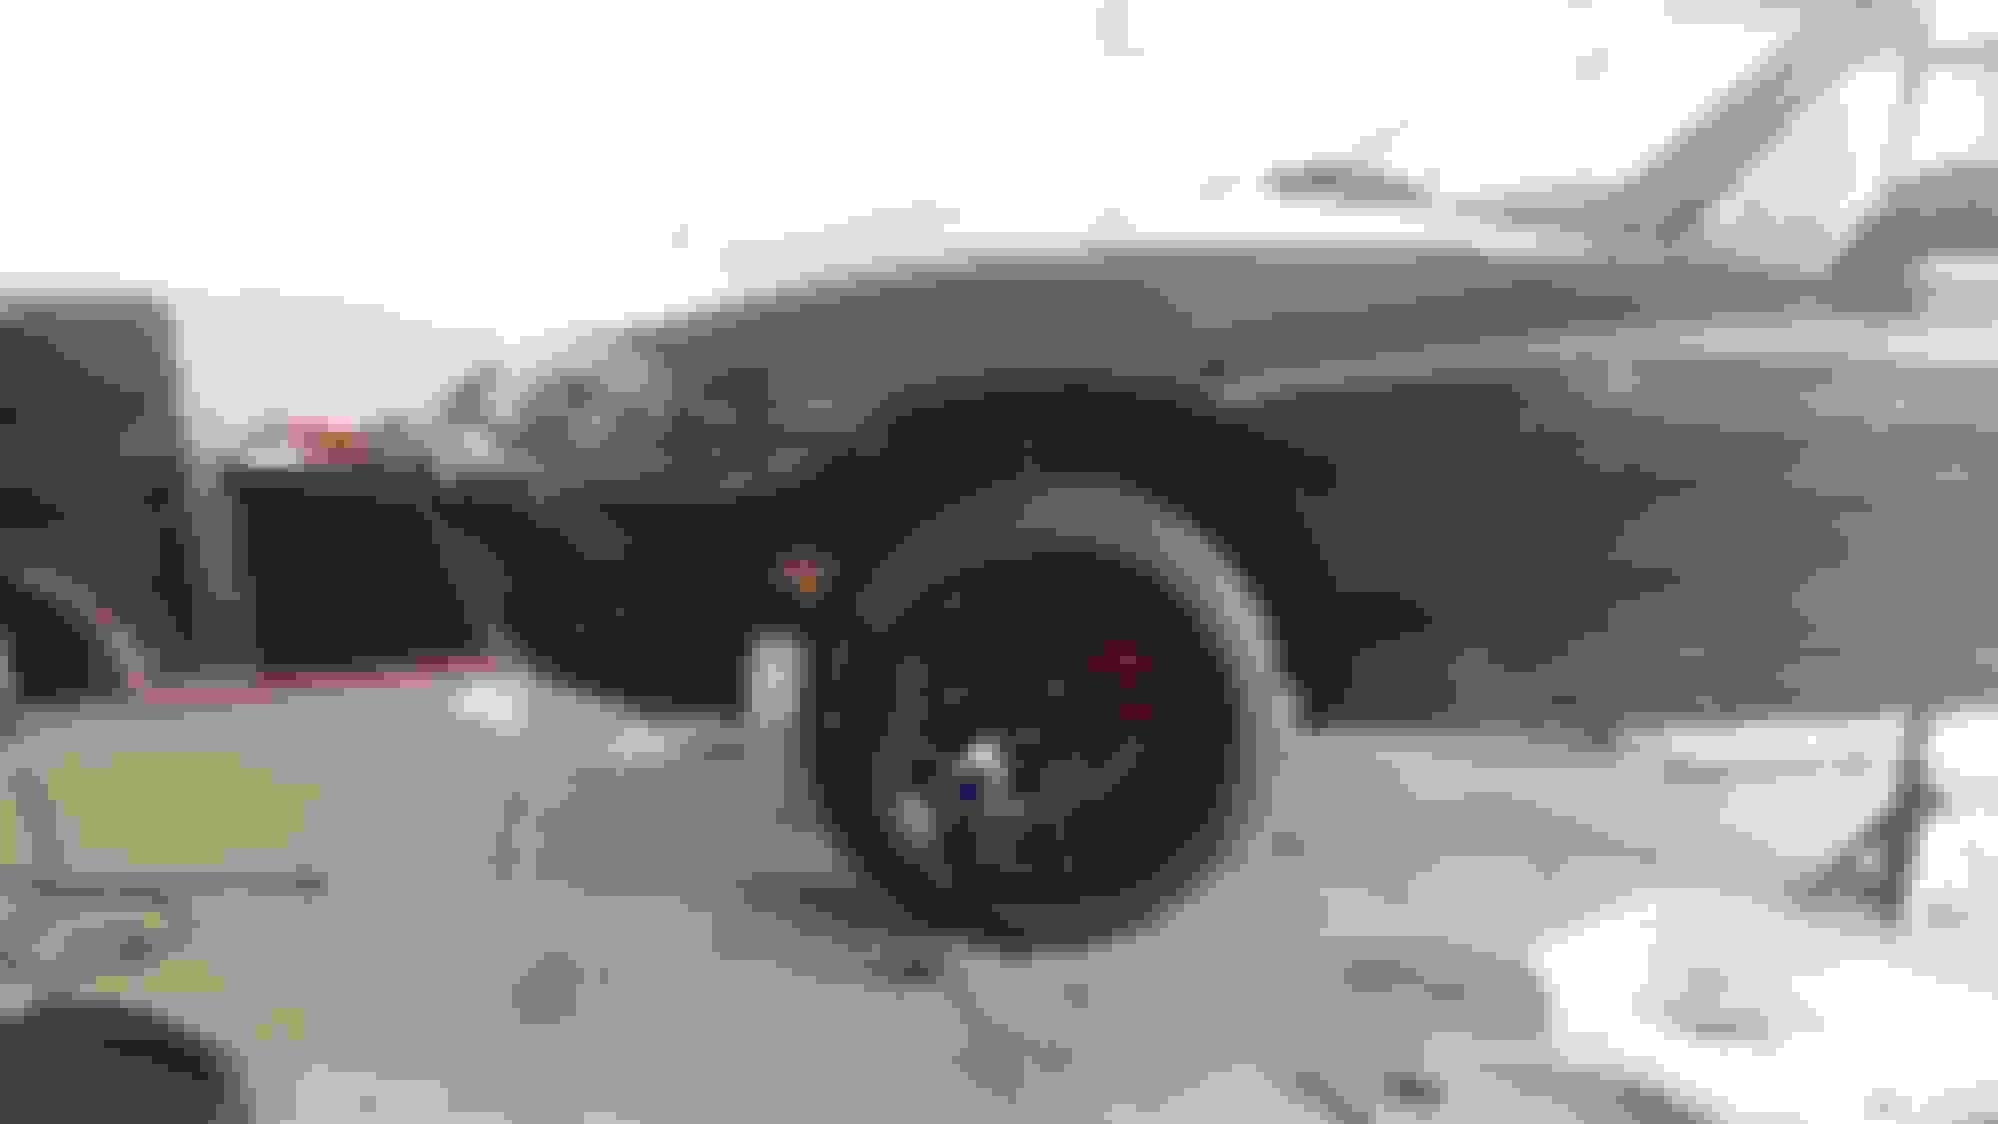
And just because I wanted to see how it looked on the 10's while messing with it... the orange calipers are a bit brighter than I was hoping for, but once they get a little dirty they should tame down a bit. They look a bit darker while hidden behind the wide wheels. Glad I didn't go standard red..
Looks great. I still have to roll my fronts but the rears came out great. Take your time and don't skimp on the heat. I probably had them to about 130 degrees, I couldn't hold my hand on the paint. This allowed the paint to be flexable and not crack. Good luck.
Xidas are amazing, I have 900/500 and I hit a section of the highway that's a spine breaker in my stock daily a few time and it's way more comfortable. That's not even on their full soft setting. And agreed on the heat, give it lots so it doesn't crack
Thanks for the tips. It'll be my first time rolling fenders so I'm going to be referencing the college of YouTube prior to tackling it. The eastwood roller also came with a programmable heat gun with temperature control. If I recall correctly it said to shoot for 120 degrees or so to keep paint pliable. Hoping it shouldn't be too bad.
So break-in weekend on the suspension went pretty well overall. Got about 350 miles on the car without a major hiccup or rattle to track down, so yay for nailing that all down the first go. A couple notes:
The upper heim on the front driver side sway bar endlink made contact with my coilover body, thus flattening the threads on the body pretty good. Not exactly happy about that, but it is what it is at this point. I have since adjusted my sway bar to the stiffer setting in the front to move the heim away from body. Hopefully this fixes the issue.
Stopped at a friend who races spec Miata and got the suspension all sorted with a string alignment. For the sake of my documentation here's the specs.
Specs I set up:
Front
Camber: -3.3 degrees
Caster: MAX (didn't have the tool to measure on hand). Steering effort isn't bad at all FWIW
Toe: 1/32" OUT
Rear
Camber: -2.9 degrees
Toe: 1/16" IN
Ride Height
4.5" at the pinch welds with me in the car.
Corner Weights (with me in the car)
LF: 631 lbs
RF: 597 lbs
LR: 611 lbs
RR: 576 lbs
Cross Weight: 1208 lbs (50.0%)
Total Weight: 2415 lbs
Curb Weight (without me in the car): 2240 lbs
Overall the car drives fantastic as-is prior to before, but I'm VERY tire limited on the old tires that are on the car now. Will begin the fender rolling process tonight to get the RS4's fitted. Started out the weekend with the xidas set at click 0 all around and have since moved up to 8 Front and 6 Rear. Still more playing around to do there, but overall made a lot of progress over the holiday weekend.
I didn't know a pull was necessary. I might have to go back to get that done
The rear DEFINITELY needs a pull. I have 2.9 degrees of camber in the rear and it just clears. the front could get away with a flat roll although I did a mild pull on those as well to be safe
 06-16-2017, 12:20 AM


 0
0