
James II - The lightweight ITB NB build


Thread Starter
Junior Member
Joined: Jul 2013
Posts: 85
Total Cats: 48
From: Norway
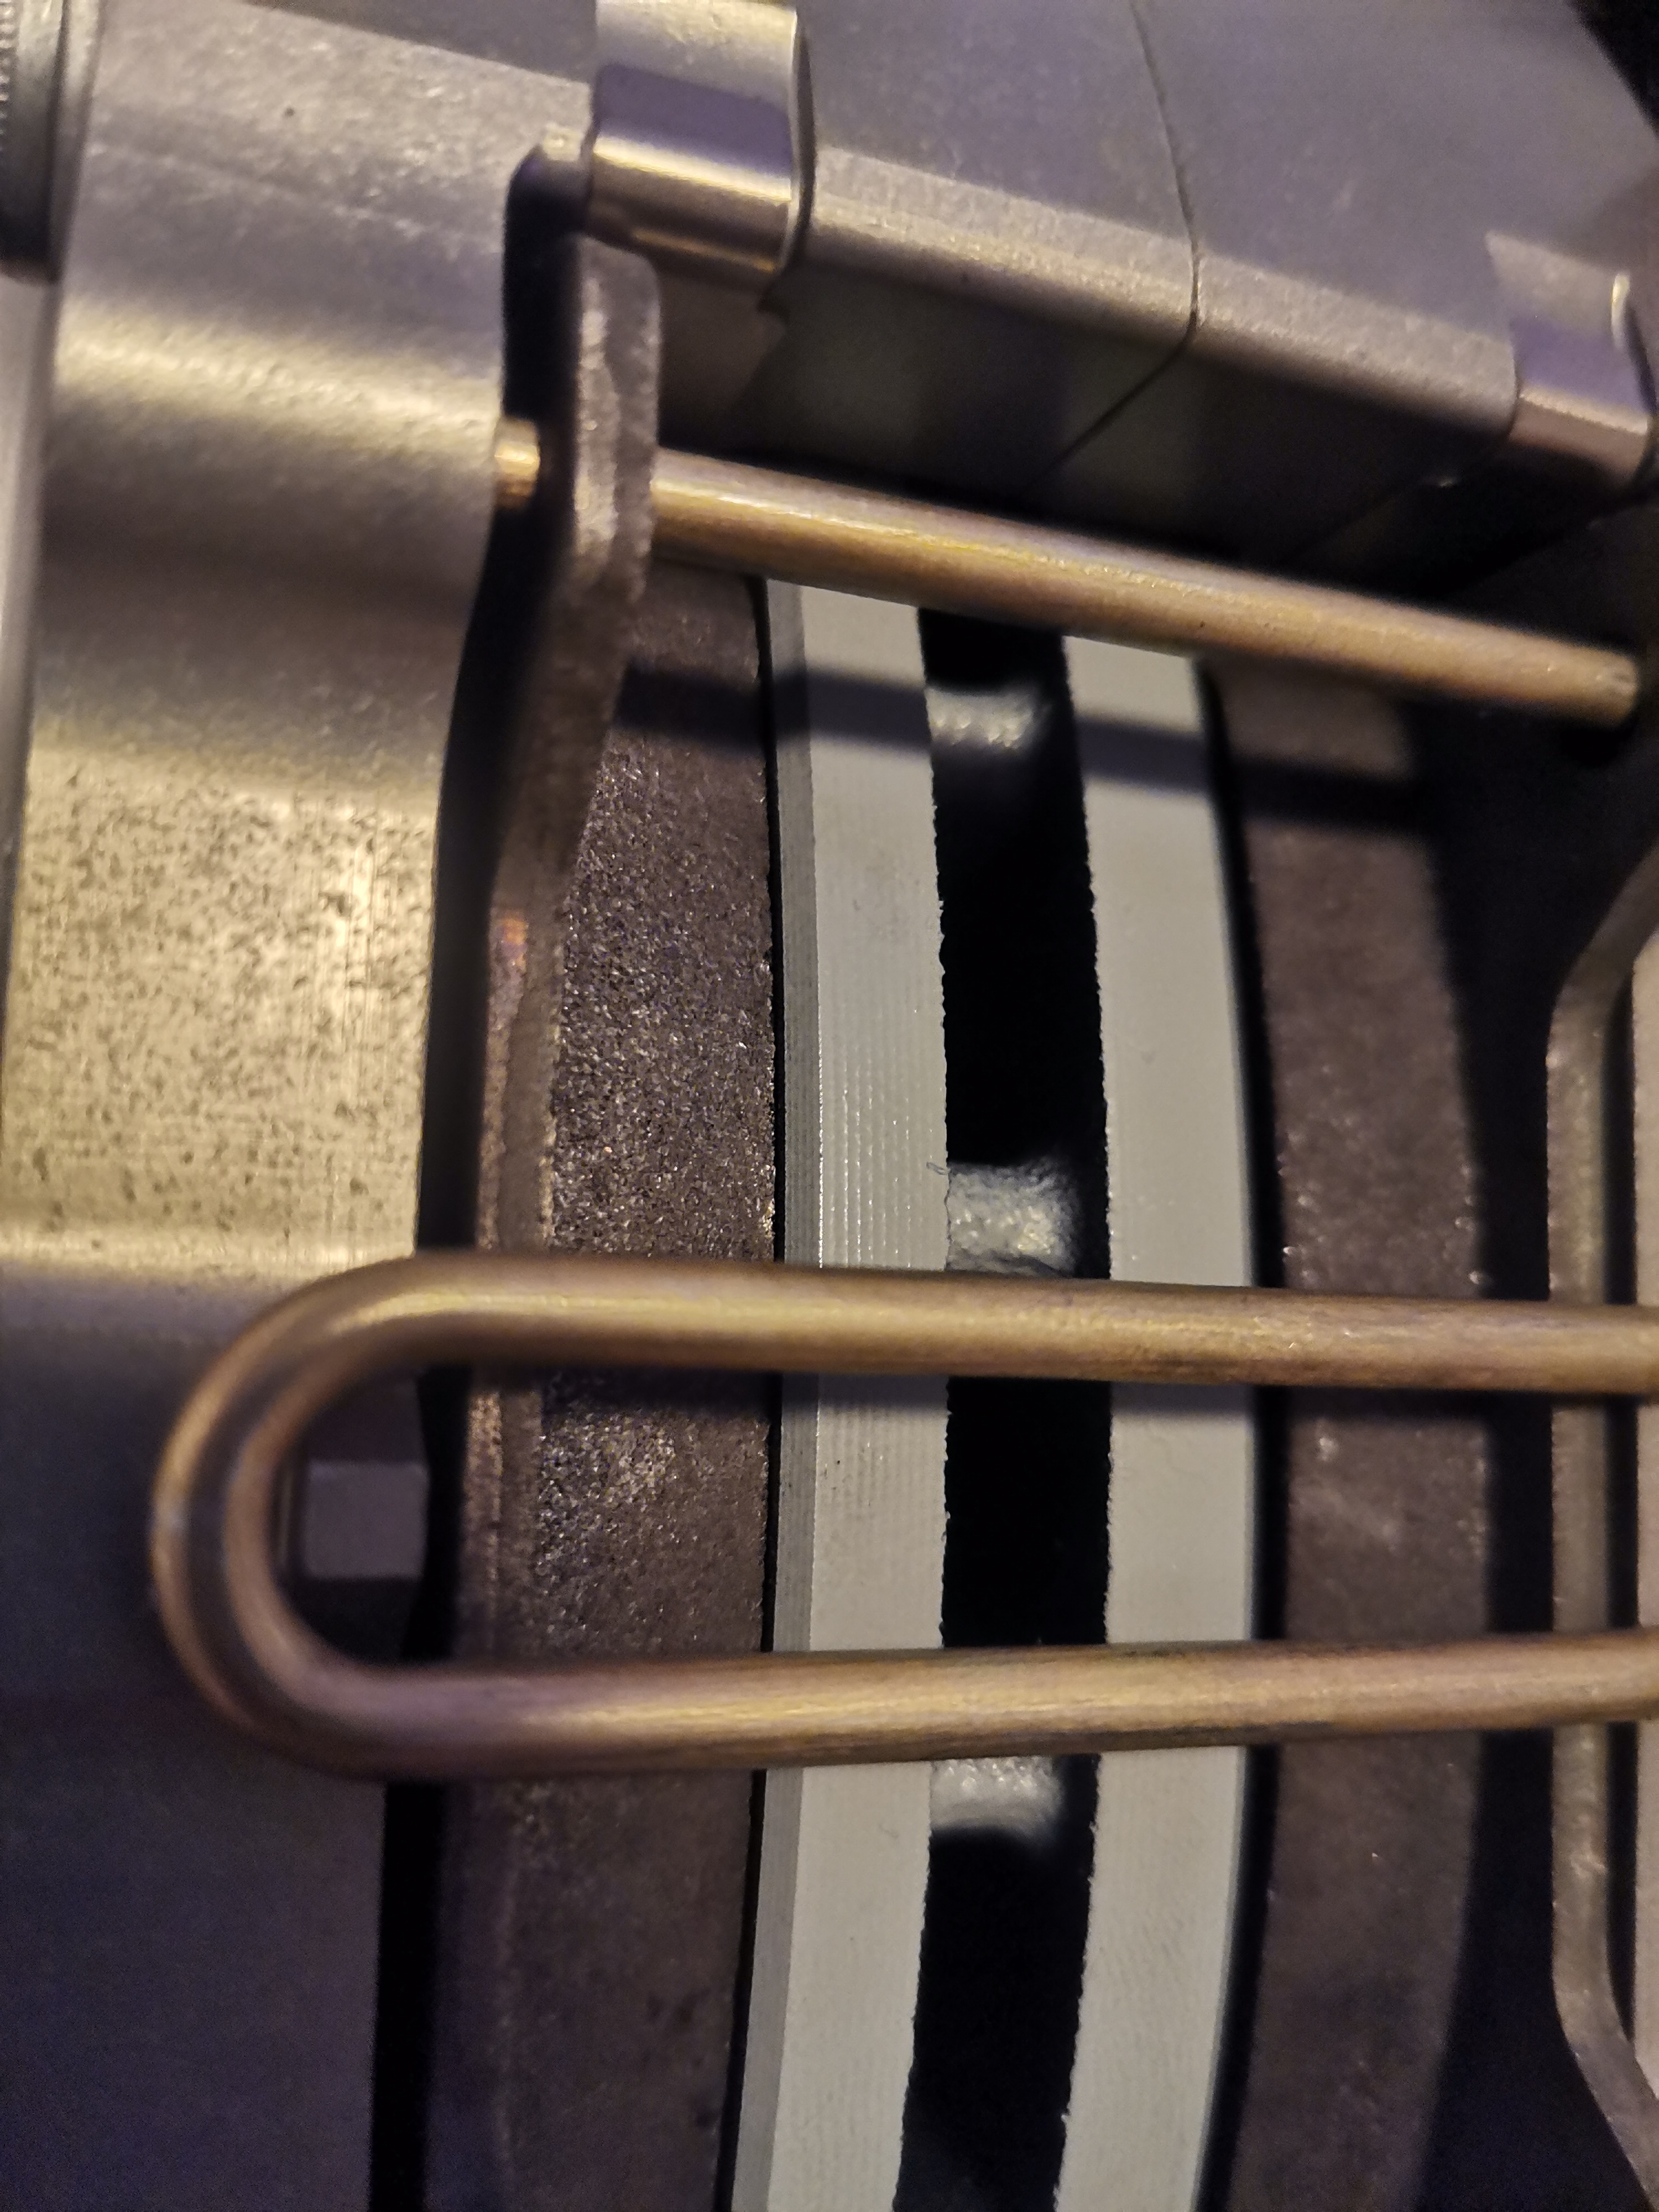
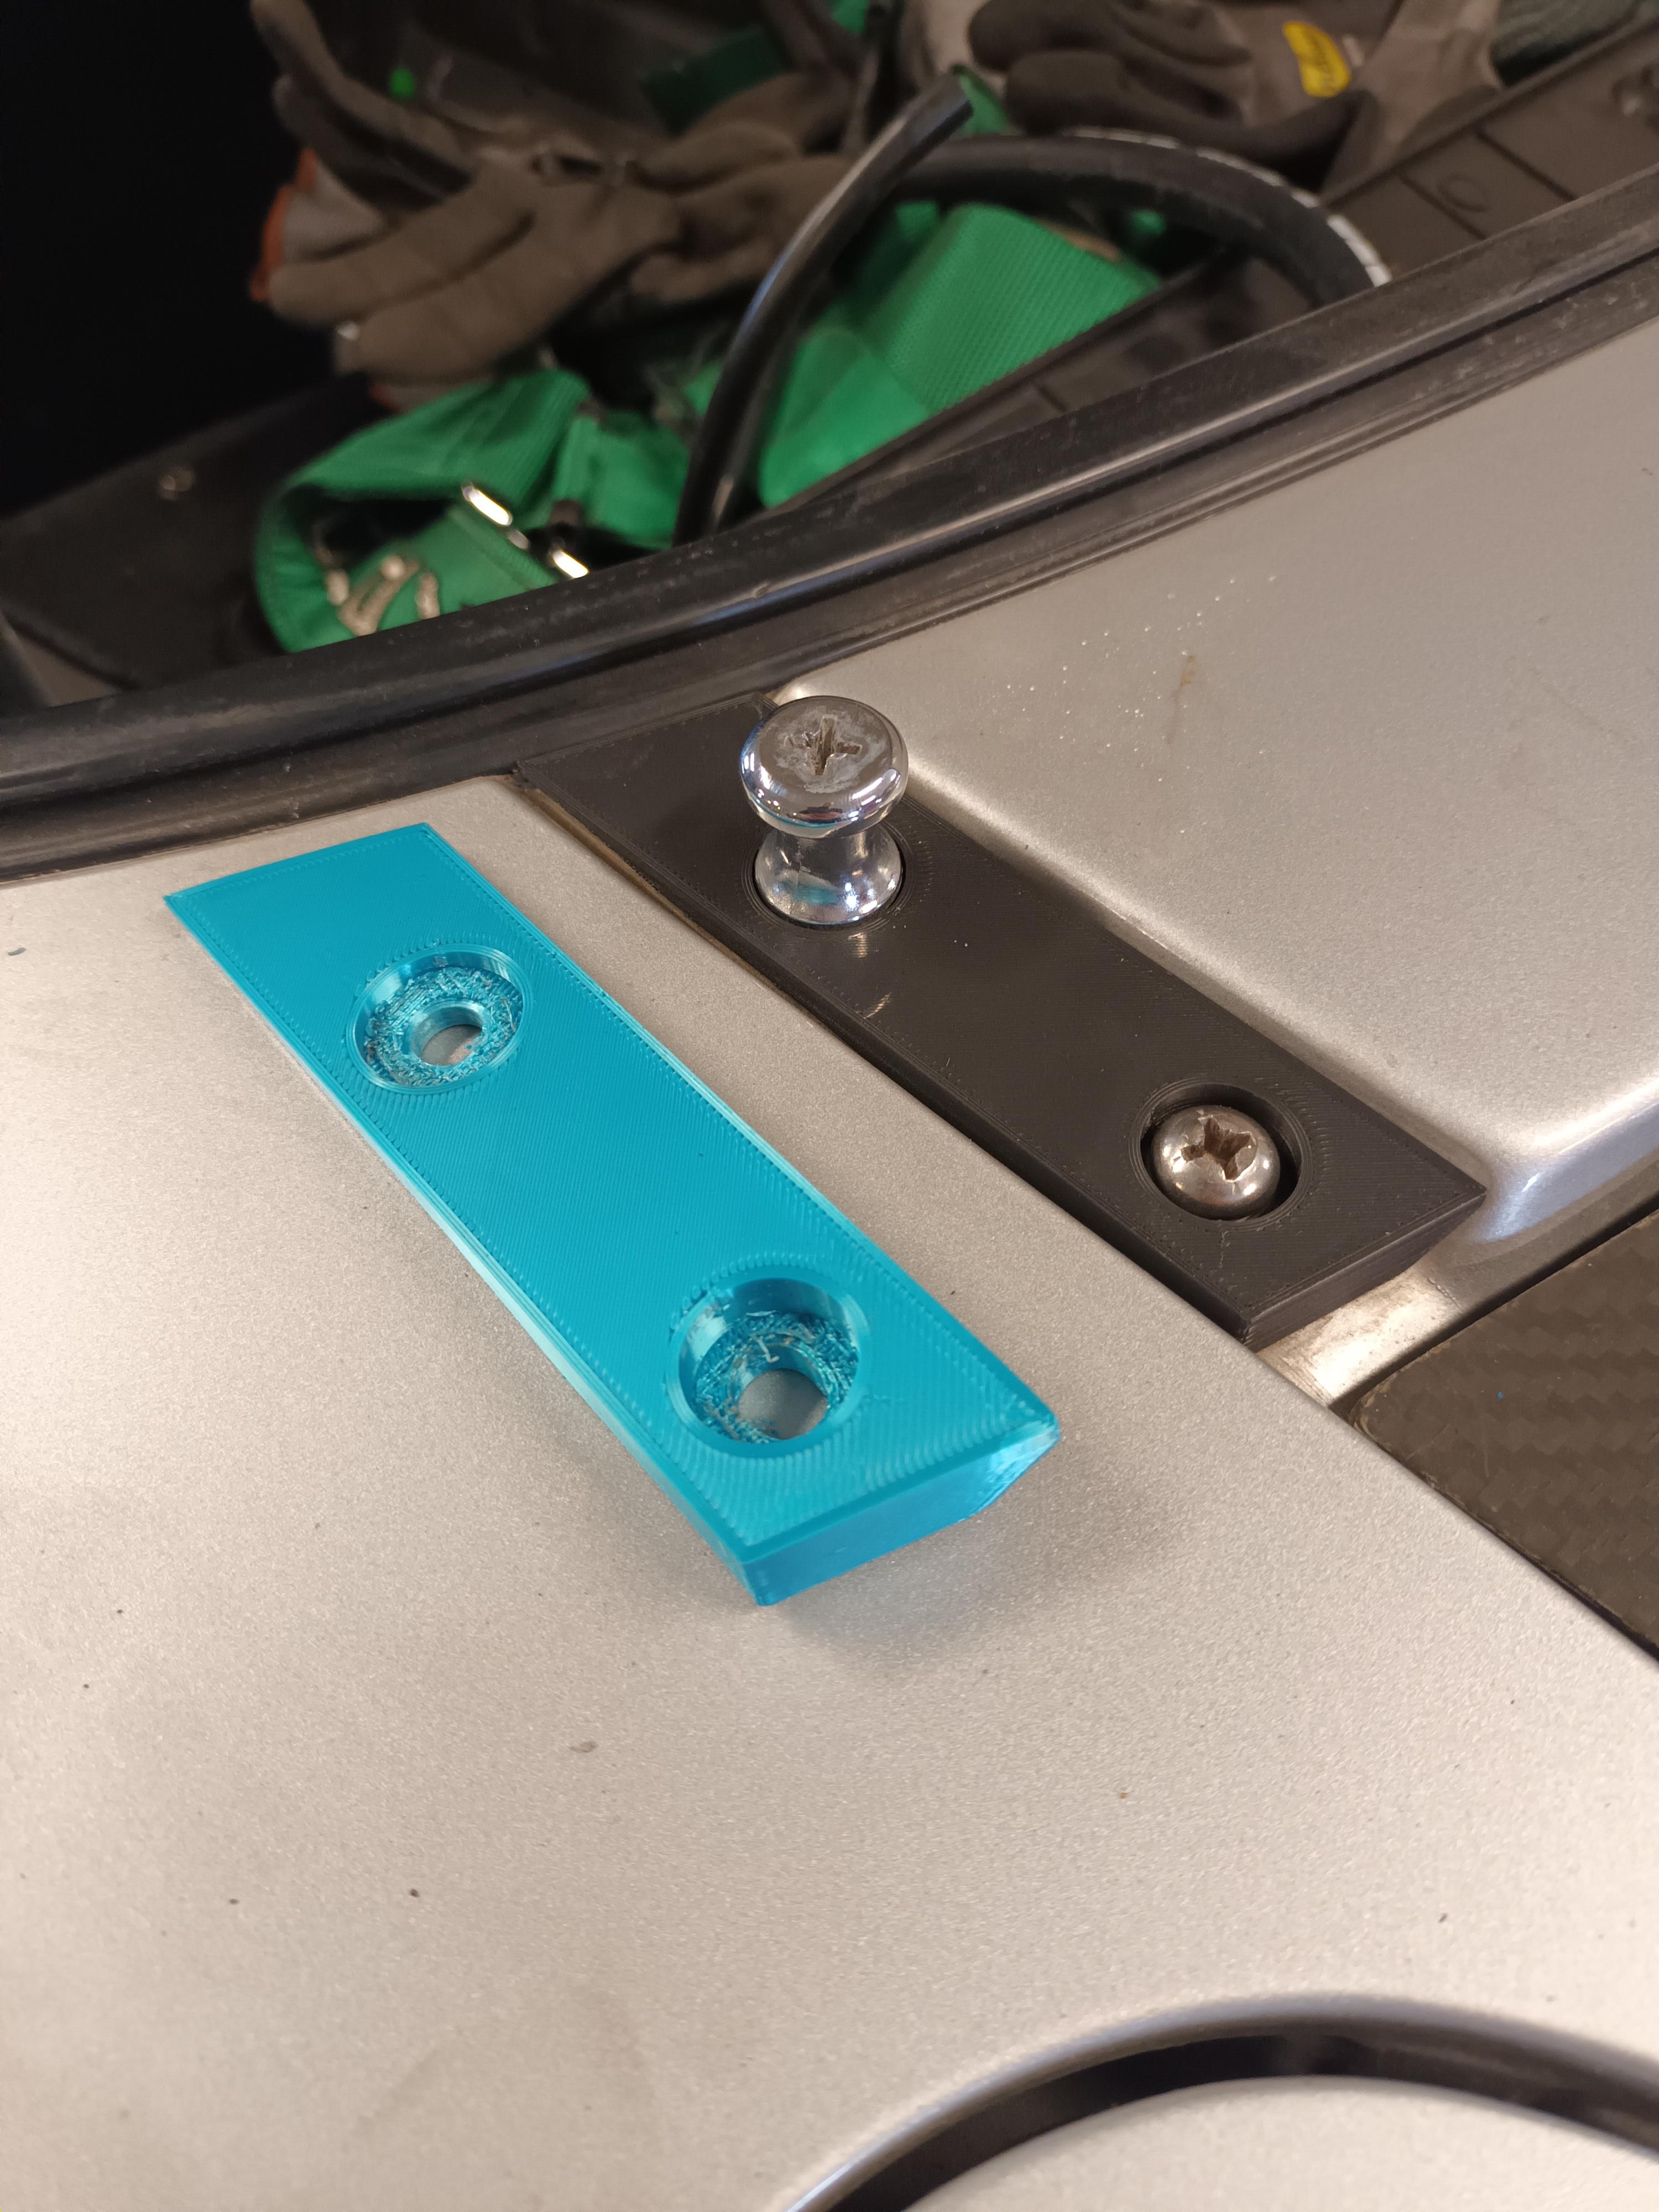
Update on the brake kit. After some 3D print 'trial and error' I got the mounts sorted out. Now I would only need to adjust the offset when the brake disc arrives.

I also updated the first post with the actual weights of what I have removed. It's almost 400lbs now! The brake kit should tip it over.
I also updated the first post with the actual weights of what I have removed. It's almost 400lbs now! The brake kit should tip it over.
Reply
 2
2

2
Thread Starter
Junior Member
Joined: Jul 2013
Posts: 85
Total Cats: 48
From: Norway
A bit of an update on the car.
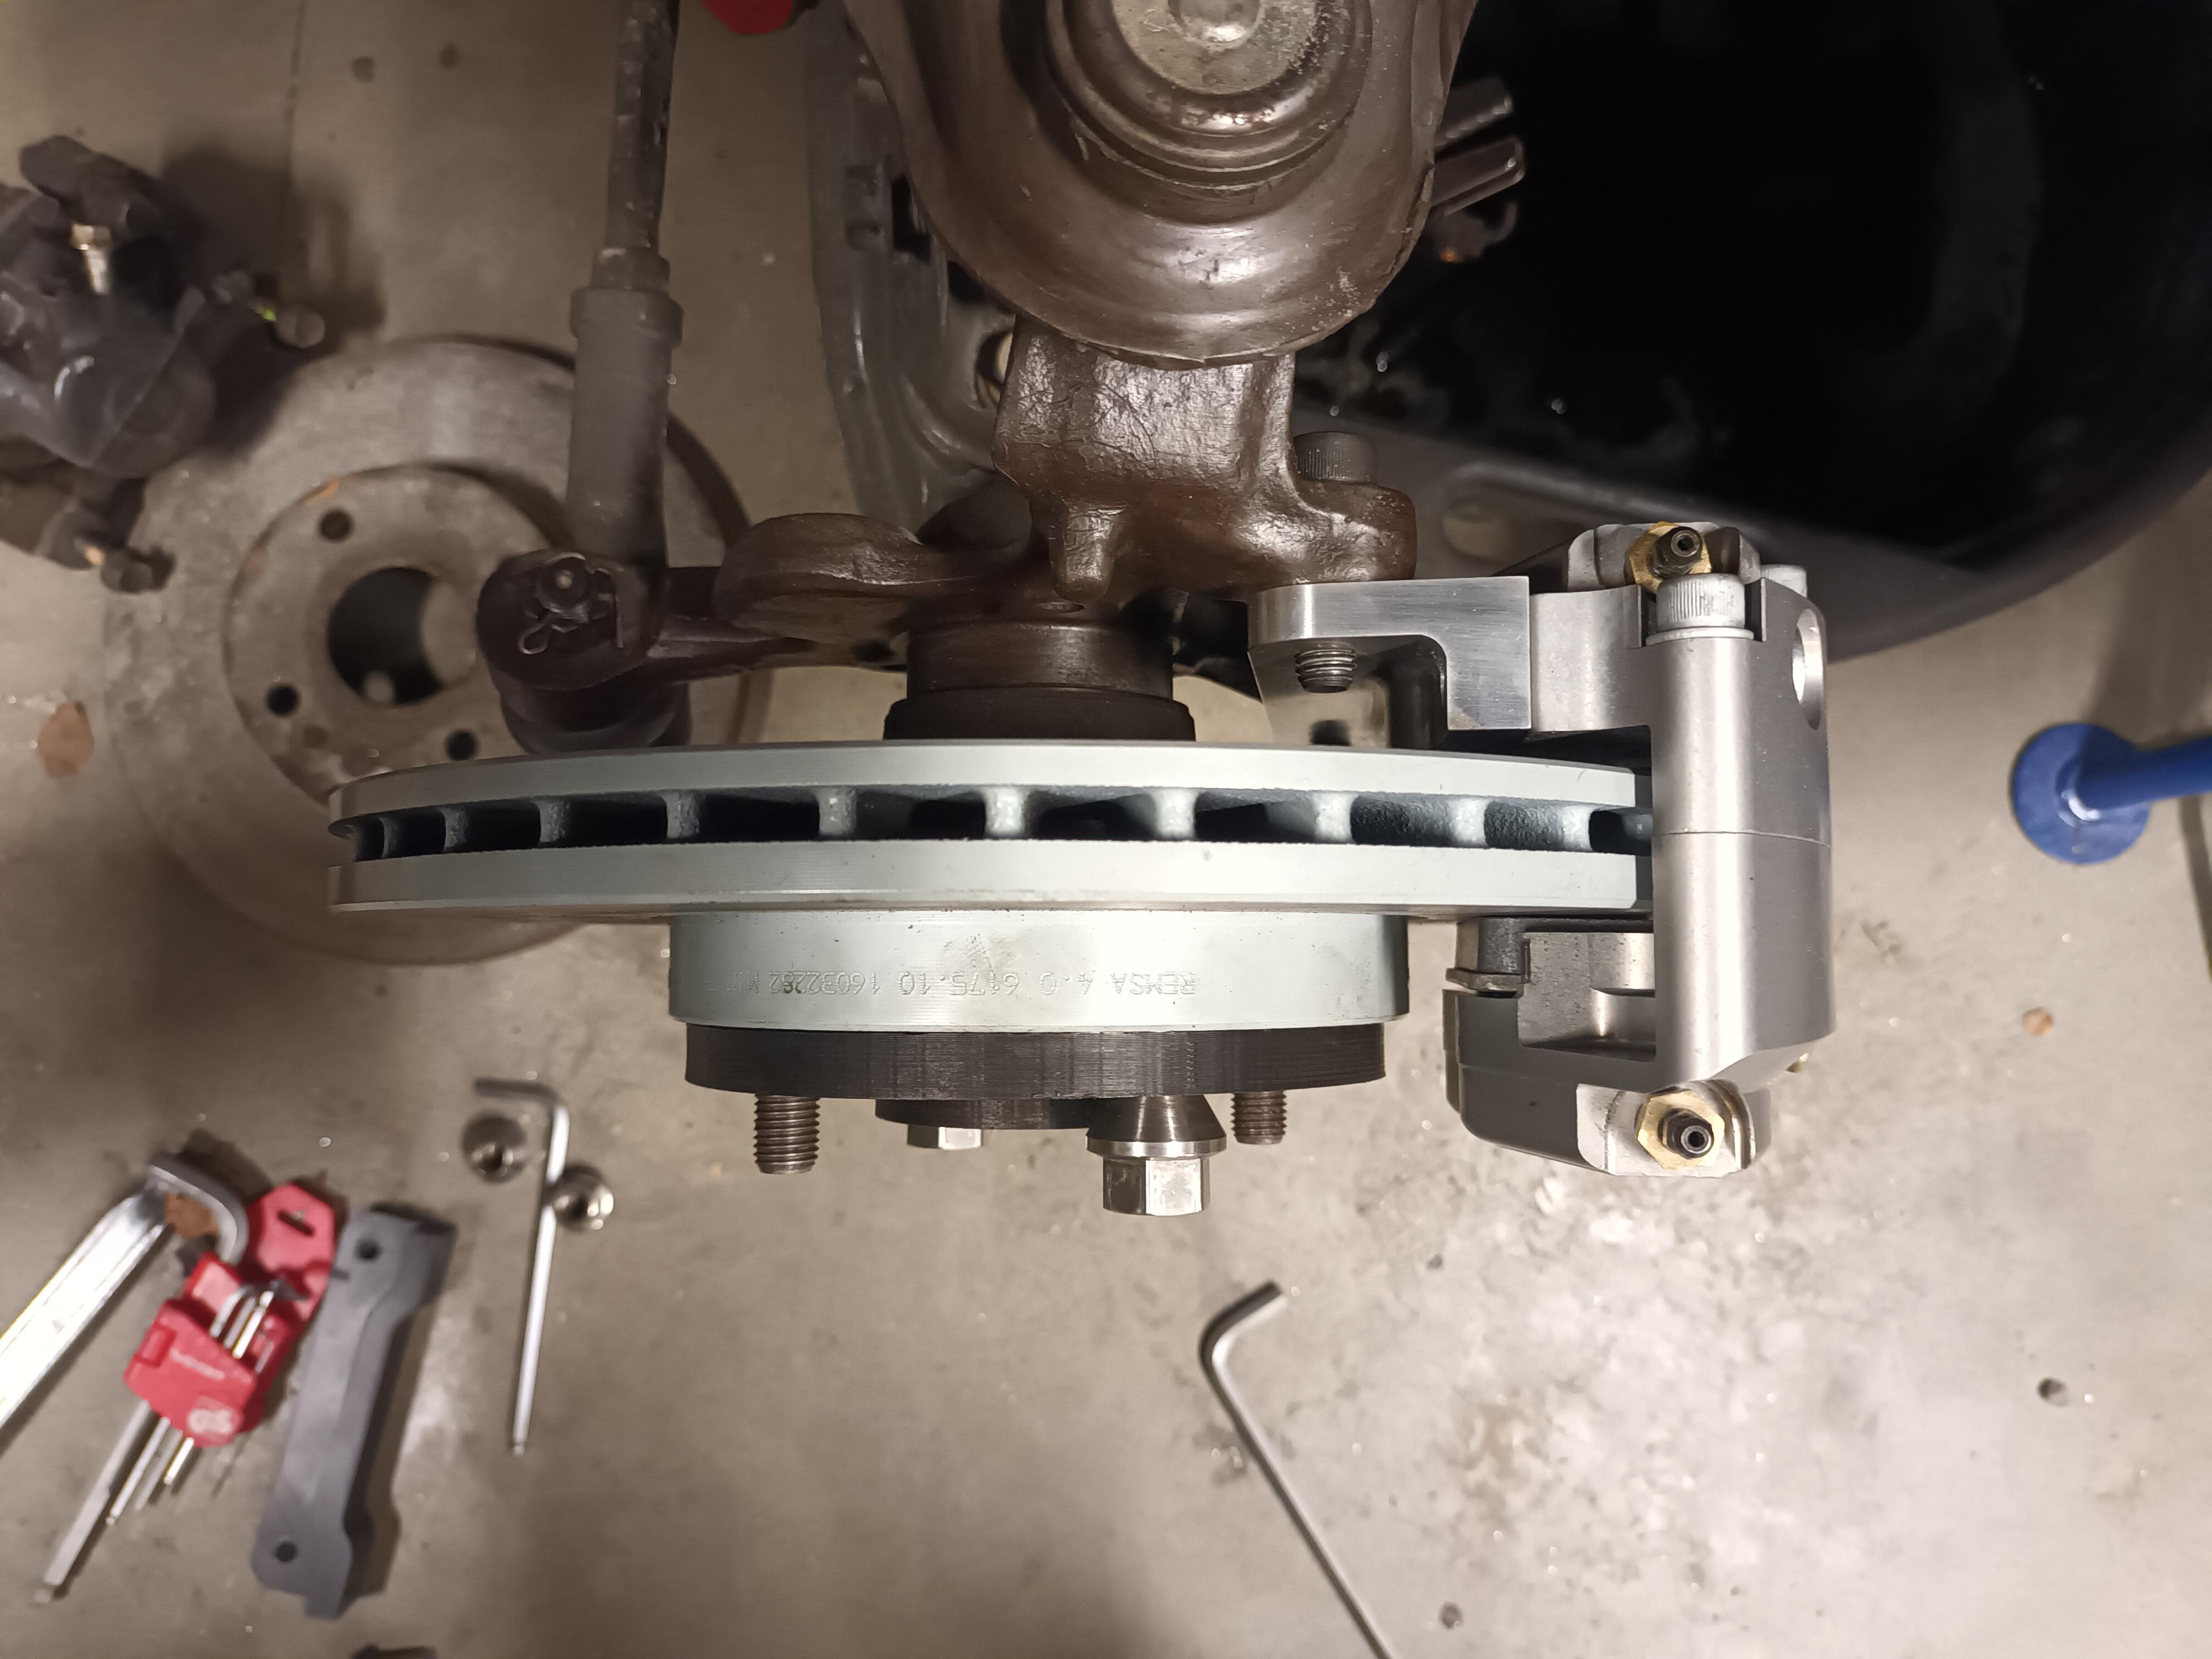
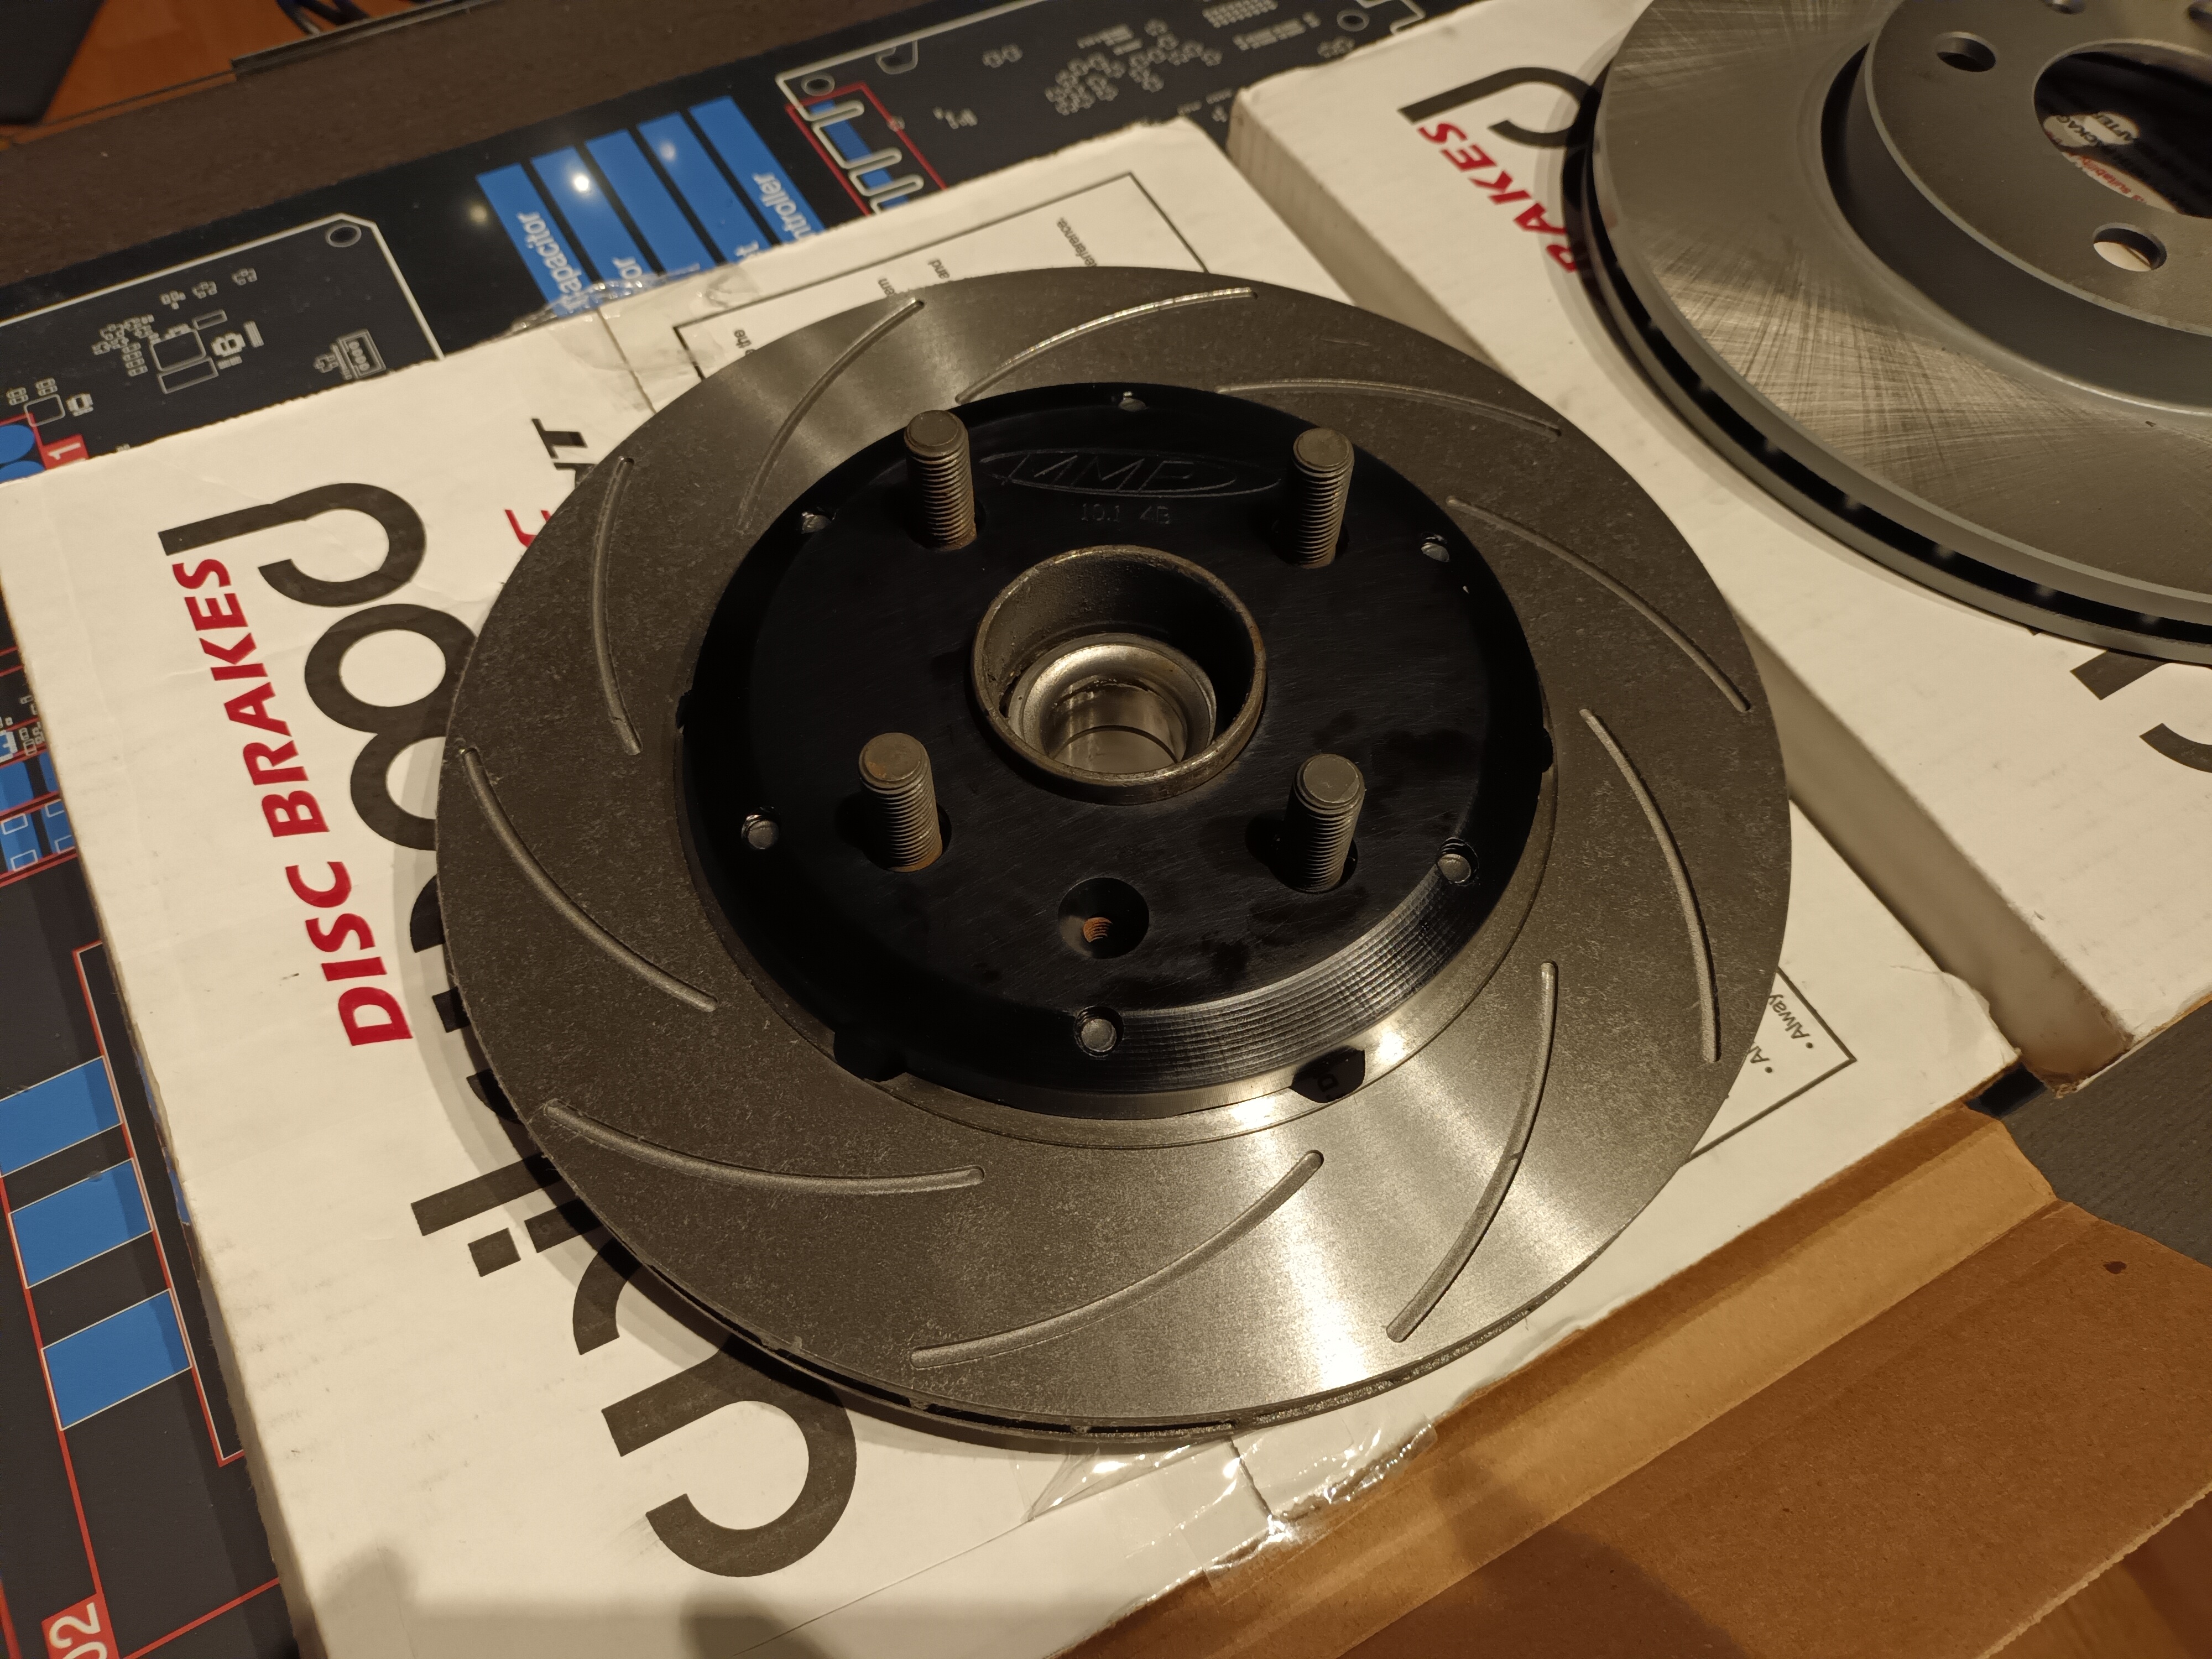
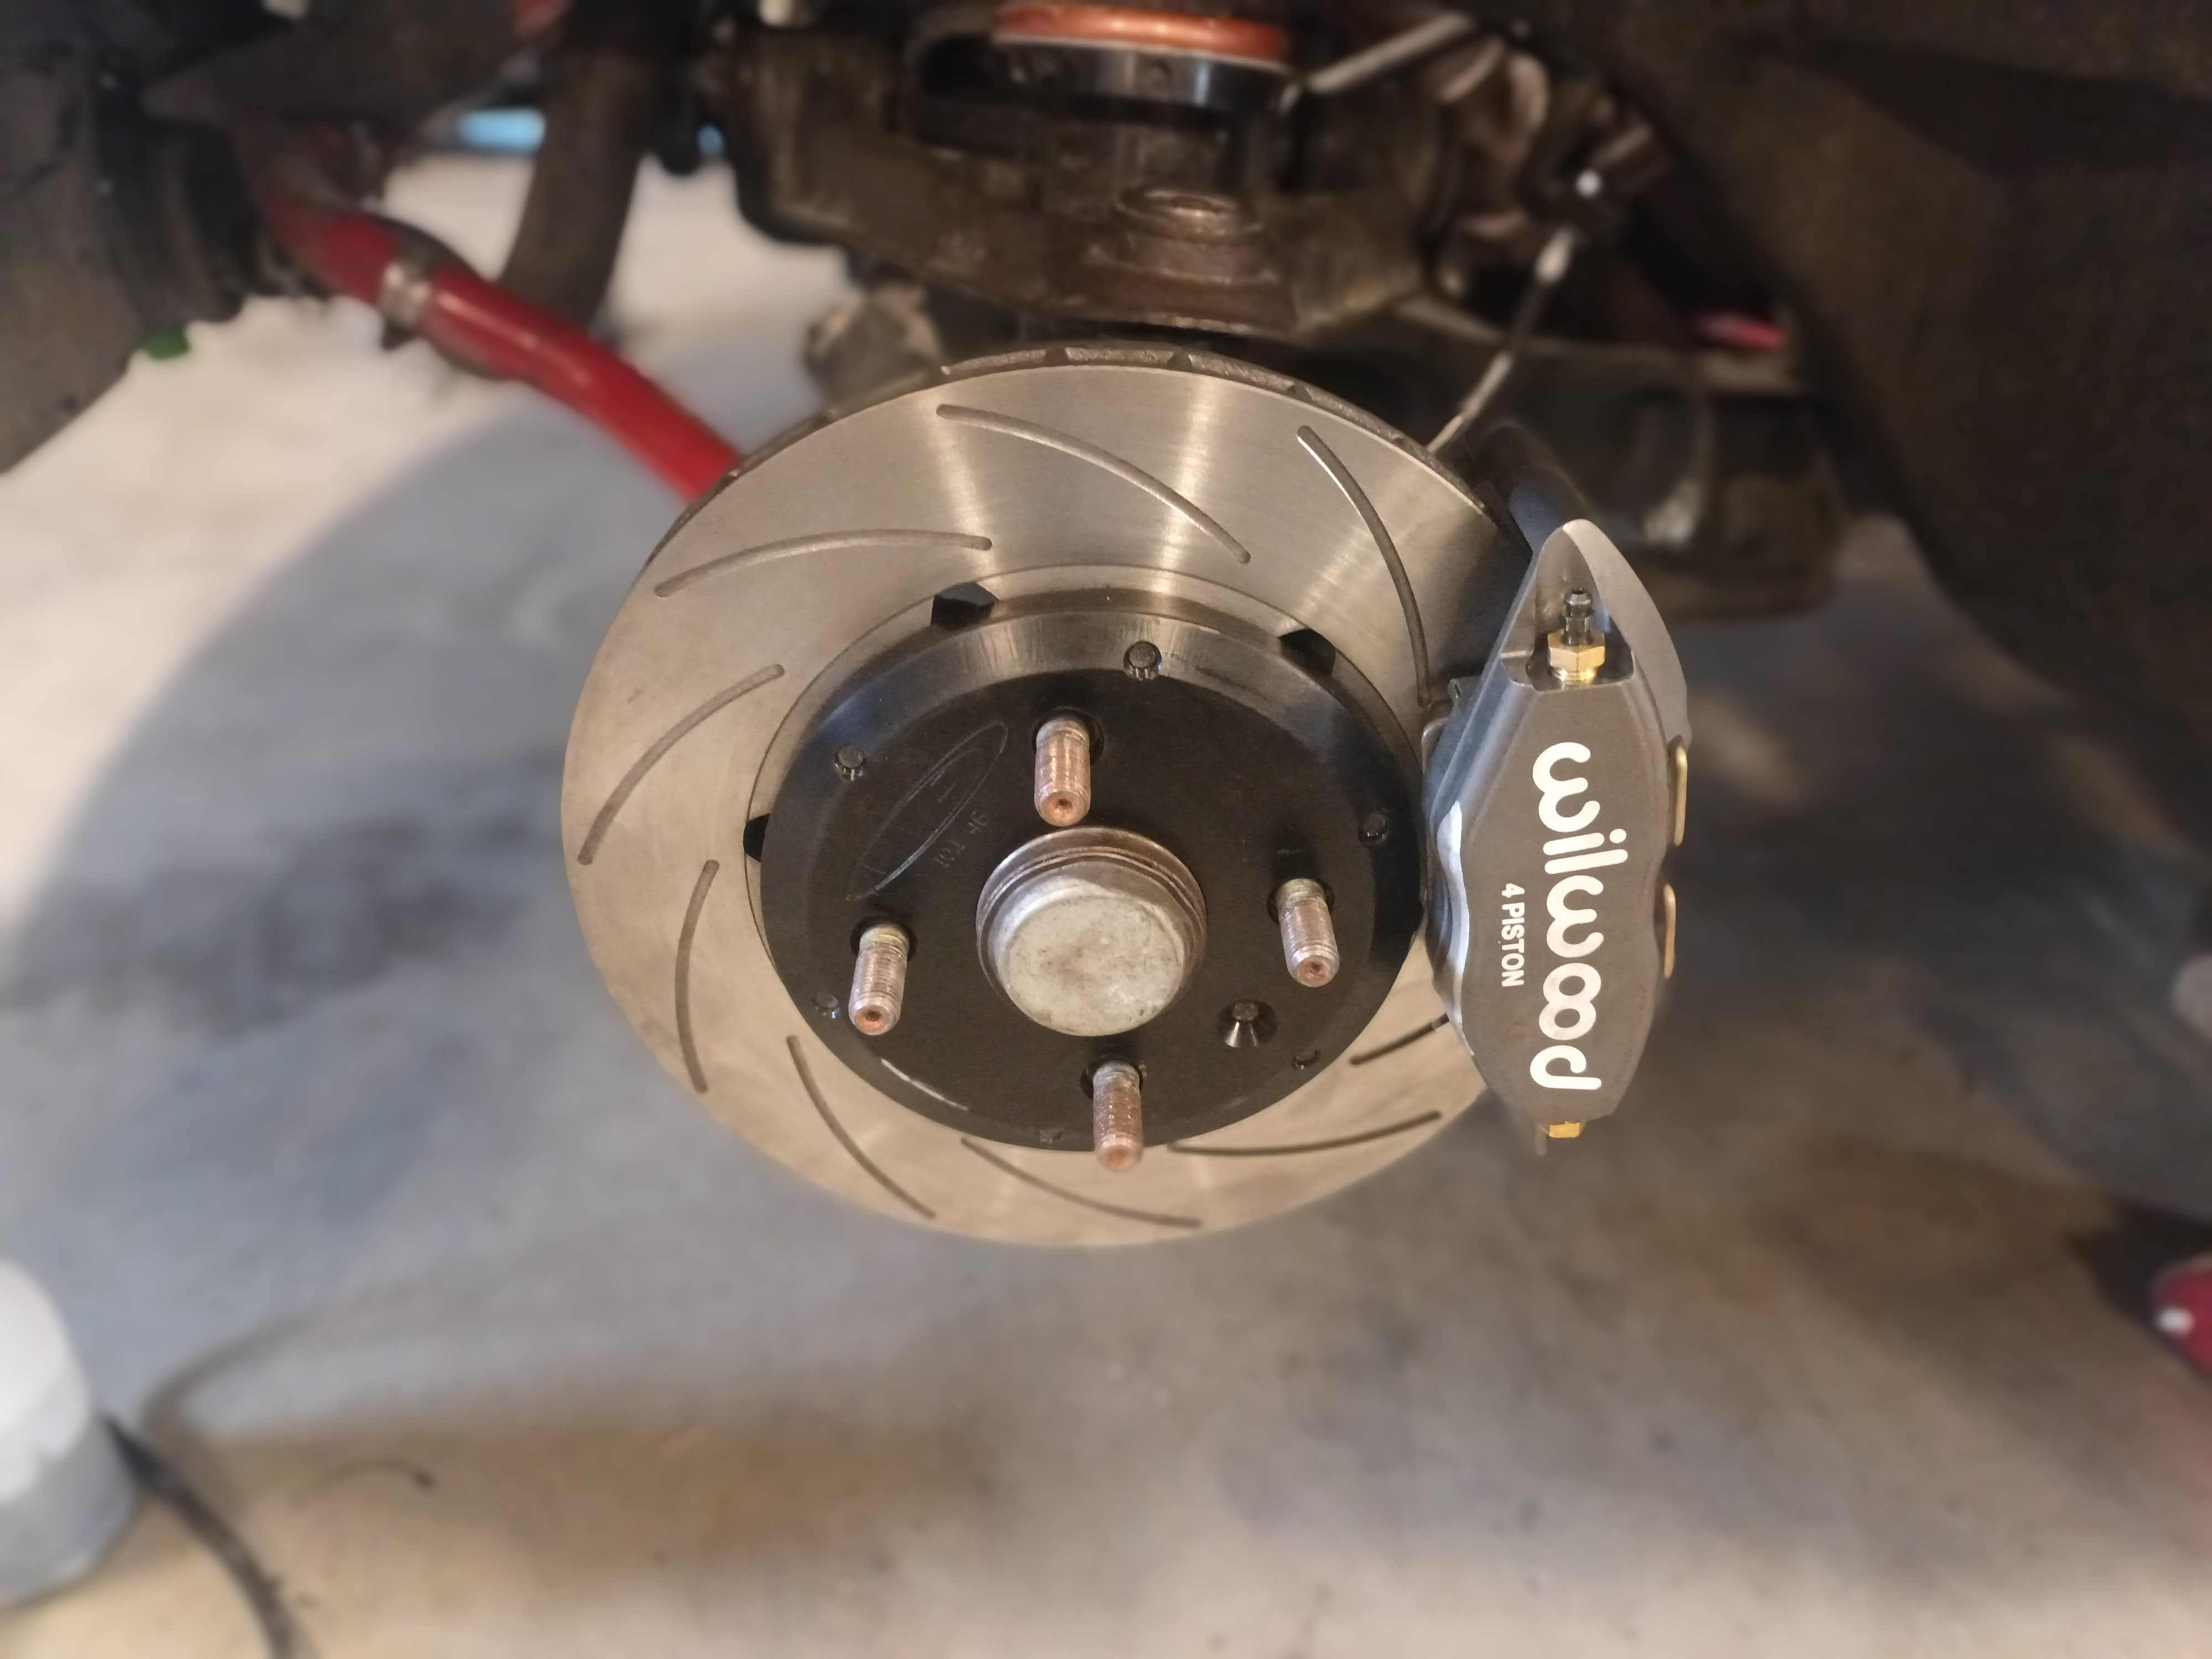
Brake kit is done. I got the adapter machined and it seems to work okay with tolerances. My lightweight discs arrived. Much lighter than the Corrado disc, but not sure how much lighter than the NB disc.

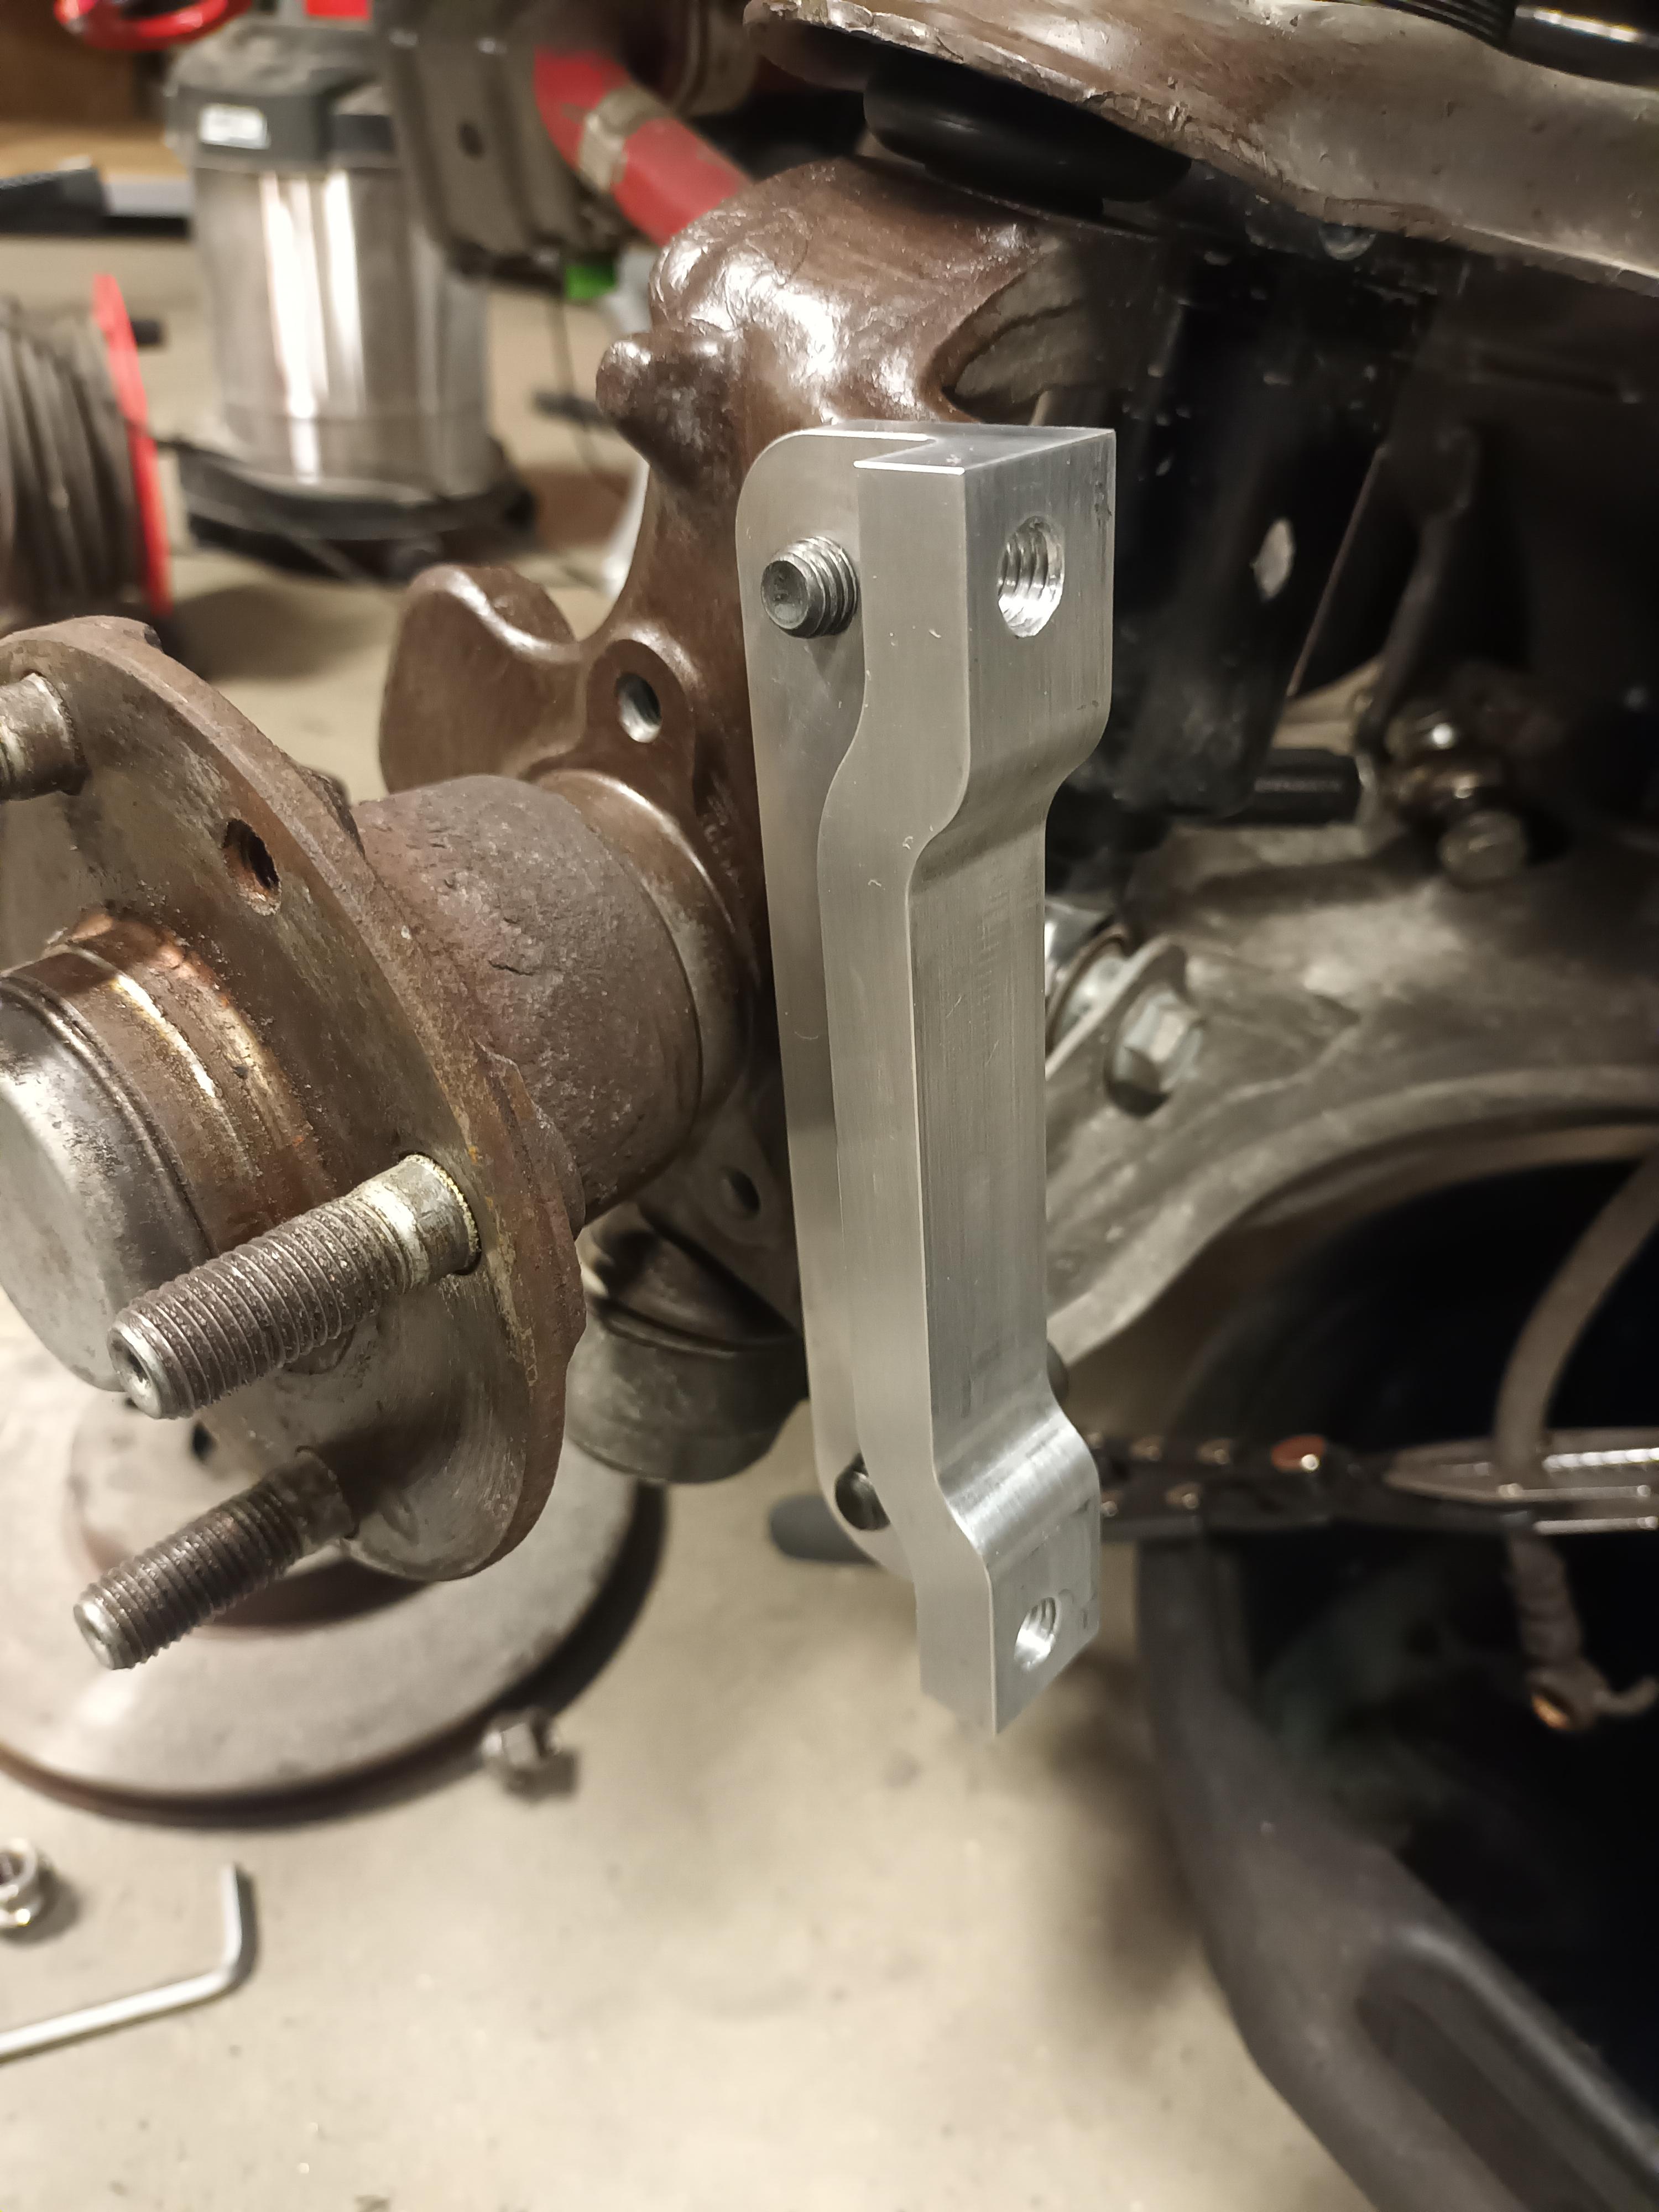
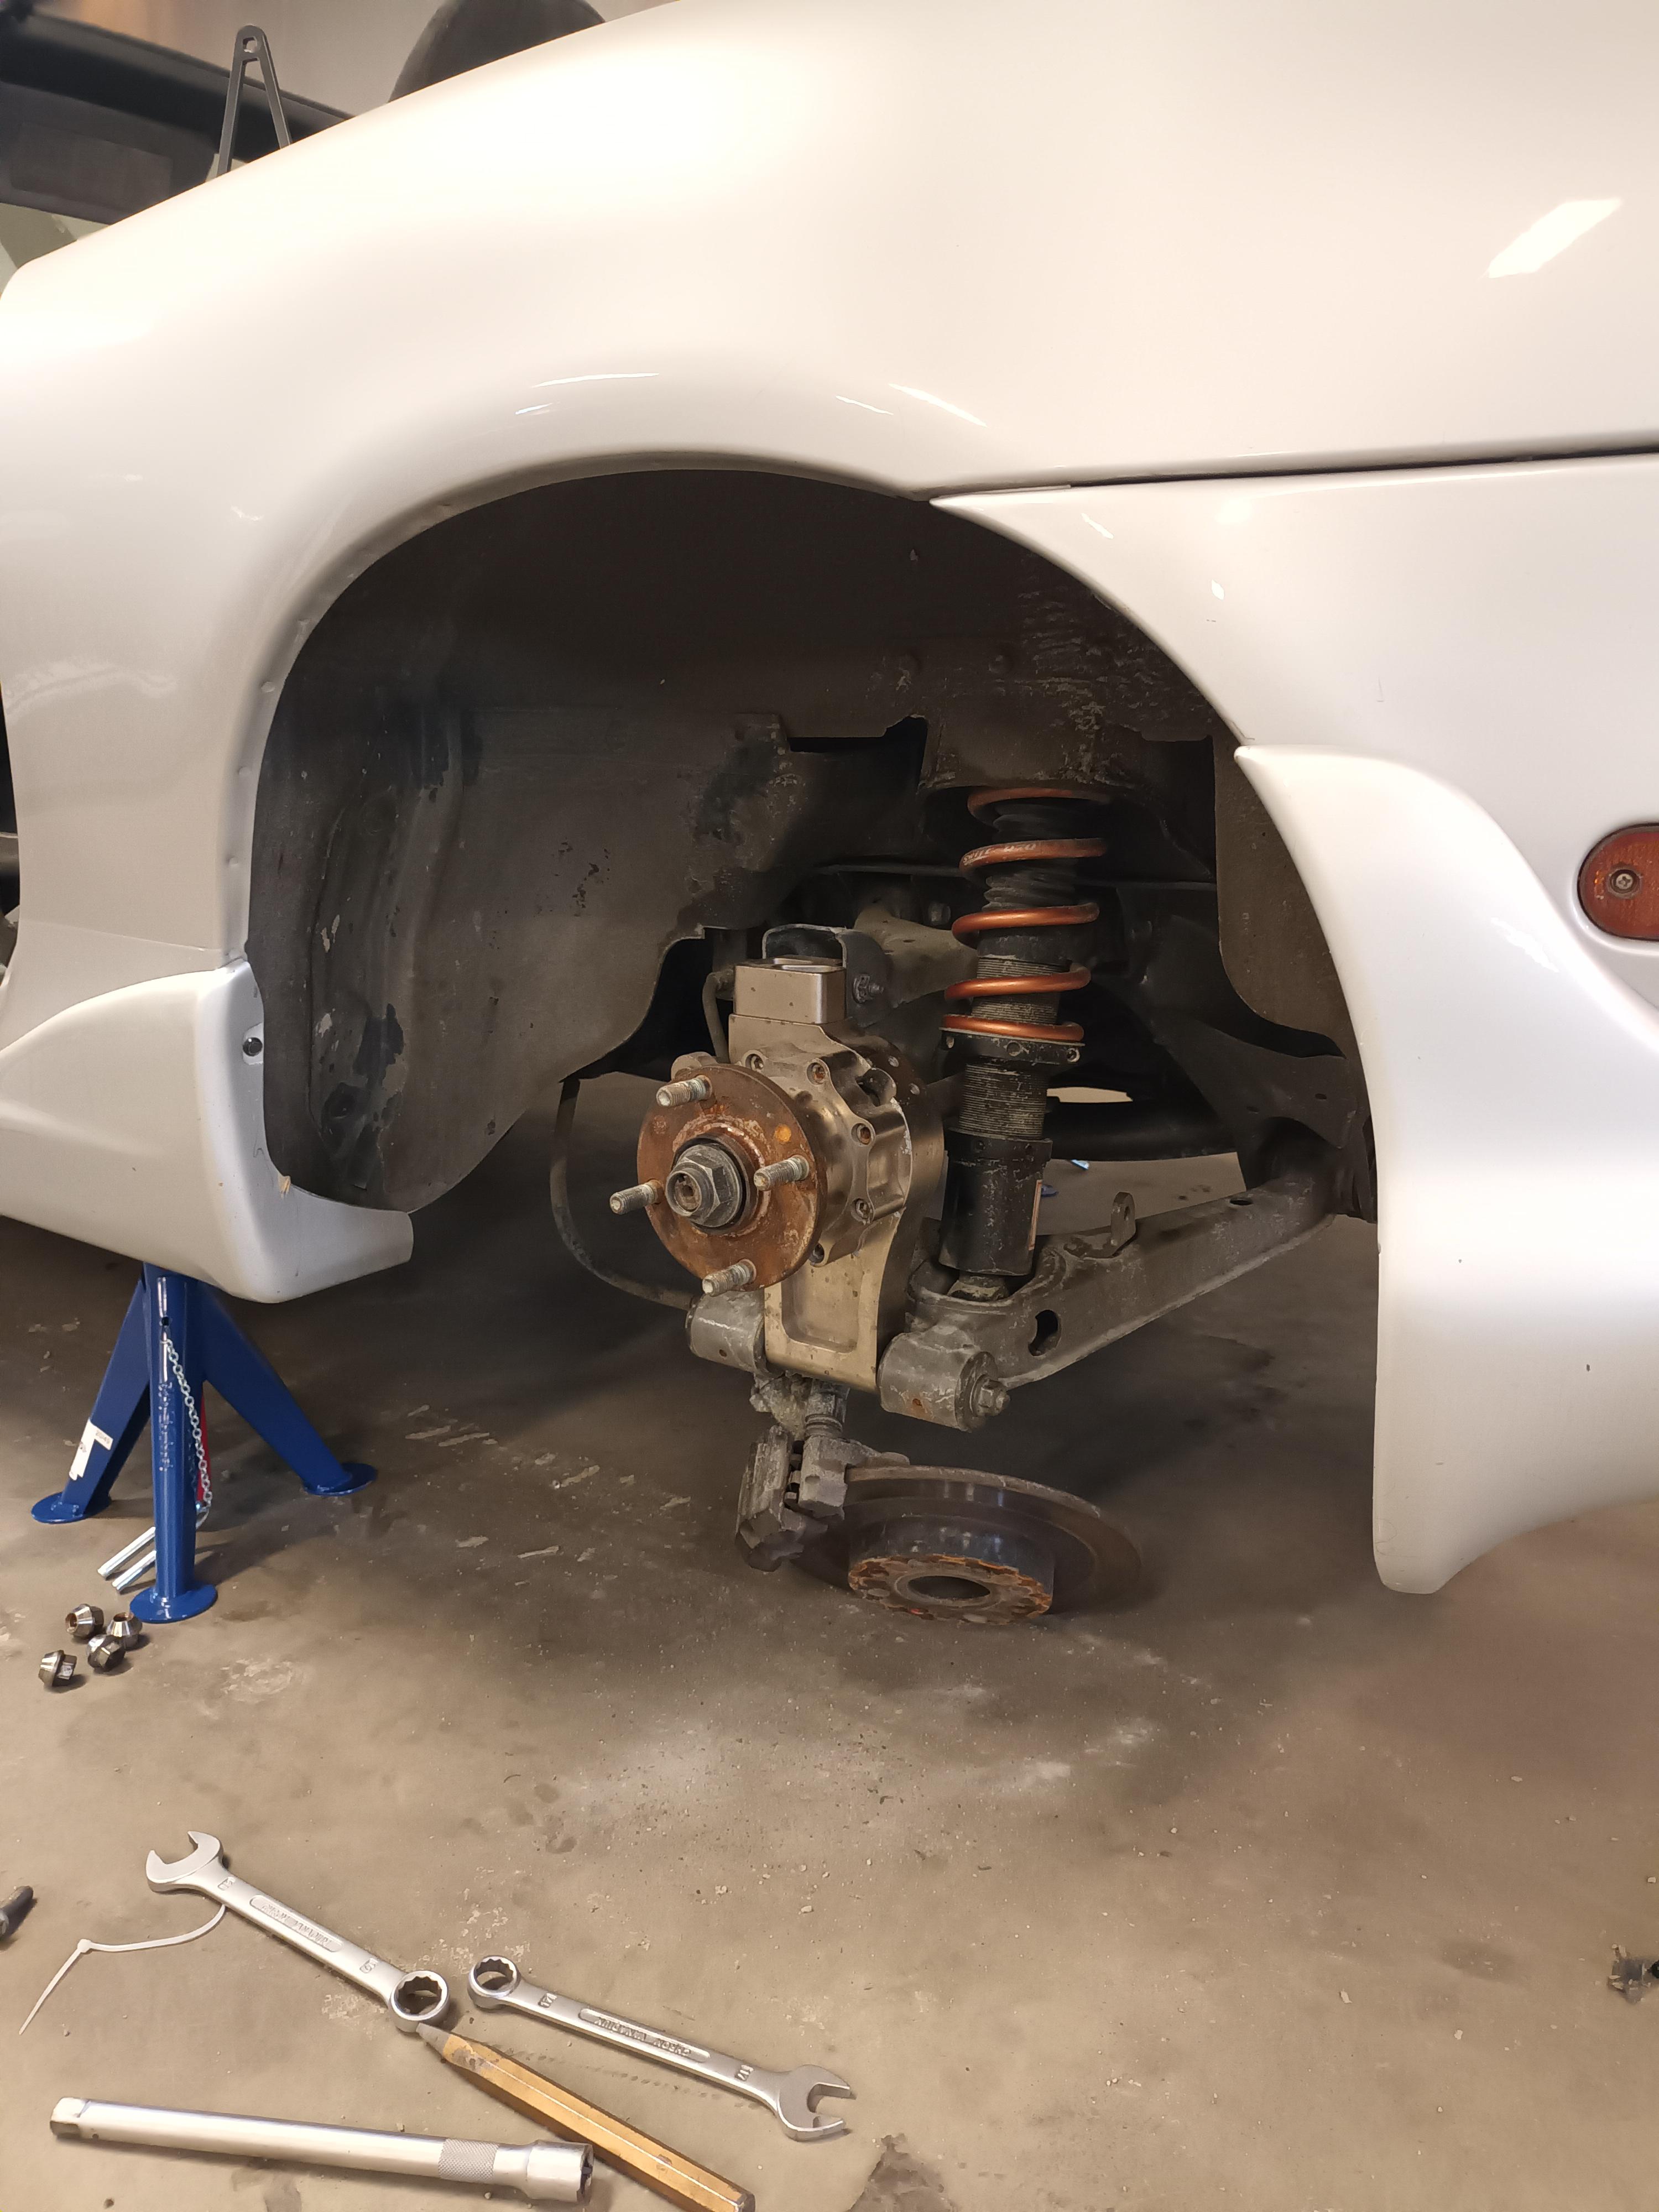
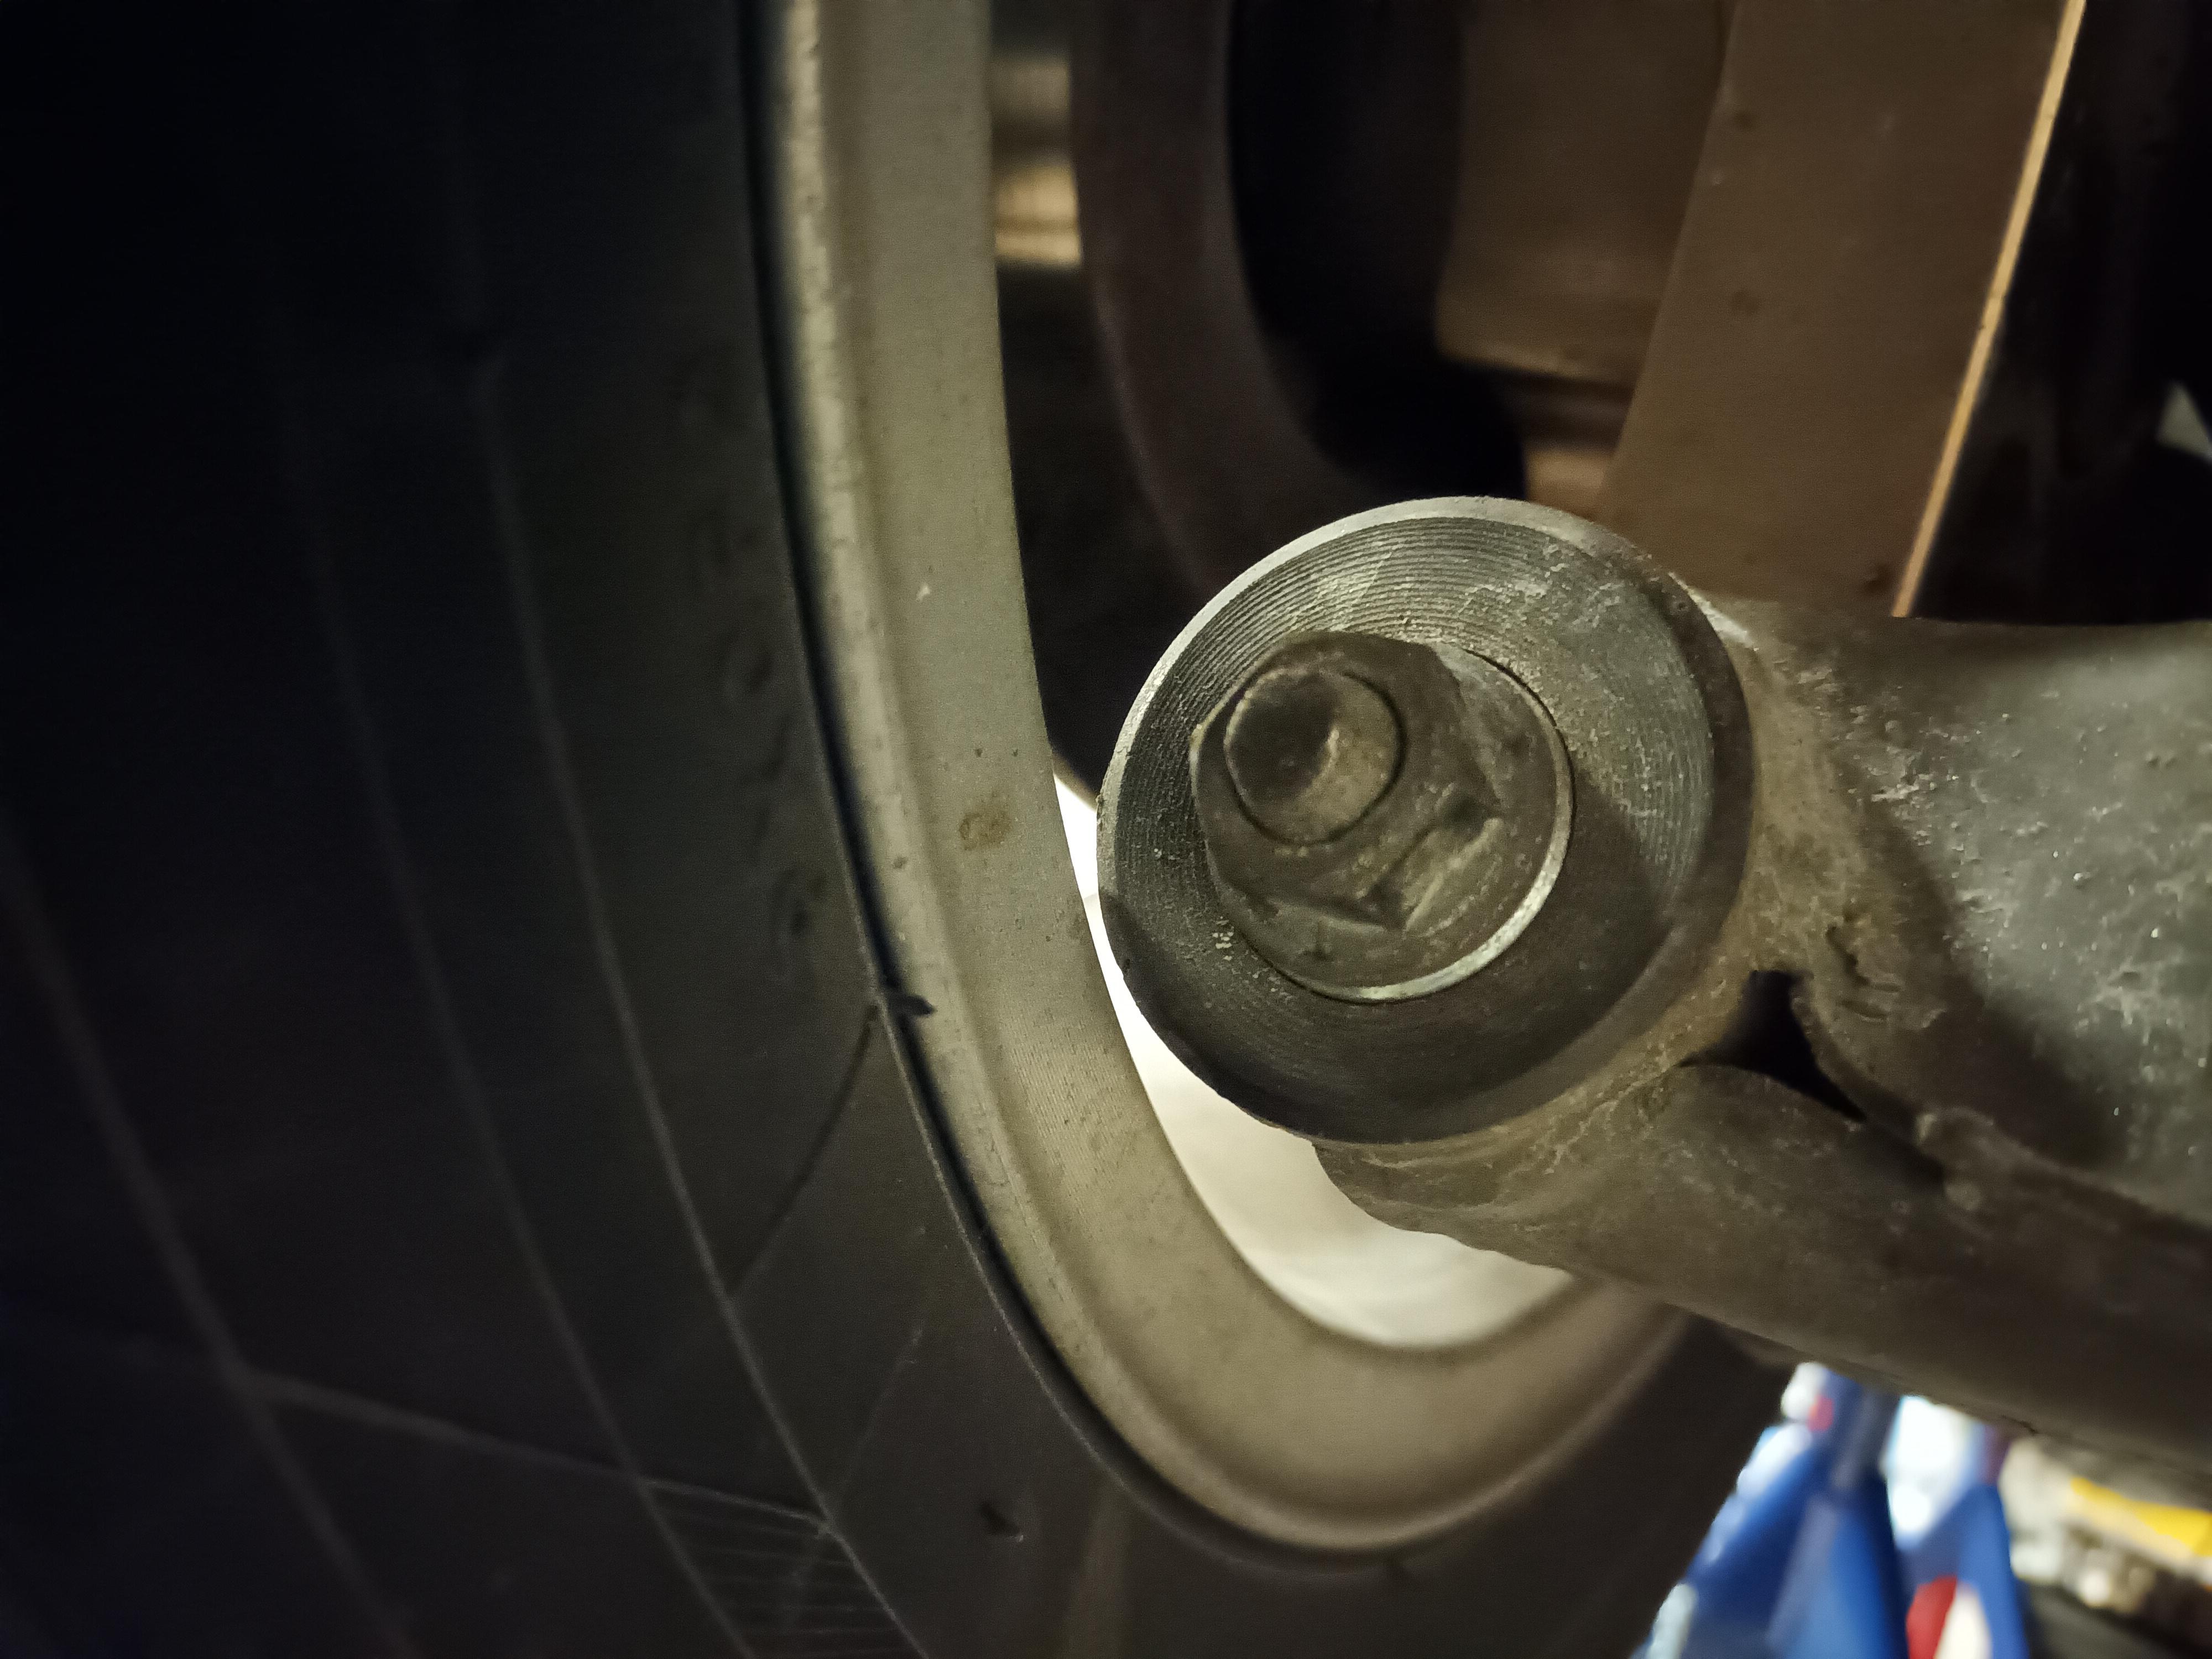
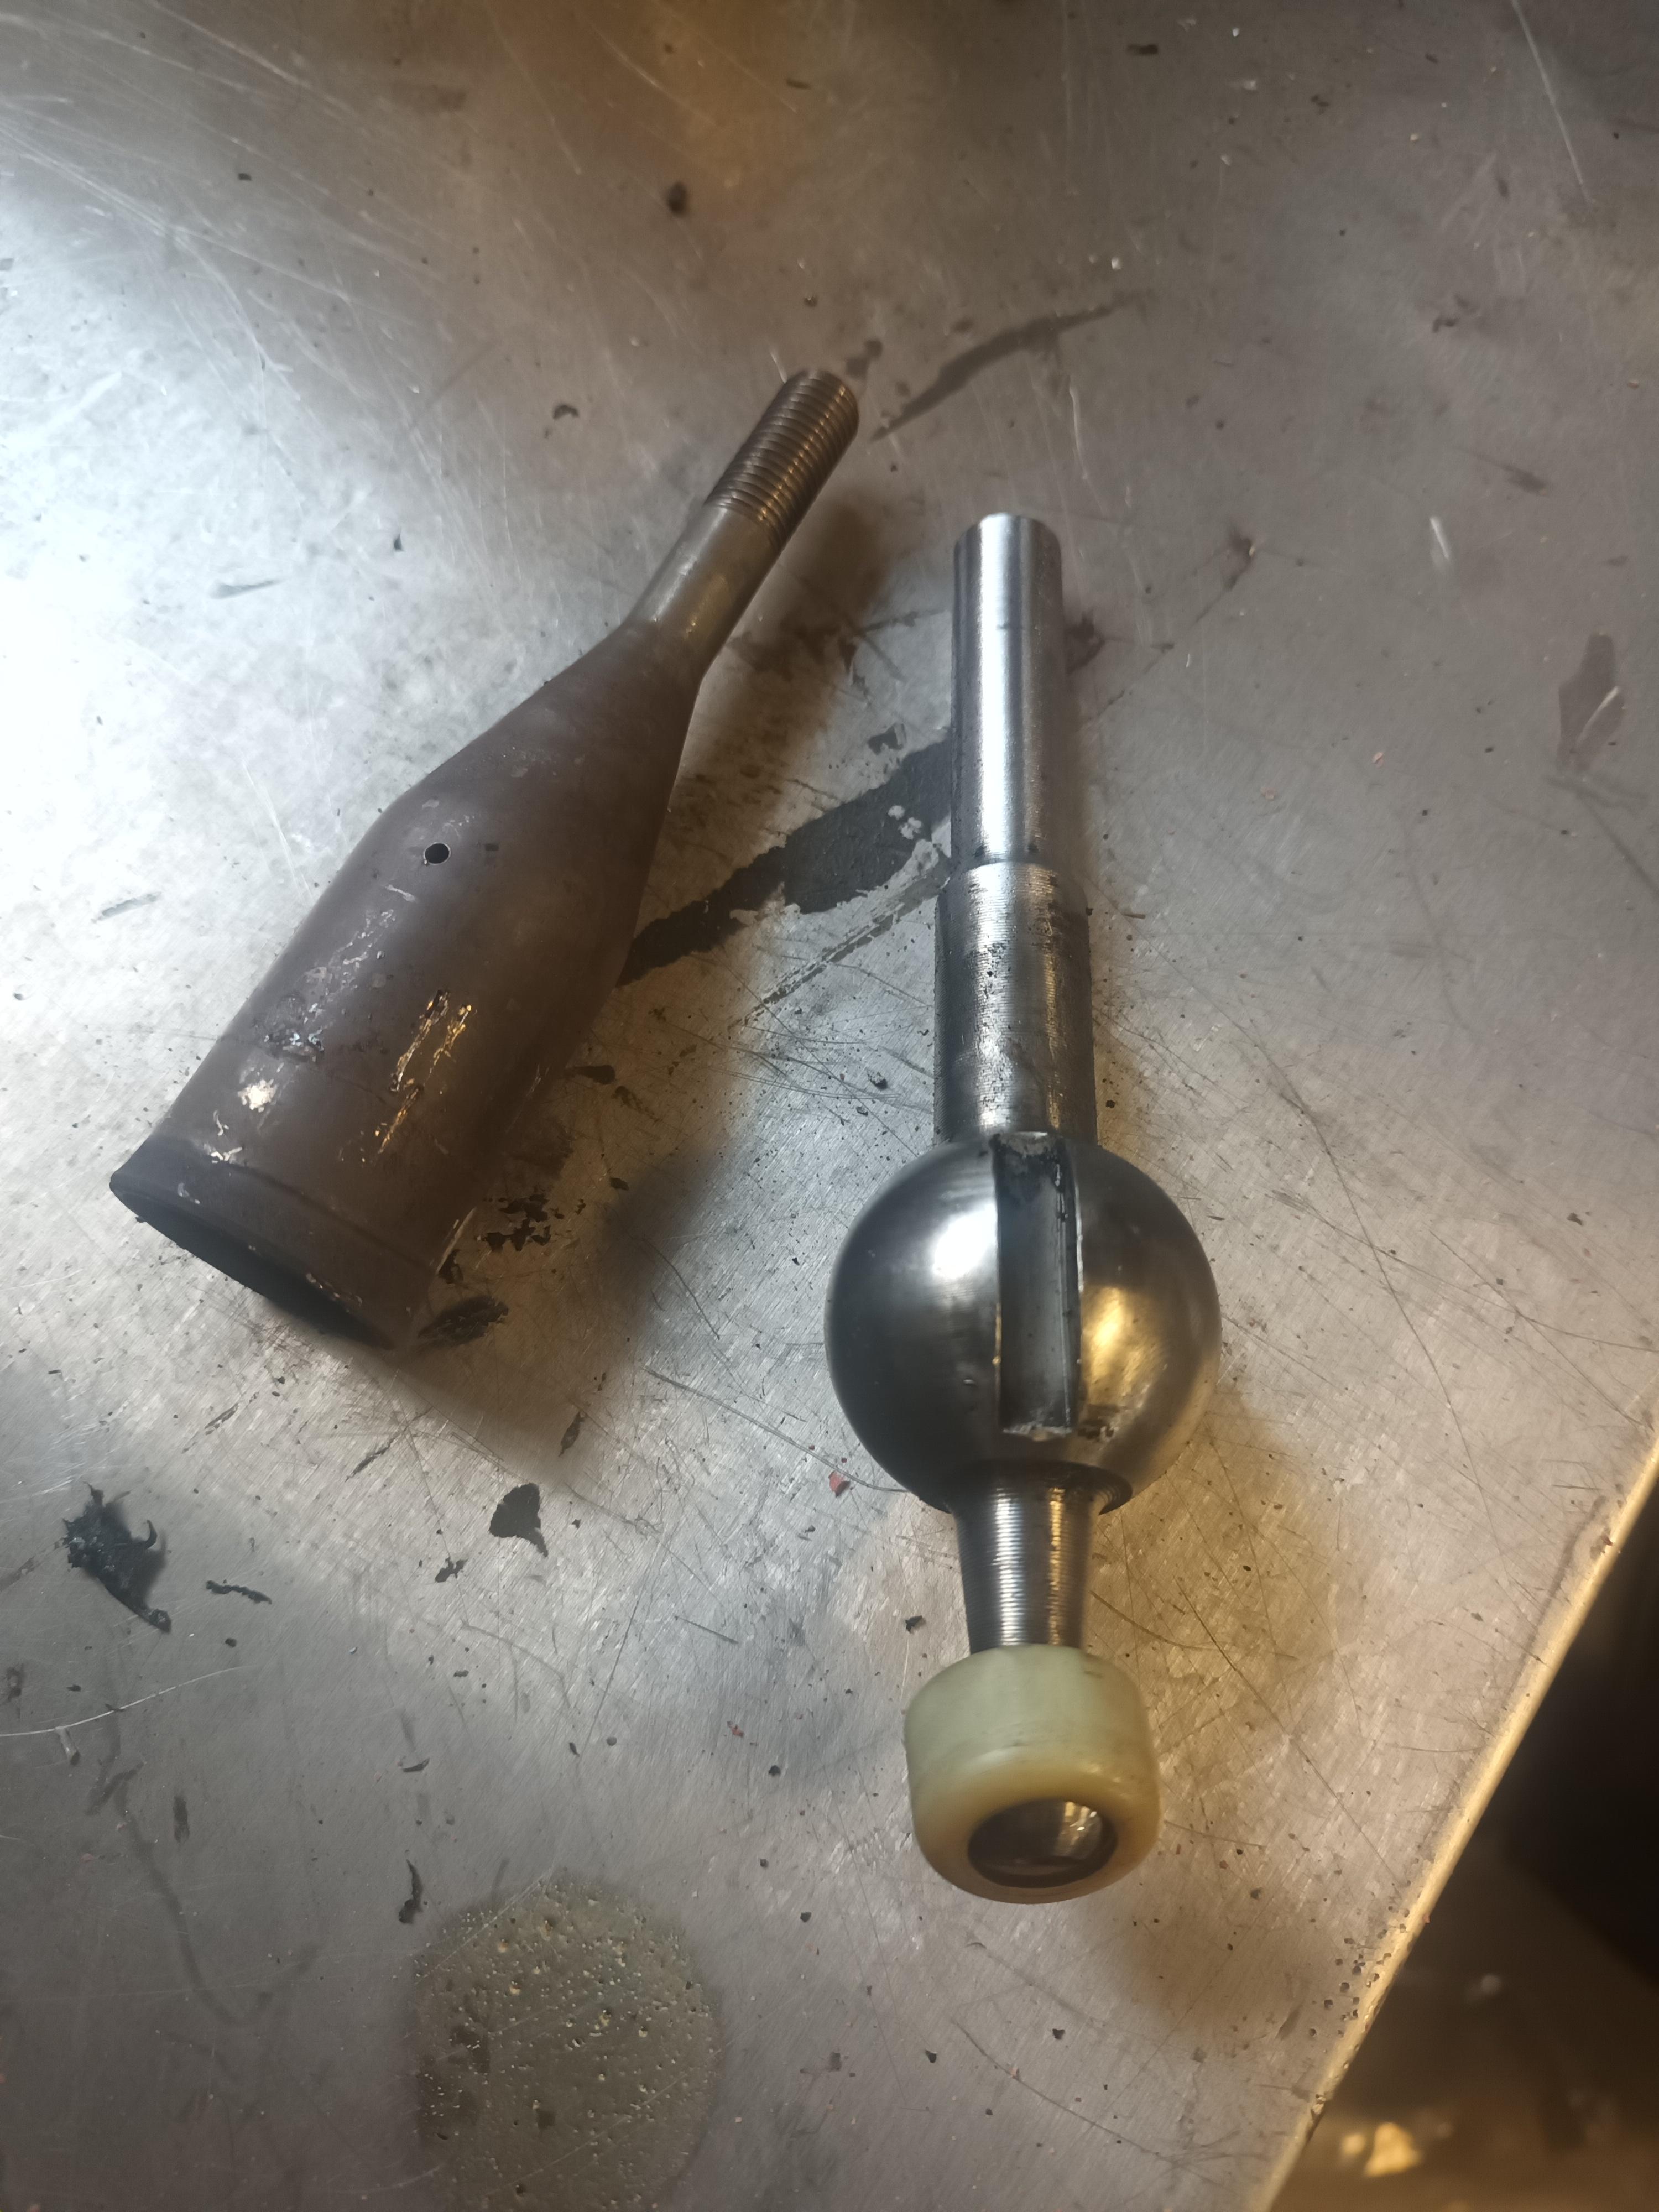
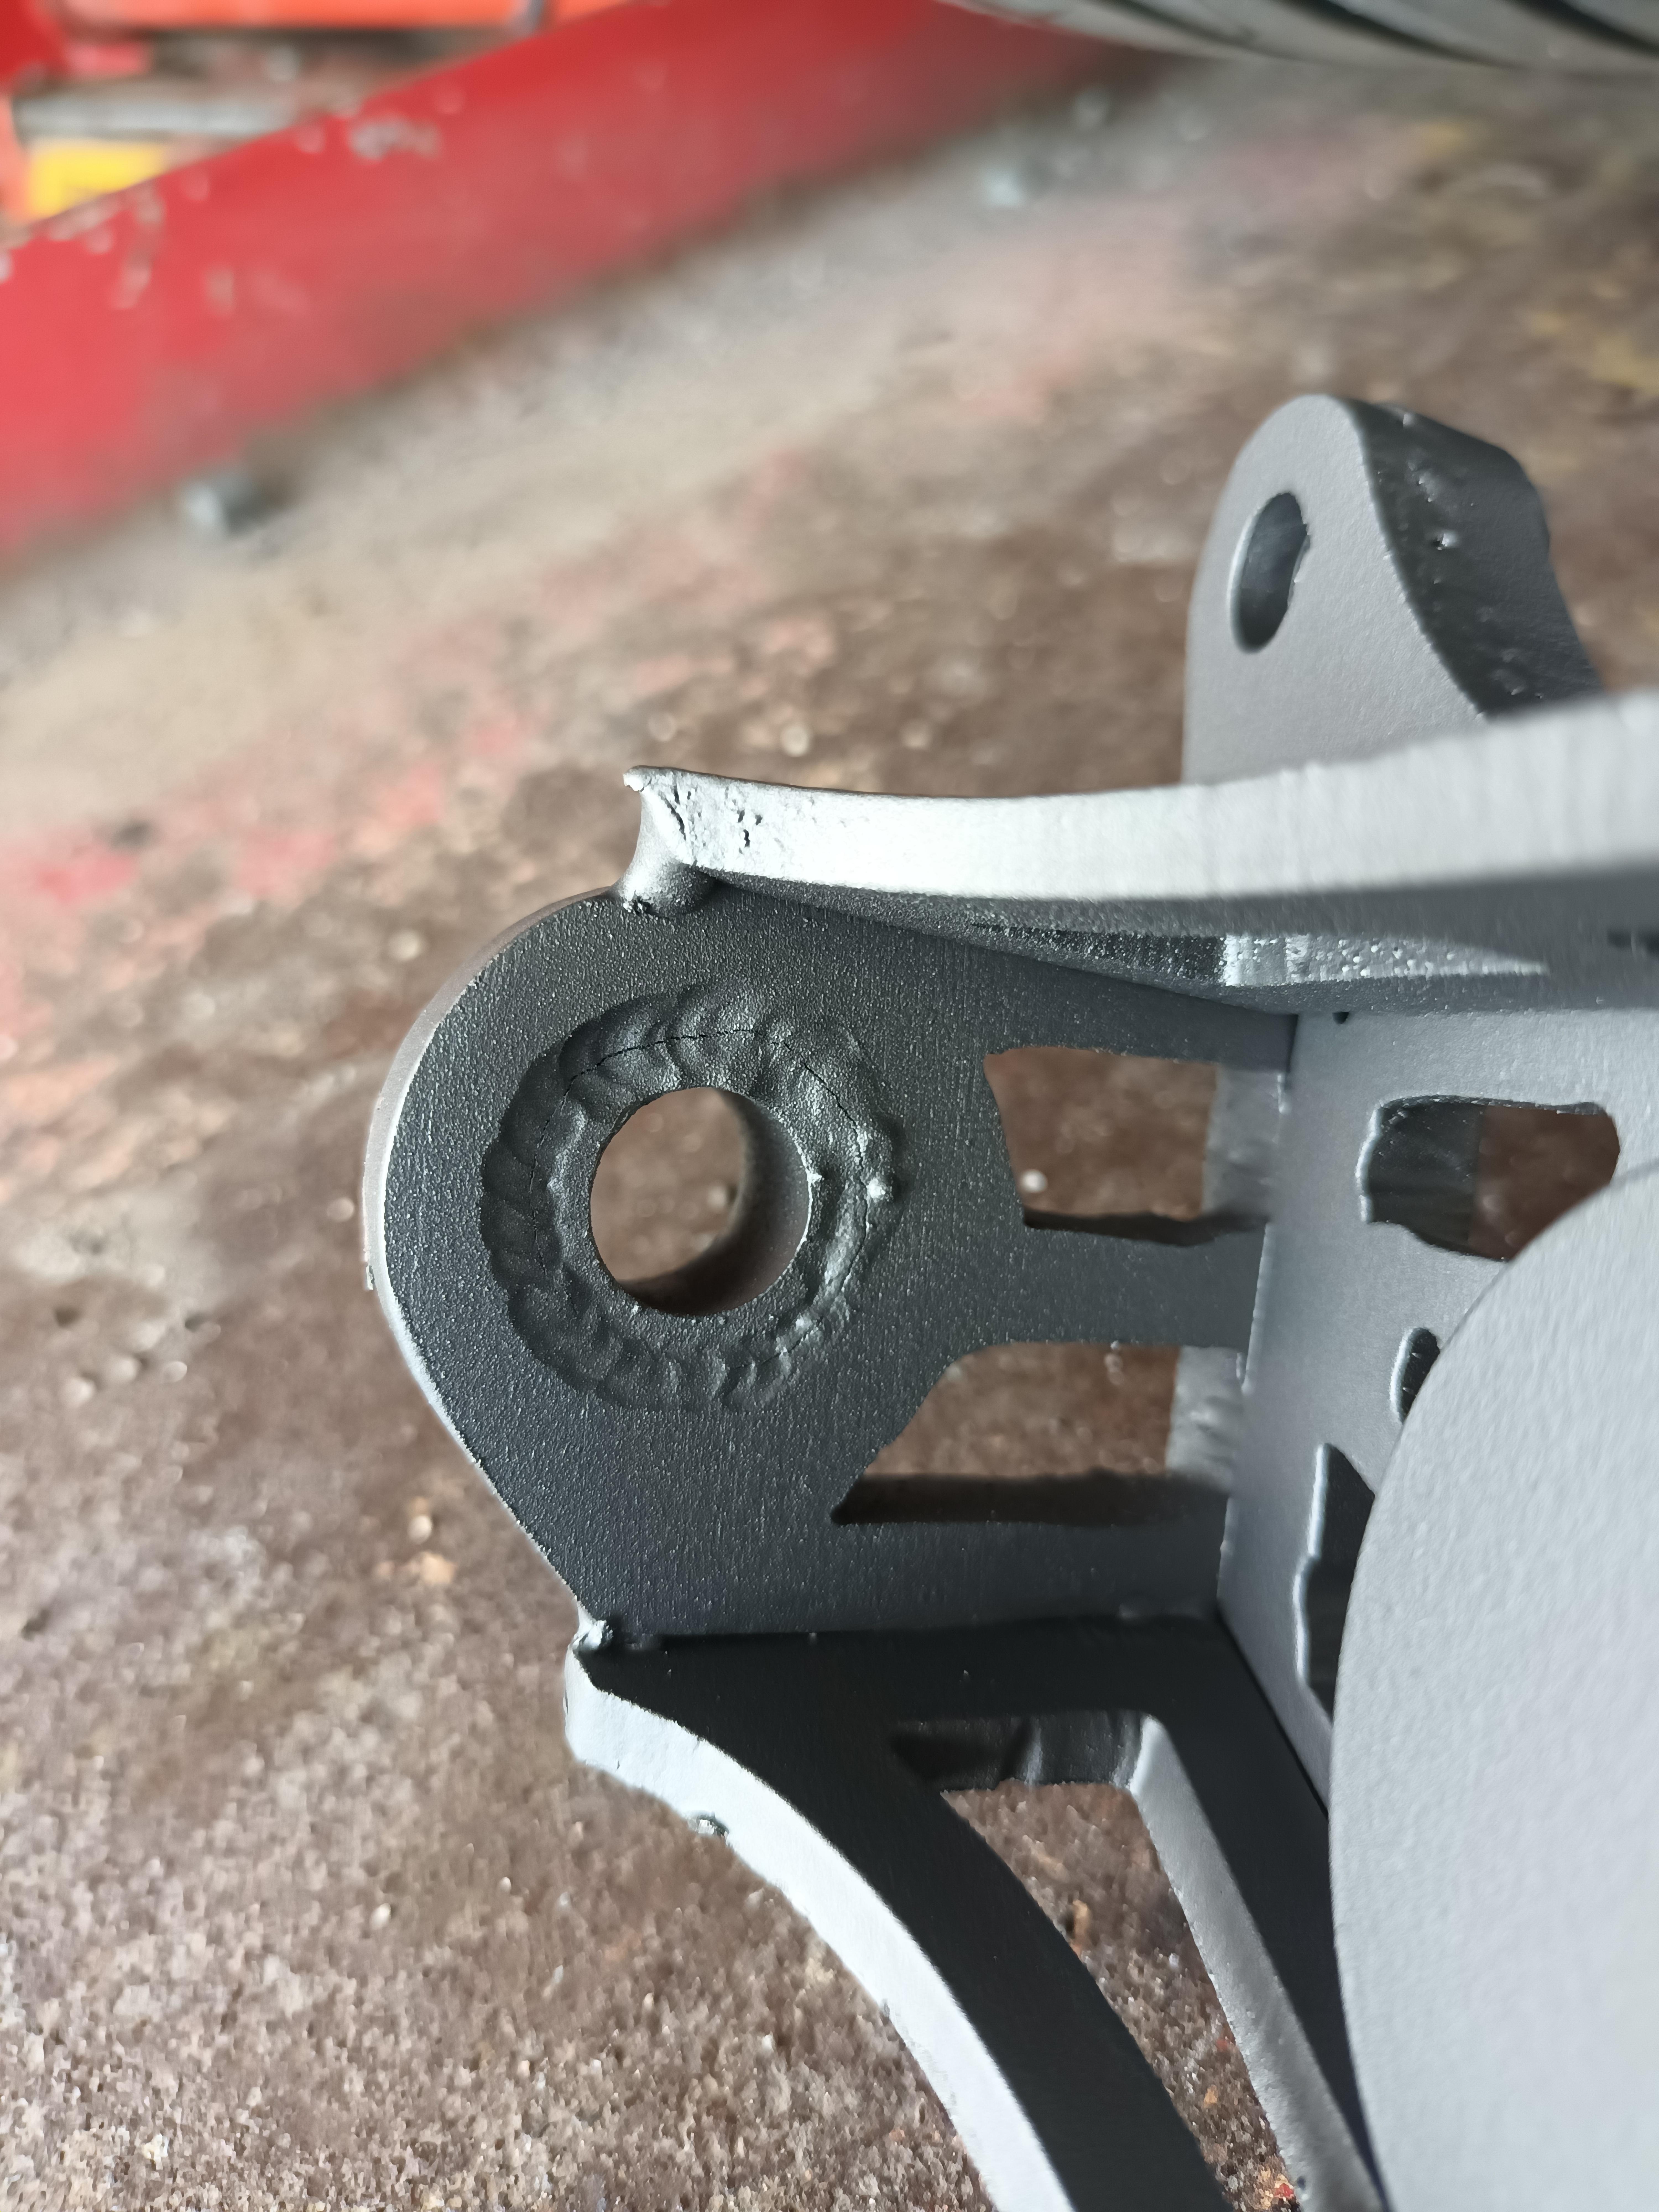
I got my hands on a set of drop spindles from Keisler for the rear. Waiting for a set of front drop spindles for Zerek Fabrication. Anyone got experience with them? Haven't gotten an email reply in over two weeks. I see Keisler have theirs in stock again now, so might file a claim.
Anyhow, I need spacers. Like at least 15-20mm to clear the lower control arm. Spacers weigh a lot. So I bought new wheels. 14x7 ET0 should fit. Barely.. Picture 2/3 shows left with drop spindle and right with OEM spindle.
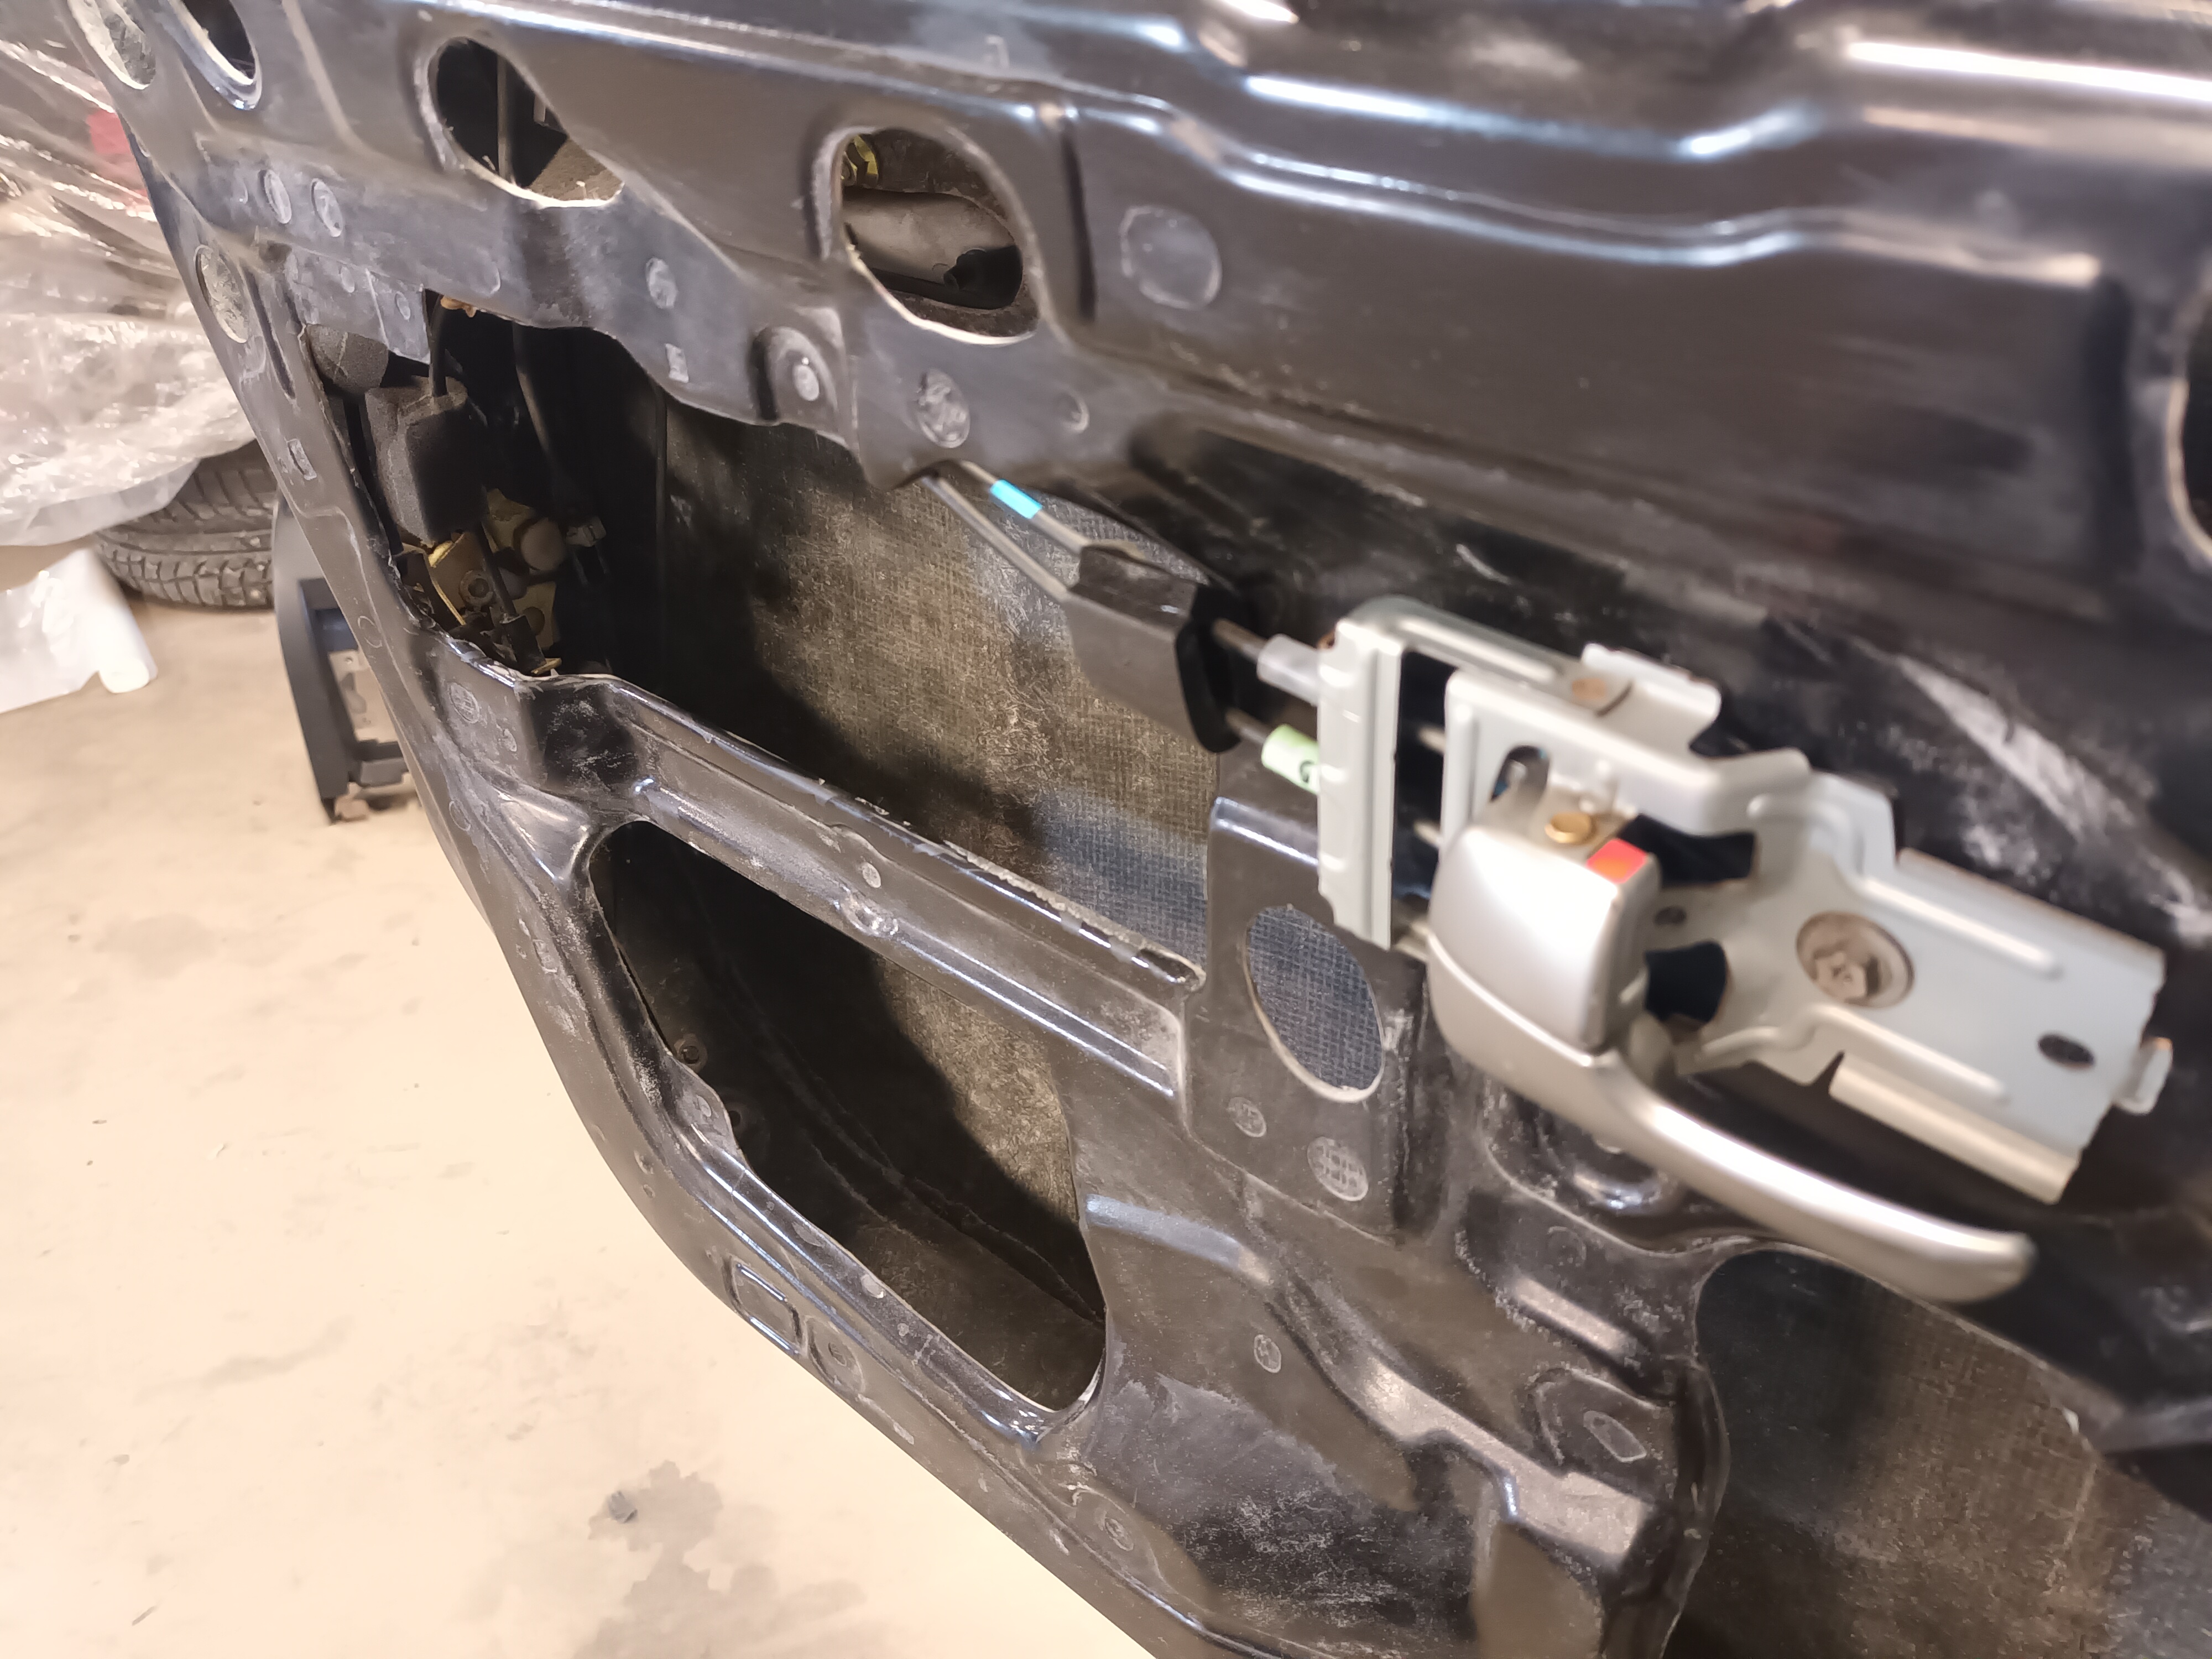
I bought a set of fiberglass doors from SPS Motorsport. I was told via mail that everything would bolt to it like stock. Windows and all. That was not the case at all, since the internal shell of the door is missing. There is no place to mount the window guides to in the top of the door. But I am determined to make it work! SPS have been very forthcoming and great to deal with, so I bought a set of fiberglass fenders from them as well.
Doors mounted up fairly easy. The mould is from a NB2 so most components will not fit from my NB1 door.. That includes the door handle/manual windows etc.. I got all the internals from Prestige Parts in UK. Great guys with quick delivery! Now the slow process of drilling out mounting holes for gaskets, 3D-print brackets for window guides etc..

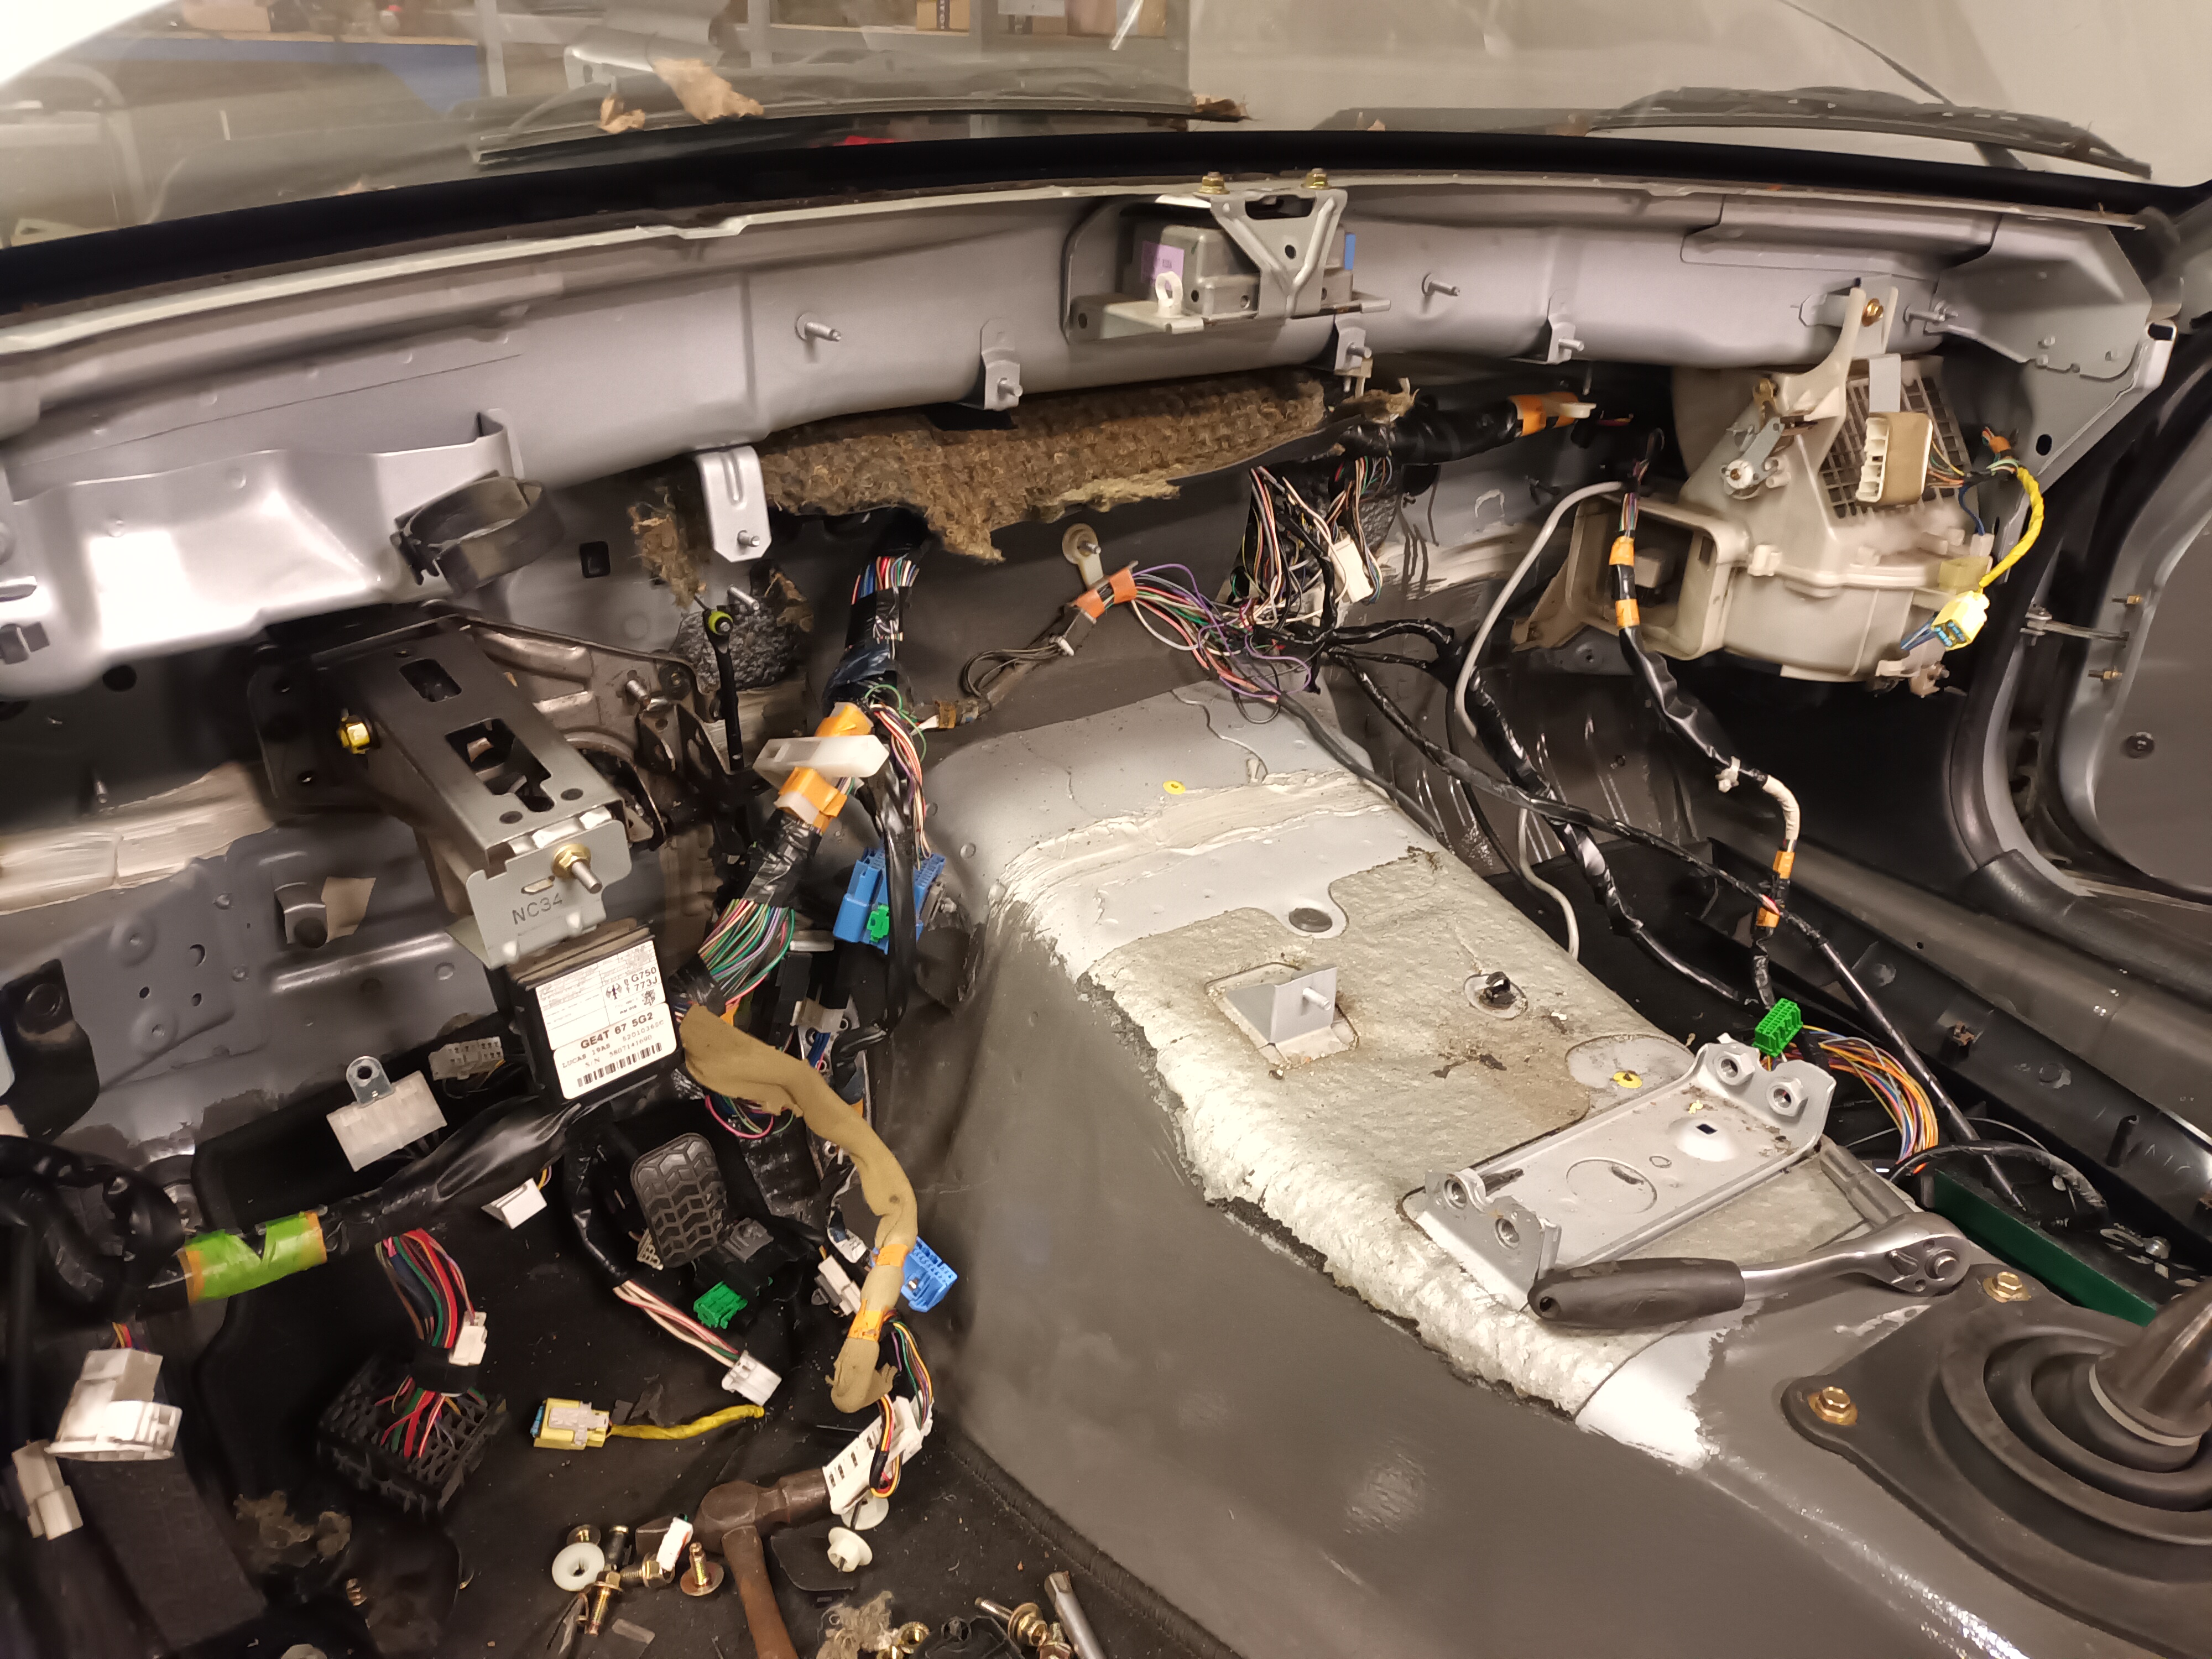
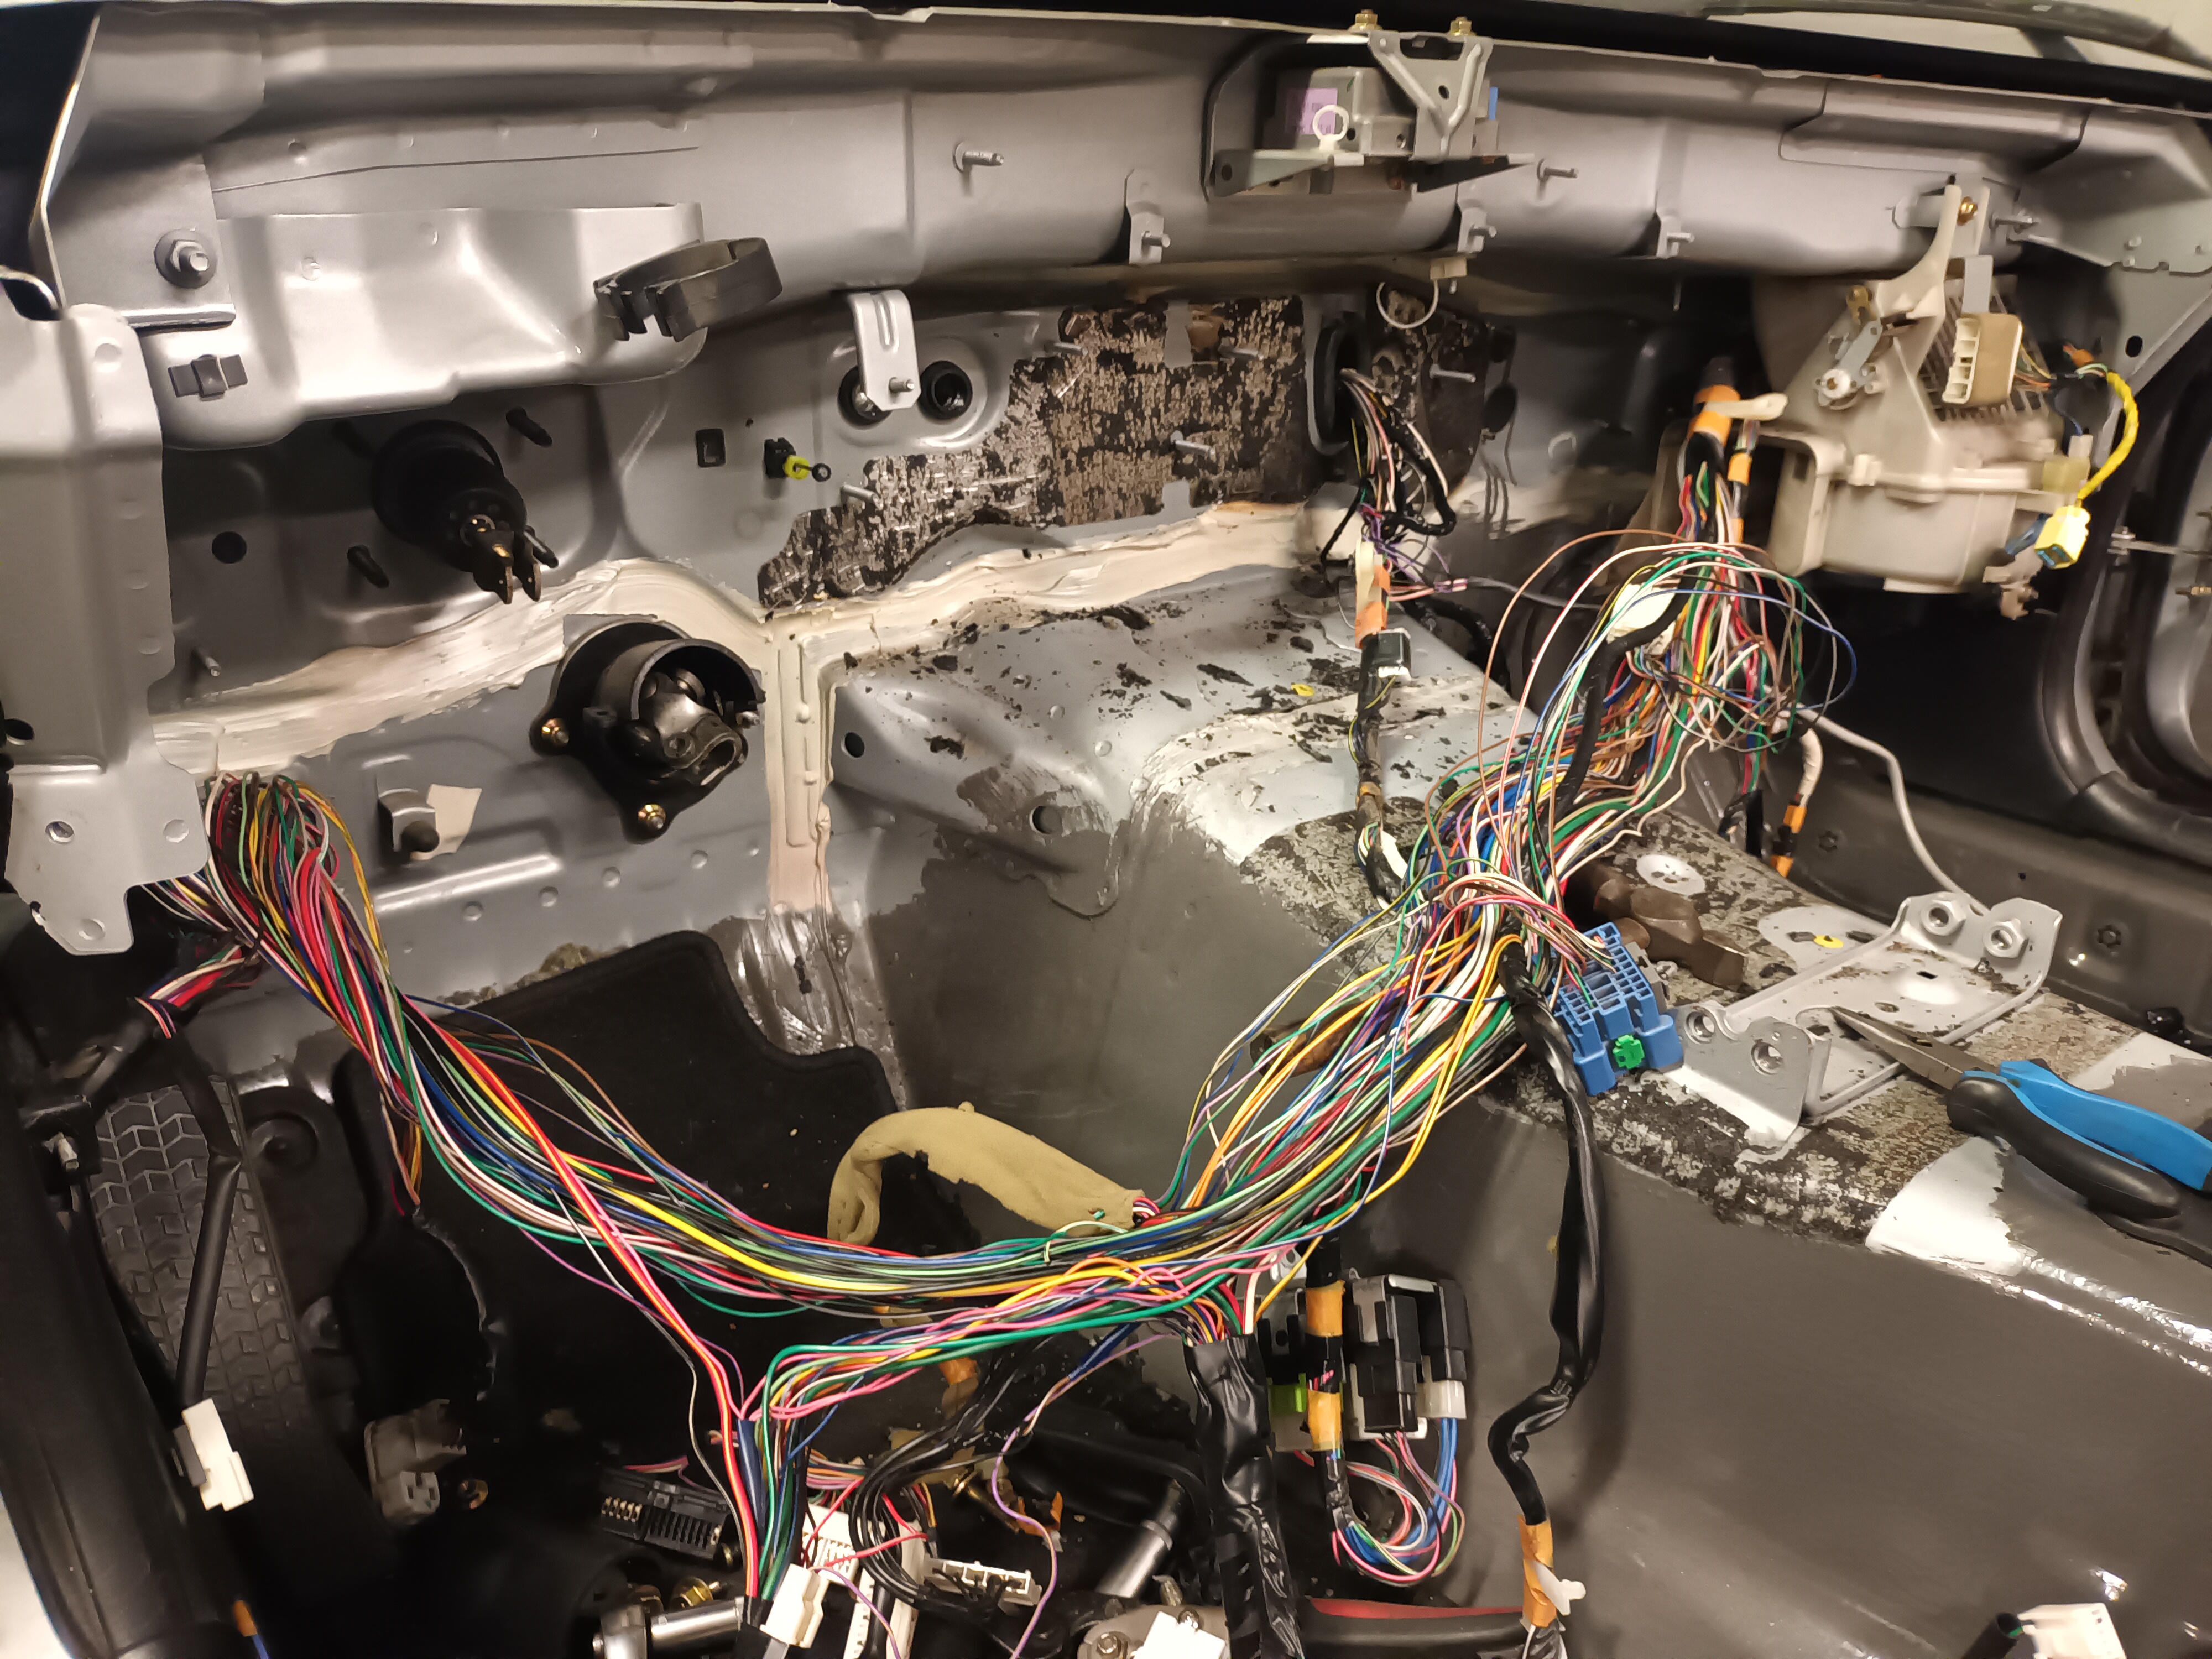
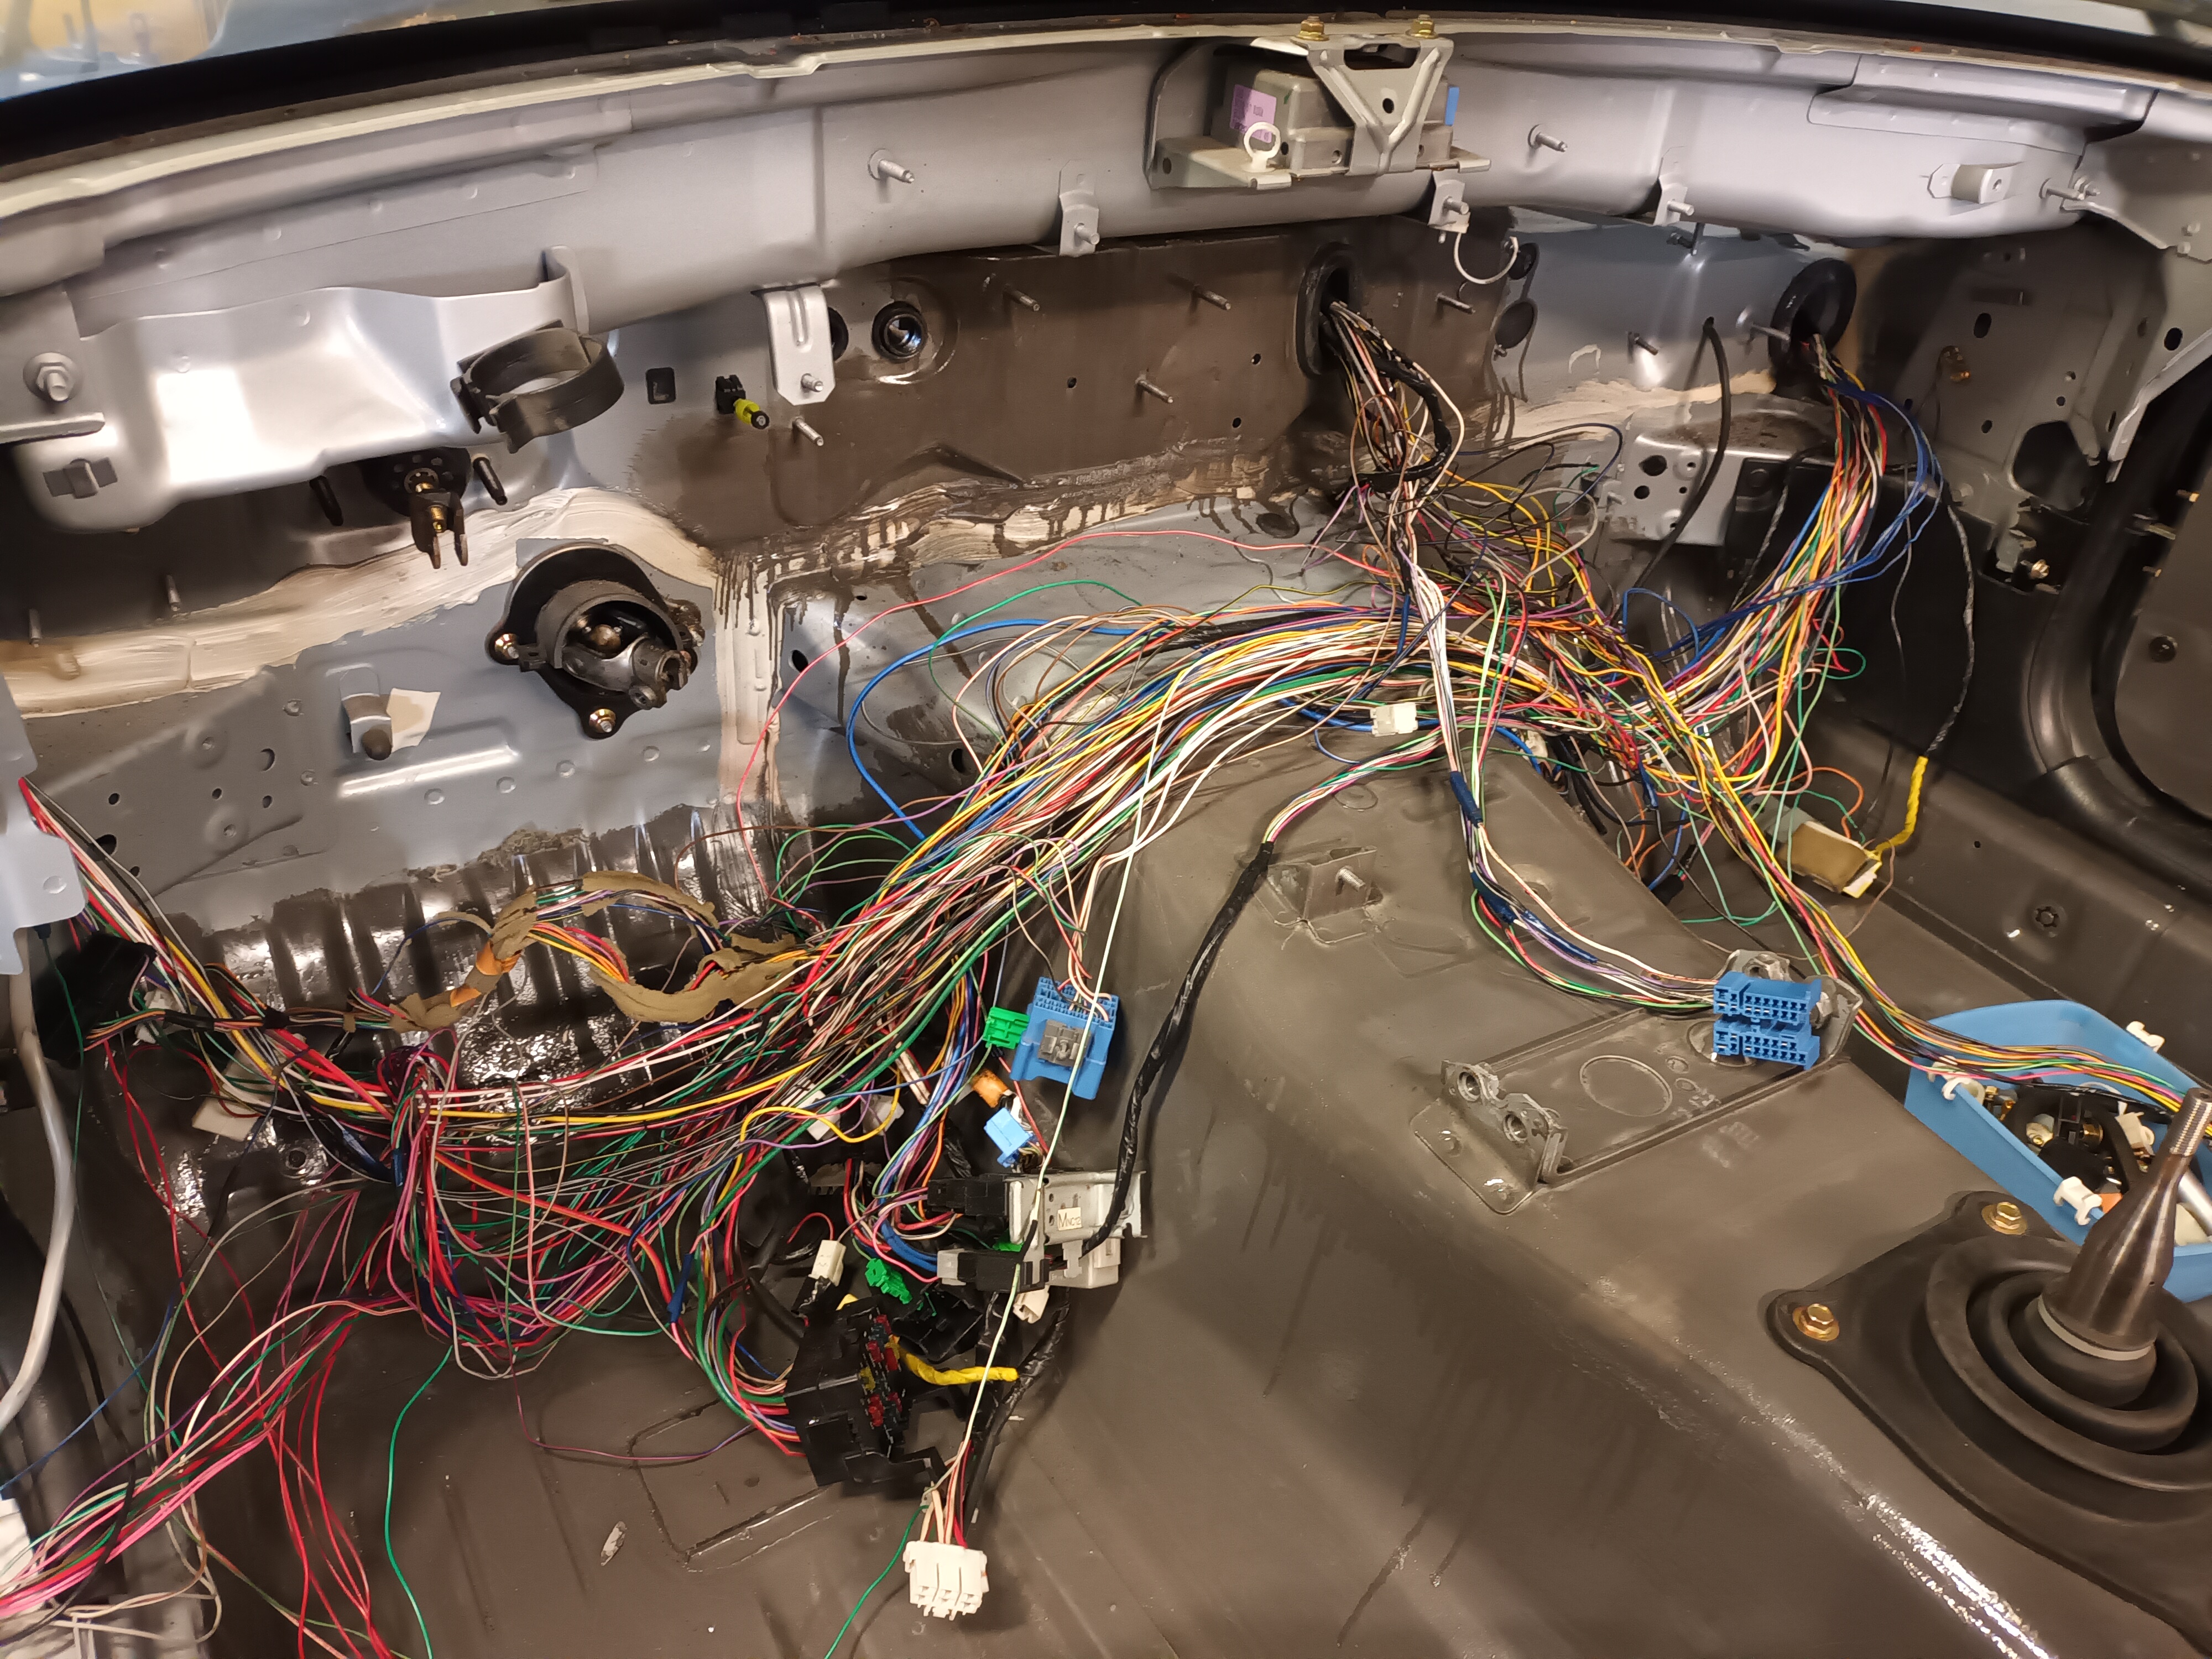
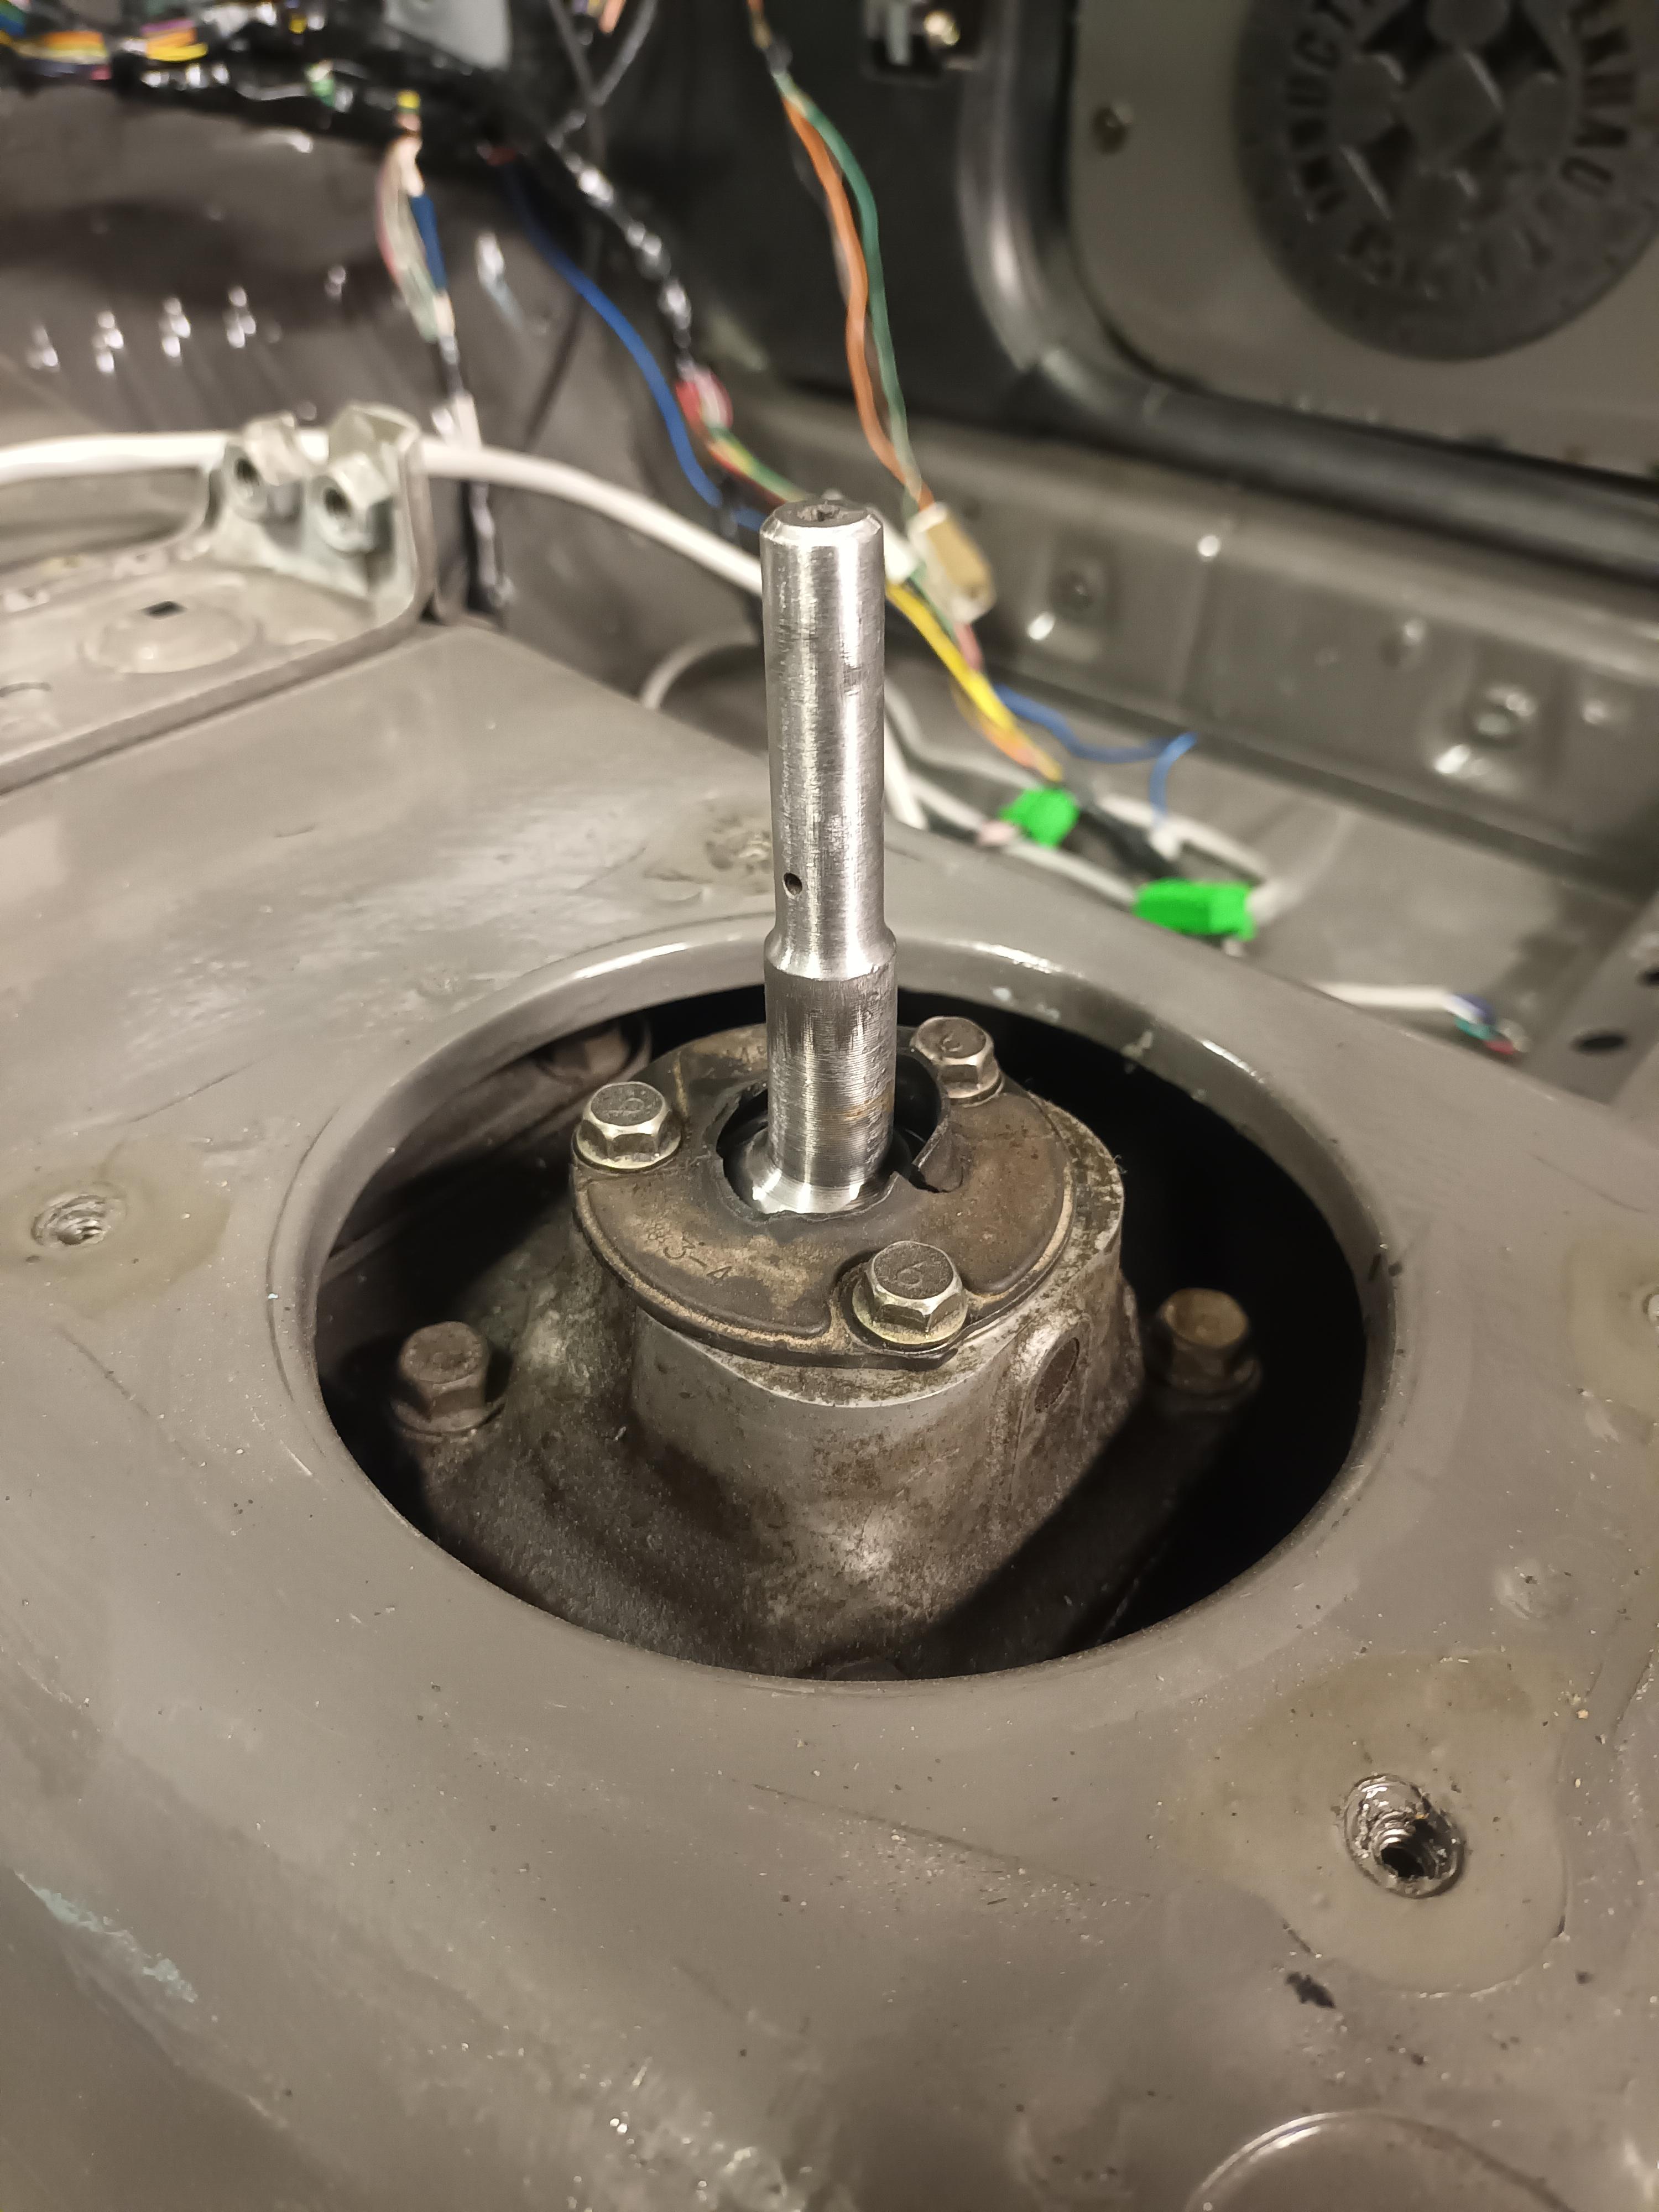
I removed the dash to shave any unnecessary weight. It was kind of a rabbit hole. I could not believe how much wiring that was not needed! After scraping off all the insulating mats, I started to thin out the wiring. I think I ended up with about 6lbs total. A couple of relays for fog lights and AC, wiring for everything not needed, brackets, and so on were removed. Engine harness on both sides were also stripped of anything that was not needed.
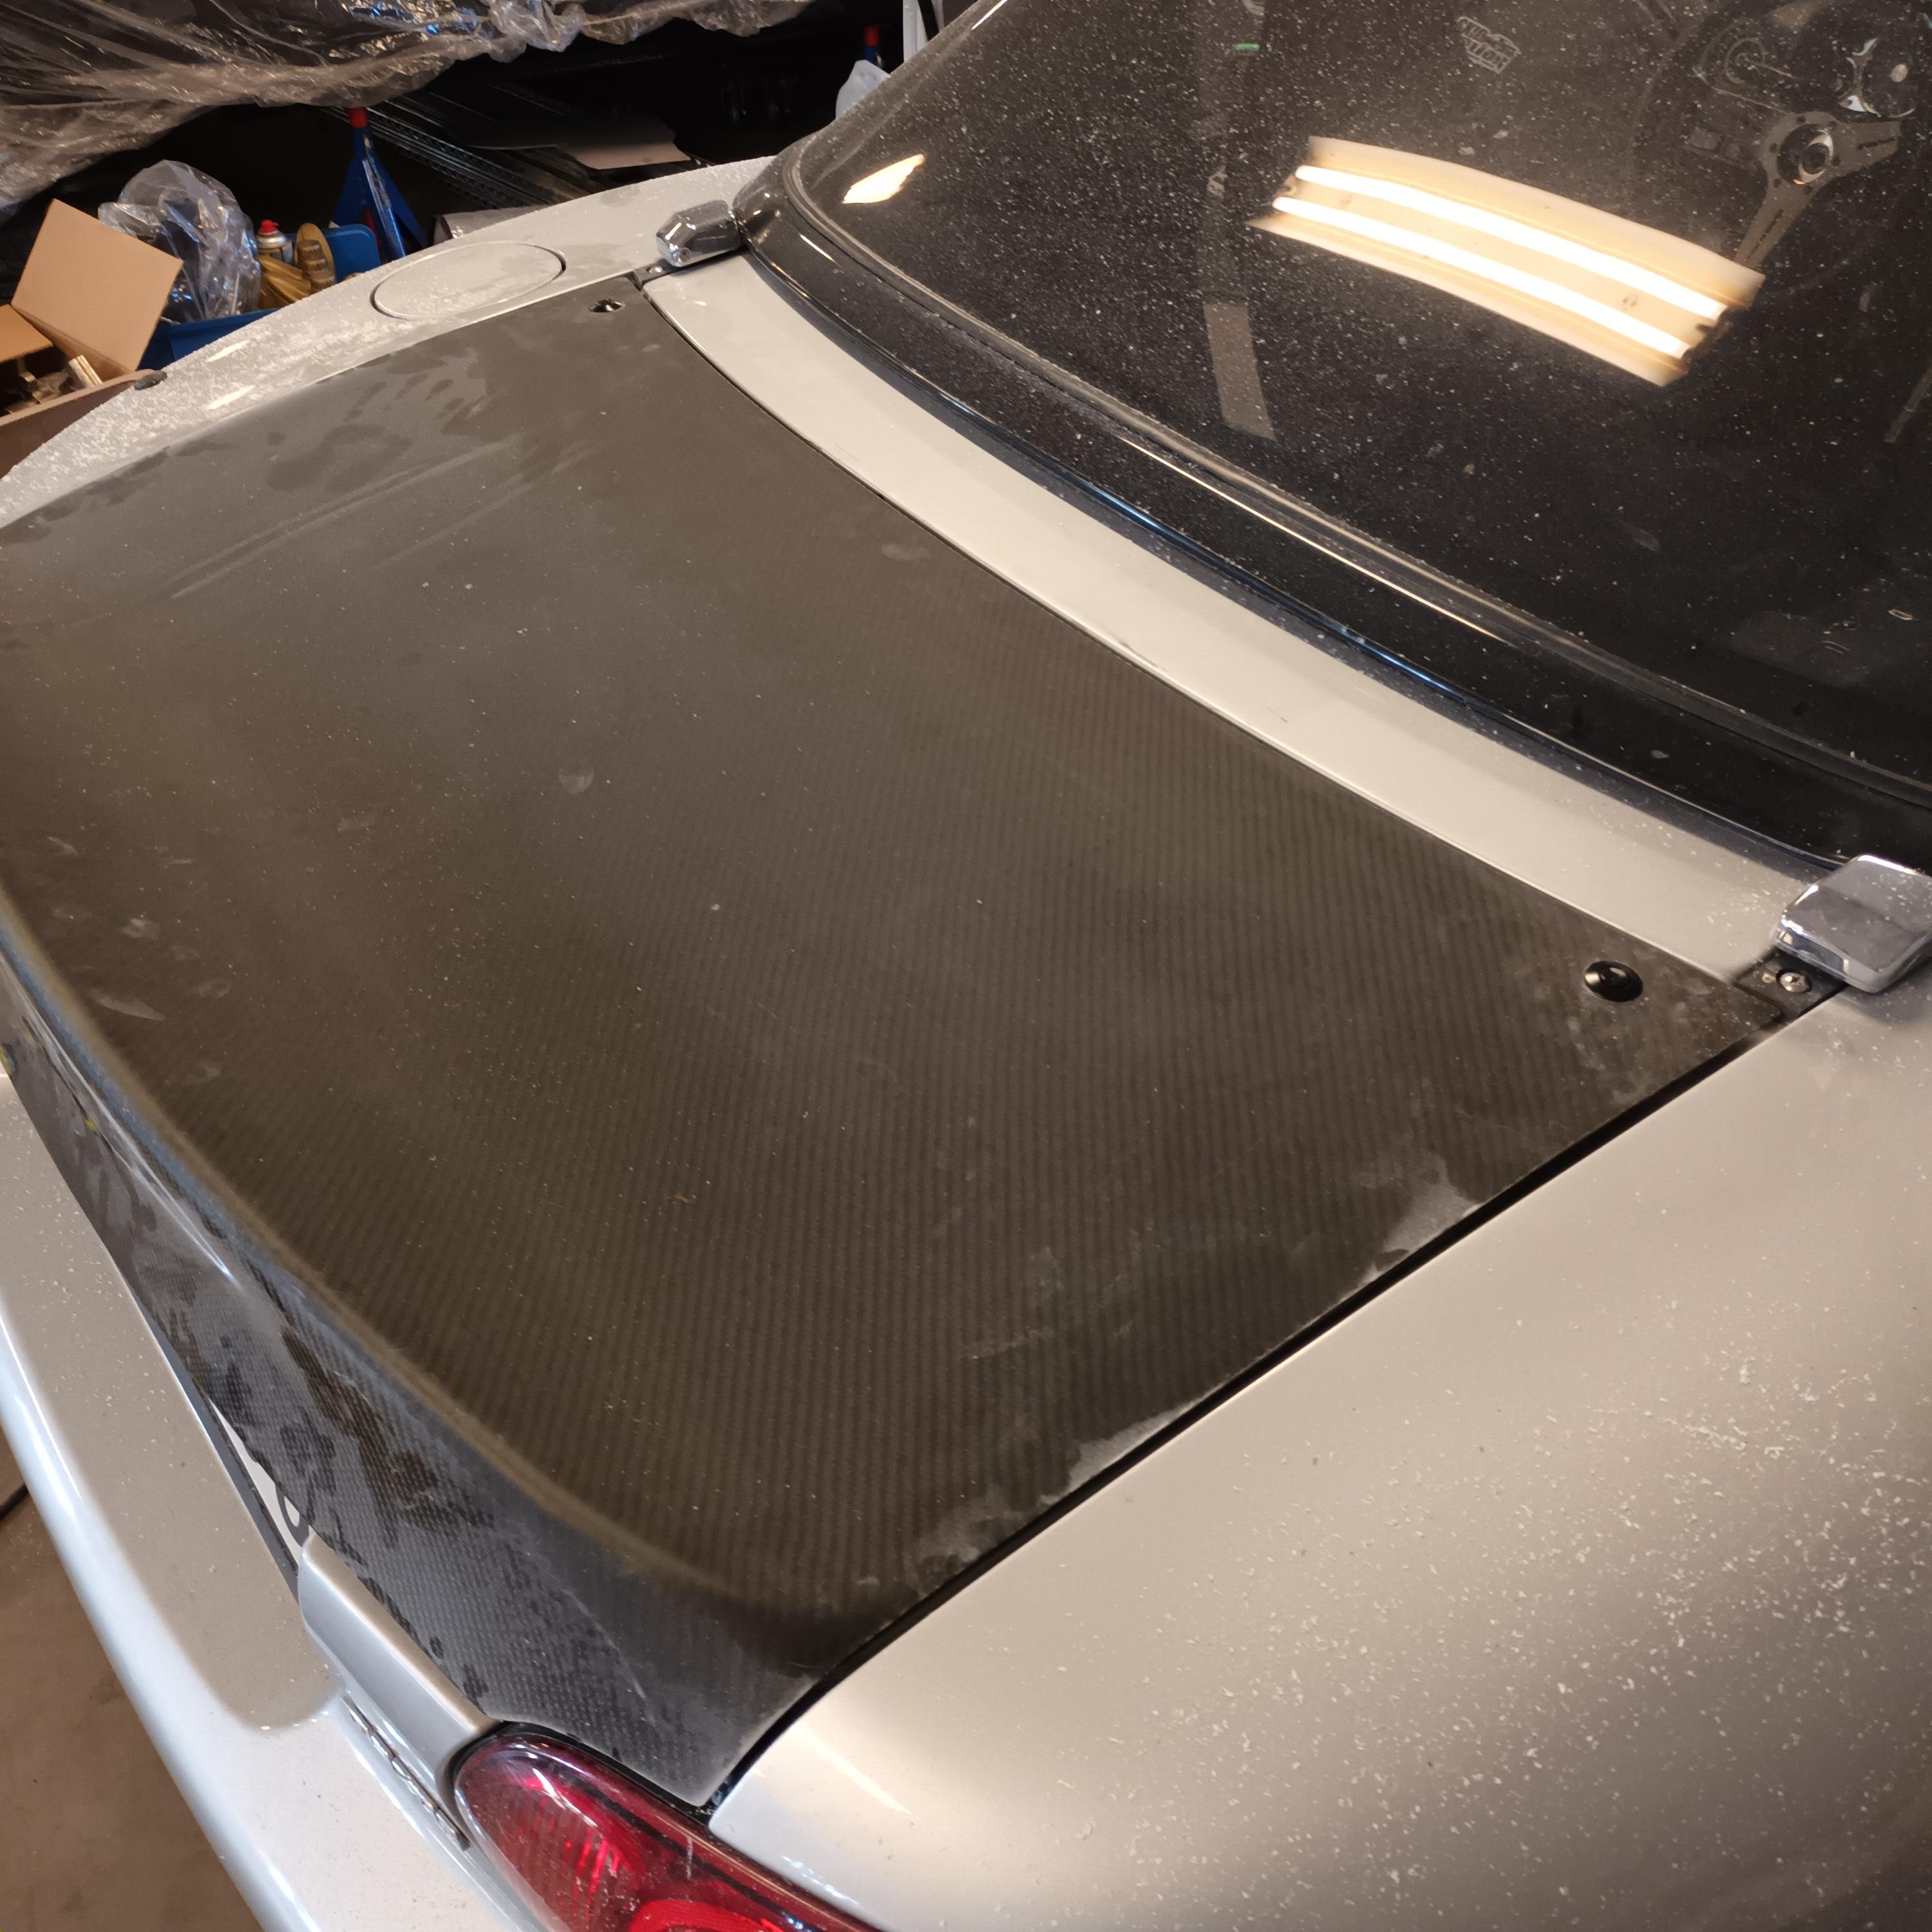
Another weight saving mod showed up around Christmas. A very nice dude offered up his AK trunk for sale after a WTB ad on Facebook. It saved over 9kg on the original trunk with the wing!
Brake kit is done. I got the adapter machined and it seems to work okay with tolerances. My lightweight discs arrived. Much lighter than the Corrado disc, but not sure how much lighter than the NB disc.
I got my hands on a set of drop spindles from Keisler for the rear. Waiting for a set of front drop spindles for Zerek Fabrication. Anyone got experience with them? Haven't gotten an email reply in over two weeks. I see Keisler have theirs in stock again now, so might file a claim.
Anyhow, I need spacers. Like at least 15-20mm to clear the lower control arm. Spacers weigh a lot. So I bought new wheels. 14x7 ET0 should fit. Barely.. Picture 2/3 shows left with drop spindle and right with OEM spindle.
I bought a set of fiberglass doors from SPS Motorsport. I was told via mail that everything would bolt to it like stock. Windows and all. That was not the case at all, since the internal shell of the door is missing. There is no place to mount the window guides to in the top of the door. But I am determined to make it work! SPS have been very forthcoming and great to deal with, so I bought a set of fiberglass fenders from them as well.
Doors mounted up fairly easy. The mould is from a NB2 so most components will not fit from my NB1 door.. That includes the door handle/manual windows etc.. I got all the internals from Prestige Parts in UK. Great guys with quick delivery! Now the slow process of drilling out mounting holes for gaskets, 3D-print brackets for window guides etc..
I removed the dash to shave any unnecessary weight. It was kind of a rabbit hole. I could not believe how much wiring that was not needed! After scraping off all the insulating mats, I started to thin out the wiring. I think I ended up with about 6lbs total. A couple of relays for fog lights and AC, wiring for everything not needed, brackets, and so on were removed. Engine harness on both sides were also stripped of anything that was not needed.
Another weight saving mod showed up around Christmas. A very nice dude offered up his AK trunk for sale after a WTB ad on Facebook. It saved over 9kg on the original trunk with the wing!
Last edited by Teejay187; Apr 2, 2022 at 05:13 PM.
Reply
4
4

Senior Member
Joined: Jul 2014
Posts: 1,417
Total Cats: 764
From: Milwaukee, WI
I removed the dash to shave any unnecessary weight. It was kind of a rabbit hole. I could not believe how much wiring that was not needed! After scraping off all the insulating mats, I started to thin out the wiring. I think I ended up with about 6lbs total. A couple of relays for fog lights and AC, wiring for everything not needed, brackets, and so on were removed. Engine harness on both sides were also stripped of anything that was not needed.
Reply
2
2
Thread Starter
Junior Member
Joined: Jul 2013
Posts: 85
Total Cats: 48
From: Norway
I just started on the dash itself and I have already removed about 1lb so far. Lots of wiring that's not in my manuals keep me occupied. I reckon I can remove another 2lbs without gutting anything visually when its back in.
Reply
0
0
Thread Starter
Junior Member
Joined: Jul 2013
Posts: 85
Total Cats: 48
From: Norway
Time for an update!
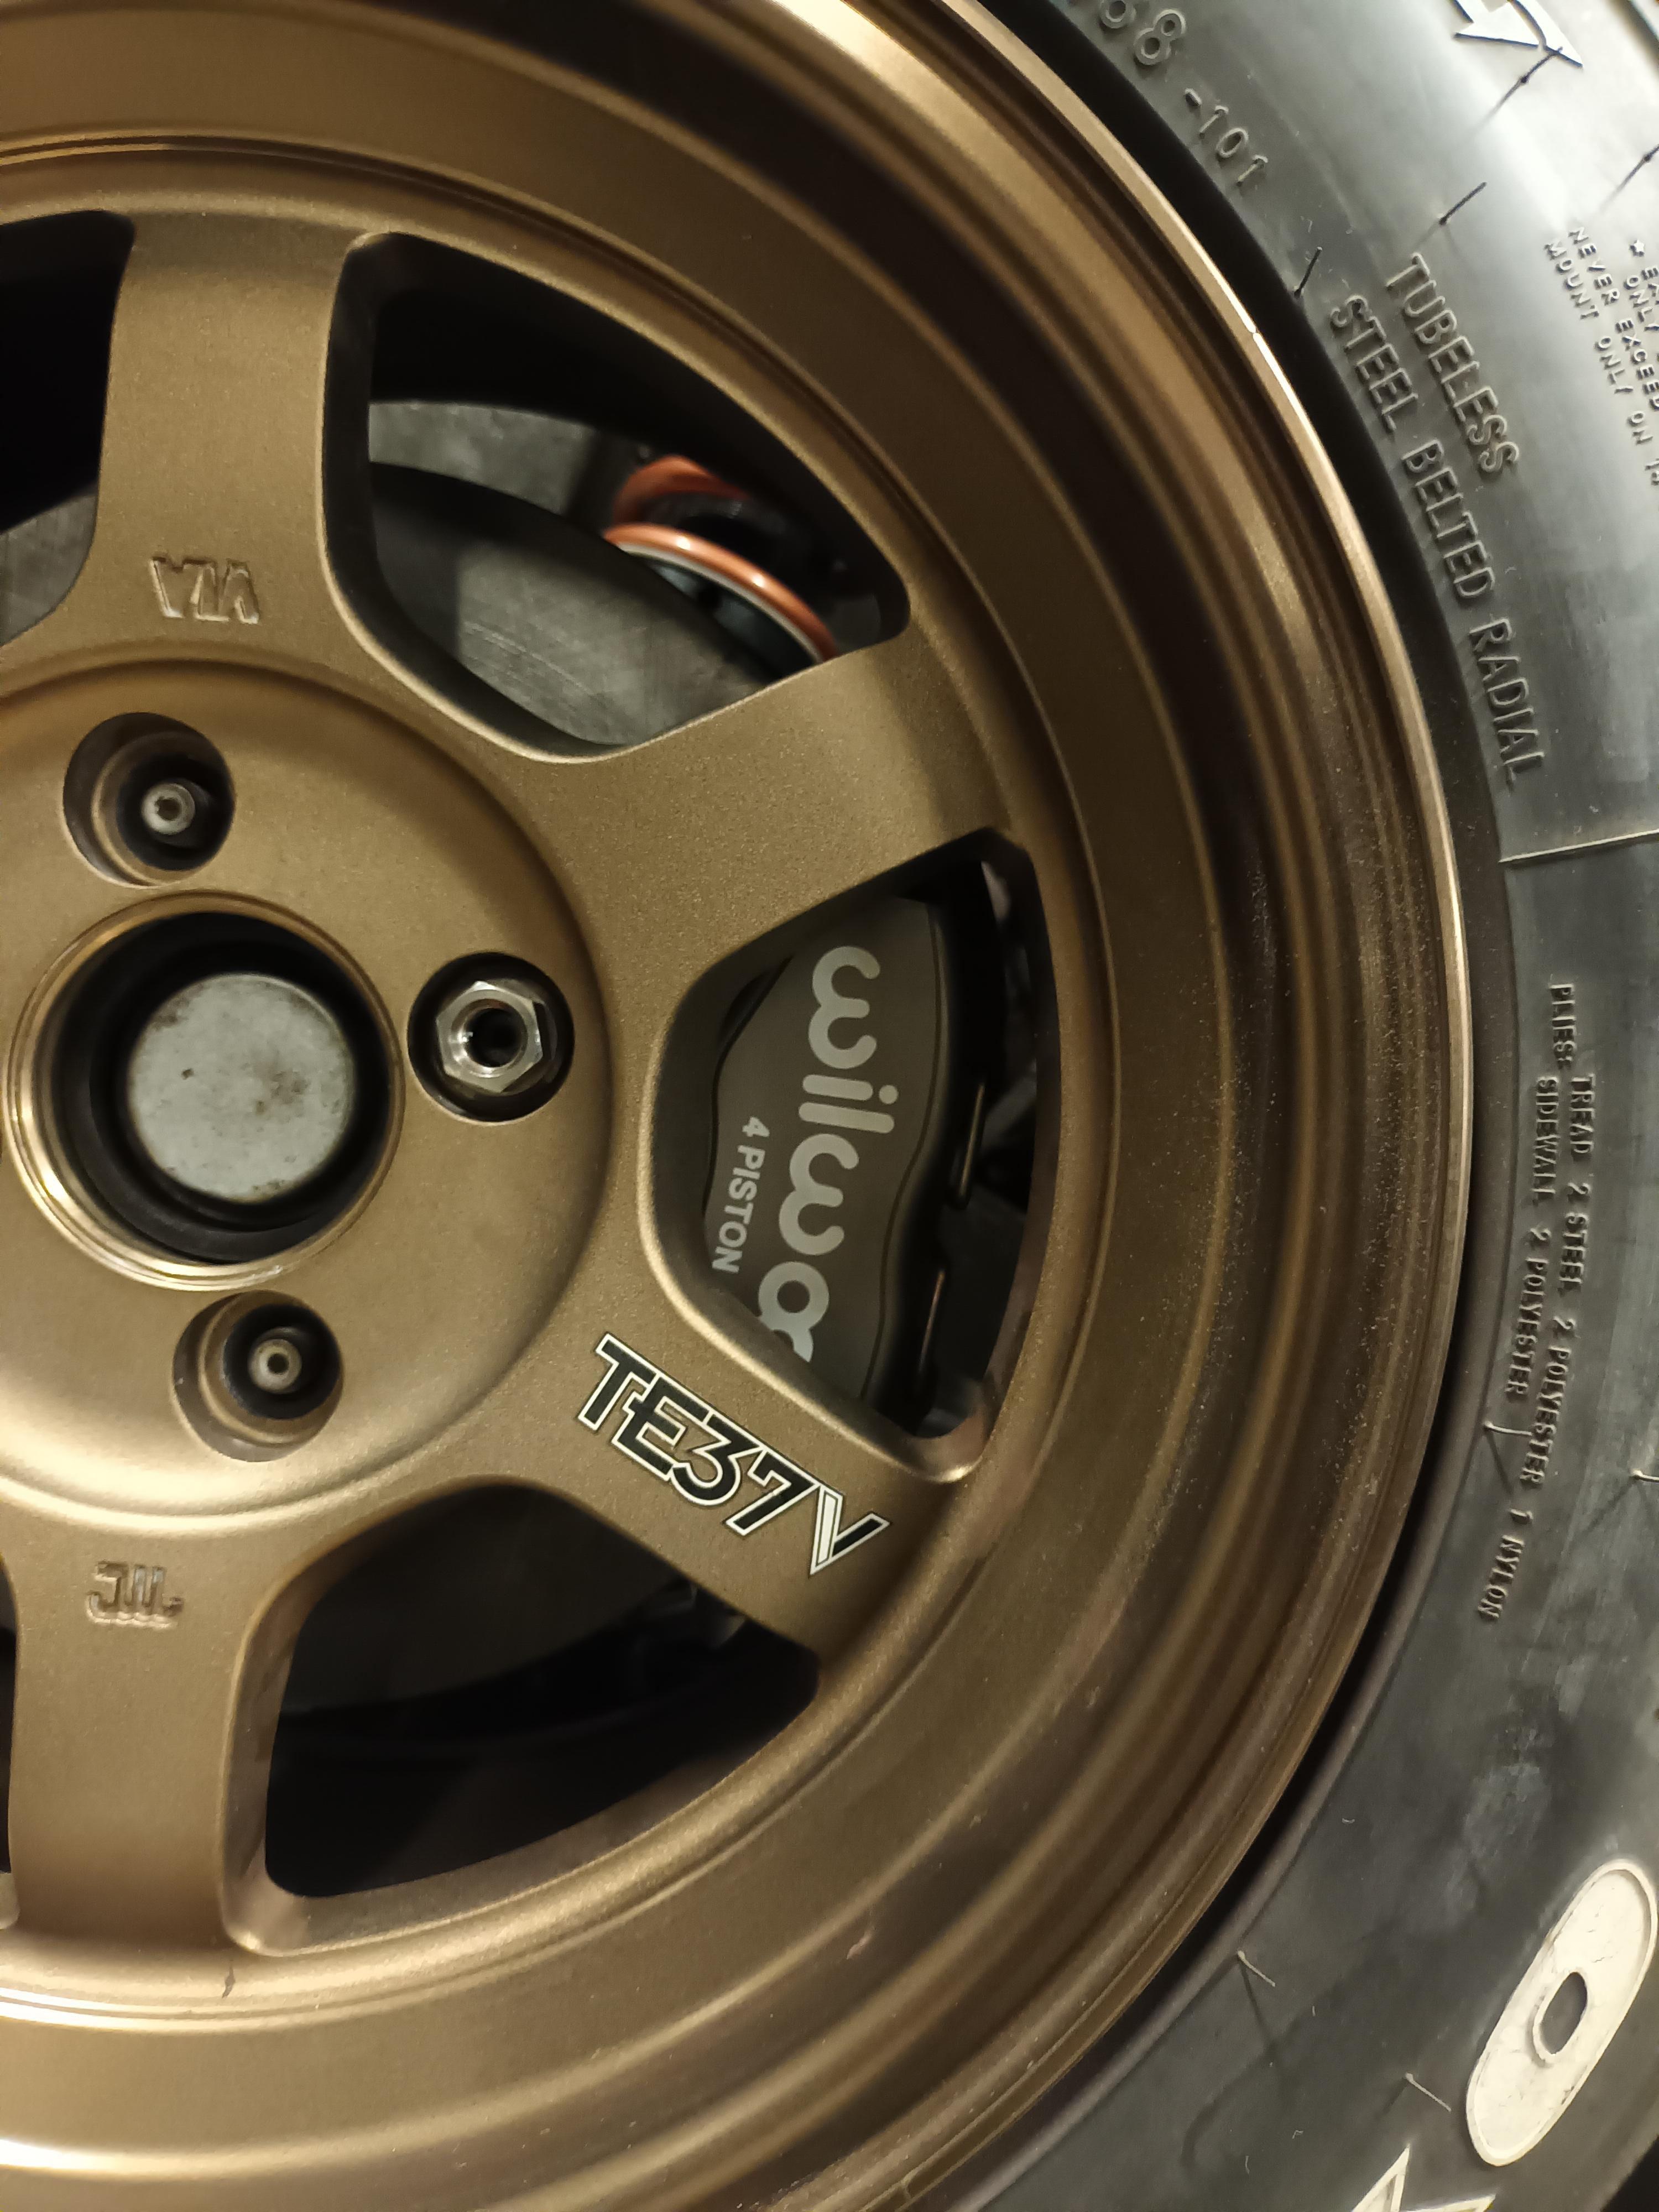
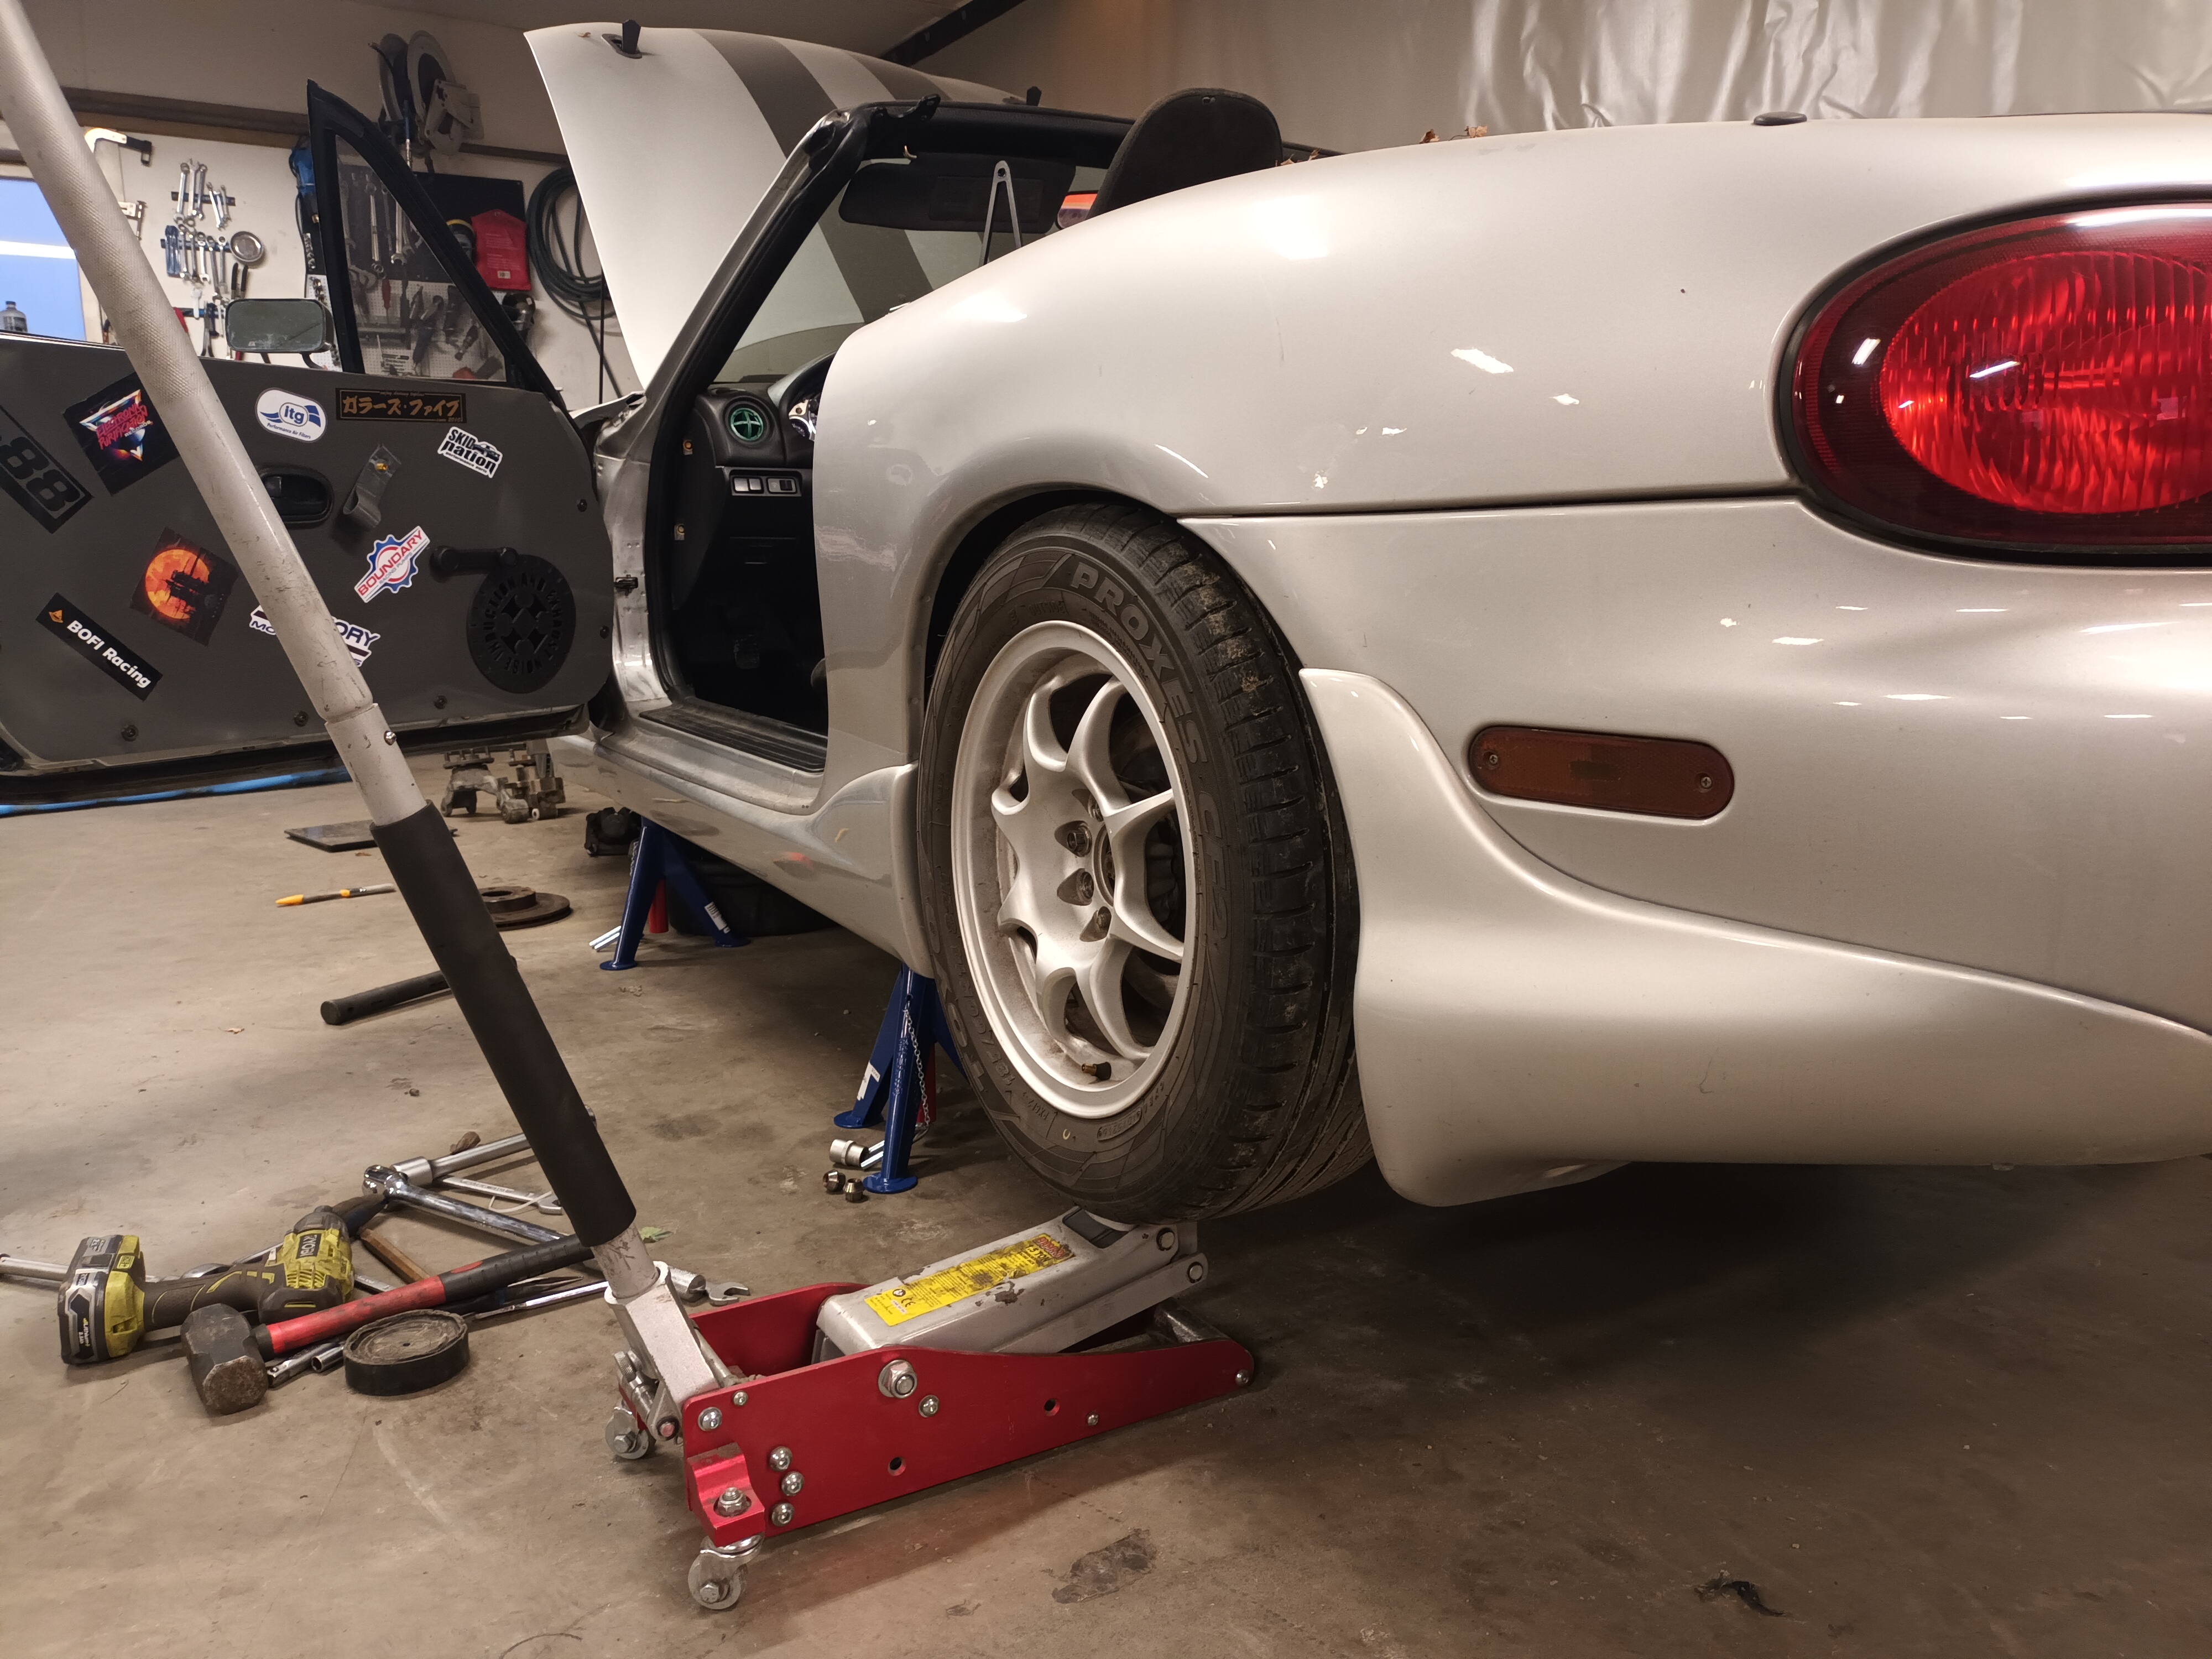
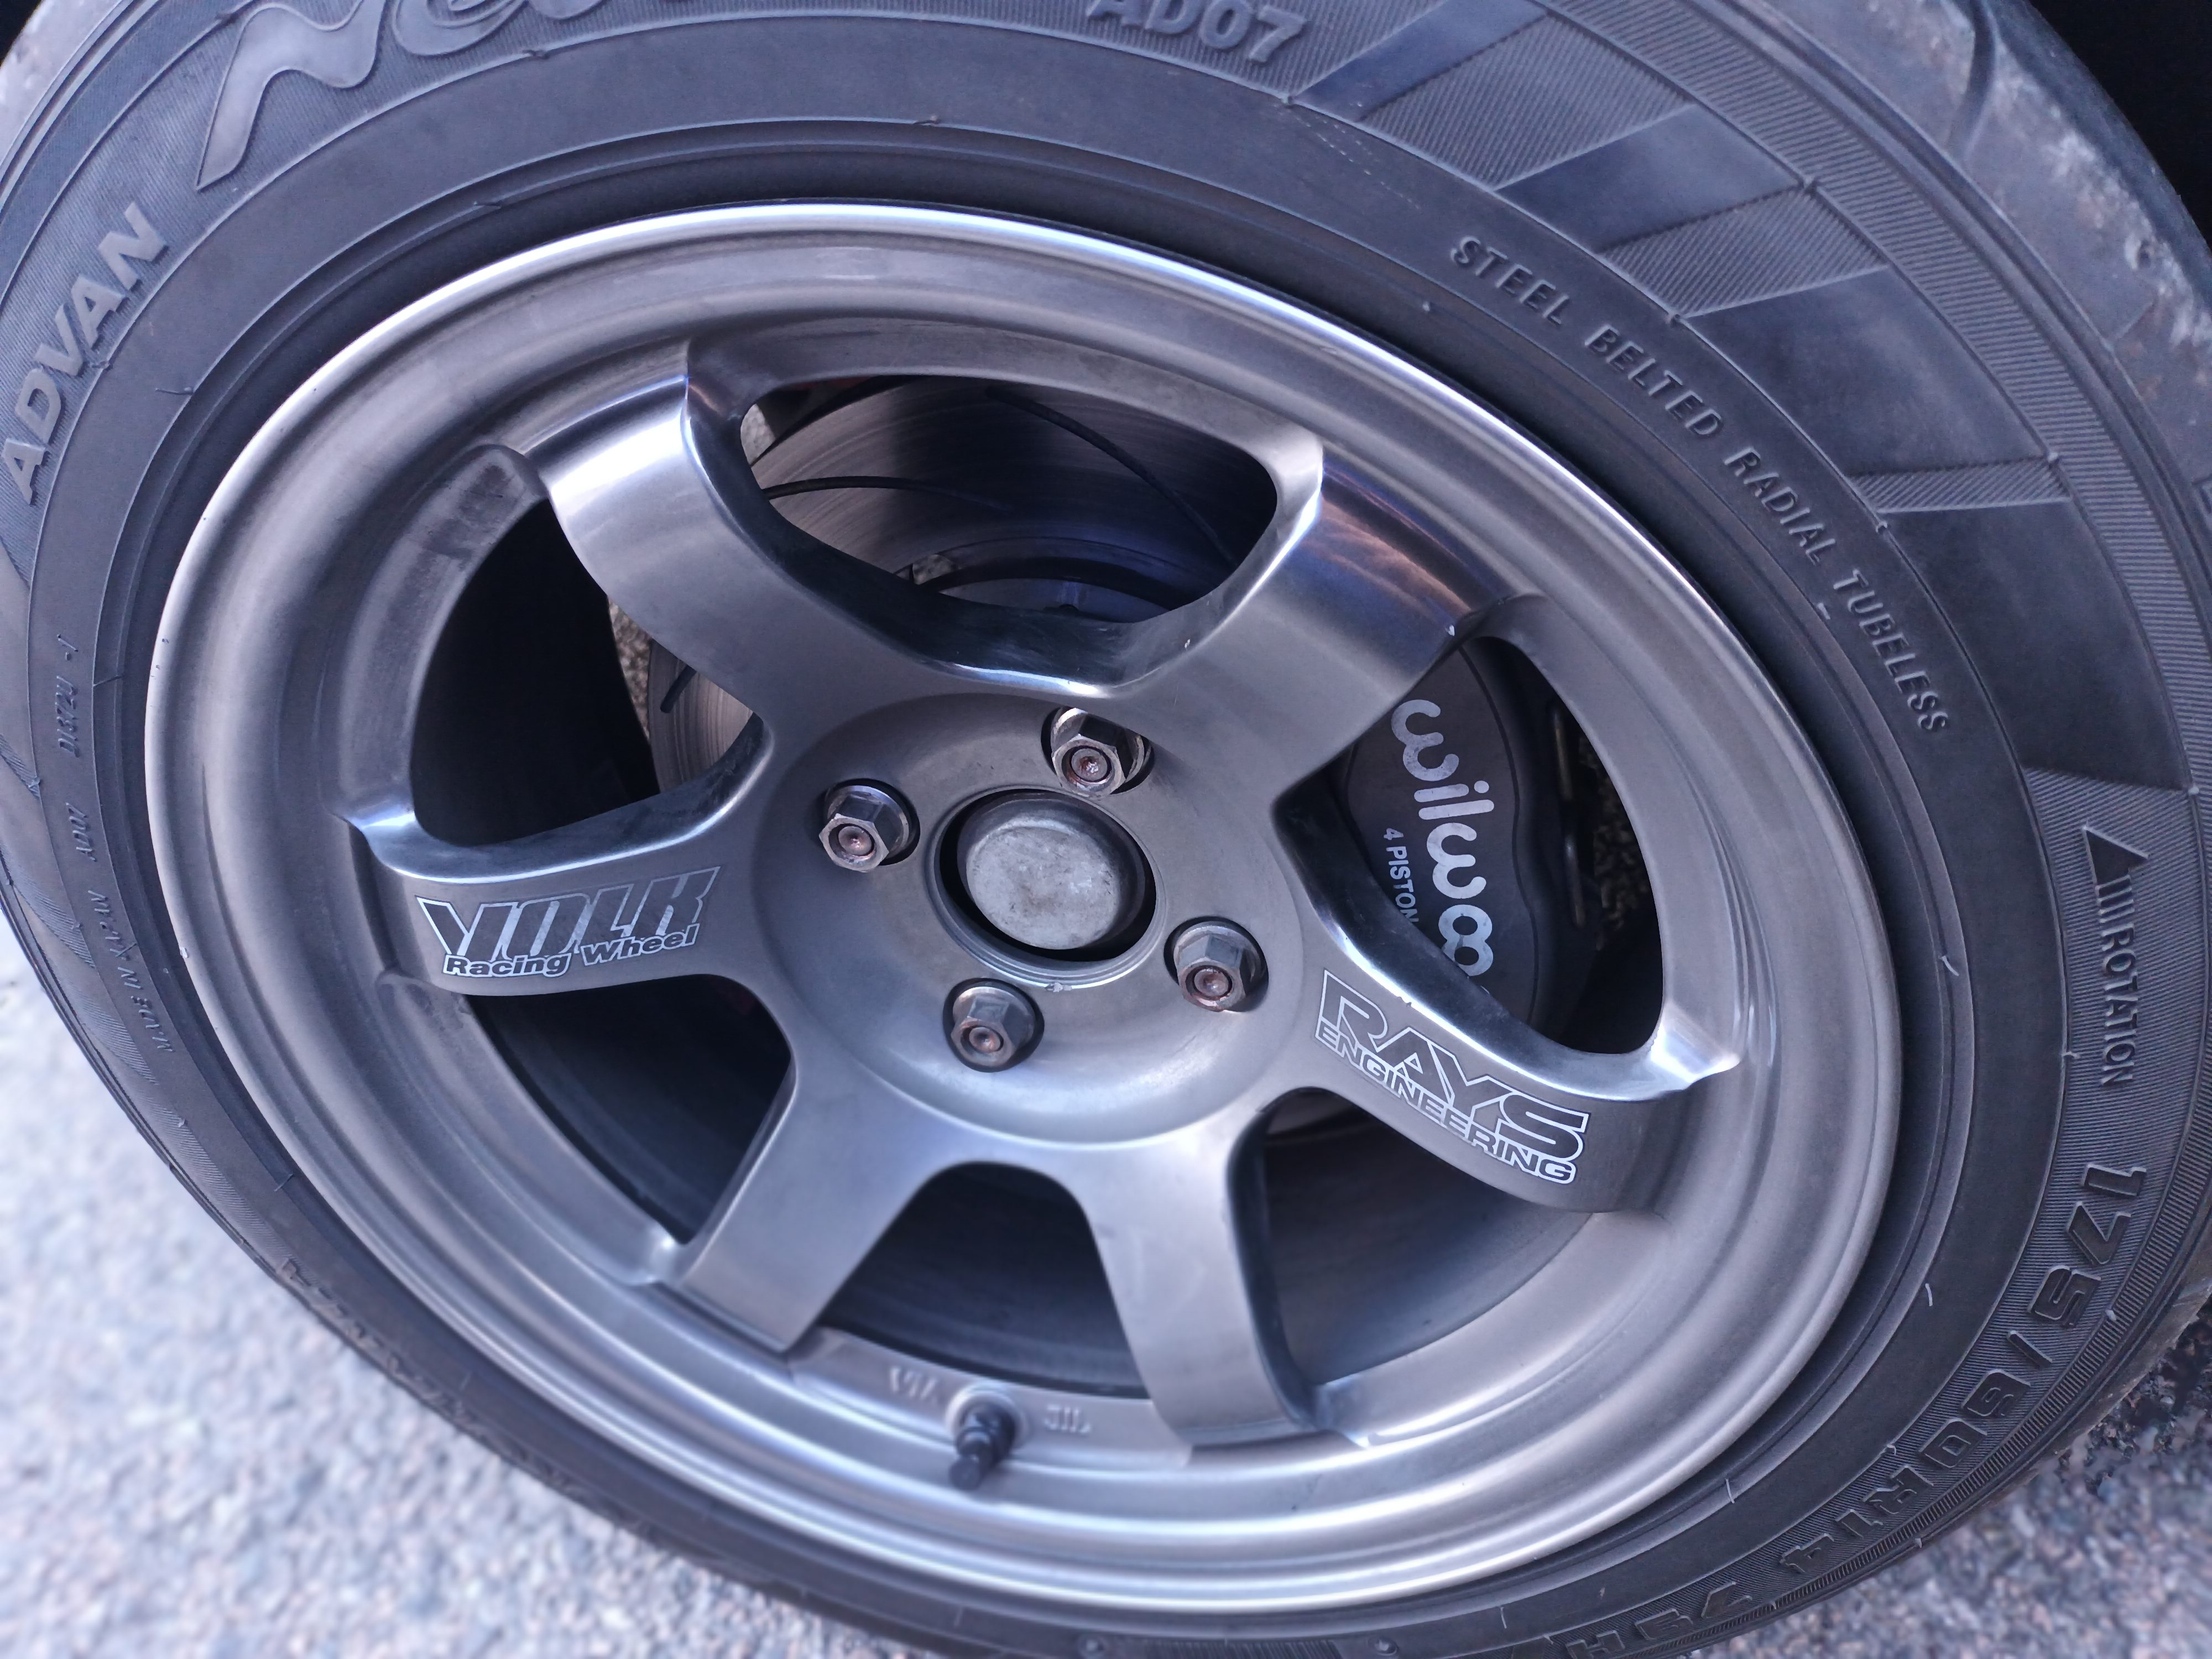
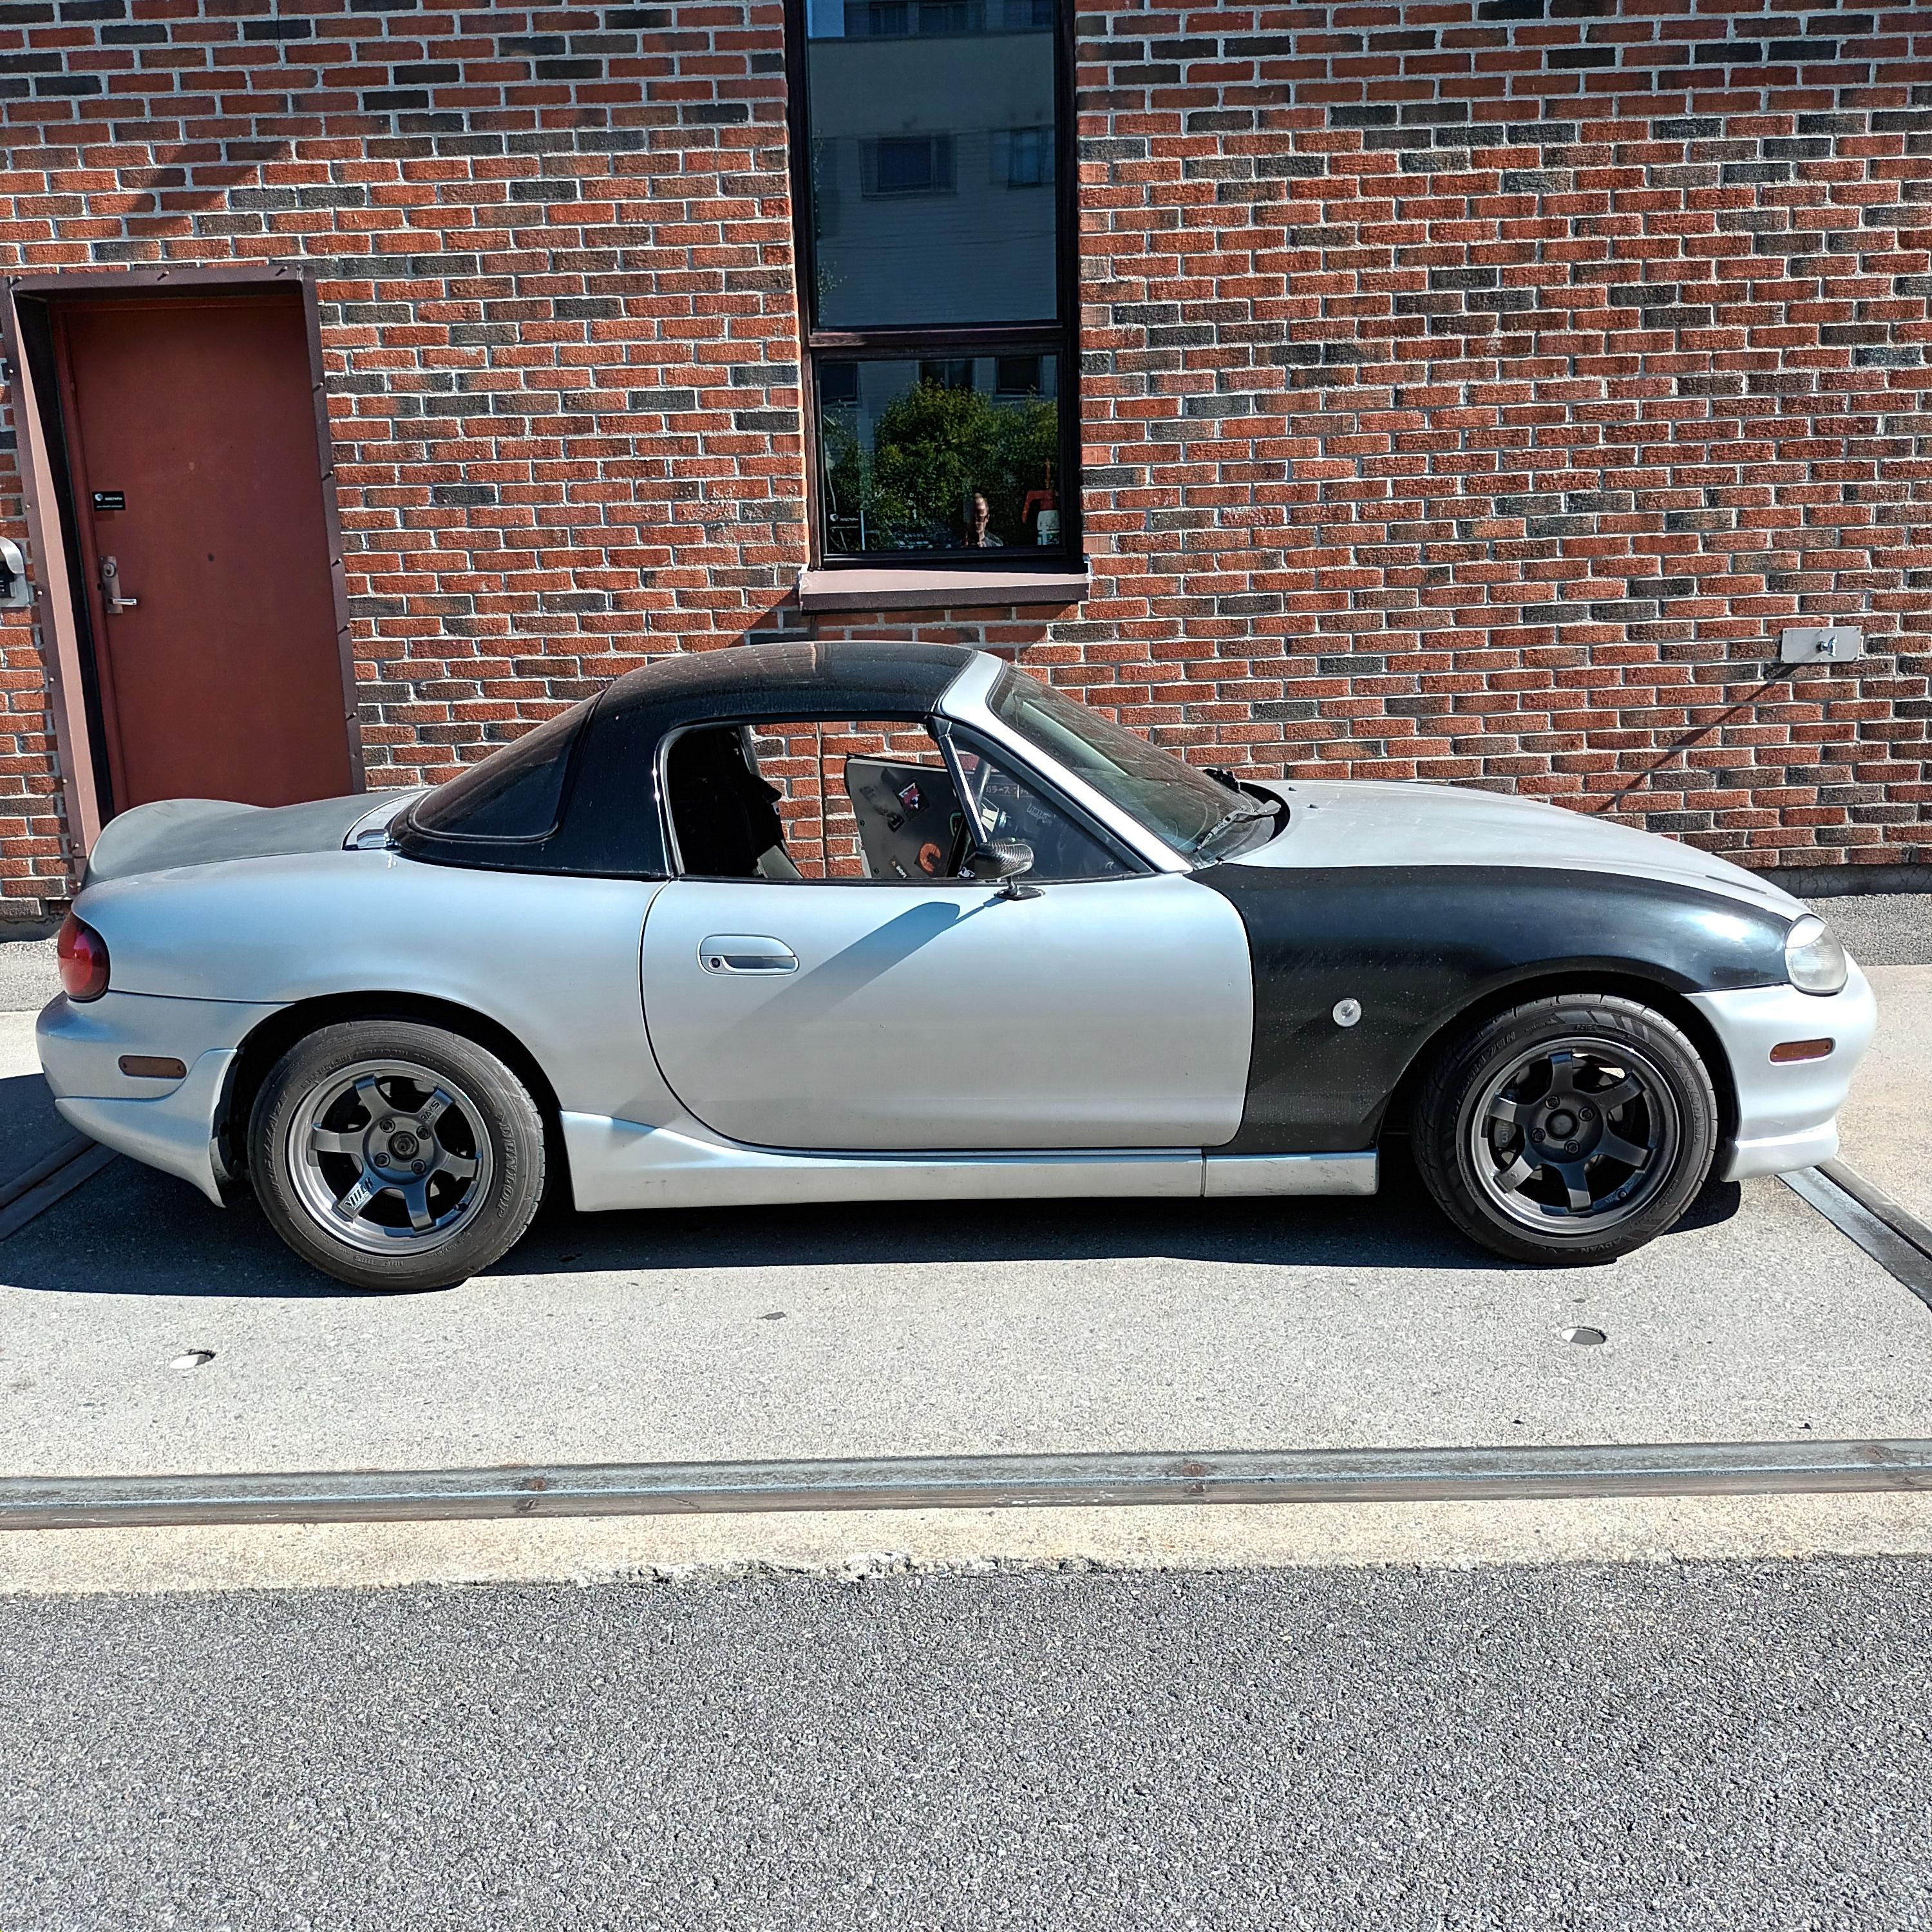
Bought a set of Volk TE37 after I had been looking for close to a year! Had to slightly massage the rear arches and the front calipers. Ended up adding about 1,4kg total over the WedsSport TC-05.
Split the shifter and drilled holes for set-screws. Saved around about 300grams here. Almost 500g if you include the printed shift **** vs the original heavy one.
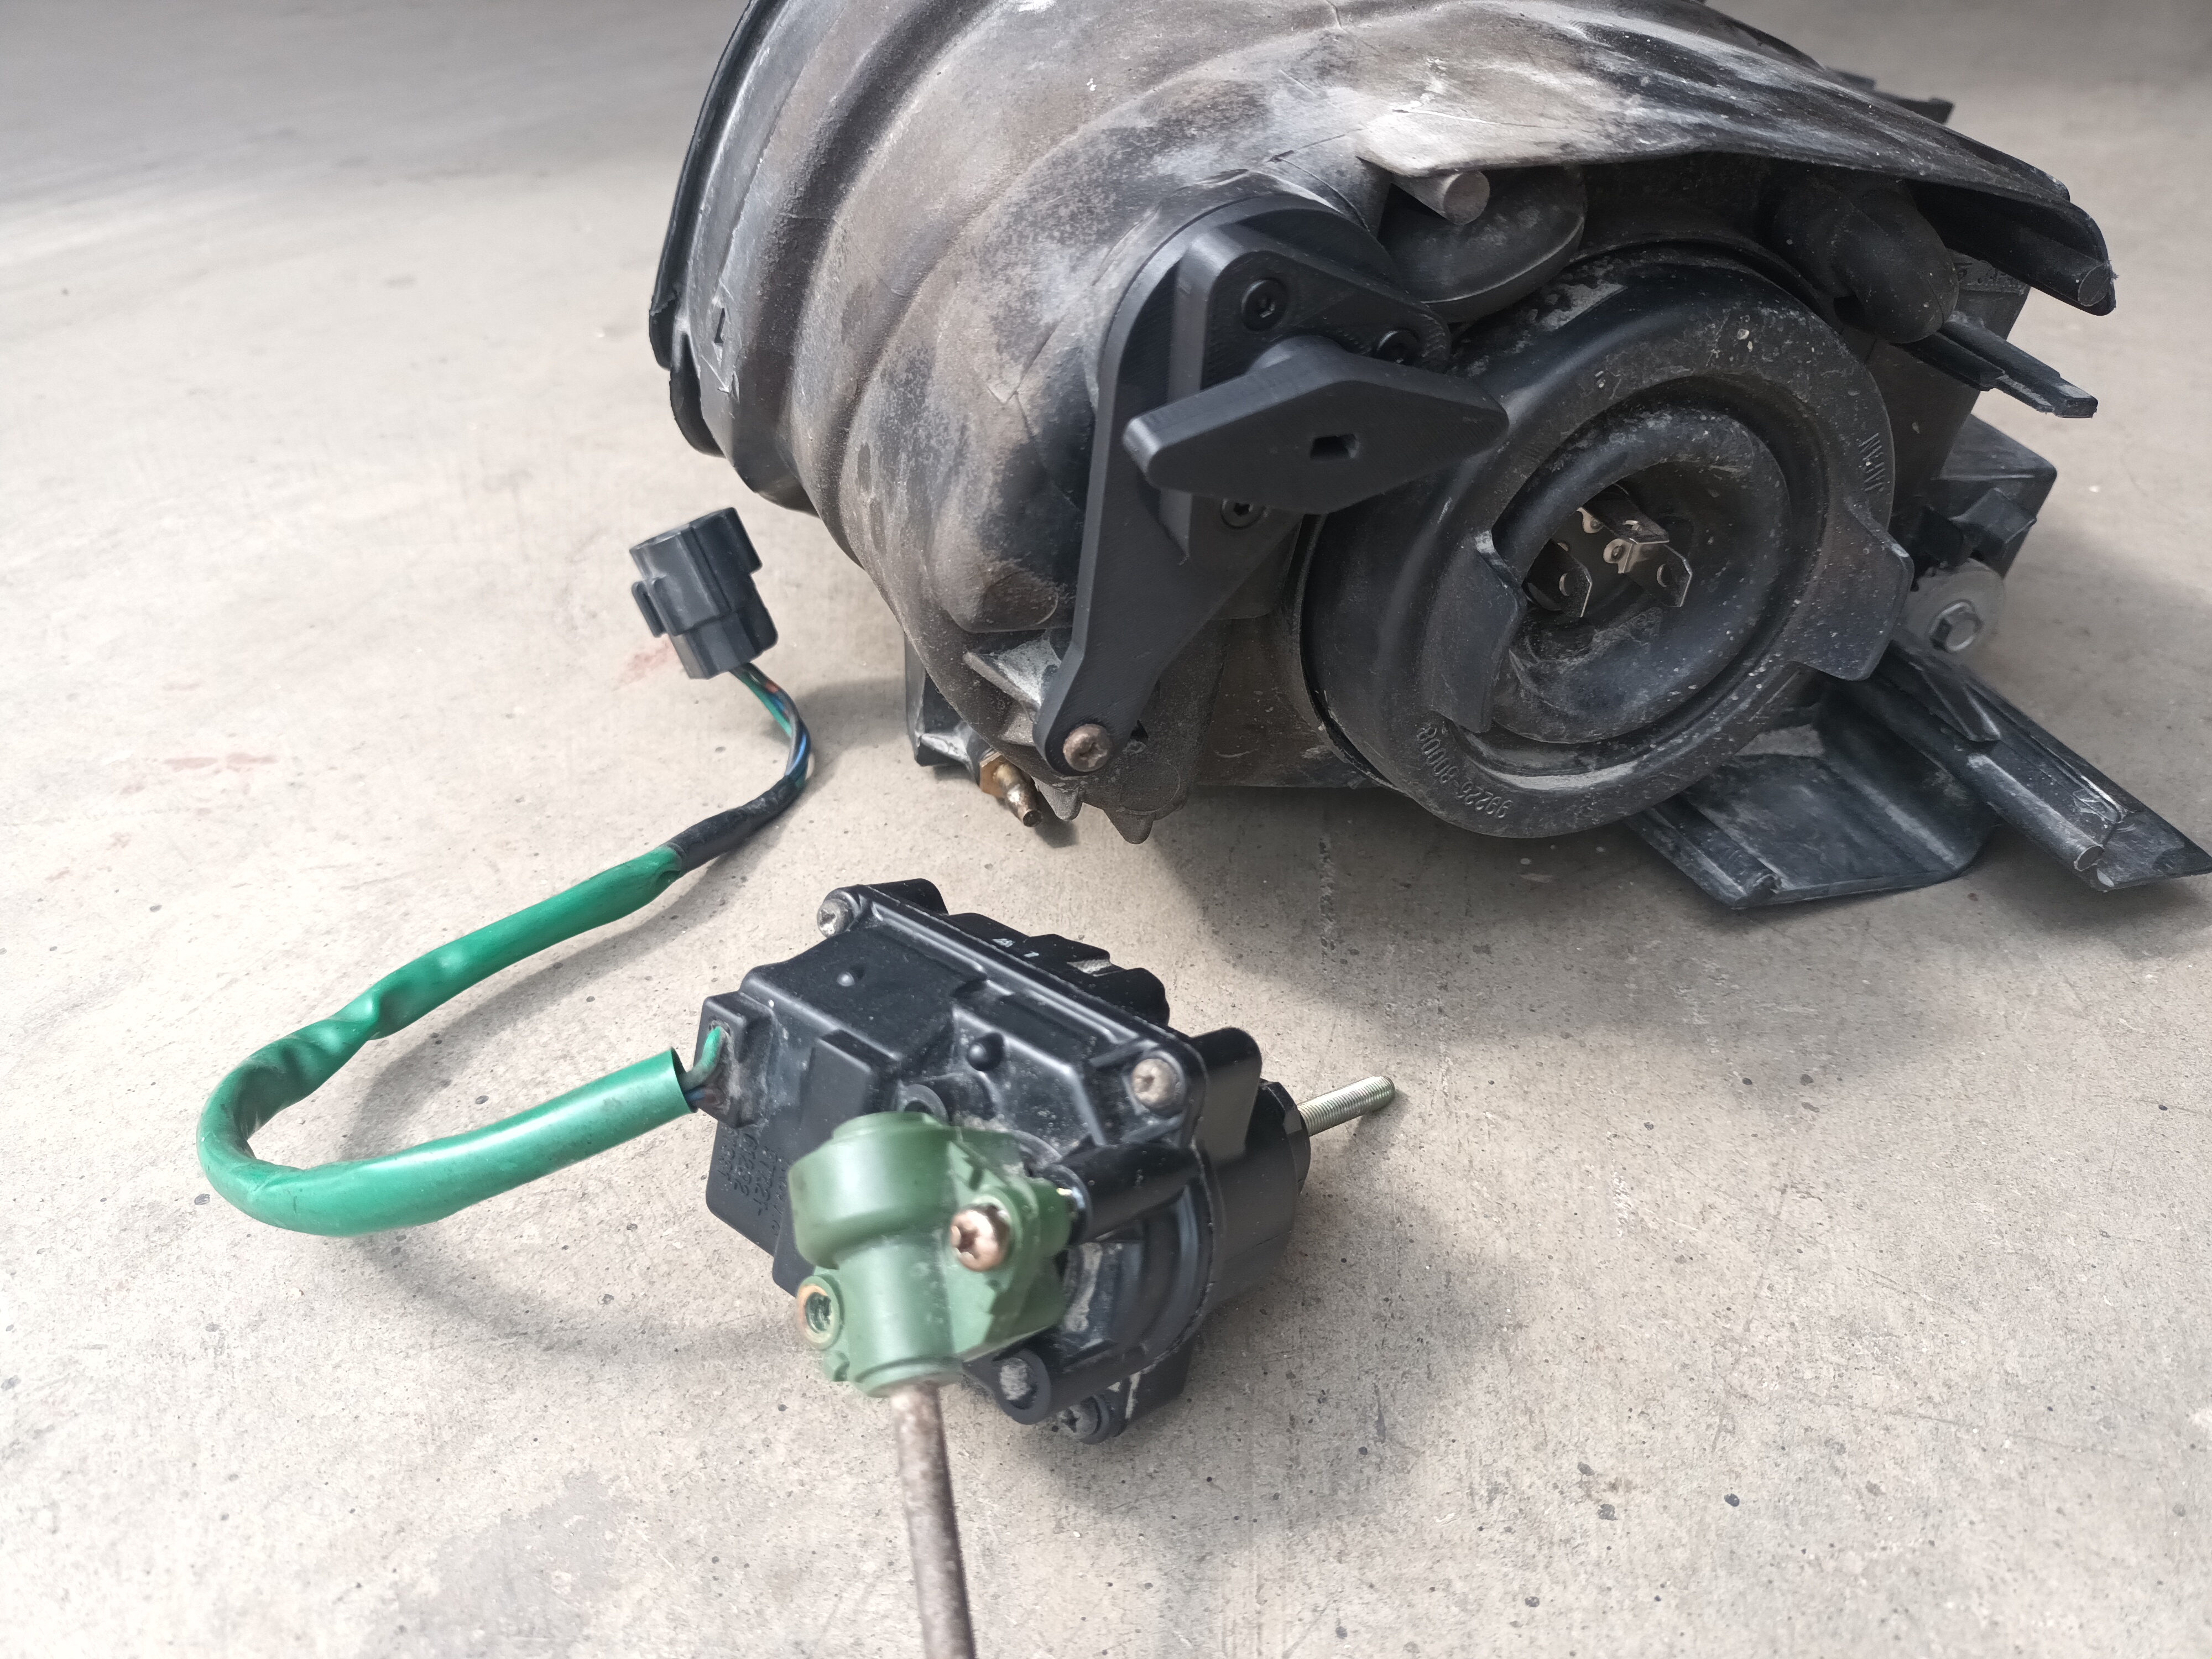
Made my own manual headlight adjustment setup to replace the motors. I think these added up to around 500g total with wiring and the button in the center console.
The heavy striker plates were replaced with lightweight 3D-printed ones. I think I saved around 3-400g here.
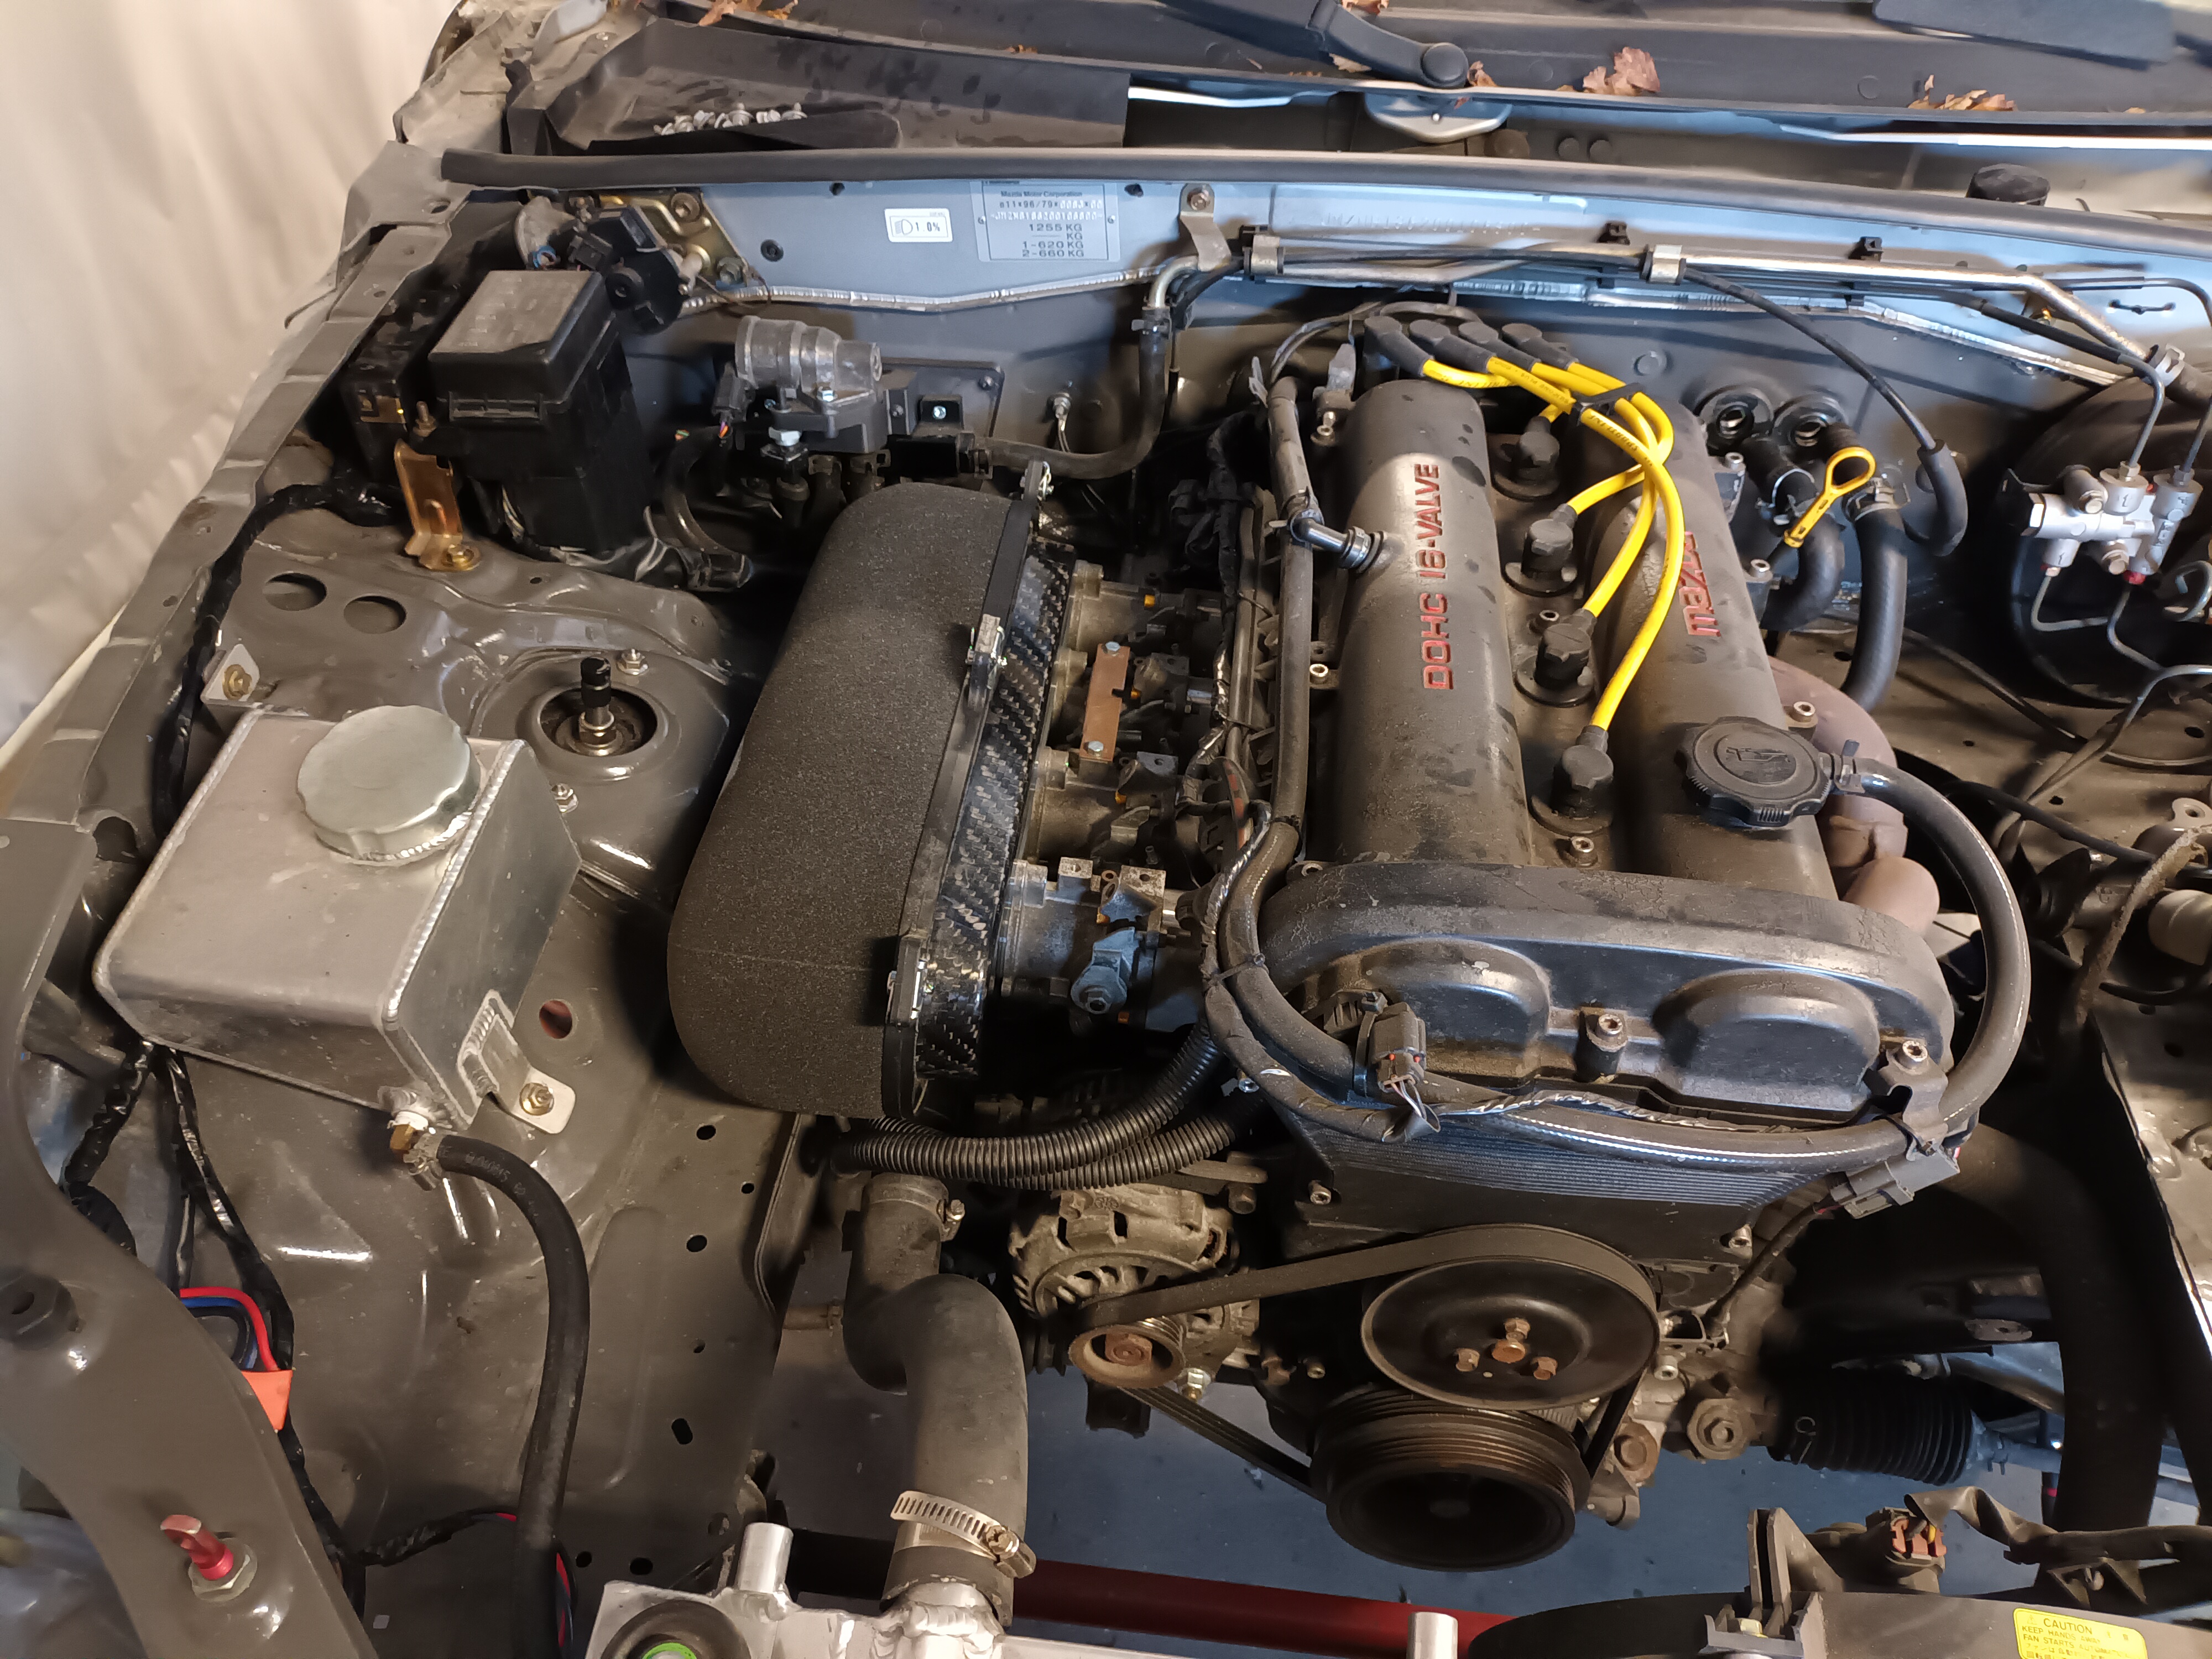
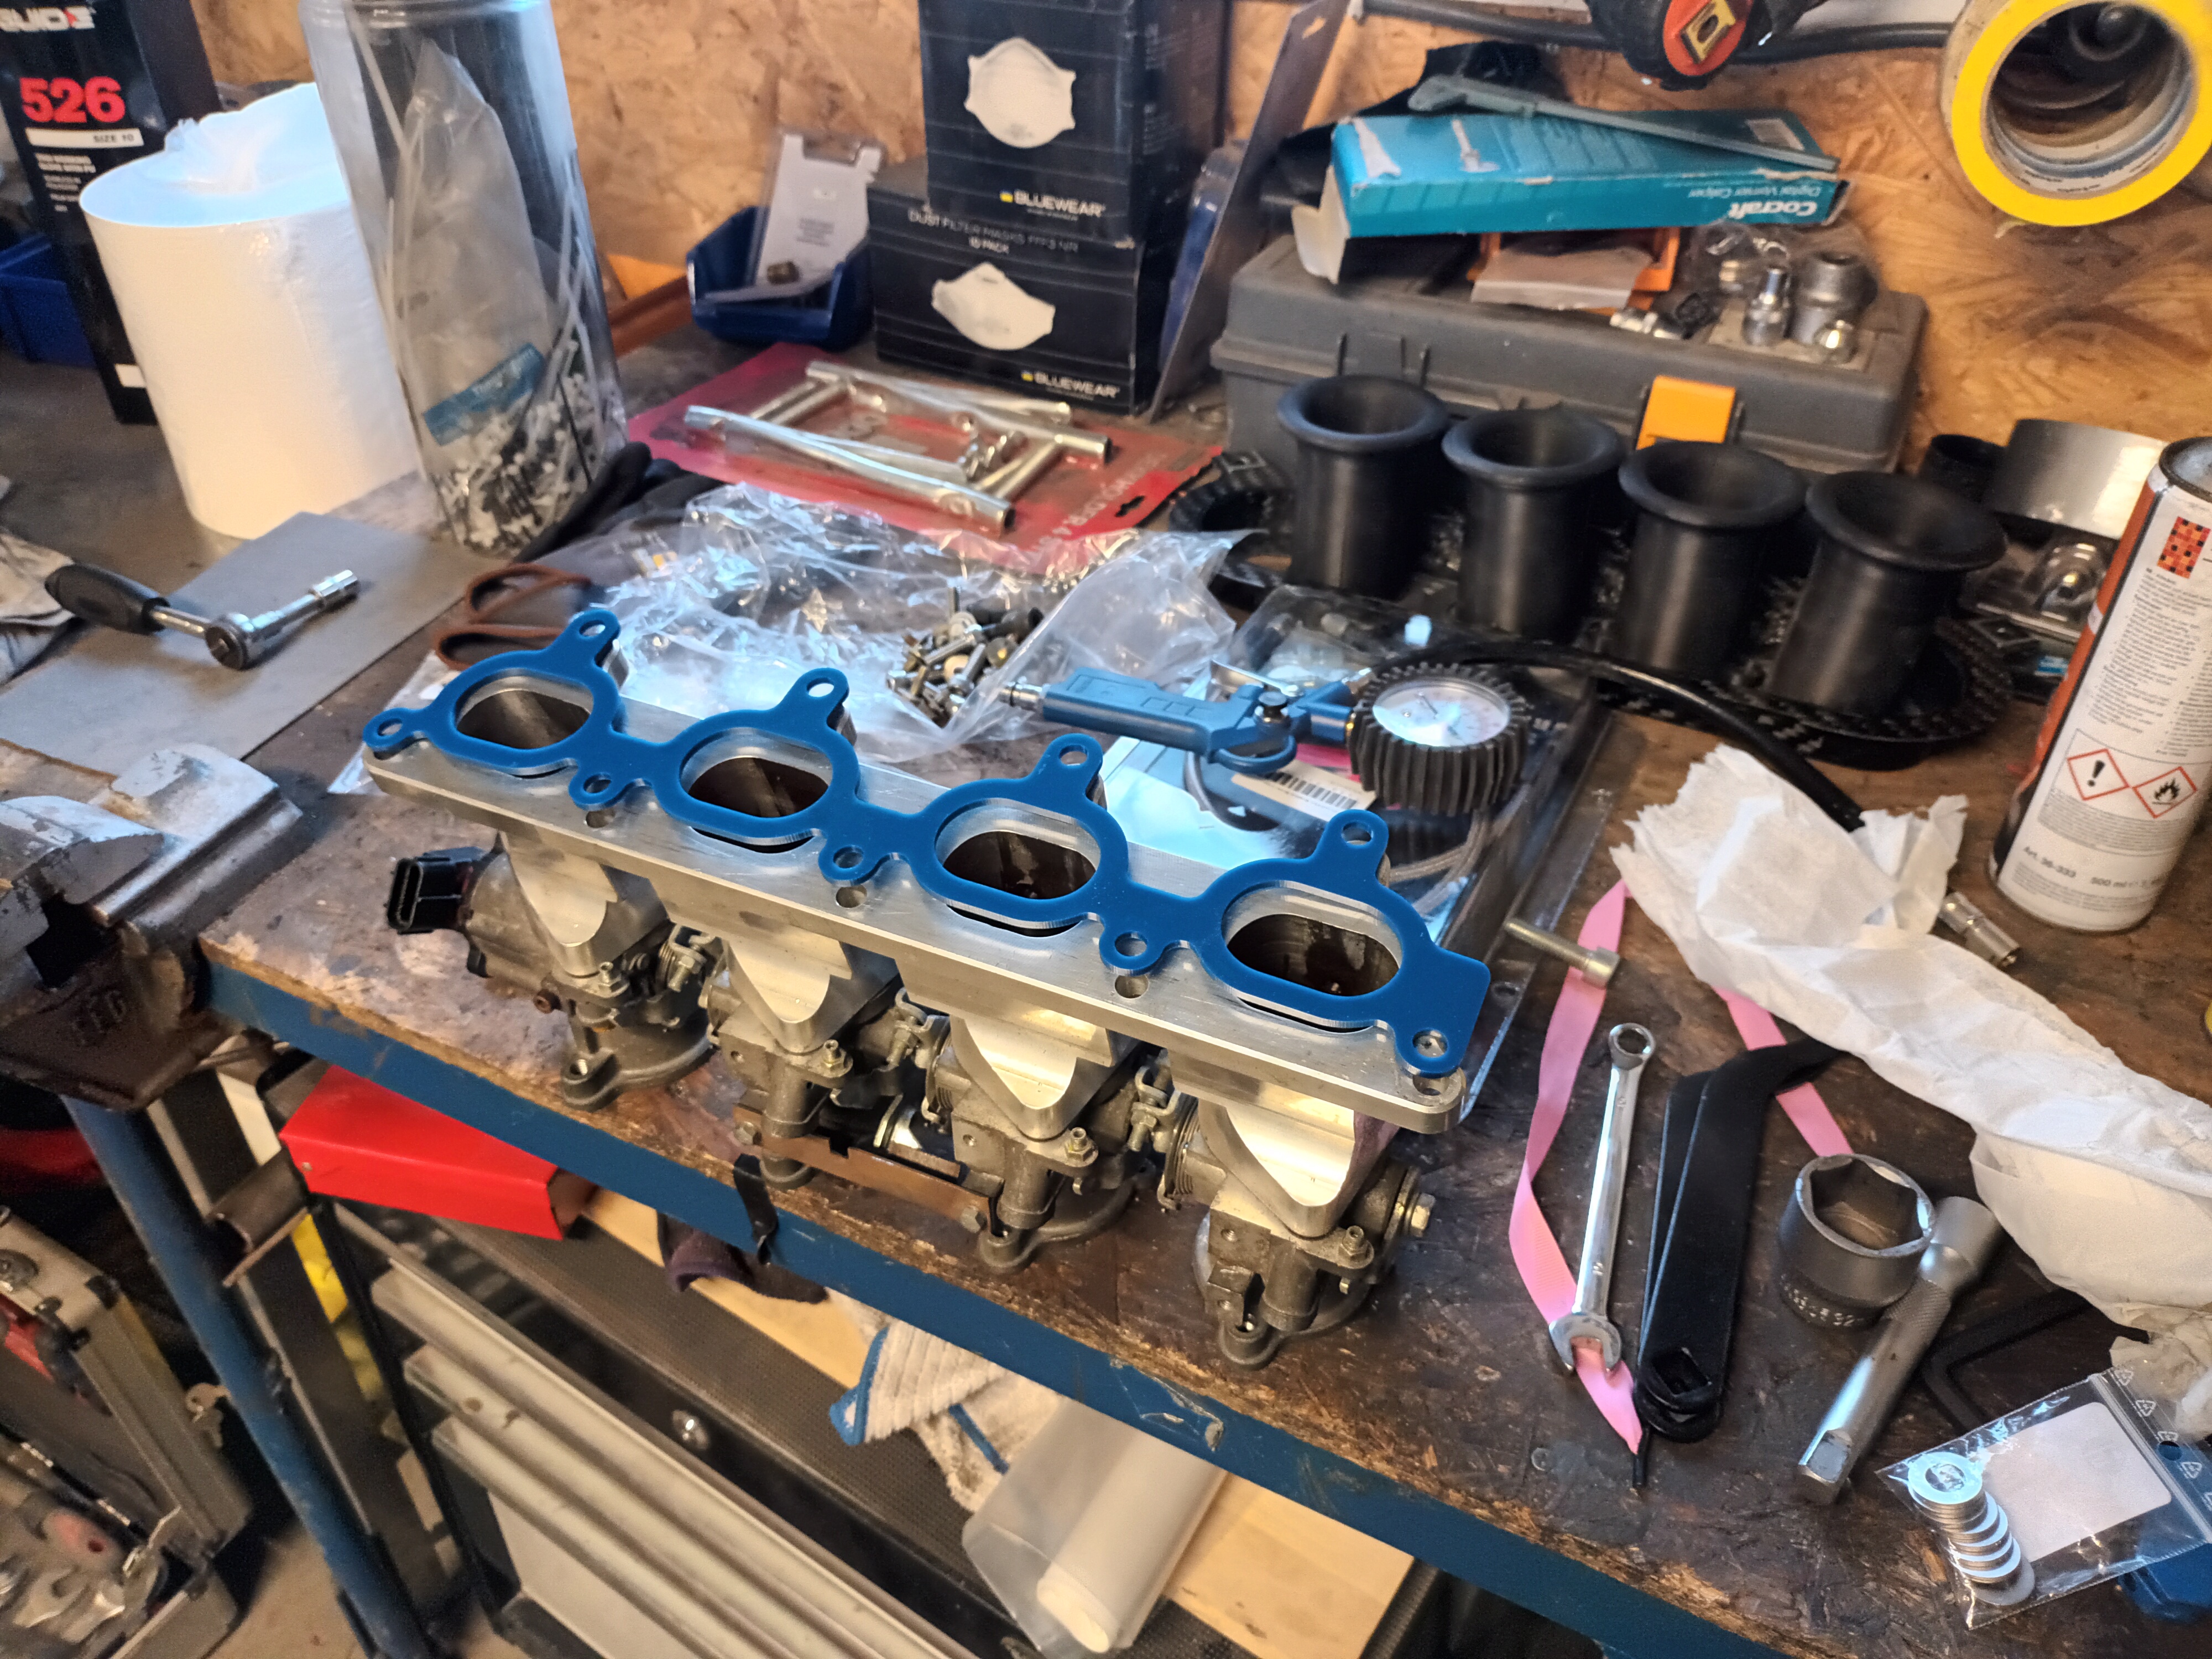
Disassembled the ITB-kit and replaced the gasket with an Hondata phenolic gasket to aid in preventing heat-soak.
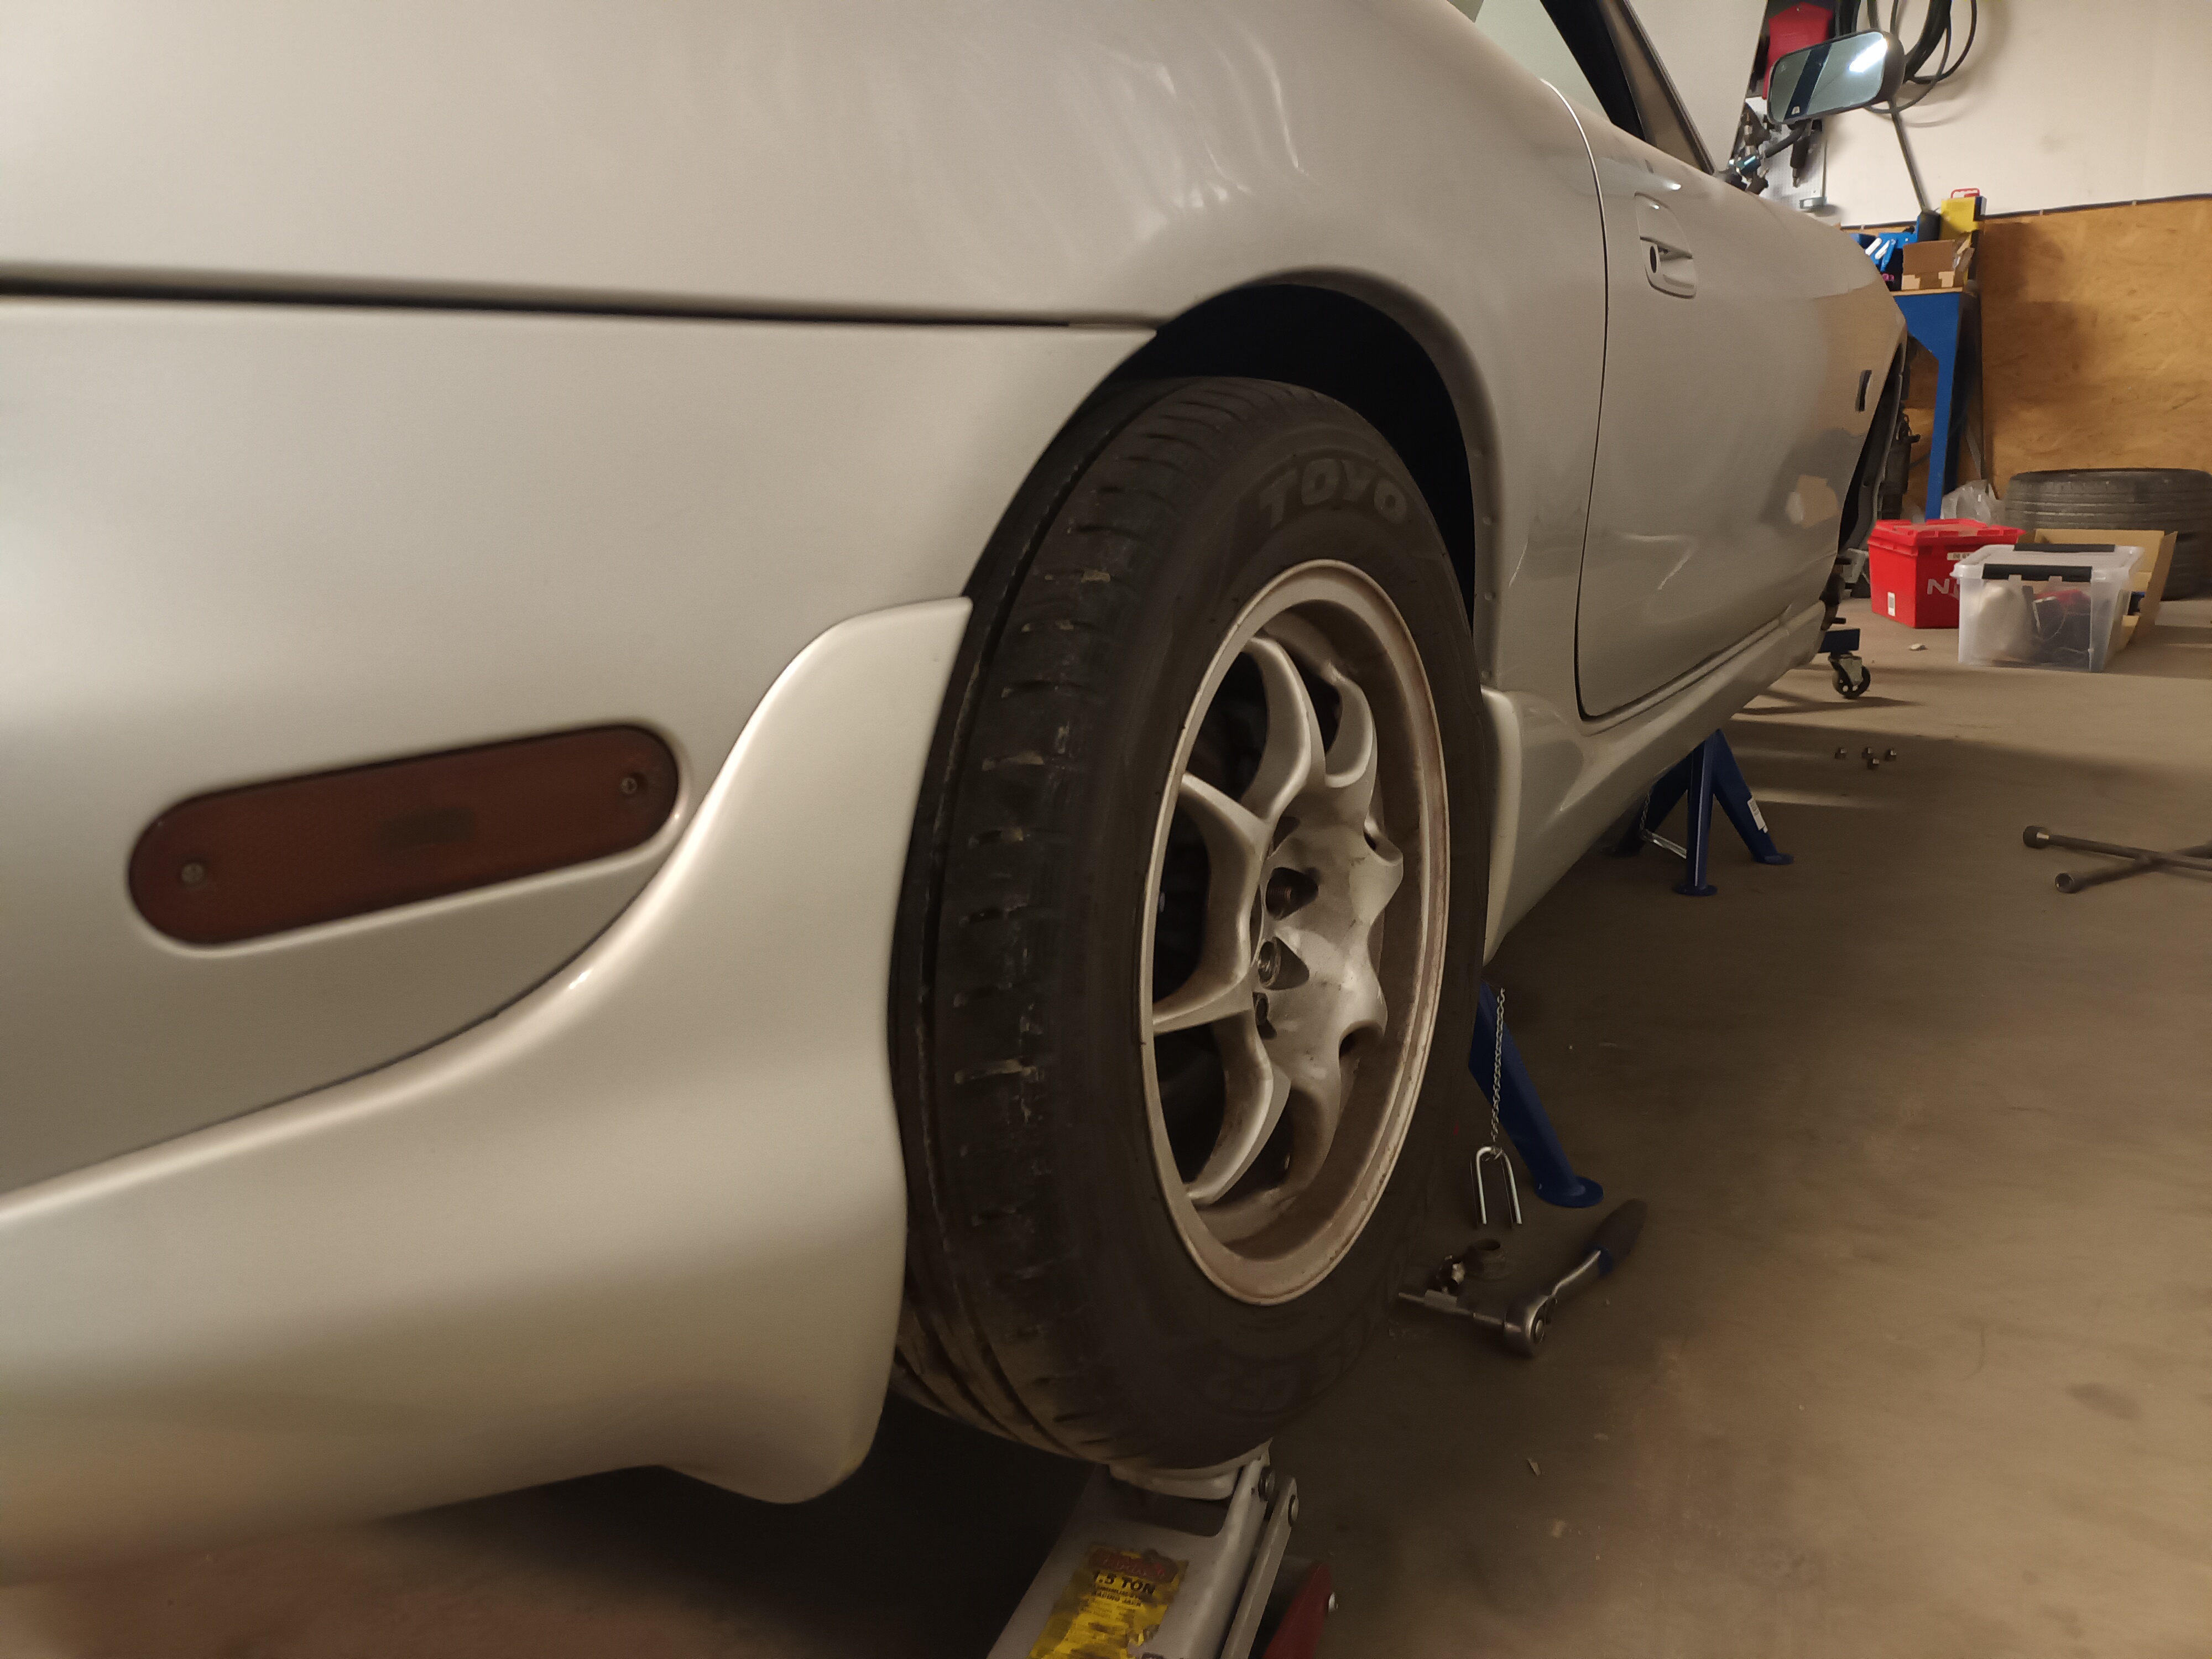
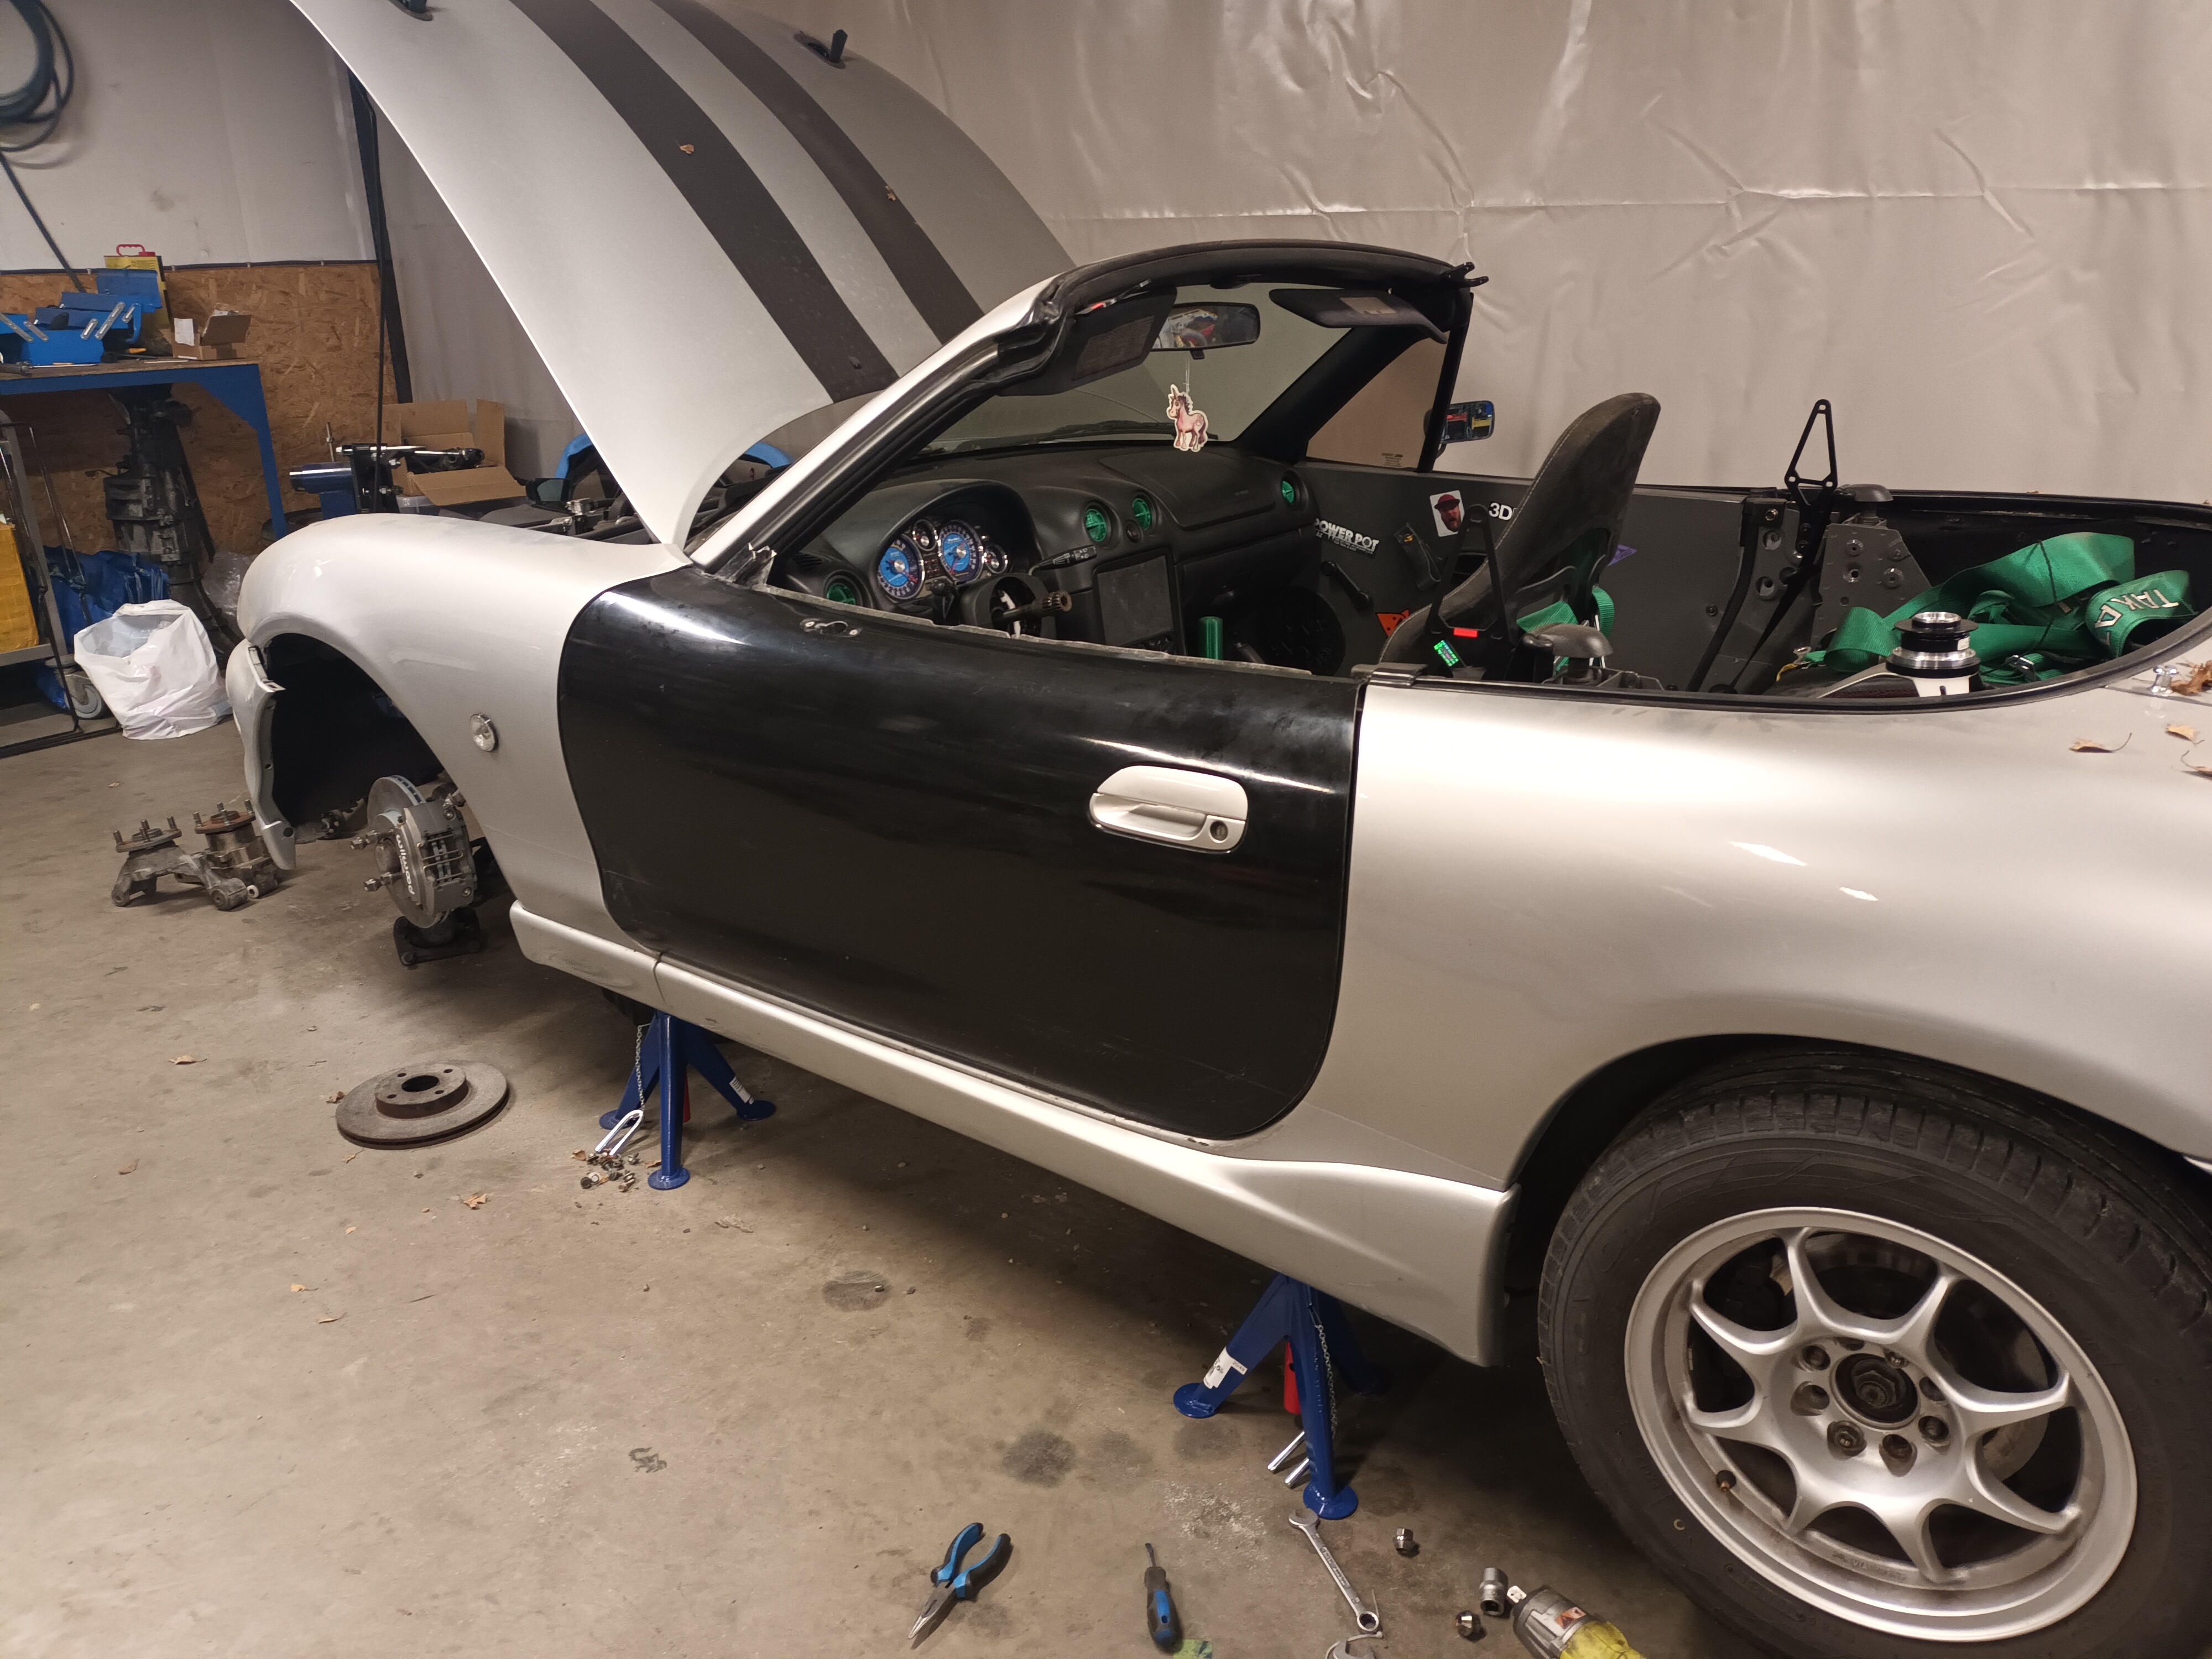
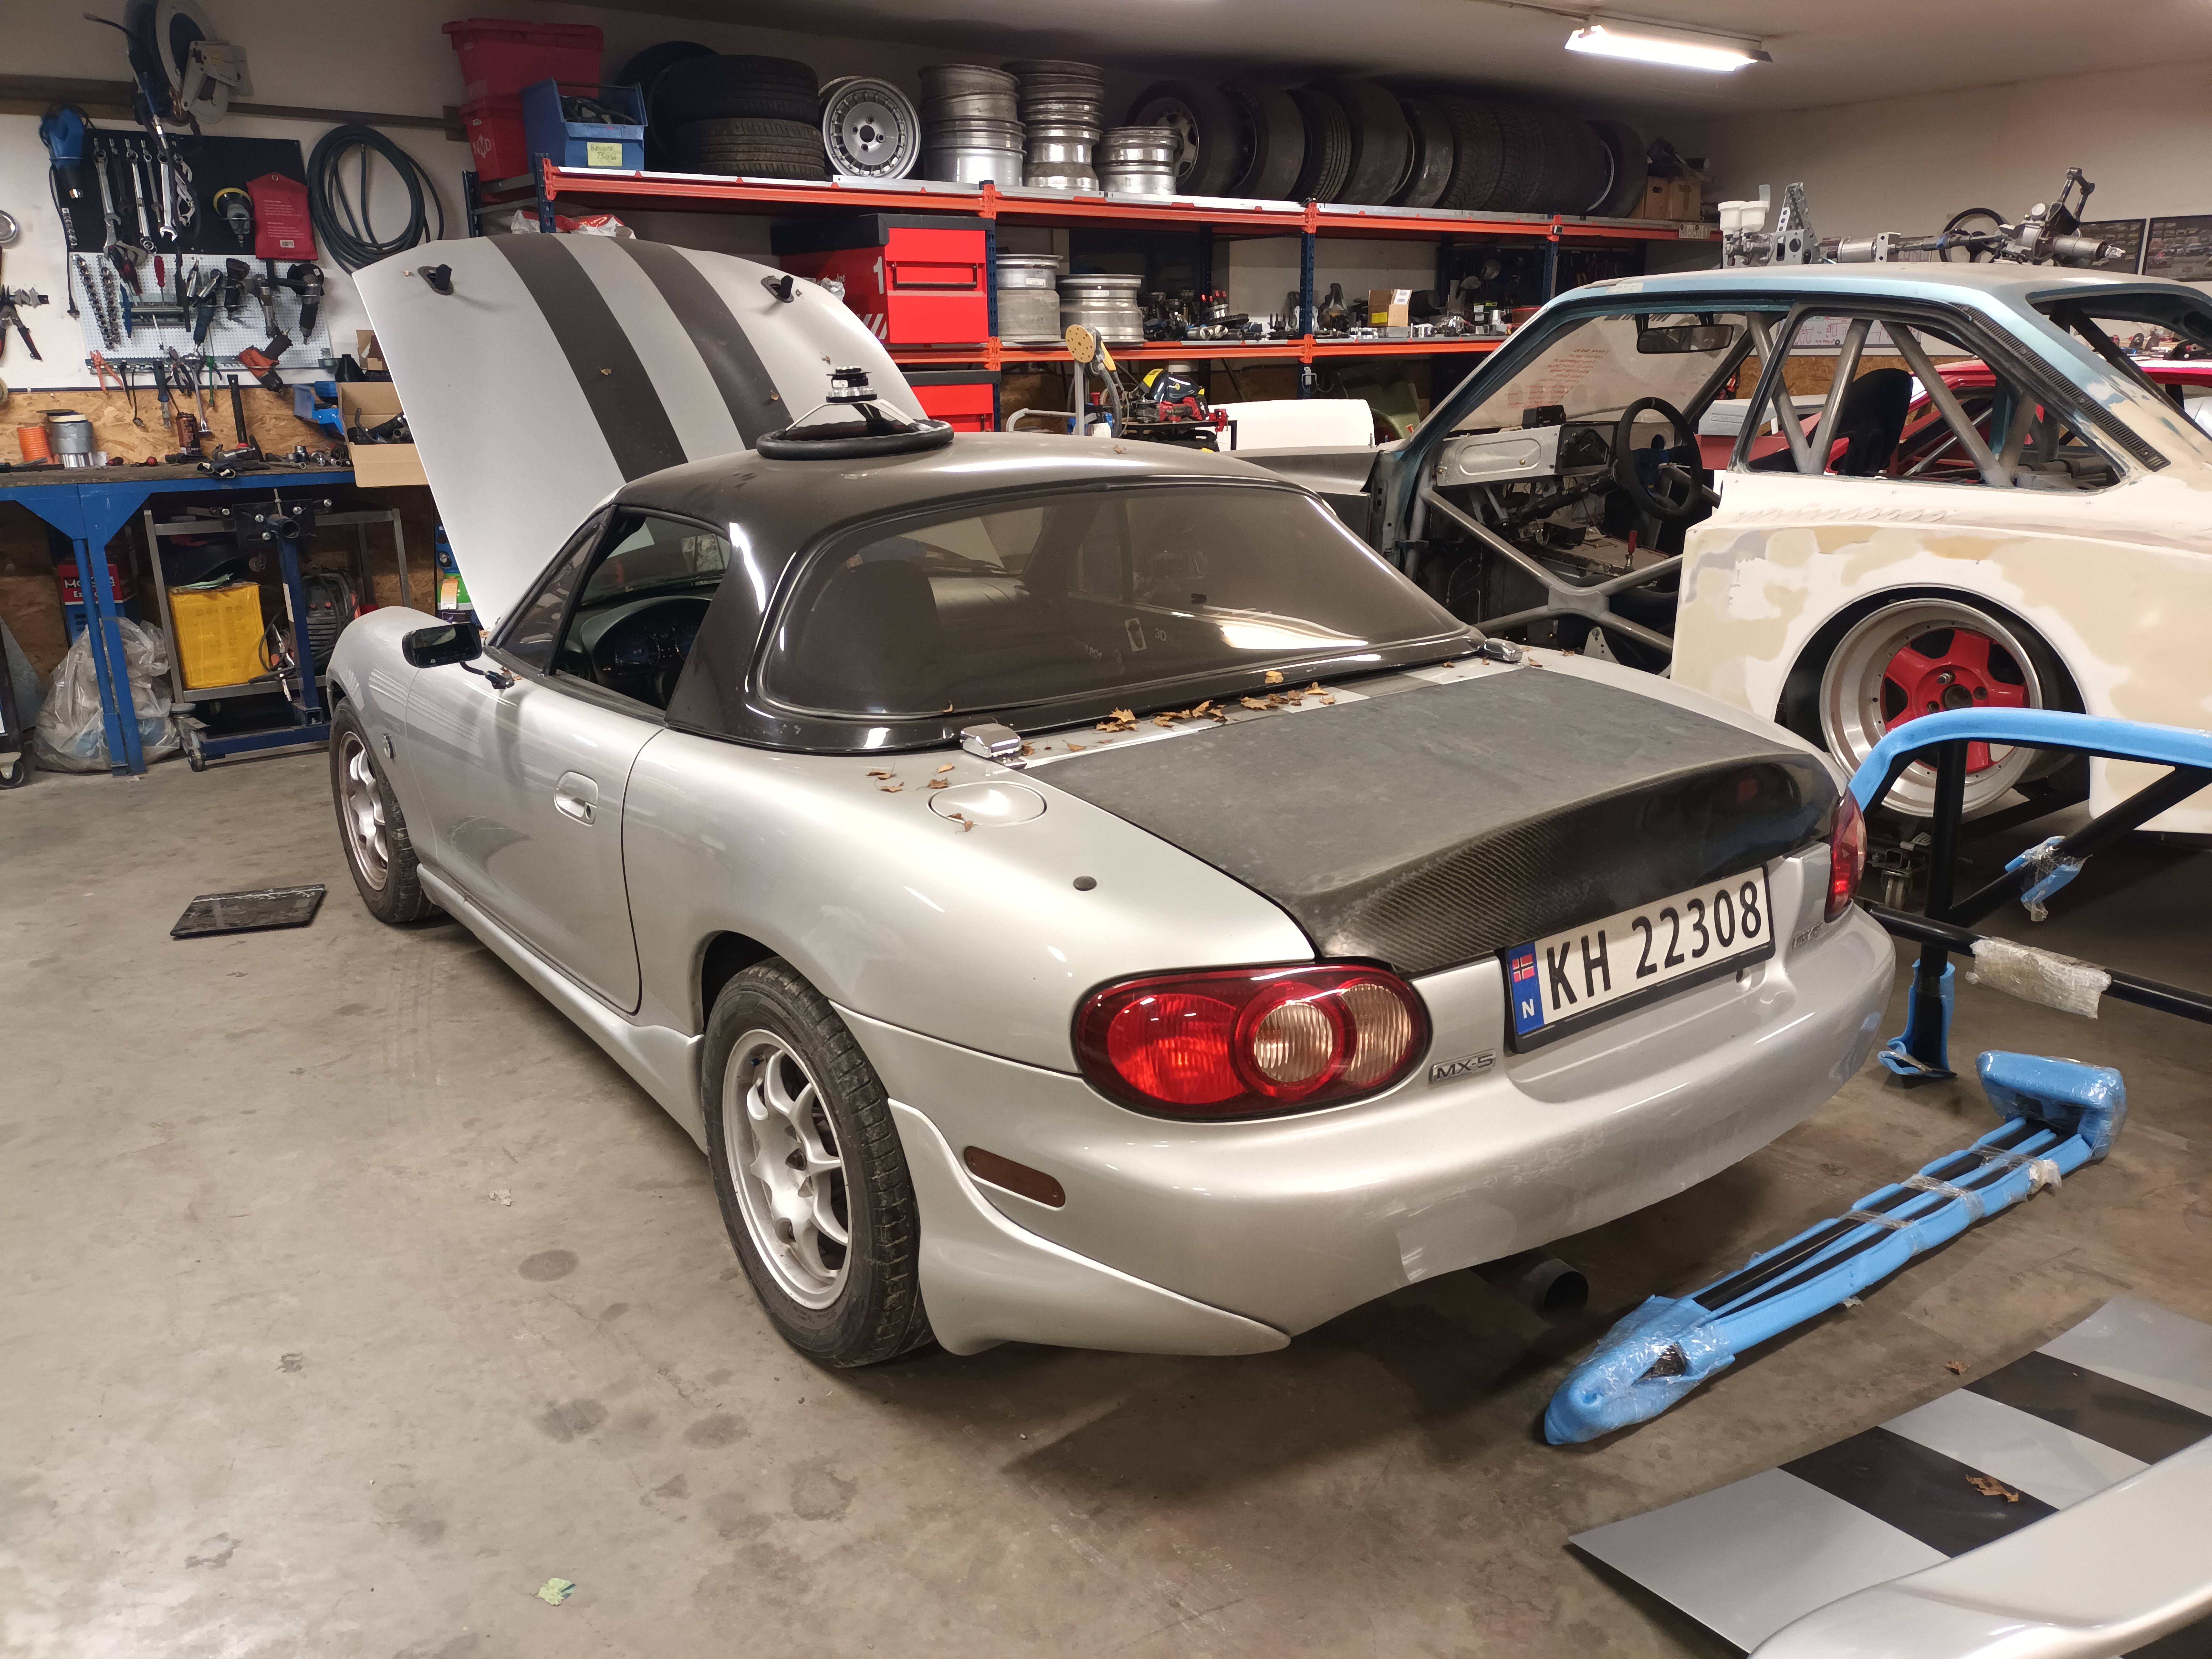
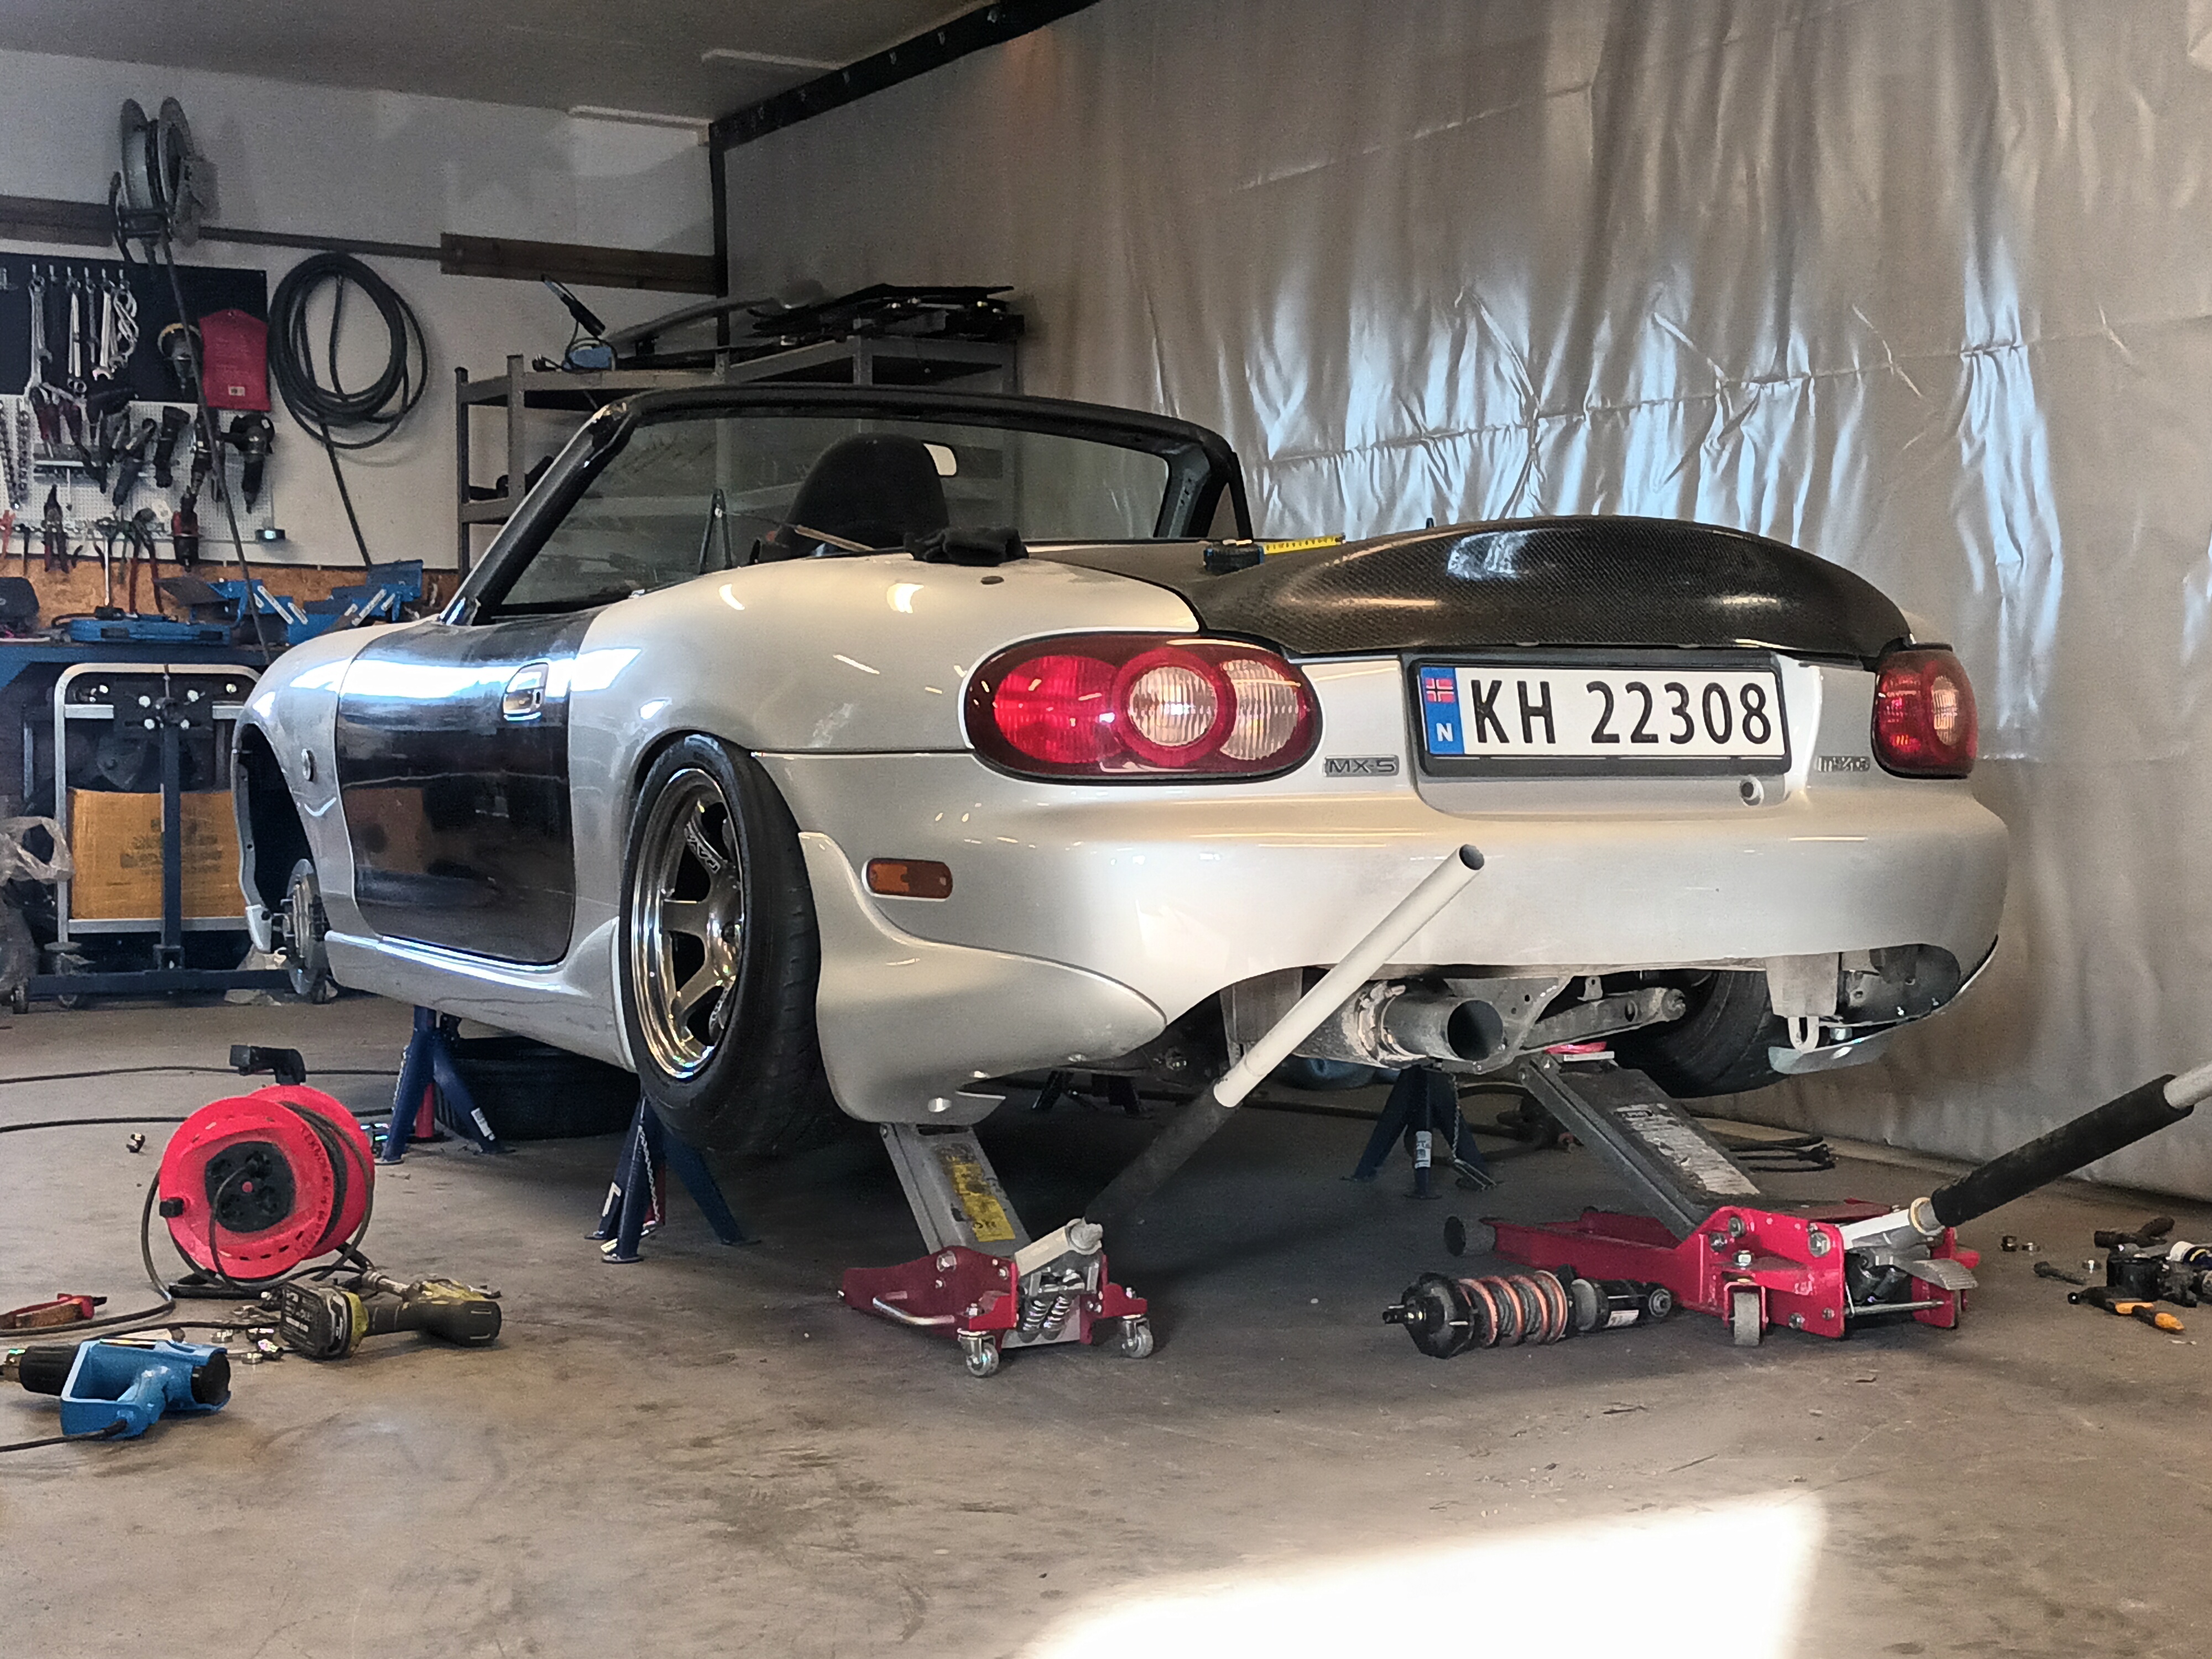
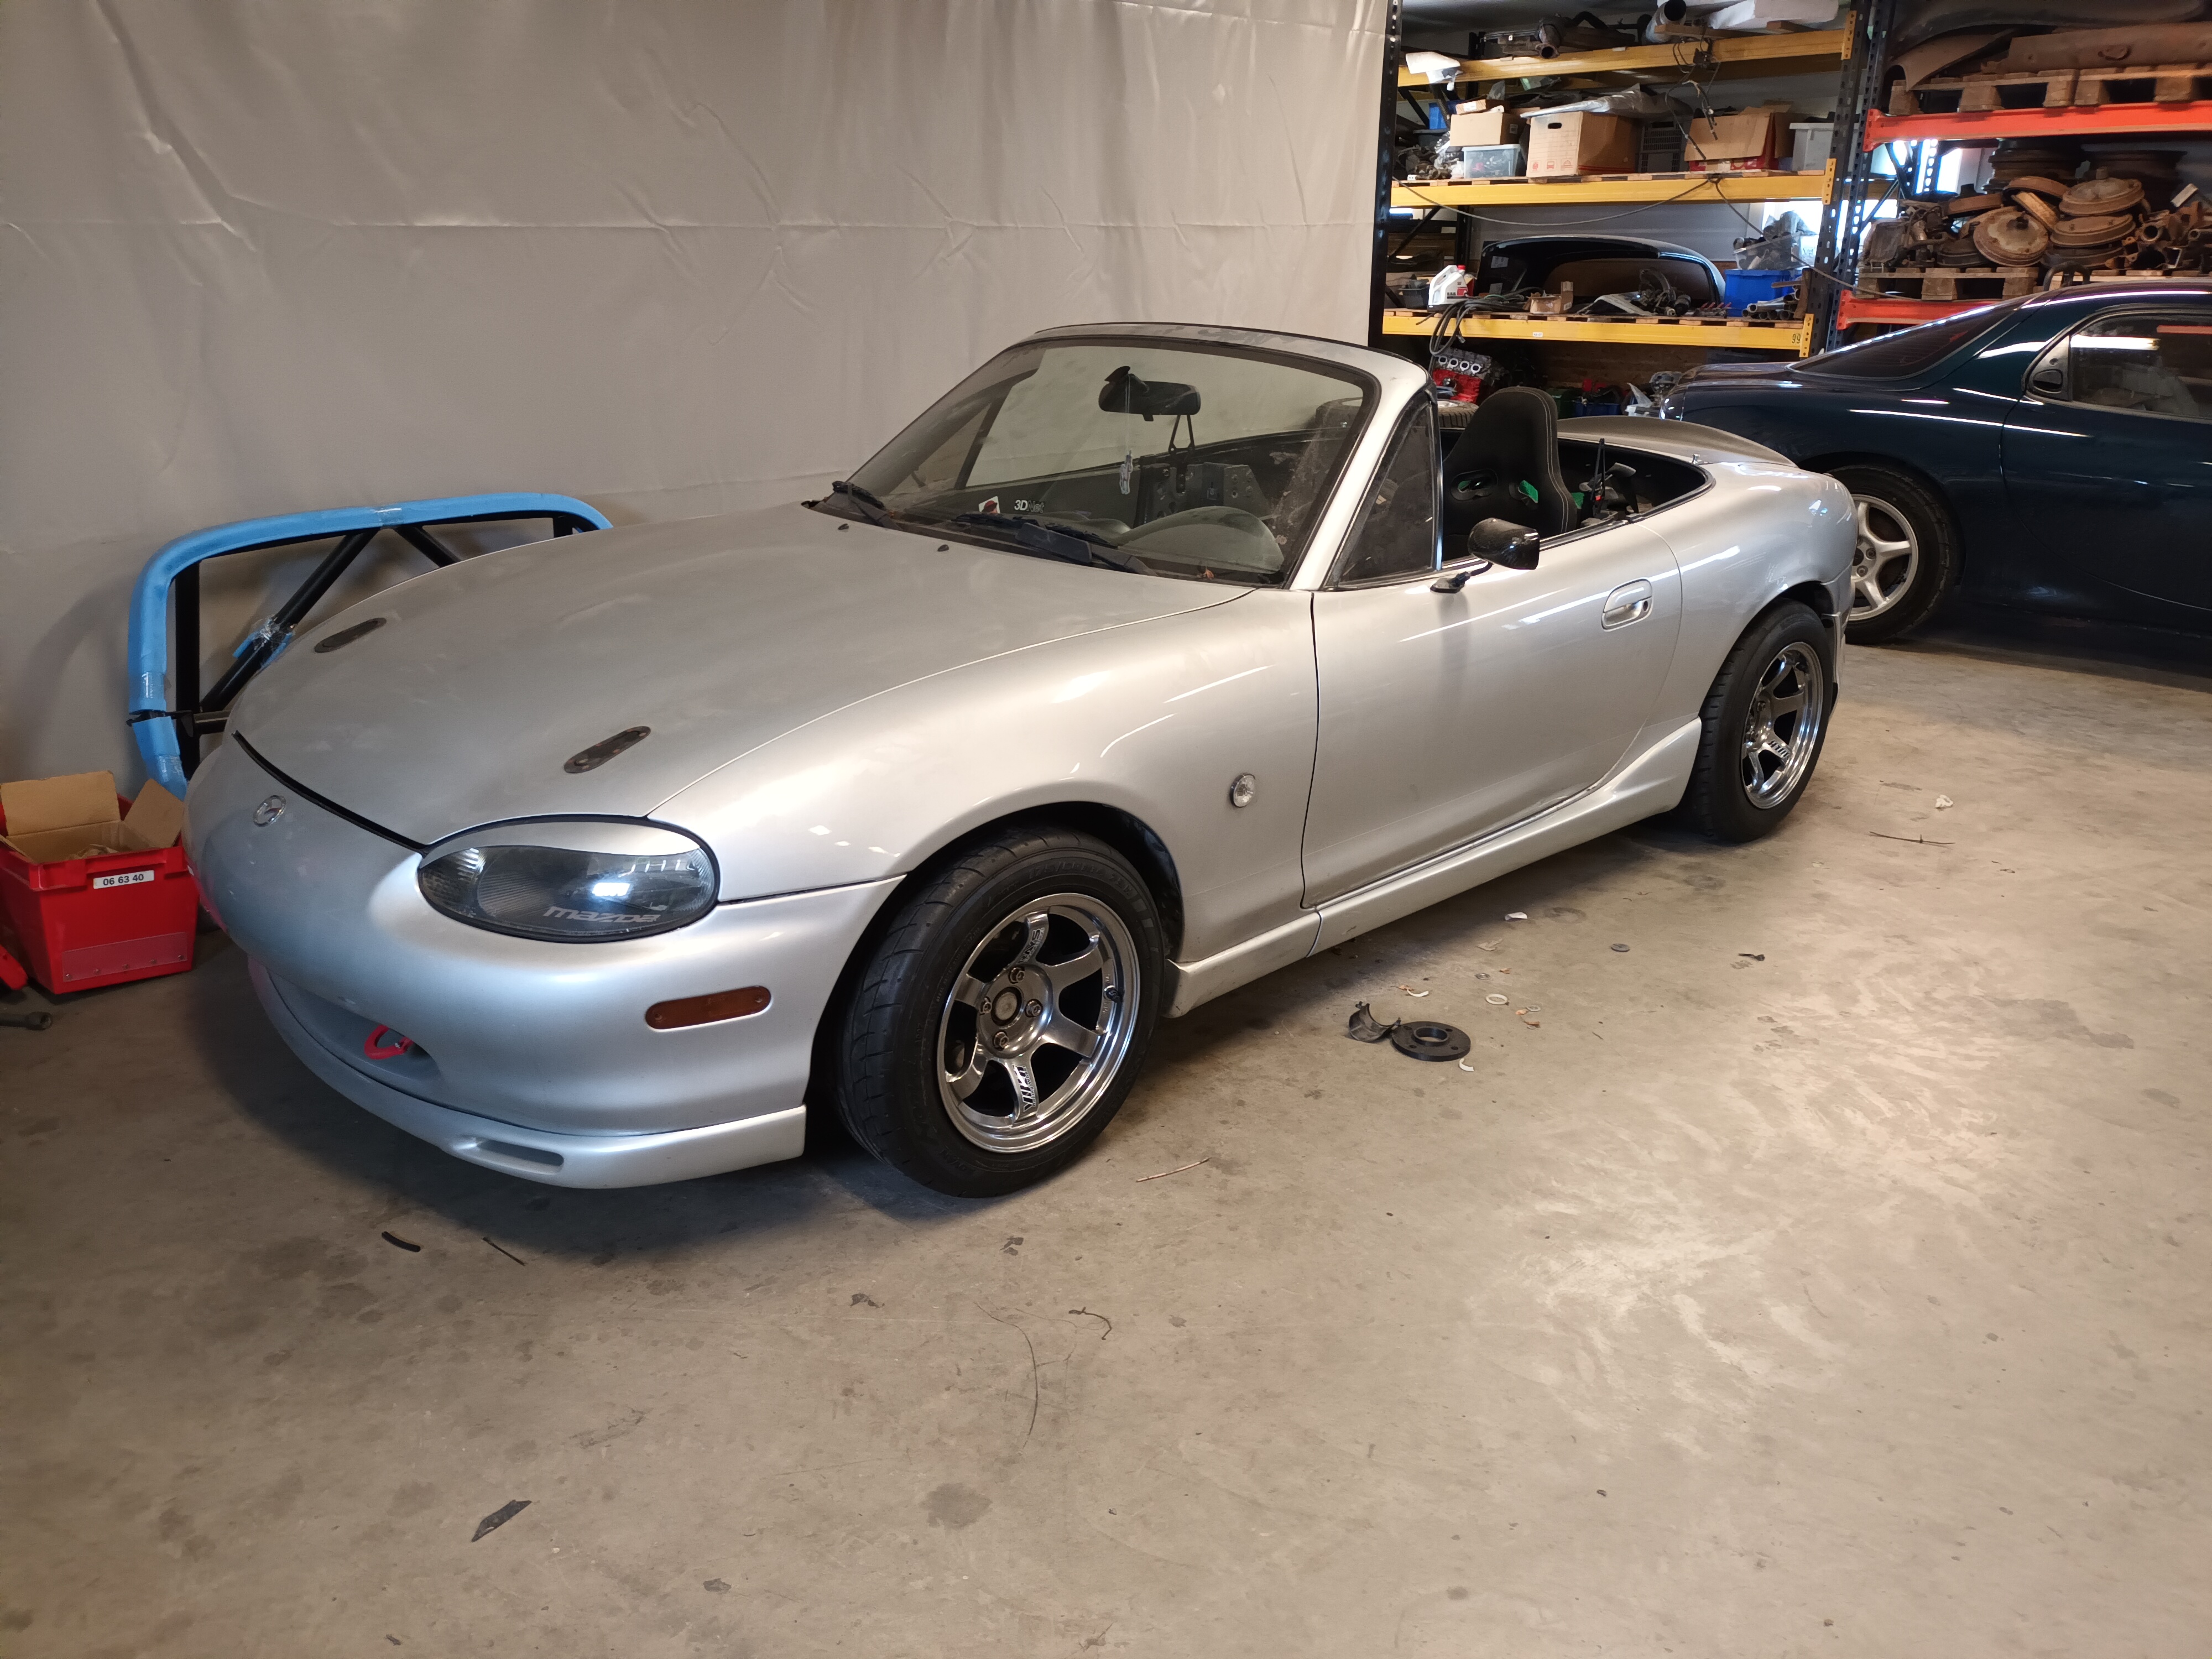
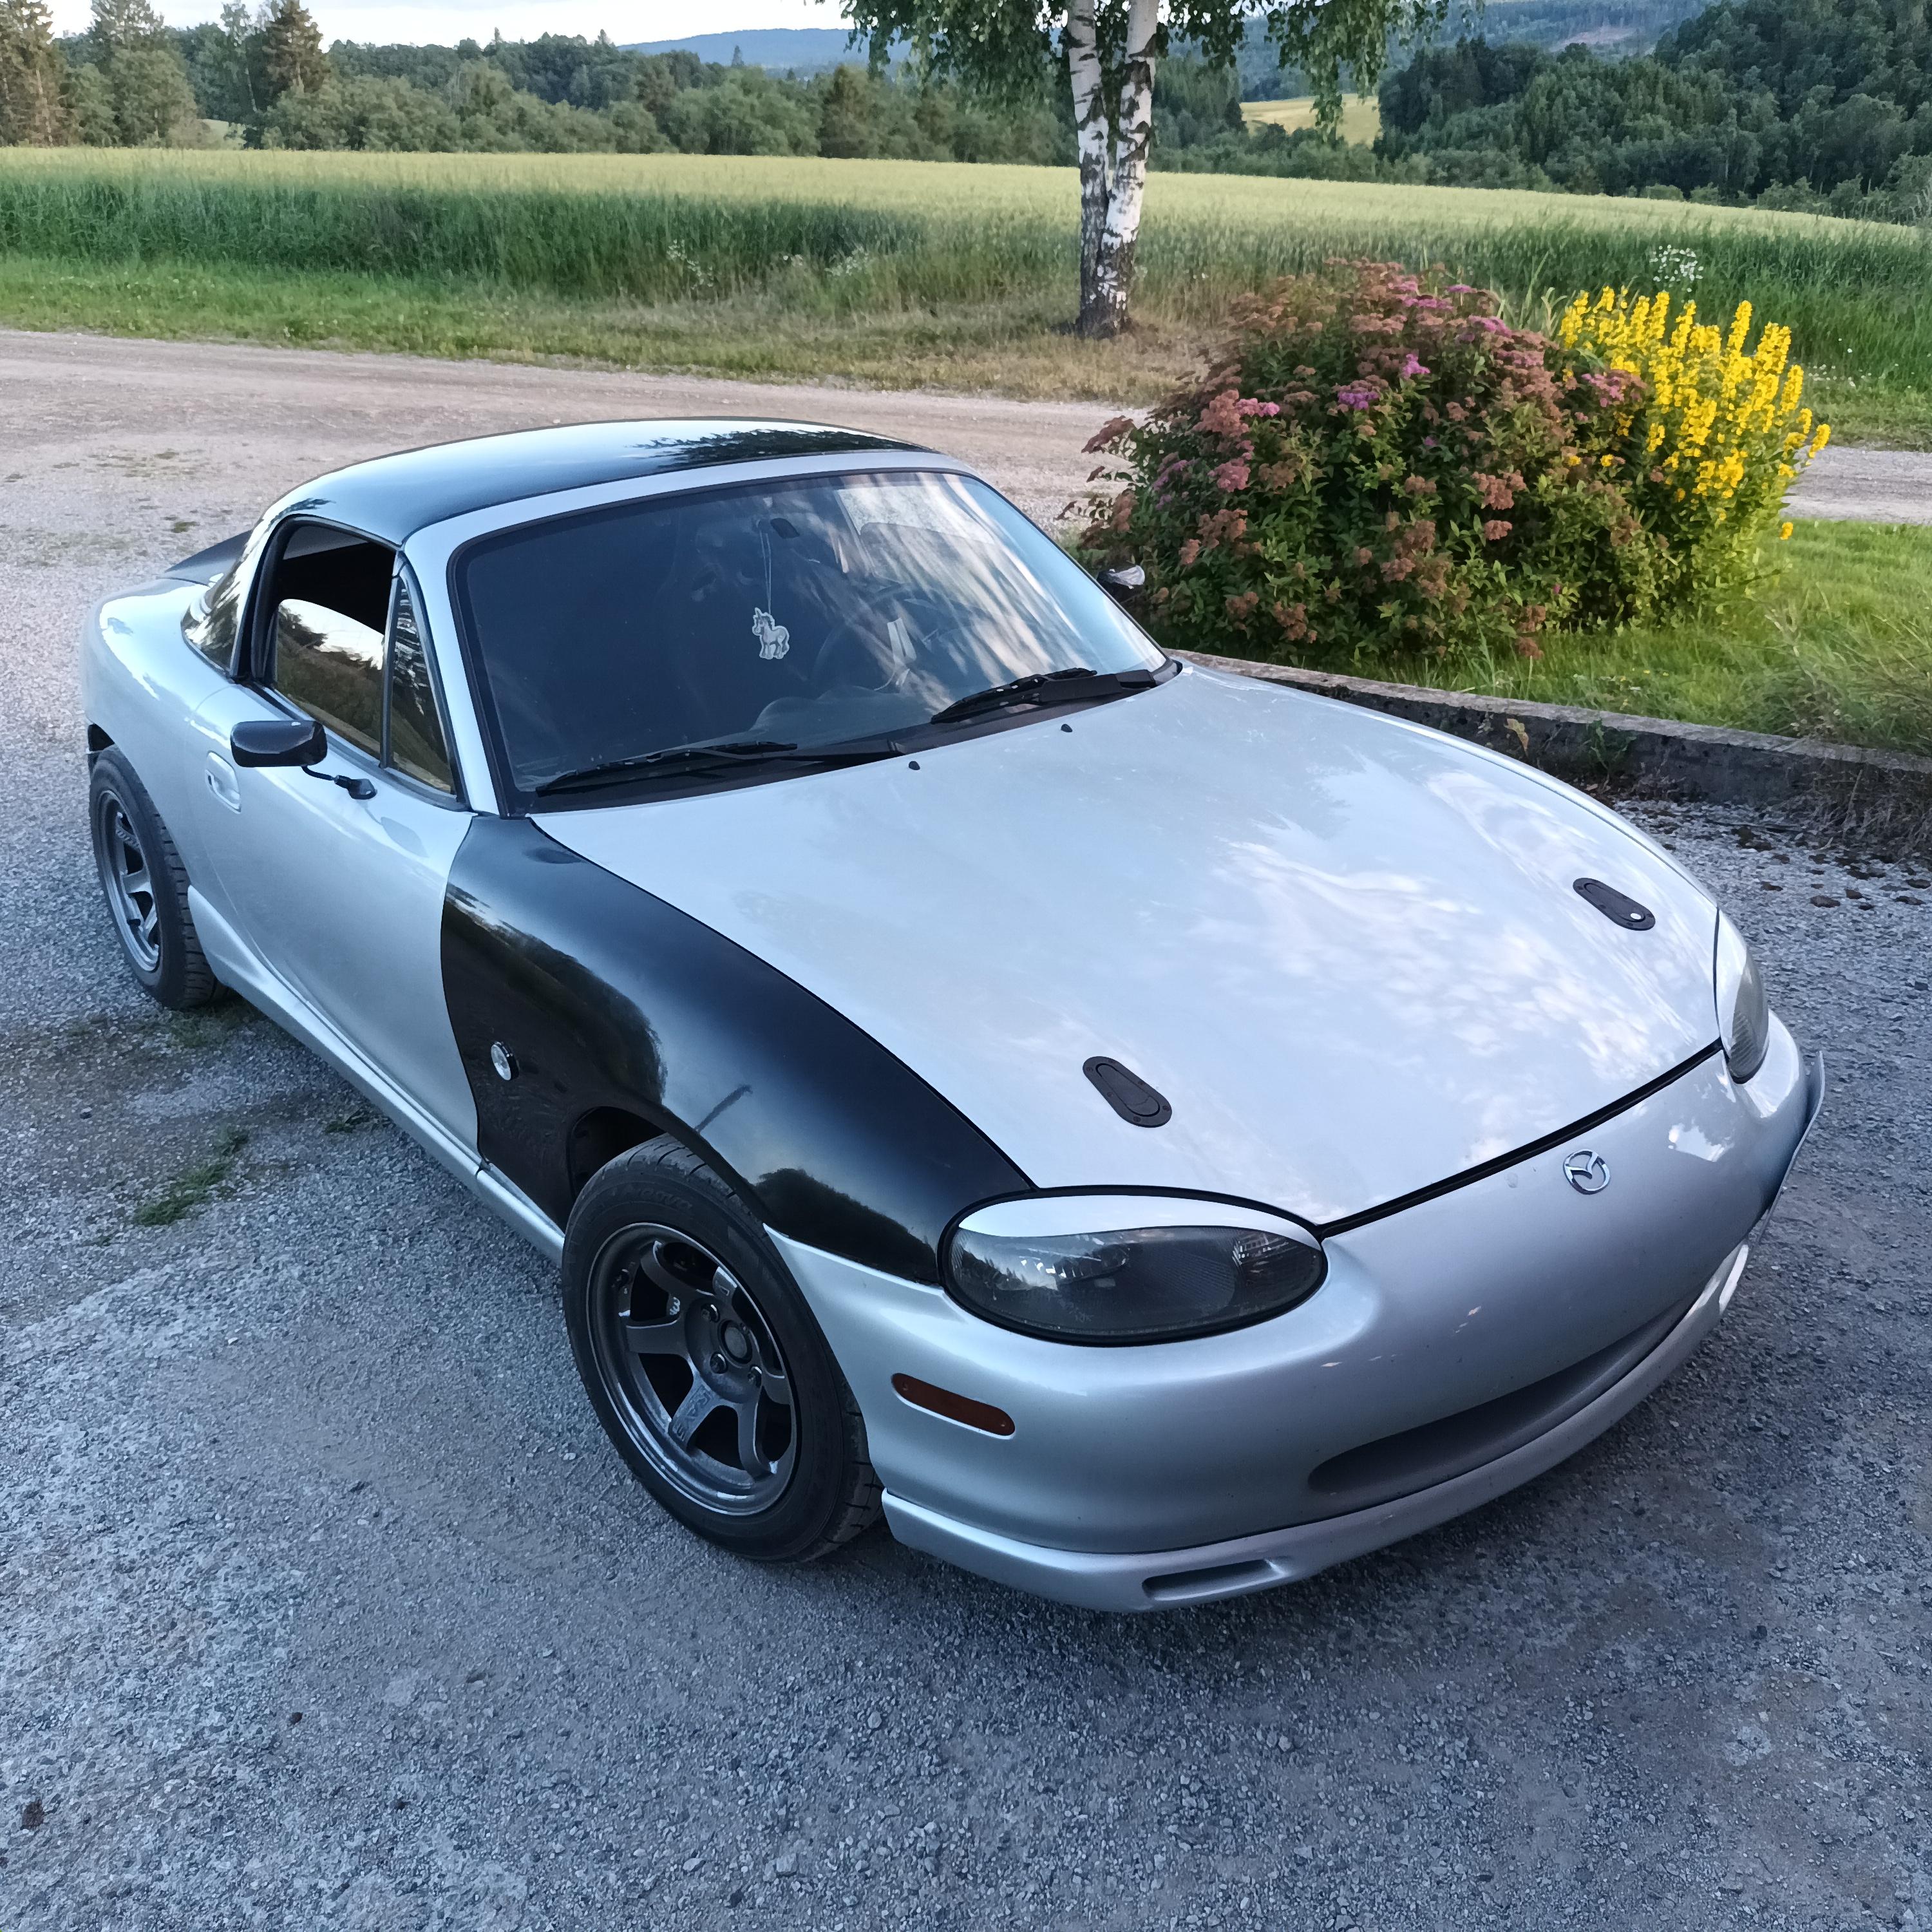
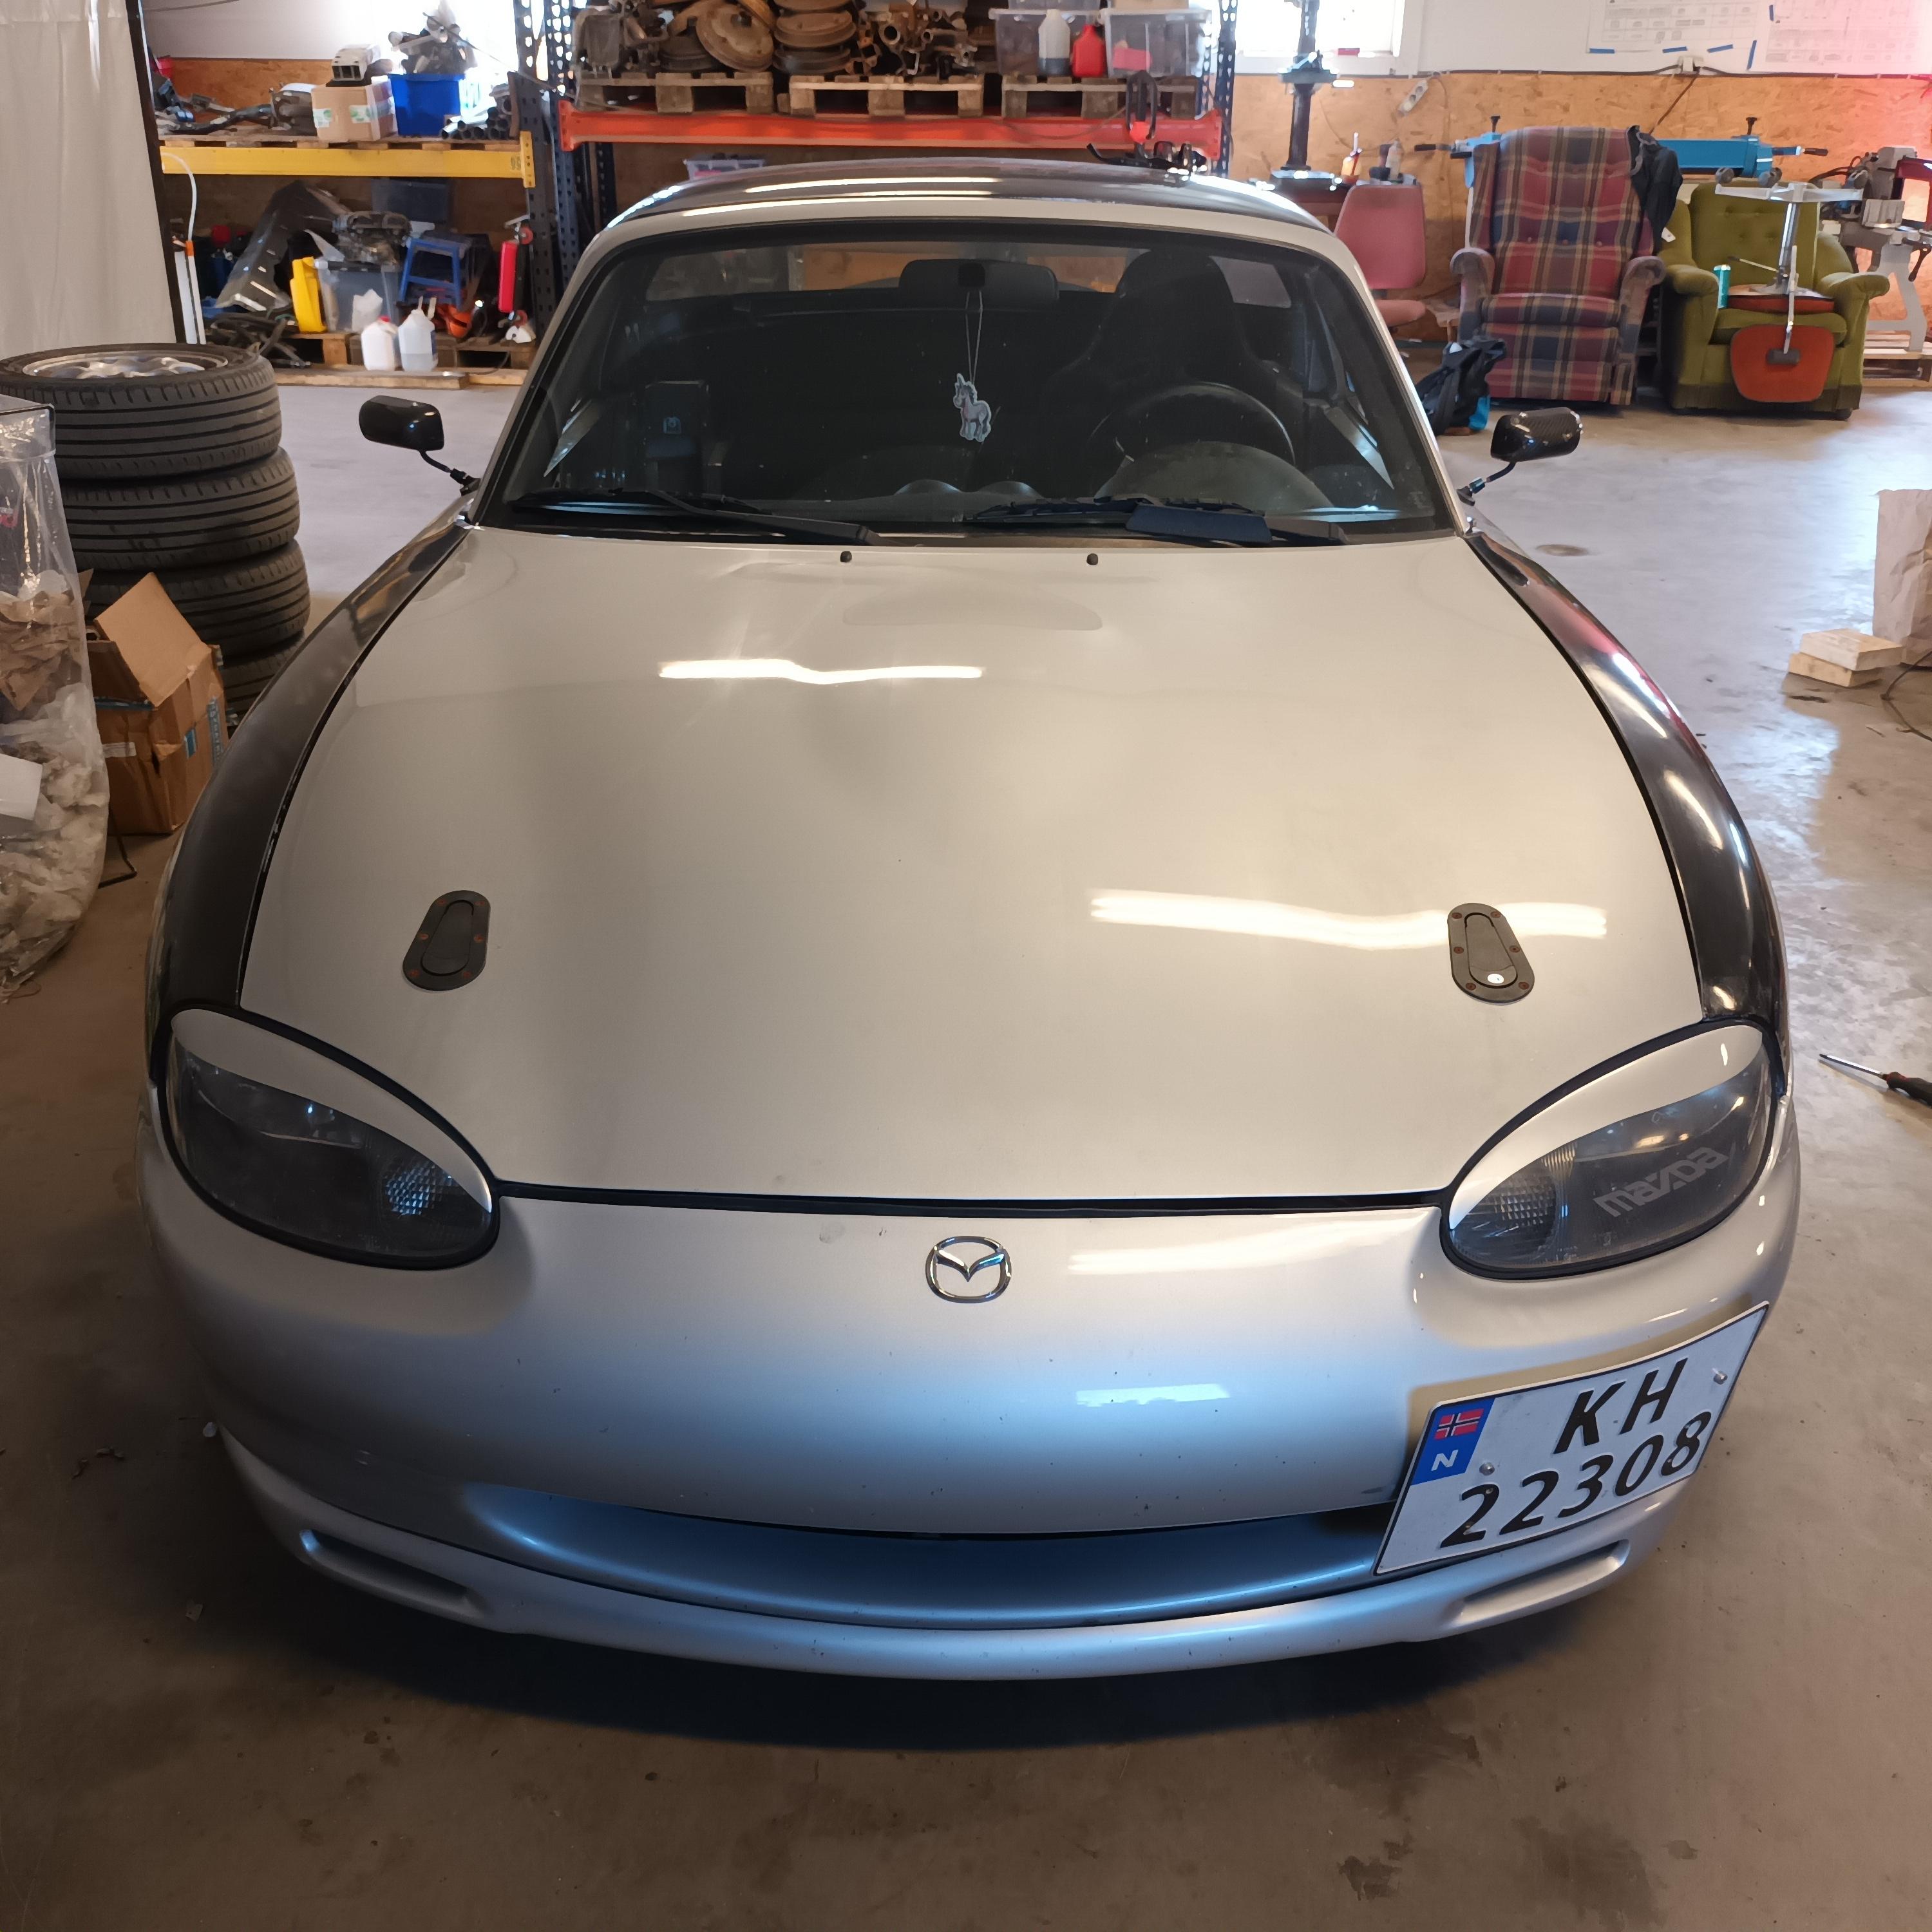
This is how the car looks now. It was supposed to be on drop spindles front and back, but I`m stuck with a front set that is all cracked, and a rear set where the PO forgot to install the bearing locking c-clips and the bearing ate away at the spindle. Currently on the waiting list for a complete set of Keislers new revision.

Bought a set of Volk TE37 after I had been looking for close to a year! Had to slightly massage the rear arches and the front calipers. Ended up adding about 1,4kg total over the WedsSport TC-05.
Split the shifter and drilled holes for set-screws. Saved around about 300grams here. Almost 500g if you include the printed shift **** vs the original heavy one.
Made my own manual headlight adjustment setup to replace the motors. I think these added up to around 500g total with wiring and the button in the center console.
The heavy striker plates were replaced with lightweight 3D-printed ones. I think I saved around 3-400g here.
Disassembled the ITB-kit and replaced the gasket with an Hondata phenolic gasket to aid in preventing heat-soak.
This is how the car looks now. It was supposed to be on drop spindles front and back, but I`m stuck with a front set that is all cracked, and a rear set where the PO forgot to install the bearing locking c-clips and the bearing ate away at the spindle. Currently on the waiting list for a complete set of Keislers new revision.
Reply
4
4

Senior Member
Joined: Jul 2015
Posts: 1,083
Total Cats: 155
Sucks regarding spindles, as I bet these were not cheap. Glad to see you moving forward with the car though, eager to see how much it ends up weightwise. Might worth checking out Brypar as well for spindles.
Reply
0
0
Thread Starter
Junior Member
Joined: Jul 2013
Posts: 85
Total Cats: 48
From: Norway
I`ll check them out. Sounds expensive to have something custom made! And I lack the knowledge of how to make them in CAD.
Reply
0
0
Thread Starter
Junior Member
Joined: Jul 2013
Posts: 85
Total Cats: 48
From: Norway
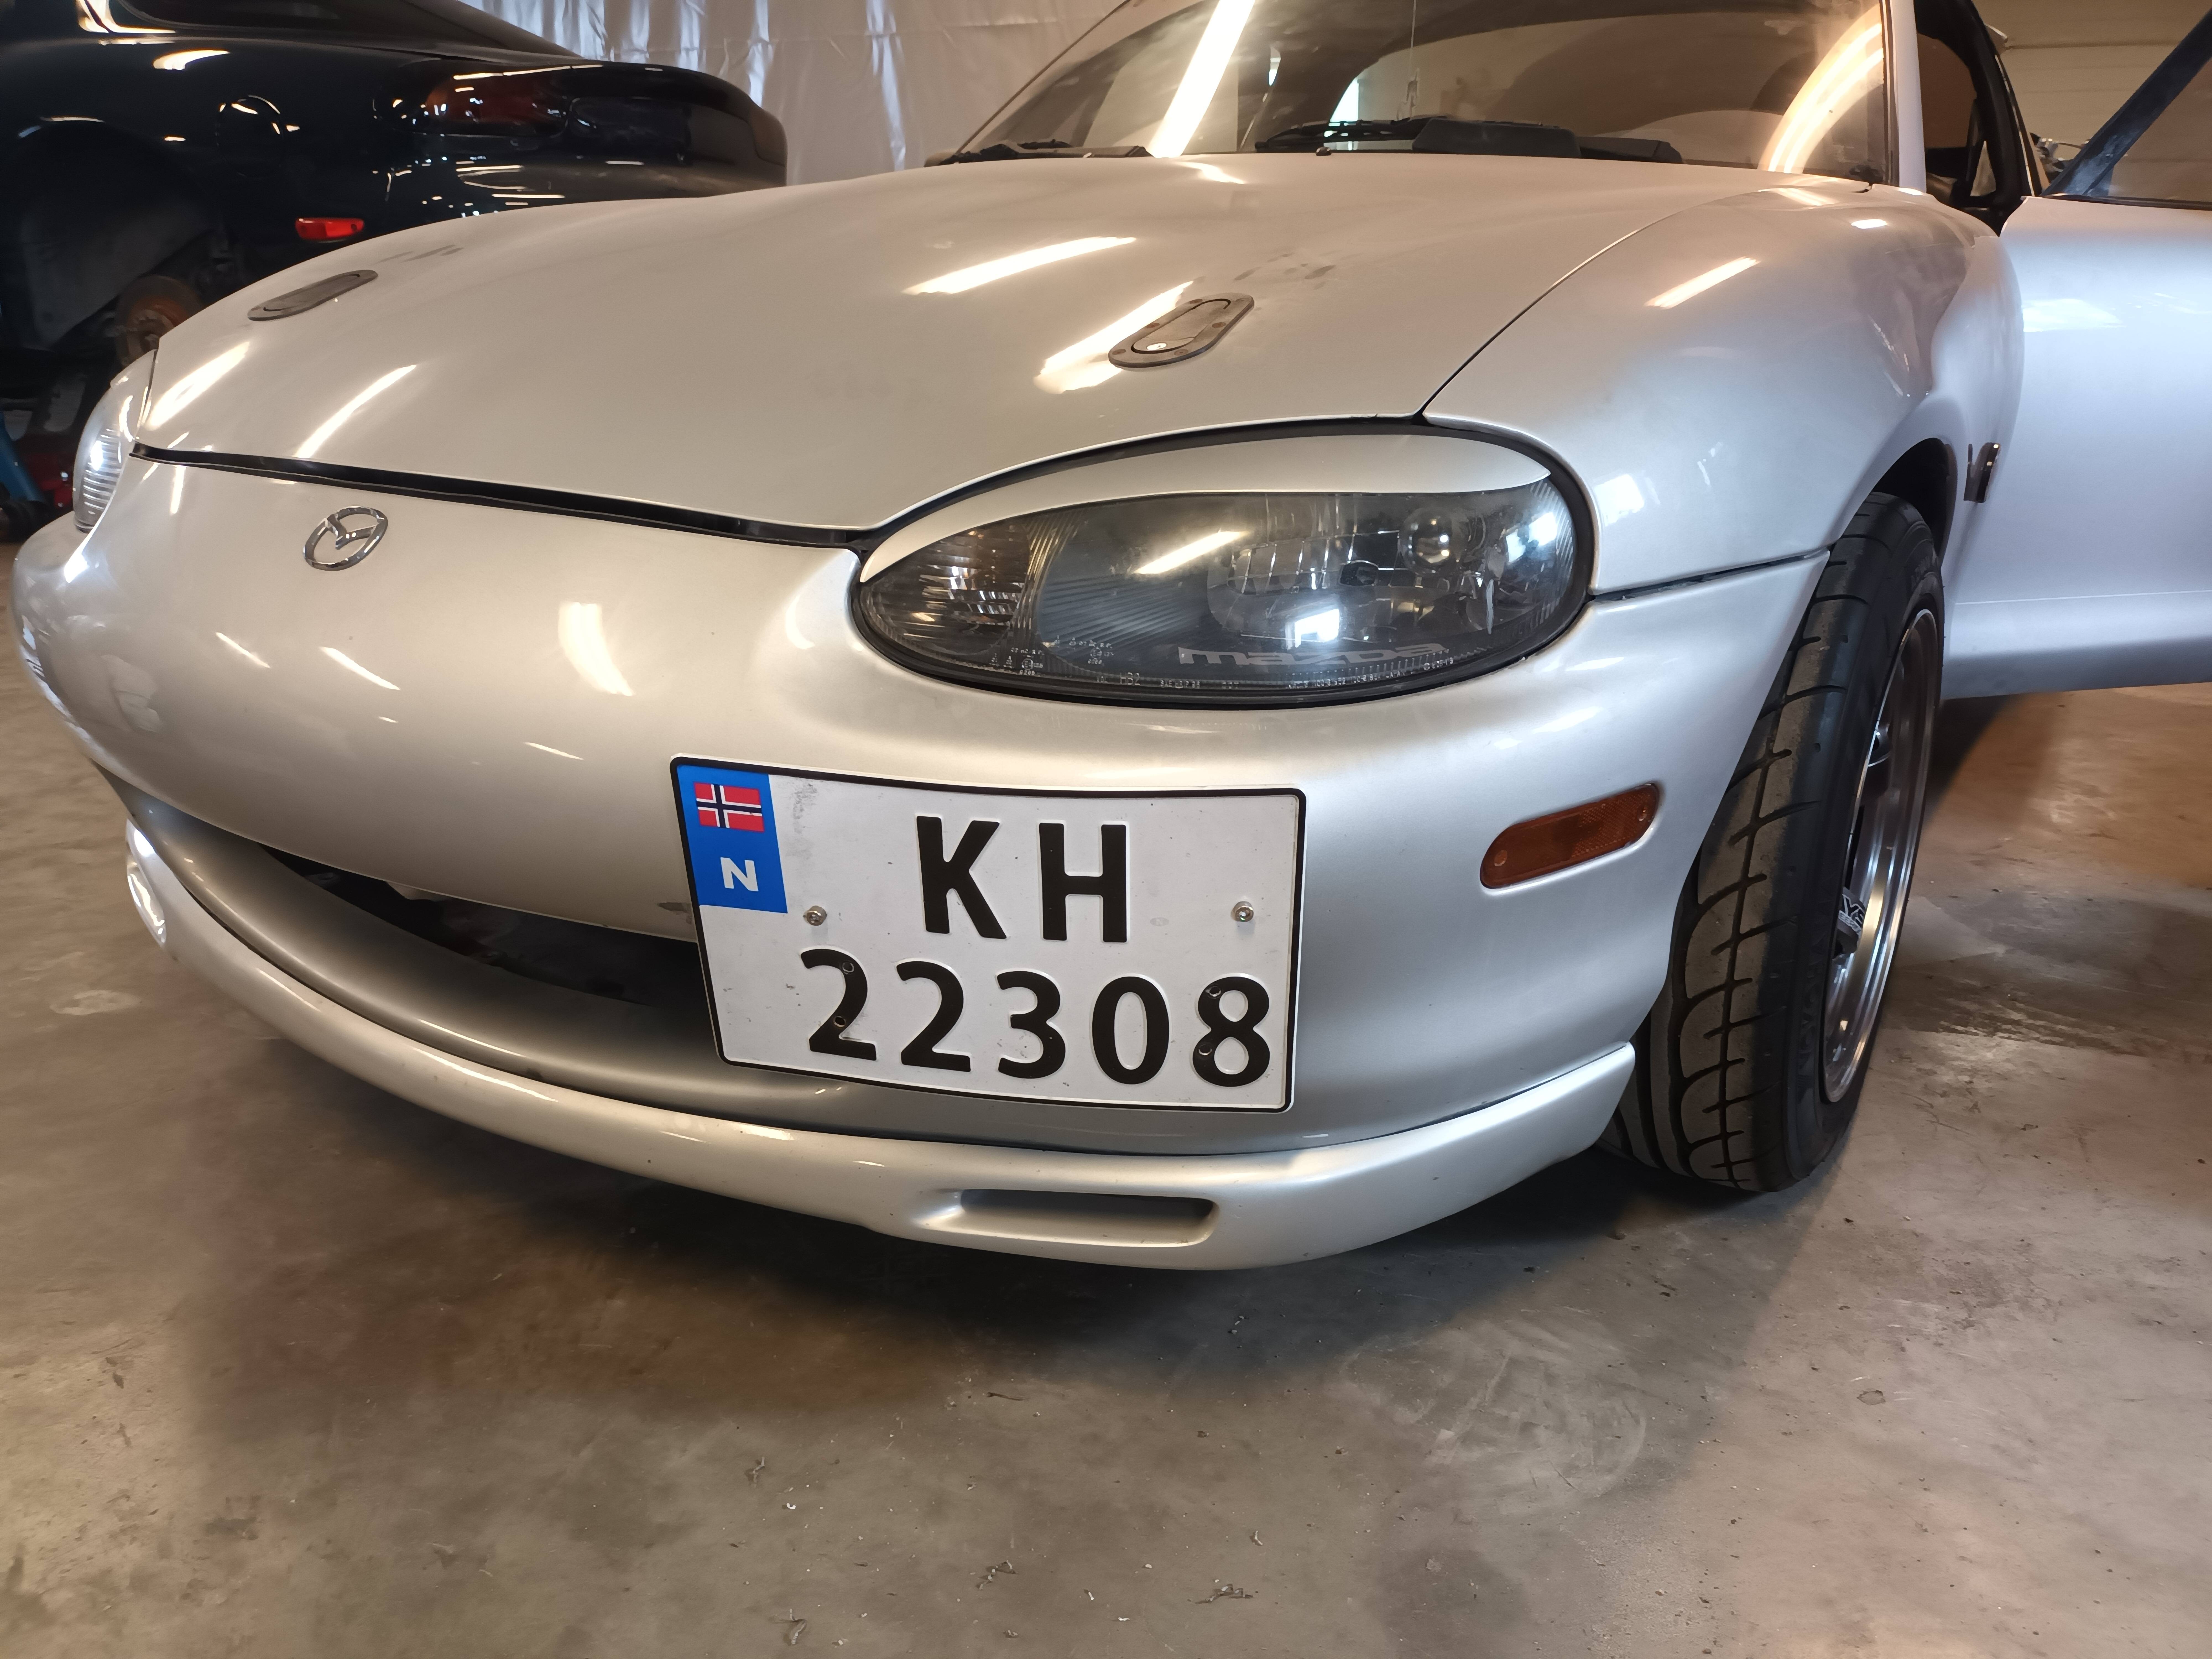
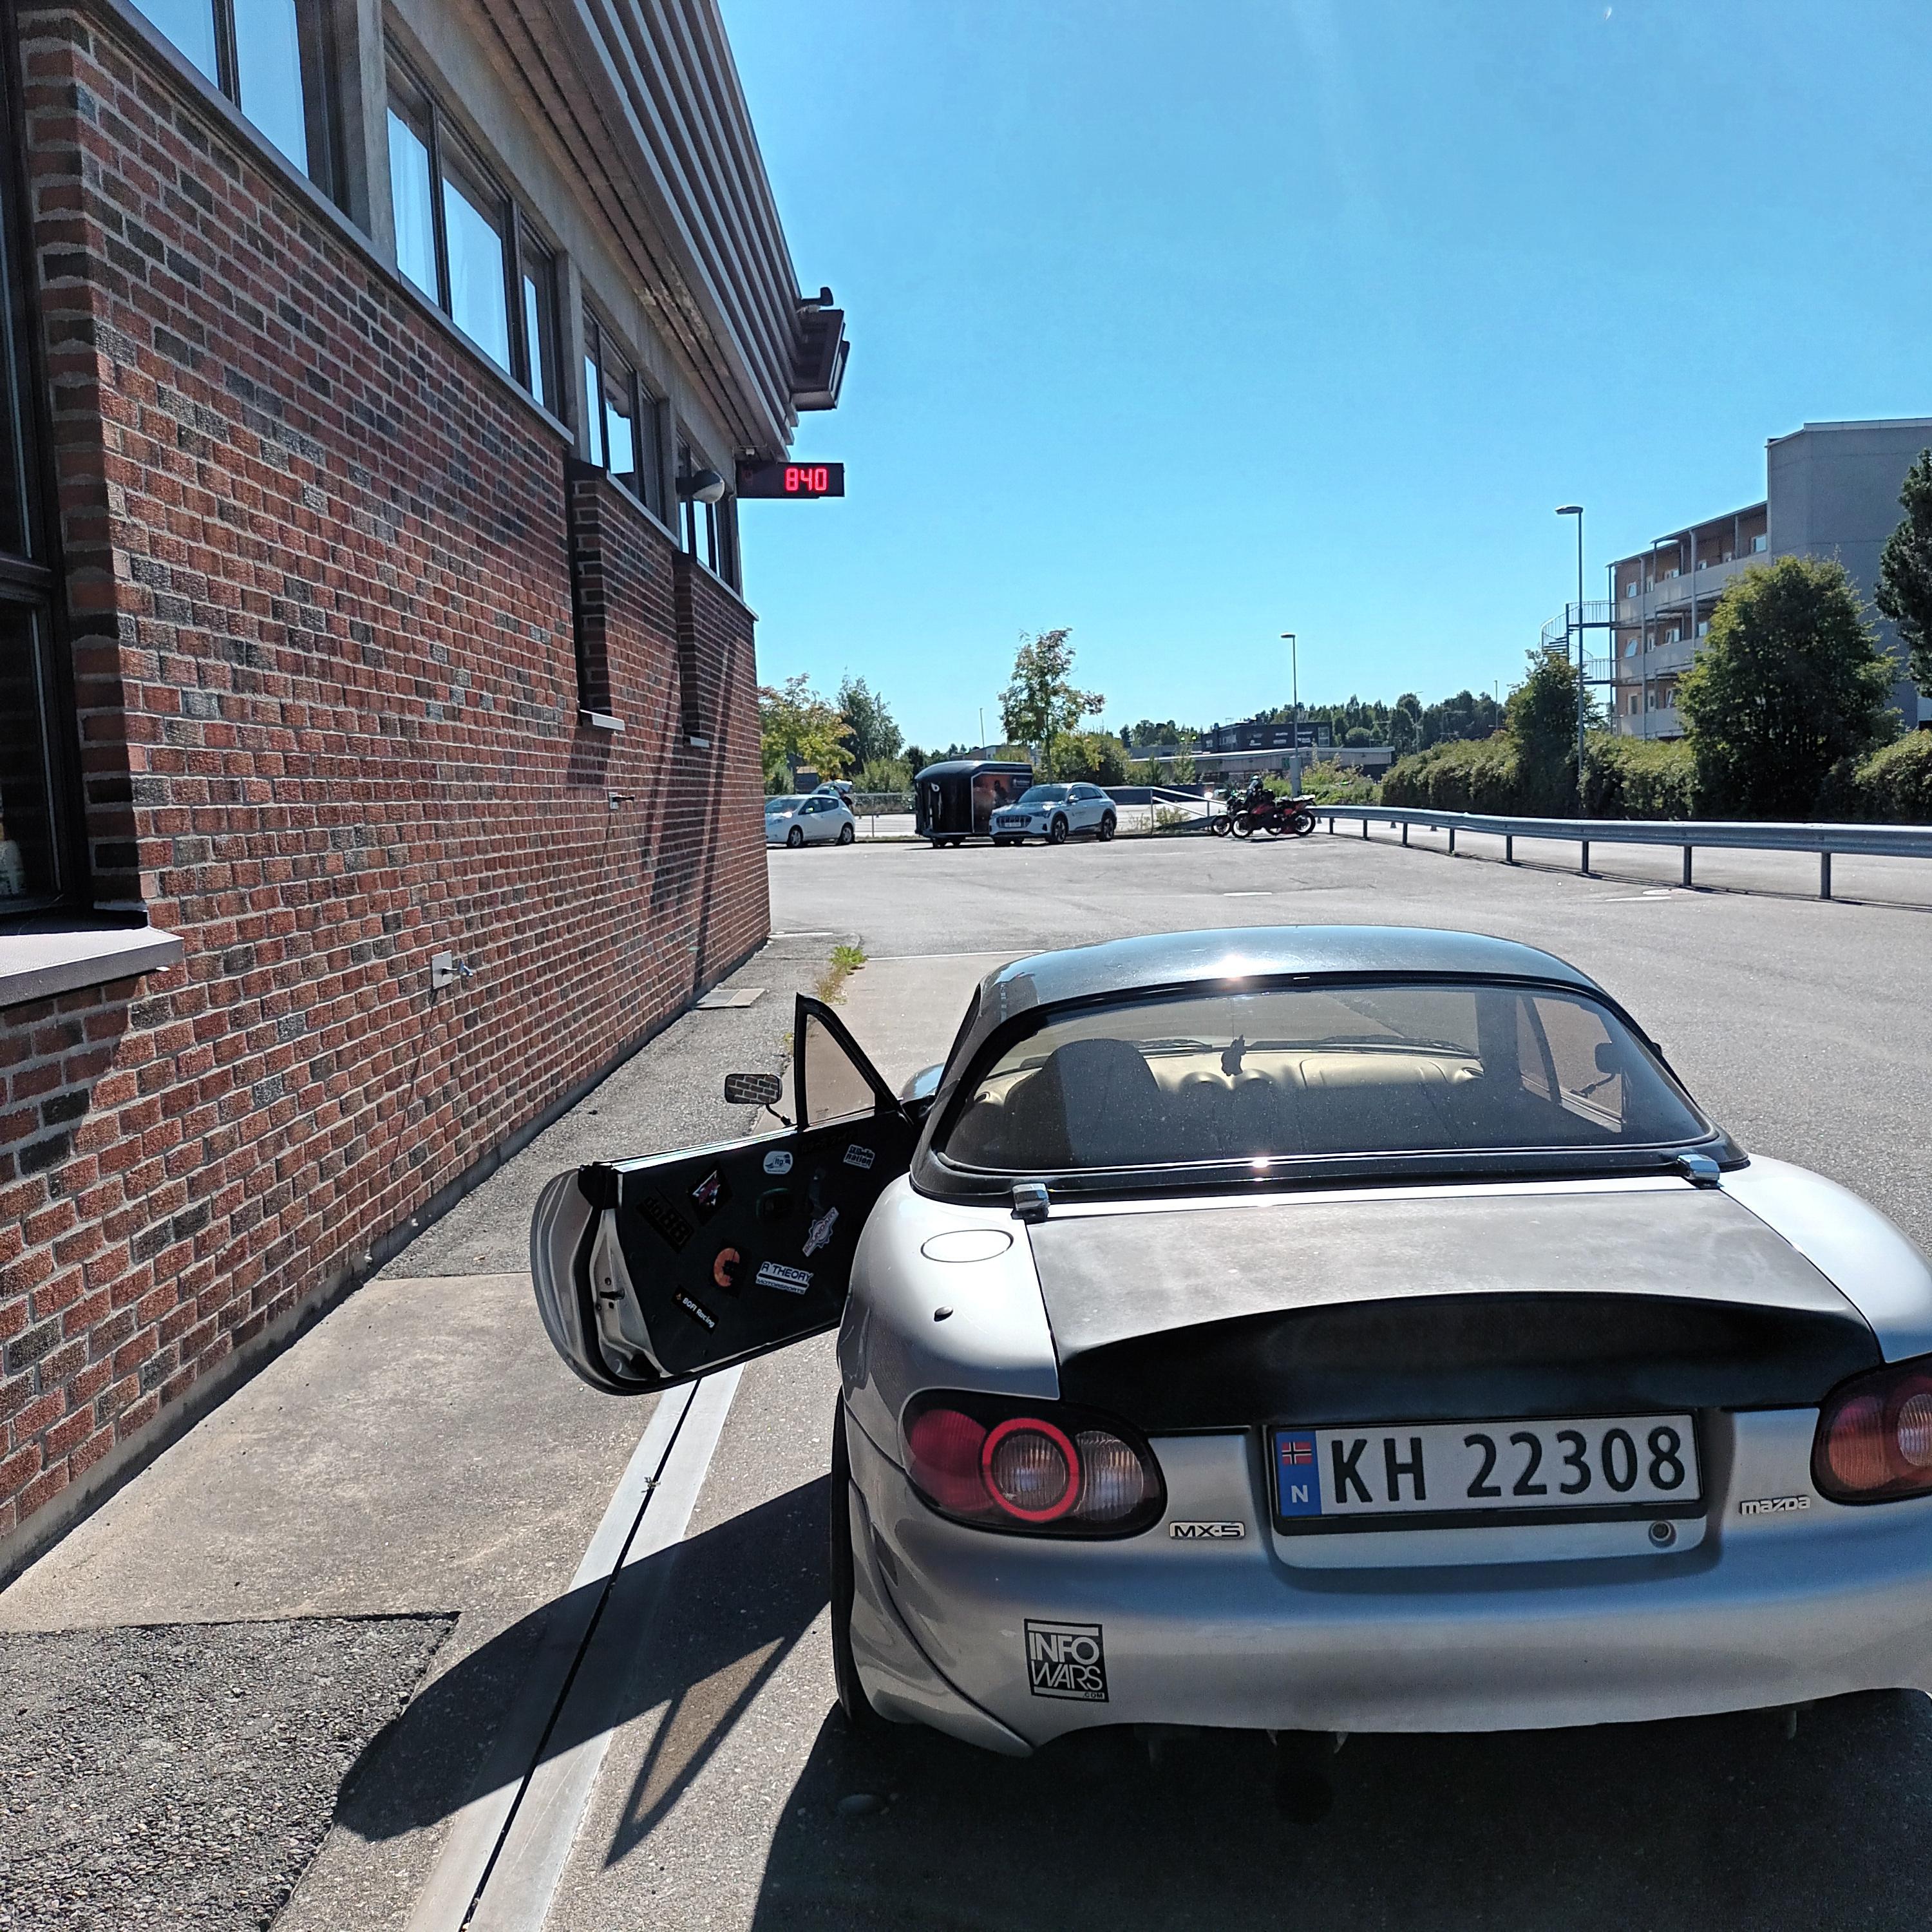
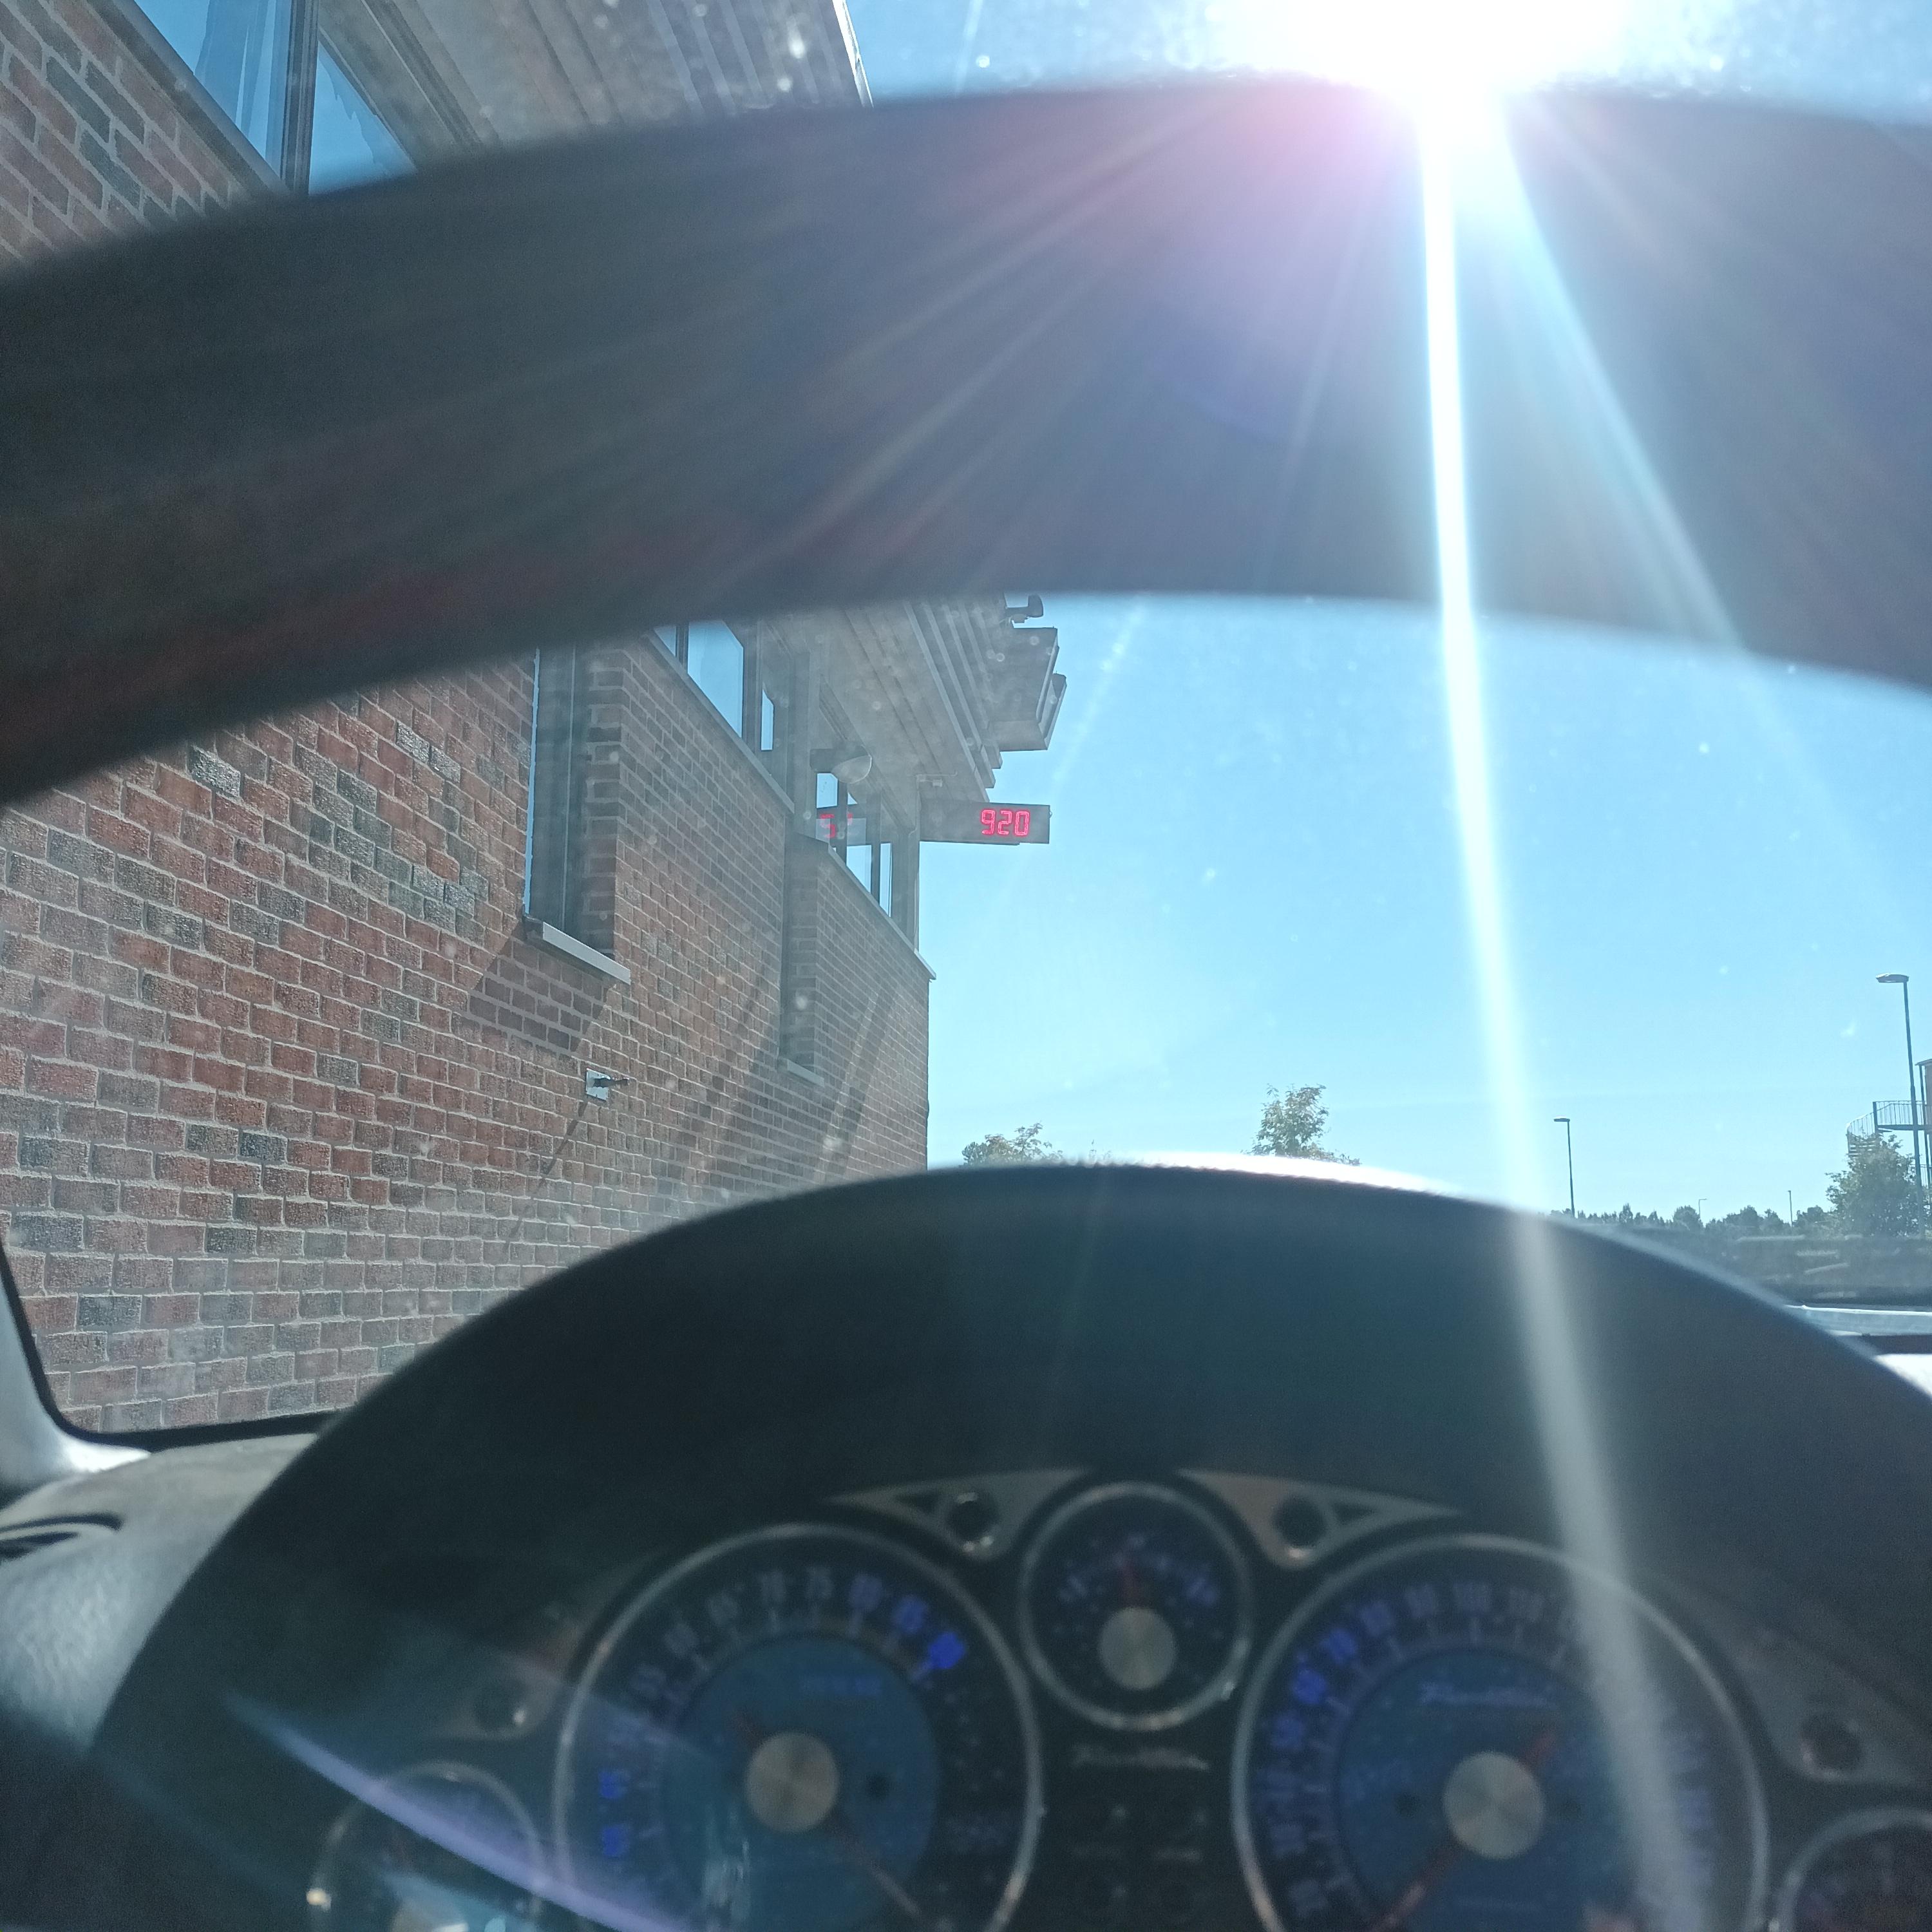
I've reached 840kg! Here's what I've done since last update!
Removed the tow hook and the license plate holder and replaced it with a simple lightweight strap. I bolted the plate directly to the fender. I saved about a kilo on that.
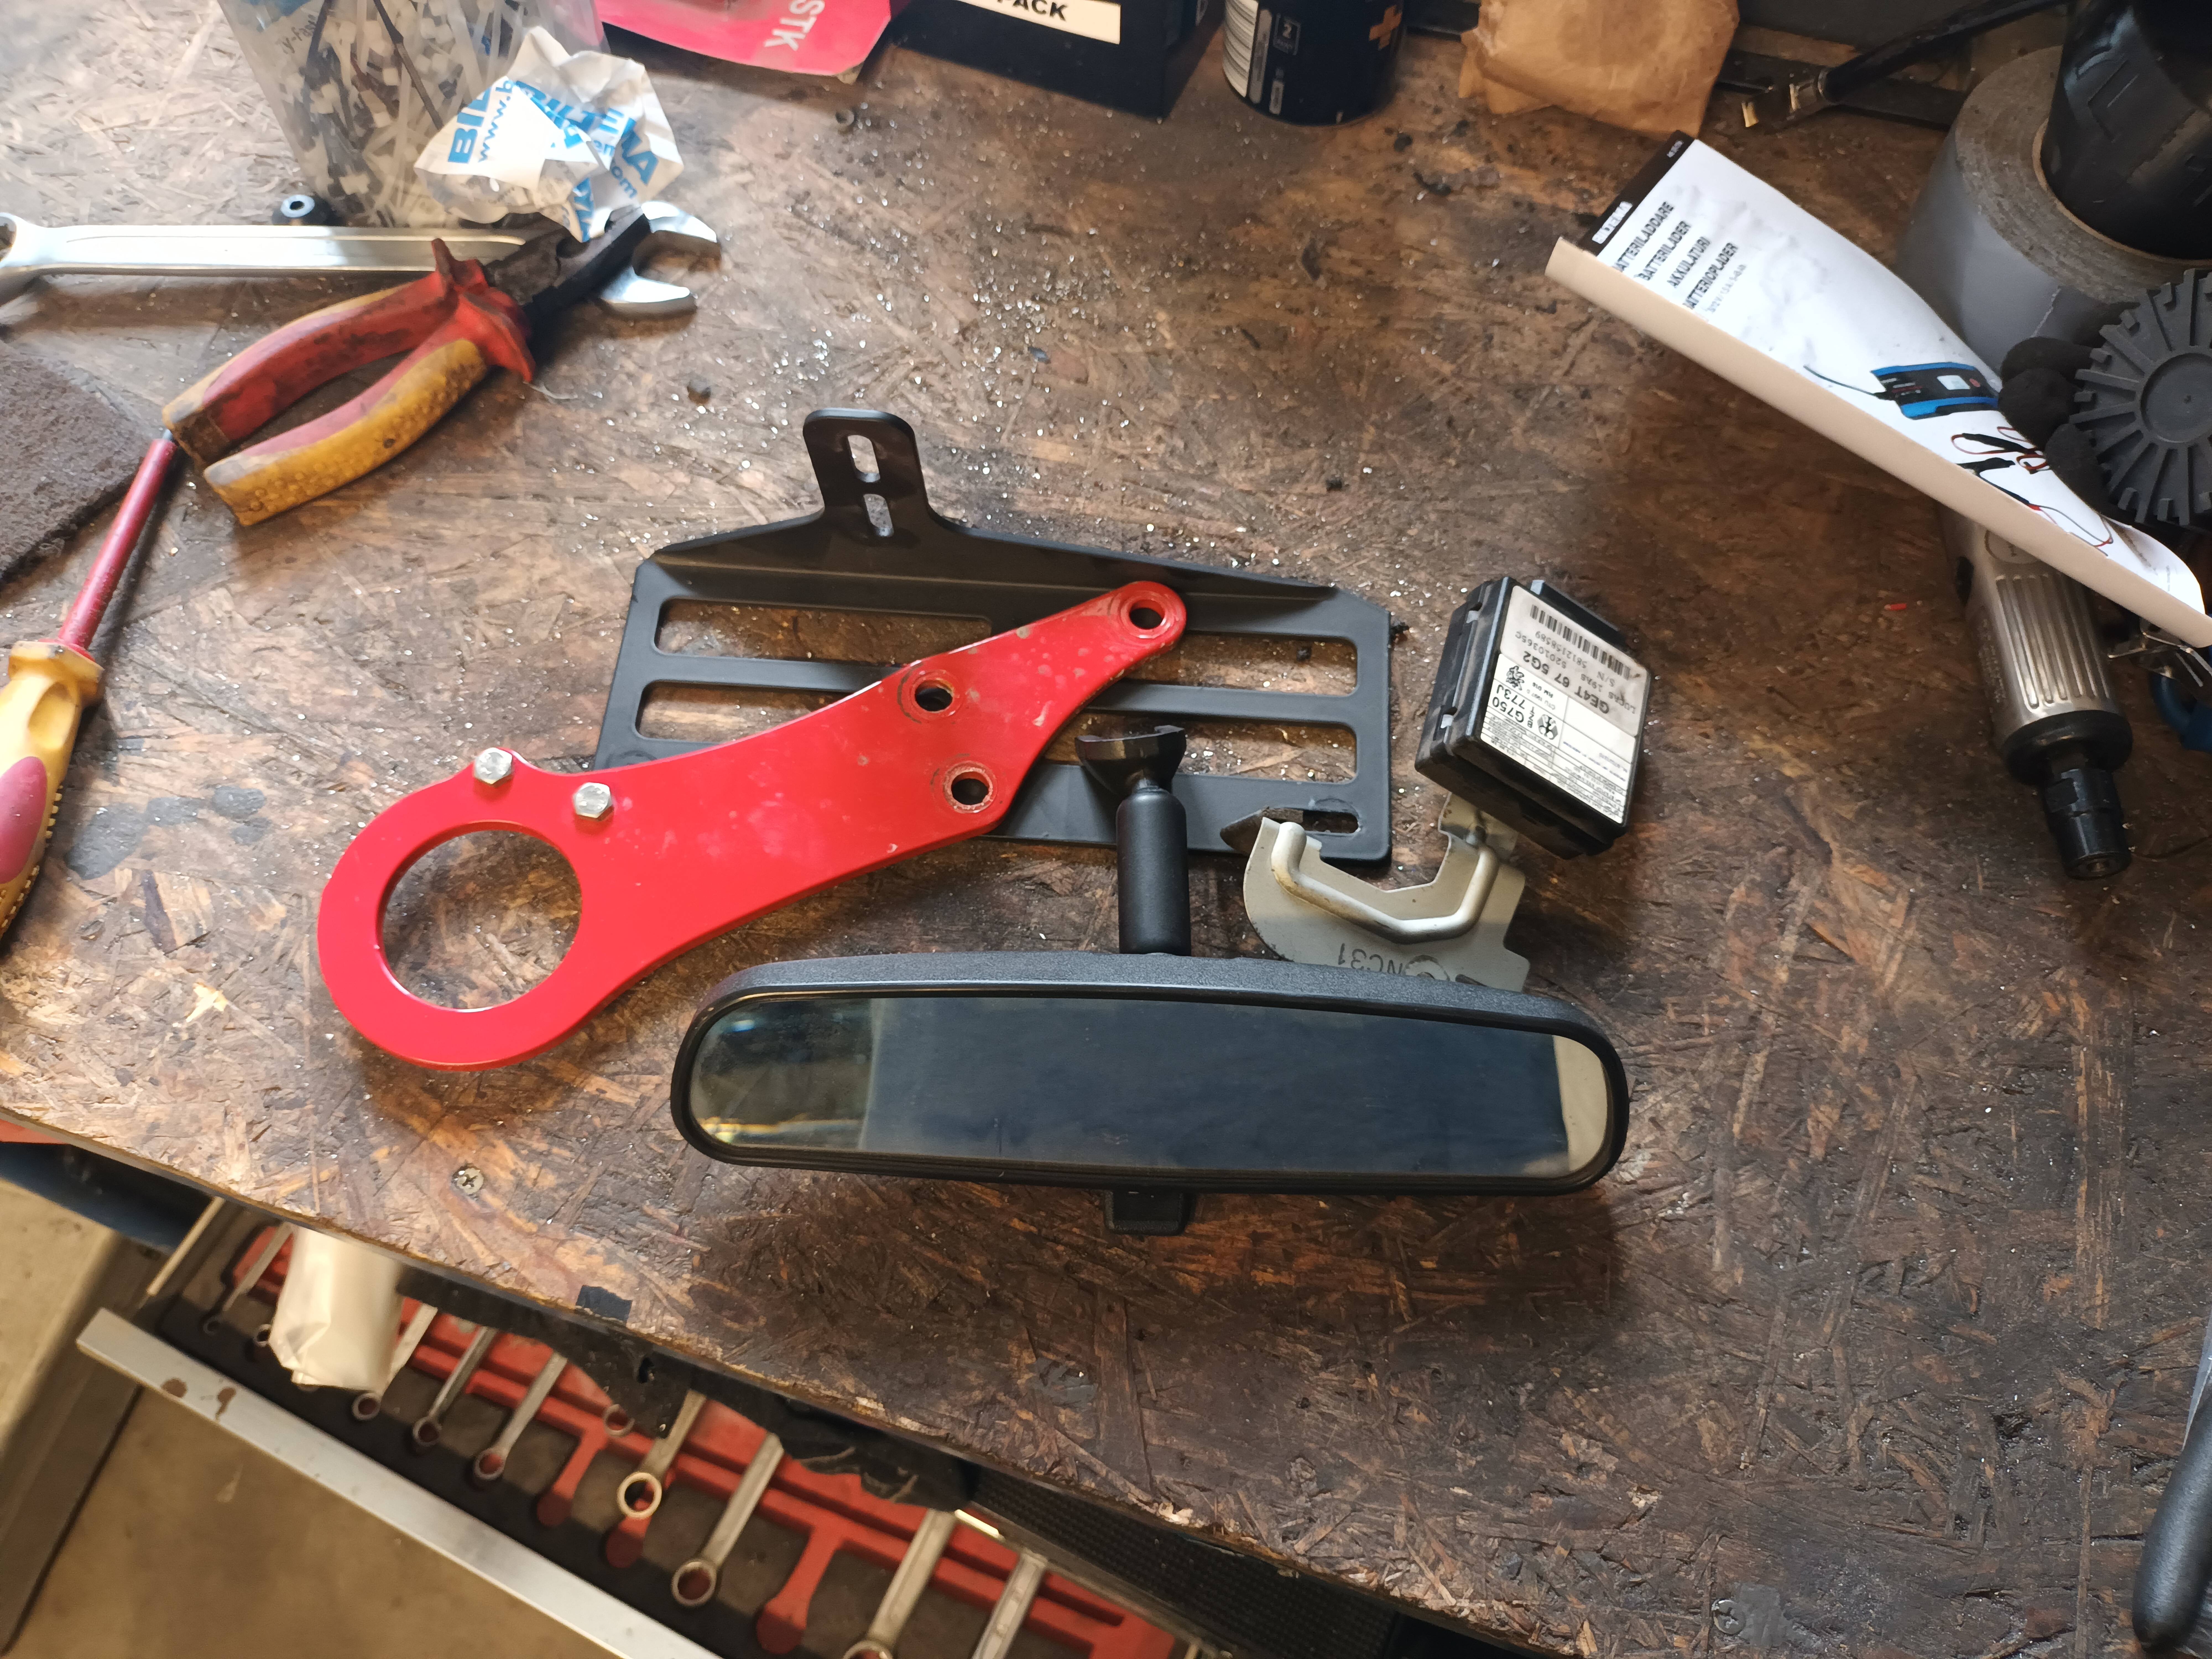
Got the car inspected. Failed on six points. Got that sorted and put the car back to the lightweight setup.
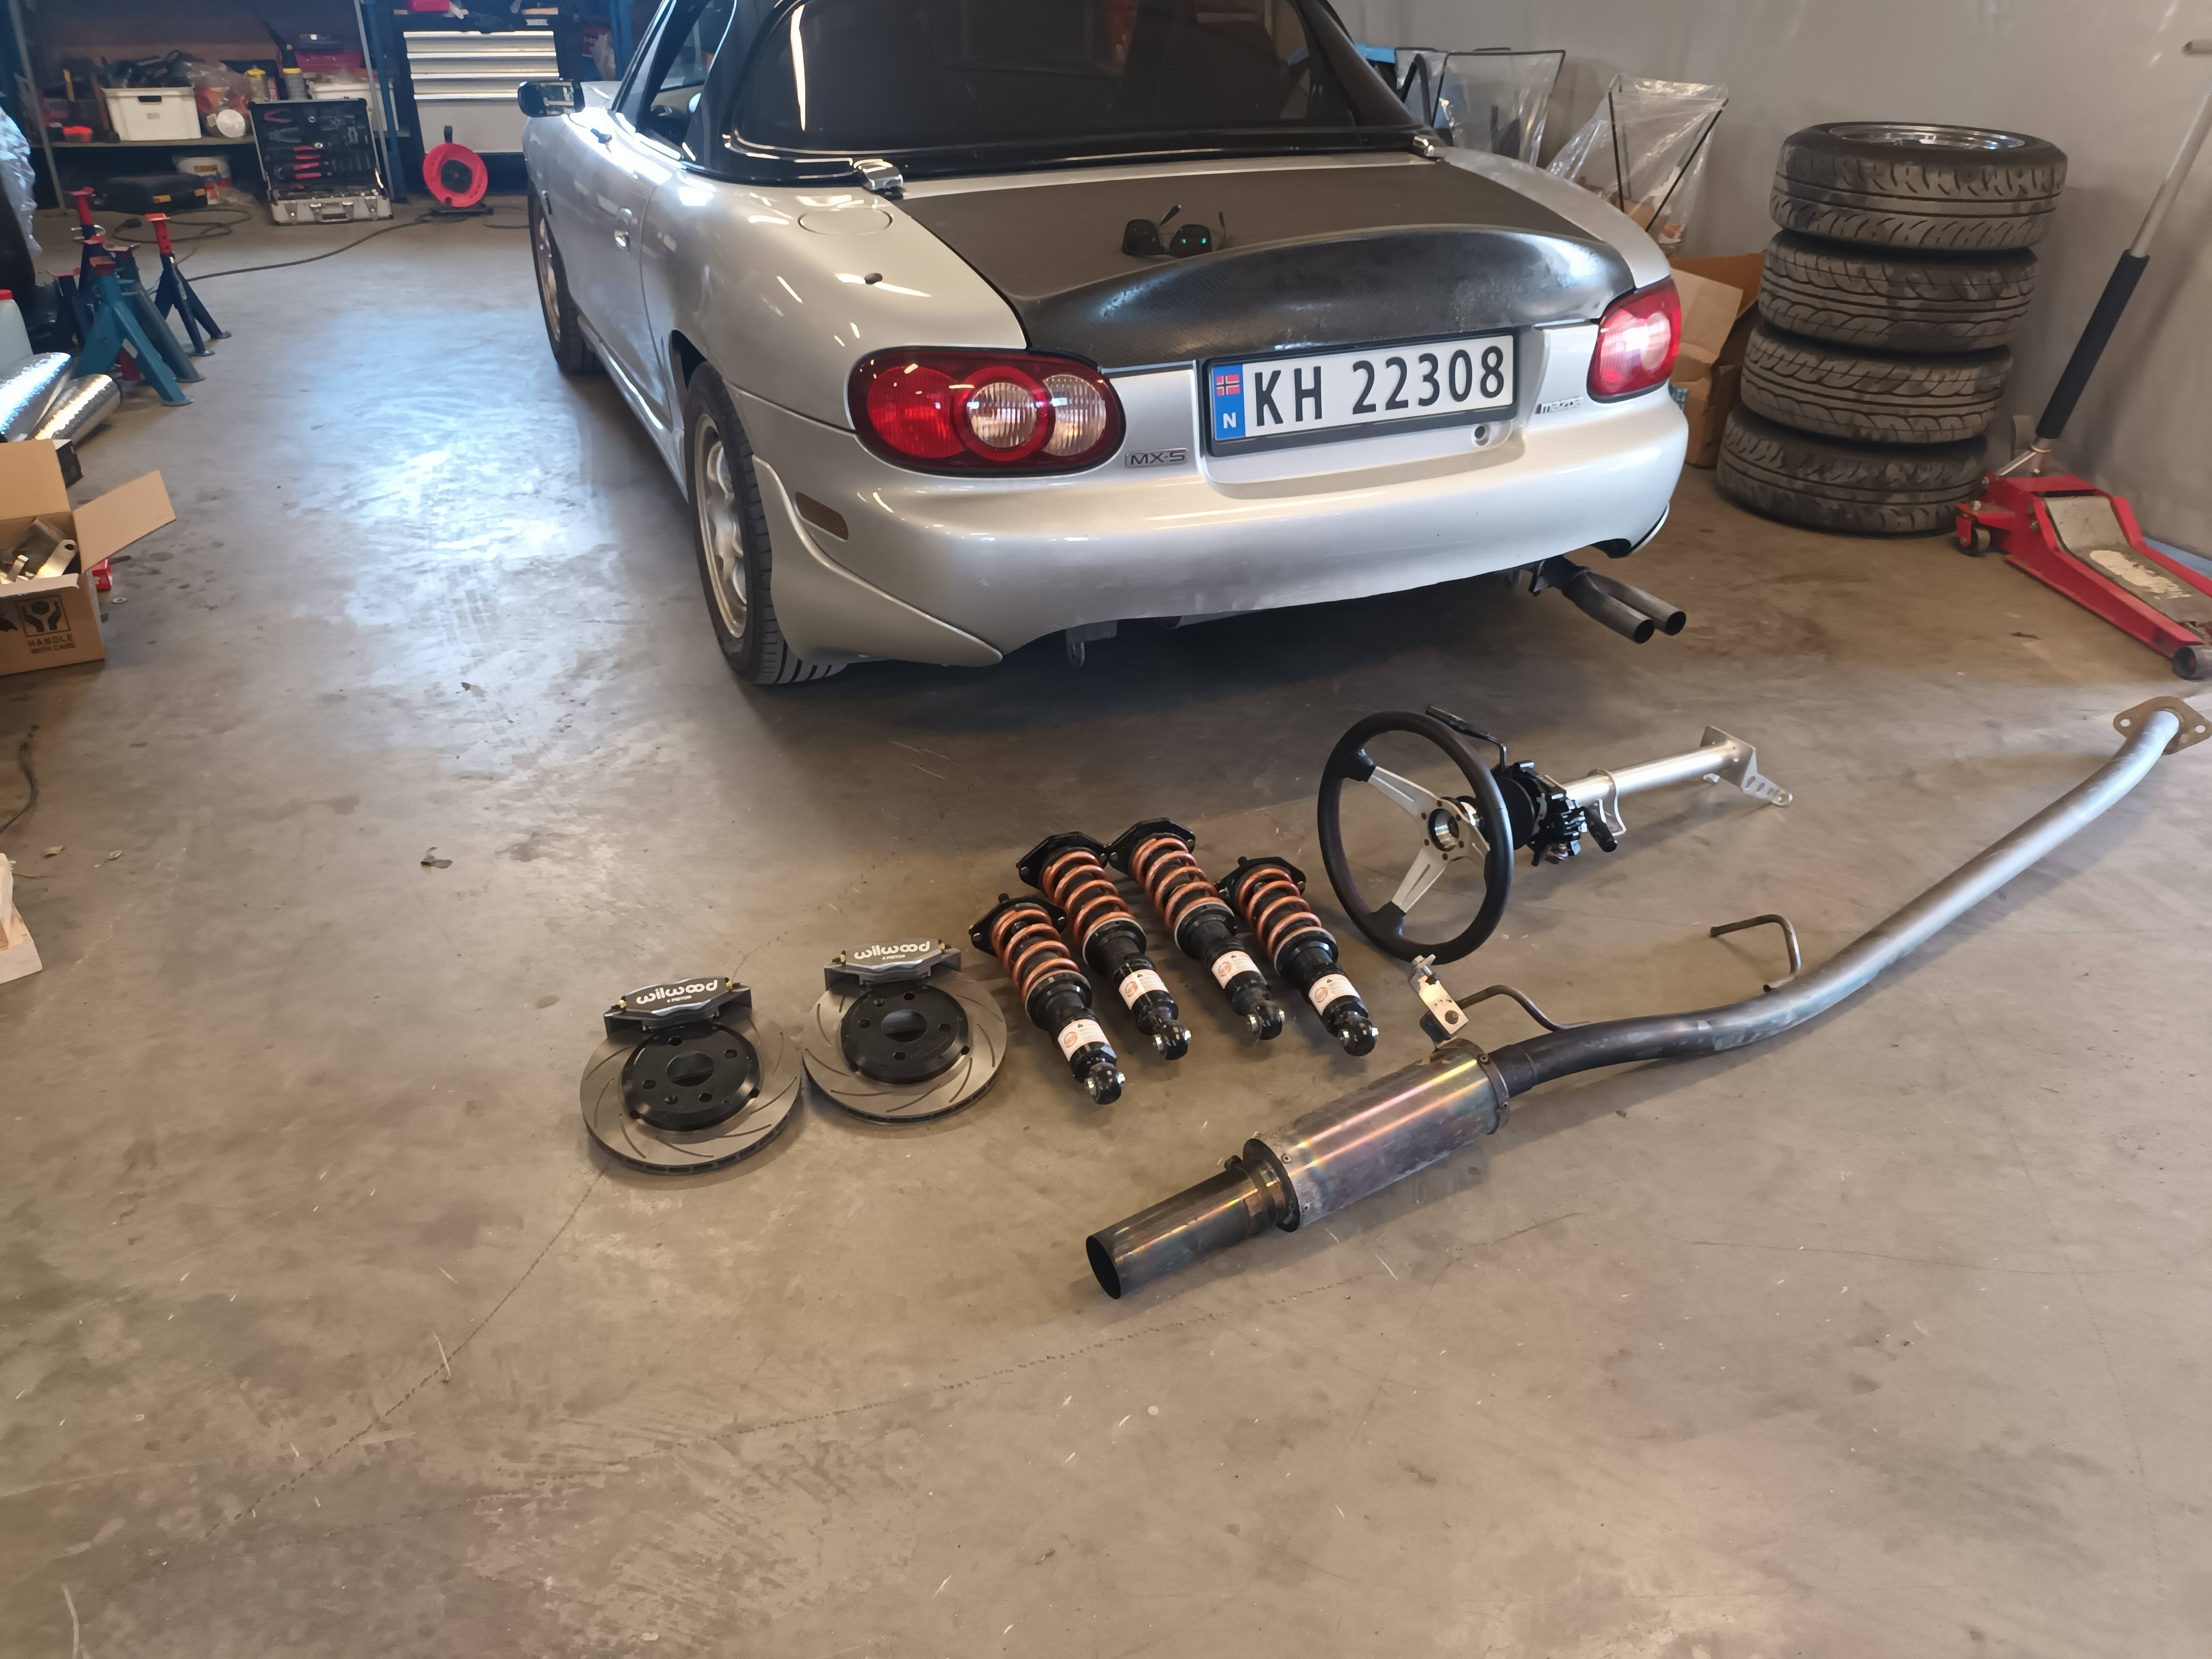
Mounted the lightweight brake setup. Had to shave the calipers a little bit, but the setup works wonderfully. It took a little while to get used to the lighter steering, but now I love it!
Swapped the front fender with fiberglass to shave off about 2.5kg total.

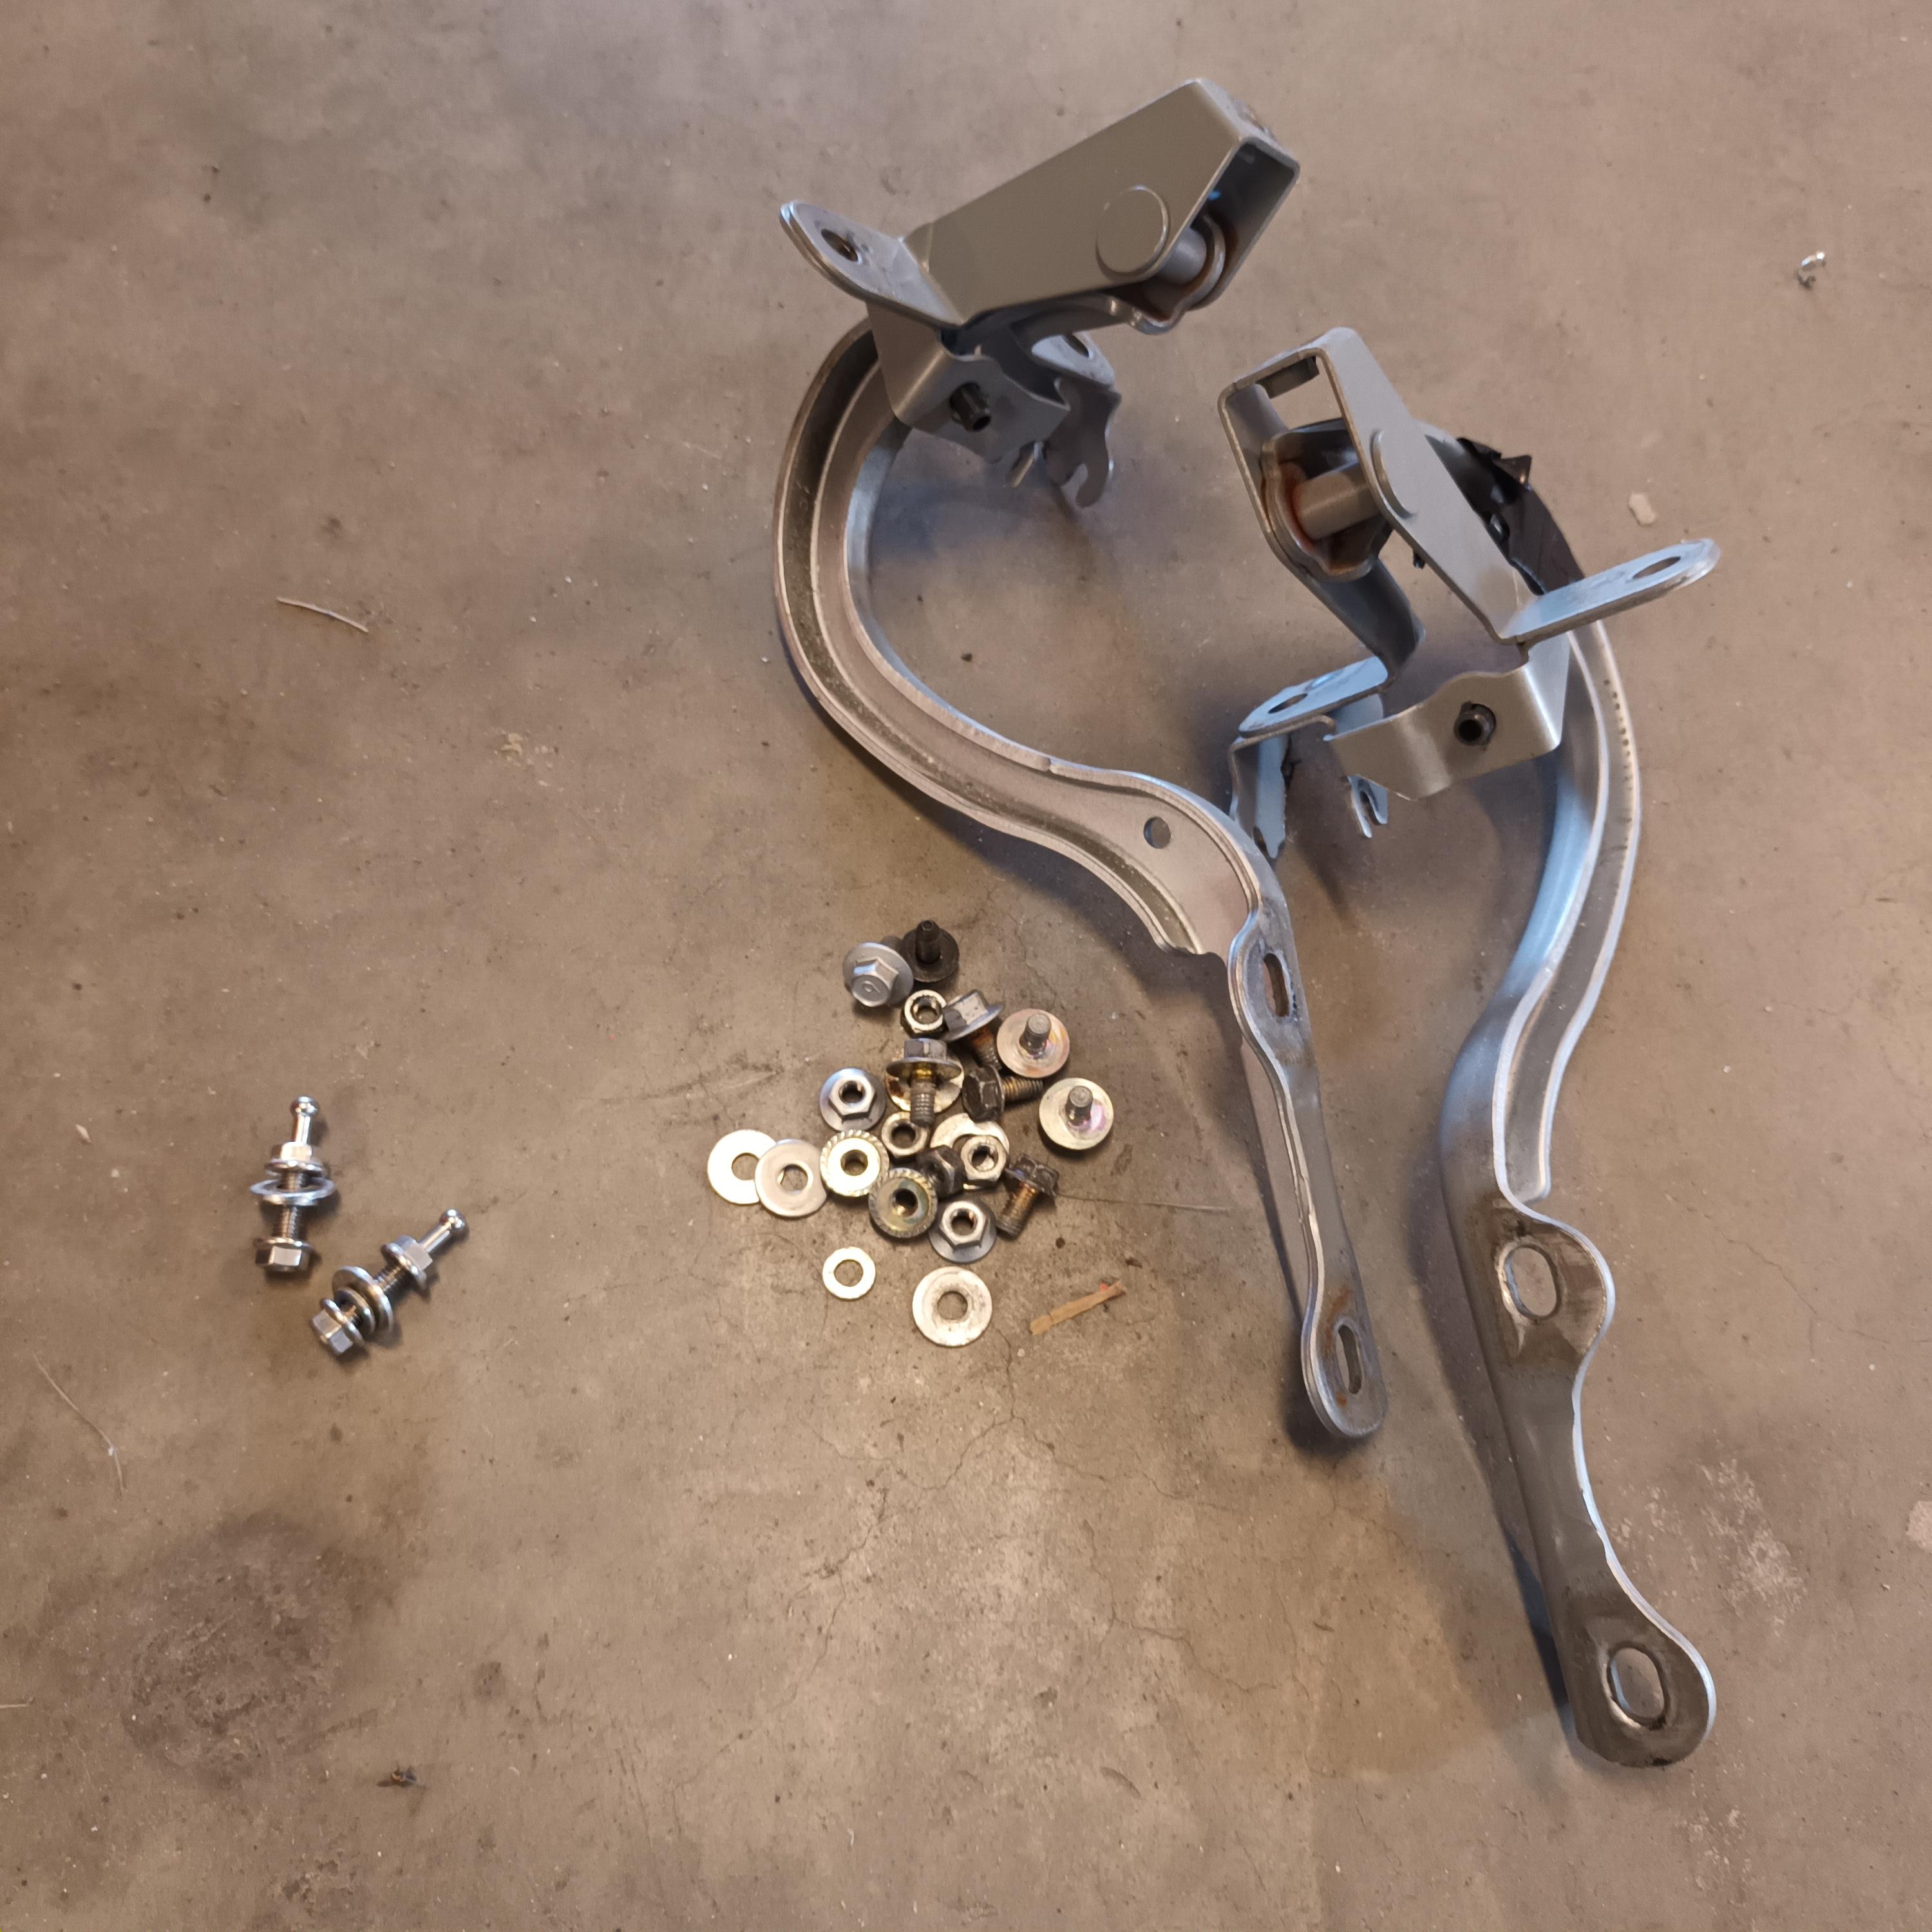
Removed the rear hinges and installed lightweight quick release pins. Another kilogram or so removed.
And finally I went to weigh the car. My math put it at about 840, and I was right!
Removed the tow hook and the license plate holder and replaced it with a simple lightweight strap. I bolted the plate directly to the fender. I saved about a kilo on that.
Got the car inspected. Failed on six points. Got that sorted and put the car back to the lightweight setup.
Mounted the lightweight brake setup. Had to shave the calipers a little bit, but the setup works wonderfully. It took a little while to get used to the lighter steering, but now I love it!
Swapped the front fender with fiberglass to shave off about 2.5kg total.
Removed the rear hinges and installed lightweight quick release pins. Another kilogram or so removed.
And finally I went to weigh the car. My math put it at about 840, and I was right!
Reply
1
1

The Hondata intake manifold gasket can cold form. That puts undue stress on the studs and cause them to snap. We sold those gaskets for a year or two, saw the problem and stopped selling them. Heatsoak is a non-issue on IRTB's anyway. Never had issues with our 200whp IRTB build. The air rushing in cools the aluminum faster than heat can be conducted through the head. I recommend ditching that gasket and using a stock one.
__________________


Reply
1
1

Thread
Thread Starter
Forum
Replies
Last Post
mattj
Cars for sale/trade
21
Oct 11, 2020 03:15 PM
Sclippy96
Build Threads
2
Nov 18, 2014 01:16 AM


