When you click on links to various merchants on this site and make a purchase, this can result in this site earning a commission. Affiliate programs and affiliations include, but are not limited to, the eBay Partner Network.
Interior
AEM CD5 LG
OMP HTE-R 400
TC Custom Seat Mount
Schroth Profi II 6-HANs
Sonic Motors VS3
Garagestar rail
Momo Monte Carlo 320mm
NRG Quick Release
Engine
BP4W
BorgWarner 6258
Kraken Low Mount
ID 1050
Fab9 250hp Intercooler
MS3 Basic
Skunk2 64mm Throttle Body
SuperMiata Coolant Reroute
Trackspeed Radiator
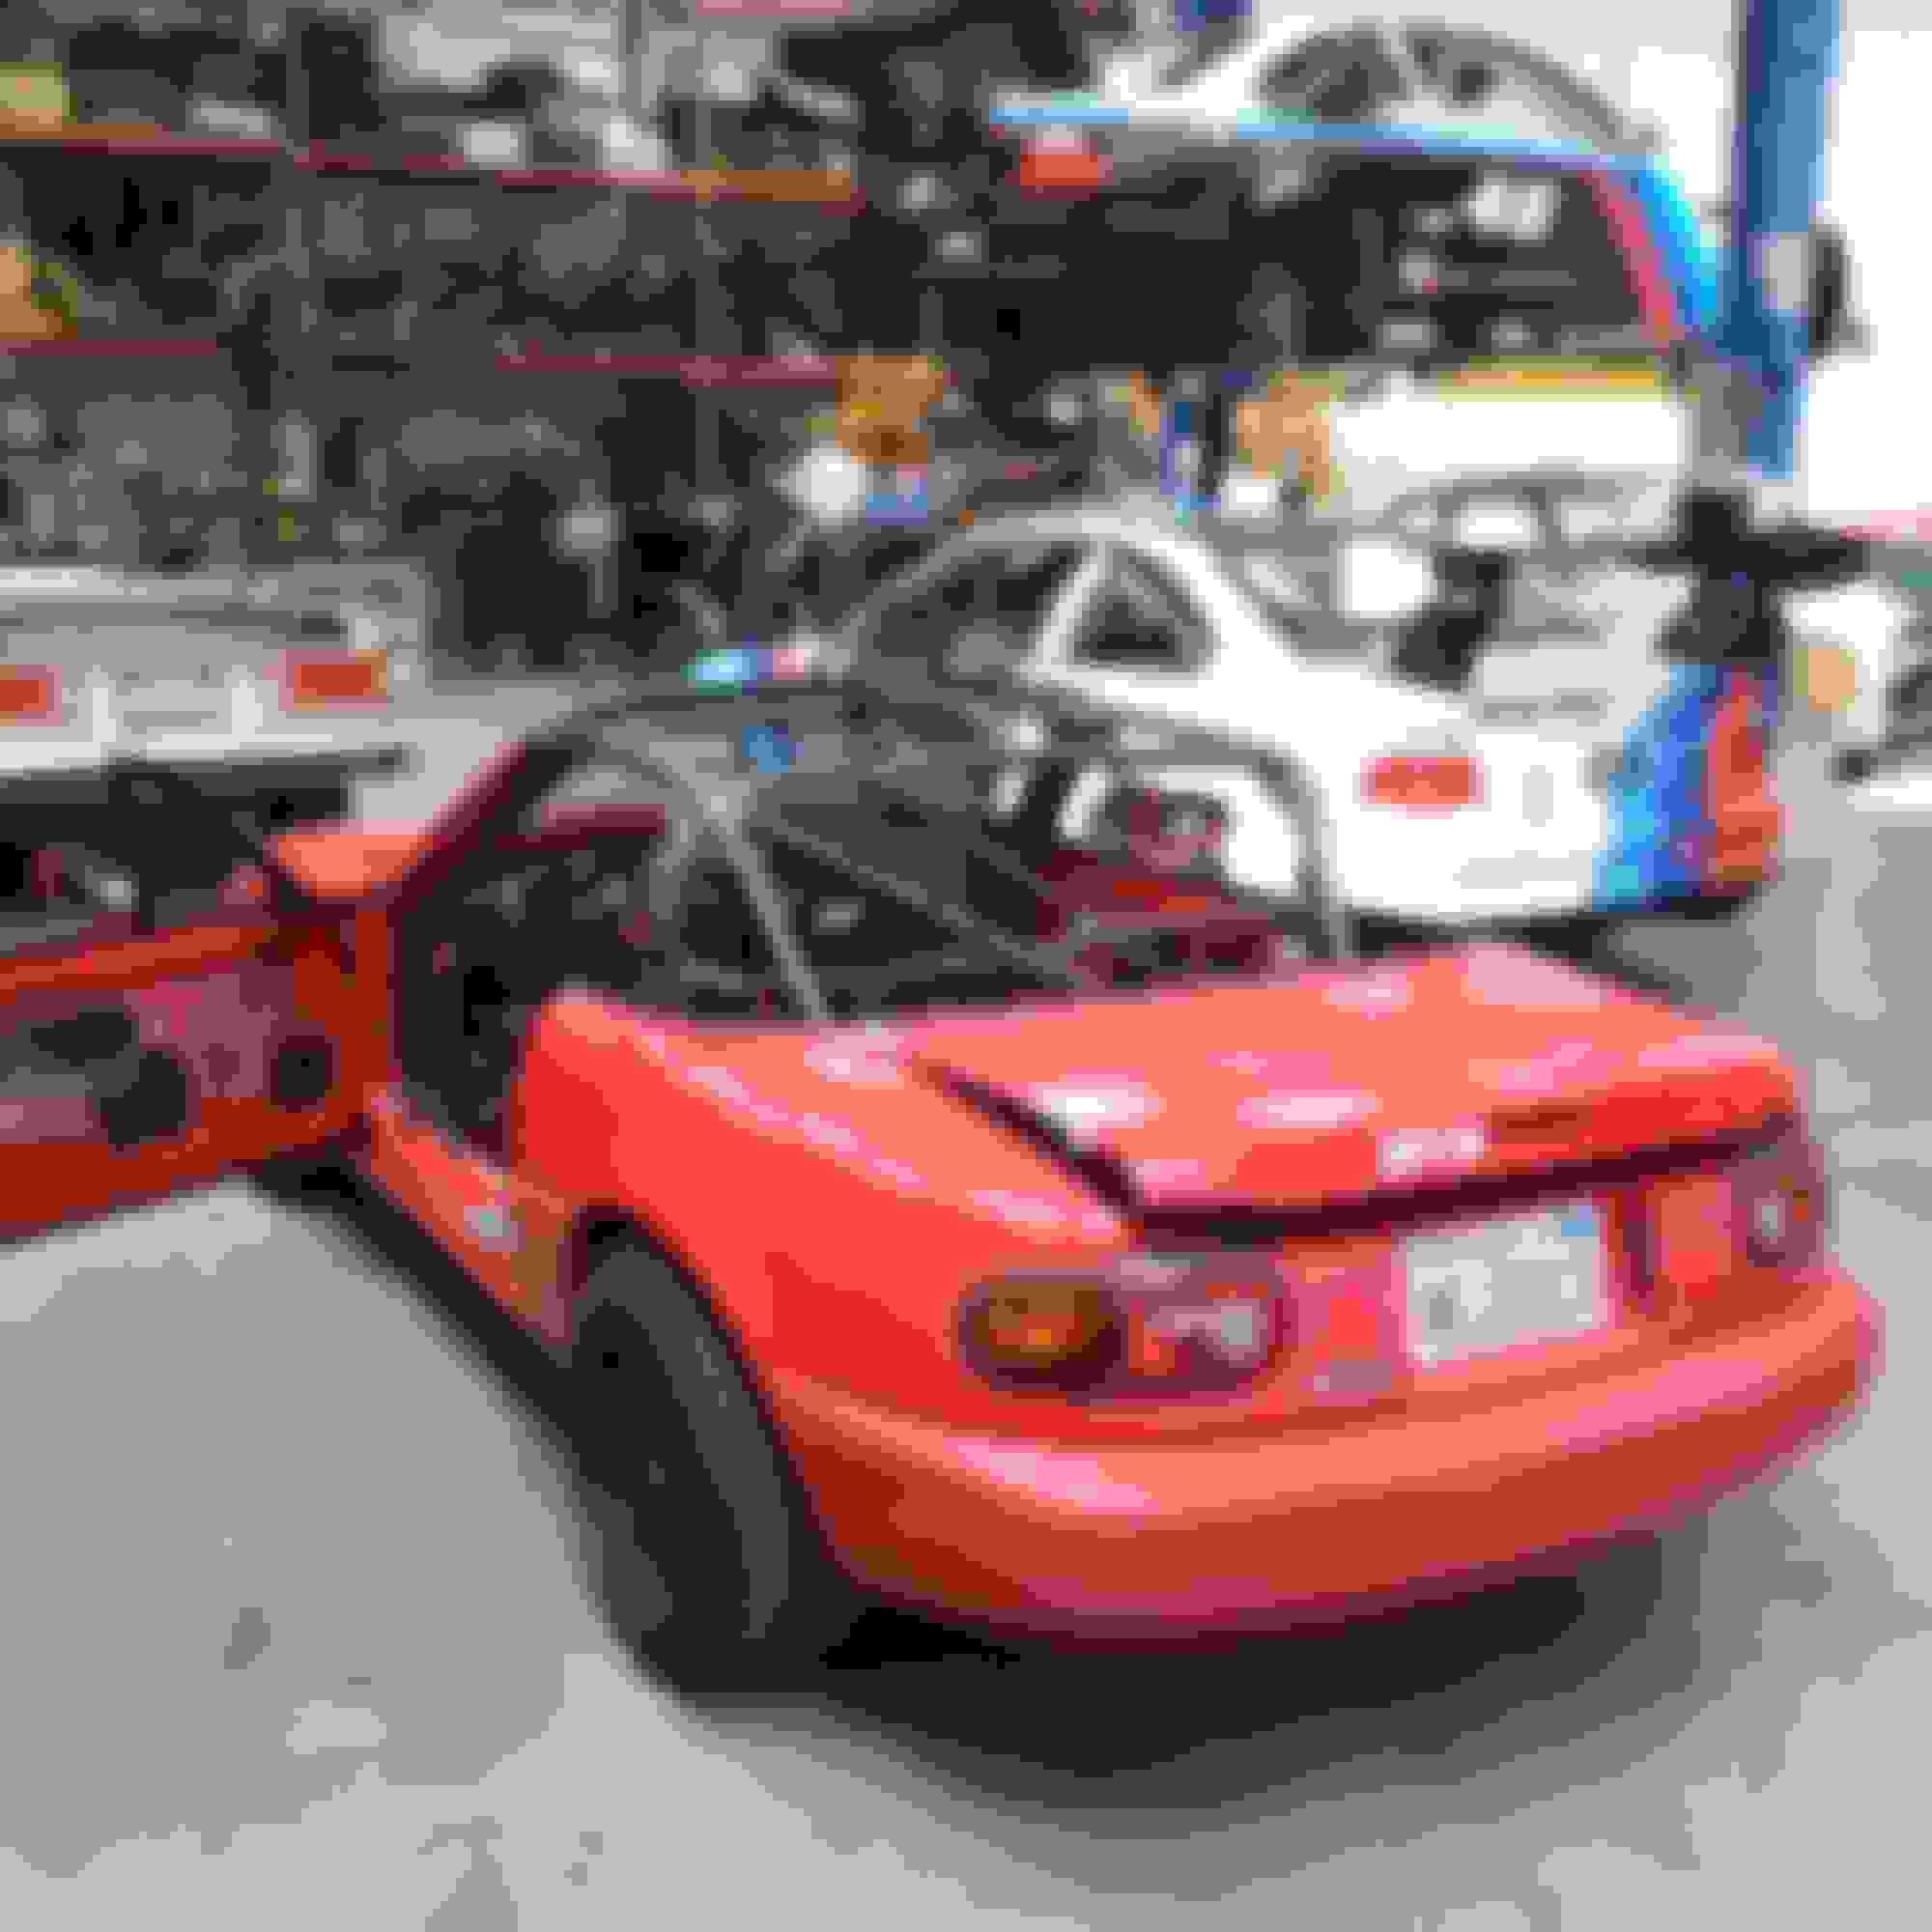
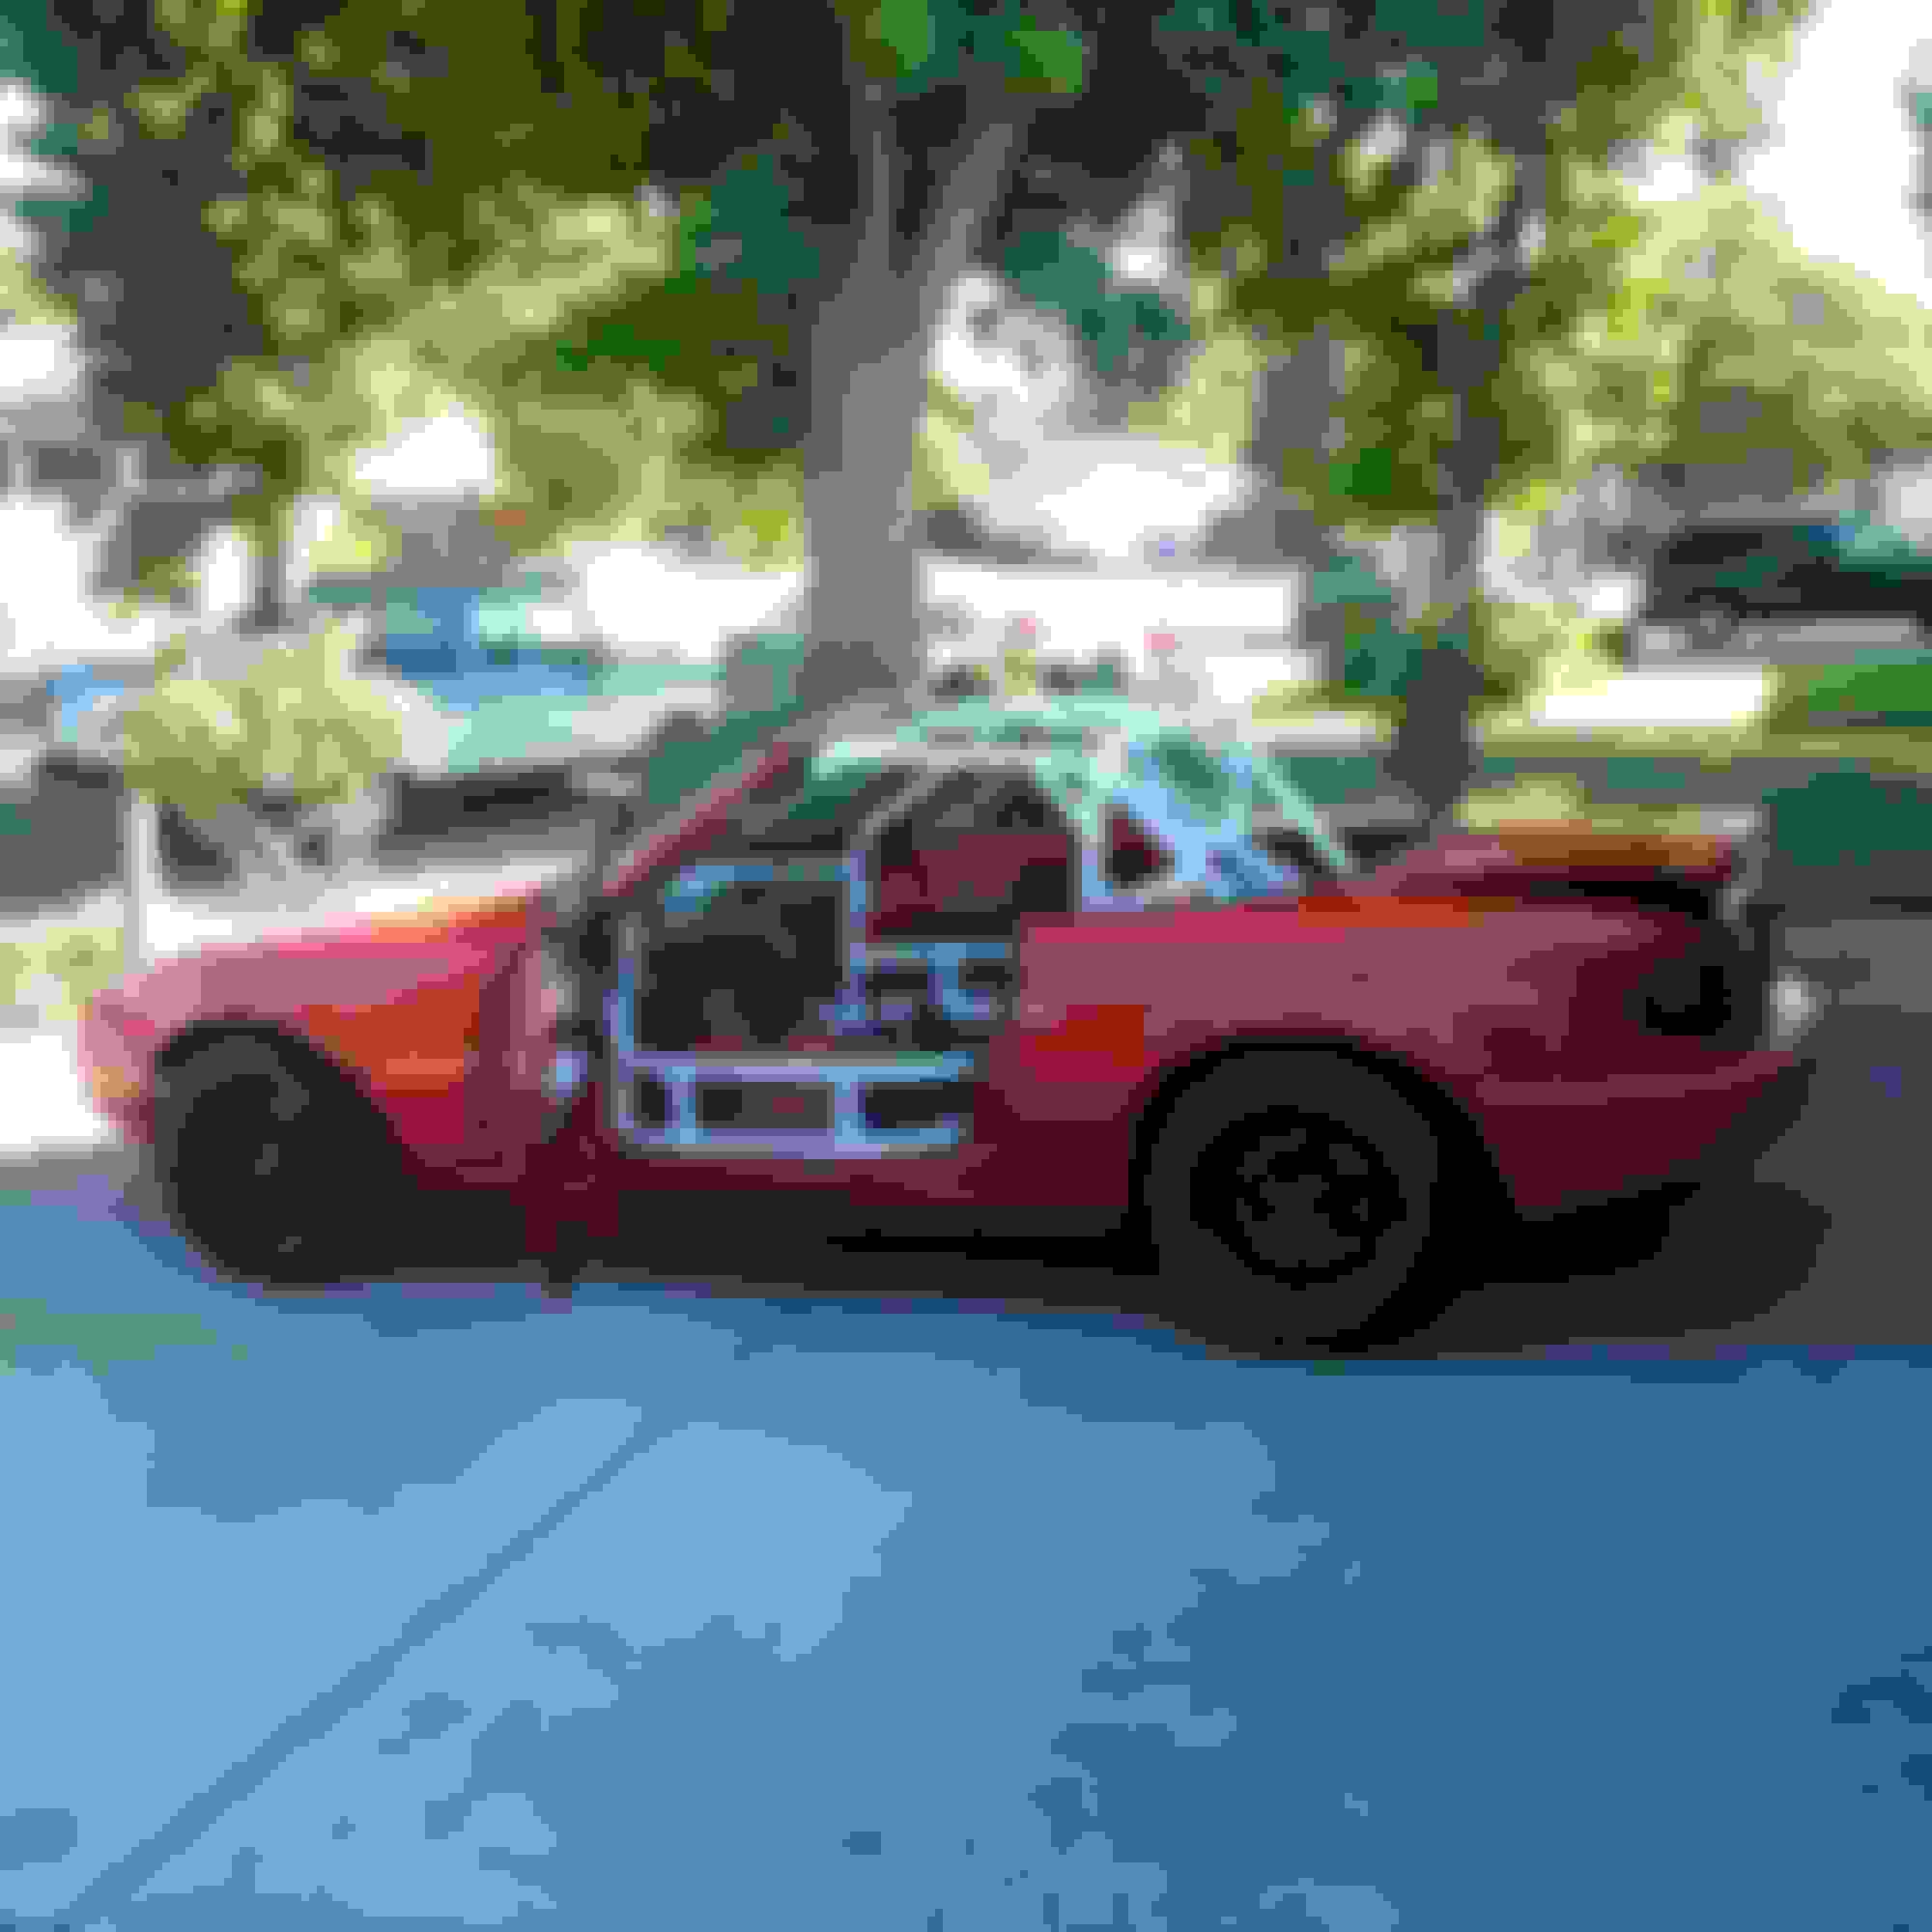
Introducing Rotten Tomato.
Unfortunately after a premature end to my previous NB1, I wanted to stray from the dual duty build, and turn my focus to a no compromise track car. Whereas my NB had a decent paint, full interior, even sporting ac, the NA will be the complete opposite. I plan to strip all unnecessary equipment, along with the interior, and install a full cage. This should be a recipe for a light, relatively quick track car.
Fortunately, I can reuse most of the mechanical bits from my NB.
BP4W, 4.3 Torsen, front and rear subframes will all be transferred over.
While there is no denying the NB is objectively the better car, there is some intangible, indescribable feel to a NA that makes it so special. Something along the lines of "the NB is the better car, but the NA is the better Miata".
Fair warning, the paint leaves much to be desired, but all said and done it looks to be an excellent base in which to start my track build. My thinking is that I will care less for this car compared to the NB and will be more likely to hack into the shell with diy projects and also push it harder on track.
Like with my previous thread, this is where I hope to document my progress with the car and of the related adventures.
1993 NA6 with around 173,000 miles.
The previous owner, a young college kid, had neglected much of the basic maintenance, but had refrained from ruining the car with the usual round of modifications. This is what partly led to the decision to buy the car.
After the change of ownership, a few hurdles arose when first tearing into the car, hence the name, "Rotten Tomato".
The first being the key. I was supplied with two sets of keys but was warned that one was very tempermental. That key snapped in half when trying to open the trunk a few days later. The following day while inspecting the other key, I found it was also failing and I could not start the car.
Ugh.
Quick call to Mazda and had a set cut from the VIN.
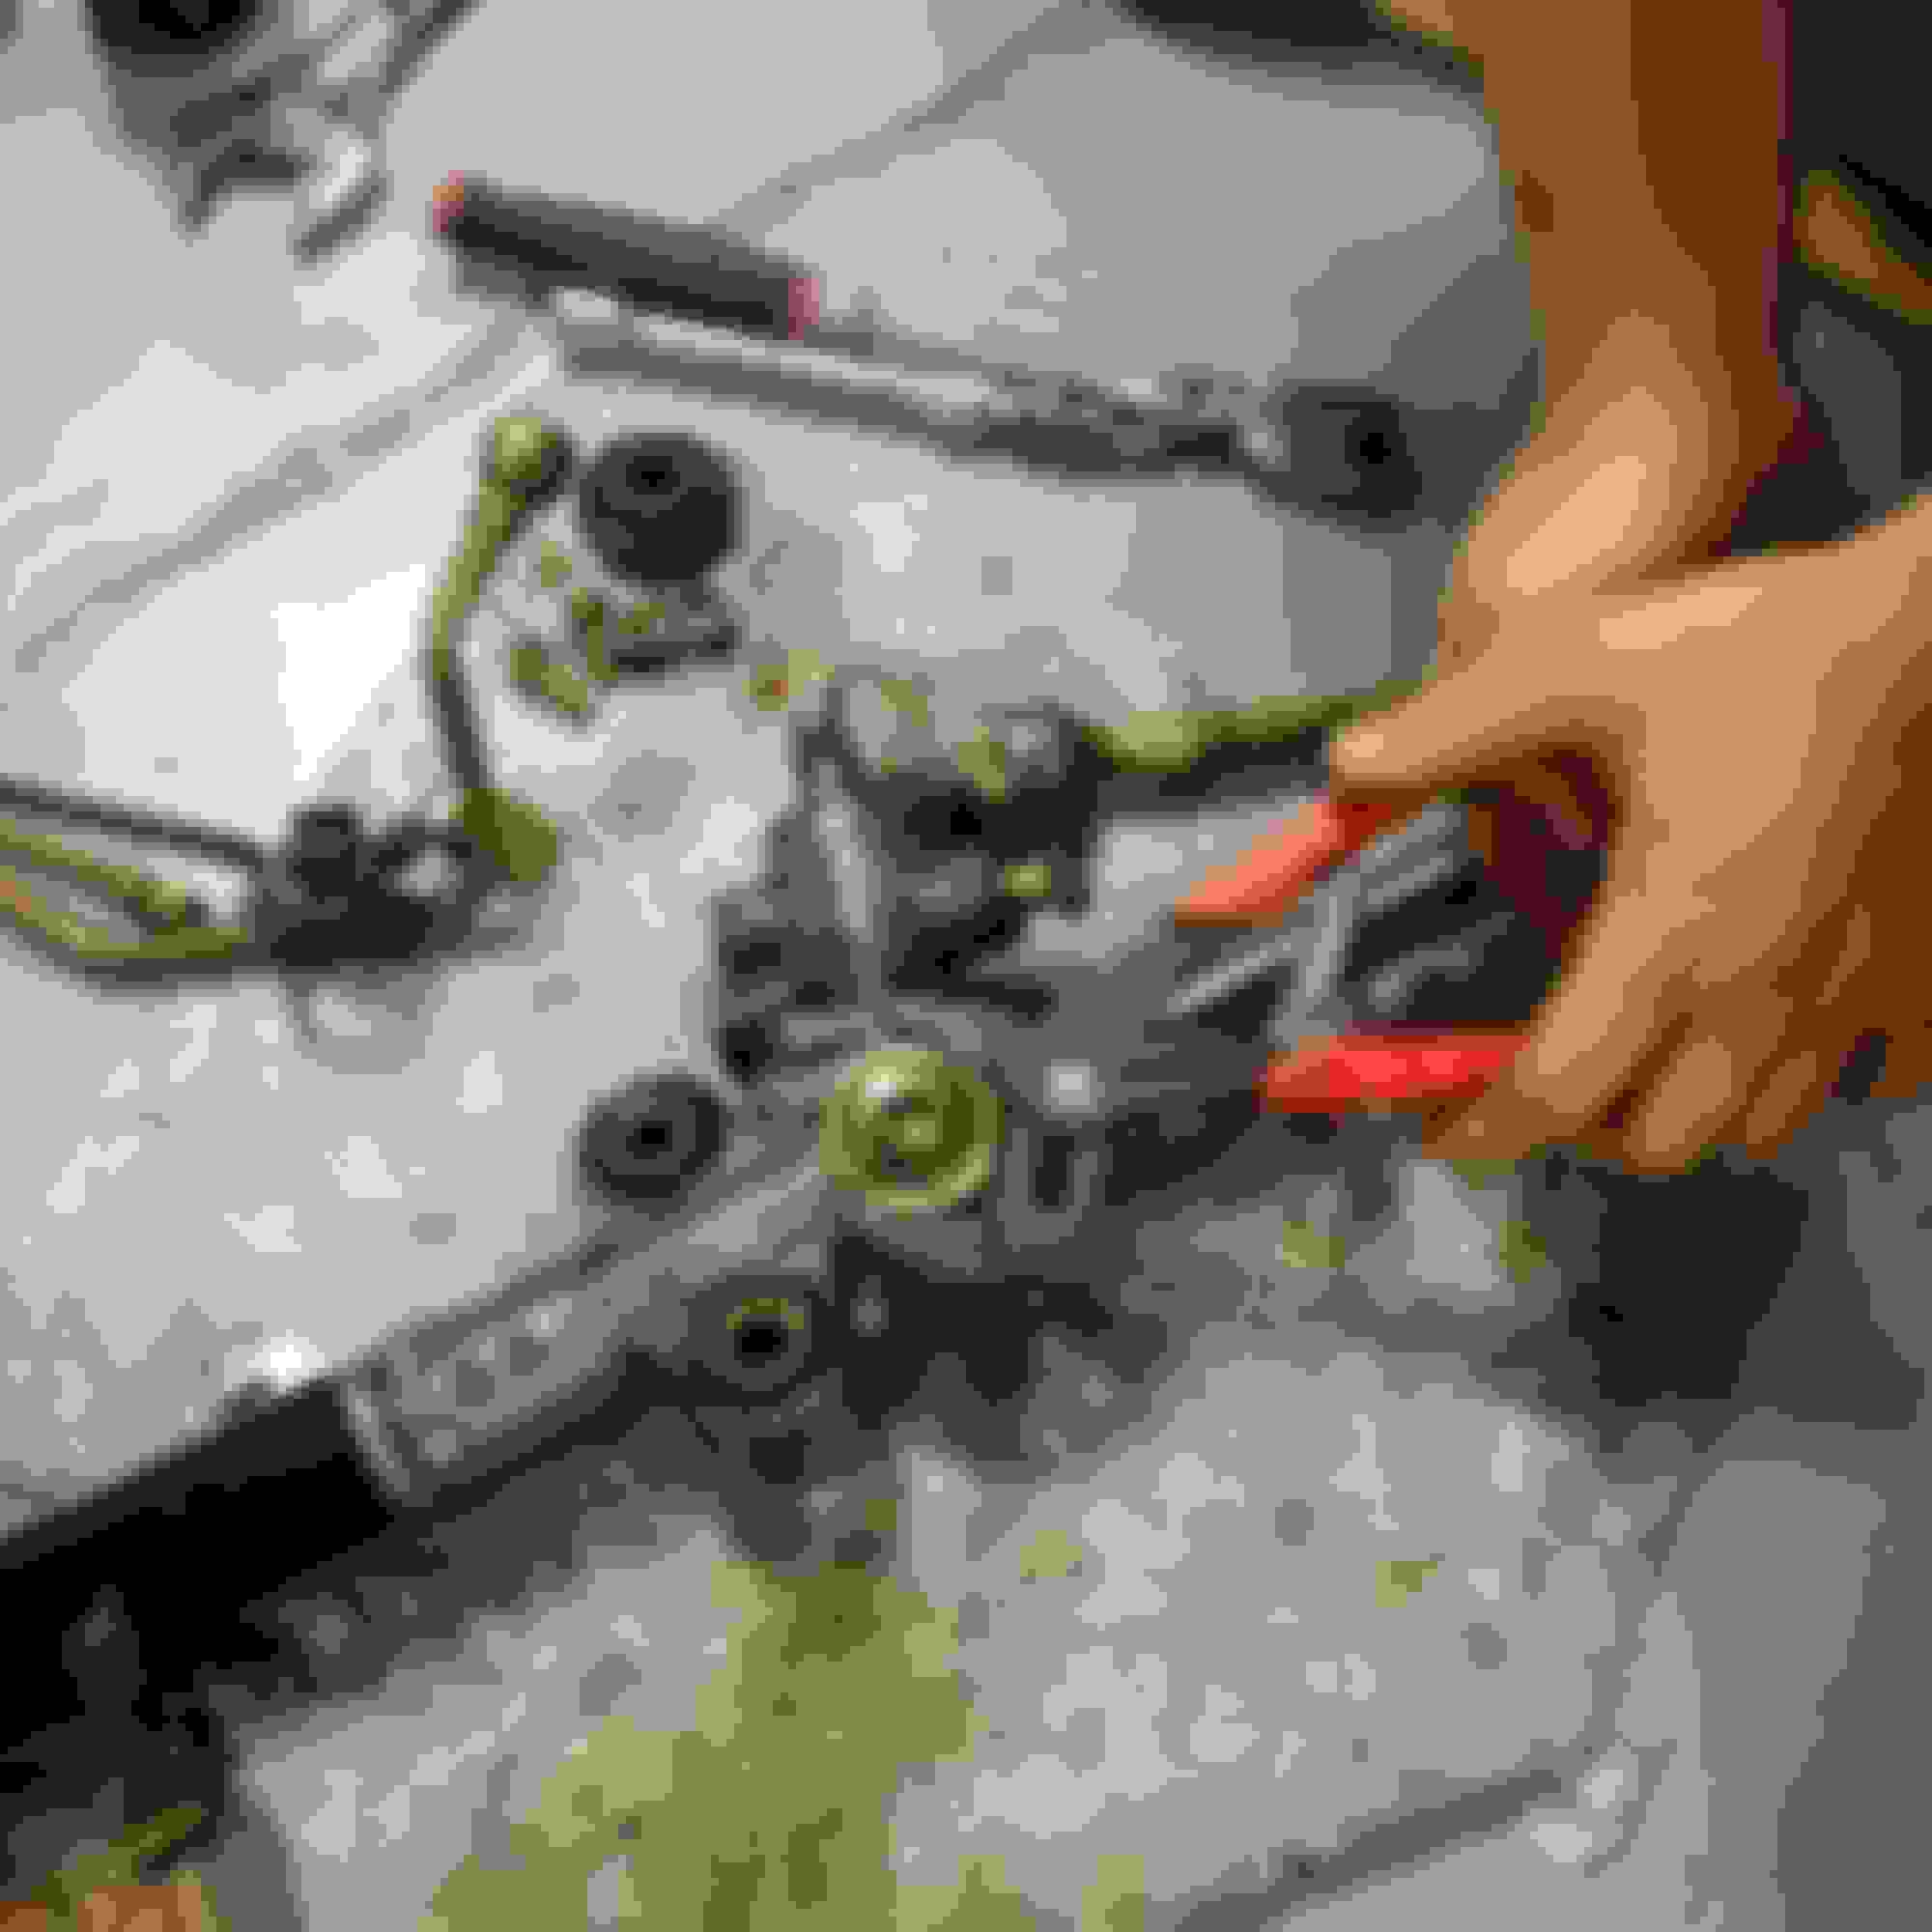
When trying to remove the driver's seat I found one of the bolt heads to be completely rounded off. A quick drilling remedied the problem, and I could continue with the tear down.
Drill:1 Bolt:0.
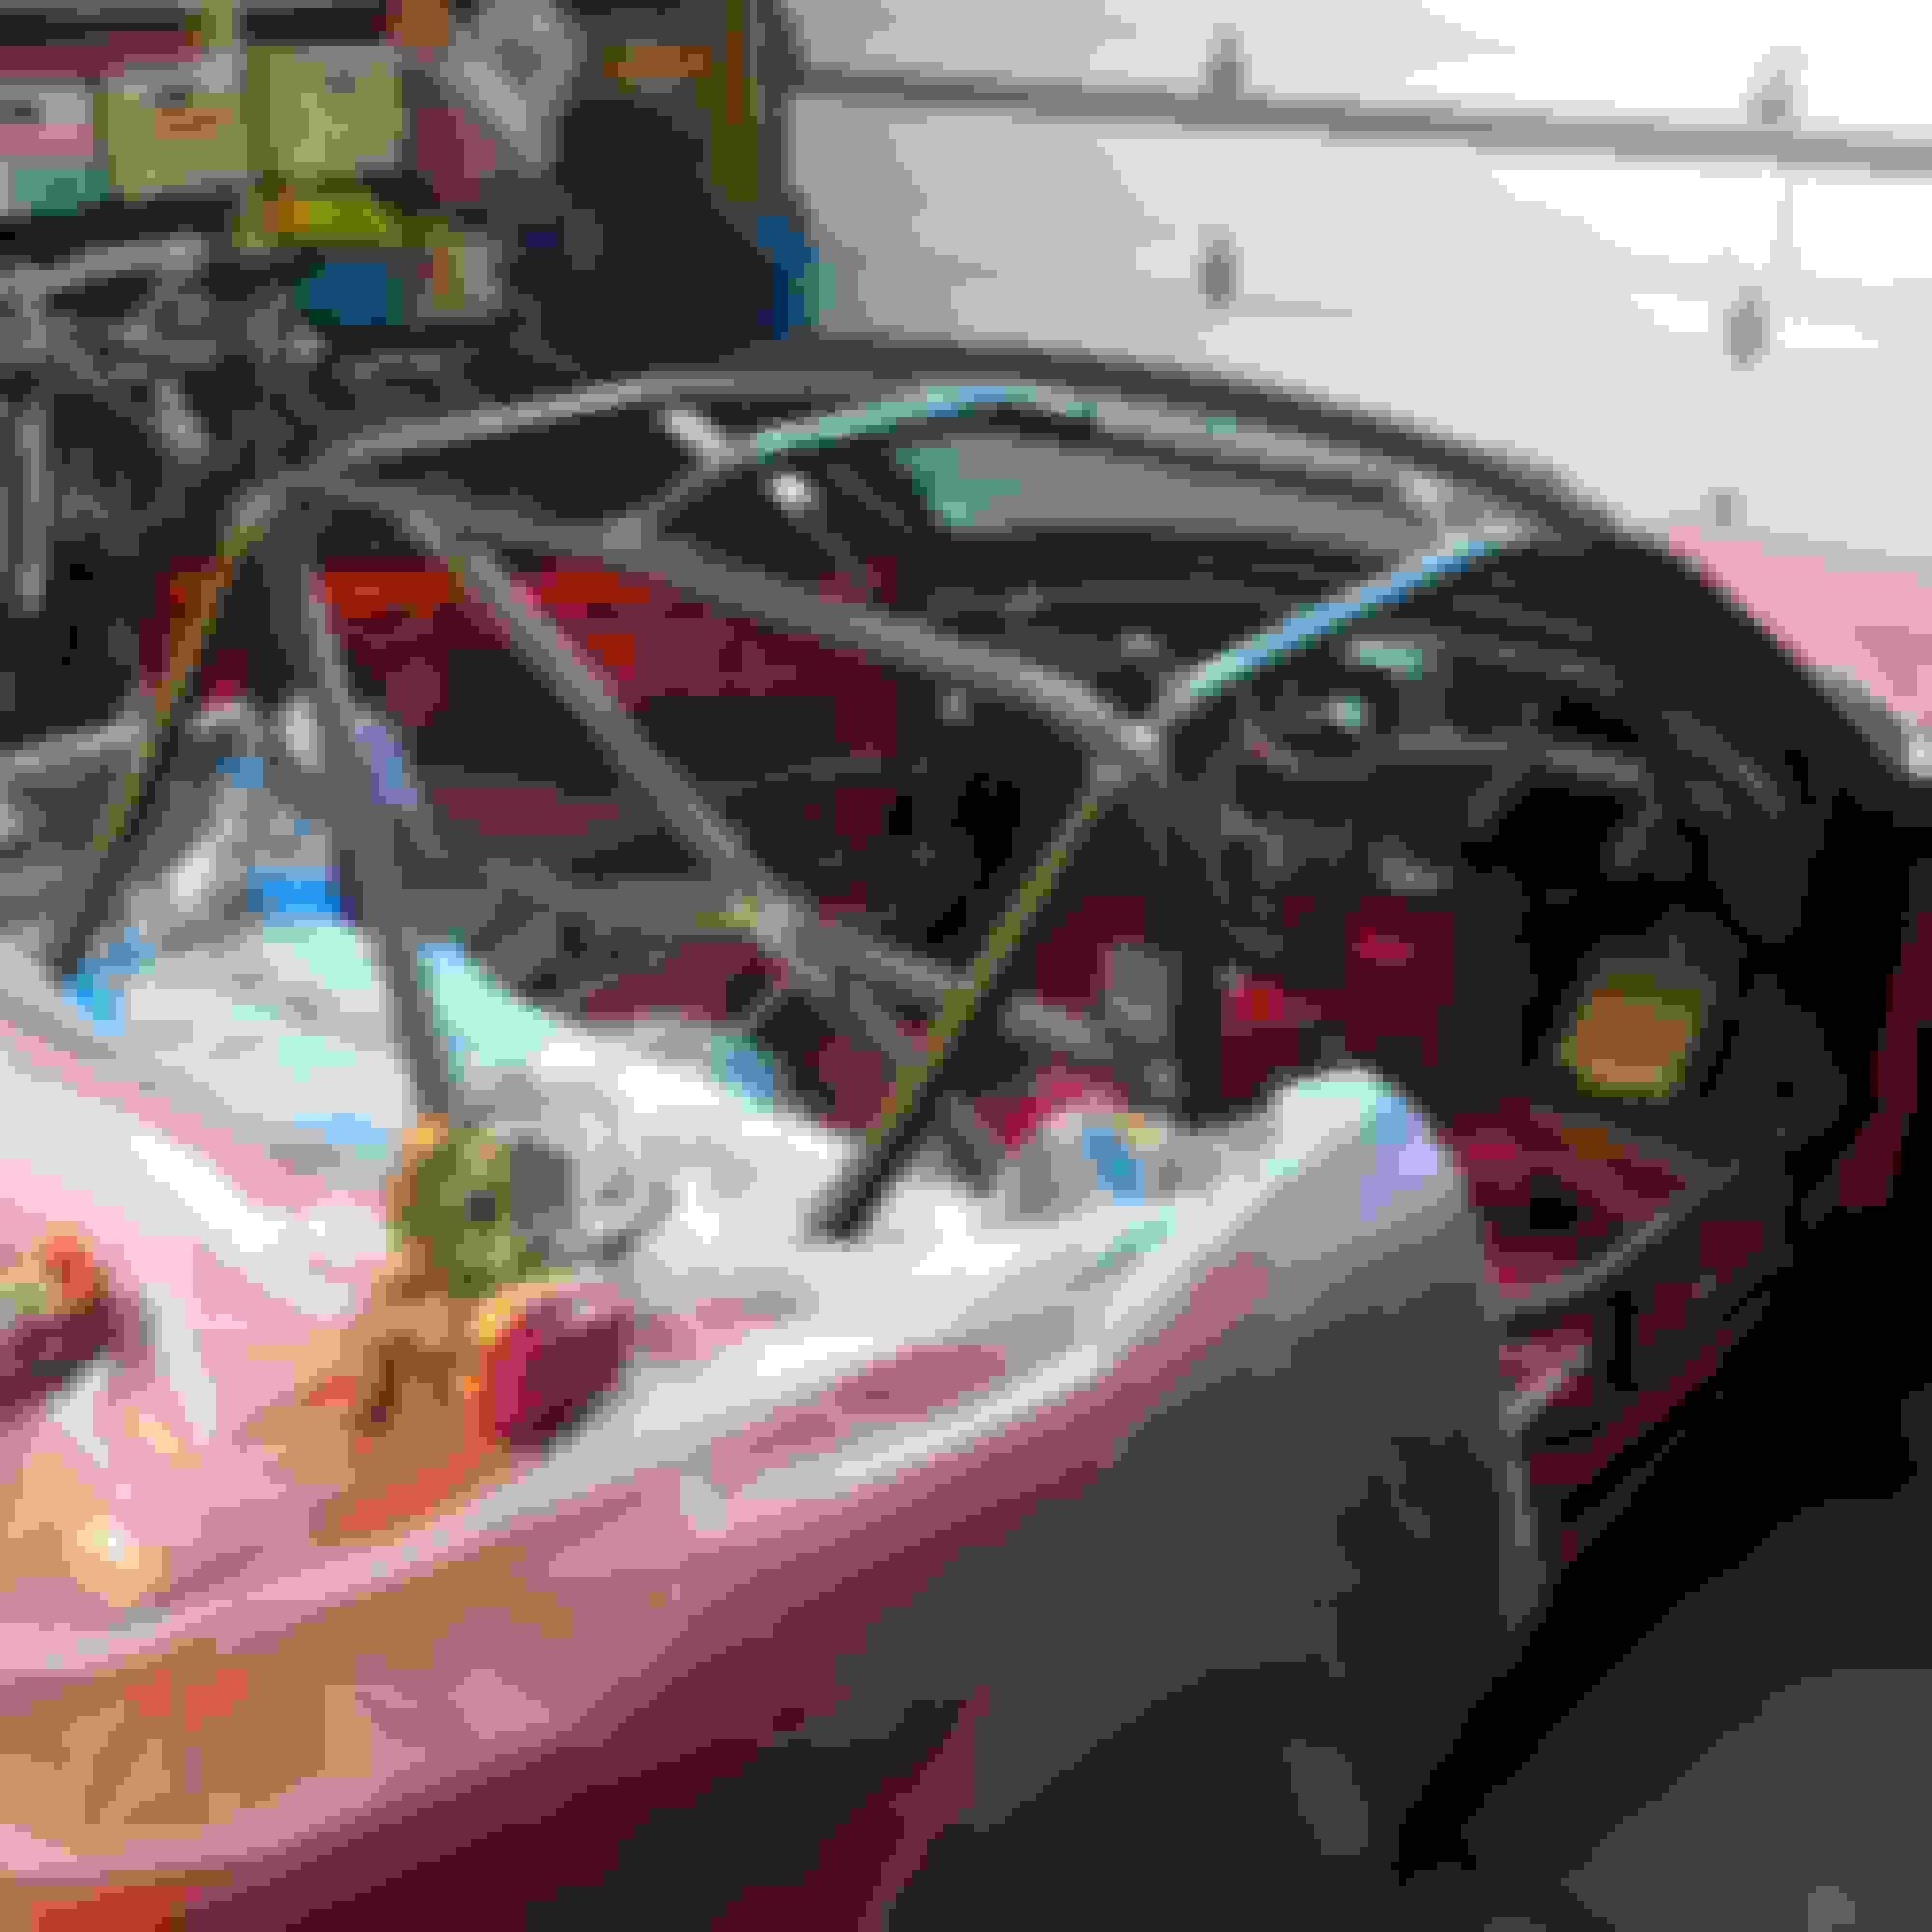
Stripping the interior and removing the cracked dash.
I have scheduled an appointment with TC Designs to install a full cage at the end of July.
I made a bit more progress over the past few weekends.
I am doing all I can in preparation for the cage install, which is fast approaching. Interior is completely stripped with only the dash bar and steering wheel remaining. I also removed the AC and airbag systems at the same time.
Compressor and condenser.
Evaporator.
Not pictured: the compressor bracket and the M8 1.25 x 45mm bolt needed to complete the swap.
Although I do wish to keep my heater core and the ability to defrost my windows. It will also serve to keep me toasty during the early and late night drives home from the track.
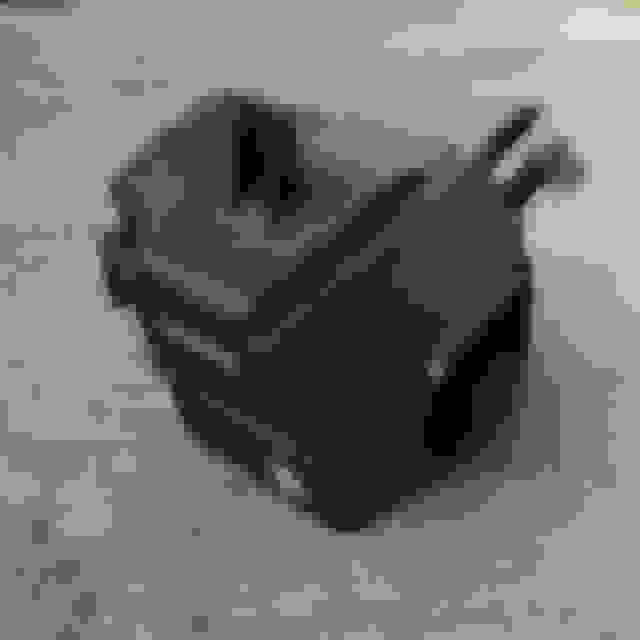
I ordered an AC delete kit from 5X Racing.
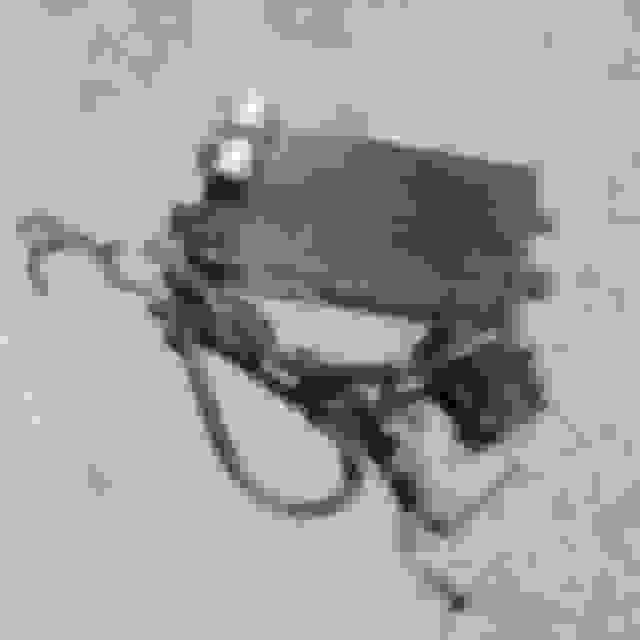
The NA6 has quite a bit of wiring relating to the airbag system. There are a few modules hidden underneath the dash, along with one that makes an especially annoying beep whenever it is disconnected. In addition to the sensors, there are two long blue loom wires tucked in the front fenders as well as a few sensors hugging the frame rails towards the front of the chassis. They had to go for simplicity's sake.
Blue wires snaked in the wheel well.
Sensors are covered with a plastic shield.
Wires removed. Sensors are reasonably heavy.
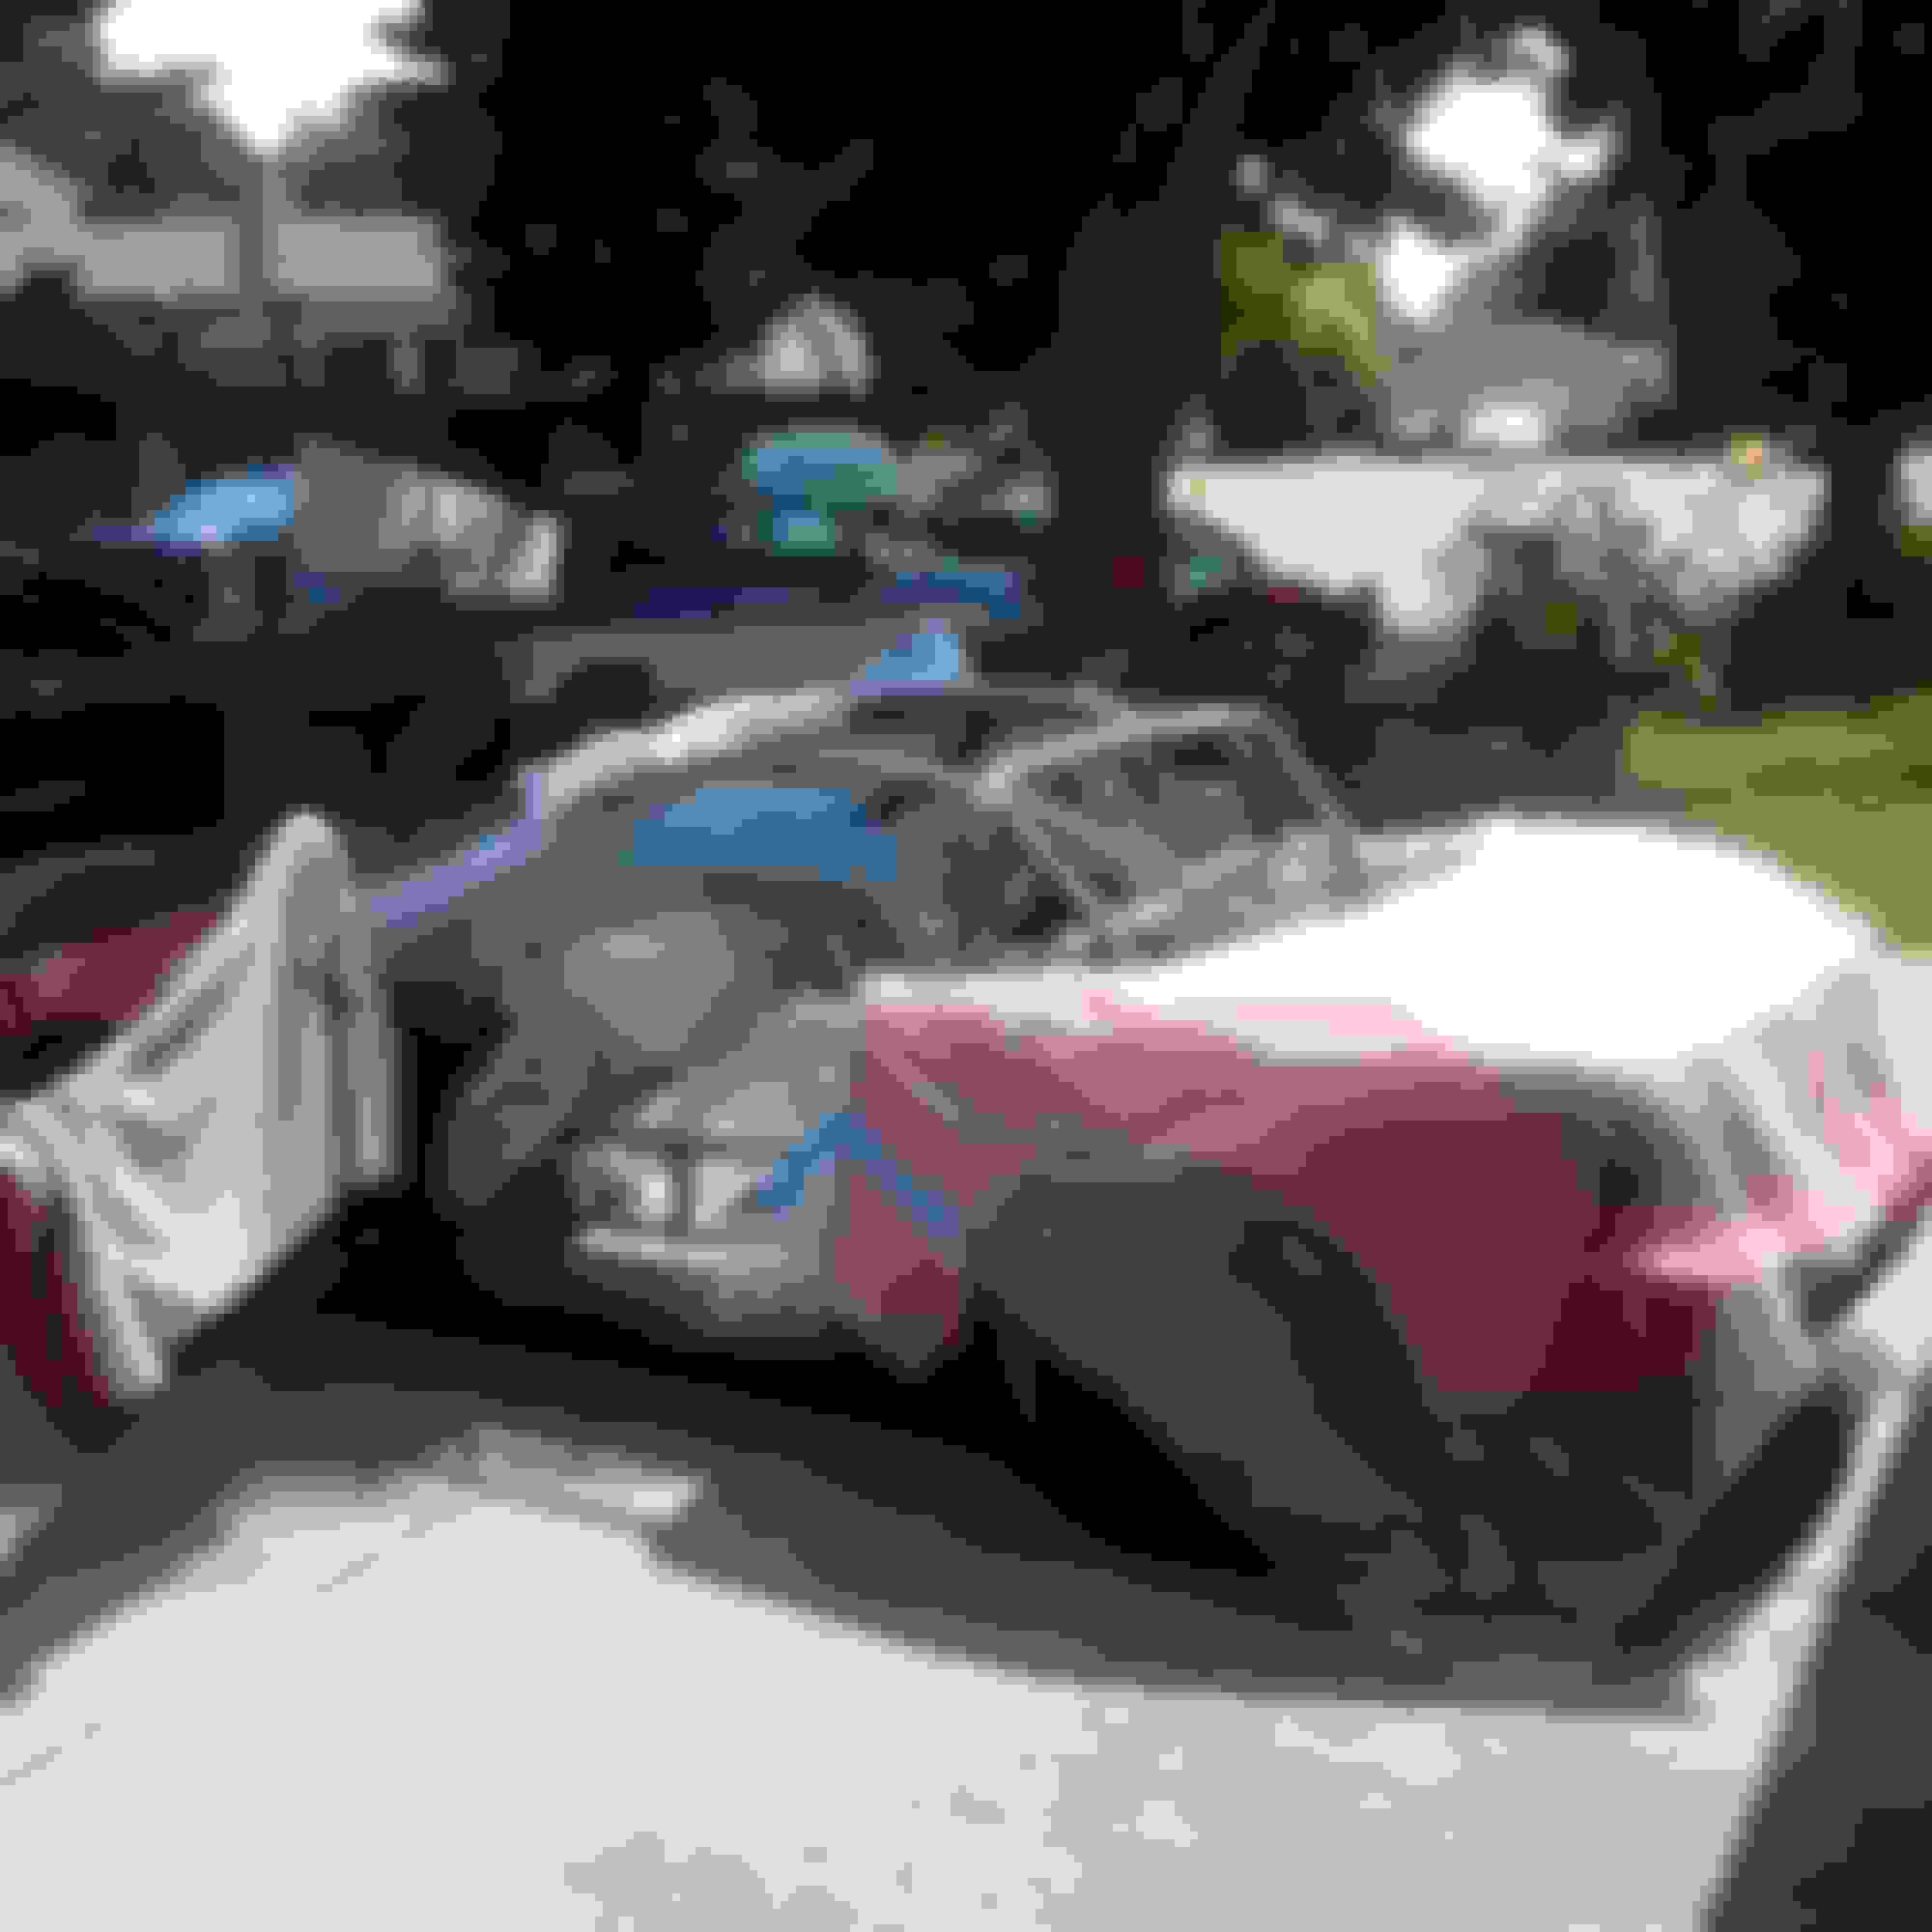
Rotten Tomato is now fully gutted and ready for its date with TC Designs on July 30th.
For giggles I threw it on the scales to see what it would weigh.
2039 lbs with hardtop and without driver. I will still need to remove the headlights and fully gut the doors.
I am lucky to find myself working at a local shop with access to multiple lifts. My father also came down to lend a hand. He is the best.
Rotten Tomato anxiously awaiting the new rear end.
Out came the tired 1.6 viscous limited slip differential, for the more robust 4.3 Torsen from my NB1. I thought it would be easier to swap out the entire rear subframe rather exchanging differentials all while gaining track width from switching to the later uprights.
Caked in oil. Gross.
PPF attached.
NB1 rear subframe with M-Tuned brackets, sport rotors, poly bushings with oilite sleeves, ARP extended studs and more bracing.
The subframe swap was very straight forward. Two 19mm bolts, two 19mm nuts and disconnect one brake line. I was worried it would be difficult to realign the subframe on reinstallation, but thanks to the four studs in the chassis installation was a breeze. My father and I were able to align it first try.
Rear Xidas went in at the same time.
Hopefully the front subframe and BP4W swap go as smoothly.
My appointment at TC Designs is tomorrow, and I am very excited.
Woo! And yeah, dropping the whole subframe is pretty easy. Looks like you're just a little ahead of me on the drivetrain swap, hoping to get mine done soon.
Next step was to roll my fenders to allow adequate clearance for my 225 RS4s.
This was my first time trying my hand at anything like this, but was seemingly not nervous, as my paint was already beat to hell. I borrowed a roller from my friend and used a heat gun that we had lying around the shop. I started with the passengers side front fender and made the mistake of not using enough heat. Using the roller took some practice as I would keep forgetting which way to tighten and loosen the handle. I also used tin snips to remove the pesky tabs holding the fender liner in place.
Most all of the paint flaked off, and as a result, more red was on the floor that remained on the fender. It looked like fall day, with all of the red paint leaves littering the ground.
I was not upset in the slightest.
On to the driver's side. This time I would not make the mistake of not using enough heat. I made multiple passes with the heat gun warming the paint up to help resist cracking. The heat did wonders and only a small portion of paint chipped off.
Driver's side.
I bolted the front Xidas on and threw on the wheels and was ready to deliver the car to TC.
I've always wanted to cage my car but part of me thought my NB1 was too nice of a street car to turn into a full on track car. I drove my NA down to Campbell and parked next to a fellow MT members E46.
There were many other cars in the lot in which to drool over.
I spoke with Tony about my plans for the car, and he guided me through all of the options. I wanted a Supermiata S2 legal cage, with the ability to maybe crossover into SM if I so wanted in the future. I also wanted to revise my seat mount, as the PCI mount was good, but I wanted another inch of headroom. Luckily, Tony has a trick mount that bolts the rear of the seat to the floor pan.
About a week later I was called back for a test fit.
Progress of the cage, next to some fast company.
Originally I had planned to do X brace style door bars, but due to my seating position and the proximity of my elbow to the bar, nascar bars were needed. I was a difficult customer set on the X brace, but Tony manage to convince me otherwise.
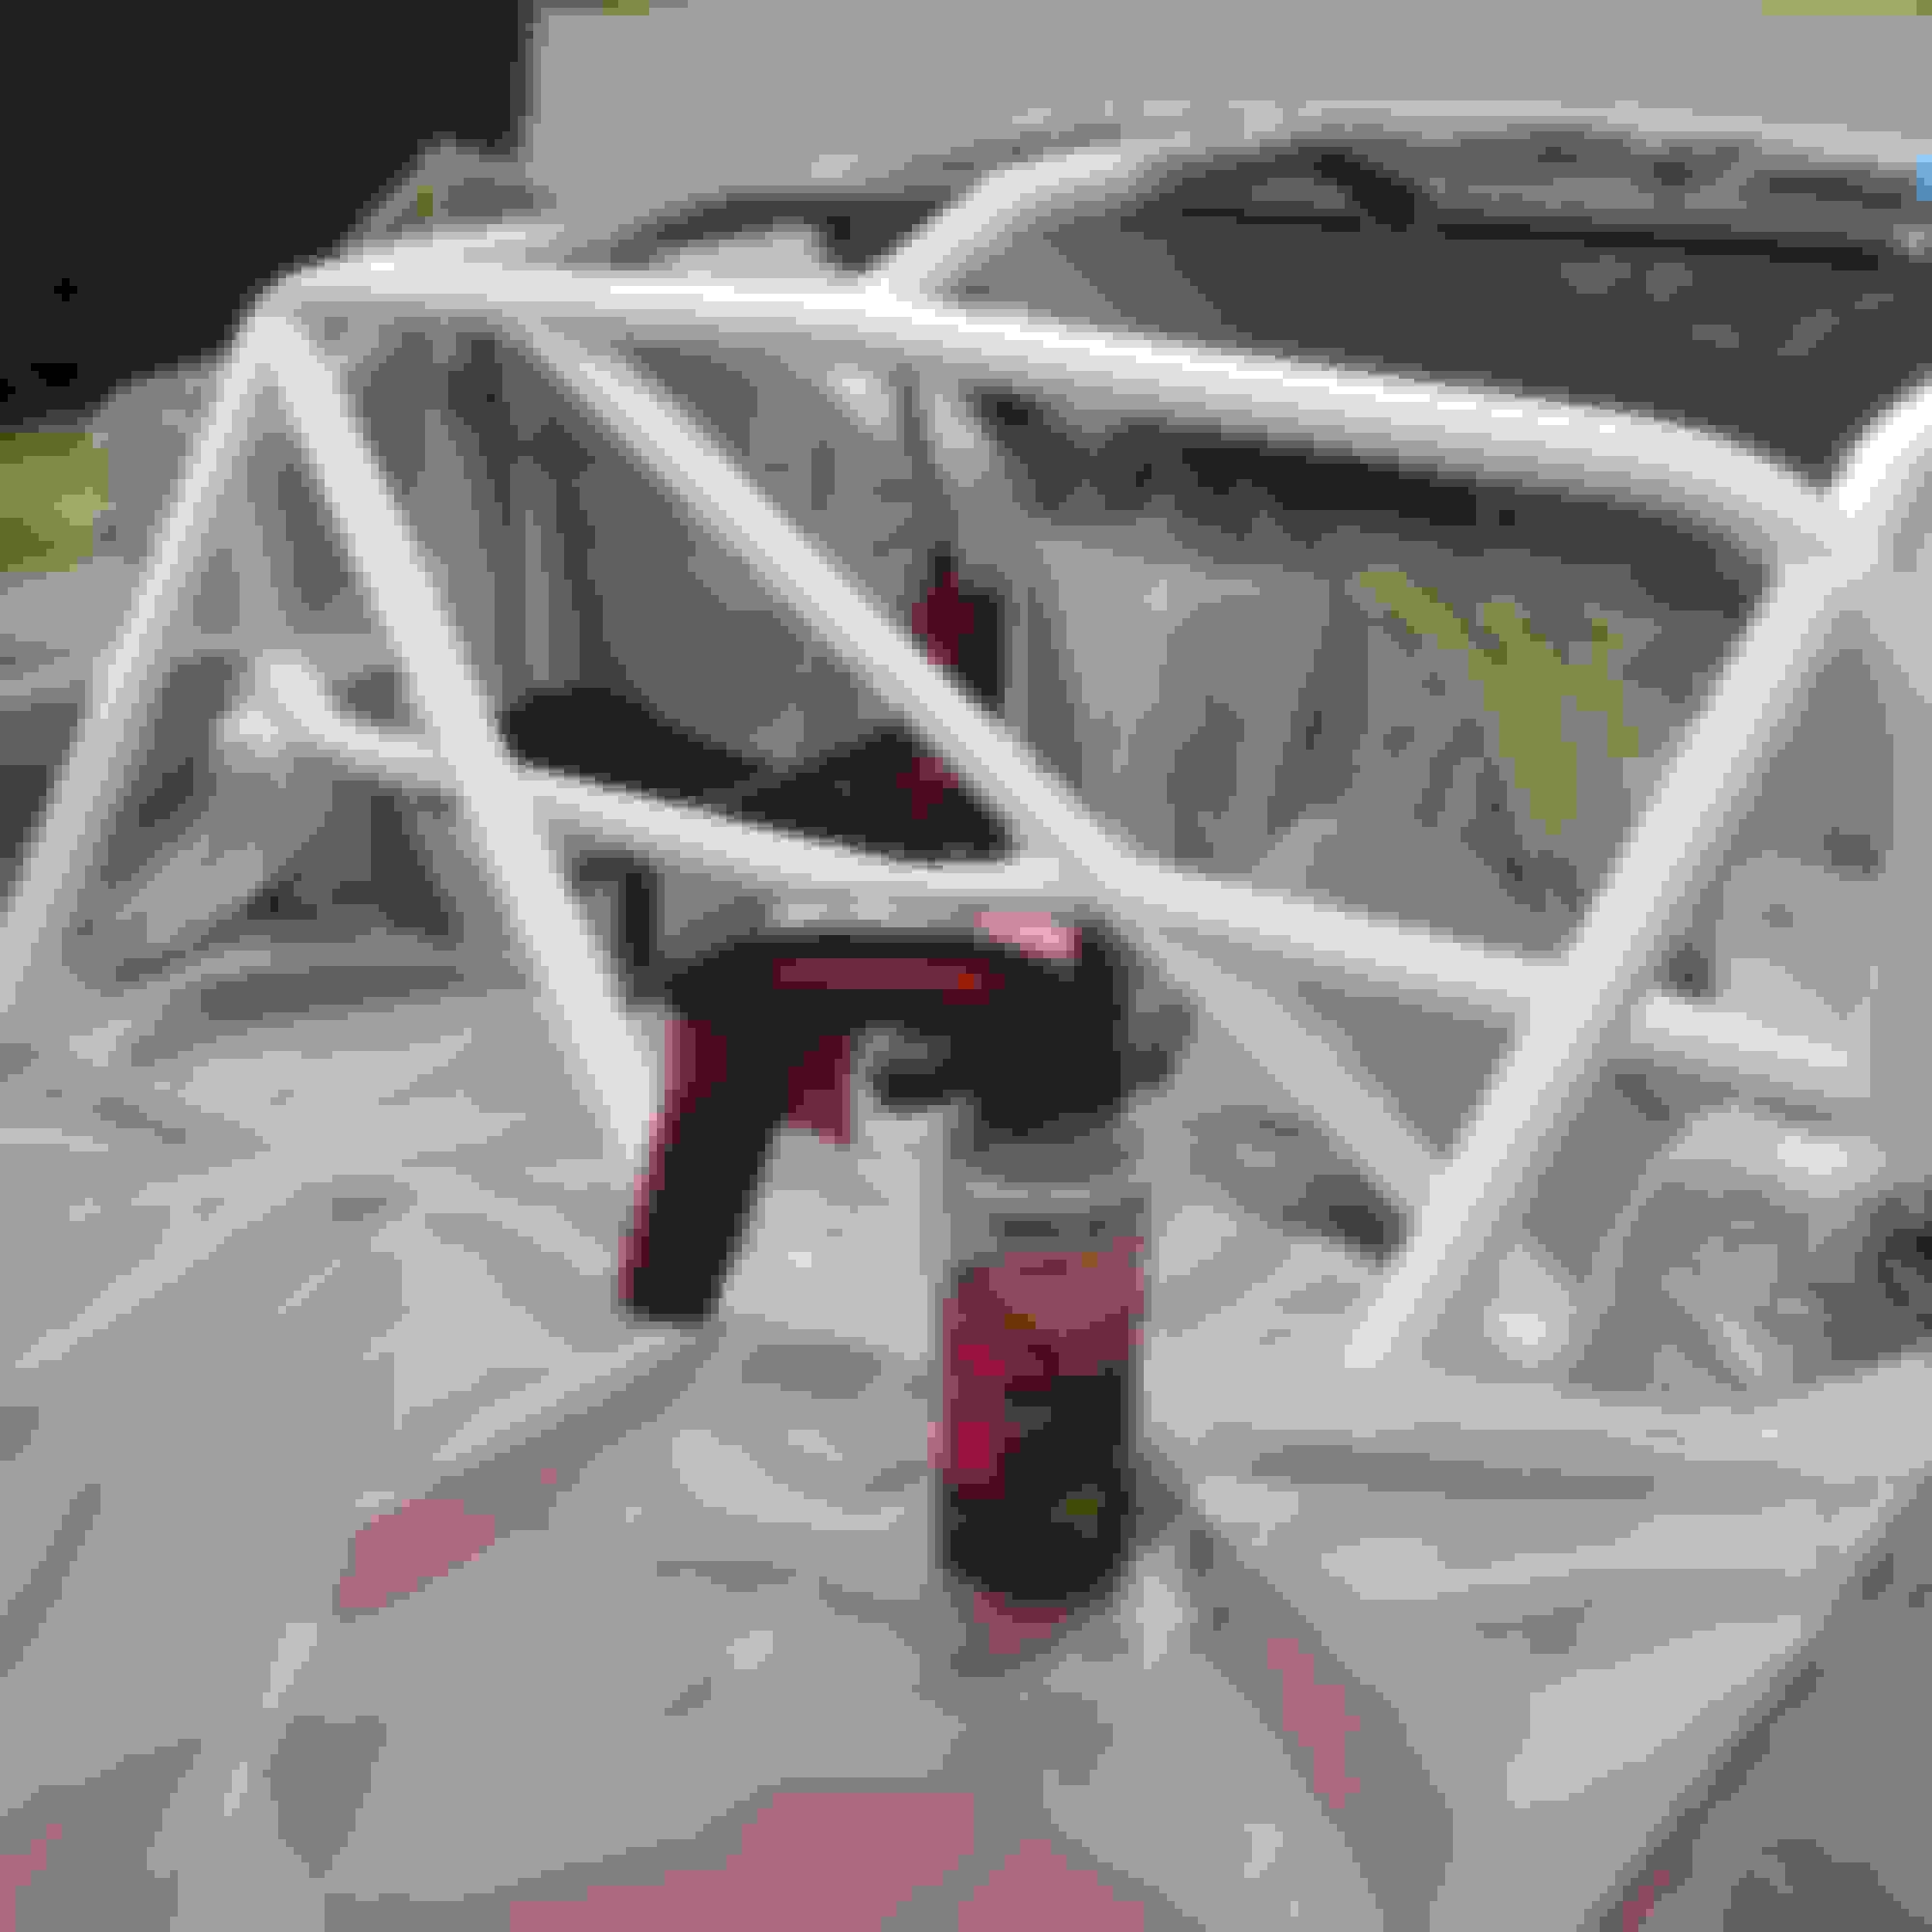
I picked up my finished car about a week and a half later. I can not say enough as to the quality of work TC. The cage hugs the contours of the hardtop, A-pillars, and rear parcel shelf so closely in certain spots that you are unable to slide a piece of paper between the two. It allows for maximum space for the driver. The welds and overall design are second to none as well. I am very satisfied I went with TC Design.
As part of the initial consultation, Tony had asked me if I wanted them to paint the cage as part of the install. Foolishly I declined, underestimating the complexity and awkwardness that comes with painting a cage.
When I got the car home, I immediately began masking off the interior of the car prepping for paint.
Masking, masking, (for me), and more masking.
Drawing inspiration from ThePass's track car, I decided I wanted to go with a white cage. I like the contrast and thought it would be a relatively easy color to use. The tight tolerances between the cage and the body of the car became apparent when trying slide blue painters tape between the two.
I was told in order for a good result, the secret is in the prep work. I sanded and scuffed the bar with a scotch brite pad and used acetone to clean up the left over residue. Rinse and repeat. One of the workers at TC told me a trick they use when painting, with the use of aluminum foil in the hard to reach areas. I used this near the b pillar and also on the underside of the door bars.
I began with a layer of primer, so the top coats of paint would have something to adhere to other than just the bare metal. There was a small amount of overspray, but nothing that would look out of place on a track car.
After a few base coats I soon ran into another problem that I had not thought once considered. After multiple hours using a spray can my hand soon began to cramp. My fingers could no longer use the nozzle and direct the spray efficiently. Luckily on the next trip to Home Depot I picked up an adapter trigger for an aerosol can. It worked wonders.
Ergonomic little piece of plastic.
Many hours later I had an entirely white cage. It is far from perfect, but it was the best I could do with a spray can in my driveway. In some of the hard to reach areas the paint is not smooth to the touch, such as the behind the a pillars, but plan to touch up these areas when I am going to replace the chipped front window. I did come to the conclusion that the next cage will be painted by the installer.
Passable.
Very white.
The countdown to M@WRLS is fast approaching there are many things that still need to be completed.
When I had first bought the car, I noticed the passenger's side power mirror was broken. On the drive home the mirror completely failed and would be blown about by the turbulent air around the mirror. It was quite comical. I began searching for a replacement only to realize that I had removed mostly all of the creature comforts when preparing for the cage installation, including the power mirrors.
I had always wanted a pair of the APR GT3 mirrors with the adapters but could not justify the price with perfectly functional power mirrors on the NB. As luck would have it another member on MT.net was selling a set of new GT3 mirrors complete with slick auto adapters for a price I could not pass up. I contacted him immediately and was off to pick up my new carbon fiber goodies.
While the GT3 mirrors are universal, the trick piece being the Slick Auto adapters. Included in the kit are new arms that have a more shallow bend to allow the mirror to be used on a miata. It also comes with a powder coated base plate that adapts it to the miatas door bolt pattern.
APR GT3
Beautiful carbon weave.
The new mirrors weighed absolutely nothing. I wanted to compare it with that of the original bulky, powered NA mirrors that they would be replacing.
NA side mirror
2 lb 4.6 oz
APR GT3
4.4 oz
On the topic of mirrors, I could no longer use the center rear view mirror attached to the window frame with the forward most bar of the cage now occupying the space. I picked up a cage mounted mirrors to take its place.
Long Acre 14''
Last edited by Bryan Z.; Oct 20, 2018 at 07:02 PM.
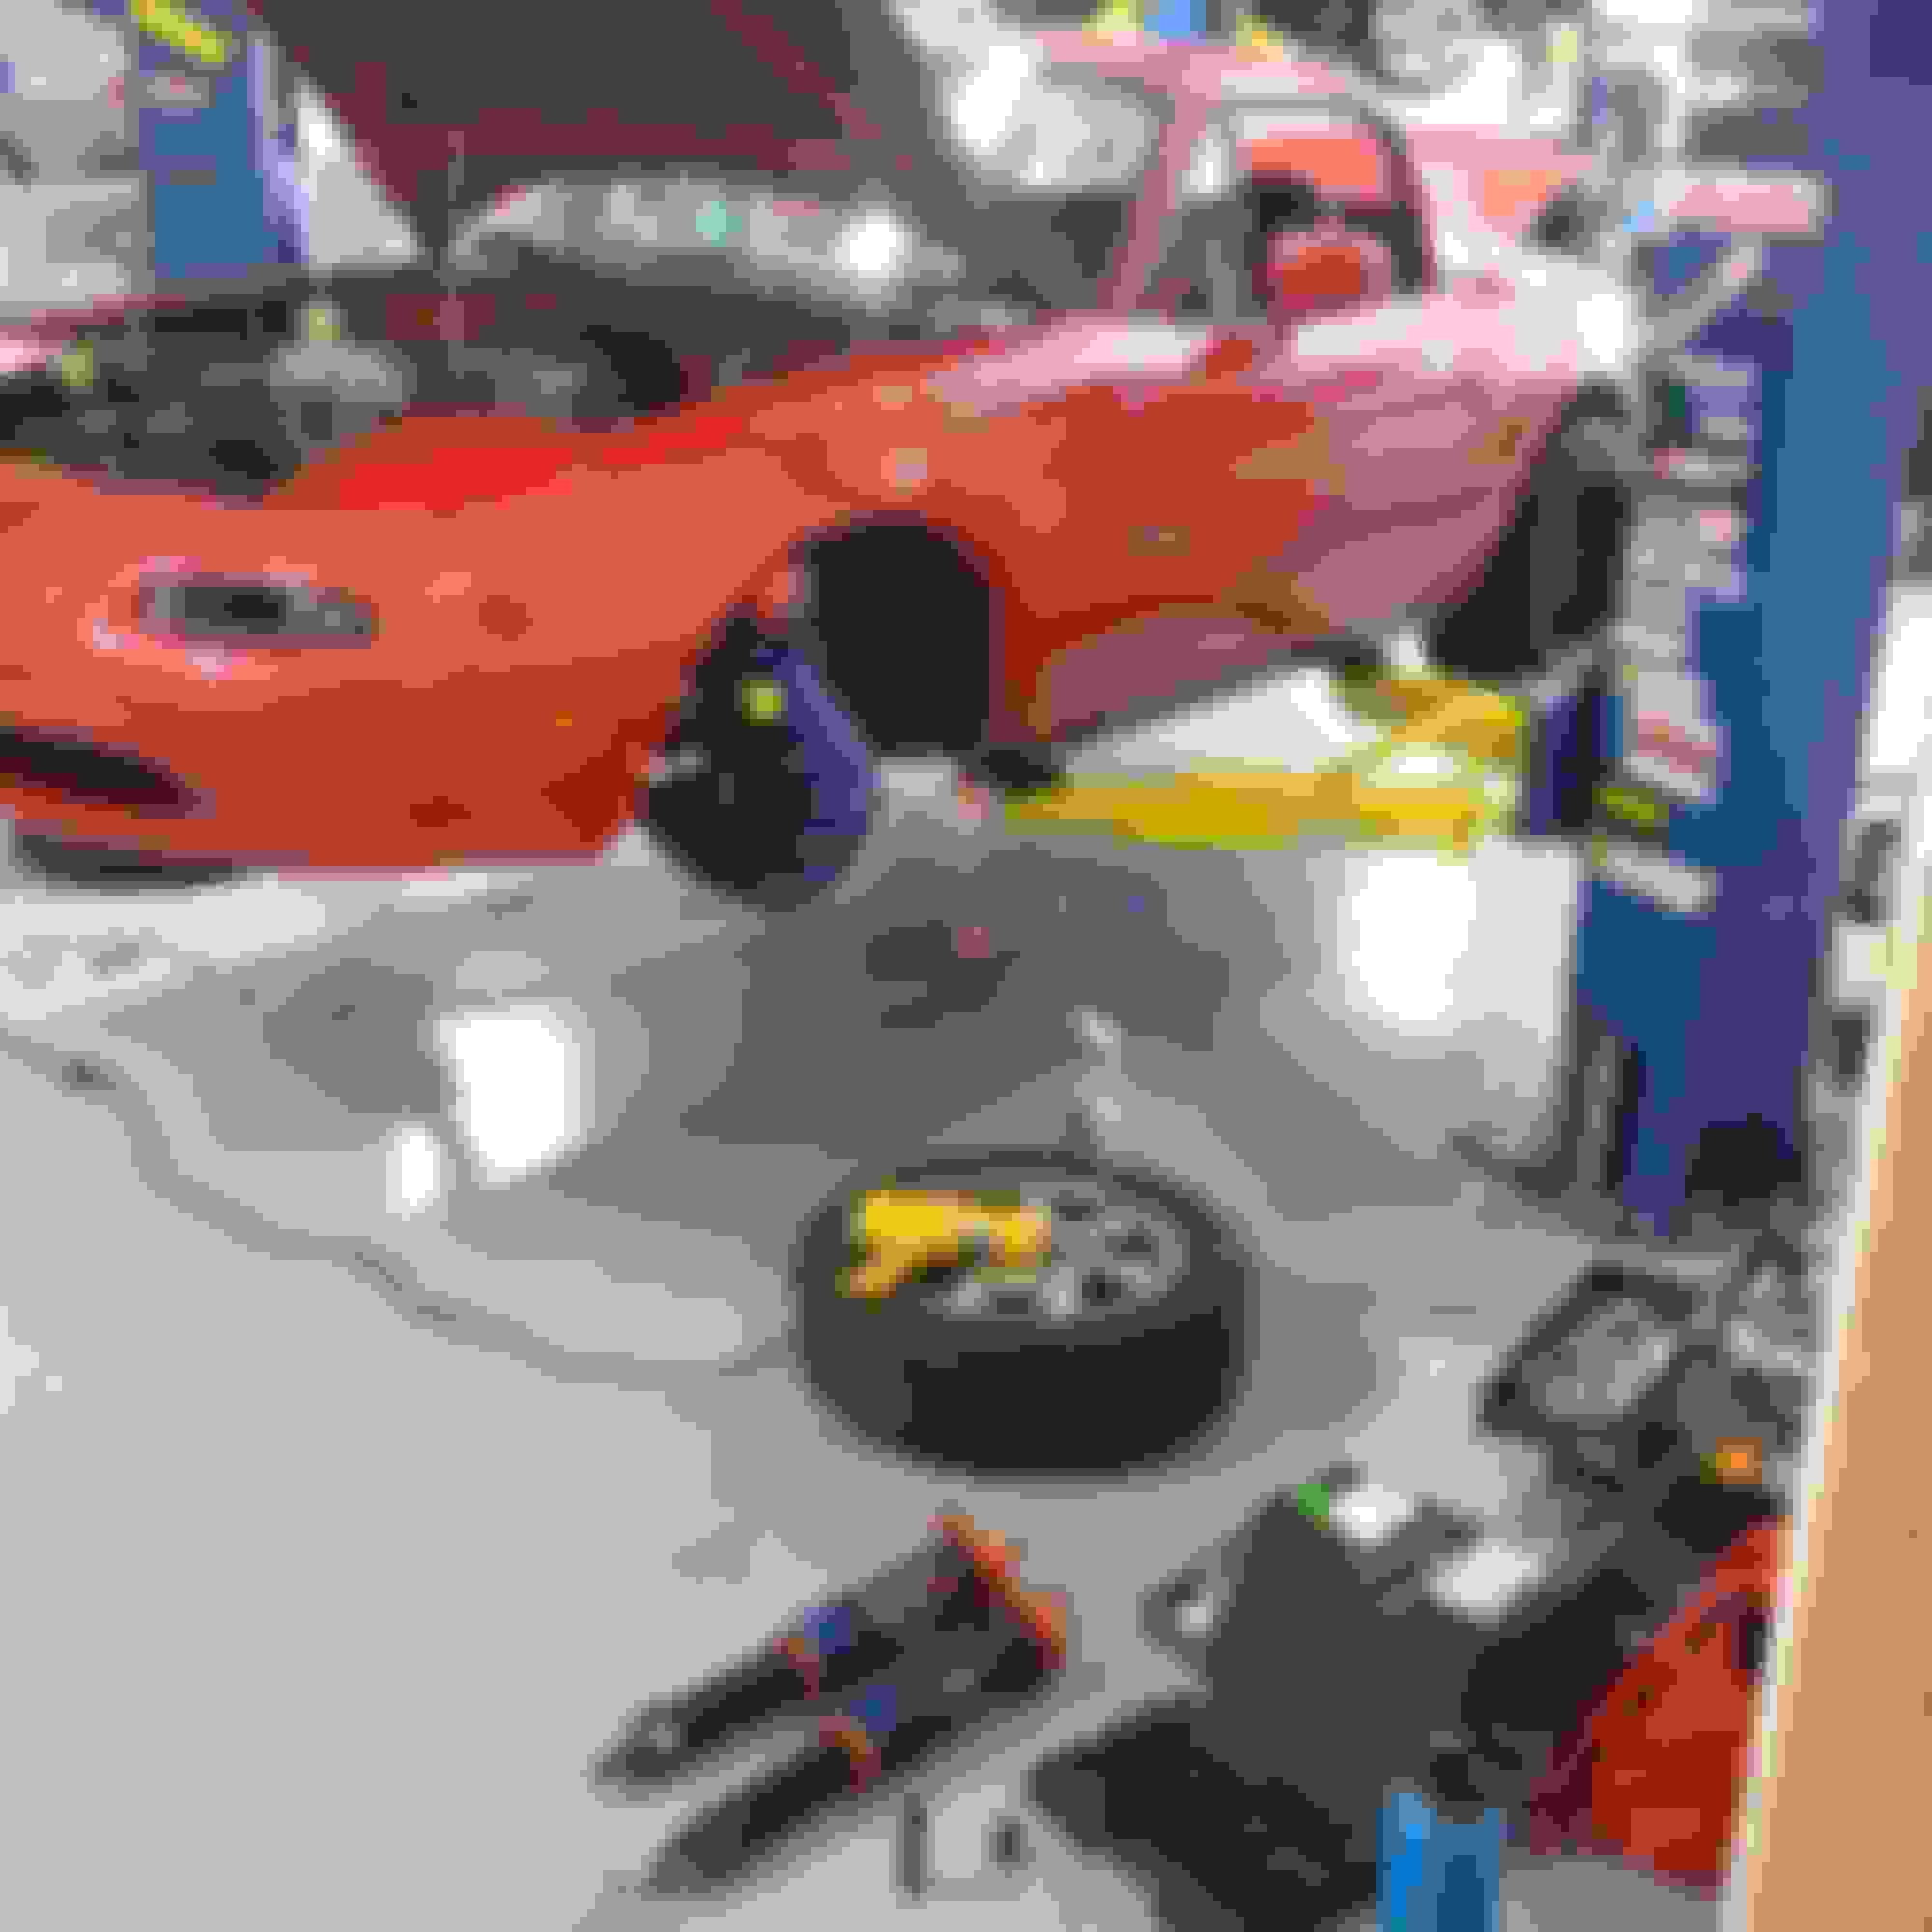
Next on the list was the front subframe and all of the related assemblies.
As a result of the crash, both of the front hubs were destroyed, I was skeptical to reuse much from that chassis. After a quick shopping spree on MazdaComp, I found myself with an essentially new front end. I replaced everything with new OEM parts, save for the lower control arms, steering rack, and the subframe itself.
Ordered new: left and right front spindles, hubs, ARP studs, FUCAs, ELBJs, tie rod ends, and various castle nuts and bolts (even the long bolt was new).
Shiny.
OEM ABS hubs. Pressing in ARP studs was a breeze with access to a shop press.
New upper arms and ball joints.
Did not trust lowers at this point either so those were to be replaced again with Bauer units.
Thank you Mazda for supporting us track folks and allowing us access to the entire parts catalog.
I had picked up a used set of NB1 lower control arms, subframe and steering rack from a fellow racer at Sonoma a few months ago.
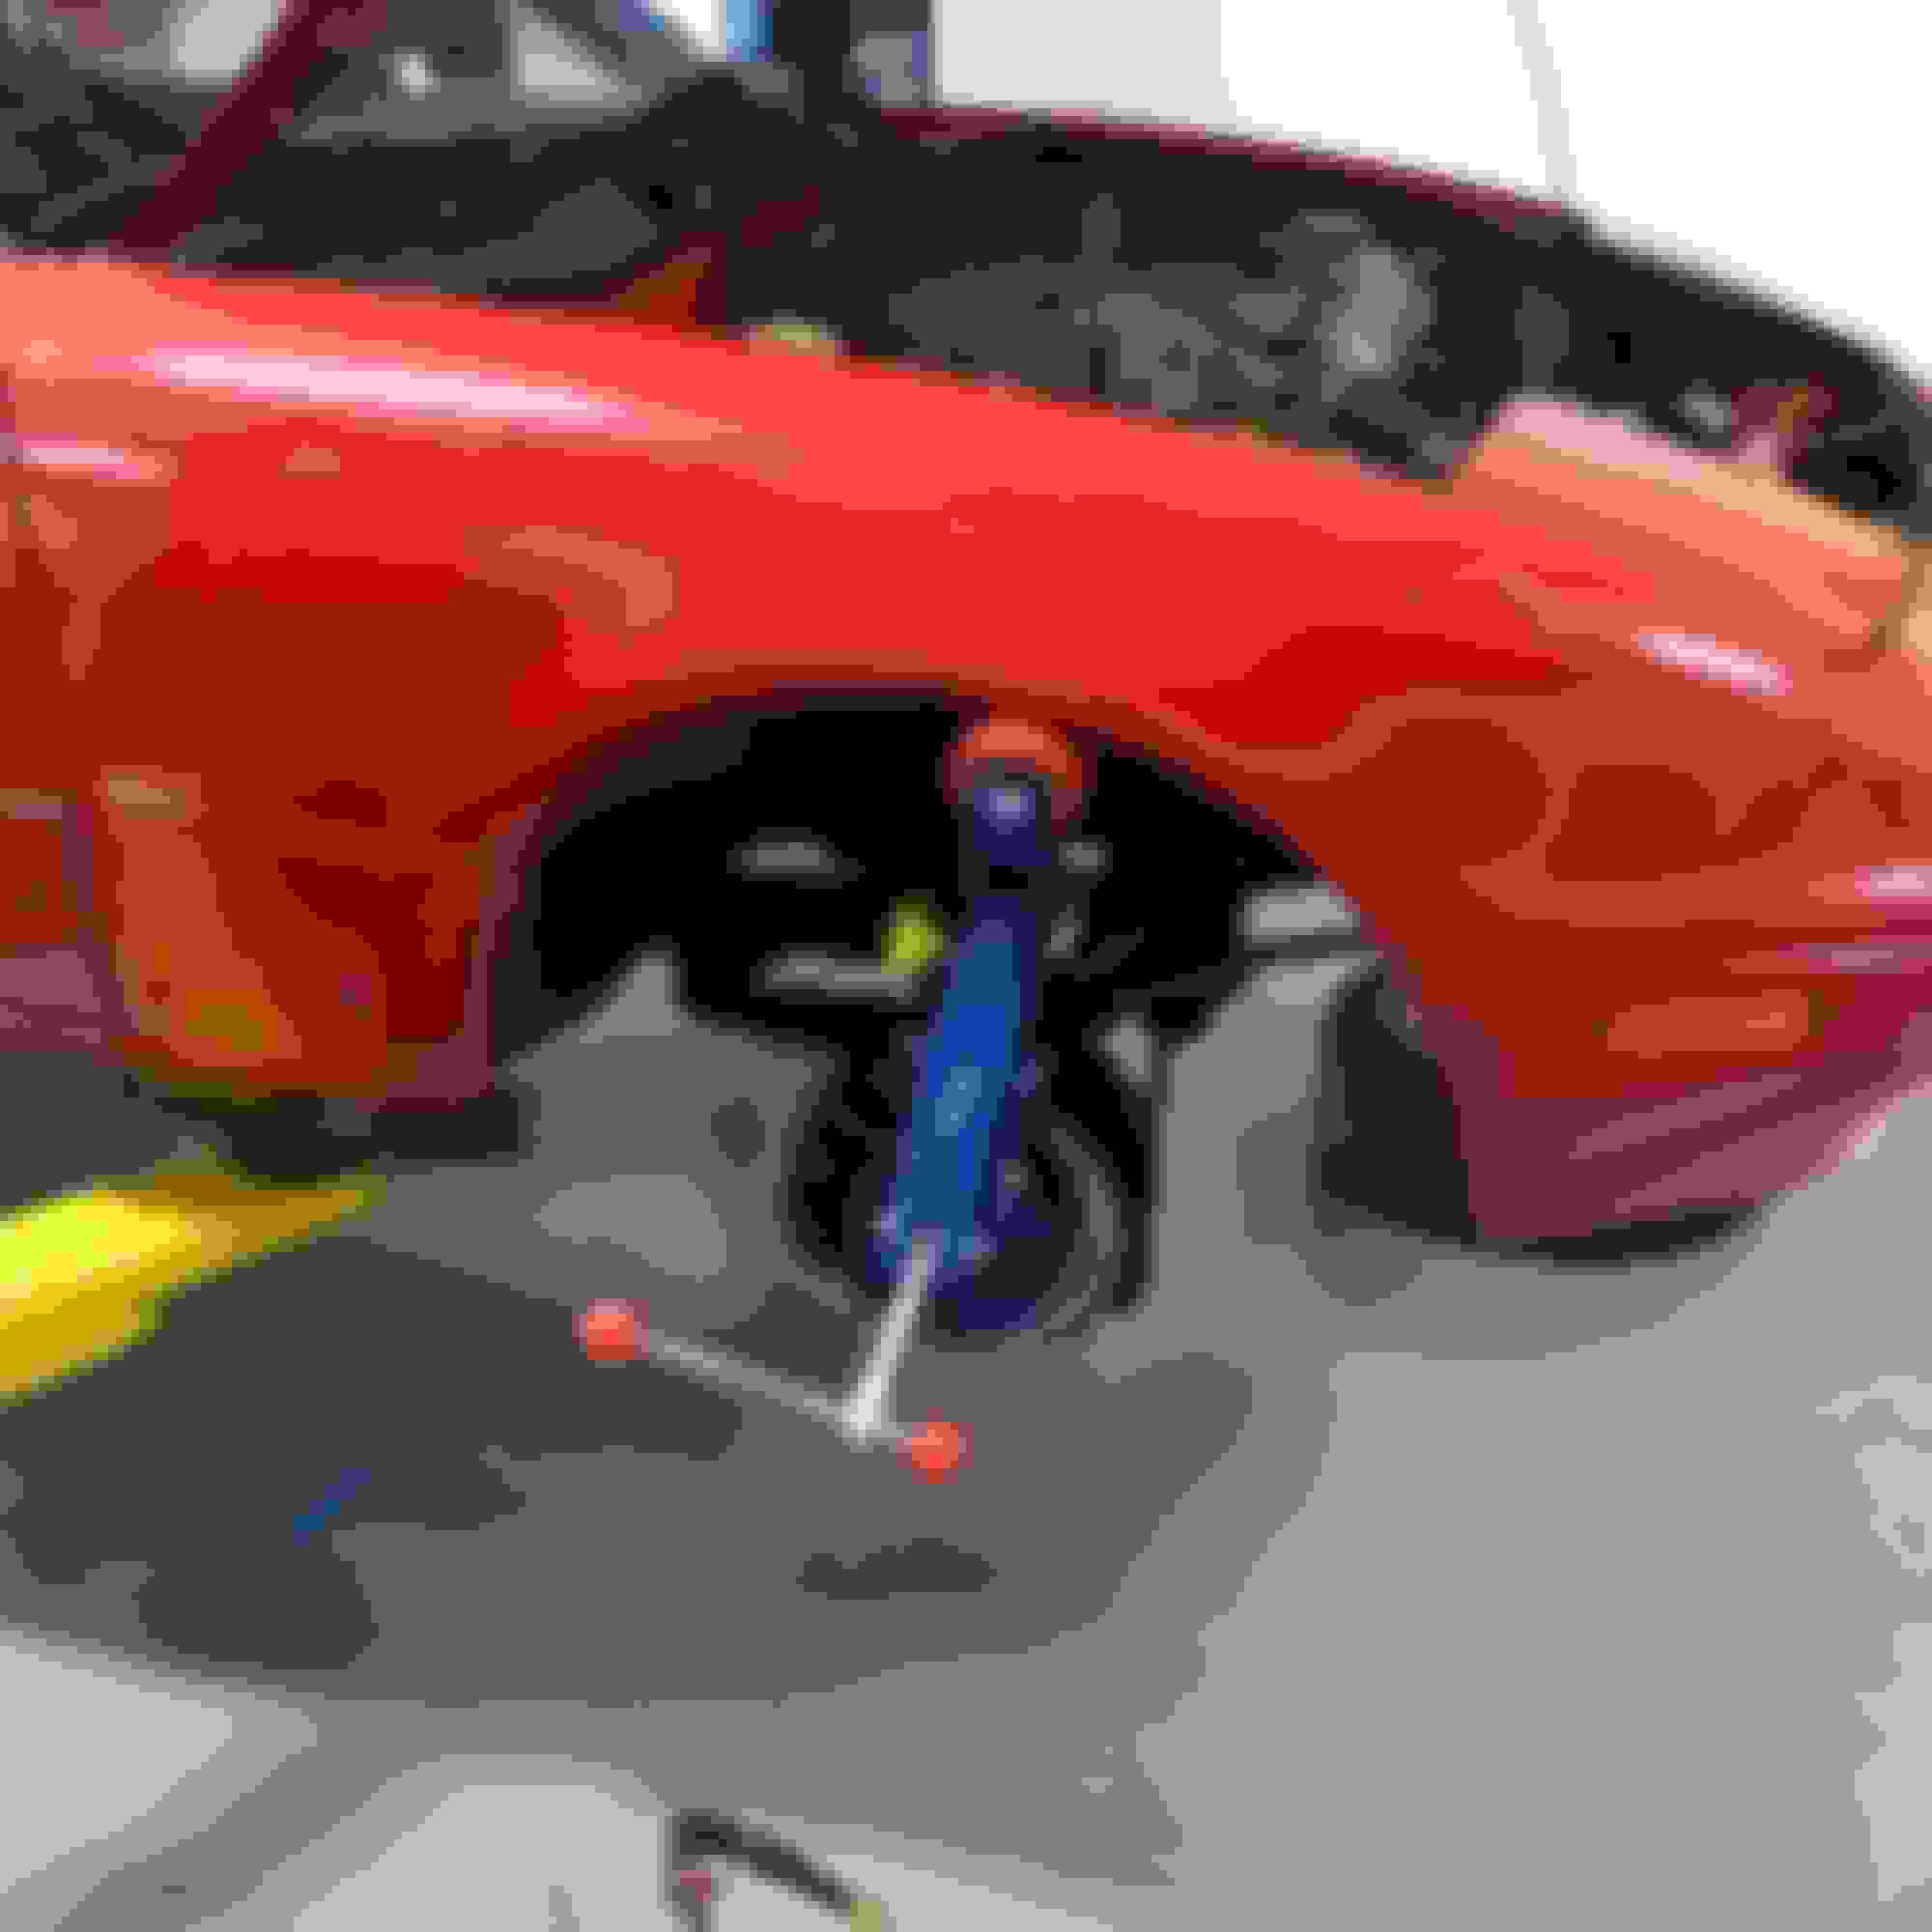
With the car on a lift, I cradled the engine with a sling, and began to loosen the motor mounts. The front subframe dropped off the chassis without much effort. Before I knew it I was aligning the new subframe to car. Navigating the motor mounts into the subframe required a bit of finesse but did not prove to be too difficult.
Spooky. Engine and Xidas seemingly suspended by magic.
I transferred the poly bushings and oillite bearing kit from the old control arms. Sadly I did not take any pictures this time around as it went much quicker having it done it once before. Again, I used the Harbor Freight ball joint tool to free the bushings from the arms and to install on the new set.
Slowly coming together.
Originally I had planned to have the car ready by Miatas at WRLS but soon realized it was not meant to be. There was just too much to do, and so little time. My procrastination did not help either.
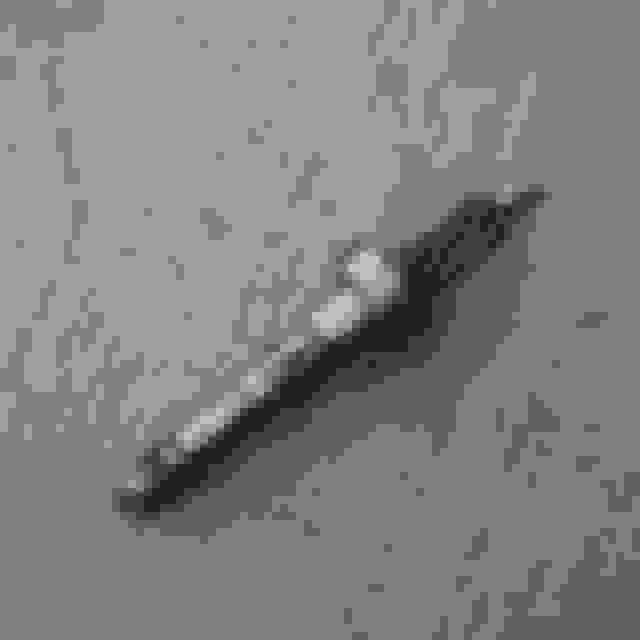
I also ordered the upgrade kit from Trackspeed to replace the rotor hats and brackets that may have been fatigued as a result of the crash.
From the outset, wanting to keep the cars weight and complexity to a minimum, I knew I must ditch the power steering.
I had previously depowered the rack on my first NA by only looping the lines, which did result in much improved feedback, but left much to be desired in terms of slop found in the system. This time around I would weld the valve found inside the rack to mitigate the amount of play. As I had a NB rack I followed a hybrid set of instructions from both Flyin' Miata and a write-up by Mr. Hyde.
Disassembly was straightforward but quite the mess, with all of the leftover fluid still trapped in the rack.
Once apart, I had a closer look at the spool valve, which needed to be tack welded later on. This valve has passages for fluid, and is the origin of the "slop" or play.
I was careful to remove all the seals found on the pinion shaft, as they would no longer be needed to hold fluid in the system. Their only use now would be for catching fire while welding. When it came to welding we were sure to let it cool between welds, careful not to overheat the metal and warp the pinion. I was also worried of the close proximity of the bearing, but for no reason, with no damage being done.
Tacked in four equidistant spots around the shaft.
Reassembly was cake. Originally I snipped the ends off the various hardlines and filled it with a blob of material, but it was very messy. For the larger openings I used electrical tape to seal the holes. This would not do. I promplty ordered a set of plugs from Advanced Autosports a few days later to clean up the installation.
Very expensive plugs, but worth it.
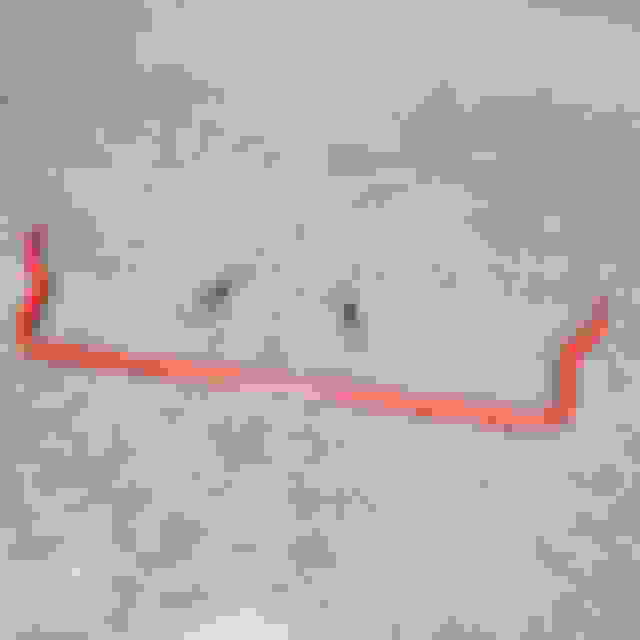
Once the steering rack was in I could now install my sway bar. I had read that you could swap bars between the NA and NB as long as you use adjustable end links. To my dismay this was not the case. I had misunderstood the compatibility between the two chassis. The NA bar will fit on a NB with adjustable end links, but not the other way around. The tabs found on the NB specific bar bend further outboard, making contact with the Xidas, not allowing it to bolt in.
NB bar.
Tabs ears flare outward.
NA bar.
Racing Beat #54107 1.125 x .188 wall
I opted for Racing Beats tubular front bar. I reused my old brace blocks and endlinks. I also found it was much easier to install the pesky blocks without having to fiddle with the power steering lines. I adjusted the end links to allow for full range of motion between the two bearings with the car on the ground and finished with an alignment.
The car is slowly coming together.
Last edited by Bryan Z.; Oct 20, 2018 at 07:06 PM.
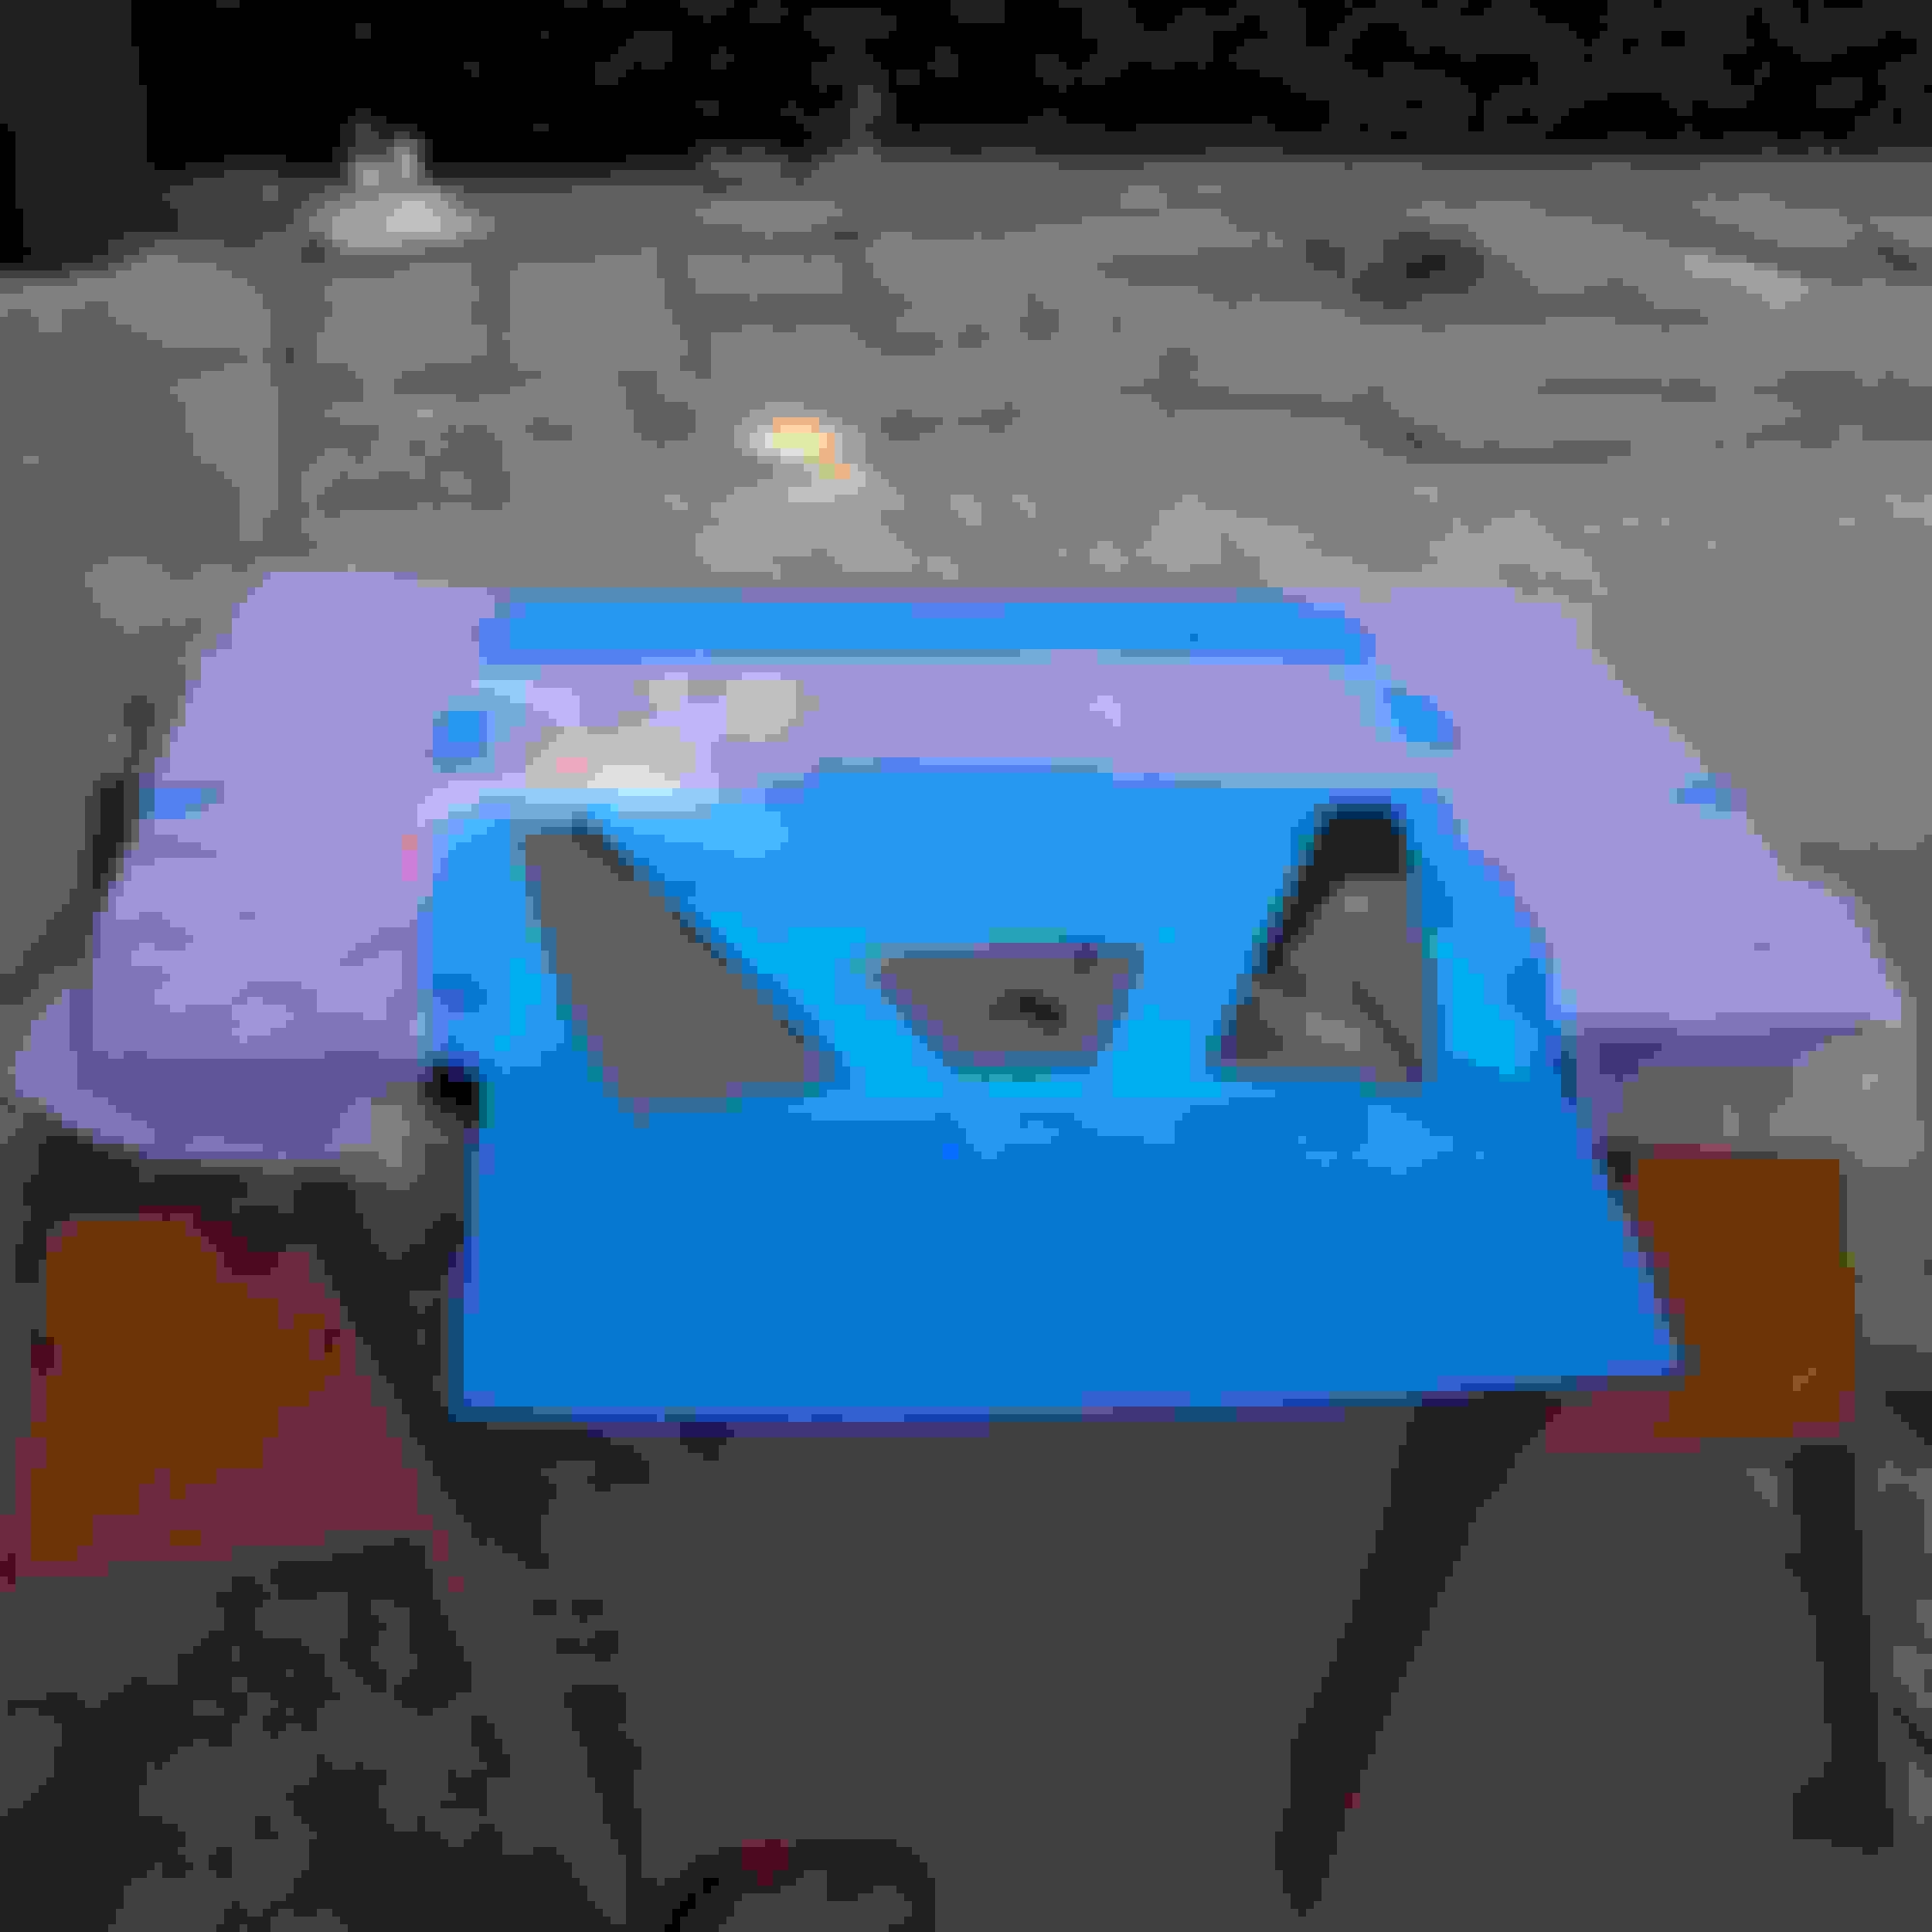
Instead of carving pumpkins for Halloween this year I decided to carve up my stock hood.
First up was the Singular Motorsports hood vents. I was most interested in the reduction in pressure under the hood and as an added bonus would help lower running temperatures. I went out to buy a proper angle grinder to help with installation. The instructions recommended a tool with a 4.5'' cut off disc and realized my measly dremel tool would not suffice.
The Makita tool had an ergonomic paddle switch, much better than any other comparable tool at this price point.
Measure once and cut twice. Or is it the other way around?
I took initial measurements to find the centerline of the hood and marked it with a layer of painters tape. From there I positioned the included template for the vents. The template places the vents directly behind the radiator to maximize pressure differentials which will increase the radiators cooling efficiency.
Template laid.
Now for the actual cutting to begin. I was nervous to slice into my hood. The NA hood has three layers, the outer skin and two inner layers to provide structural support. This would complicate the install some as some of the layer were in close proximity with another in certain spots and I was not yet familiar with using an angle grinder. I removed my hood from the car and set it on a set of sawhorses.
My initial concern was I would accidently cut through the outer skin of the hood. I was patient and took my time with the preliminary cuts. As I continued I began to get more comfortable, able to feel the nuances as I cut through each layer, and as a result each cut went faster and faster. I filed down the cuts with a drum attachment on a dremel to allow the vents to sit flush against the underside of the hood.
To attach the vents to the hood 3/16 rivets are supplied in the kit. I elected not use the rivets but instead substitute a M5x12mm bolt and nylock nut. This would allow me to remove the hood vents if I ever feel the need. Might be useful if I decided to paint the car down the road.
Also included is a long strip of rubber trim to clean up the edges of the vents. This small piece dramatically enhances the cleanliness of the install and made my amateur cutting skills still look decent.
The hood vents transform the stock NA hood into hardcore "track car" functional.
To continue my quest of chopping up my hood, I also installed a set of aerocatches. I am wanting to stack my oil cooler in front of the radiator, and the stock hood latch must go. The aero catches did not come with a template to aid with the install so I traced the outline of the backing plate to create my own.
Taped to the approximate location.
Measure, measure, measure.
I slotted the hood pins in place of the rubber stoppers on the front radiator support. I then placed a drop of toothpaste on top of the pins to mark the underside of the hood where I needed to drill. Then I found the largest drill bit I could find and drilled all the way through the hood. This would allow the hood pins to poke through the hood so I could find the rough location where to place the aerocatches.
After the hood vent install cutting into the hood was a breeze this time around. As I neared the forward most part of the hood the distance between the three layers became all but non existent. I worked slowly with a dremel tool careful not to cut through the hood at this stage.
Not the prettiest of cuts.
End result. Overall I am satisfied with my work and everything worked out as planned. Hopefully will be able to test the car in the coming month.
Last edited by Bryan Z.; Jan 12, 2019 at 04:21 PM.
Looks good man, the singular vents are something I've been meaning to do for a while but just haven't gotten around to it. Your new car is really shaping up!
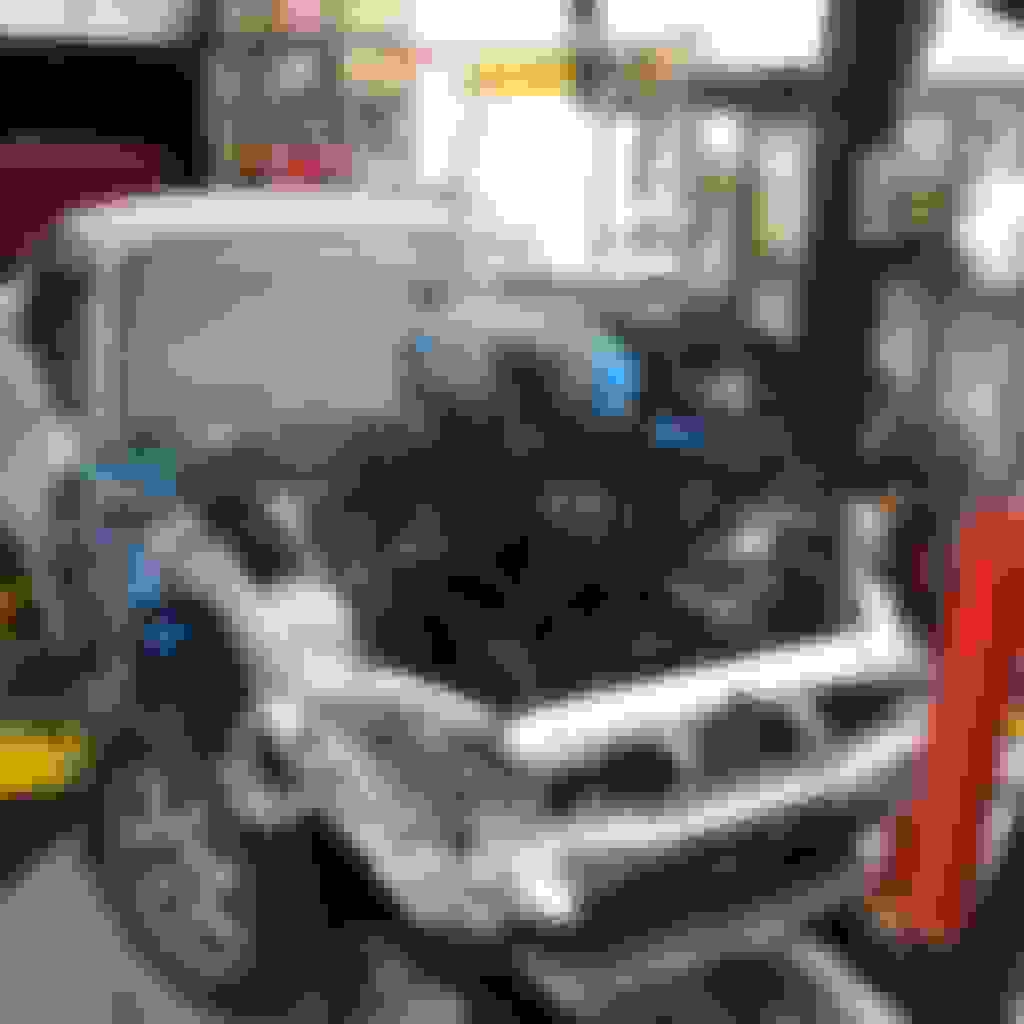
I bought the car with the intention of pulling the 1.6 to swap it with the BP4W from my NB1. Before I could attempt the swap I needed to extract the motor from the original car. It was a daunting task, I have always strayed away from diving into anything engine related, for fear of damaging something crucial. It was time to finally get over this mental hurdle. Luckily, I had a few experienced friends to help me out throughout the process.
First off, I had to get the stricken car on the lift. Some creativity with the pallet jack was necessary.
I labeled everything with blue painters tape. This step proved to be crucial because I was quick to forget what goes where.
The most difficult part proved to be disconnecting the various sensors. With everything disconnected, I continued draining fluids and loosening hardware. This proved to be easy pickings, radiator, accessories, exhaust, and then I removed the transmission from the back of the engine and pulled it straight out of the chassis.
It was finally free!
Labeled and labeled.
The California NB1 comes with a pre-cat in the header that weighs just shy of about a million pounds. It was also quite difficult to snake it out of the engine bay with the engine still in the car. I will be replacing it with a 4-1 header along with the swap and should be good for a few horsepower coming from the anchor it had attached to it previously.
Box o' stuffs.
Now comes the tricky part. Tearing things apart is always easy, reassembly will be the real test.
I have read and re-read the VVT Swap Mega-Thread to hopefully have gained a slight grasp as to what is in store for me.
Last edited by Bryan Z.; Dec 14, 2018 at 01:10 PM.
Pulling the motor out of the NA took half time of the NB.
Doing things the second time around is always faster. I think I might just actually be learning something?
Who knows.
With the motor out, now was the time to clean, removing the best of 25 years worth of road grime from the engine bay. Simple green, and power purple to the rescue. I was sure to add a cup of some elbow grease too. I will be sure to thank myself later for taking the time to do this now.
Not looking half bad.
Now that there was ample room in the engine bay, I swapped over the NB1 brake booster, proportioning valve, Wilwood 1'' master and routed the hardlines. The hardlines routing is less than ideal and will be revisiting at a later date to clean and shorten the lines.
The larger master massively improves pedal feel over stock and was necessary upgrade when moving to the 11.75'' kit. Not pictured is the master cylinder brace from V8 Roadster. The physically longer master acts as a lever and exaggerates fire wall flex when depressing the pedal. It might also just be a placebo effect, but sure does look the part.
On to the engine. After religious reading of the VVT Swap Mega-thread, I began bolting things back on to the block. The NB alternator would no longer be used as it is regulated by the ecu. Wanting to avoid that headache, I sourced an alternator from an 1.8 NA which is internally regulated.
Blue tape everywhere.
Took my time with a razor blade to remove old gasket remnants, and on went the Supermiata coolant reroute. I was skeptical of the permatex gasket maker, and small amount provided with the kit. Instead, Hondabond was used at every mating surface.
Very pretty, very orange.
After much internal debate, I proceeded to use the AWR mounts as this car will see minimum street use. These are the 70 durometer version, which supposedly become bearable after break-in. We shall see.
So stiff.
For the exhaust I was gifted a 1.8 NB1 header. I was told to match the header to the year of the chassis, but seeing that I have already shot myself in the foot by swapping subframes, custom hangers will now be in order. For the sake of simplifying, I deleted EGR, and handcrafted two block-off plates. They are hideous, but will suffice. EGR bung was plugged bolt from Flyin' Miata.
Cheap 4-1 header.
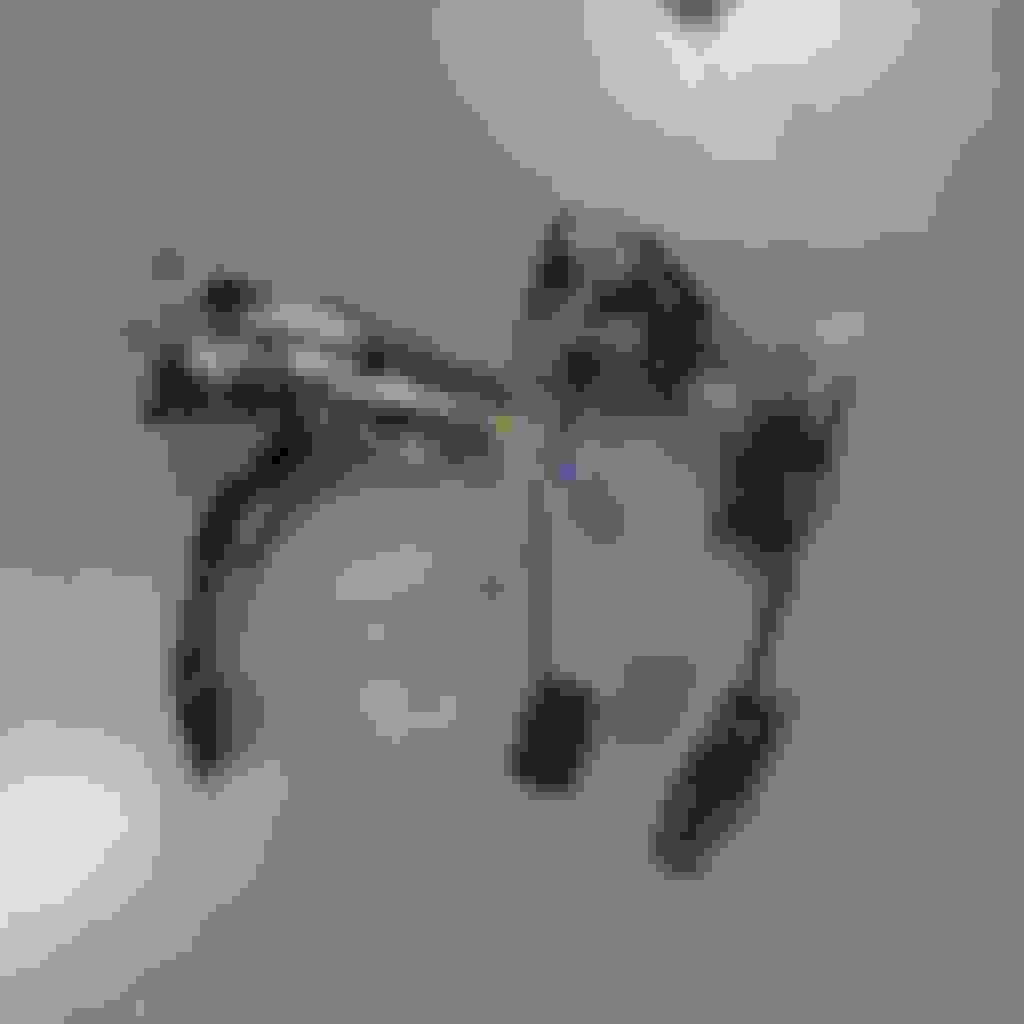
Going the extra mile, I thought it would be a simple task to swap over the pedal sets from the NB to replace the rusting equipment from that of the NA. However, with the cage in place it became indefinitely more difficult. After much struggling, and disconnecting the steering column, the pedals were in. I believe all of the sensors are the same across all years, but to be safe I swapped over all of the sensors.
New-ish looking pedal sets.
For added insurance I replaced all of the hydraulics in the clutch system. New master, slave, and extended clutch line for ease of maintenance.
As a rookie mistake, I skipped over bench bleeding the clutch master in an effort to save time. Silly me. My friend helped me bench bleed it in the car by snaking the extended clutch line to the slave back into the reservoir.
Lesson learned.
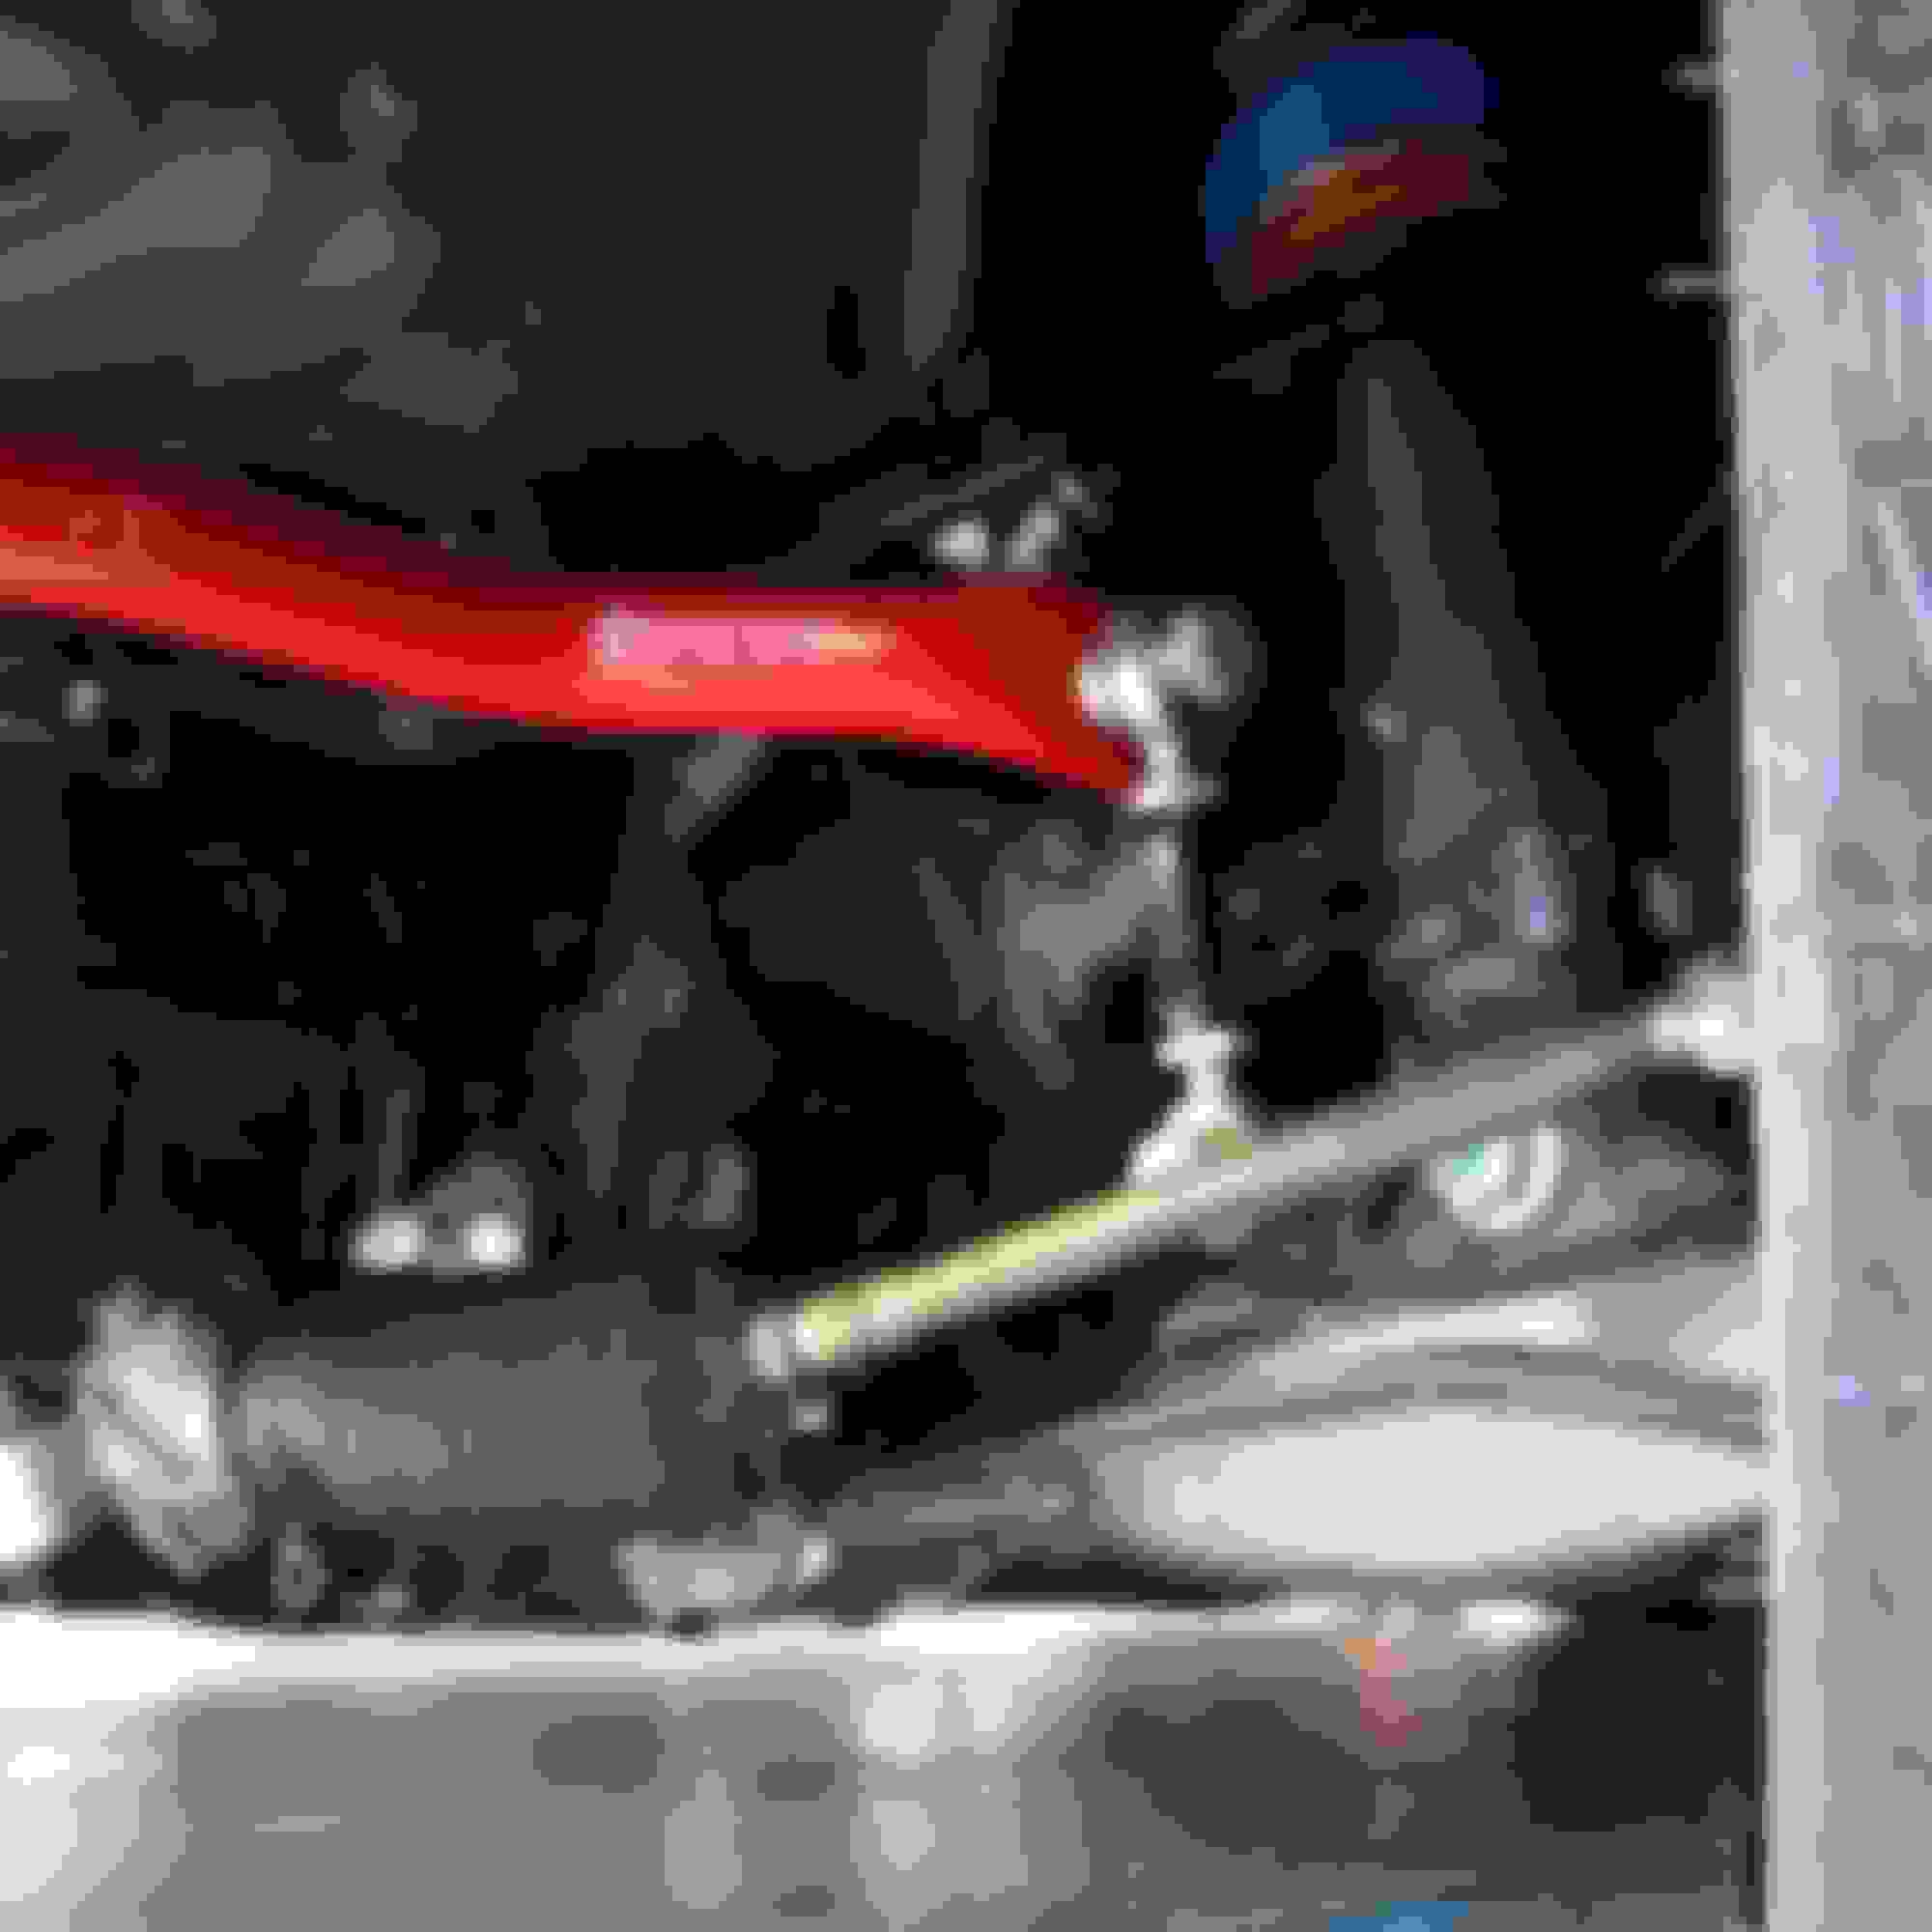
Finished with bolting things on, I lowered Rotten Tomato's new heart into the engine bay.


 0
0


 Brad beeps at me in 5 sets of 5 every half hour. Drives other people nuts, lets me know how long I've been driving hahaha