K-swap ST3 -> Ecotec ST5 Build
 11-30-2018, 12:52 PM
#21
Senior Member

Join Date: May 2011
Posts: 638
Total Cats: 76
Not trying to **** on your build, I love reading your threads and your fab/mechanic work is awesome to see... but why go through the trouble of an engine swap to make the same power as a mildly modified bp motor running e85?

Reply
 -1
-1

-1
11-30-2018, 02:34 PM
#22
Junior Member
Thread Starter

Join Date: Oct 2011
Location: Houston, Tx
Posts: 60
Total Cats: 53

This is a $1000 junkyard motor with forged internals that, unmodified, makes 160+ hp out of the box. With bolt on OEM turbo or super options you can go straight to 300 whp territory. The VVT on both intake and exhaust cams allow awesome torque at low RPM, which you won't see in your mild BP build.
Mainly though, I like tinkering and swapping and fabricating. Throwing money at a BP motor is much less fun than figuring out new ways to put square pegs in round holes.
Reply
3
3
 11-30-2018, 08:00 PM
#24
Newb

Join Date: Jul 2018
Posts: 17
Total Cats: 0
2.4 liter VVT spells: Torque and torque wins races : https://m.imgur.com/N3mOrJk
Normally Aspirated spells: Reliability, a virtue in endurance racing.
Normally Aspirated spells: Reliability, a virtue in endurance racing.
Last edited by Pconlon; 12-03-2018 at 05:05 PM.
Reply
0
0
12-03-2018, 10:43 AM
#26
Junior Member
Thread Starter
Join Date: Oct 2011
Location: Houston, Tx
Posts: 60
Total Cats: 53
Strictly race car setup. I try to keep the engine harness completely standalone and segregated from the car. I ordered an Alphafab harness and ECU about 6 weeks ago but nothing has shipped yet. I'm starting to contemplate doing a DIY harness and ECU combo.
Reply
0
0
12-03-2018, 02:00 PM
#27
Supporting Vendor

iTrader: (10)
Join Date: Aug 2014
Location: Bainbridge Island, WA
Posts: 1,461
Total Cats: 388
A guy in SoCal built me a harness from 8-foot MS3Pro flying leads. He turned it around in a couple days and it's pretty tidy. He does a lot of ecotec and other GM harnesses. I'm running (by running I mean, plan on running, when it is running) full standalone with a MS3Pro EVO. I did that for turbo power, but it's an option either way. It didn't come out cheap though, it was in the $7xx range IIRC, plus the ECU and leads from DIY.
__________________


Reply
0
0
12-03-2018, 10:16 PM
#28
Newb

Join Date: Jul 2014
Posts: 29
Total Cats: -9
A guy in SoCal built me a harness from 8-foot MS3Pro flying leads. He turned it around in a couple days and it's pretty tidy. He does a lot of ecotec and other GM harnesses. I'm running (by running I mean, plan on running, when it is running) full standalone with a MS3Pro EVO. I did that for turbo power, but it's an option either way. It didn't come out cheap though, it was in the $7xx range IIRC, plus the ECU and leads from DIY.
I'm currently working on removing any wires not needed for the ecotec to run while retaining all of my cluster / combination switch functions. Kind of in the middle of street car and racecar grey area that never ends well.
Reply
0
0
 08-23-2019, 10:47 AM
#30
Junior Member
Thread Starter
Join Date: Oct 2011
Location: Houston, Tx
Posts: 60
Total Cats: 53
I'm not dead!
New rear bumper and trim piece to be ST5 legal

Beefier cover plate for the spare tire cutout. I used rivnuts to anchor it.

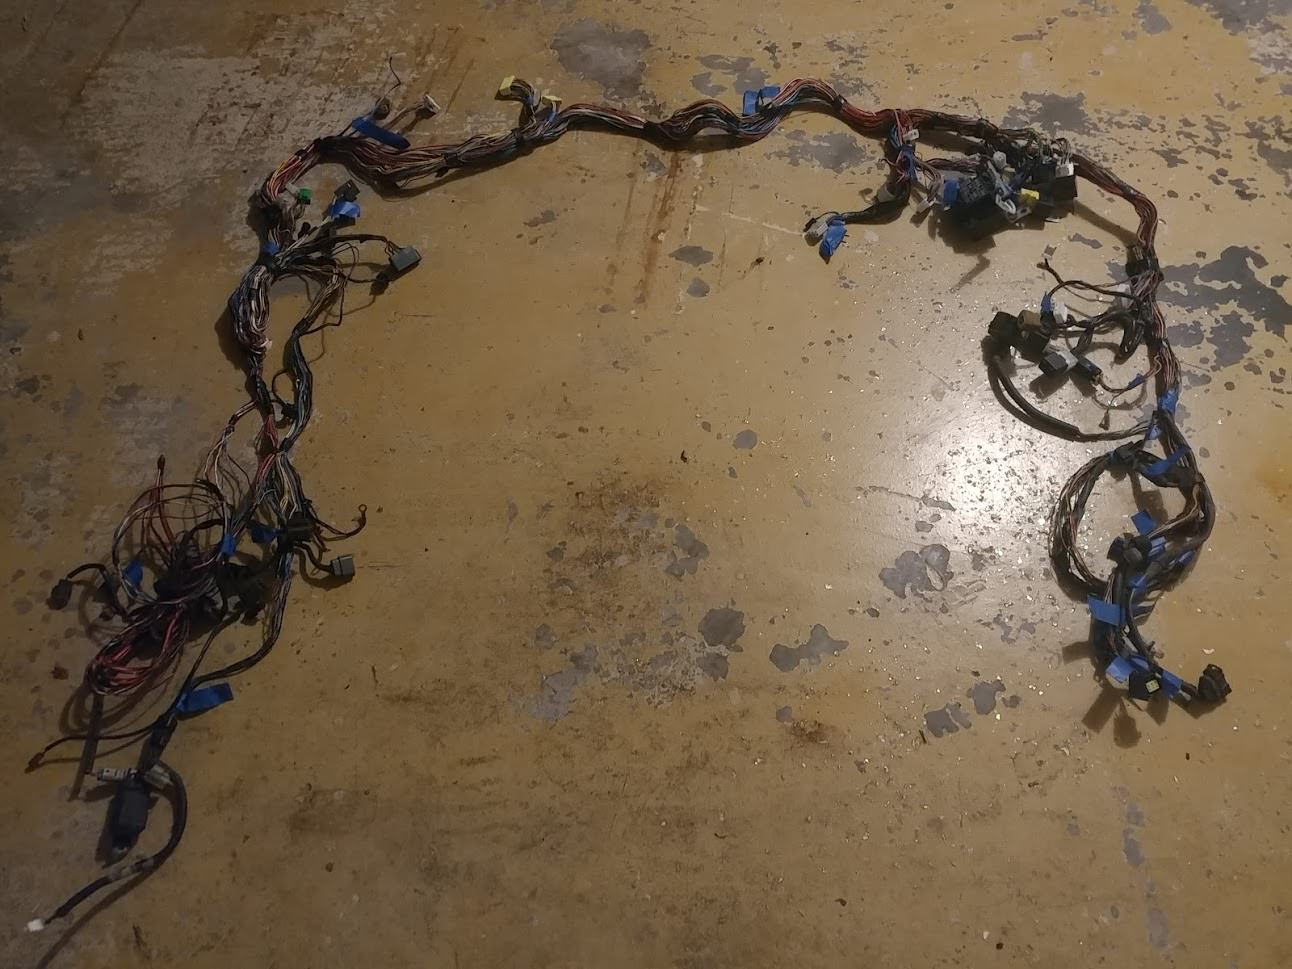
I ripped out everything inside, including wiring

and built some fancy ducting

hoses and stuff

The build went on hold again due to a move to a new house. It was close enough we just flat towed from old house to new:

More space to work but now we have to set everything up again

My wiring harness and ECU finally arrived!!

I built a fancy center console thing to house wiring and switches, and the fuse/relay box

ECU and fuse box mounted

IT STARTS AND RUNS AND MOVES UNDER ITS OWN POWER!

New rear bumper and trim piece to be ST5 legal
Beefier cover plate for the spare tire cutout. I used rivnuts to anchor it.
I ripped out everything inside, including wiring
and built some fancy ducting
hoses and stuff
The build went on hold again due to a move to a new house. It was close enough we just flat towed from old house to new:
More space to work but now we have to set everything up again
My wiring harness and ECU finally arrived!!
I built a fancy center console thing to house wiring and switches, and the fuse/relay box
ECU and fuse box mounted
IT STARTS AND RUNS AND MOVES UNDER ITS OWN POWER!
Reply
2
2
08-23-2019, 10:57 AM
#31
Junior Member
Thread Starter
Join Date: Oct 2011
Location: Houston, Tx
Posts: 60
Total Cats: 53
The setup from Swap Specialties did not include a tachometer out from the ECU. A bit of web searching seemed to indicate that it was as simple as adding a few wires...
On the GM E67 ECM, you can get a tach signal from pin 25 on the J1 (blue) connector. pin 24 is a pull up resistor to make it useful for most tach-driven devices. I ordered some pins (Molex MX64 33467 Series Female Unsealed Terminal 0334670005, Cable Range 20 18 ga (0.50 0.80 mm2)) and added them to the J1 connector, then connected the wires together and to the Traqmate tach input, and it works perfectly. I checked the tune to make sure "crank" type RPM output is enabled - it won't work if the tune is set to serial or frequency engine speed output.

Upgrading the house... air conditioned garage is the best garage.

Amazon special marine switch panel, and Baofeng radio mounted in the center console

Adding Tech Flex to the harness

Things lighting up

Big beefy battery in the rear again

Interior coming together:

Getting fancy with the brakes. All hard lines replaced with steel braided lines.

Bias valve in the cockpit

To make the air dam more sturdy, I went all Forged in Fire and hammered/welded a strip of steel in the shape of the bumper edge:

Aluminum sheet attaches to that

Building another fancy articulating lower air dam / undertray

Front aero coming together

Custom headlight doors and a little bump in the hood to clear the VVT solenoids


This design adds a lot of complexity but it's nice to be tolerant to off track excursions, and to load the trailer without special ramps or disassembling everything.

I added the popup headlight assemblies back in, and will be putting bulbs back in.

Getting things ready for a shakedown

How the undertray and stuff all fits together:

Whipped up a cover for the flywheel:

Finally out at the track

And a dyno!


On the GM E67 ECM, you can get a tach signal from pin 25 on the J1 (blue) connector. pin 24 is a pull up resistor to make it useful for most tach-driven devices. I ordered some pins (Molex MX64 33467 Series Female Unsealed Terminal 0334670005, Cable Range 20 18 ga (0.50 0.80 mm2)) and added them to the J1 connector, then connected the wires together and to the Traqmate tach input, and it works perfectly. I checked the tune to make sure "crank" type RPM output is enabled - it won't work if the tune is set to serial or frequency engine speed output.
Upgrading the house... air conditioned garage is the best garage.
Amazon special marine switch panel, and Baofeng radio mounted in the center console
Adding Tech Flex to the harness
Things lighting up
Big beefy battery in the rear again
Interior coming together:
Getting fancy with the brakes. All hard lines replaced with steel braided lines.
Bias valve in the cockpit
To make the air dam more sturdy, I went all Forged in Fire and hammered/welded a strip of steel in the shape of the bumper edge:
Aluminum sheet attaches to that
Building another fancy articulating lower air dam / undertray
Front aero coming together
Custom headlight doors and a little bump in the hood to clear the VVT solenoids
This design adds a lot of complexity but it's nice to be tolerant to off track excursions, and to load the trailer without special ramps or disassembling everything.
I added the popup headlight assemblies back in, and will be putting bulbs back in.
Getting things ready for a shakedown
How the undertray and stuff all fits together:
Whipped up a cover for the flywheel:
Finally out at the track
And a dyno!
Reply
0
0
08-23-2019, 11:04 AM
#32
Junior Member
Thread Starter
Join Date: Oct 2011
Location: Houston, Tx
Posts: 60
Total Cats: 53
I had issues with gaskets exploding and bolts loosening at the exhaust flange during the shakedown

So I replaced the flange with a vband

250 lbs of ballast


Whipped up a quick catch can


A bunch of oil plumbing. I put a bypass adapter in the block, and routed the oil to two parallel oil coolers, then through a remote filter, teed to an accusump. This was $600 in AN fittings alone.

Fancied up the graphics

So nice to have the air dam/undertray articulate

And off to TMS!

The car ran great! It's right at home in ST5 - On Maxxis I run 2400 lbs at 162 whp, and on Hoosiers run 2465lbs or so. The Ecotec is pretty good on track. The low end torque really helps pull away from corners.
So I replaced the flange with a vband
250 lbs of ballast
Whipped up a quick catch can
A bunch of oil plumbing. I put a bypass adapter in the block, and routed the oil to two parallel oil coolers, then through a remote filter, teed to an accusump. This was $600 in AN fittings alone.
Fancied up the graphics
So nice to have the air dam/undertray articulate
And off to TMS!
The car ran great! It's right at home in ST5 - On Maxxis I run 2400 lbs at 162 whp, and on Hoosiers run 2465lbs or so. The Ecotec is pretty good on track. The low end torque really helps pull away from corners.
Reply
6
6

Thread
Thread Starter
Forum
Replies
Last Post


